
house sauce
intro
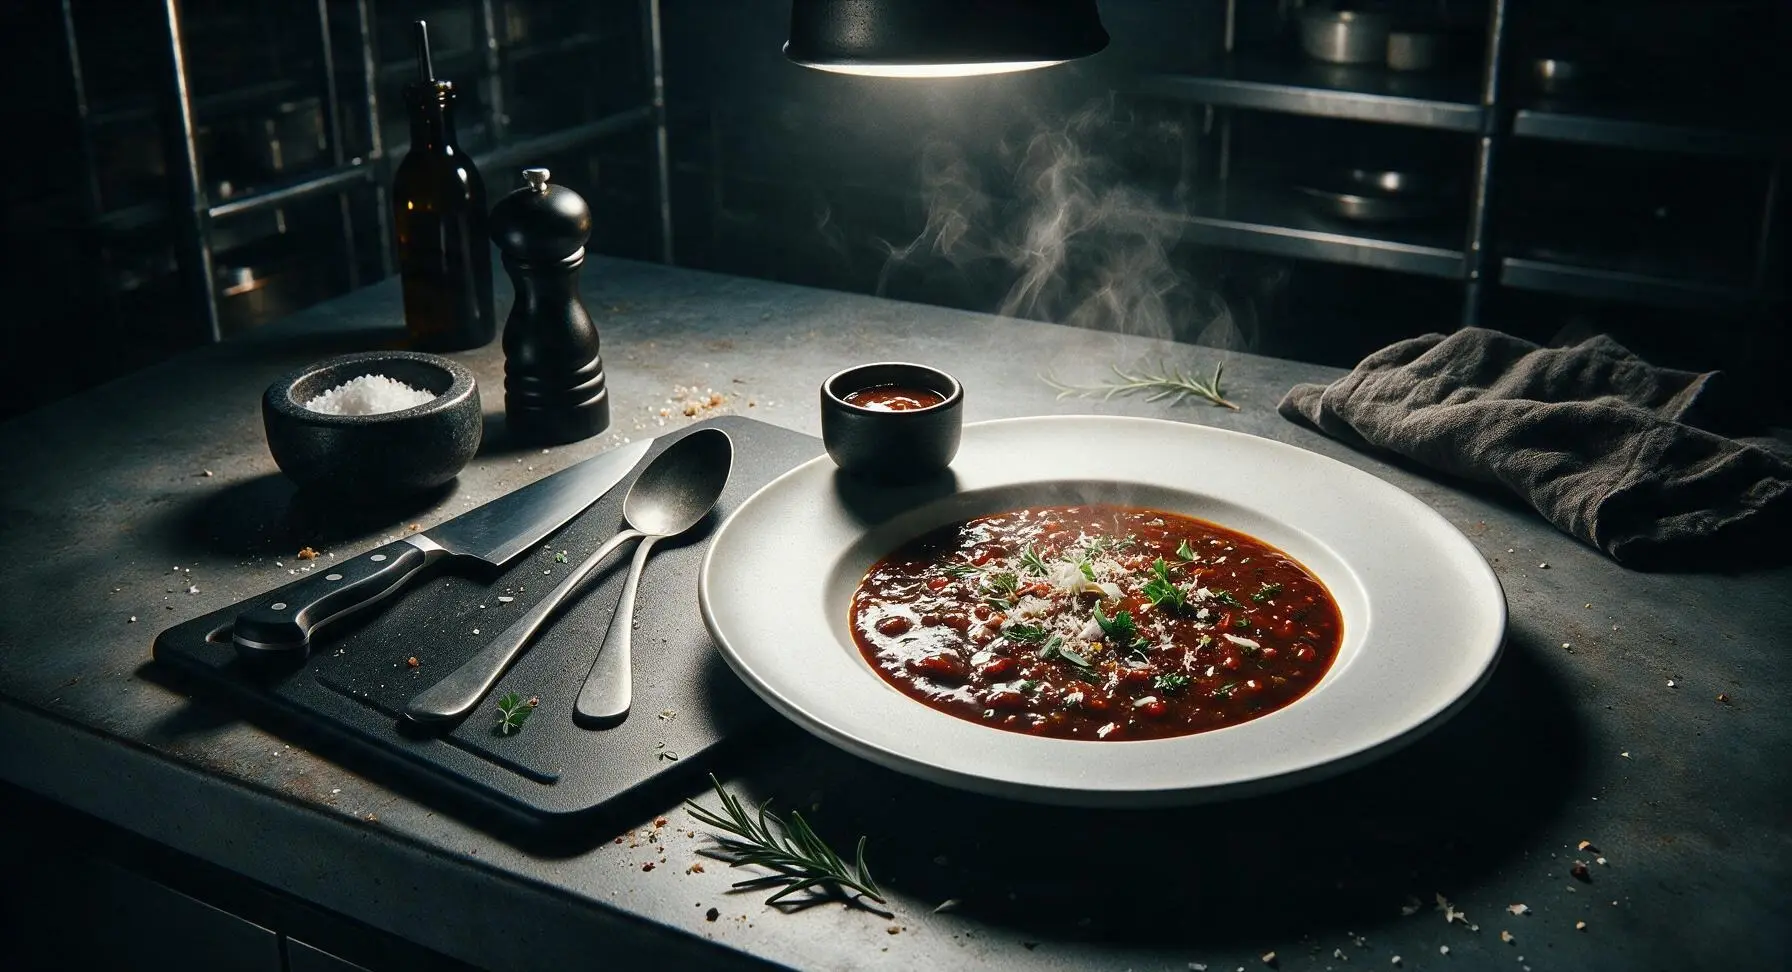
This tangy, umami-rich all-purpose house sauce is the fridge staple you’ll reach for every meal—perfect for dipping, drizzling, marinating, and dressing, with balanced sweet, savory, and bright notes.
Ingredients
Steps
Measure All Ingredients
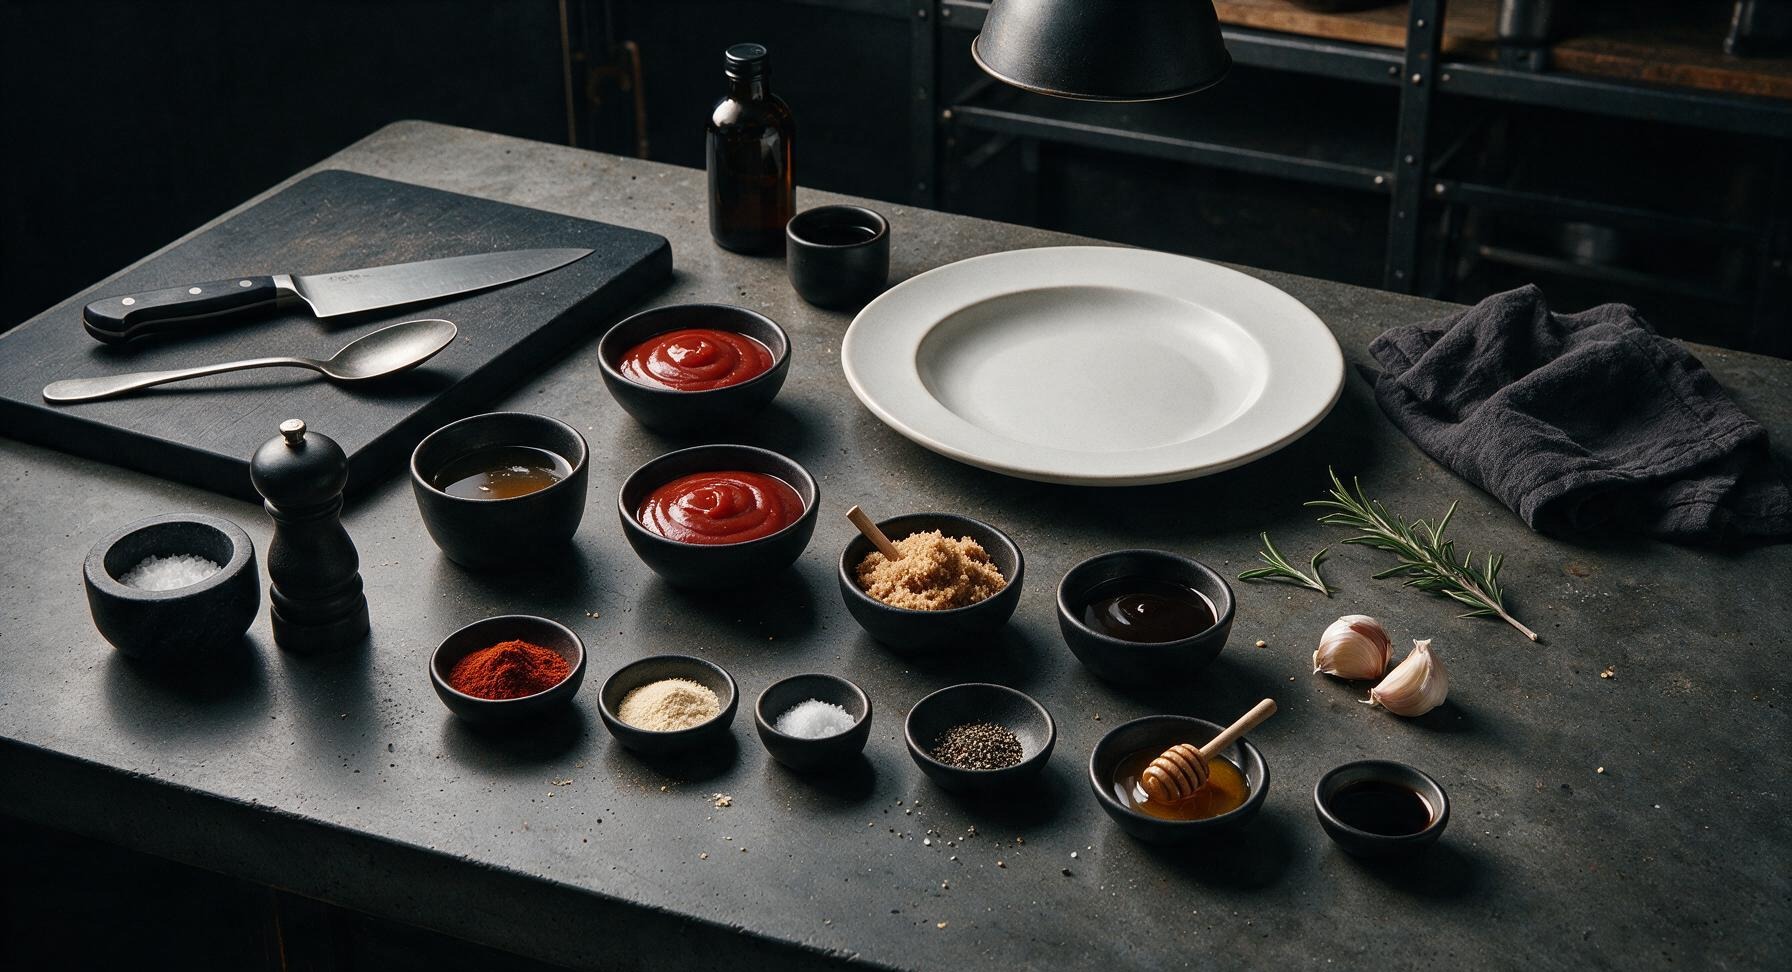
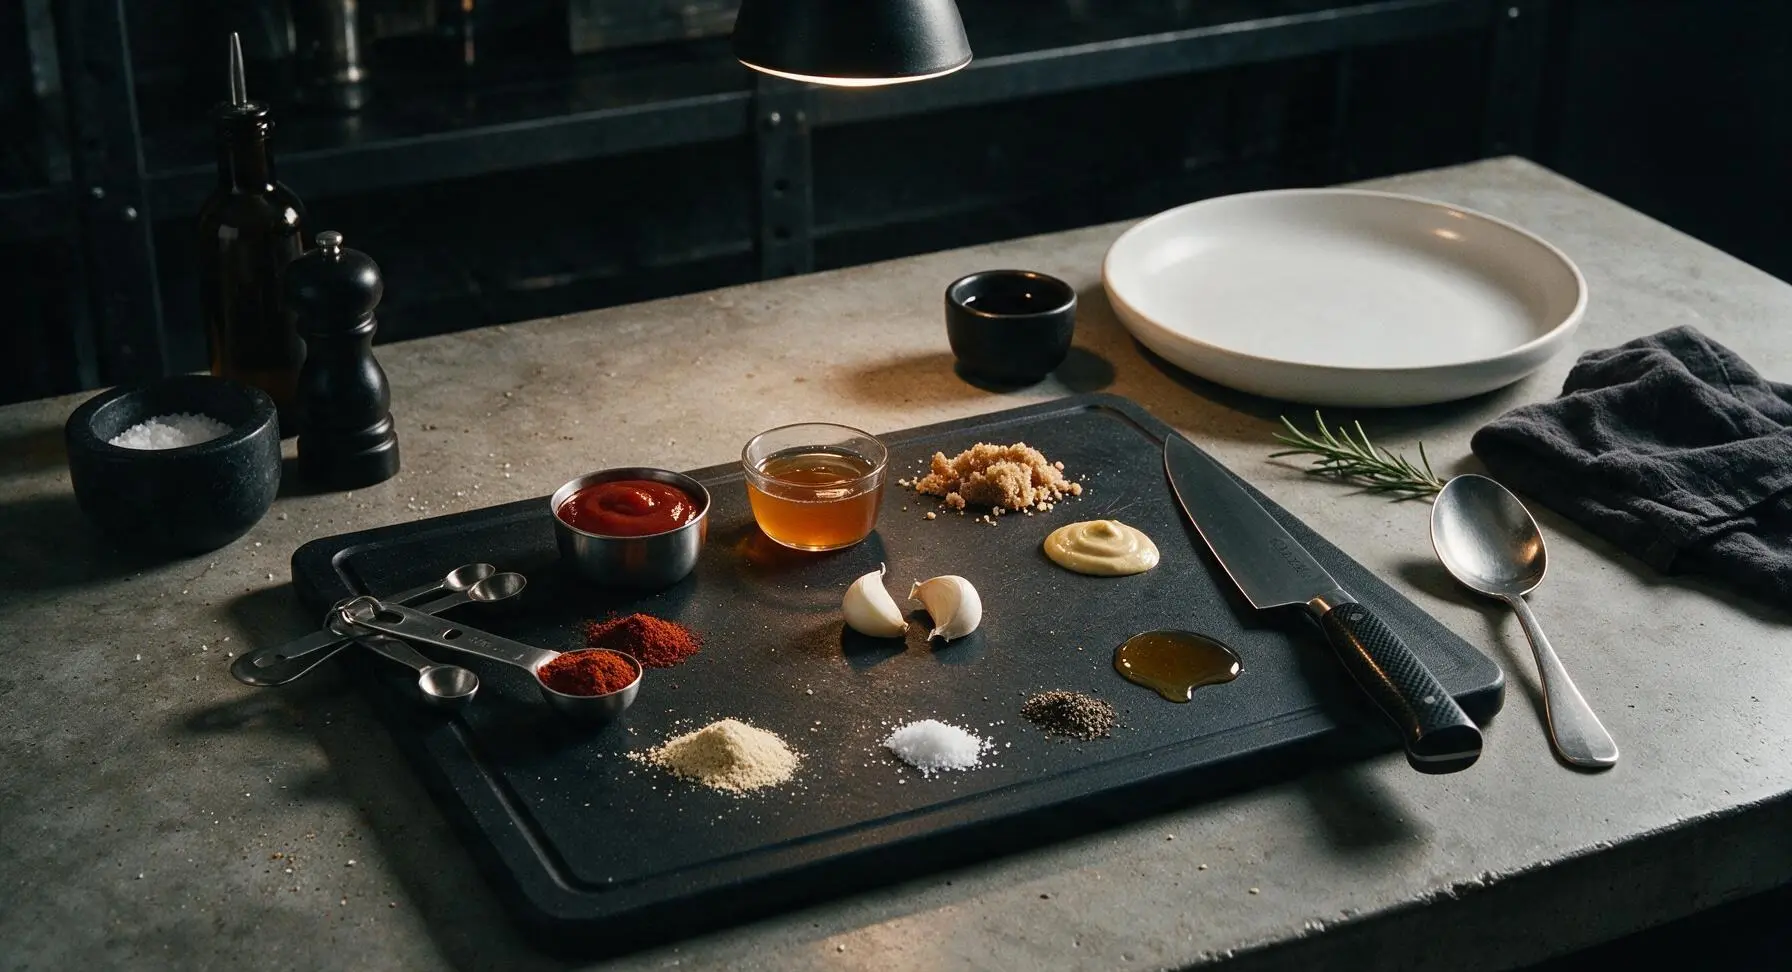
Gather and pre-measure all ingredients into individual portions on the light maple cutting board: 1 cup (240ml) tomato ketchup, 1/4 cup (60ml) unfiltered apple cider vinegar, 2 tbsp packed light brown sugar, 2 tbsp Worcestershire sauce, 1 tbsp smooth Dijon mustard, 2 garlic cloves, 1 tsp smoked paprika, 1/2 tsp onion powder, 1/2 tsp kosher salt, 1/4 tsp freshly ground black pepper, 1 tbsp raw honey, and 1 tsp low-sodium soy sauce. Use the stainless steel measuring spoons for all small-volume spice and liquid measurements to ensure accuracy. Peel the papery outer skins from the garlic cloves and set them on the cutting board ready for mincing.
Mince Fresh Garlic
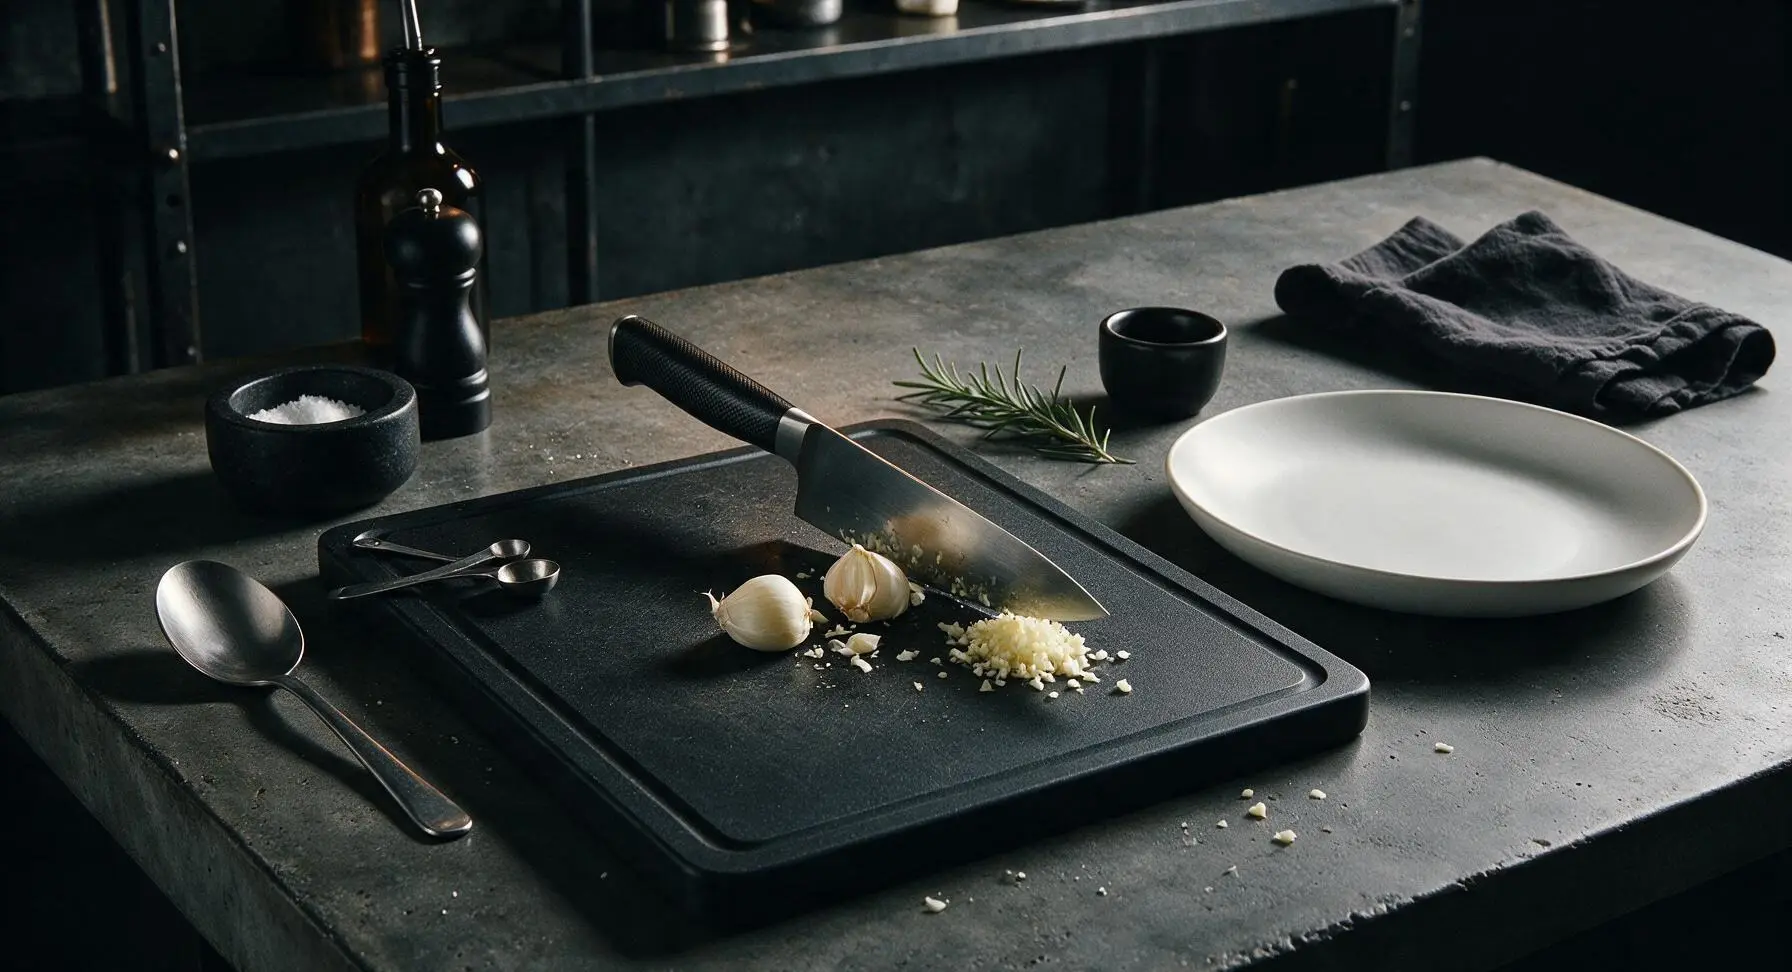
Place the two peeled garlic cloves on the center of the maple cutting board. Hold the chef knife with your dominant hand, resting the flat of your opposite hand on the top of the blade for steady control, and mince the garlic into very fine, even 1mm pieces, discarding any tough woody root ends. Stop mincing once the garlic is fragrant and uniformly fine, as large garlic chunks will create an uneven, gritty sauce texture. Scoop the finished minced garlic into a small pile on the cutting board edge.
Combine Sauce Base
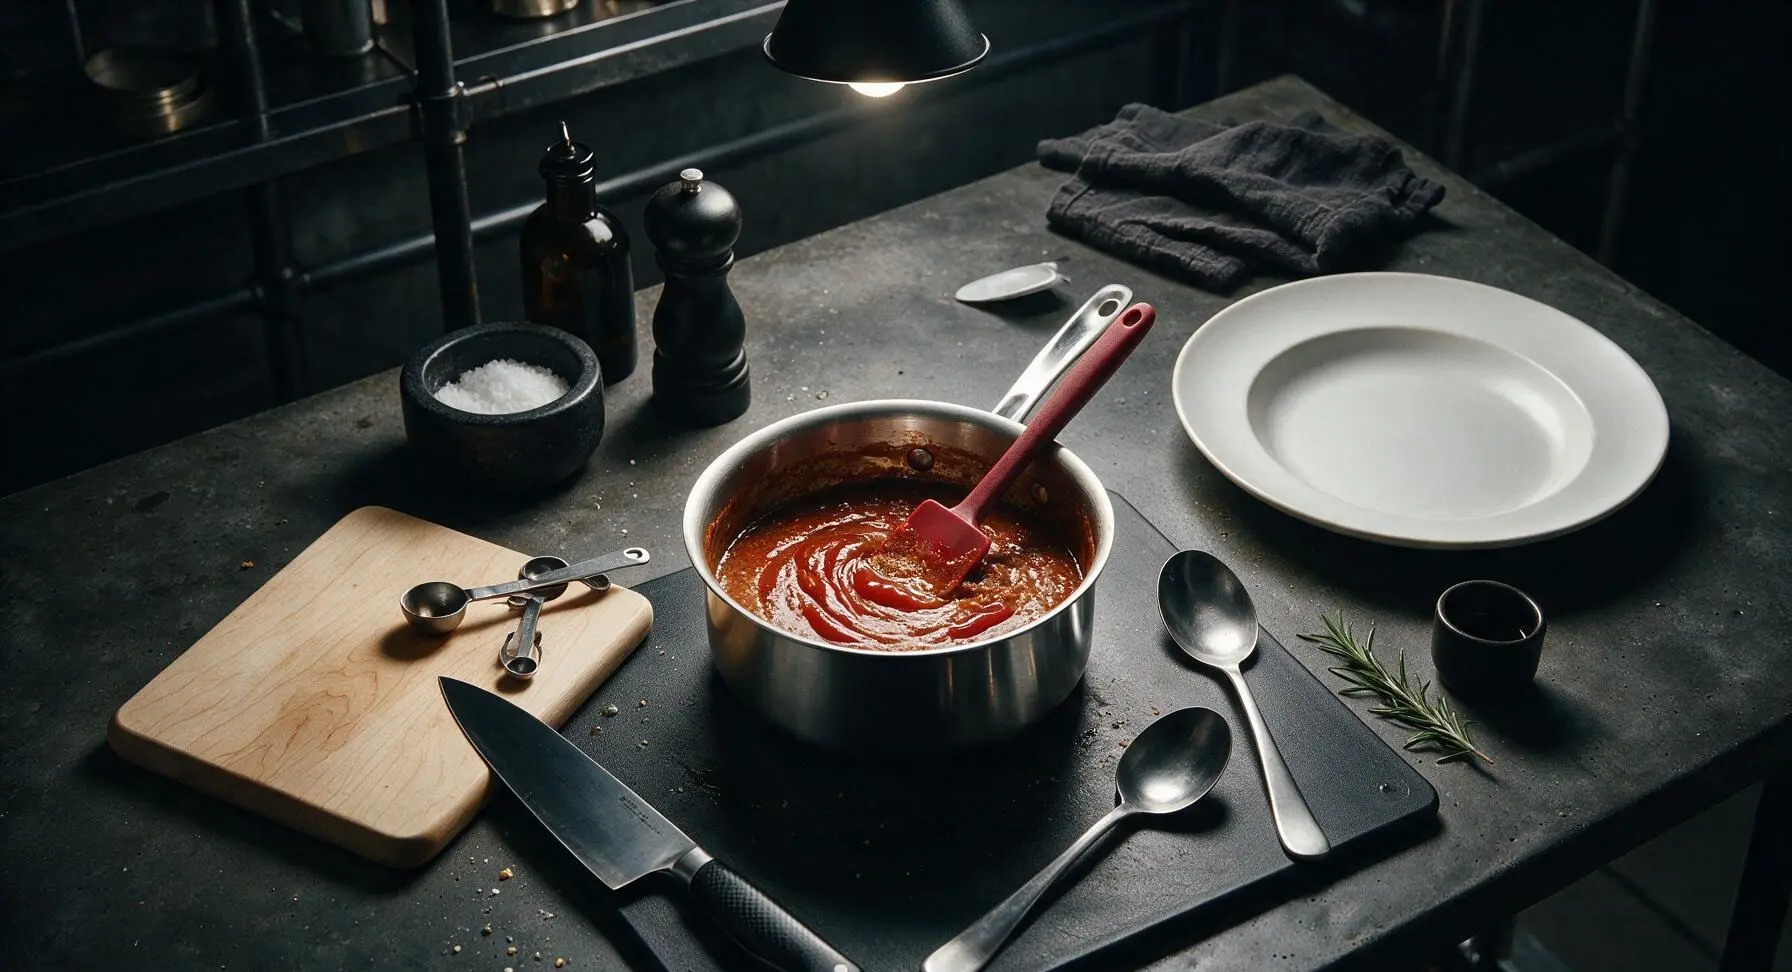
Set the 1.5-quart stainless steel saucepan at the counter center (heat off for now). Add all measured ingredients to the pan in the following order: ketchup, apple cider vinegar, light brown sugar, Worcestershire sauce, Dijon mustard, minced garlic, smoked paprika, onion powder, kosher salt, black pepper, honey, and soy sauce. Use the silicone spatula to stir the mixture briefly, just to combine the thick ketchup base with the thinner liquids into a rough, partially blended reddish-brown mixture.
Simmer Sauce Gently
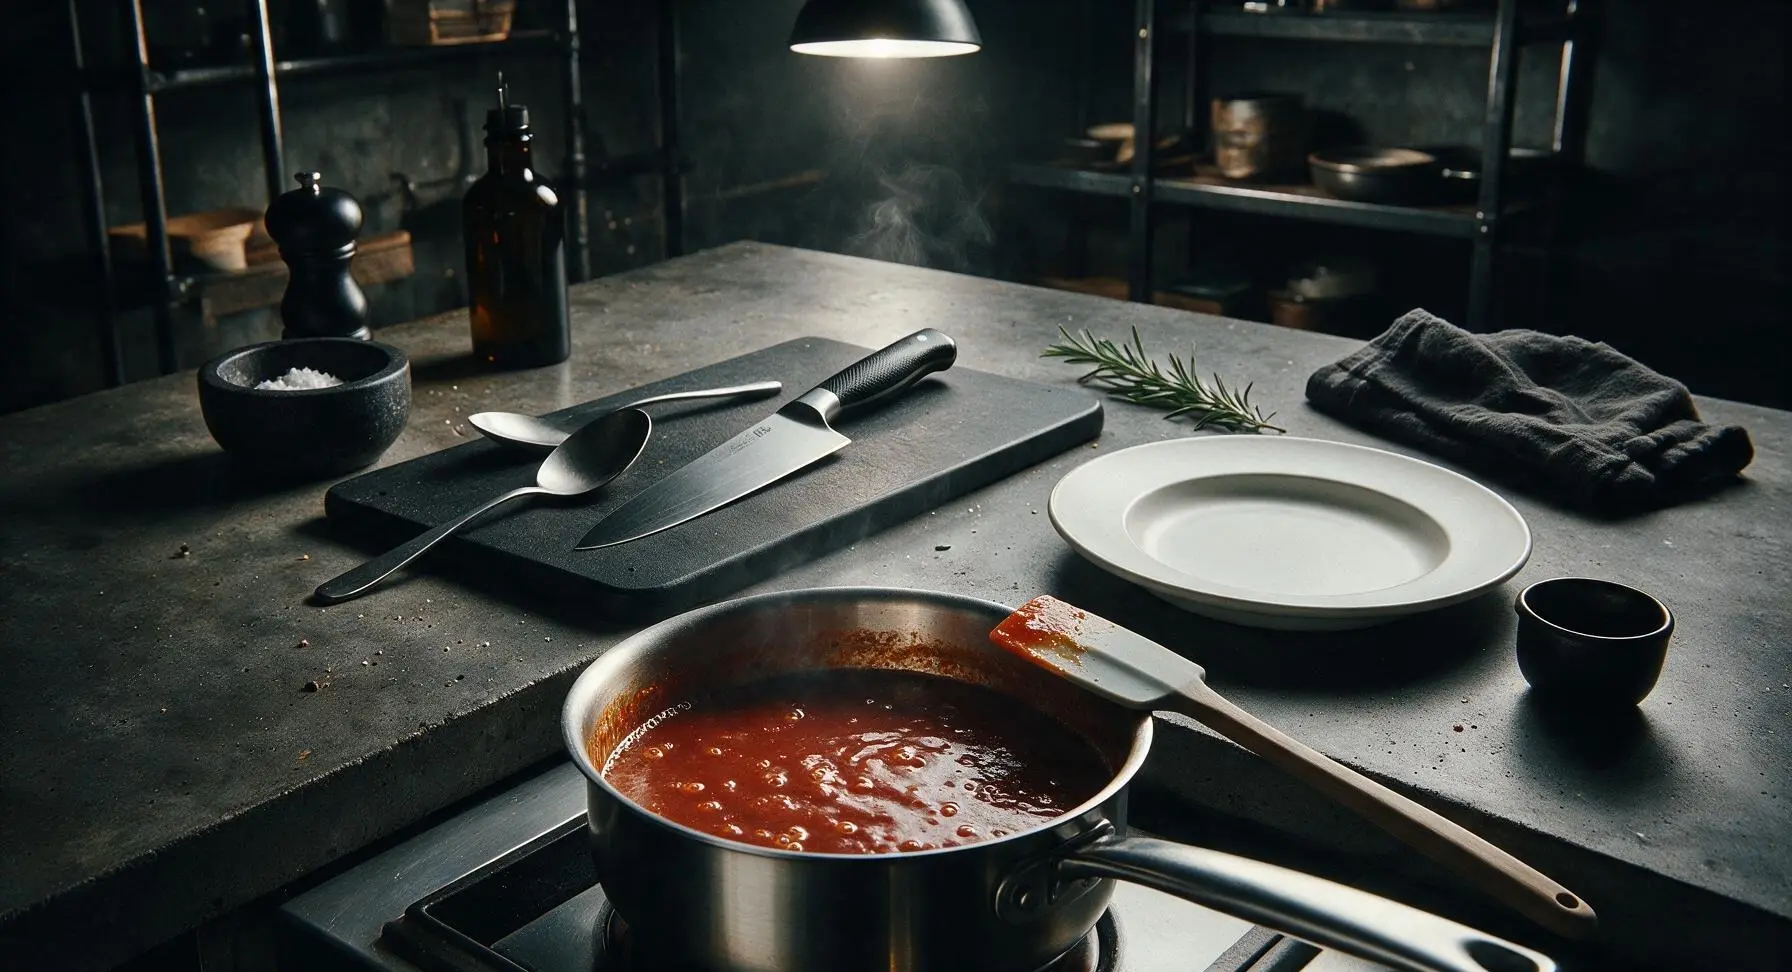
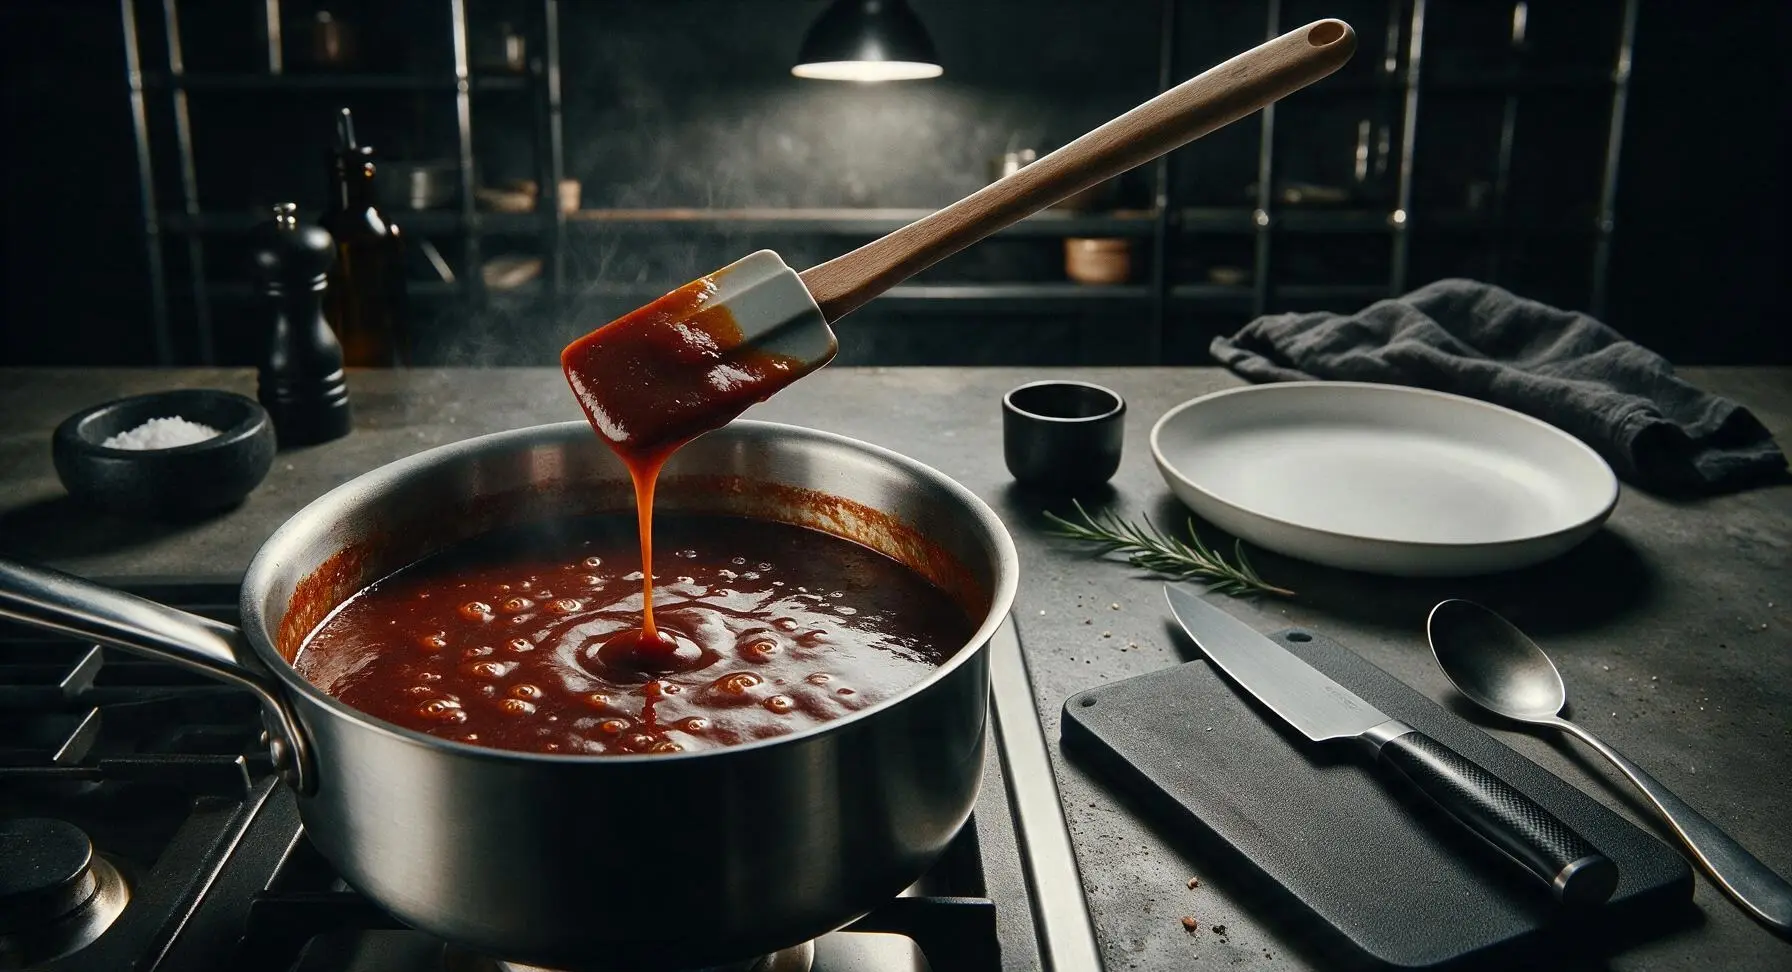
Transfer the saucepan to a stovetop burner set to medium-low heat (325°F / 160°C). Stir the sauce continuously with the silicone spatula for the first 2 minutes to fully dissolve the brown sugar and honey, preventing any sugar from burning and sticking to the pan bottom. Once the sauce reaches a slow, gentle bubble (not a violent rolling boil), reduce heat to low (225°F / 110°C) and simmer uncovered for 12 minutes, stirring every 3 minutes to prevent sticking. When finished, the sauce will have reduced slightly, thickened to a smooth, pourable syrup-like consistency, and deepened to a rich, glossy reddish-brown.
Taste and Adjust Seasoning
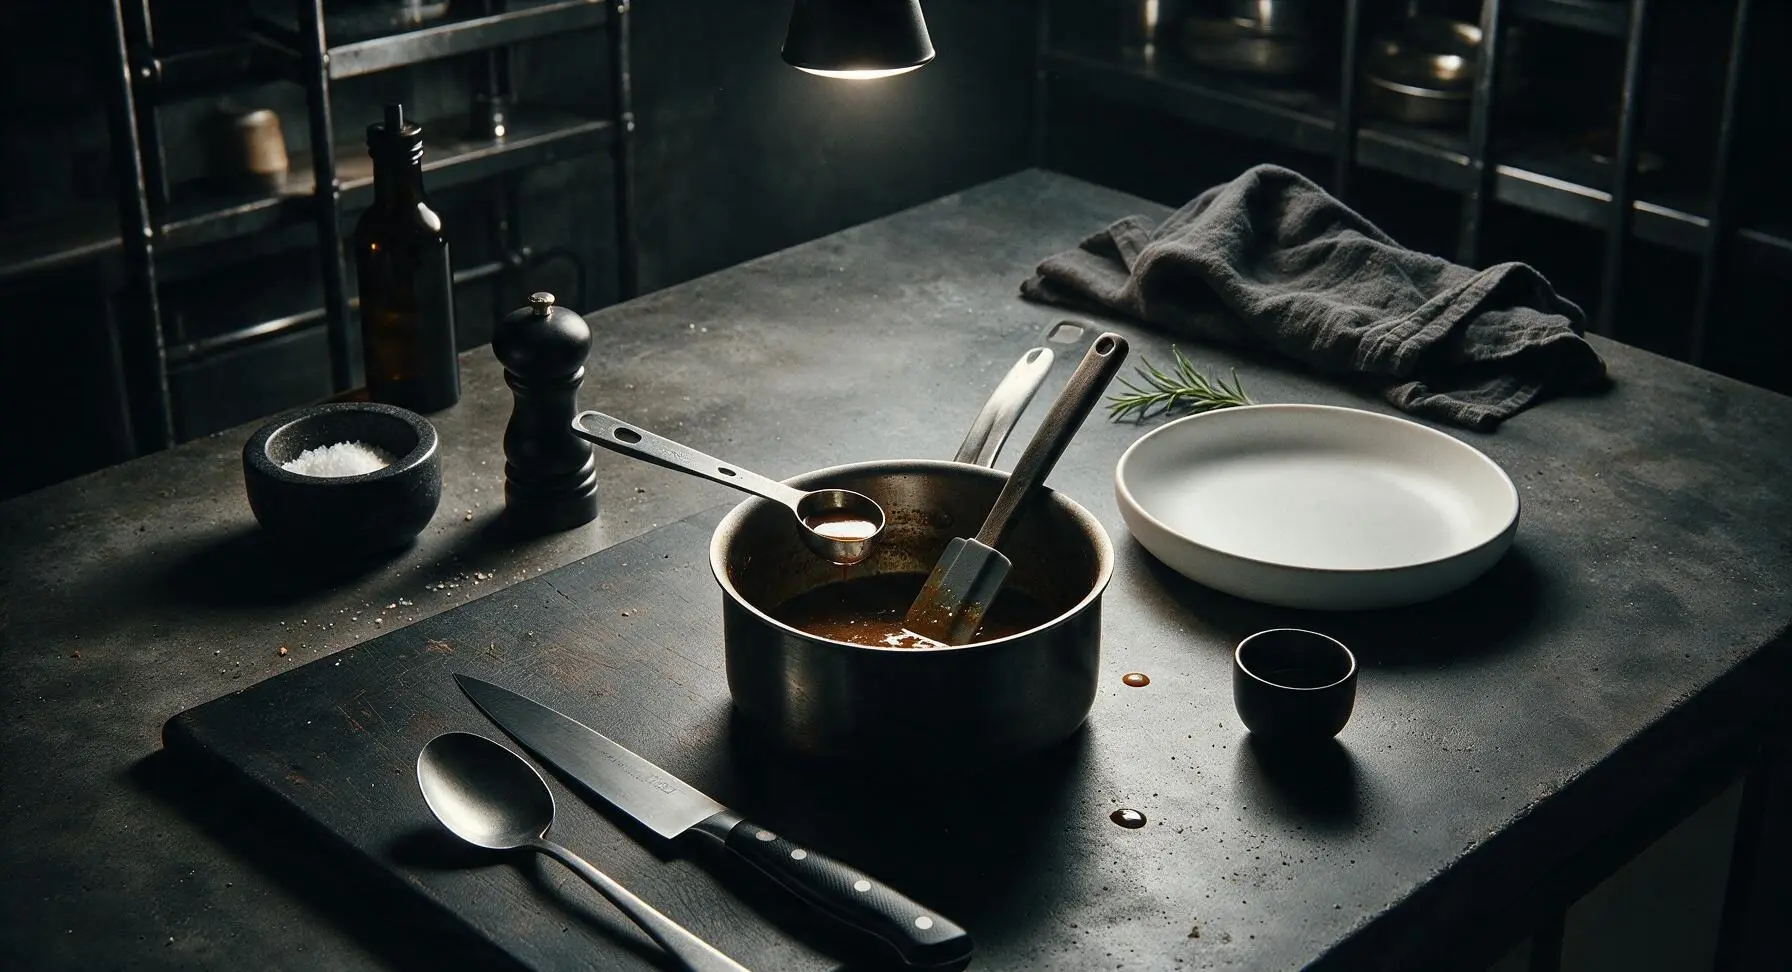
Turn off the stovetop heat and slide the saucepan back to its center position on the counter. Let the sauce cool for 2 minutes, then dip a clean measuring spoon into the sauce to taste. Adjust flavors as needed: add an extra 1/4 tsp kosher salt for deeper savoriness, 1 tsp extra honey for rounded sweetness, or 1 tsp extra apple cider vinegar for bright tang, stirring well to combine after any addition. The finished sauce should taste balanced: bright tang first, followed by mellow sweetness, with subtle smoky depth from paprika and rich umami from Worcestershire and soy sauce.
Cool and Jar Sauce
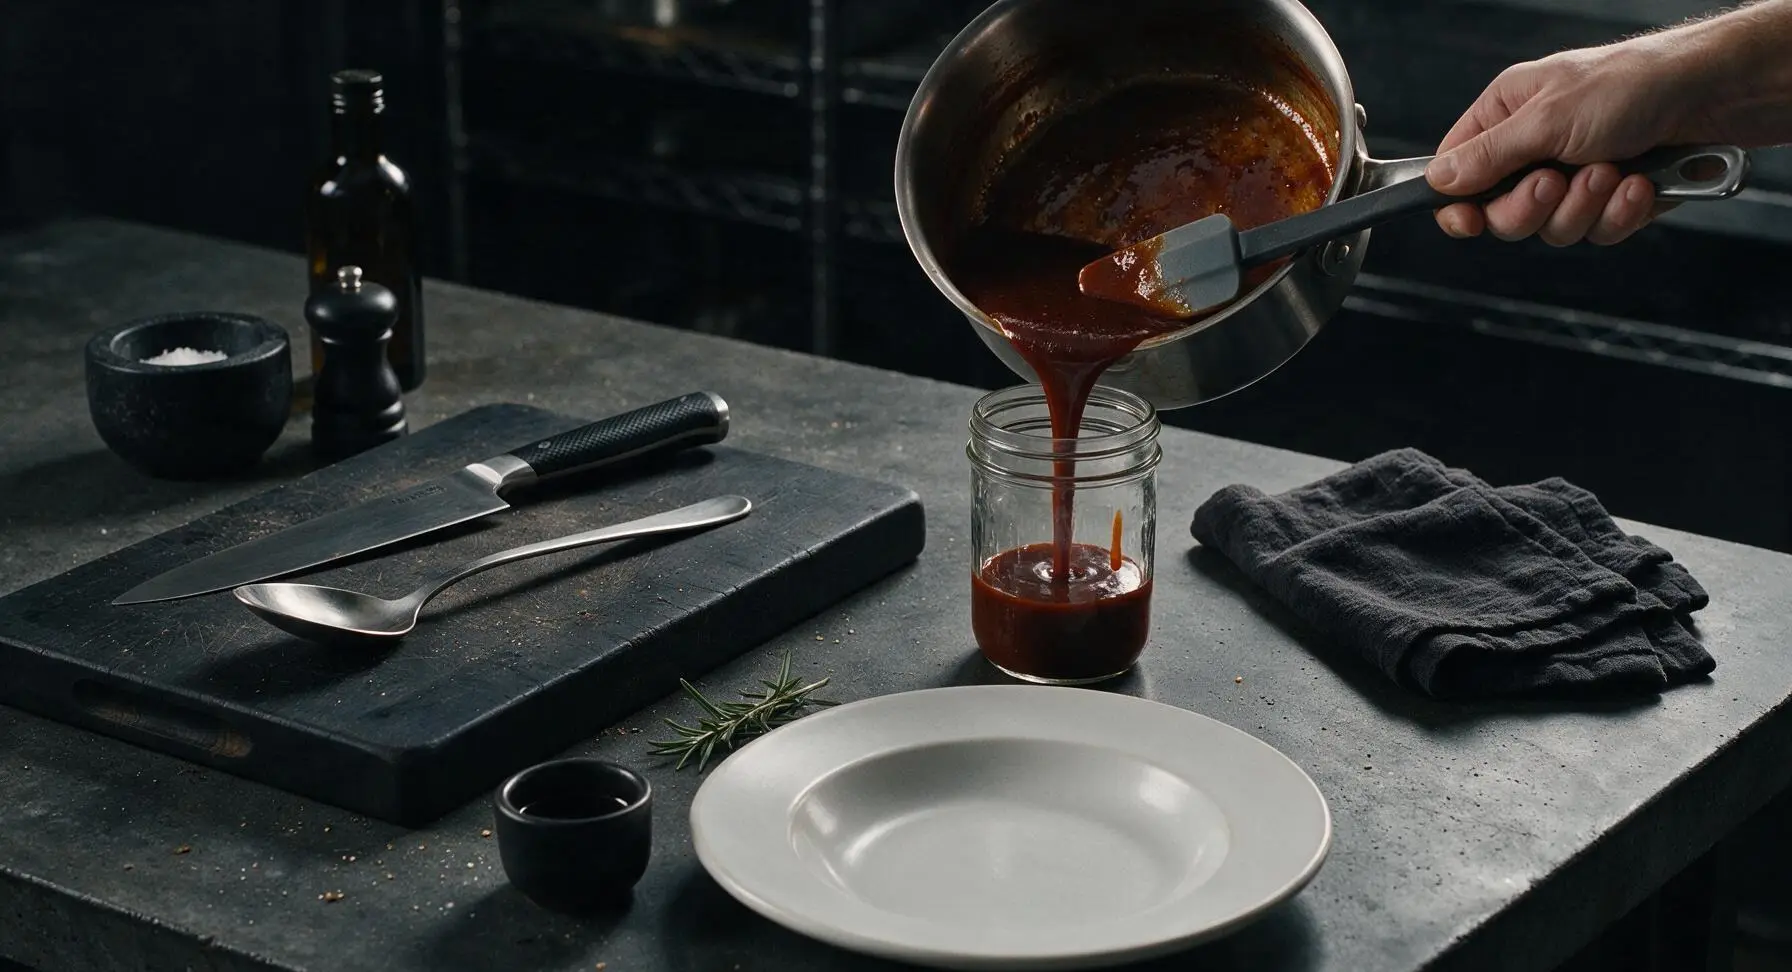
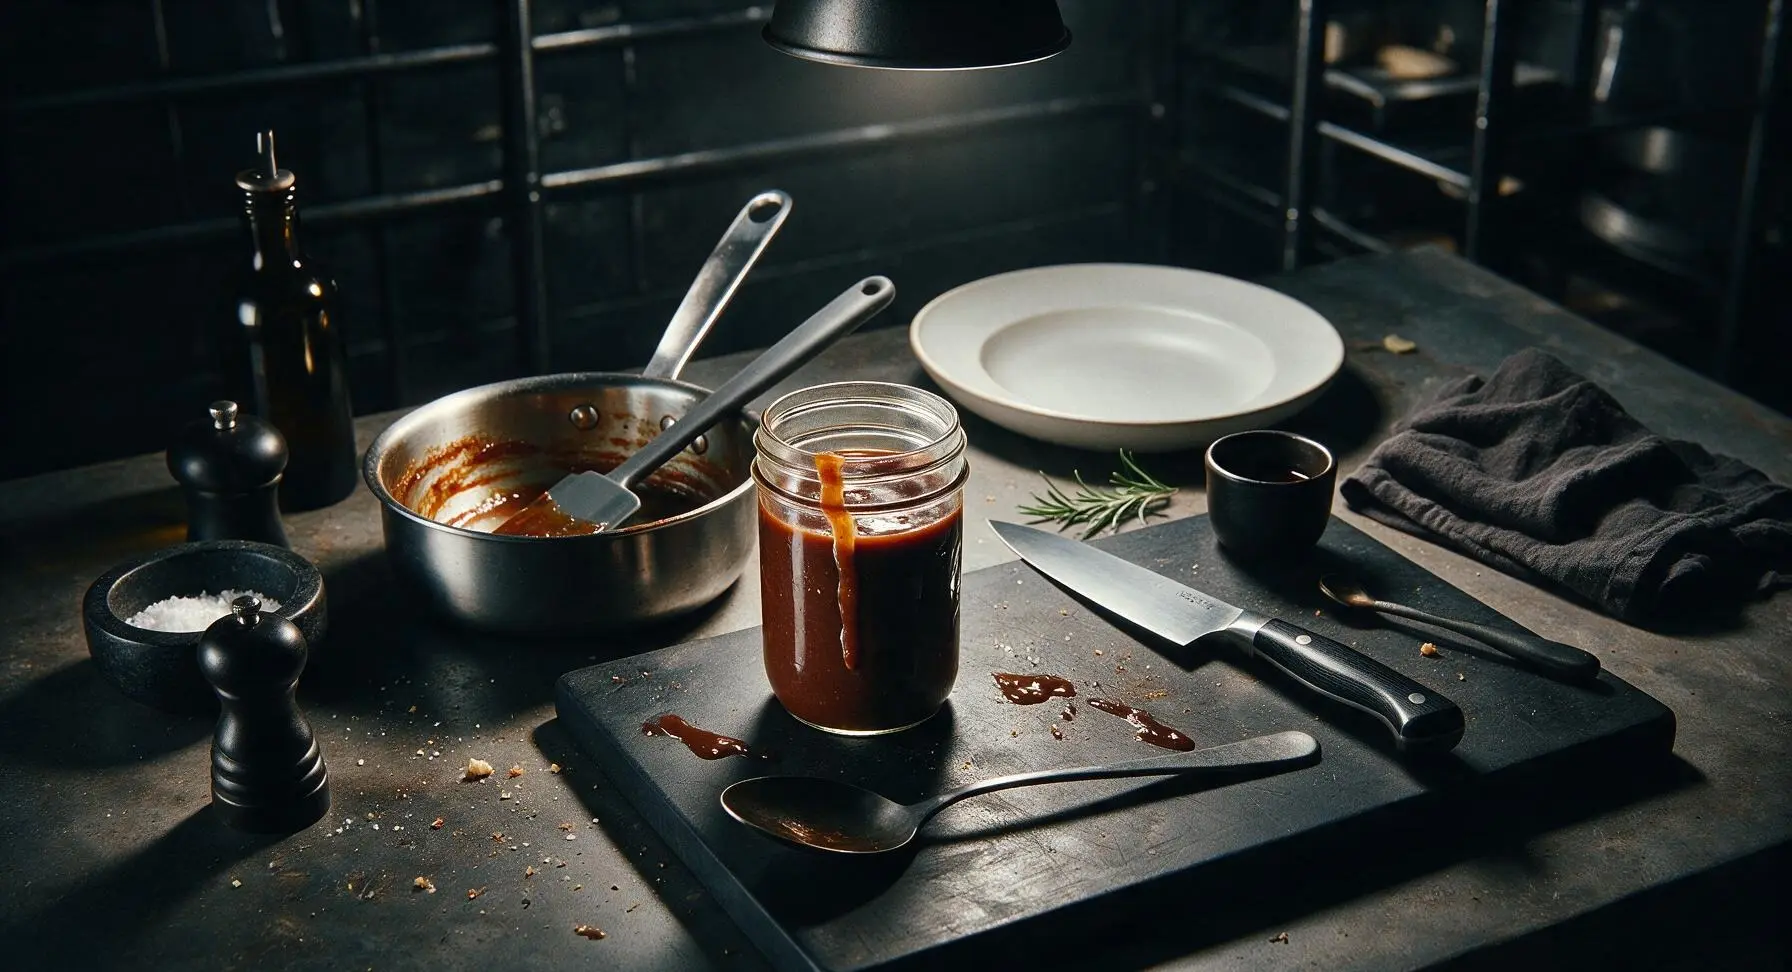
Let the sauce cool completely in the saucepan for 20 minutes at room temperature, stirring occasionally to release trapped heat and prevent a thick skin from forming on the surface. Once cooled to 70°F / 21°C (room temperature), carefully pour the sauce into the waiting clear 8-ounce glass mason jar. Wipe any large drips from the outside of the jar with the corner of the sky-blue kitchen towel, then seal with a tight-fitting metal lid. Store the sealed jar in the refrigerator for up to 2 weeks.
Tips
2.Let the jarred sauce rest for at least 2 hours in the refrigerator before using: the flavors will continue to meld and deepen as it chills, creating a more balanced, rounded taste than sauce served immediately after cooking. The sauce will also thicken slightly as it cools, reaching the ideal smooth, dippable consistency. Always seal the jar only after the sauce is fully cooled to prevent trapped condensation that causes faster spoilage.
3.Customize the base to match your preference: stir in 1/4 tsp cayenne pepper for a spicy kick, 1 tbsp dill pickle brine for extra zesty tang, or 1/2 tsp liquid smoke for a bold BBQ-style profile, all without altering the sauce’s core smooth texture or balance.






OMG this sauce is a total game changer! I whipped it up last night for our family burger night and even my super picky 7 year old asked for extra on his fries. It’s so easy to throw together too — I had all the ingredients in my pantry already, no random specialty stuff. I’m bringing a jar to our neighborhood potluck this weekend, I know everyone’s gonna beg for the recipe!
SO good, I make a big batch of this every Sunday for meal prep. It goes great on grilled chicken bowls, wraps, even as a dressing for my side salads. 15 minute cook time is no joke — I don’t have a ton of time to mess around with fancy sauces after my morning gym session, so this is perfect for my routine. Only note: I add a tiny extra splash of hot sauce for a little kick, chef’s kiss.
Tried this last night on my smoked brats and wow, way better than the store-bought sauce I usually grab. I was worried it’d be too tangy but the balance is spot on. Super easy to make even when I’m half watching the game and manning the grill, no complicated steps. Knocked off one star only because I wish it made a bigger batch, because we went through almost all of it in one dinner! 10/10 will be making this a staple for all my summer cookouts.
Wait this is so easy even a total cooking newbie like me didn’t mess it up! I made it to go with homemade chicken tenders for my roommates and they all thought I bought it from that fancy sandwich shop downtown. Only took 15 minutes like the recipe said, zero fancy equipment needed. Obsessed!!