
make ahead cold sandwiches for a crowd

title 1
make ahead cold sandwiches for a crowd
⏱️ cook time 5 minutes
🍽️ servings 12
⚡ Difficulty easy

intro

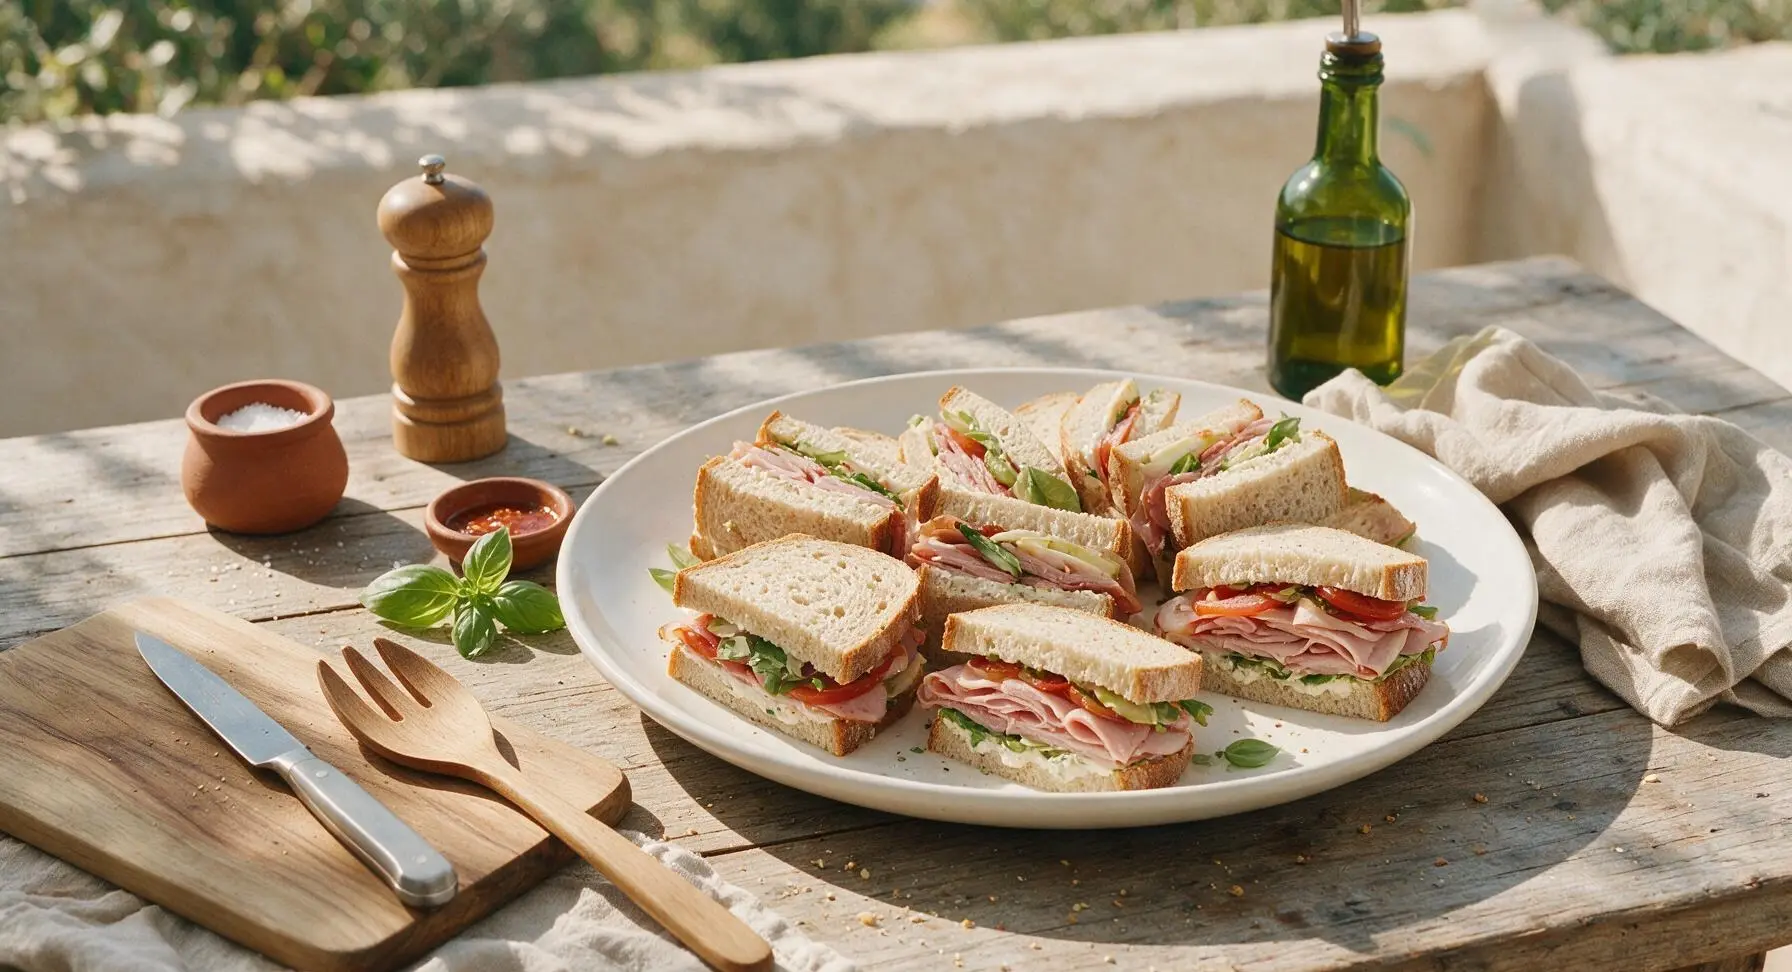
Sturdy, sogginess-free cold sandwiches prepped fully a day ahead, packed with classic deli flavors, perfect for feeding a crowd without last-minute cooking or serving stress.

Ingredients
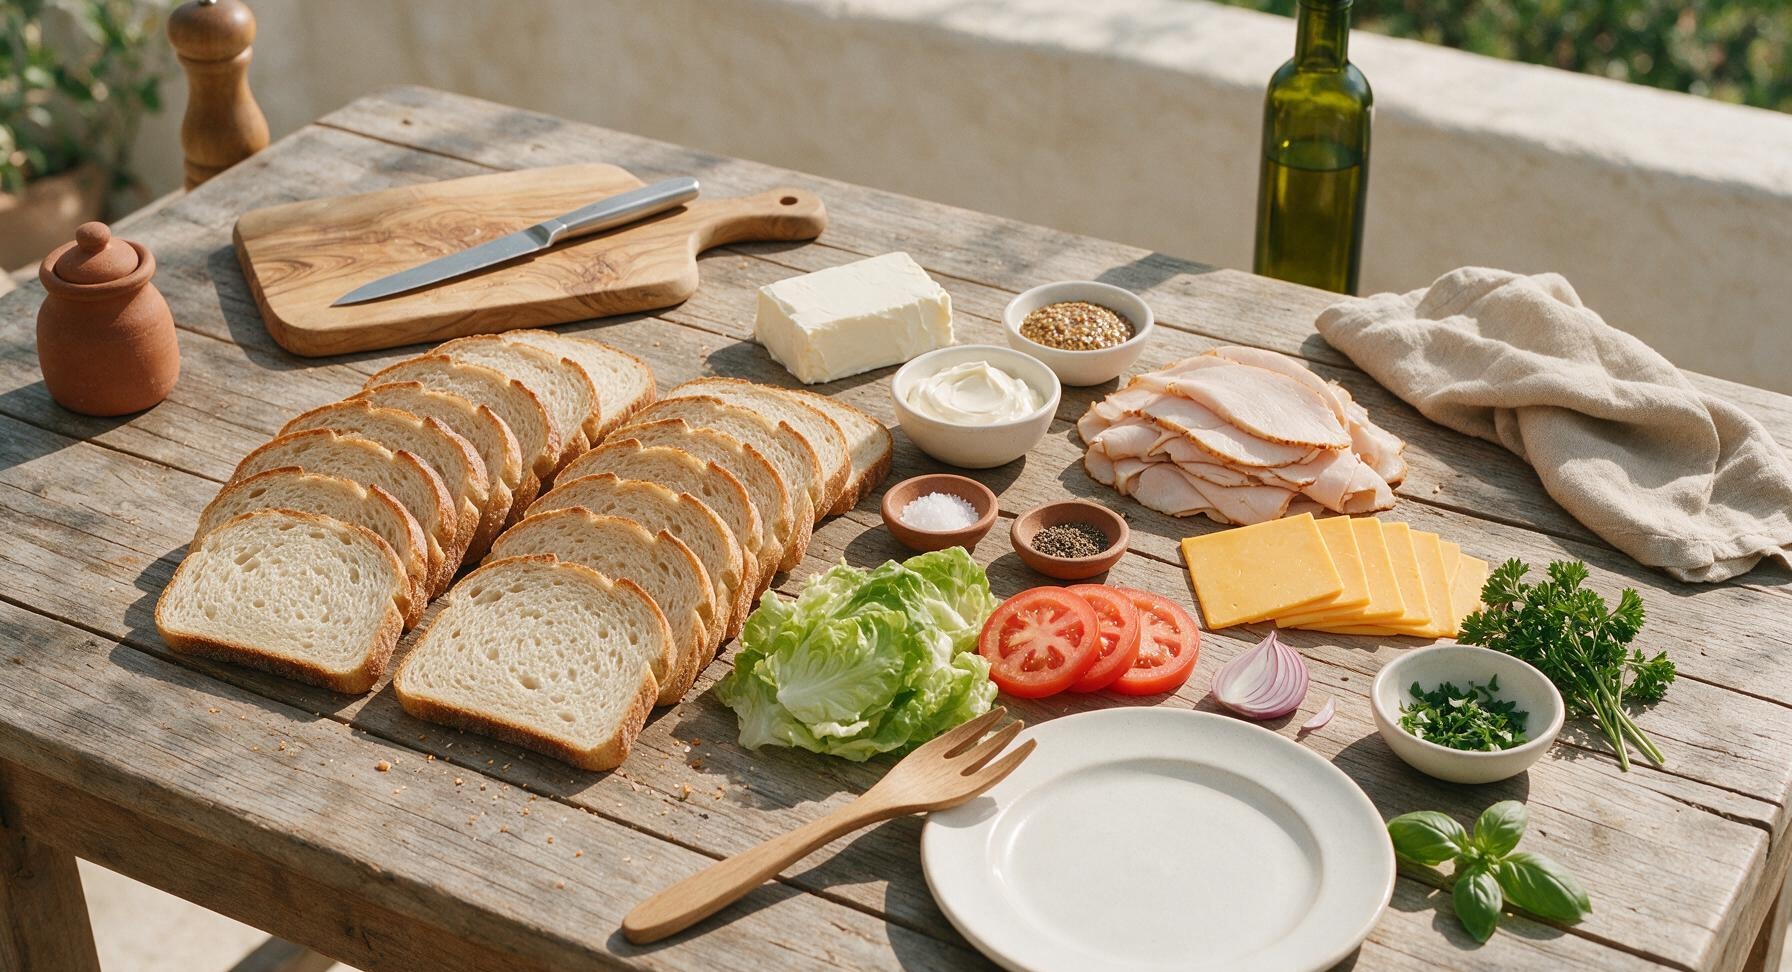
Sourdough sandwich bread 24 slices (2 standard loaves)
Cream cheese, softened 8 oz (226g)
Mayonnaise 1/2 cup (115g)
Whole grain mustard 2 tbsp
Deli sliced roasted turkey breast 1.5 lbs (680g)
Sliced sharp cheddar cheese 12 slices (12oz / 340g)
Green leaf lettuce 1 small head, leaves separated
Roma tomatoes 2 medium
Red onion 1/4 small, thinly sliced
Kosher salt 1/2 tsp
Freshly ground black pepper 1/4 tsp
Fresh curly parsley 1 small bunch, for garnish

Steps

1

Toast Bread Lightly

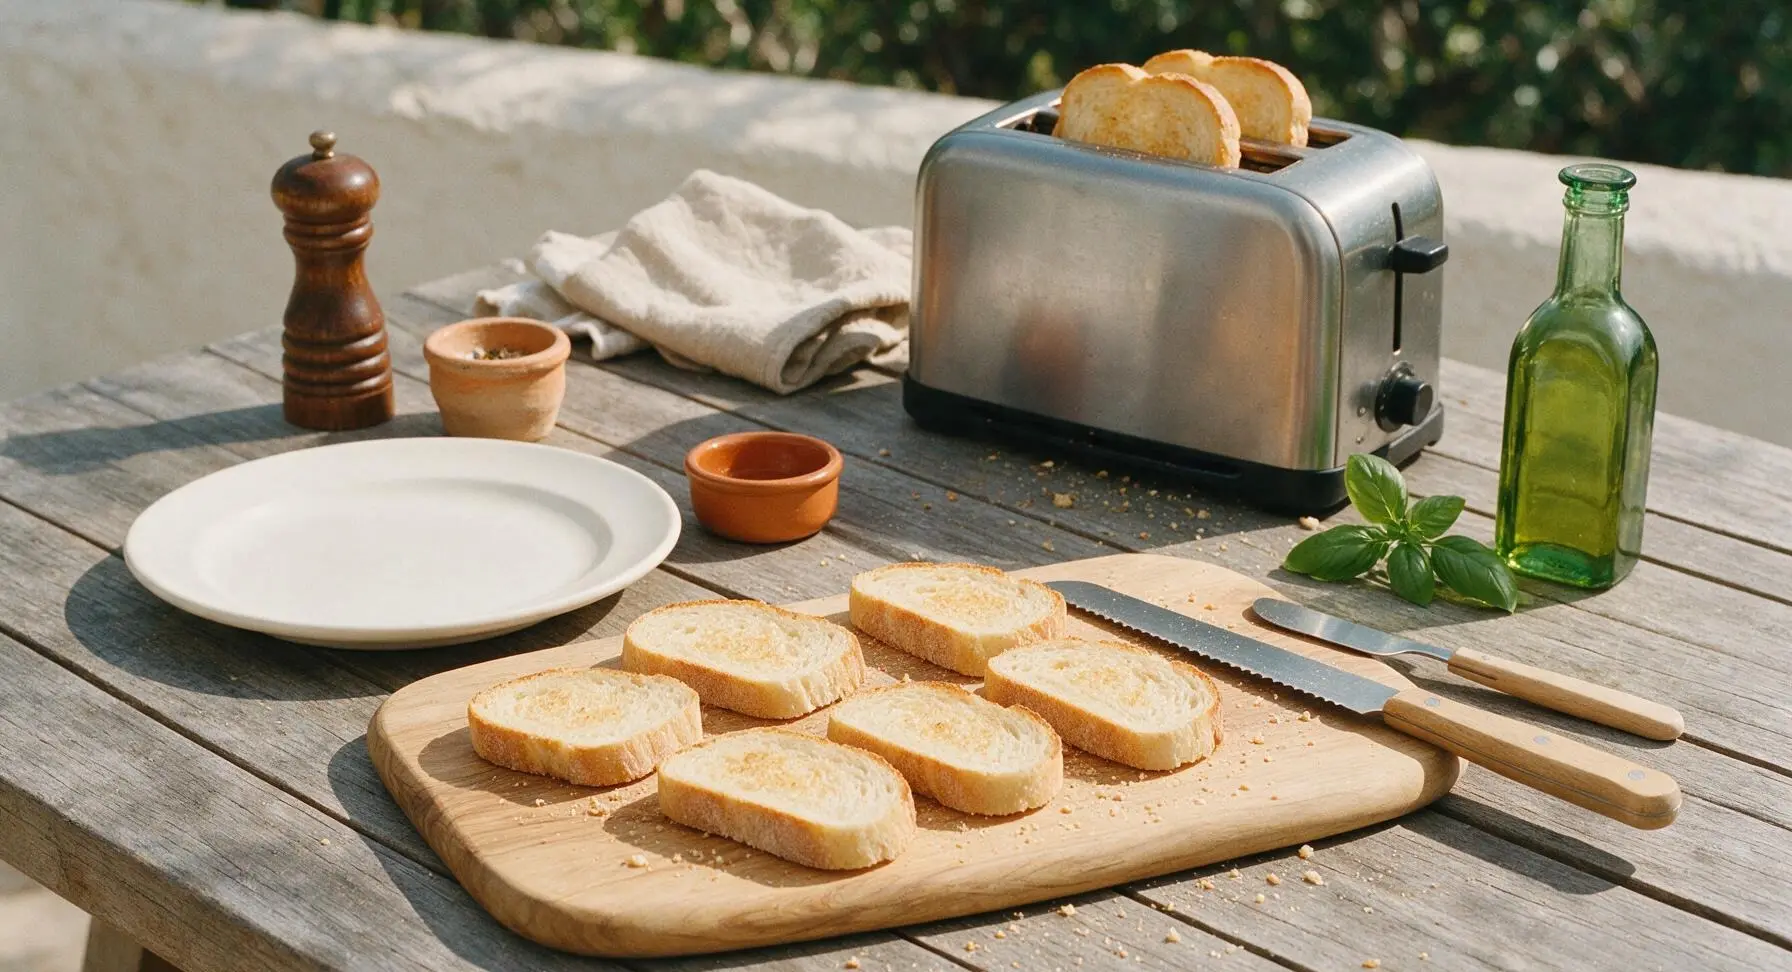
Prep bread to prevent sogginess: Place sourdough slices in the matte stainless steel toaster on the lowest setting, toasting just until the surface is barely dry and pale golden (no dark browning, about 45 seconds per batch). Lay toasted slices in a single layer on the light maple cutting board to cool completely for 10 minutes—warm bread will melt fillings and cause sogginess. Do not stack warm slices, as trapped steam will soften the crumb.
Step 1
step1:Toast Bread Lightly
2

Mix Protective Spread

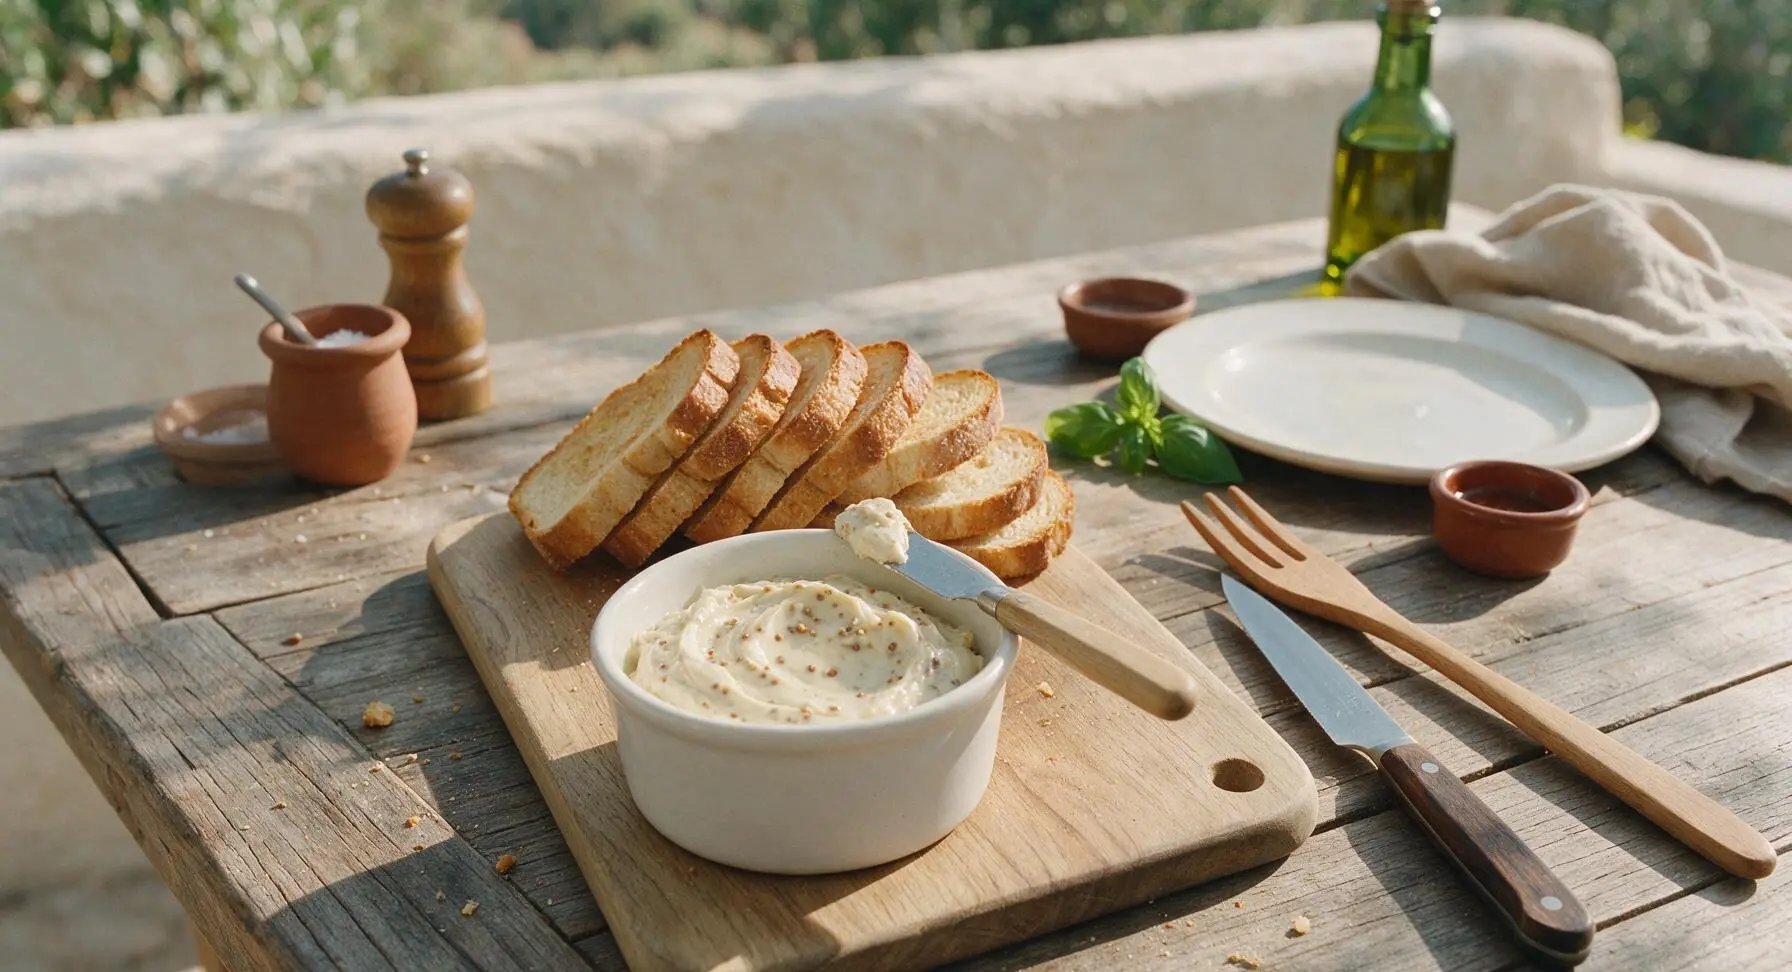
In the first small matte white ramekin, combine softened cream cheese, mayonnaise, and whole grain mustard. Stir with the small offset spatula until completely smooth, then stir in kosher salt and black pepper. This thick, evenly mixed spread creates a moisture barrier between bread and wet fillings to prevent sogginess during chilled storage.
Step 2
step2:Mix Protective Spread
3

Coat Bread Slices

Lay all 24 cooled toast slices flat on the cutting board. Use the offset spatula to spread a thin, even layer of the cream cheese-mustard spread across every slice, covering the entire surface edge to edge (no bare spots—gaps in the spread let moisture seep into bread and cause sogginess). Set half the slices aside as sandwich tops, leaving the other half face-up on the board for fillings.
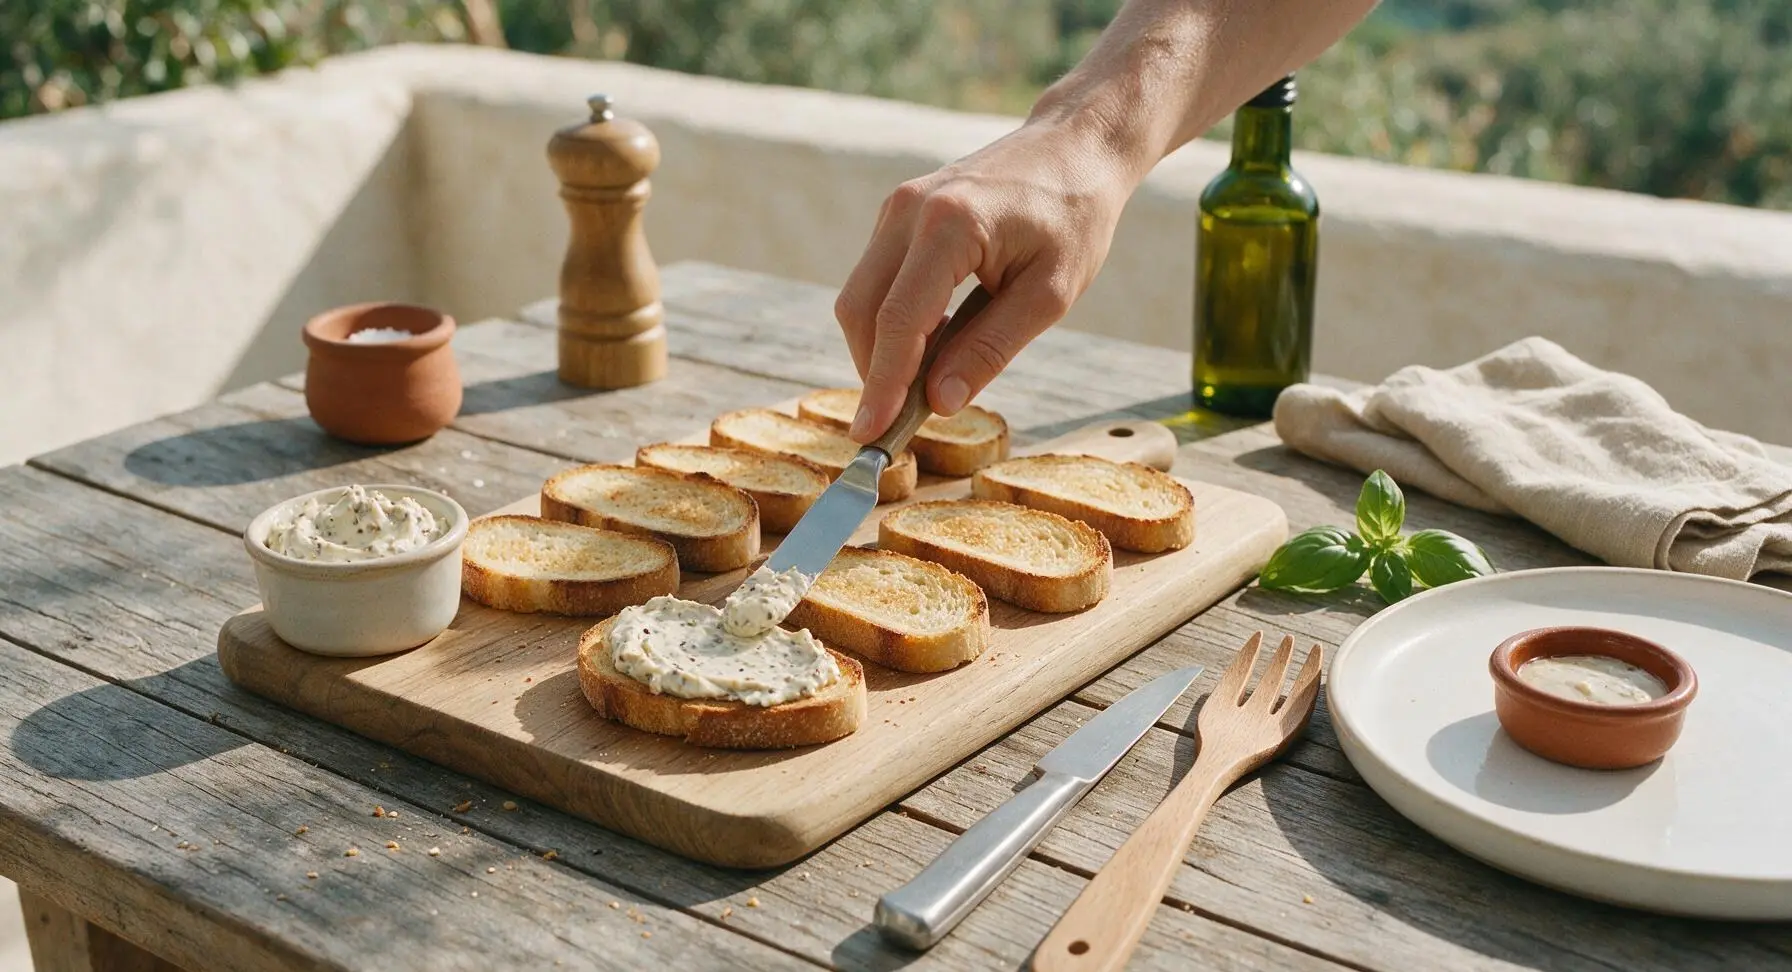
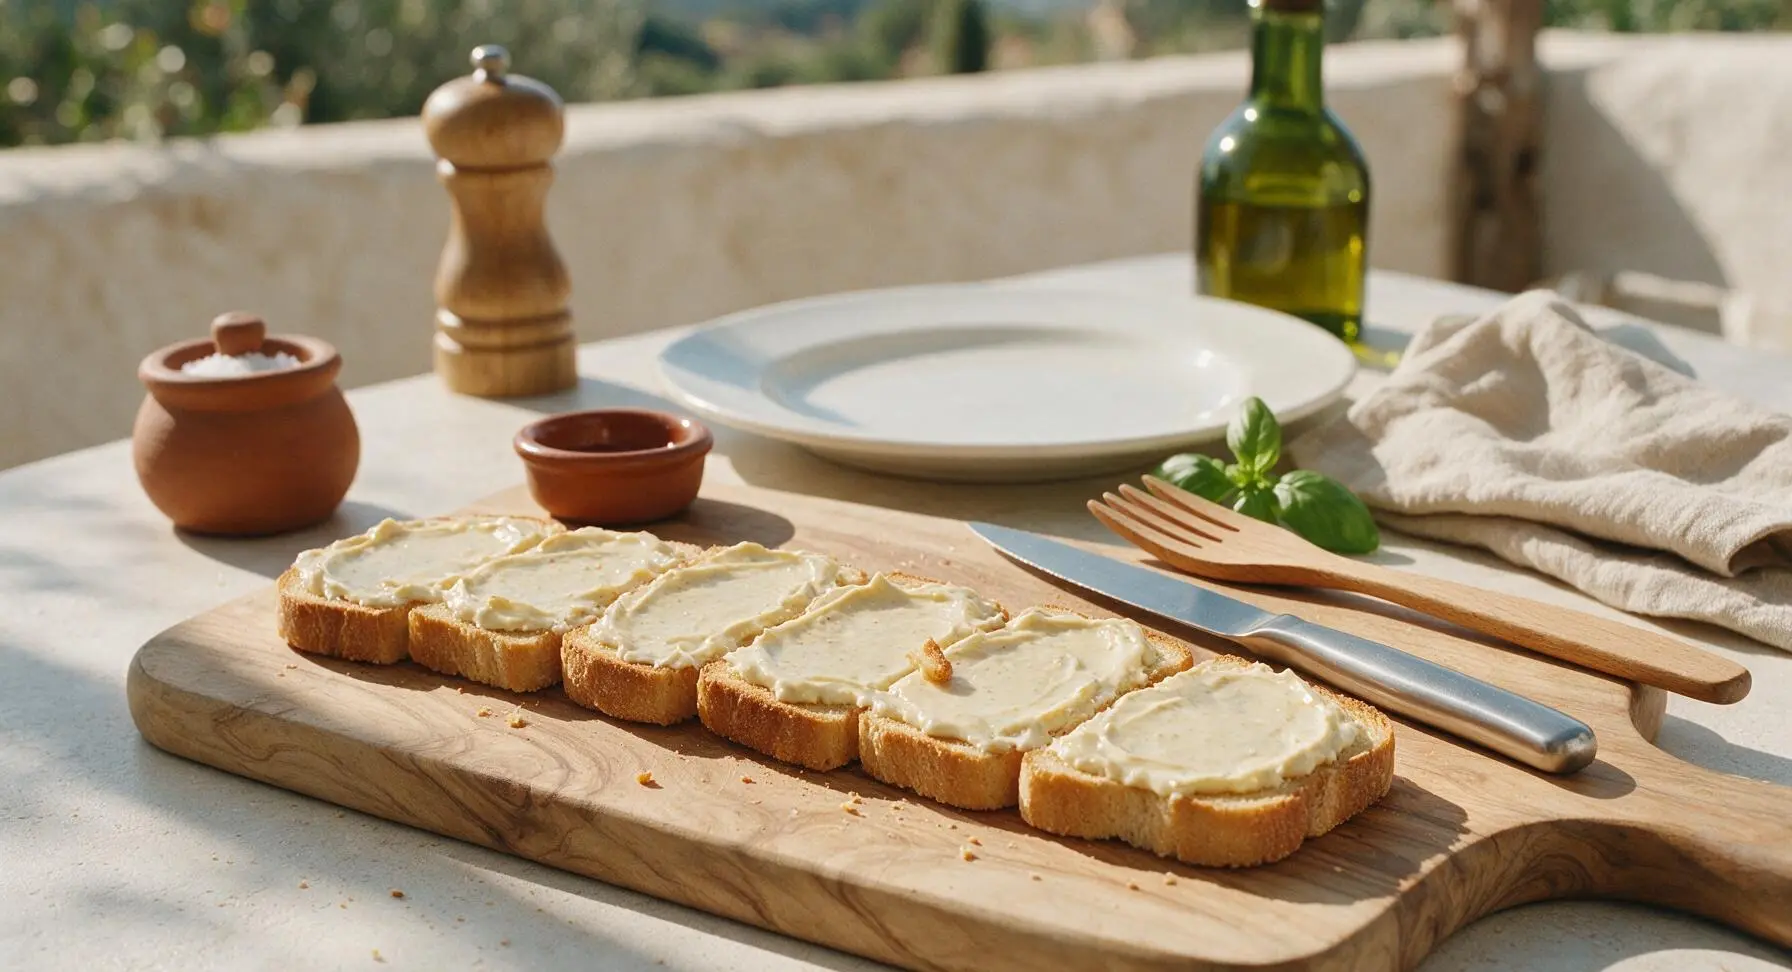
Step 3
step3:Coat Bread Slices
Step 3
step3:Coat Bread Slices
4

Layer Savory Fillings

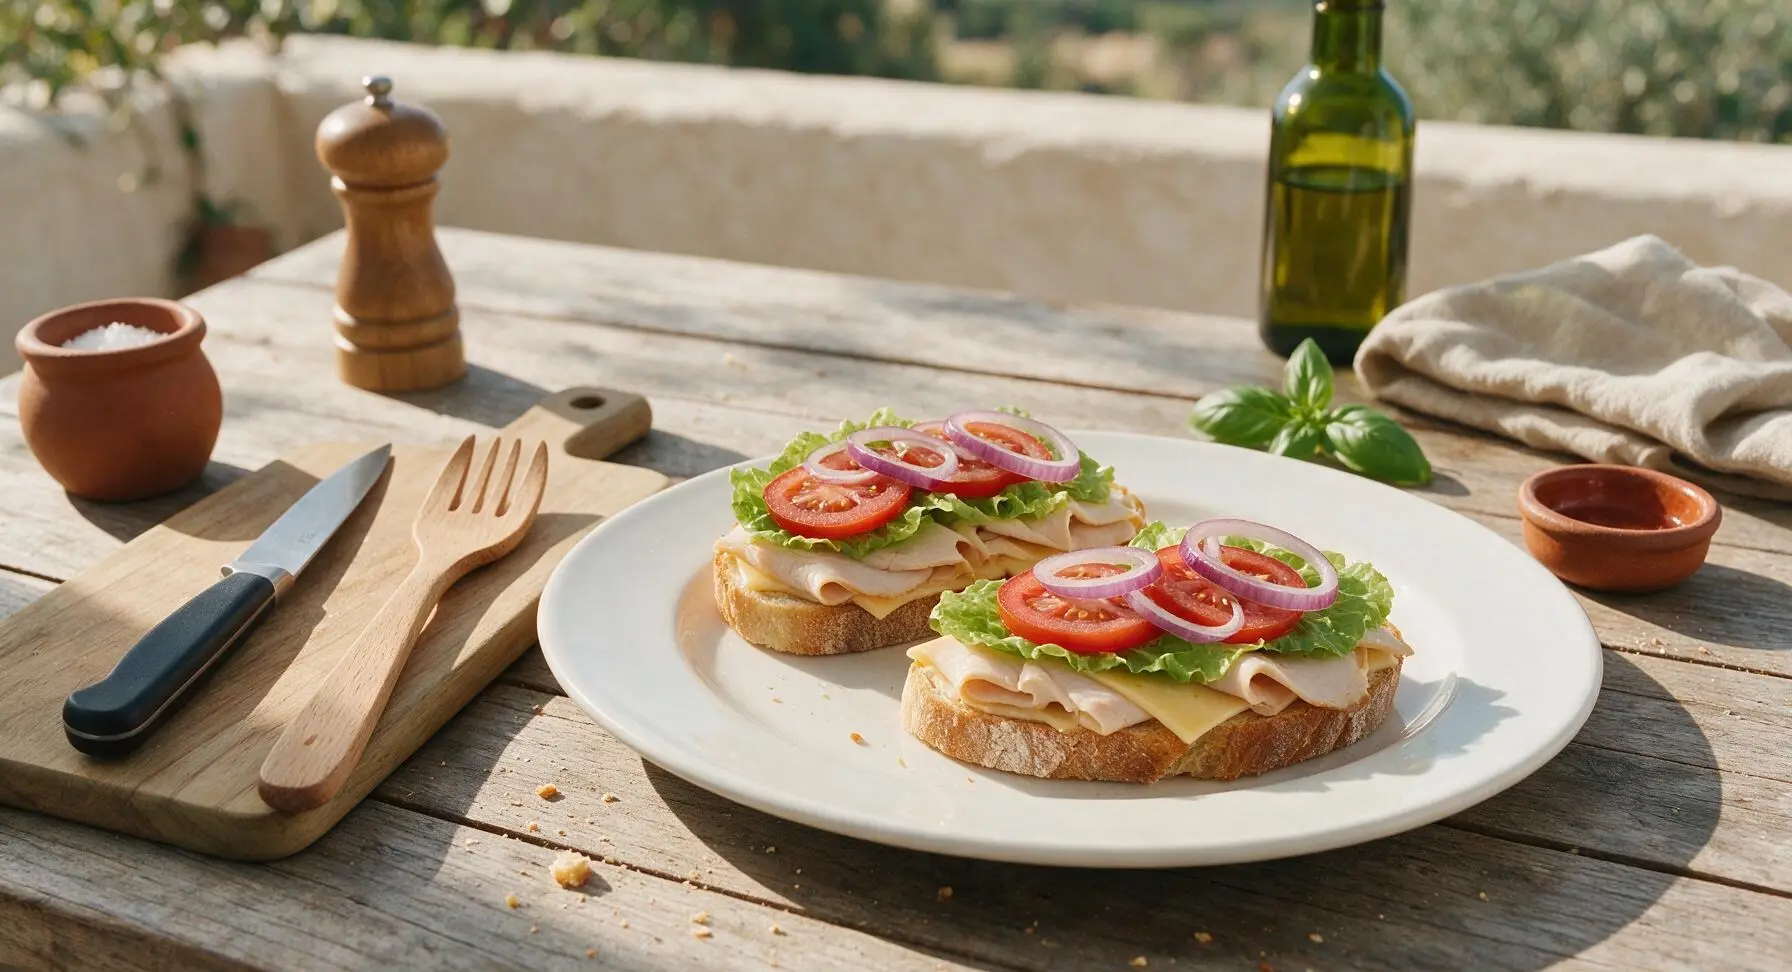
On the bottom half of the spread-coated bread slices, layer fillings in order to maintain structure: first place 1 slice of sharp cheddar directly on the spread, followed by 2 thin slices of deli turkey, folding the turkey slightly to create soft volume. Do not overstuff sandwiches, as overfilled layers will shift, fall apart, and squeeze out when cut or stored.
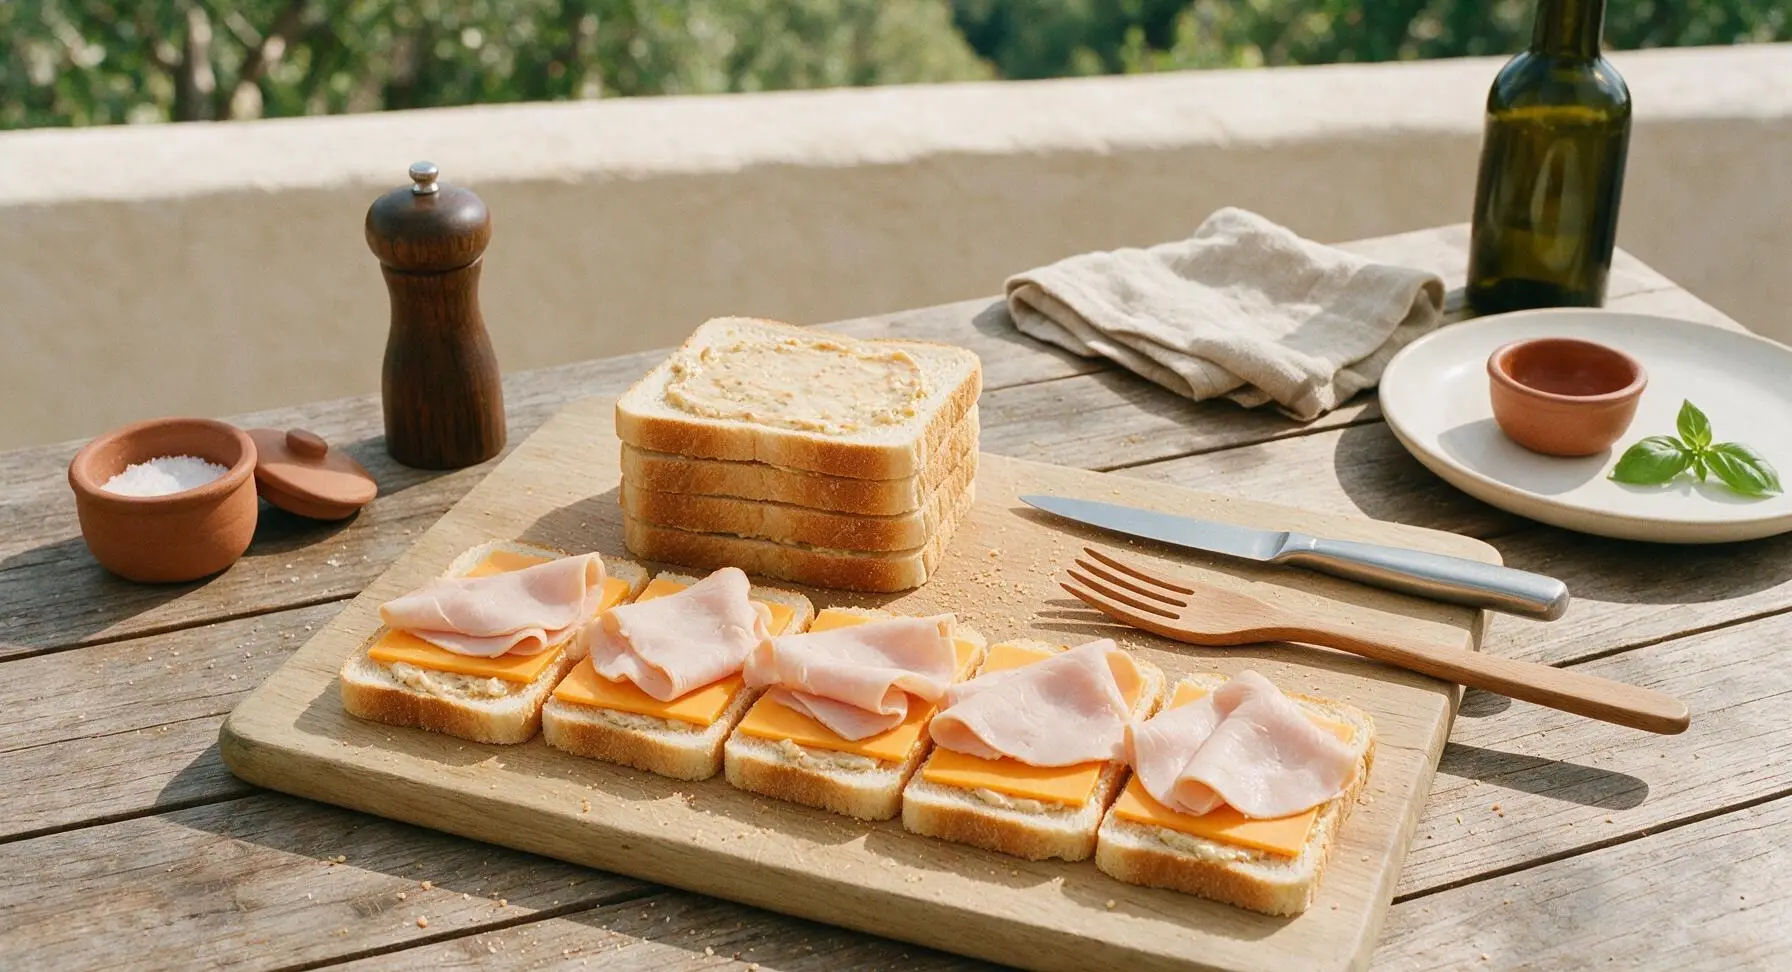
Step 4
step4:Layer Savory Fillings
5

Add Dried Veggie Toppings

Pat all vegetable components completely dry with a corner of the striped cotton kitchen towel before adding: place 1 crisp green leaf lettuce leaf on top of the turkey, followed by 2 thinly sliced, seeded Roma tomato slices, and 2 thin rings of red onion. Press toppings gently to adhere to the spread. Removing tomato seeds and patting veggies dry cuts down on excess moisture that causes soggy bread over storage time.
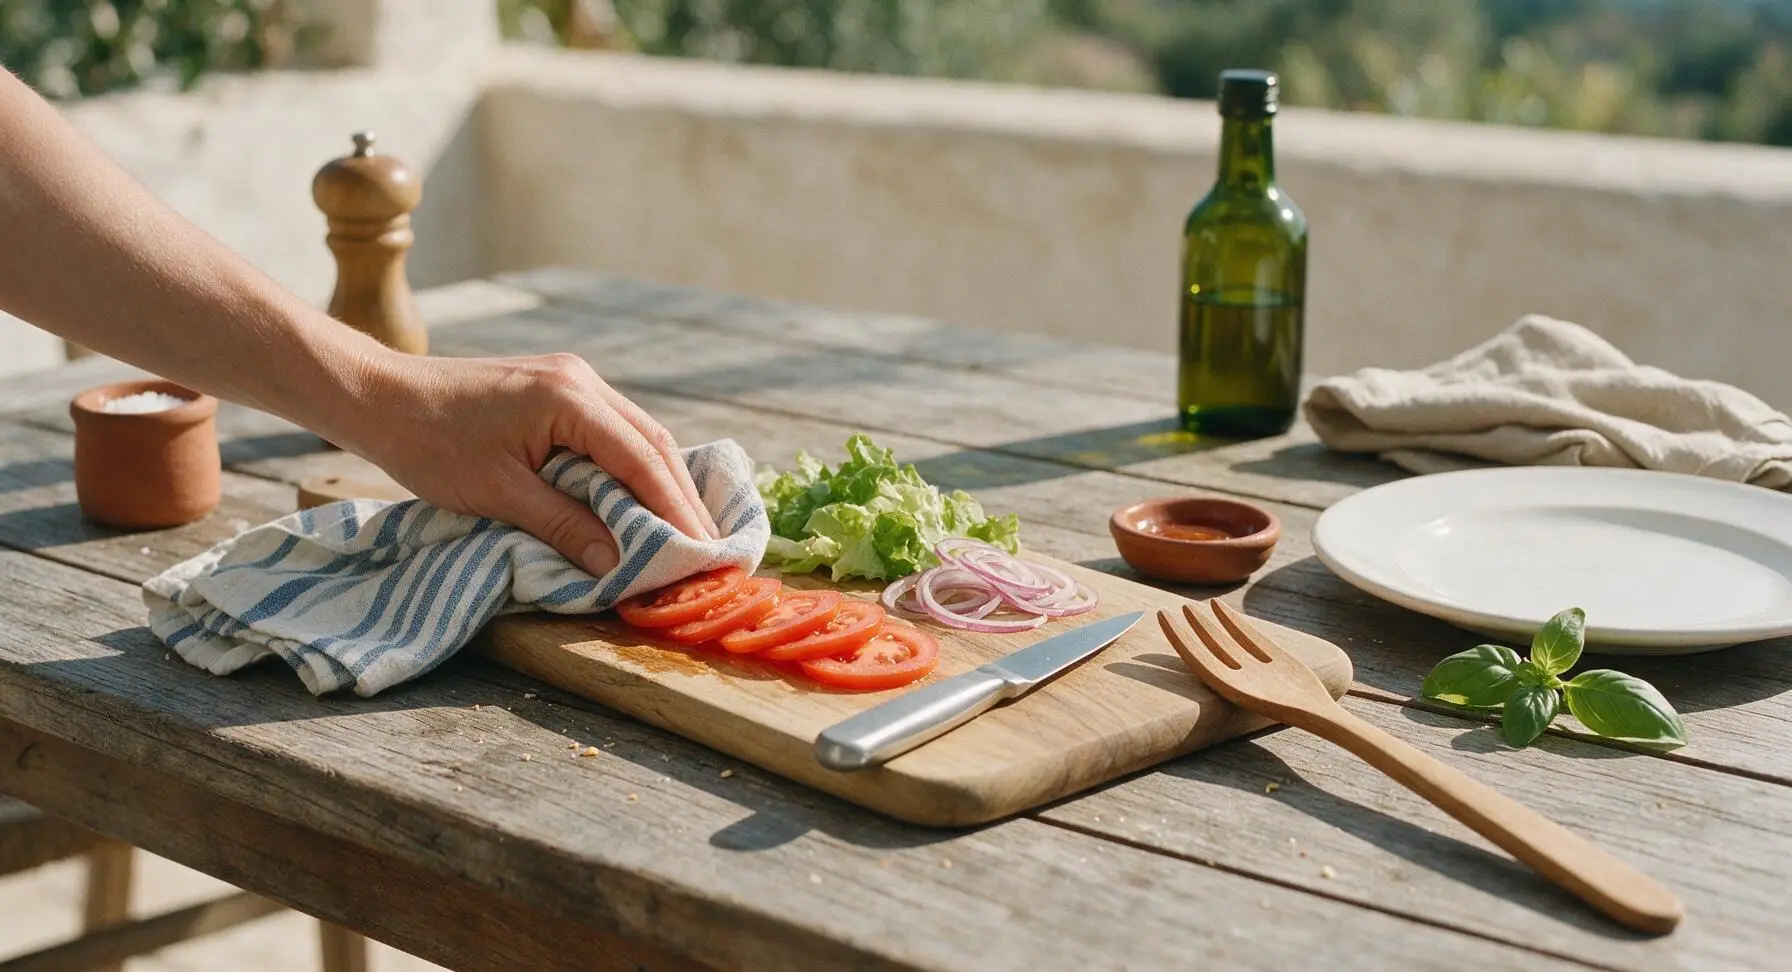
Step 5
step5:Add Dried Veggie Toppings
Step 5
step5:Add Dried Veggie Toppings
6

Seal Sandwiches Tight

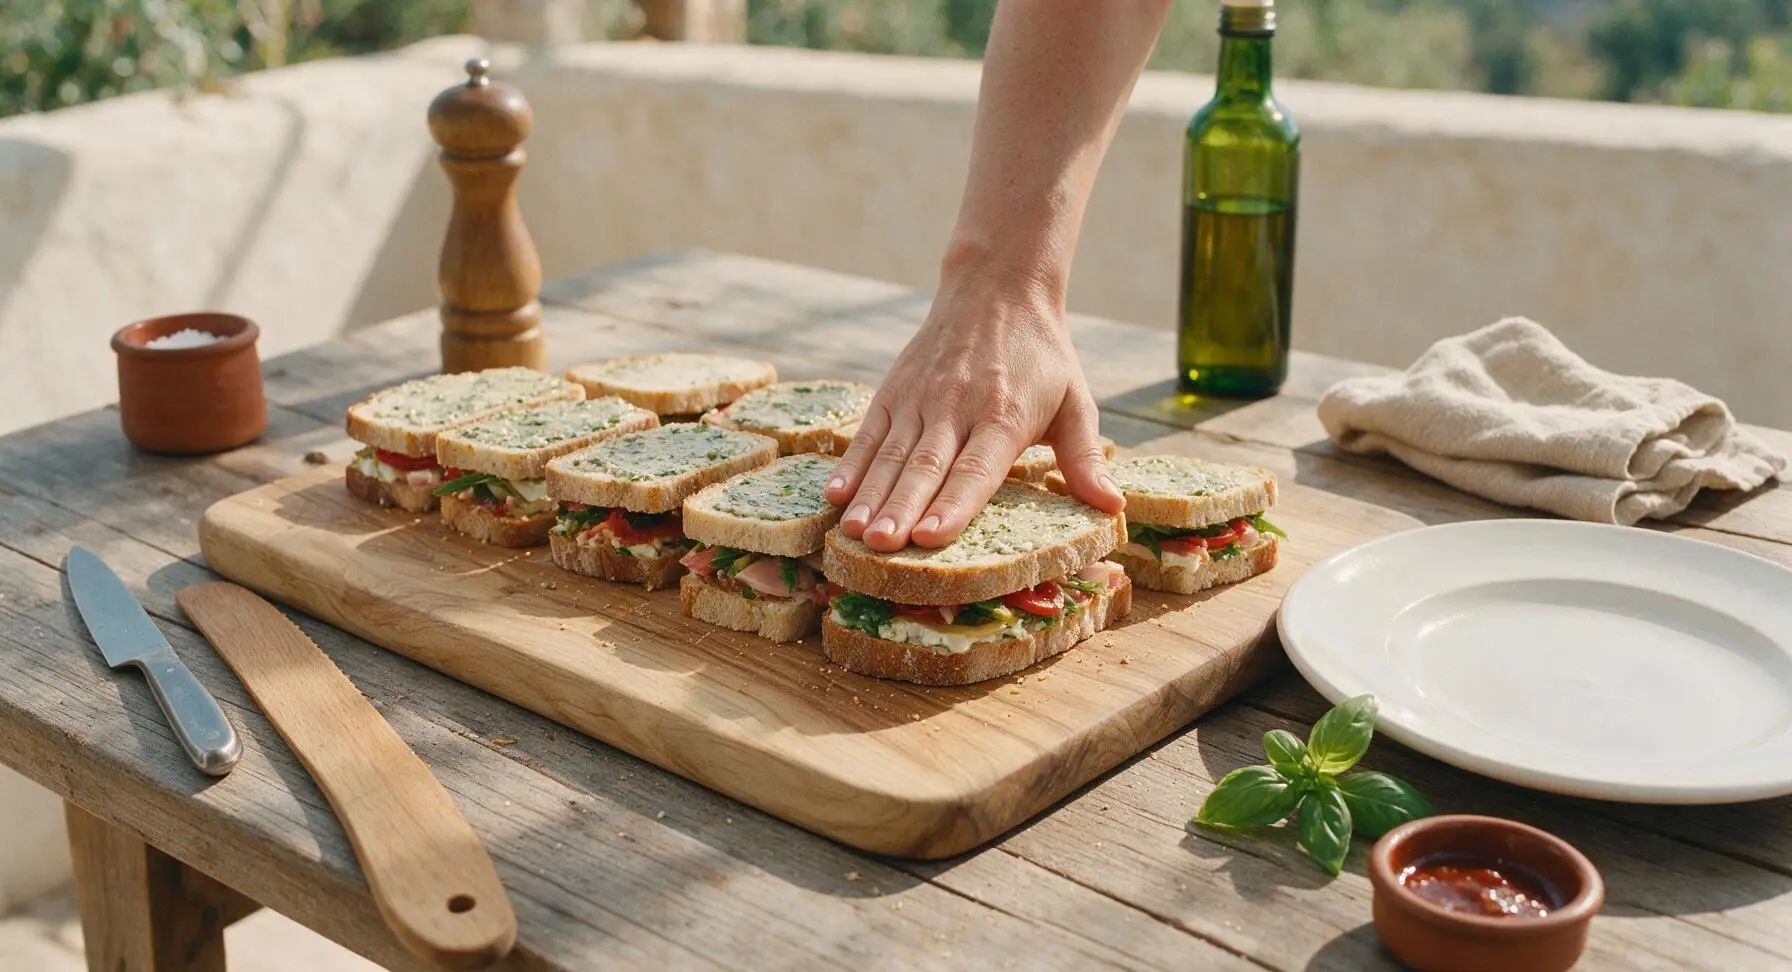
Take the reserved spread-coated top bread slices and place them spread-side down directly on top of the filled bottom slices. Press down firmly and evenly on each sandwich with the palm of your hand to compact layers slightly and help the spread adhere to fillings, creating a tight seal that prevents shifting during storage.
Step 6
step6:Seal Sandwiches Tight
7

Wrap for Chilled Storage

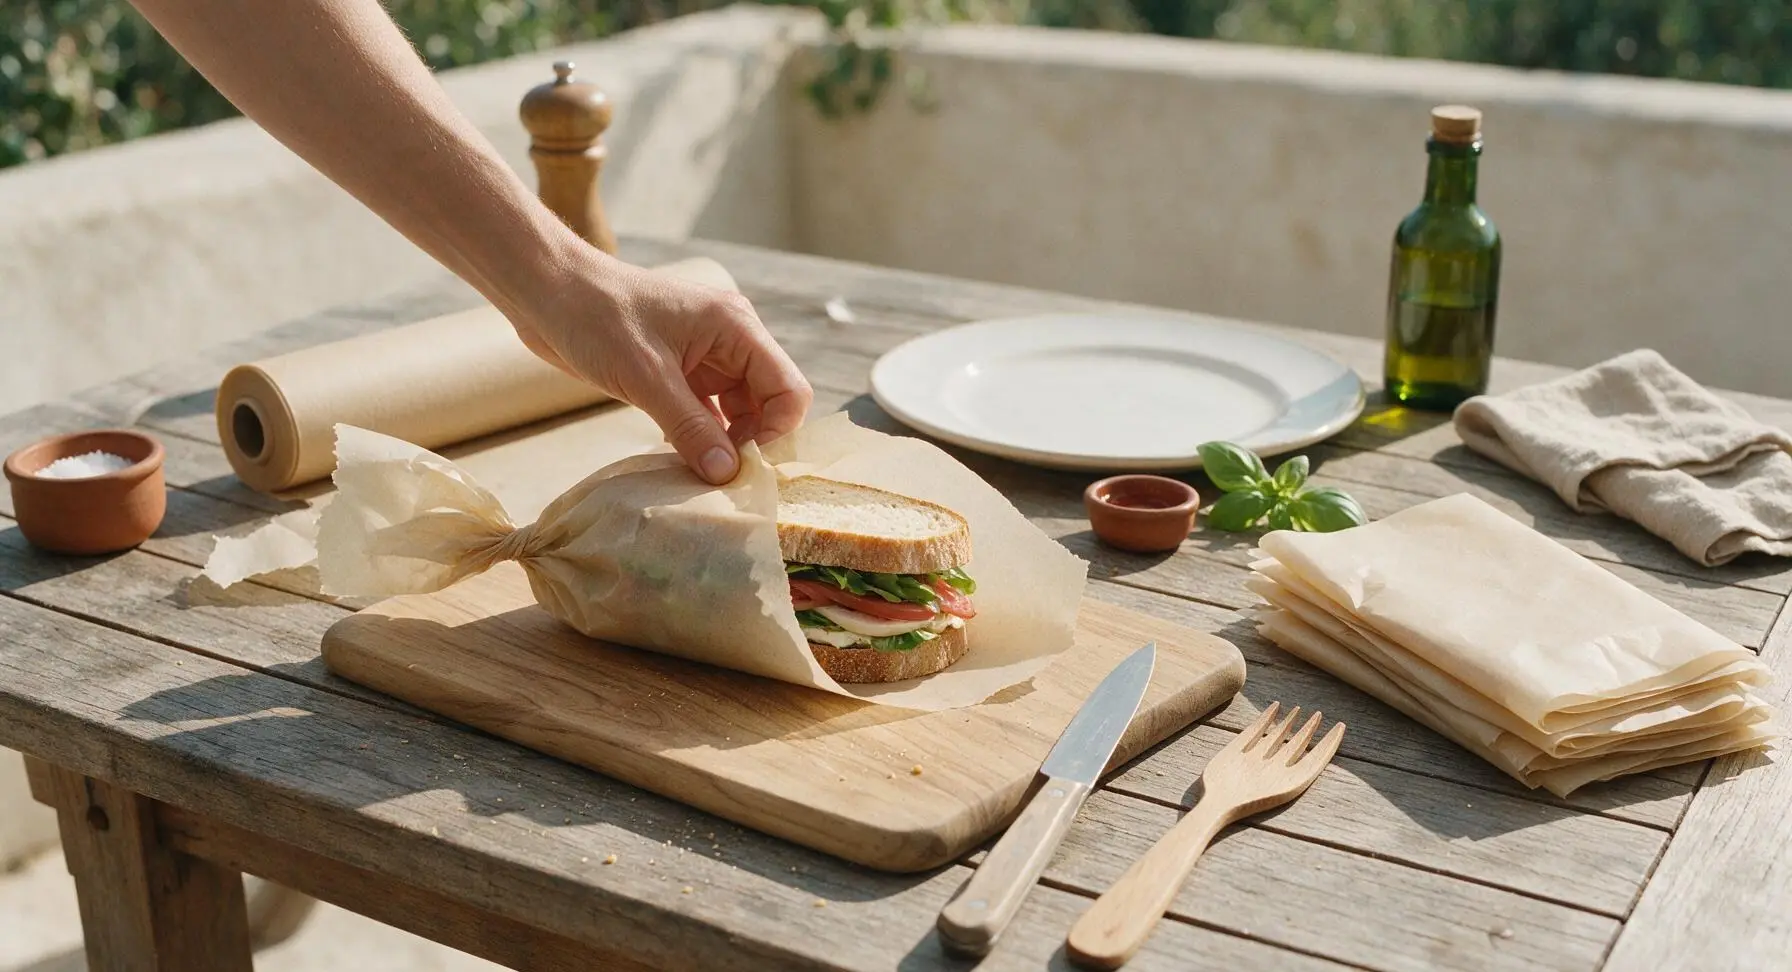
Tear 12 large sheets of unbleached parchment paper, and wrap each individual sandwich tightly in parchment, twisting the ends to seal like a candy wrapper. Place wrapped sandwiches in a large airtight storage container, and refrigerate for at least 4 hours, or up to 24 hours before serving. Chilling helps layers set and makes clean, neat cuts possible without fillings slipping out.
Step 7
step7:Wrap for Chilled Storage
8

Cut and Arrange Platter

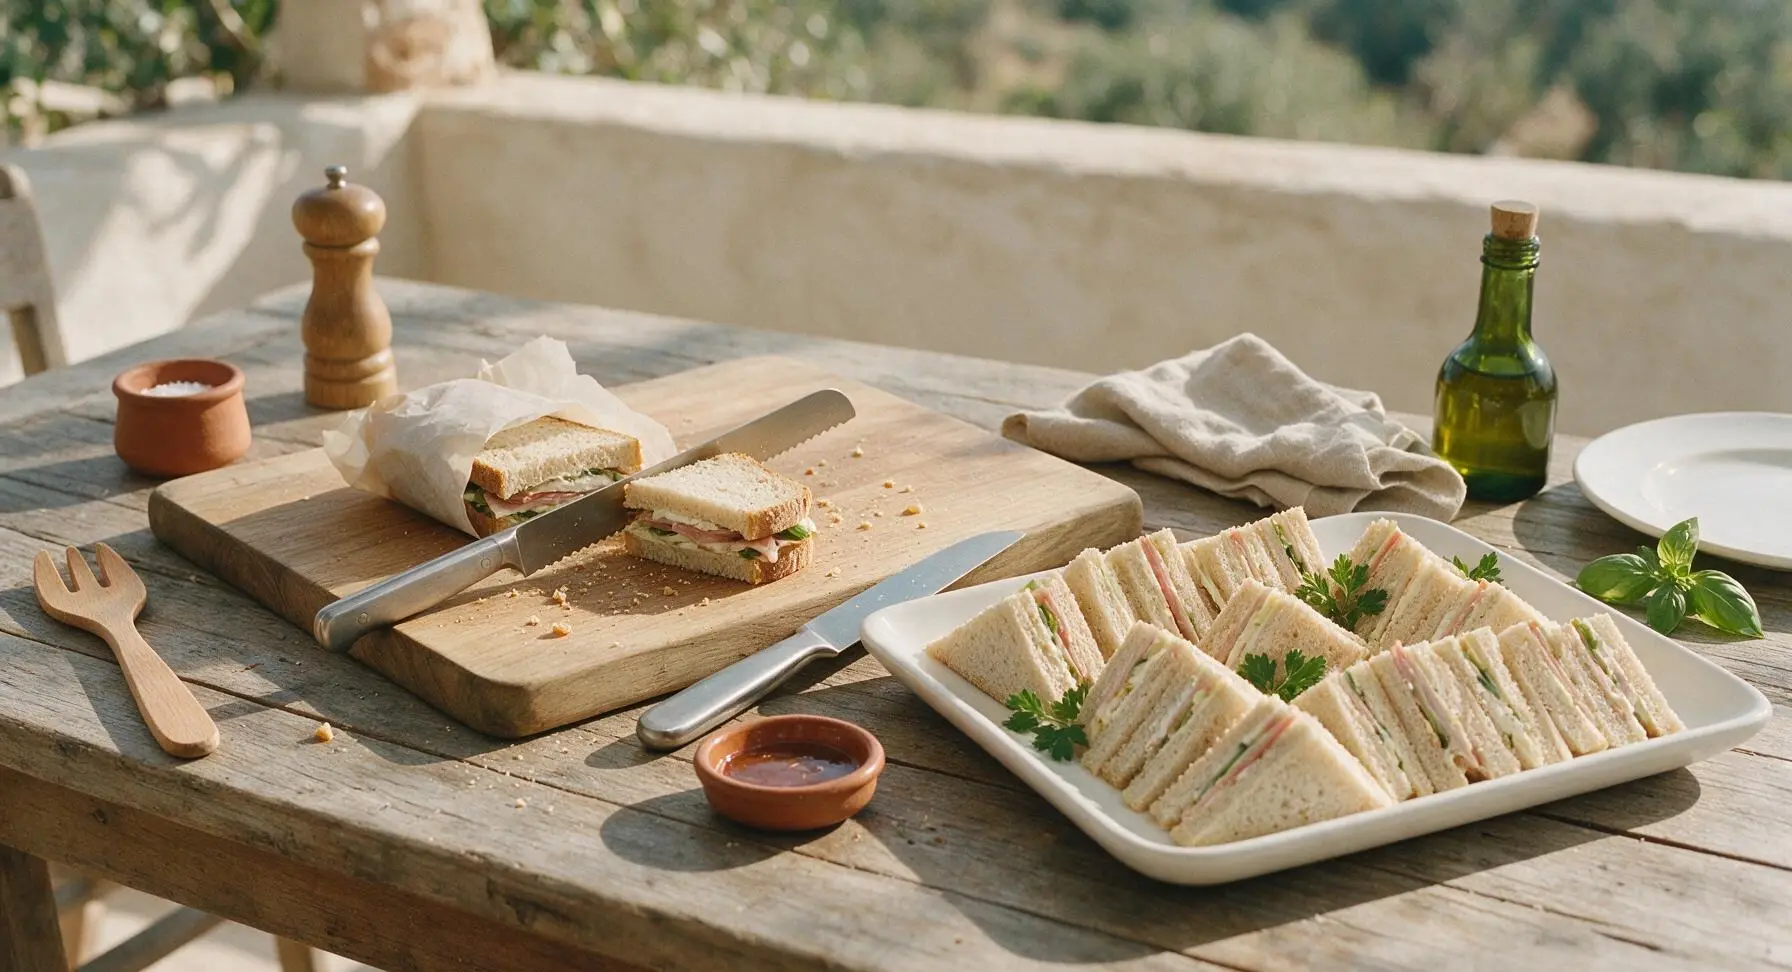
When ready to serve, unwrap chilled sandwiches and place them back on the maple cutting board. Use the serrated bread knife to cut each sandwich diagonally into two equal triangles (leave crusts intact for sturdier sandwiches, or trim for a more polished tea-sandwich look). Arrange cut sandwiches in slightly overlapping rows on the large rectangular white ceramic serving platter, tucking a few fresh parsley sprigs between stacks for a bright garnish.
Step 8
step8:Cut and Arrange Platter

Tips

1.Always scoop seeds out of tomatoes and pat all vegetables completely dry before adding to sandwiches: excess vegetable moisture is the number one cause of soggy make-ahead sandwiches, even when using a protective spread barrier.
2.Do not skip the light toasting step: toasting removes surface moisture from bread and creates a firmer crumb structure that holds up to 24 hours of refrigeration without turning soft or mushy.
3.Skip high-moisture fillings like sliced cucumber, dill pickles, or juicy heirloom tomatoes if prepping sandwiches more than 12 hours in advance: these ingredients release too much liquid over long storage, and can be added right before serving if desired.
4.Wrap each sandwich individually in parchment before refrigerating: this prevents sandwiches from sticking together, keeps bread from drying out in the cold fridge air, and makes them easy to grab and serve without mess or extra handling.


✨ You May Also Like

Lunch
🍜 United States

Creamy, salty, tangy nostalgic Midwestern sandwich pairing rich peanut butter with crisp briny dill pickles for a fast, satisfying no-cook meal.

⏱️ 5 minutesLunch ★ 4.6
Lunch
🍜 United States

Crispy, melty pressed sandwich layered with savory roast pork, ham, Swiss cheese, pickles, and tangy mustard: a beloved Cuban-American comfort classic.

⏱️ 25 minuteLunch ★ 4.9
Lunch
🍜 United States

Hearty, briny New Orleans pressed sandwich stacked with cured Italian meats, provolone, and zesty olive salad, served cold for bold, portable flavor.

⏱️ 1 hour 20Lunch ★ 4.7
Lunch
🍜 United States

A tangy, creamy Southern American staple, this no-cook cheesy sandwich is packed with sharp cheddar and sweet pimentos for a satisfying, portable bite.

⏱️ 1 hour 15Lunch ★ 4.8
Lunch
🍜 United States

Crispy Cajun-spiced fried shrimp piled on crusty French bread with tangy remoulade and fresh toppings, the iconic Louisiana street food sandwich.

⏱️ 35 minuteLunch ★ 4.4
Lunch
🍜 United States

Stacked, savory deli-style corned beef sandwich with melted Swiss, tangy mustard, and crisp griddled rye— a fast, hearty, satisfying classic.

⏱️ 15 minuteLunch ★ 4.9

make ahead cold sandwiches for a crowd:Frequently Asked Questions

1.How do I keep these make-ahead sandwiches from getting soggy overnight? ▾
The trick is using the cream cheese, mayo, and whole grain mustard mixture as a moisture barrier! Spread a thin, even layer of the combined spread across every cut side of the sourdough bread to seal the crumb before adding turkey. Wrap tightly, store flat in the fridge, and you’ll have zero soggy slices come serving time.
2.Can I use a different bread if I don’t have sourdough on hand? ▾
You can, as long as you pick a sturdy, dense-crumb loaf. Skip ultra-soft fluffy white bread, thin-sliced rye, or holey artisanal loaves that let moisture seep through. Hearty whole wheat, firm ciabatta sandwich rolls, or country white loaves work well as swaps, since their tight crumb holds up to overnight chilling.
3.What’s the absolute earliest I can assemble these sandwiches before my event? ▾
You can fully assemble them a full 24 hours ahead, which is the sweet spot for zero last-minute event stress. Don’t prep them earlier than that: even with the spread moisture barrier, deli turkey will release small amounts of excess brine after 24 hours, and the sourdough will start to stale slightly.
4.How long can these sandwiches sit out at room temperature while serving a crowd? ▾
For food safety, don’t let them sit out for more than 2 hours at standard room temperature, or 1 hour if your event is outside and temps are above 90°F. Keep the serving platter nested on a bed of crushed ice, or store backup batches in a cooler with ice packs to top up as needed.
5.Can I swap the roasted turkey for other deli fillings to suit guest preferences? ▾
Absolutely! The creamy spread base pairs perfectly with sliced deli ham, roast beef, or even plant-based deli slices. Just be sure to pat any extra brine or oil off of sliced cured meats like salami with a paper towel before layering, to avoid excess moisture that leads to soggy bread.
6.What’s the best way to wrap the sandwiches to hold their shape overnight? ▾
Wrap each assembled sandwich (either whole loaves or pre-cut individual portions) tightly in two layers of plastic wrap, pressing gently to compress the layers just enough so fillings don’t slide. Stack them flat on a baking sheet in the fridge, never propped upright, to prevent filling from oozing out.
7.Can I add lettuce, tomato, or pickles to the sandwiches when I assemble them ahead? ▾
Skip adding those high-moisture add-ins to the pre-assembled sandwiches, as they’ll leak water and turn bread soggy overnight. Instead, set out small bowls of shredded lettuce, sliced tomato, pickles, and other veggie toppings on the side so guests can add them right before eating.
8.How many people will this sandwich recipe feed, and how should I portion them? ▾
One standard 1-pound sourdough loaf, paired with 1.5 pounds of sliced turkey and the creamy spread, makes 12 hearty half-sandwiches, enough for 6 to 8 people as a main dish. Cut them diagonally right before serving, and secure each with a toothpick to keep layers from sliding as guests grab them.

Comments (17)

2 days ago

OMG these were an absolute game changer for my son’s weekend soccer tournament snack table! I prepped all 24 sandwiches the night before, wrapped them tight in parchment, and they stayed perfectly fresh with no soggy bread at all. All the parents were asking for the recipe, even the picky 8 year olds ate every bite. 10/10 will make again for every team event!

yesterday

Wait did you use regular sandwich bread or the crusty kind? I’m making these for our tailgate next weekend and don’t want sogginess!

yesterday

So glad these were a hit for the team! Parchment wrap is key to locking in freshness without sogginess, and if you’re extra worried, you can spread a thin layer of cream cheese on the bread slices before adding fillings to create a moisture barrier. Works like a charm!

1 week ago

SO easy to throw together on Sunday for work lunches all week! I did half turkey avocado, half ham and cheese, and they held up perfectly in the fridge for 4 days. No sad soggy office sandwiches for me this week, total win.

5 days ago

Love that you mixed up the fillings for variety! So glad these made your work week lunch routine easier, that’s exactly what this recipe is for.

yesterday

Made these for our church potluck yesterday and the platter was empty in 10 minutes flat. I added a little pesto mayo to a third of them for the adults and kept the rest plain cheese and turkey for the kids, perfect crowd pleaser. Worth every minute of prep the night before so I didn’t have to rush around before the event.

30 minutes ago

Wait the cook time says 5 minutes? That seems too good to be true, did anyone actually pull this off that fast? I’m hosting a book club this weekend and need super low lift options.

5 minutes ago

Girl it’s actually even faster if you get the pre-sliced meat and cheese from the deli counter! I made 18 sandwiches in 4 minutes flat last week for my kid’s playdate, no joke.

1 week ago

Took these on our day hike last weekend and they were perfect! No need to keep the cooler super cold, they tasted fresh even after 3 hours in the pack. Way better than squished granola bars for a trail lunch. Only note: I skipped the tomato so they wouldn’t get mushy, worked great.

5 days ago

Great call skipping the tomato! I never thought of that for hike snacks, I usually end up with soggy messes halfway through the trail. Definitely stealing that tip.

5 days ago

Smart swap! Tomatoes release a ton of moisture as they sit, so leaving them out (or packing them on the side to add right before eating) is a perfect move for make-ahead meals of any kind.

3 days ago

My kids are the worst when it comes to sandwiches, they usually complain about crusts or soggy bread, but they ate these for dinner last night without a single fuss! I cut them into little triangles with cookie cutters like the recipe suggested and they thought it was the coolest thing ever. Total mom win, wait—dad win.

2 weeks ago

I cater small office events and I’ve been testing make-ahead sandwich recipes for months, this one is going straight into my regular rotation. The portion guide for a crowd is spot on, no waste, no running out, perfect.

1 week ago

That means so much coming from someone who plans events for a living! The portion guide was one of the trickiest parts to nail, so I’m thrilled it worked out for your office gigs.

5 days ago

Does anyone know if these hold up with gluten free bread? I’m hosting a baby shower next month and have a few guests who are GF, don’t want to make separate food if I don’t have to!

3 days ago

I used my favorite sourdough GF bread for these last month for my daughter’s birthday and it worked great! Just make sure you don’t overstuff them, GF bread can get a little crumbly if it’s too full.

3 days ago

Great question! As Jess mentioned, sturdy GF sourdough works perfectly for these, just skip any super soft, thin sliced GF breads that tend to get gummy when cold. You can also assemble the GF ones first and label them for your guests to make it easy!

2 days ago

Made these for my dorm floor potluck and spent less than $15 total on ingredients for 20 sandwiches. Everyone thought I bought them from the campus deli, lmao. No cooking, no fancy equipment, perfect for people who don’t even have a working kitchen in their dorm. 10/10.

1 week ago

We made these for our camping trip last weekend, stored them in the cooler, and they were perfect for quick lunches between hikes and fishing. No mess, no prep at the campsite, which is exactly what we want when we’re trying to relax.

5 days ago

Camping lunches are exactly where this recipe shines! No prep at the site means more time enjoying the outdoors, love that you guys took these along.

2 hours ago

Wait has anyone tried making these with Hawaiian rolls instead of regular sandwich bread? I feel like the sweet-savory combo would slap for a brunch spread.

30 minutes ago

OH my god I did that last month for a baby shower brunch and it was chef’s kiss. Brushed the tops with a little garlic butter too, people went back for thirds. Highly recommend.

3 days ago

Made these for my 3rd grade class end of year party and let me tell you, 22 8 and 9 year olds can eat a LOT of sandwiches. I followed the crowd size guide exactly and had exactly 3 left over, which I ate for my lunch after the kids left, win win. No sogginess even after sitting out for an hour during the party.

2 days ago

I remember how chaotic those end of year parties are! Any recipe that lets you prep ahead so you don’t have to be running around the classroom the whole time is a keeper in my book. Adding this to my list for when I volunteer at school events next year.

2 days ago

That makes my day to hear! The crowd portion guide is calibrated for even the hungriest groups of kids, so I’m stoked it worked out perfectly for your class party. Enjoy those leftover sandwiches, you earned them!

5 days ago

Made these for the Sunday football watch party at my place, set out a little topping bar on the side (pickles, extra mayo, hot sauce, mustard) so people could customize after grabbing a sandwich. Worked perfect, I didn’t miss a single play because I wasn’t stuck in the kitchen making food the whole game.

5 minutes ago

I’m a super new cook, like I burn toast half the time, and these were so easy I didn’t mess them up at all! My roommate said they were better than the sub shop down the street, which is the highest compliment I’ve ever gotten on anything I’ve made. Thank you for such a straightforward no-fuss recipe!

just now

That’s what we love to hear! Recipes don’t have to be complicated to be delicious, and I’m so proud you pulled these off and wowed your roommate. Can’t wait to hear what you make next!

2 weeks ago

I made a vegan version of these for my friend’s birthday picnic, used hummus as the spread, vegan turkey slices, cucumber, shredded carrot, and spinach, and even the non-vegan folks were grabbing seconds! So versatile, you can really swap in any fillings you like and it works.

1 week ago

Ooh the hummus spread idea is genius! I usually use vegan mayo but hummus would add so much more flavor, and it’s thick enough to keep the bread from getting soggy too. Trying this for my next park meetup.

1 week ago

Love that vegan swap! Hummus is such a great moisture barrier for make-ahead sandwiches, and the veggie fillings you chose sound so fresh and tasty. So glad these worked for your picnic!

yesterday

Between school drop offs, work, and after school practices I barely have time to make dinner some nights, so these pre-made sandwiches have been a total lifesaver for busy weeknights. I make a big batch on Sunday and grab them on the go when we’re running between activities, the kids never complain.

yesterday

As a parent, that make-ahead convenience is everything! So glad these are taking a little stress out of your busy weeknights, that’s exactly why I created this recipe.

3 days ago

Made these for my teen’s 16th birthday party where 30 kids showed up, and I kid you not, every single sandwich was gone before we even cut the cake. I did a mix of classic ham & cheese, turkey & swiss, and pb&j for the kids who don’t like deli meat, and it was the perfect low-effort spread that didn’t break the bank. Will absolutely be using this recipe for every big family gathering from now on.



