
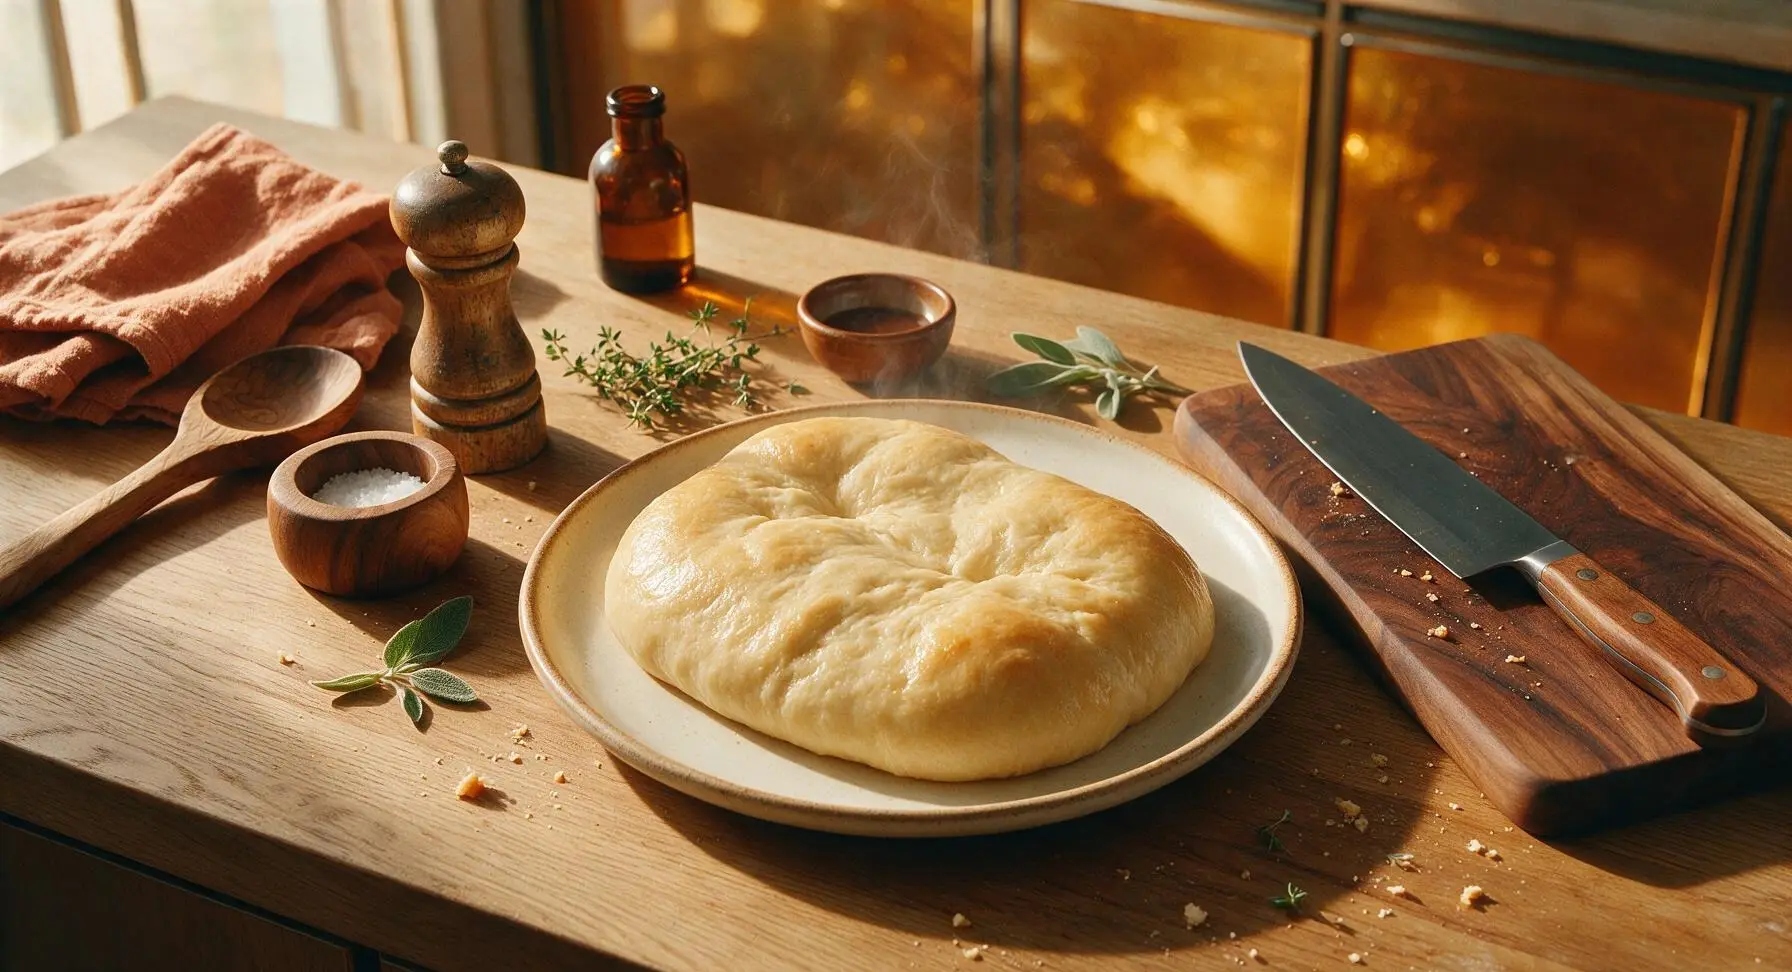
wiener wrap dough

title 1
wiener wrap dough
⏱️ cook time 18 minutes
🍽️ servings 4
⚡ Difficulty easy

intro

Soft, pillowy, slightly buttery yeast dough purpose-built for wrapping juicy wieners, baking up golden and glossy for satisfying handheld, crowd-pleasing snacks.

Ingredients
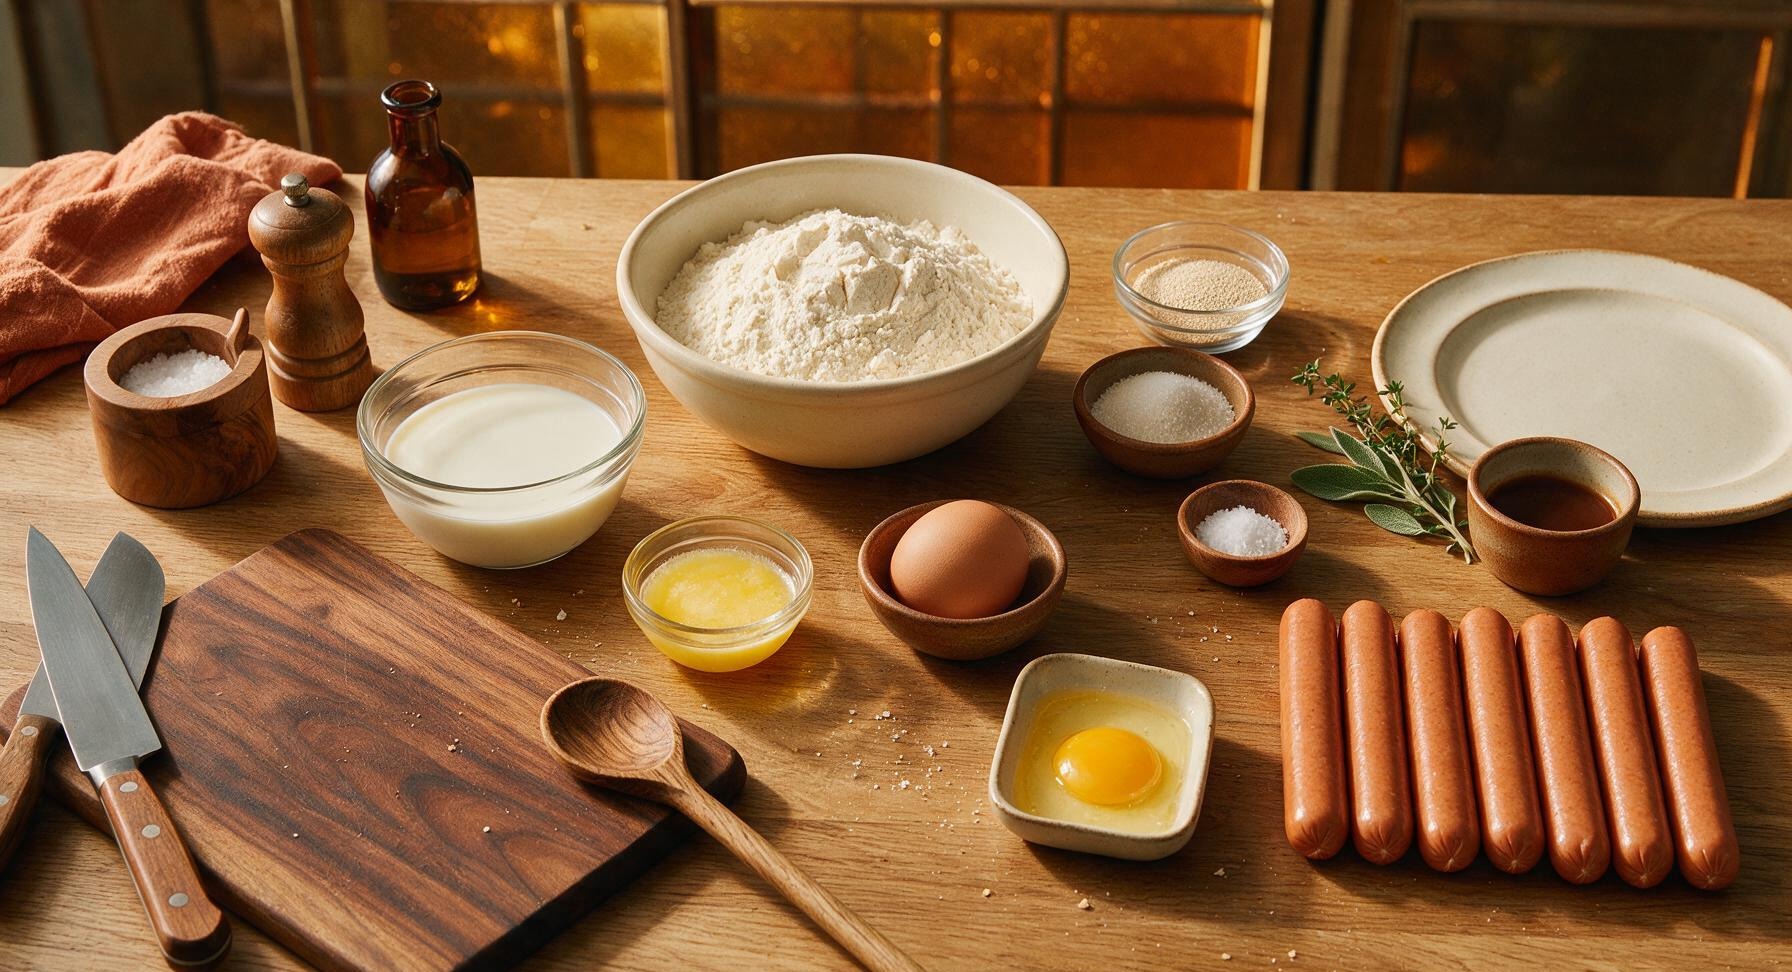
All-purpose flour, spooned and leveled 320g (approx 2.5 cups)
Instant dry yeast 7g (2 1/4 tsp, 1 standard packet)
Warm whole milk (105-110°F / 40-43°C) 180ml (3/4 cup)
Unsalted butter, melted and cooled slightly 30g (2 tbsp)
Granulated sugar 15g (1 tbsp)
Fine sea salt 5g (1 tsp)
Large egg, room temperature (for dough) 1 (50g)
Large egg, beaten with 1 tsp cold water (for egg wash) 1
Standard beef wieners 8 (400g total)

Steps

1

Activate the Yeast

Pour the warm whole milk (105-110°F / 40-43°C, warm to the touch but not stinging hot) into the medium clear glass mixing bowl. Stir in the granulated sugar until fully dissolved with the dough whisk, then sprinkle the instant yeast evenly over the milk surface. Let rest for 5 minutes, until the mixture forms a foamy, frothy tan layer on top, indicating the yeast is active. If no foam forms after 5 minutes, your yeast is expired and should be replaced to avoid dense, unrisen dough.
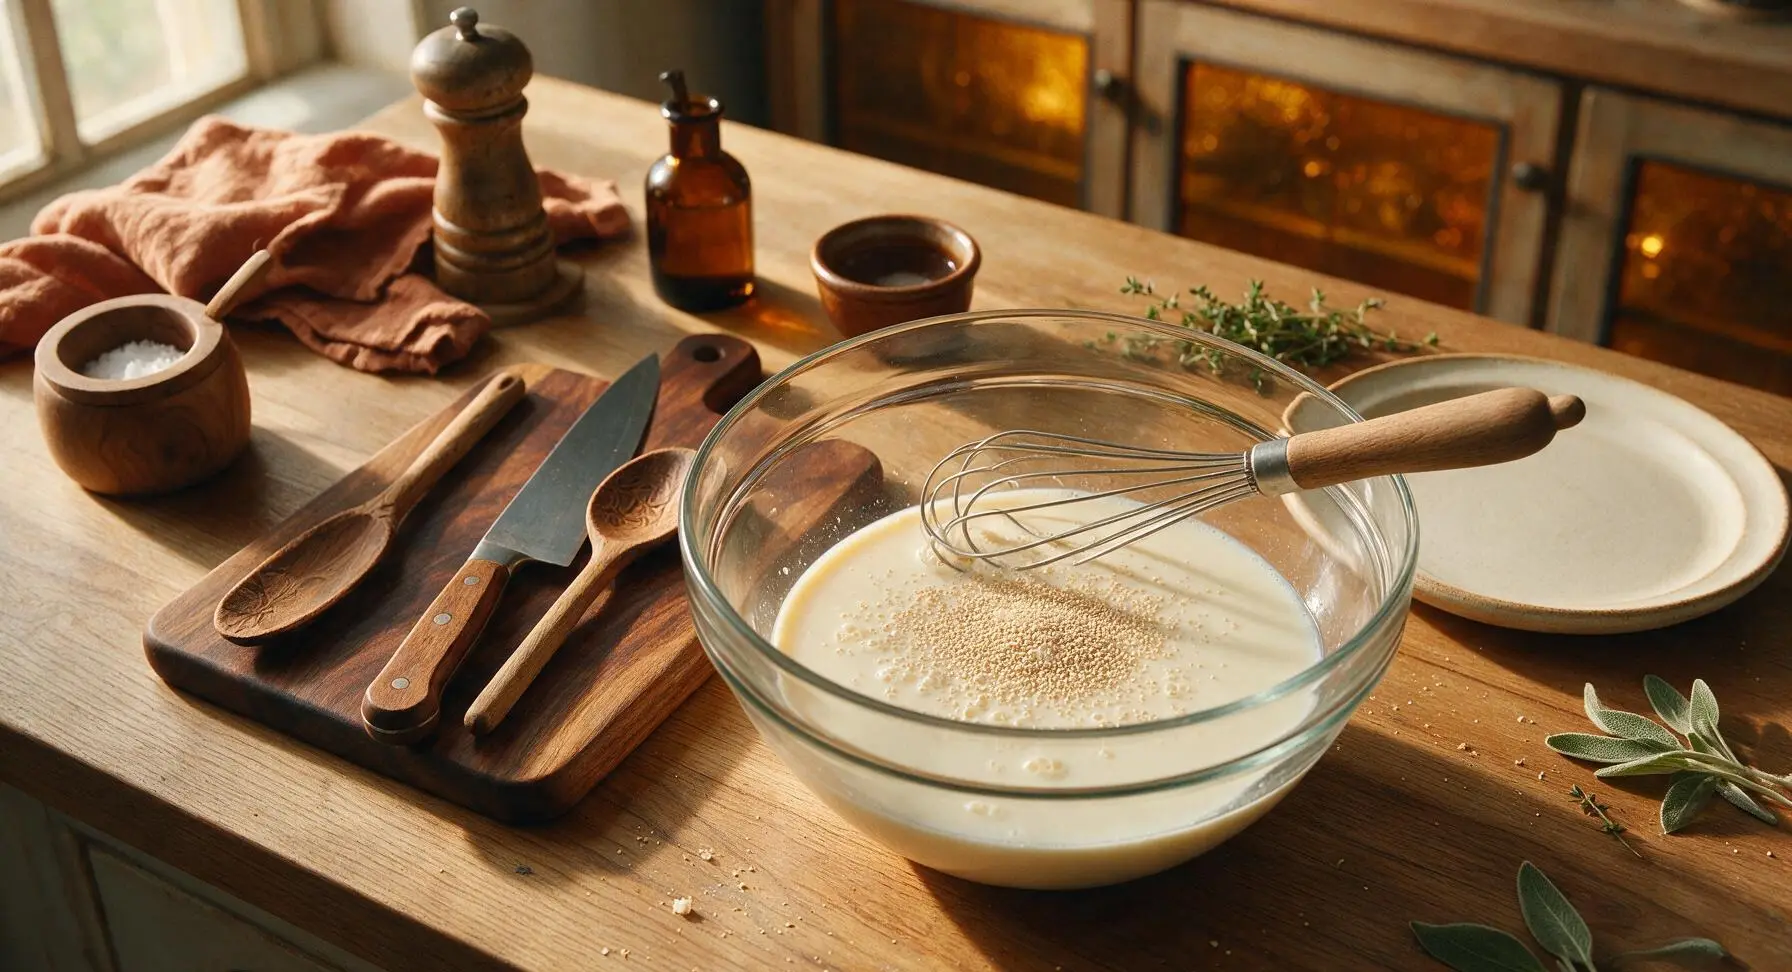
Step 1
step1:Activate the Yeast
2

Mix Dough Base

Add the room-temperature dough egg, melted cooled butter, and fine sea salt to the foamy yeast mixture, stirring with the dough whisk until fully combined into a smooth pale yellow liquid. Gradually add the all-purpose flour, 1/2 cup at a time, stirring continuously until a shaggy, sticky mass forms that pulls away from the sides of the bowl, with no dry flour pockets remaining at the bowl bottom.
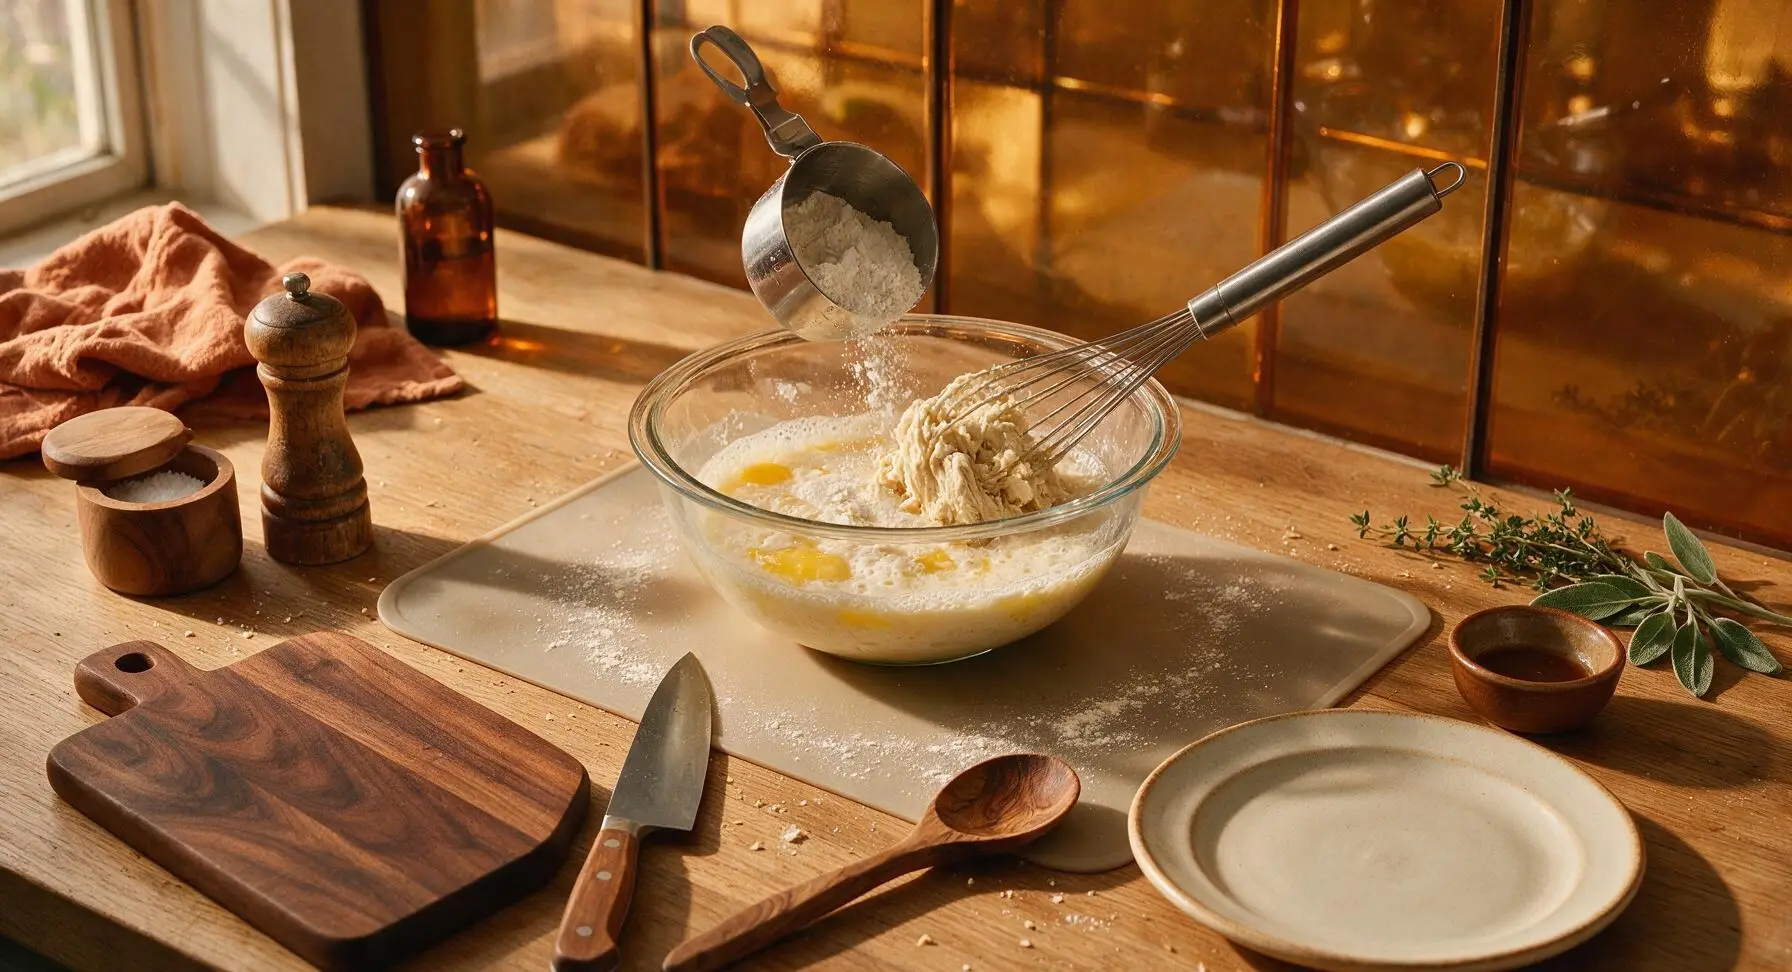
Step 2
step2:Mix Dough Base
3

Knead Until Smooth

Turn the shaggy dough out onto the center of the lightly floured silicone baking mat. Use your hands to knead the dough for 6-8 minutes, folding the dough over itself and pushing forward with the heel of your hand repeatedly, until the dough is smooth, soft, and elastic, and springs back slowly when poked with a finger. Use the sky blue silicone dough scraper to gather any stray dough bits from the mat as you knead to avoid waste.
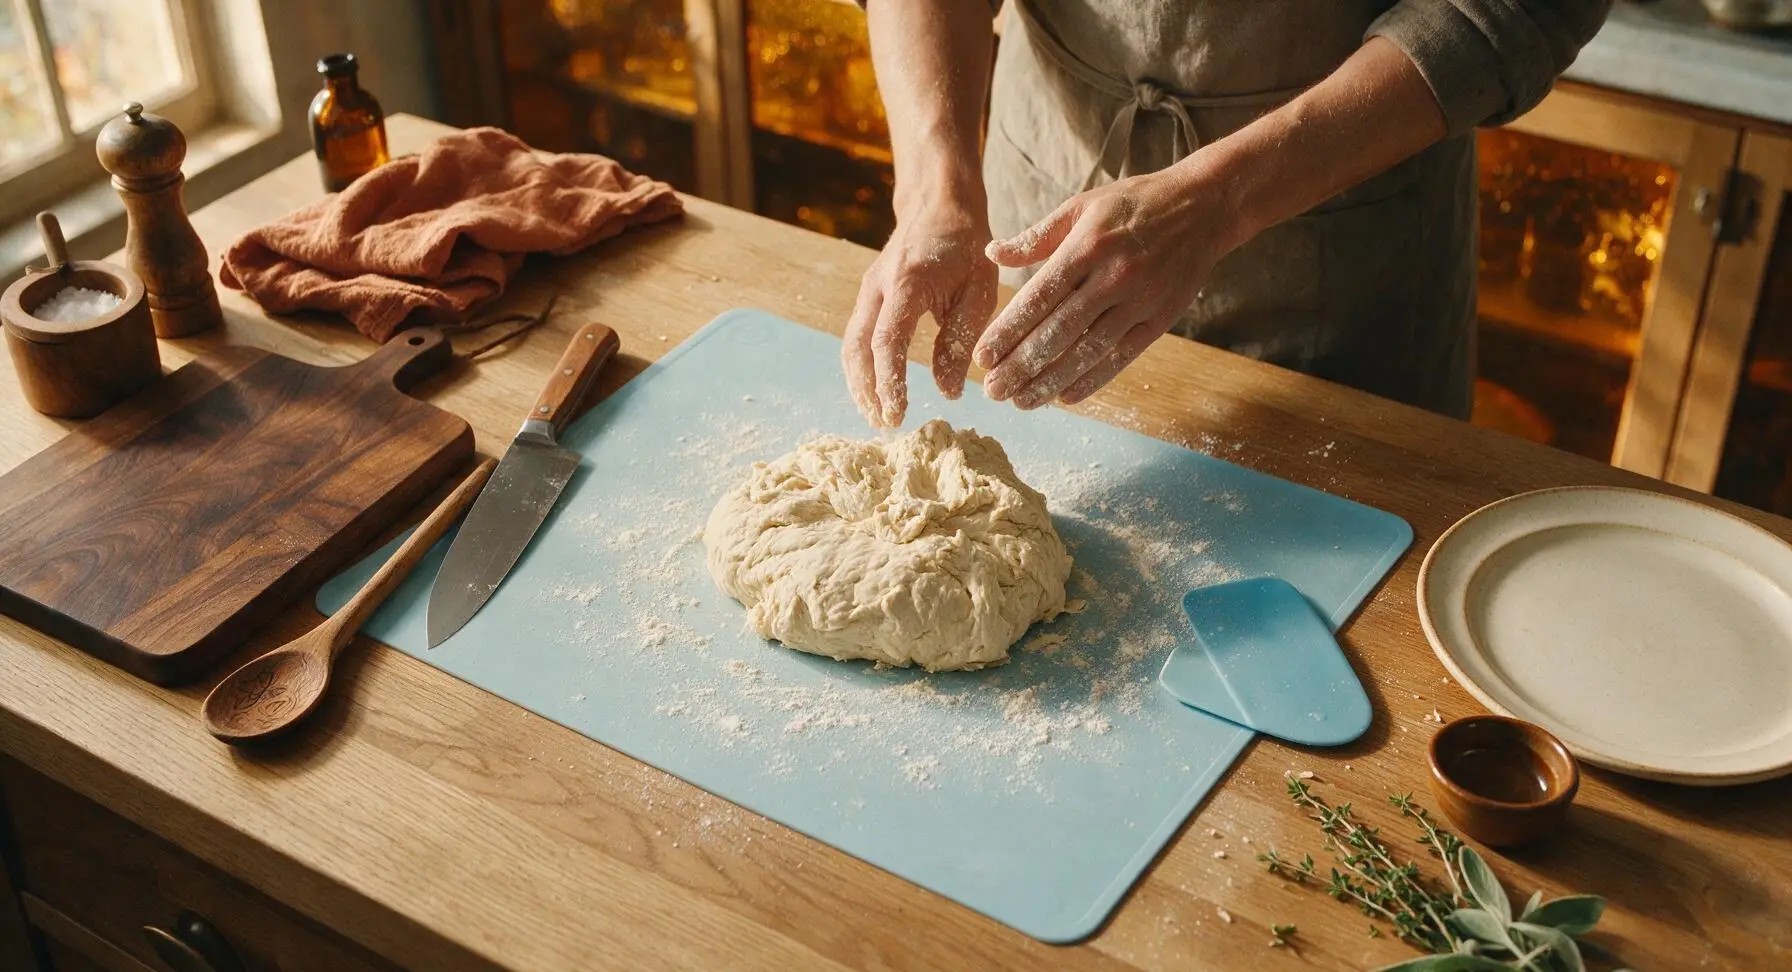
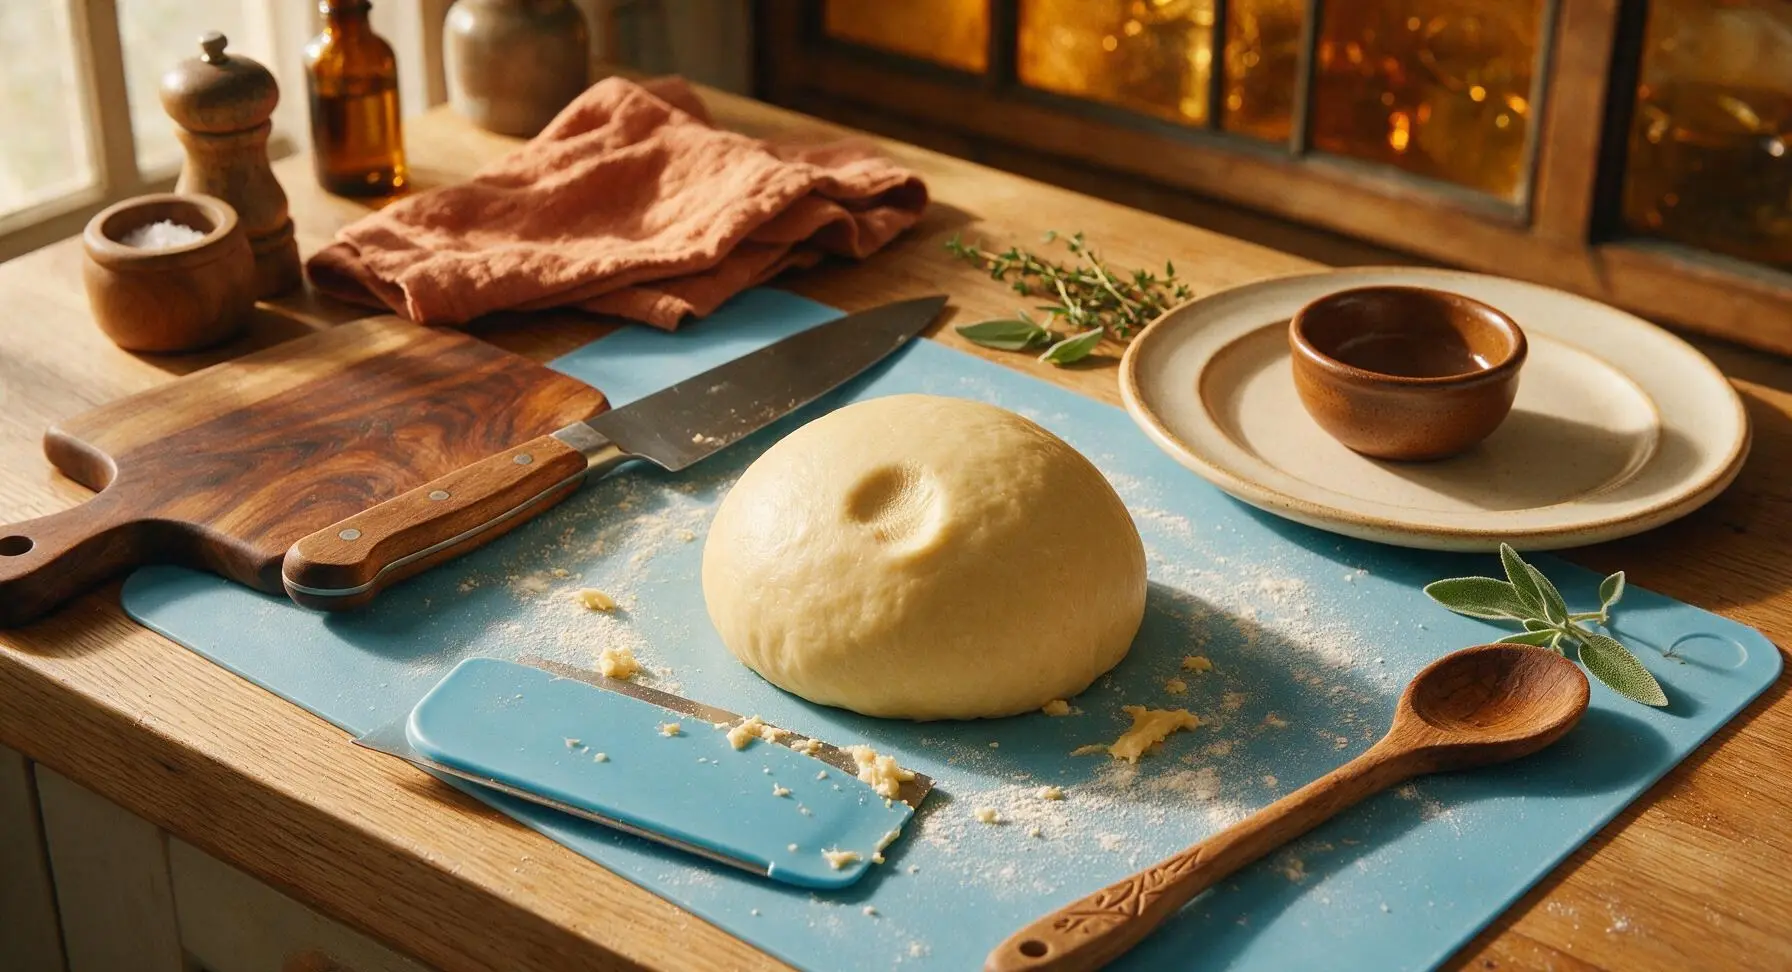
Step 3
step3:Knead Until Smooth
Step 3
step3:Knead Until Smooth
4

Let Dough Rise

Wipe the clear glass mixing bowl clean, then lightly coat the interior with a thin layer of leftover melted butter to prevent sticking. Place the kneaded dough ball into the bowl, turning once to coat the dough surface in butter. Drape the kitchen towel over the bowl to cover tightly, and let rest in a warm, draft-free spot for 1 hour, until the dough doubles in size, and an indent pressed 1 inch into the center stays in place without bouncing back.
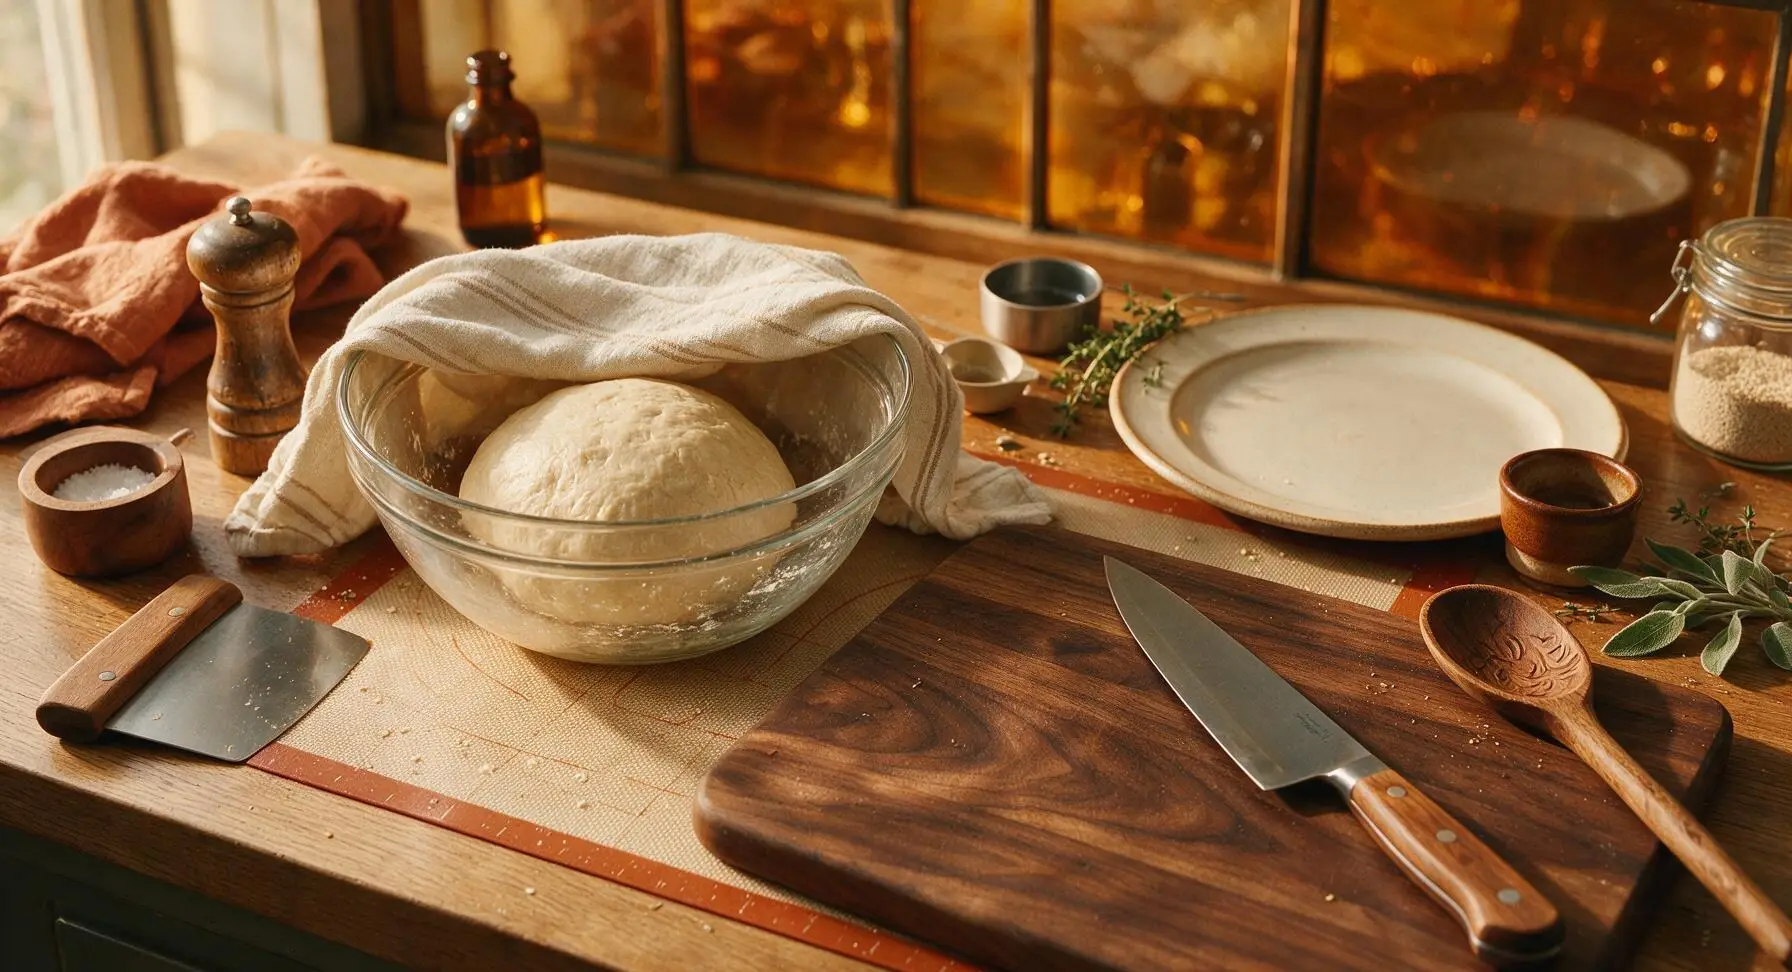
Step 4
step4:Let Dough Rise
5

Portion and Wrap

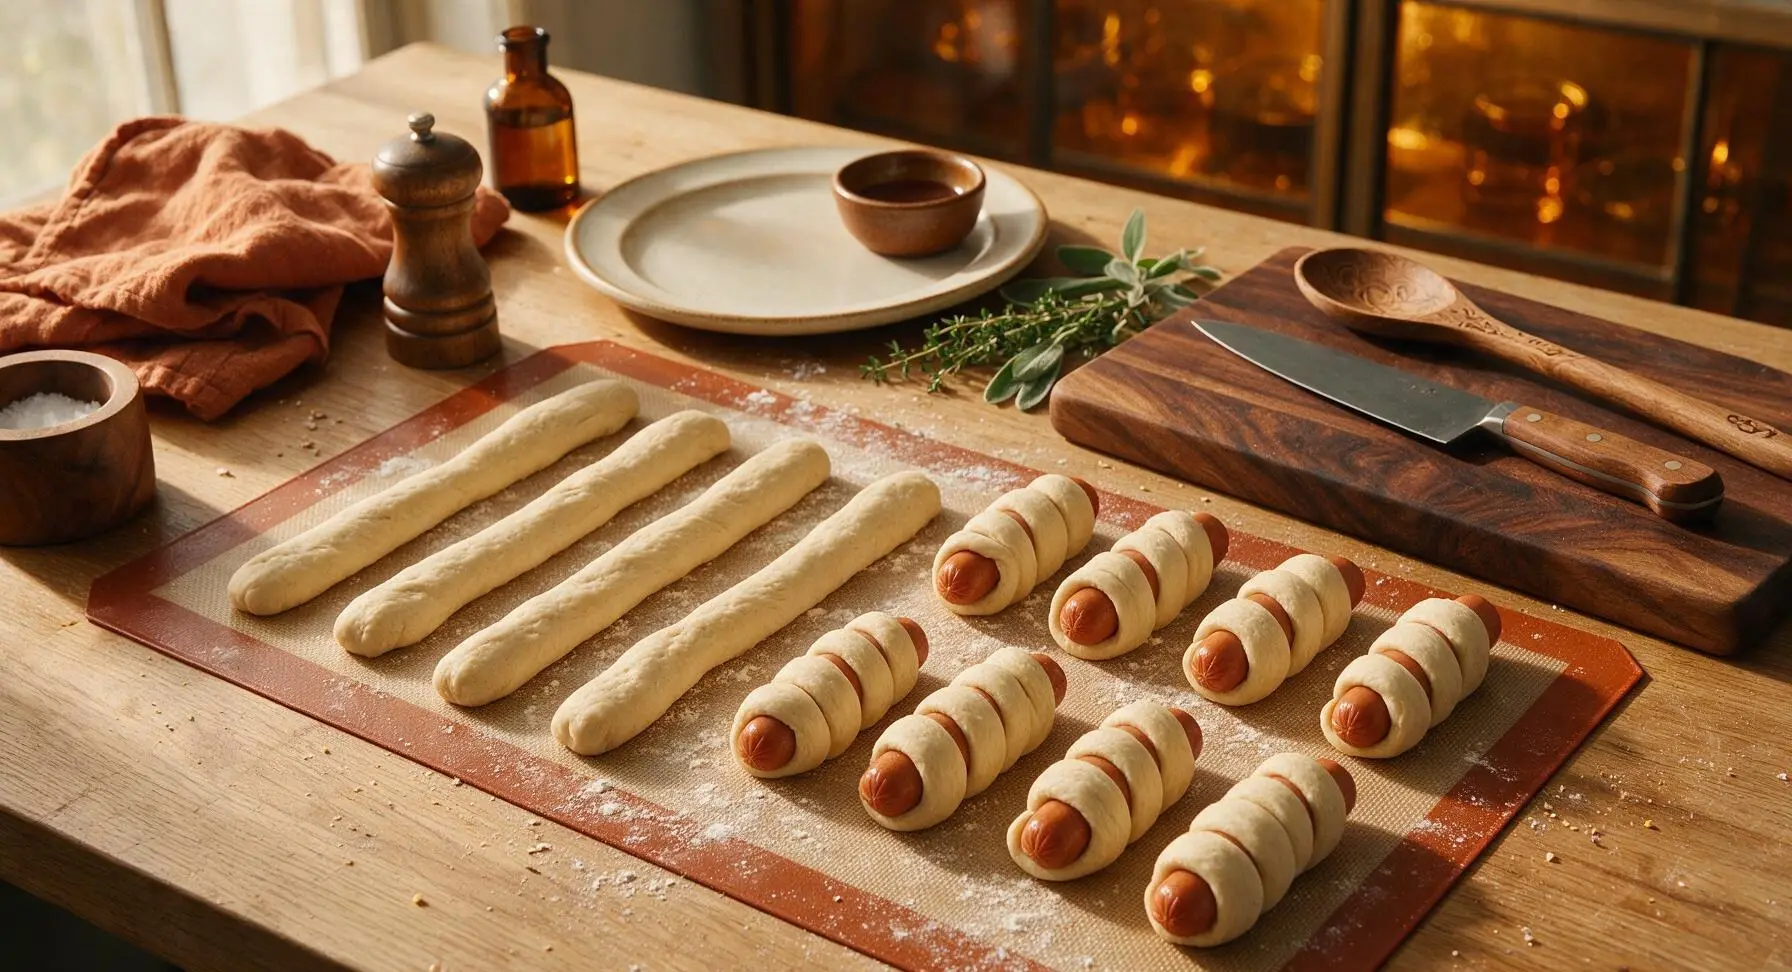
Once the dough has doubled in size, remove the kitchen towel and return it to its far-right home position. Punch the dough down firmly in the center to release all trapped air, then turn it out onto the lightly floured silicone baking mat. Use the silicone dough scraper to divide the dough evenly into 8 equal pieces (approx 70g each). Roll each piece into a 12-inch (30cm) long, 1/2-inch thick rope, then wrap one rope spirally around each beef wiener, tucking the ends of the dough under the wiener to seal, leaving a 1/4 inch gap between dough wraps to allow room for rising.
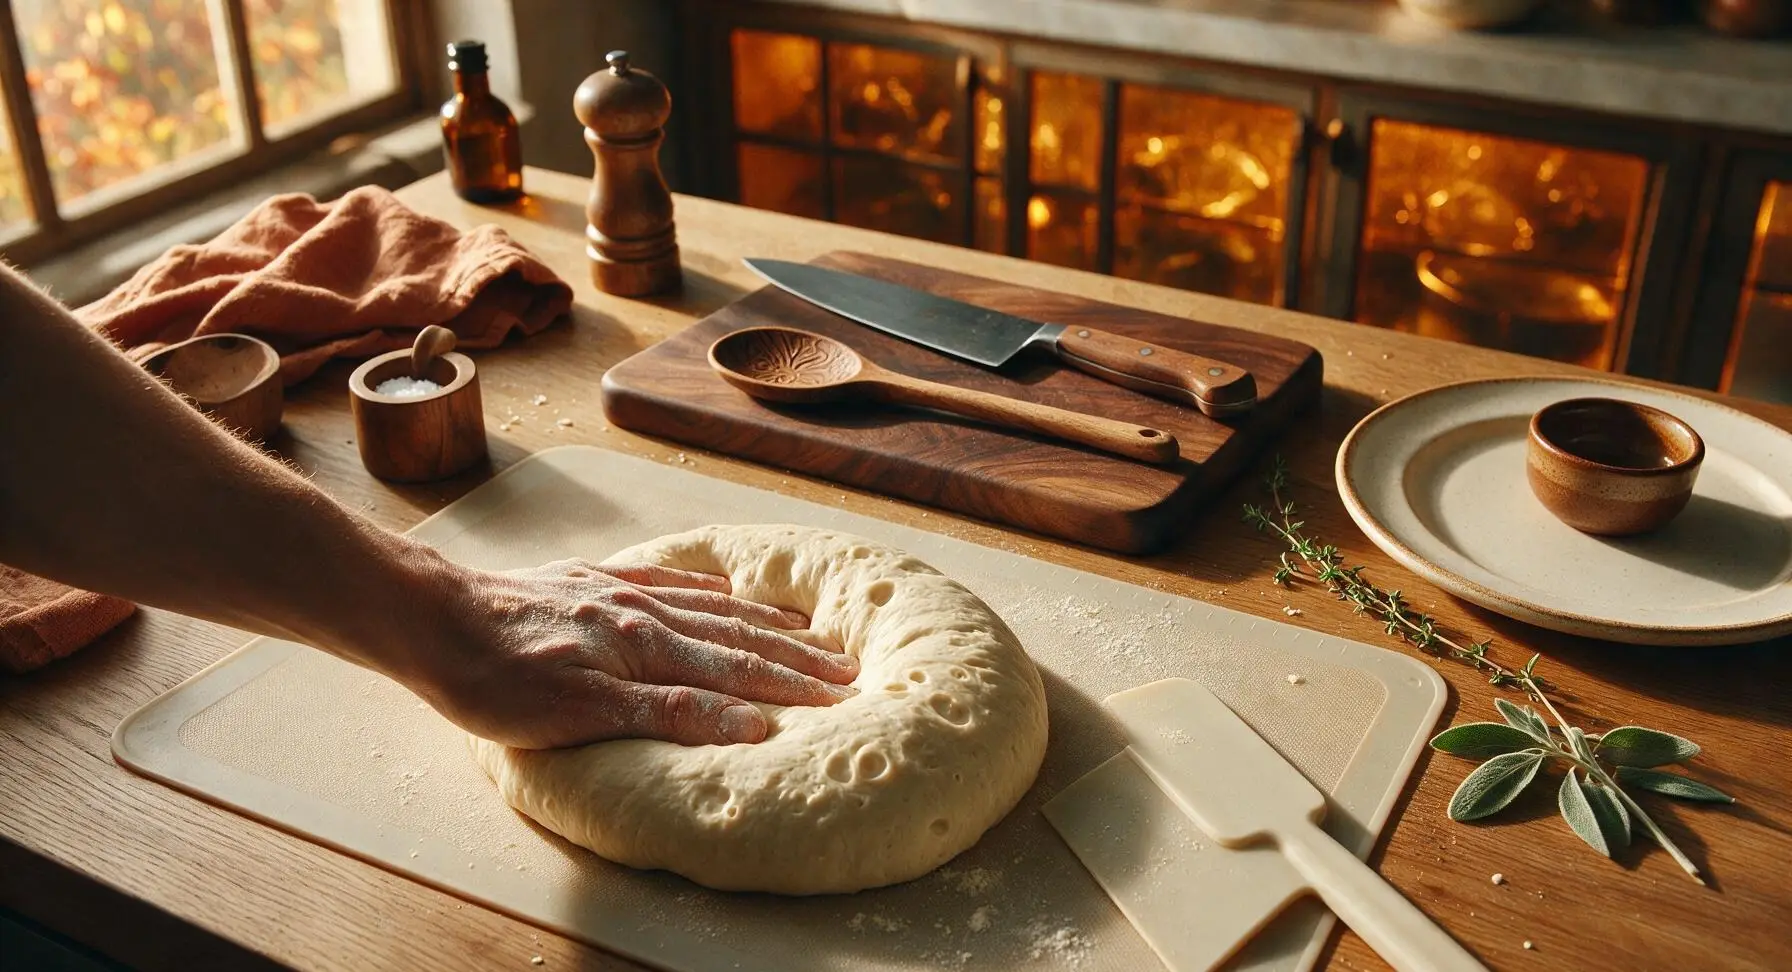
Step 5
step5:Portion and Wrap
Step 5
step5:Portion and Wrap
6

Proof and Add Wash

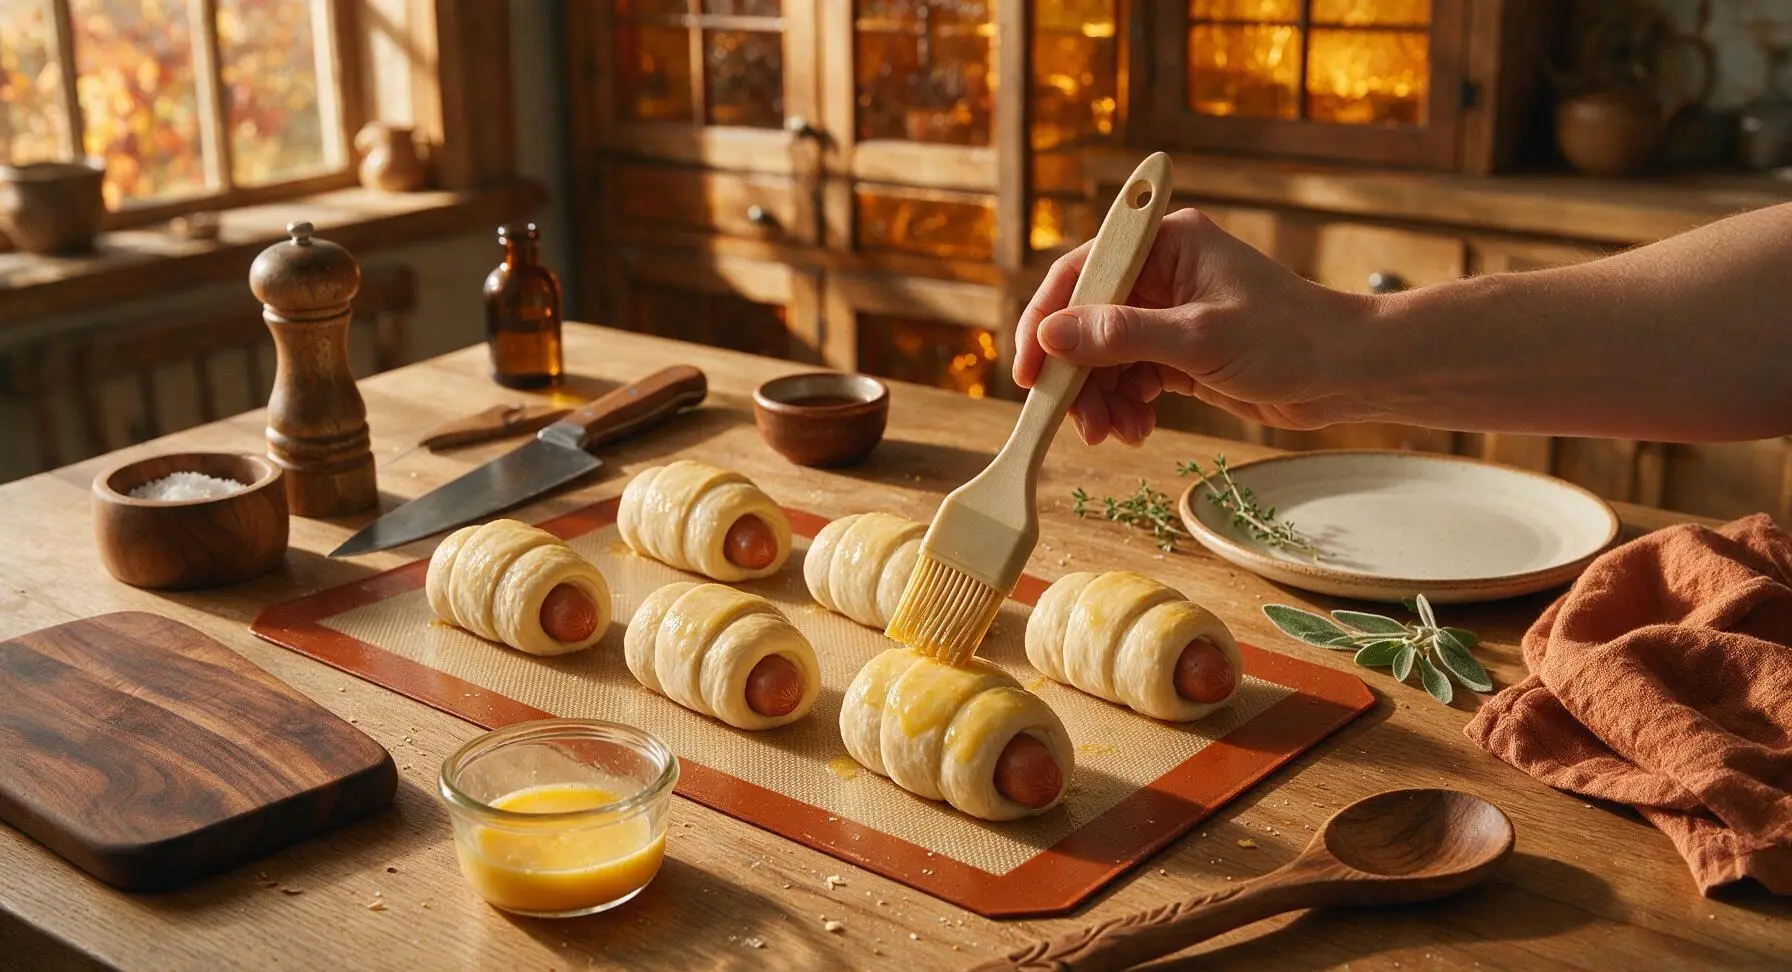
Arrange the wrapped wieners 2 inches apart on the silicone baking mat to allow room for expansion, then drape the kitchen towel loosely over the top and let rest for 20 minutes for a final proof, until the dough feels puffy and light to the touch, and leaves a slow indent when poked. Uncover, return the towel to its far-right home position, then use the silicone pastry brush to coat the surface of each dough wrap evenly with the beaten egg wash, taking care not to let excess egg pool on the mat, to ensure a golden, glossy crust when baked.
Step 6
step6:Proof and Add Wash
7

Bake Until Golden

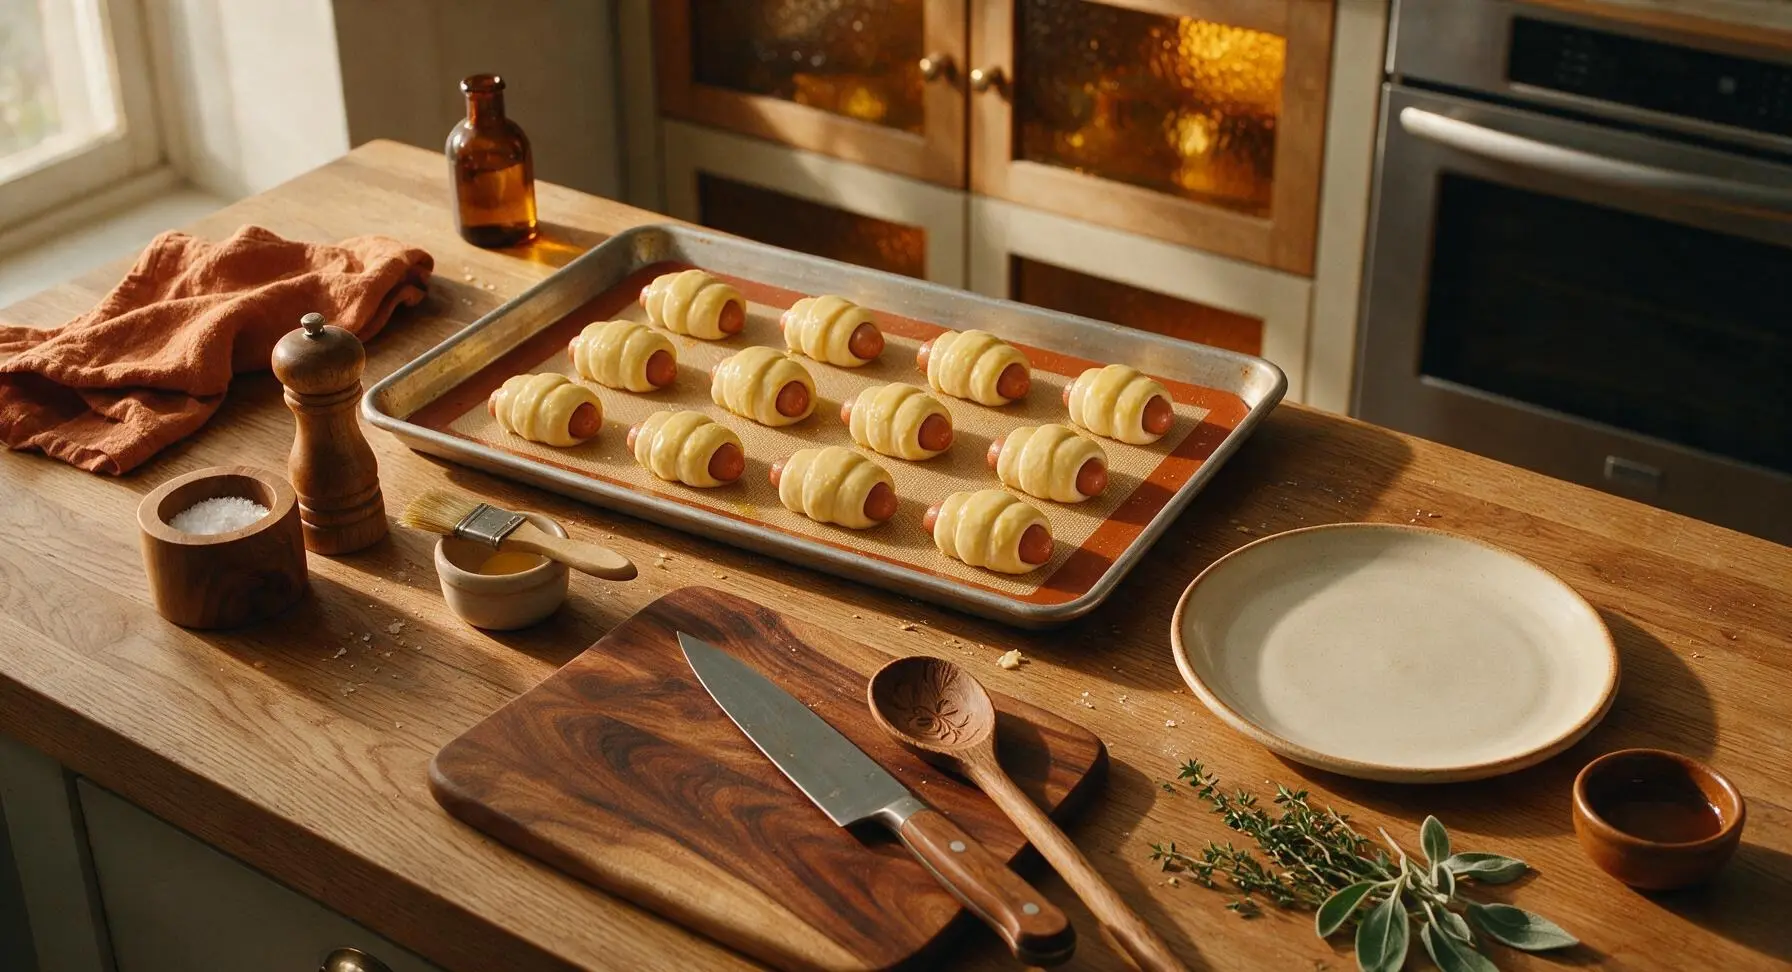
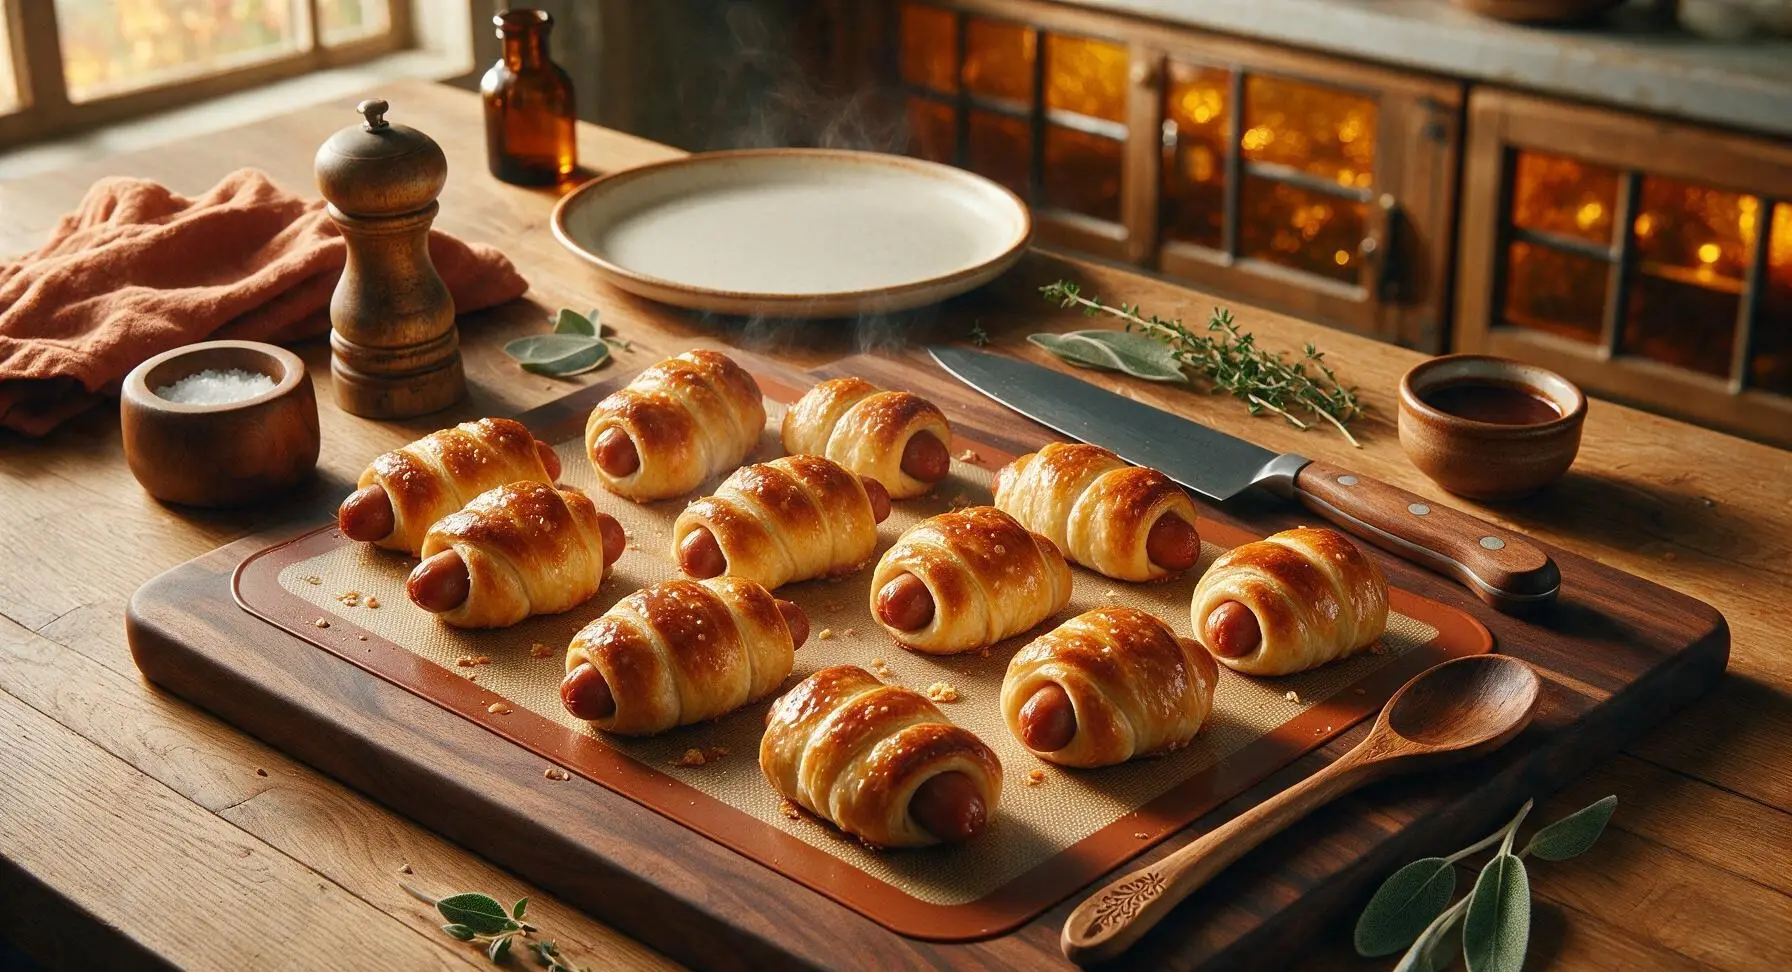
Carefully transfer the aluminum baking sheet with the proofed, egg-washed wraps to a preheated 375°F (190°C) oven. Bake for 16-18 minutes, rotating the tray halfway through cooking, until the dough is a deep, even golden brown all over, the internal temperature of the dough reaches 190°F (88°C), and the wieners are fully heated through. Remove from the oven and let cool for 5 minutes on the mat before transferring to the serving board.
Step 7
step7:Bake Until Golden
Step 7
step7:Bake Until Golden

Tips

1.Always test milk temperature before adding yeast: milk hotter than 115°F (46°C) will kill live yeast, leading to dense, non-risen dough. The milk should feel like warm bath water to the touch, with no stinging heat on your fingertip. If you see no foamy layer after 5 minutes of resting, replace your yeast before proceeding.
2.Leave 1/4-inch gaps between dough spirals when wrapping wieners: the dough expands by nearly 50% during the final proof and bake, and tight, overlapping wraps will split open as they rise, leaving sections of wiener exposed and creating an uneven crust.
3.For make-ahead prep, complete the first dough rise, punch it down, and store tightly wrapped in plastic wrap in the refrigerator for up to 24 hours. The cold slow ferment develops a subtle tangy, buttery flavor and makes the dough firmer and easier to roll into neat ropes for wrapping, with no loss of rise when baked.


✨ You May Also Like

Snacks & Appetizers
🍜 Mexico

Crispy thick-cut tortilla chips piled high with seasoned beef, melted cheese, and bright fresh toppings for a shareable, crowd-favorite bite.

⏱️ 25 minuteSnacks & Appetizers ★ 4.8
Snacks & Appetizers
🍜 United States

Crisp, sweet-tangy spiced pickled watermelon rind is a zero-waste summer staple, perfect with grilled meats, charcuterie, or eaten straight from the jar as a bright snack.

⏱️ 30 minuteSnacks & Appetizers ★ 4.6
Snacks & Appetizers
🍜 Germany

A tangy, jellied pork cold cut slow-simmered with aromatic spices, set into a firm sliceable loaf, served cold with mustard and crusty bread.

⏱️ 3 hours 4Snacks & Appetizers ★ 4.8
Snacks & Appetizers
🍜 United States

Creamy, tangy, perfectly seasoned hard-boiled egg halves filled with a rich, smooth yolk mixture, a timeless, crowd-pleasing bite for holiday and casual gatherings alike.

⏱️ 40 minuteSnacks & Appetizers ★ 4.8
Snacks & Appetizers
🍜 Russia

Silky, dill-forward no-smoke cured salmon, a Scandinavian classic with bright salty-sweet flavor, ideal for holiday starter platters and open-faced rye sandwiches.

⏱️ 48 hours Snacks & Appetizers ★ 4.7
Snacks & Appetizers
🍜 Japan

Crisp golden bottoms, juicy savory pork and vegetable filling, and tangy dipping sauce make these pan-fried gyoza a beloved shareable bite.

⏱️ 45 minuteSnacks & Appetizers ★ 4.8

wiener wrap dough:Frequently Asked Questions

1.How important is the 105–110°F milk temperature, and what if I don’t have a thermometer to check it? ▾
That temperature range is ideal for waking up instant yeast without killing it, so you get a reliable, even rise for soft, pillowy dough. If you don’t have a thermometer, test the milk on your inner wrist—it should feel like warm bath water, not hot enough to sting. Too-hot milk kills yeast; too-cold milk slows rise time drastically.
2.Do I have to use whole milk for this dough, or can I substitute lower-fat milk? ▾
Whole milk delivers the rich, tender crumb and subtle dairy sweetness this wiener wrap dough is known for, but you can swap in 2% milk in a pinch. Skim milk will work, but your final wraps will be slightly less soft and won’t stay pillowy as long after baking, so I don’t recommend it for best results.
3.How do I tell if my instant yeast is still active enough to make this dough rise properly? ▾
To test older yeast, stir a pinch of the recipe’s granulated sugar into your measured warm milk, then sprinkle the yeast on top. Wait 5–10 minutes: it should foam up and smell faintly bready. If it doesn’t bubble at all, the yeast is dead, and your dough won’t rise—grab a fresh packet to avoid dense, tough wraps.
4.Can I mix in melted butter while it’s still hot, or do I really need to let it cool first? ▾
Skip adding piping hot melted butter—high heat can damage the yeast in your dough, leading to poor rise and uneven texture. Let it cool for 3 to 5 minutes after melting, until it feels warm (not burning hot) to the touch, before stirring it into your flour and milk mixture for consistent, soft results.
5.How long should I let this dough rise, and do I need a second rise after shaping? ▾
For the softest, fluffiest results, let the kneaded dough rise in a greased, covered bowl in a warm spot for 1 to 1.5 hours, until it doubles in size. After you wrap it around your wieners, give the shaped wraps a second 20 to 30 minute rise before baking so they puff up perfectly instead of turning dense.
6.Why does the recipe specify spooned and leveled all-purpose flour instead of scooping directly from the bag? ▾
Scooping flour directly from the bag packs it tight, which can add up to 3 extra tablespoons of flour per cup, leading to stiff, dry dough that bakes up tough instead of soft and pillowy. Spoon flour loosely into your measuring cup, then scrape a flat edge across the top to level it for consistent, accurate measurements every time.
7.Do I need to knead this dough by hand, or can I use a stand mixer? ▾
Either method works great! If using a stand mixer, fit it with the dough hook and knead on low speed for 4 to 5 minutes, until the dough is smooth and elastic. If kneading by hand, turn the dough out onto a lightly floured surface and knead for 7 to 8 minutes, until it springs back slightly when poked with a finger.
8.My dough turned out really sticky after mixing—did I do something wrong? ▾
A little tackiness is normal for this soft, buttery dough, but if it’s sticking so much you can’t knead it, add 1 extra tablespoon of flour at a time, kneading between additions, until it pulls away from the bowl easily. Don’t add too much extra flour, though, or your final baked wraps will be dense and dry instead of light and pillowy.
9.Can I make this dough ahead of time, and does it freeze well for longer storage? ▾
Absolutely! For short-term use, after the first rise, punch the dough down, seal it airtight, and store it in the fridge for up to 3 days, letting it rest 20 minutes at room temperature before shaping. For longer storage, divide into individual portions, wrap tightly, and freeze for up to 3 months, thawing overnight in the fridge before use.
10.Why is granulated sugar in this savory dough—will it make my wiener wraps taste sweet? ▾
The small amount of sugar in this recipe isn’t there to add noticeable sweet flavor; it feeds the yeast to help it activate and rise properly, and it encourages that beautiful golden brown crust as the wraps bake. The final dough has a rich, balanced, buttery flavor perfectly suited for pairing with savory wieners.
11.How do I get that glossy, golden top the recipe mentions on my finished baked wiener wraps? ▾
Right before baking, brush the top of each shaped wrap with a little extra melted butter, a simple egg wash (1 beaten egg mixed with 1 tablespoon milk), or heavy cream. This creates that shiny, appetizing golden crust as it bakes. You can sprinkle sesame seeds, poppy seeds, or flaky salt after brushing for extra texture and flavor.

Comments (14)

2 days ago

OMG this dough is a total game changer! My kids turn their nose up at every other wrap dough I’ve tried but they ate THREE wiener wraps each at dinner last night. So buttery and soft, not tough at all like the store-bought stuff. 10/10 will be making this weekly for school lunches!

yesterday

That makes my day to hear! So glad your picky eaters loved it – this dough holds up really well in lunch boxes if you let it cool completely before packing, just a little tip!

3 days ago

Made these for our weekend tailgate and they were gone in 10 minutes flat. Everyone kept asking where I got the recipe! Dough was super easy to work with, even when I was rushing to get everything set up before the game. SO good.

2 hours ago

Wait, I’m terrible at baking bread-like stuff – will this dough still turn out okay if I don’t have a stand mixer? I only have a regular bowl and a wooden spoon lol

30 minutes ago

I did it with just a bowl and spoon last week! Took a little extra arm muscle to mix but it turned out perfect, no weird tough spots at all. You got this!

1 week ago

Brought a big batch of these wiener wraps to our neighborhood block party potluck last weekend and I cannot believe how many people begged me for the dough recipe. It stays soft for HOURS after baking, which is perfect for potlucks where food sits out for a bit. Only note is I added a little garlic powder to the dough, next level!

5 days ago

Wait the garlic powder addition sounds insane! I’m making these for our next block party too, did you add a teaspoon or more?

3 days ago

Love the garlic powder hack! Adding savory mix-ins to this dough works so well because the buttery base pairs with basically any seasoning. So glad it was a potluck hit!

2 weeks ago

Meal prepped a dozen of these on Sunday and they’ve been perfect for quick between-class snacks all week. 18 minute cook time is no joke, I didn’t have to spend half my Sunday in the kitchen. Way cheaper than buying the pre-made ones from the campus convenience store too.

3 days ago

Wait, has anyone tried freezing this dough after shaping it around the wieners? I want to make a big batch to pull out on busy weeknights when we have soccer practice and no time to cook.

2 days ago

I do this all the time! Freeze them on a baking sheet first then toss in a freezer bag, bake straight from frozen at the same temp just add 5 extra minutes. Turns out perfect!

2 days ago

Great question! This dough freezes really well both as a raw ball and shaped around wieners, just like Tina said. Just make sure to wrap it tightly to avoid freezer burn!

yesterday

Tried this recipe last night for family movie night and we dipped the wraps in cheese sauce – chef’s kiss. The dough was so soft and buttery it didn’t even need extra butter on top. My only tiny complaint is I wish I made a double batch, we ran out halfway through the movie!

yesterday

Cheese dip is such a good call! I always recommend a double batch for movie nights, they go way faster than you’d expect 😊

5 days ago

Wait, can I use this dough for other stuff besides wiener wraps? Like would it work for little breakfast sausage rolls or even mini pizza pockets? It looks so good I don’t want to only use it one way!

3 days ago

I used it for mini pepperoni rolls last week! Baked up exactly the same, super soft and buttery. Worked like a charm.

2 days ago

Absolutely! This versatile dough works for all kinds of stuffed savory bakes, from sausage rolls to pizza pockets to even little cheese-stuffed bites. The sky’s the limit!

1 week ago

I’ve been making wiener wrap dough for 40 years and this recipe is hands down better than my old go-to. The butter ratio is perfect, not greasy at all but still rich and soft. My grandkids are already asking when I’m making it again.

30 minutes ago

I messed up and melted the butter instead of softening it like the recipe says – is the dough going to be ruined? I already mixed it in before I realized :(

5 minutes ago

I did the exact same thing last month! It turned out a tiny bit flatter but still tasted amazing, don’t stress. Just pop the dough in the fridge for 20 minutes before rolling it out and it’ll be fine.

2 weeks ago

Made this for our weekly Sunday family dinner and paired it with chili on the side, total comfort food. The dough was so easy to throw together even after a long day at work, no fancy steps required. 10/10 will be in our regular rotation.

1 week ago

Wait serving these with chili is genius! I usually just do ketchup and mustard but that sounds like the perfect cold weather meal.

1 week ago

Chili is such a perfect pairing! I love serving these with warm soup or chili in the winter, the soft buttery dough is made for dipping. So happy it made it into your family rotation!

3 days ago

Made these for my teen’s after-school hangout and the whole group of boys devoured two full batches. They said it was better than the hot dog wraps they get at the mall food court. Win for mom!

5 minutes ago

How thin do I need to roll the dough out? I’m always scared I’ll roll it too thin and the dough will split when I wrap it around the wiener.

just now

Great question! Aim for about 1/4 inch thickness – that’s thick enough that it won’t split when wrapping, but thin enough that it bakes up soft and fluffy all the way through in that 18 minute cook time.

2 days ago

Do these need to be served warm, or are they good room temp? I’m bringing them to a work potluck tomorrow and won’t be able to reheat them when I get there.

yesterday

I brought these to a work potluck last month and they were totally fine room temp! Everyone ate them cold/room temp and raved about how soft they still were 2 hours after I baked them.



