
Iced Latte
intro
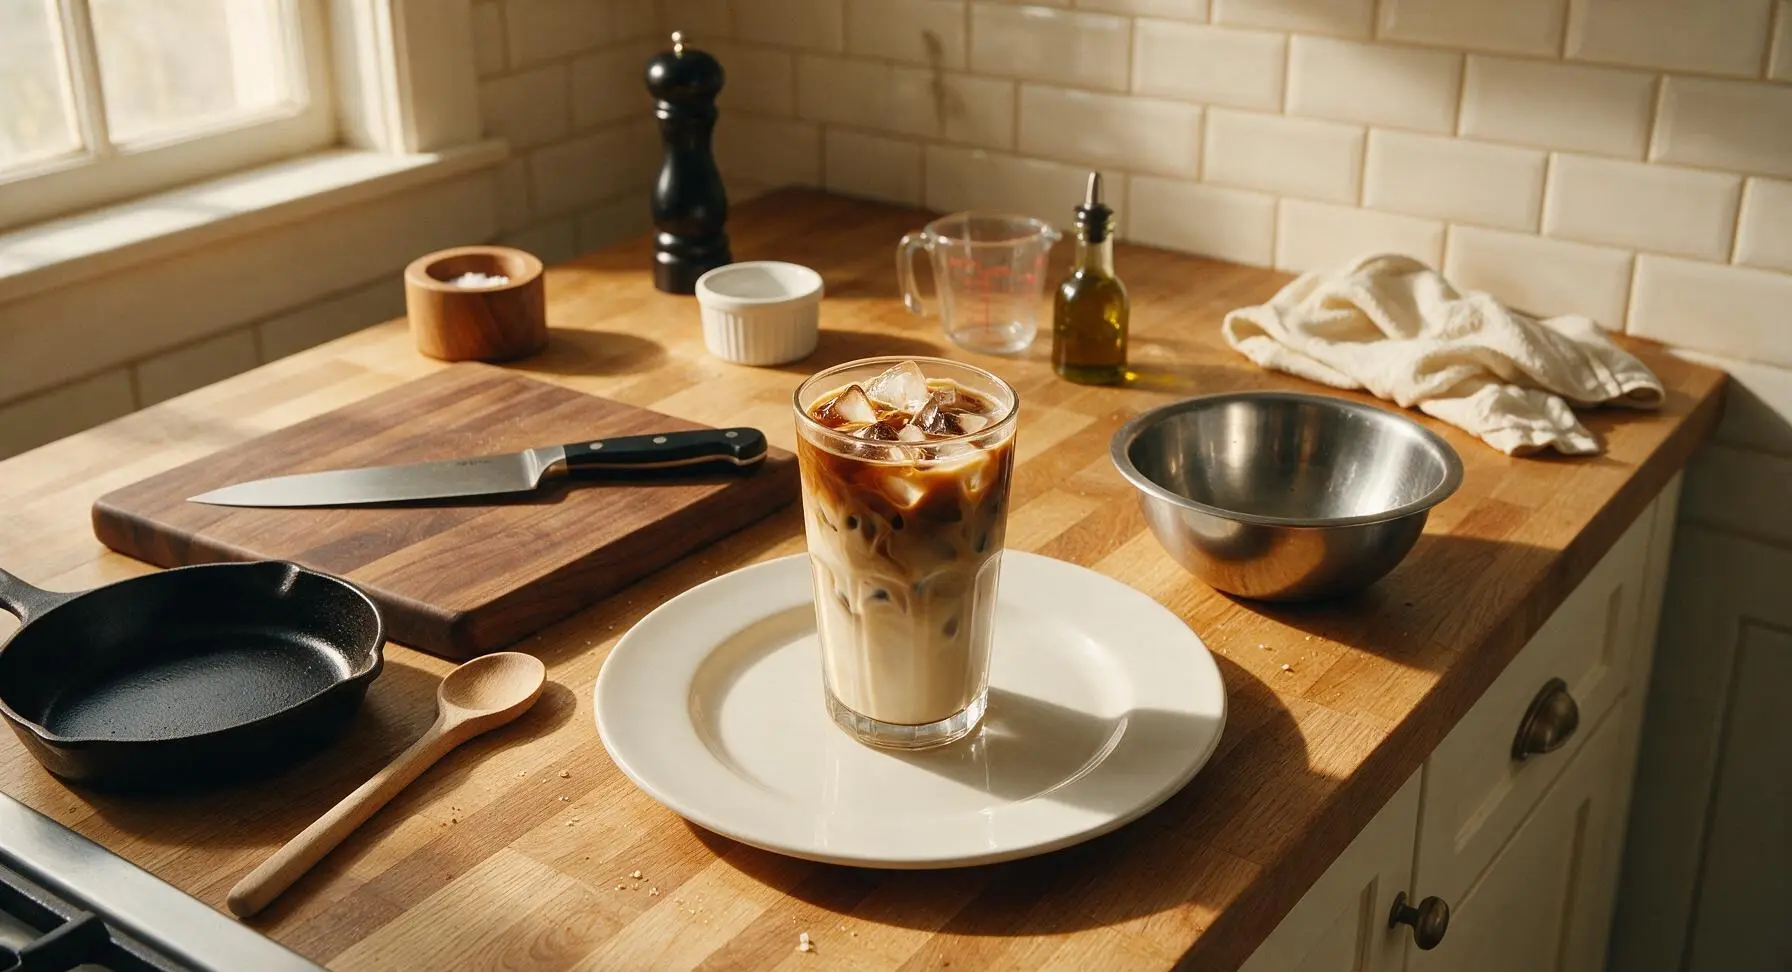
Creamy, perfectly balanced iced latte with rich bold espresso and smooth cold milk over crystal-clear ice—foolproof cafe-quality results in 5 minutes with no special gear.
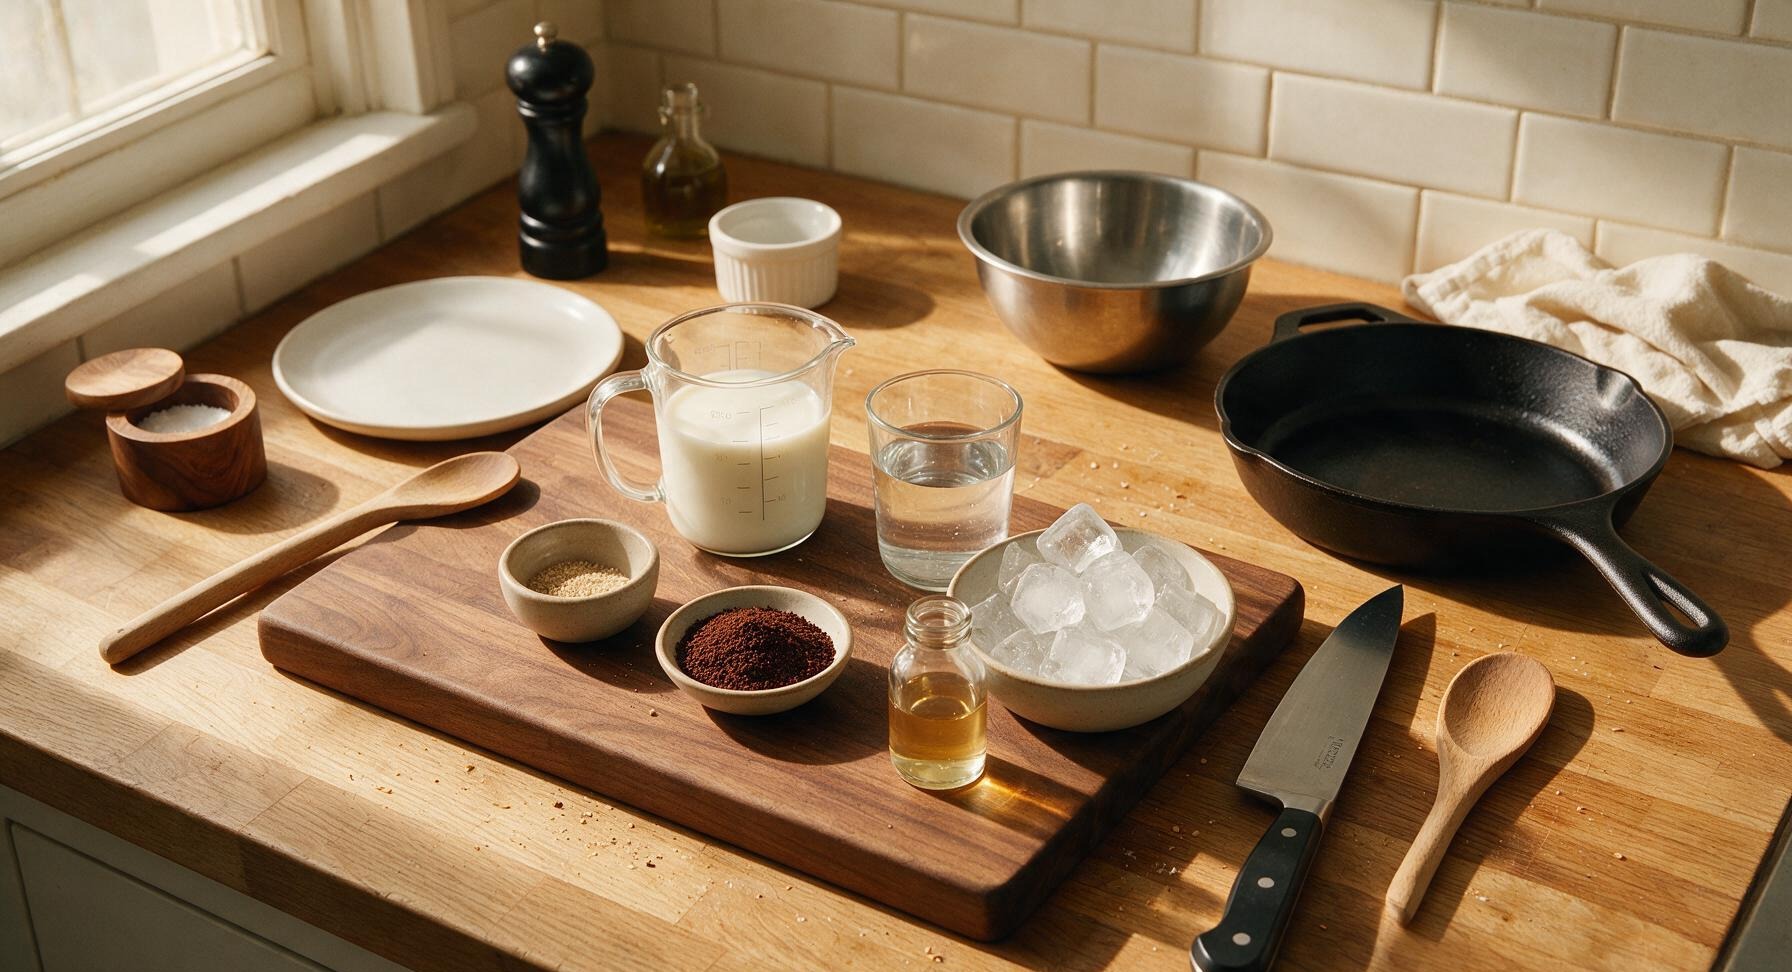
Ingredients
Steps
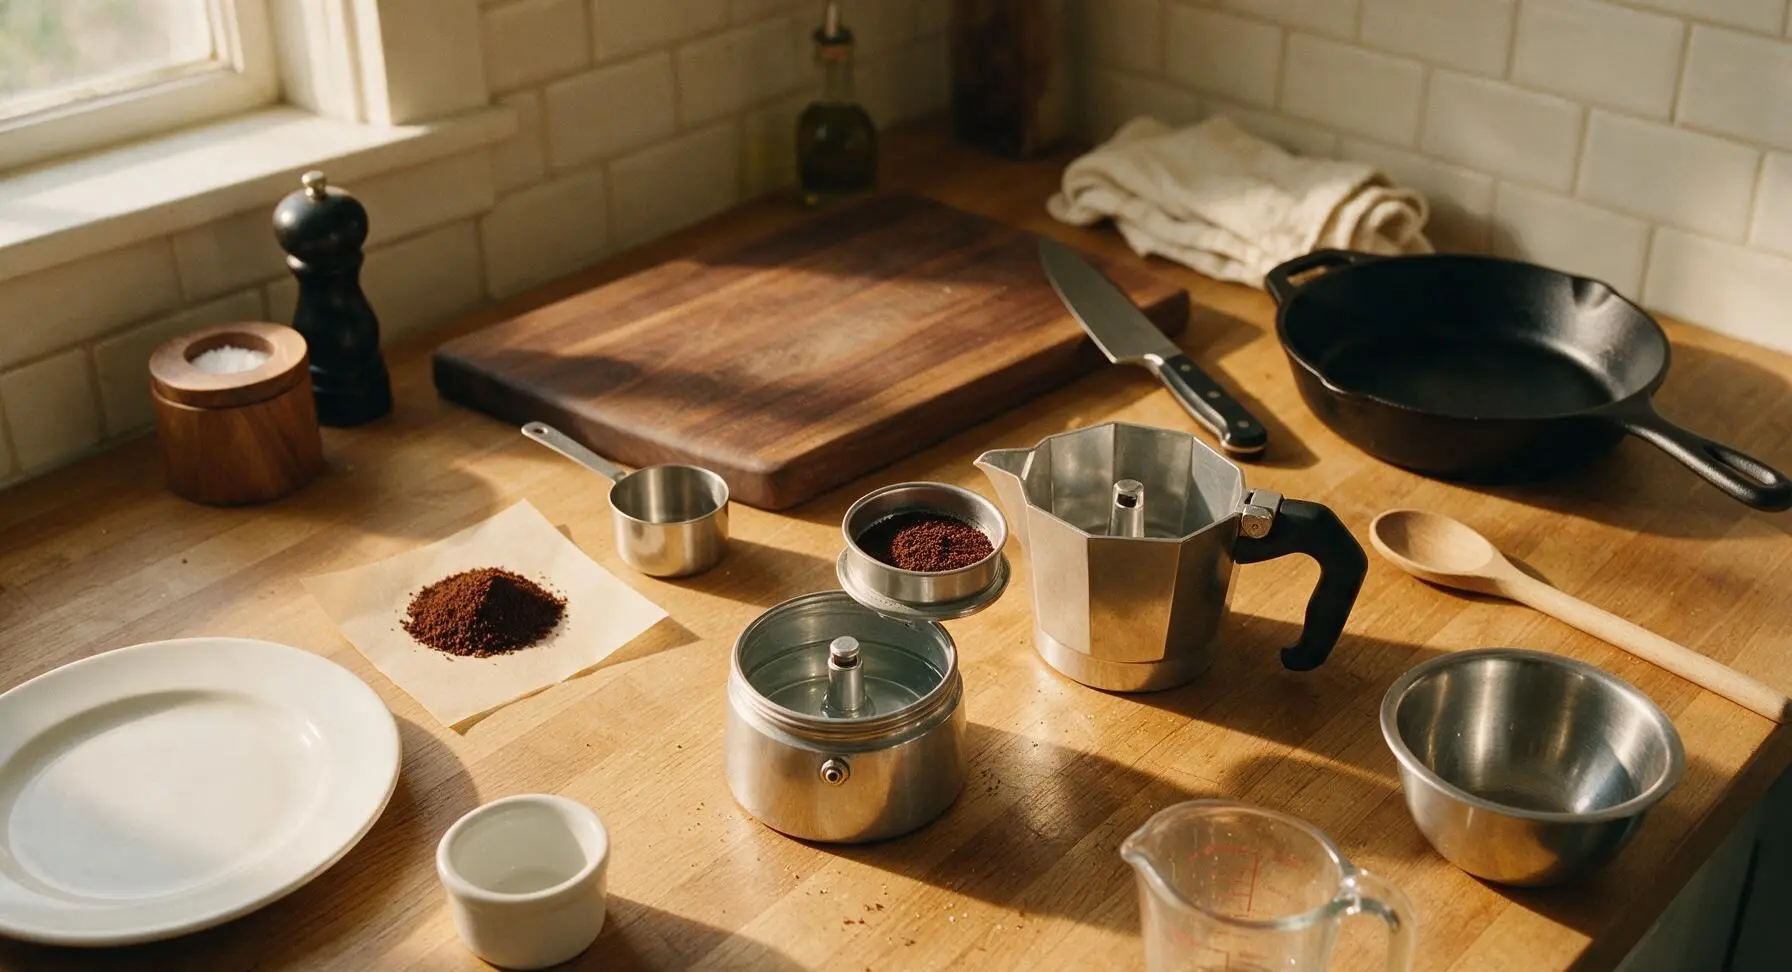
Prep Moka Pot for Brewing
Disassemble the 3-cup stainless steel moka pot. Pour 120ml filtered cold water into the lower boiler chamber, filling it just to the line below the silver pressure valve. Add the 18g finely ground medium-roast coffee from the parchment square to the metal filter basket, leveling the grounds gently with your finger—do not tamp them down, as this will restrict water flow and create bitter, over-extracted coffee. Reassemble the moka pot tightly, ensuring the rubber seal is seated properly to prevent steam leaks during brewing.
Brew Strong Espresso Base
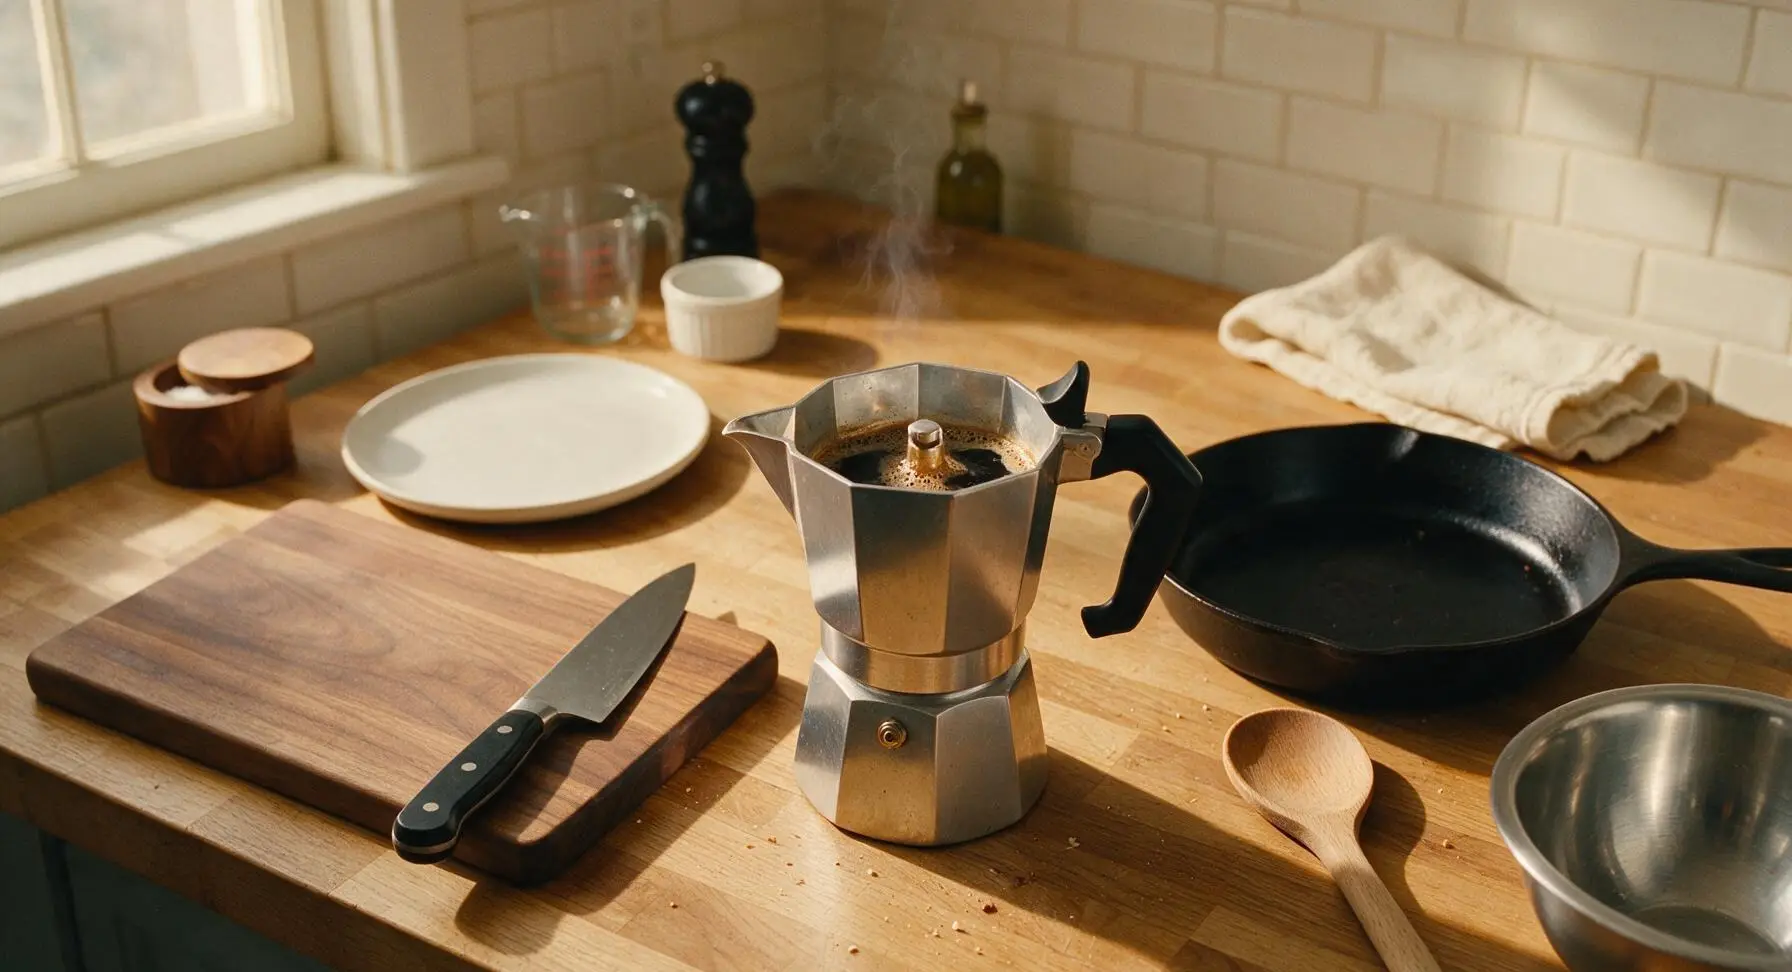
Place the assembled moka pot on a stovetop burner set to medium-low heat. Brew for 2-3 minutes, until rich, dark brown espresso streams steadily into the upper chamber and you hear a gentle gurgling sound. Remove the pot from heat immediately to avoid burning the coffee, which creates harsh bitter notes. Pour the finished 120ml of strong espresso into the small 100ml stainless steel measuring cup to stop the brewing process, and let it cool for 1 minute (it does not need to be cold, but should not be boiling hot when poured over ice).
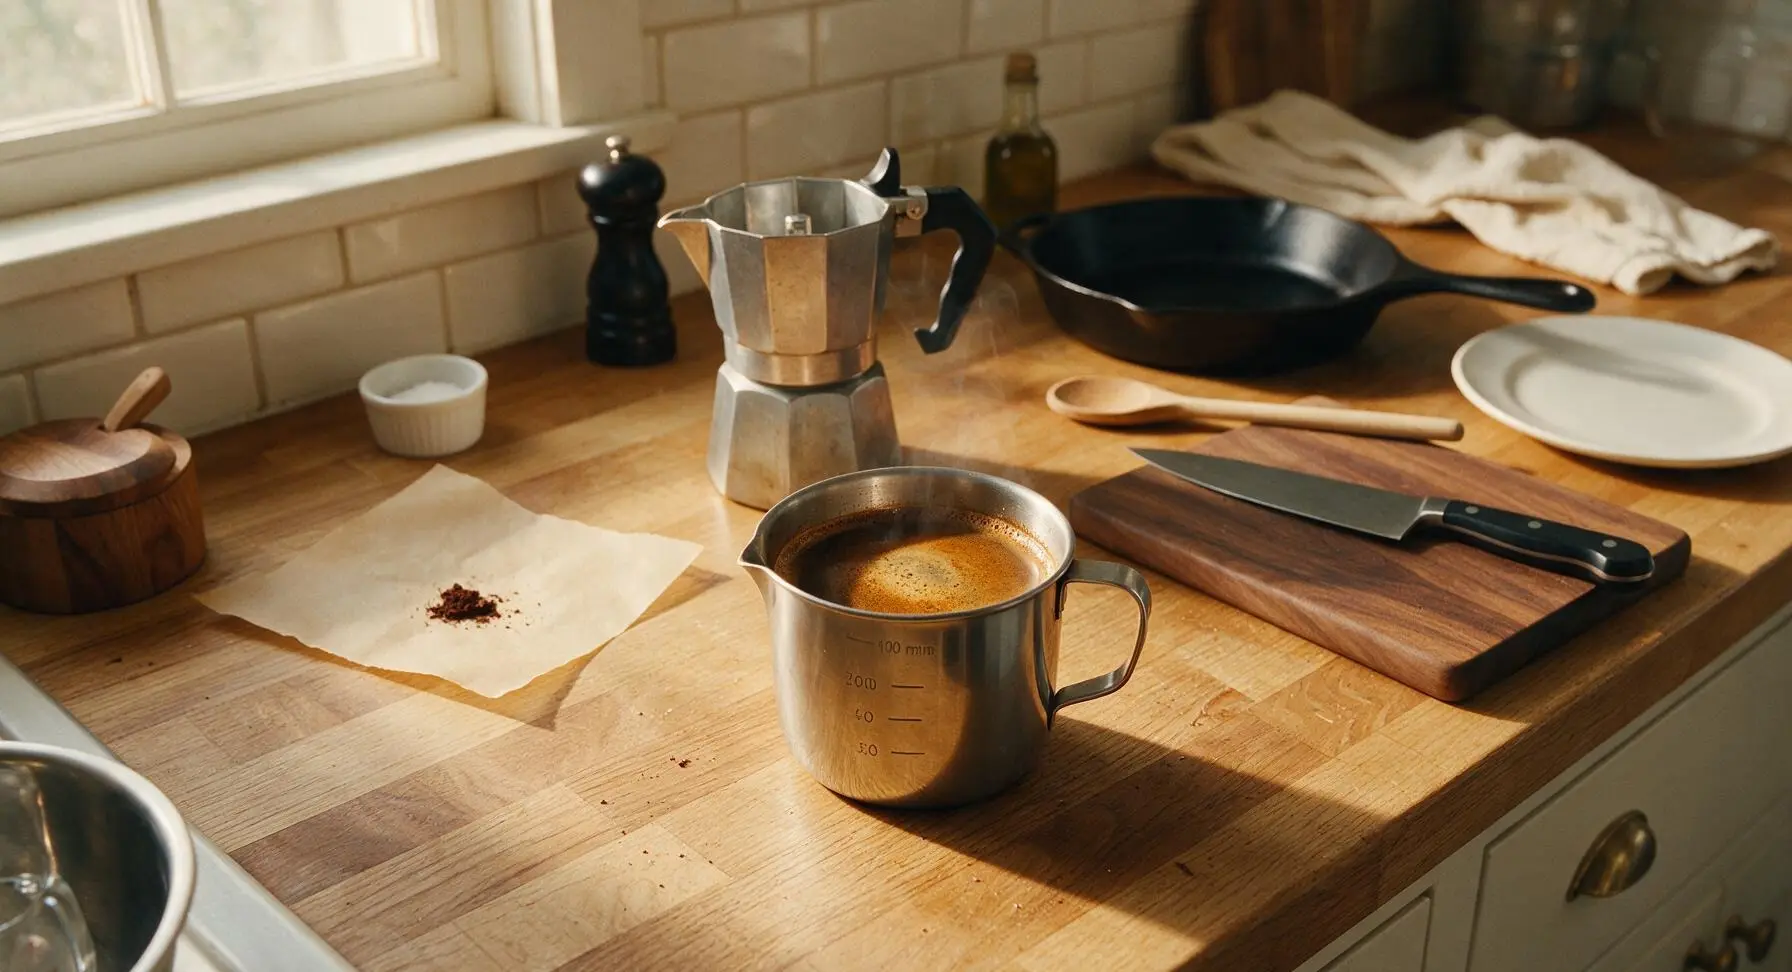
Fill Glass with Ice
Place the 16oz clear borosilicate highball tumbler in the center of the counter. Use the clear acrylic ice scoop (stored in the small glass ice bowl) to fill the tumbler 2/3 full with large clear ice cubes (about 1 cup total). Avoid overpacking the ice, as this will leave too little room for milk and espresso. Return the ice scoop to the ice bowl after use.
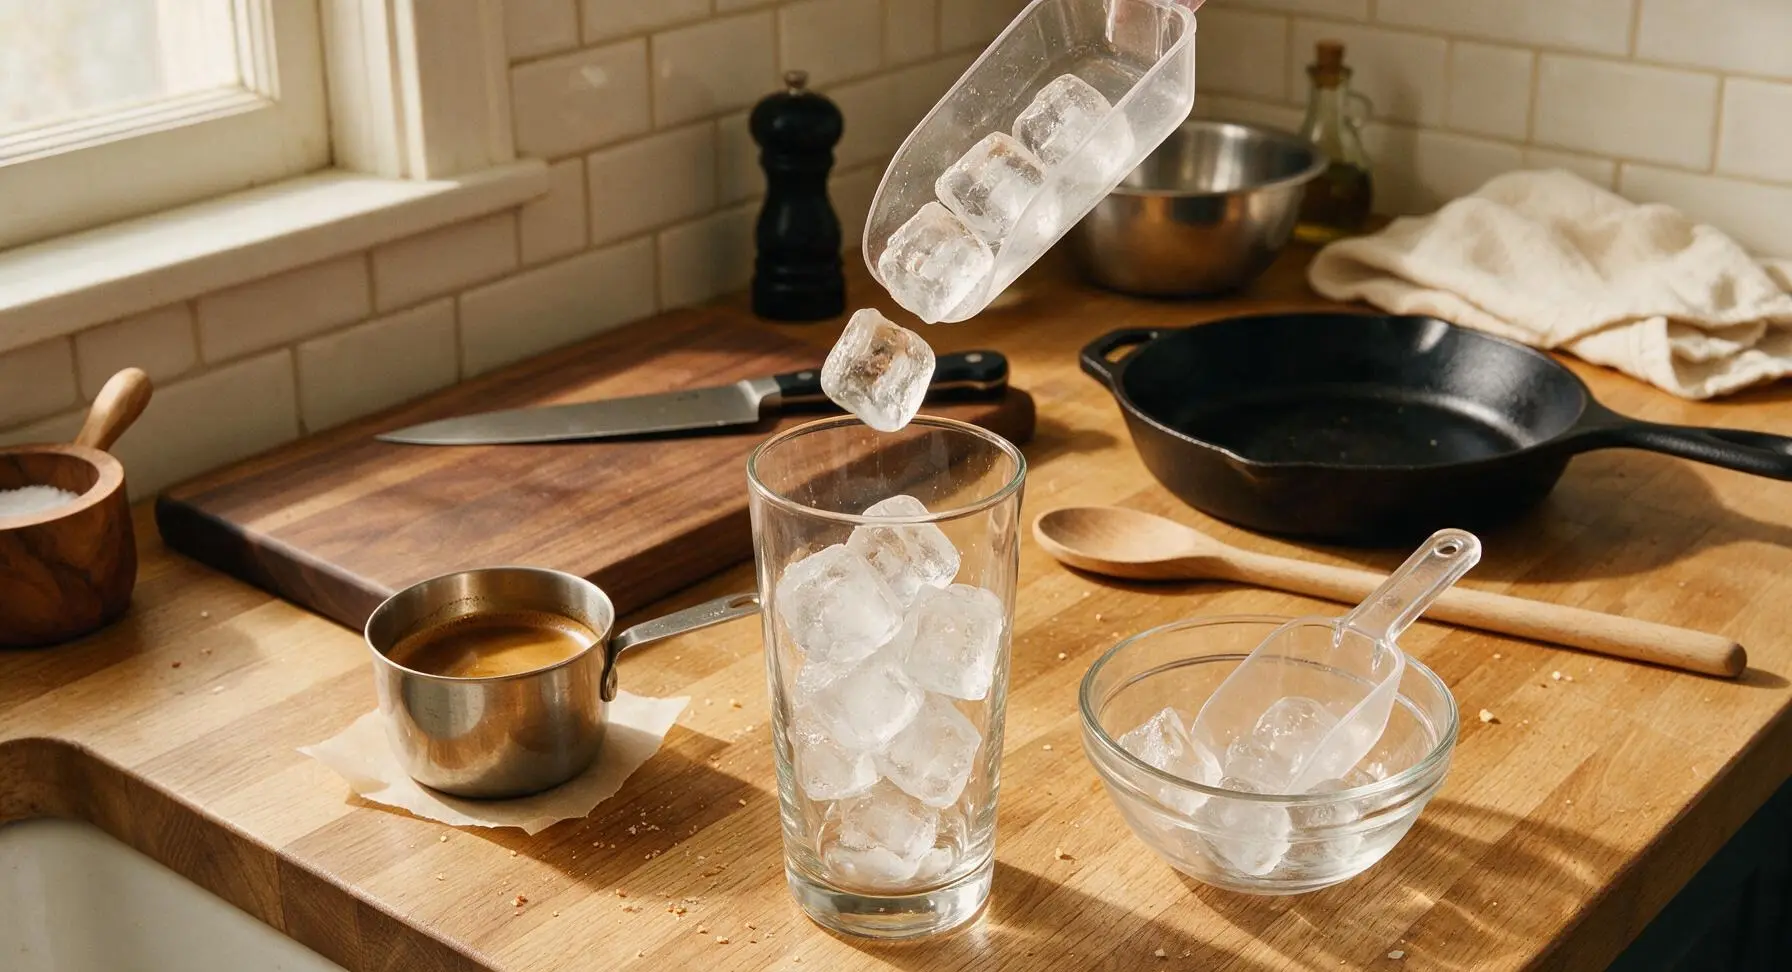
Pour Cold Milk Over Ice
Slowly pour 180ml of ice-cold whole milk from the 250ml clear glass measuring cup over the ice in the tumbler, filling the glass to about 1/2 inch below the rim. For a richer latte, substitute 45ml of the whole milk with half-and-half; for a dairy-free version, use barista-blend oat milk for the creamiest non-dairy result.
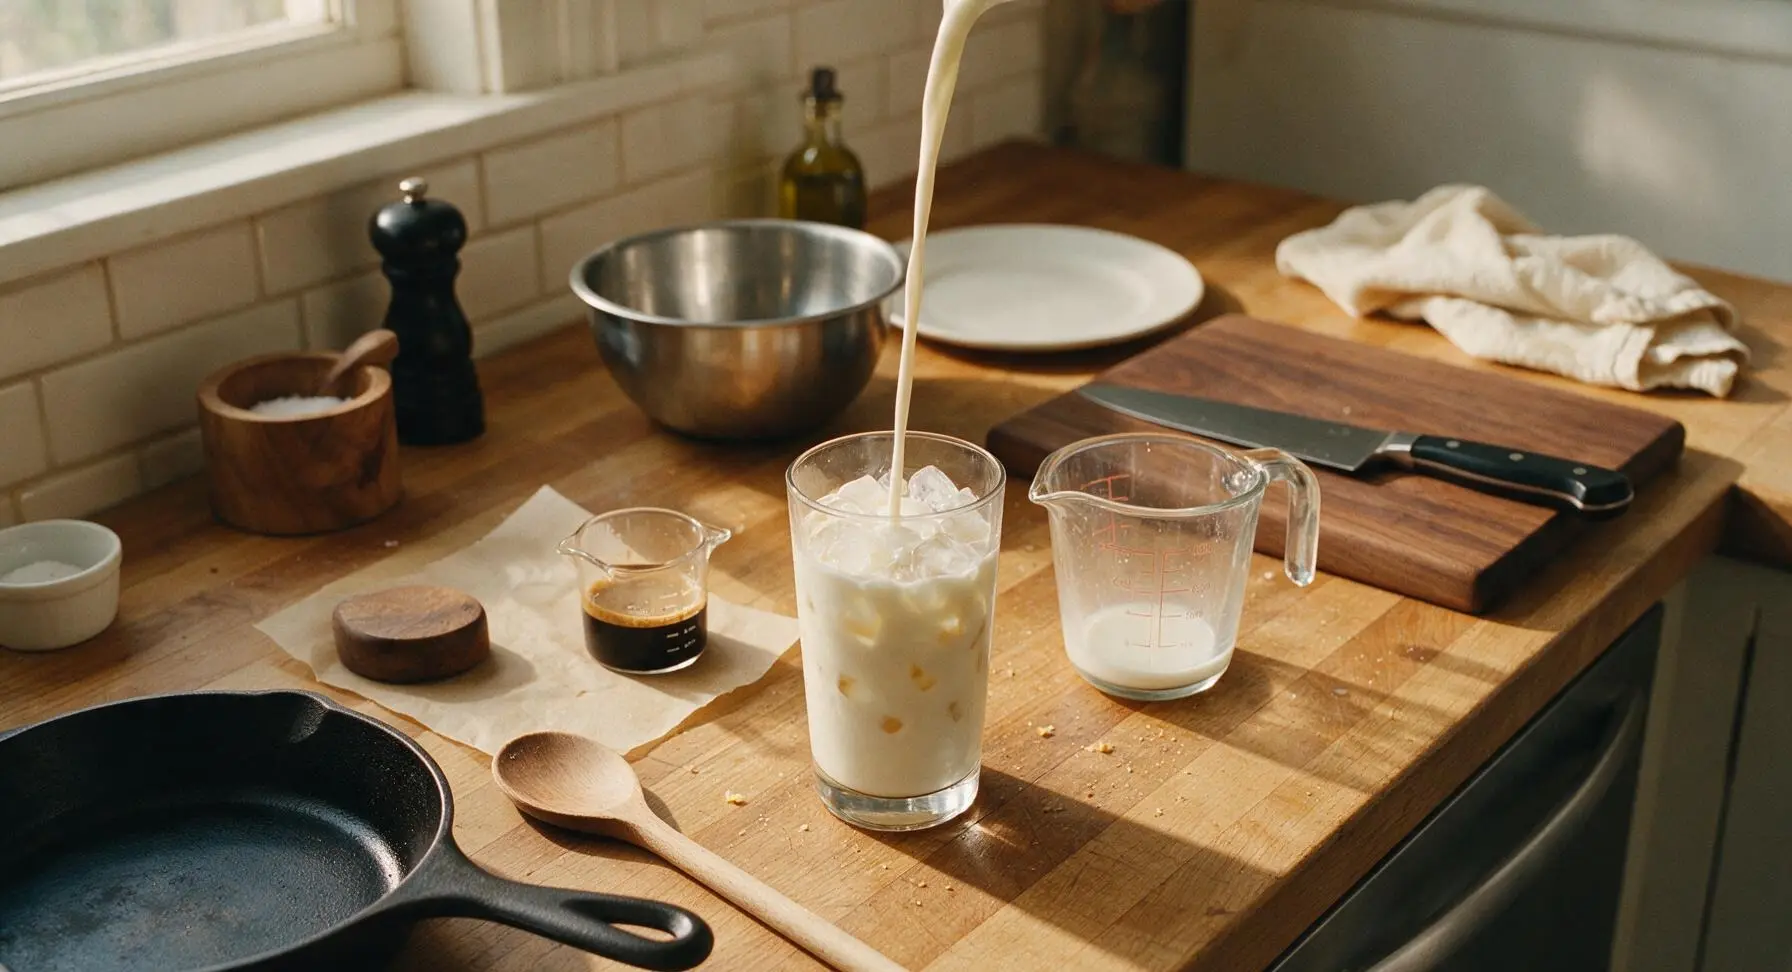
Pour Espresso Over Milk
Lift the 100ml stainless steel measuring cup of cooled espresso from its spot on the left parchment, hold it 2-3 inches above the glass, and pour it slowly in a thin stream directly over the center of the milk and ice. Pouring slowly creates a beautiful natural layered look, with the darker espresso sitting slightly above the denser cold milk. If you prefer a sweetened latte, add 15ml of vanilla simple syrup to the glass before pouring the espresso. Set the empty espresso cup back on the left parchment after pouring.
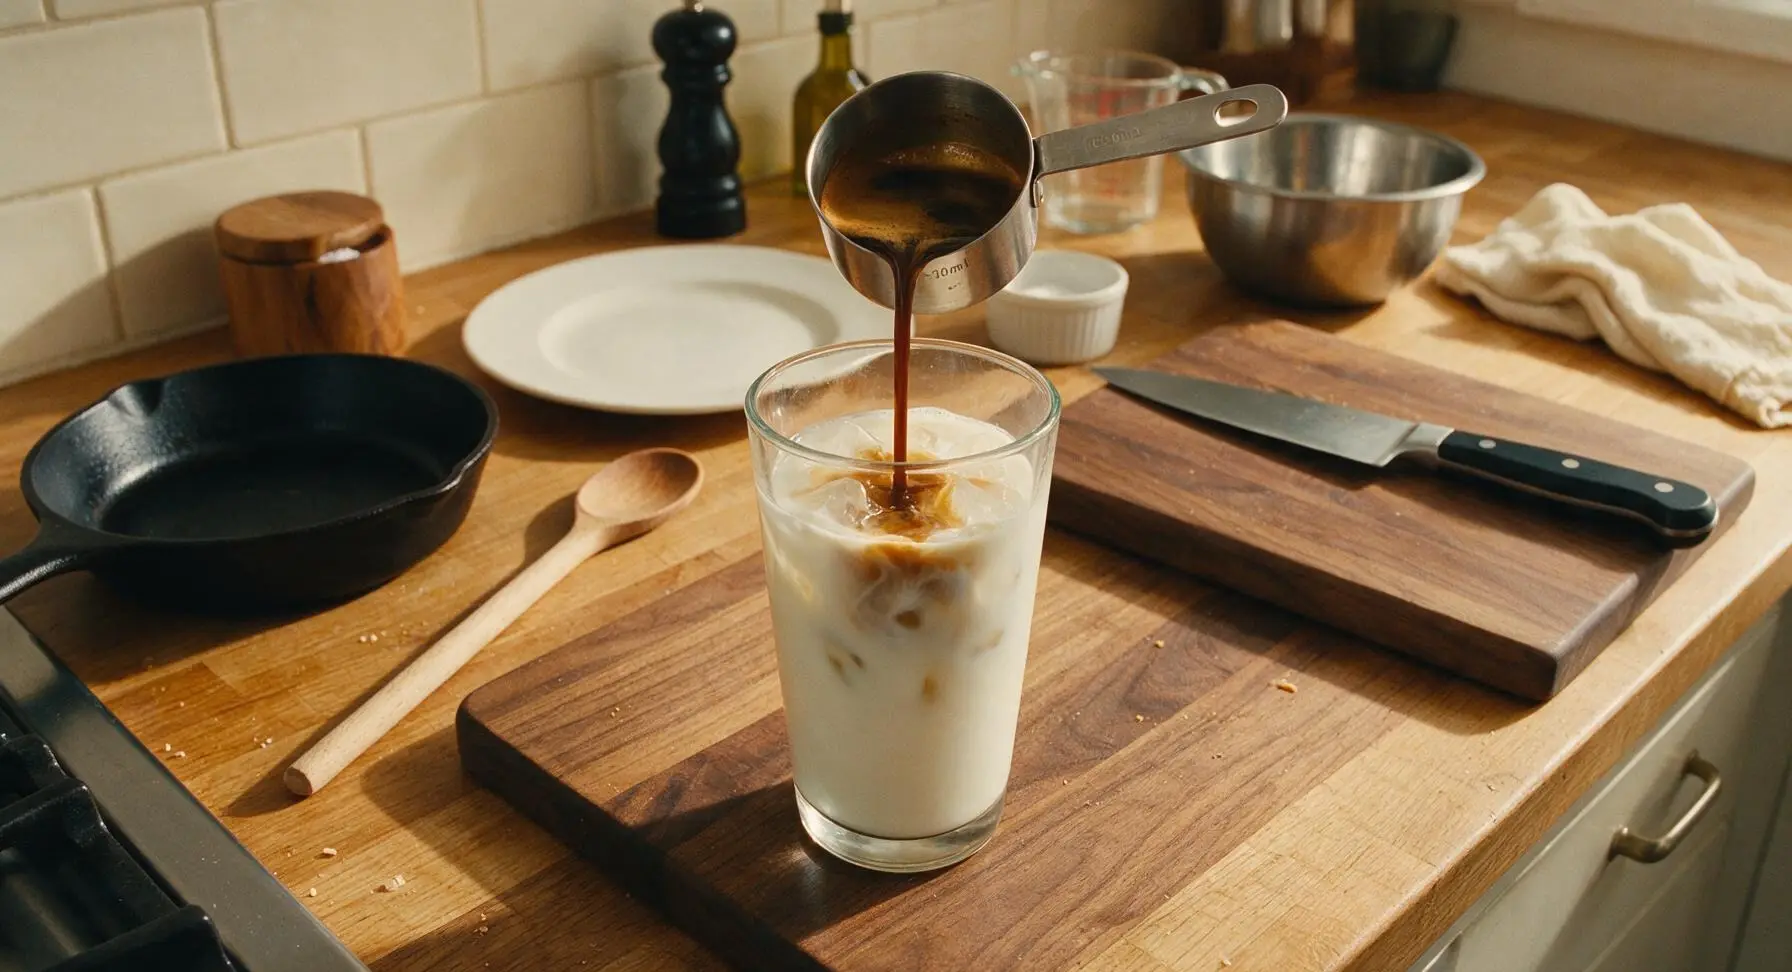
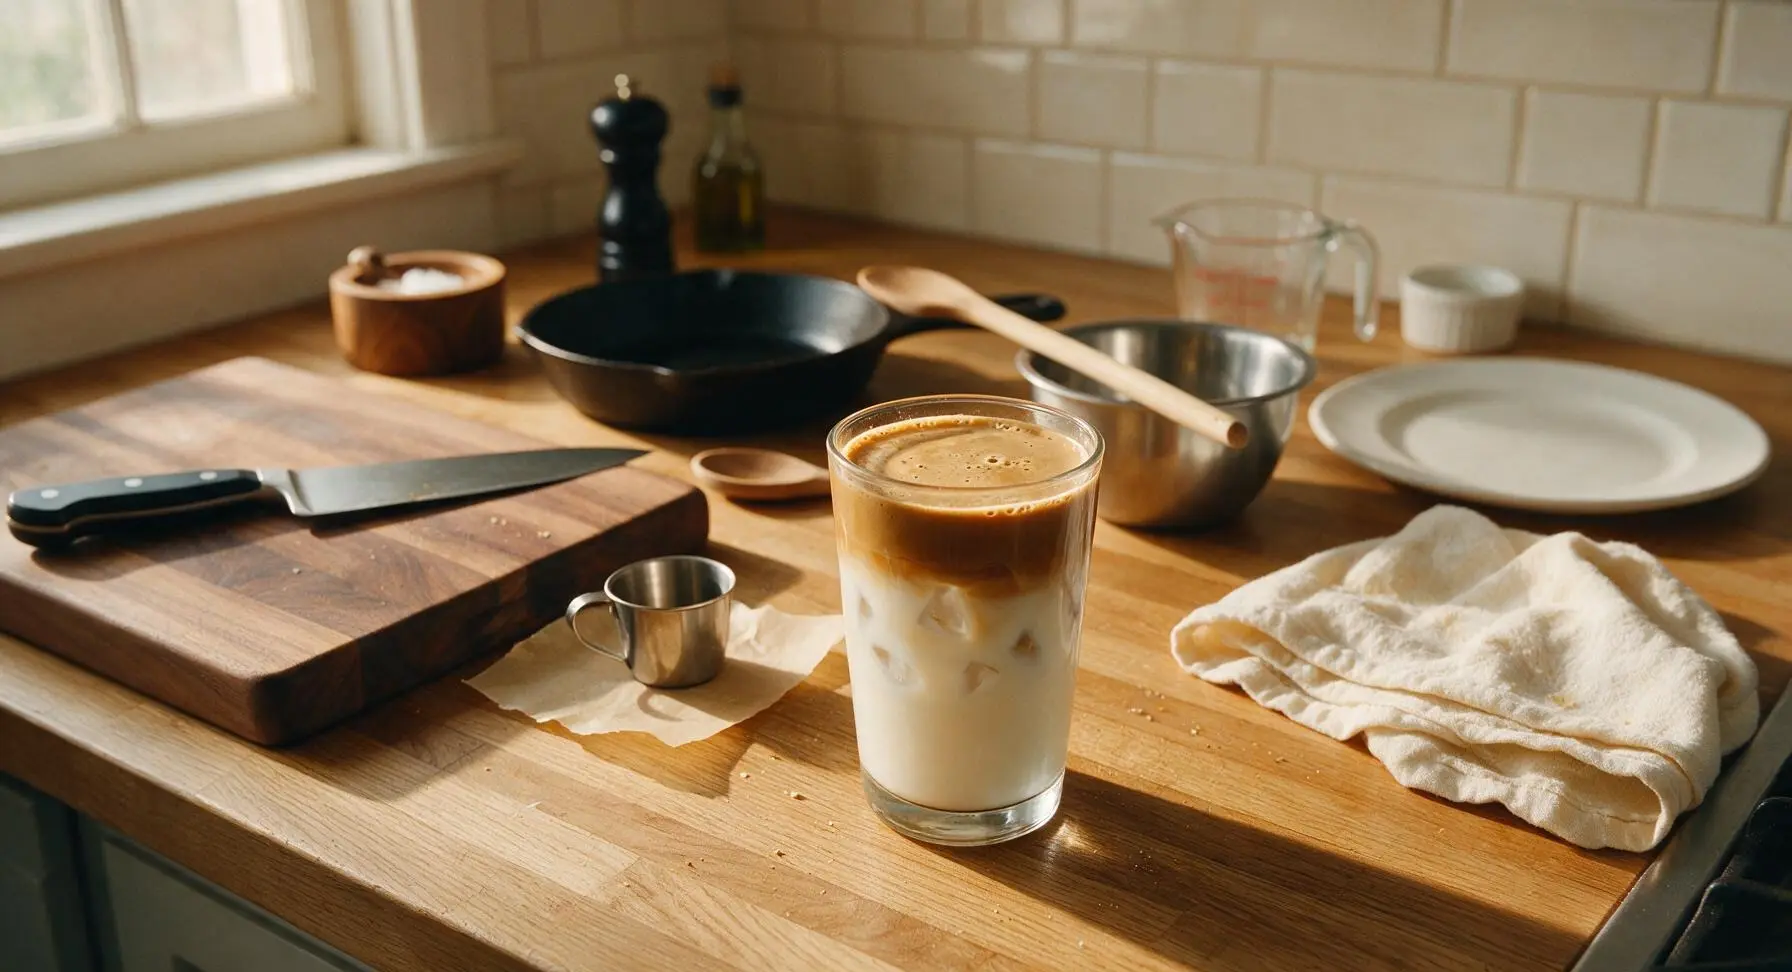
Stir Gently to Combine
Lift the long-handled polished stainless steel stirring spoon from its storage spot next to the simple syrup bottle on the back right, insert it into the glass, and stir slowly 3-4 times in a gentle circular motion to combine the espresso and milk into a uniform light tan color. Do not over-stir, as this will chip the ice cubes and cause excess dilution that weakens the coffee flavor. If you added simple syrup, scrape the bottom of the glass with the spoon to fully incorporate the heavier syrup.
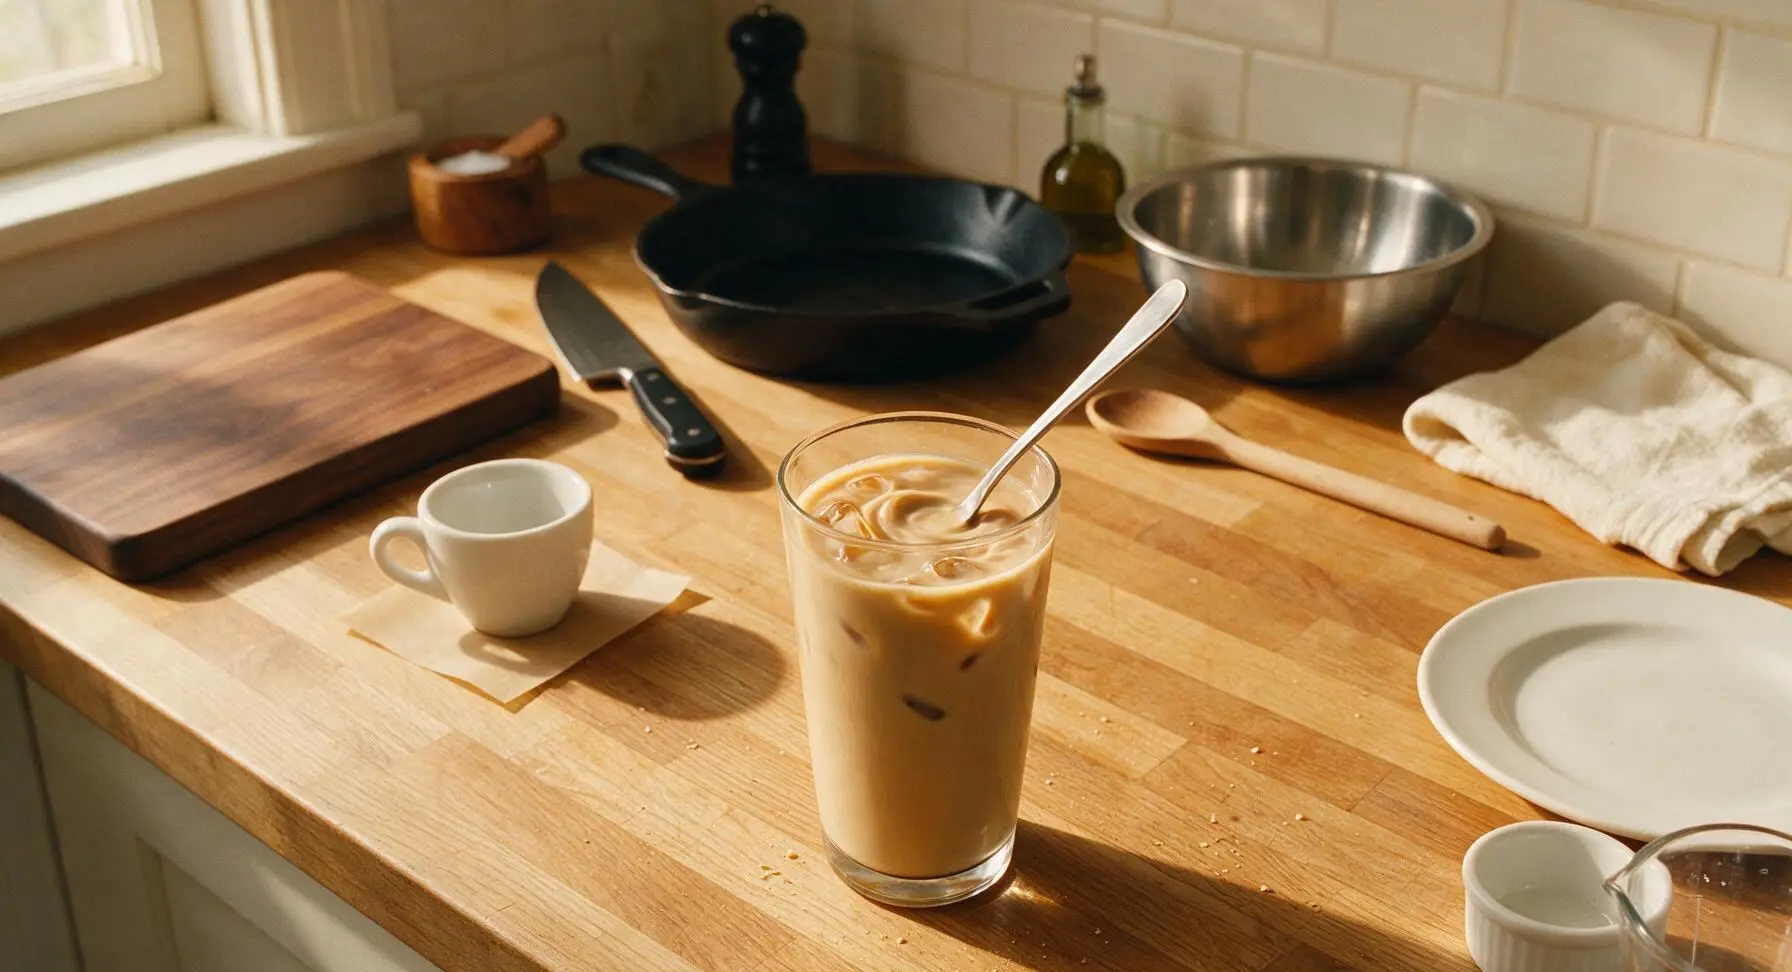
Serve Immediately
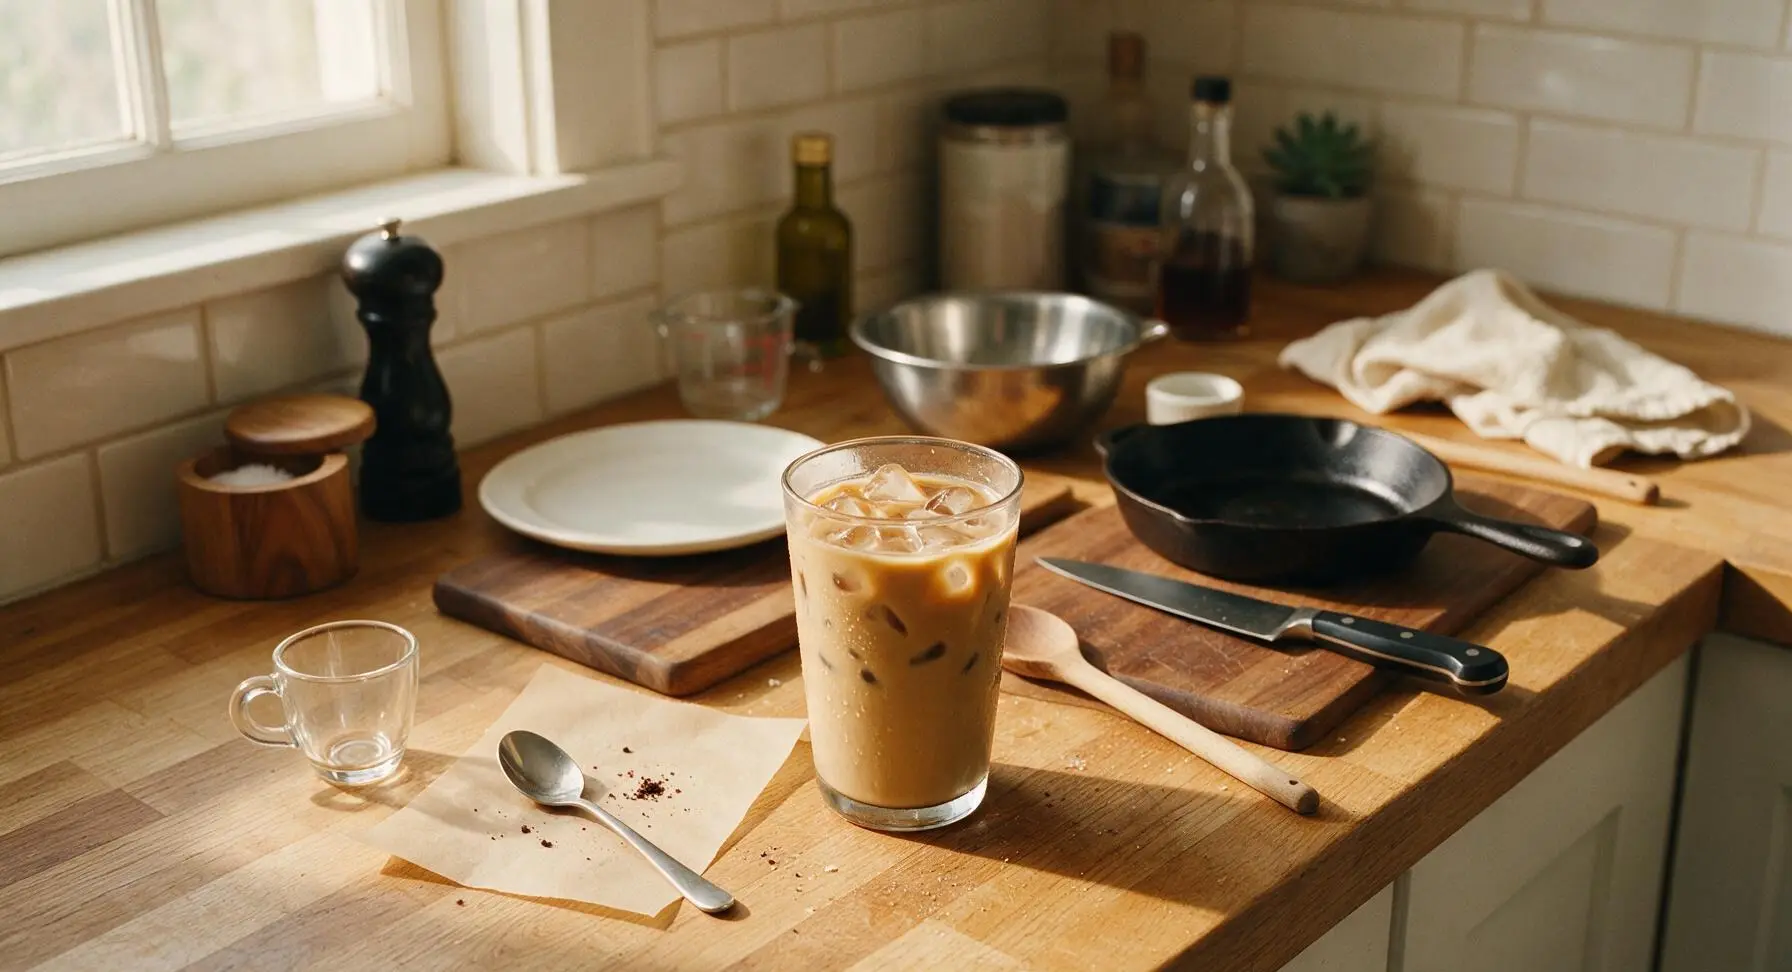
Lift the stirring spoon from the glass, and rest it on the fixed left parchment square next to the empty espresso cup. Top the latte with one extra ice cube if desired, or a light dusting of cocoa powder or cinnamon for extra flavor. Serve right away, while the ice is solid and the drink is ice-cold, with tiny condensation beads forming on the glass exterior.
Tips
2.Use large, dense ice cubes instead of crushed ice for classic iced lattes: large cubes melt 2-3 times slower than crushed ice, keeping your drink cold for 20-25 minutes without diluting the coffee and milk balance too quickly.
3.Use ice-cold whole milk (4°C/39°F) straight from the fridge: cold milk creates a better temperature contrast with the warm espresso, and its 3.25% fat content creates a smoother, richer mouthfeel than skim milk or room-temperature milk.






OMG this is SO much better than the iced lattes I grab from my local Starbucks every morning! Took me literally 2 minutes to throw together before work today, saved me $6 already. I used oat milk like I usually get and it was perfect, no weird bitter aftertaste at all. Total game changer for my morning routine!
Tried this for a little backyard pool hangout with my roommates over the weekend, everyone was raving about it! I added a tiny splash of vanilla syrup to a couple of the glasses for the people who like sweeter drinks, and even the black coffee purists in the group liked the plain version. Way easier than I thought it would be, no fancy equipment needed at all.
Made these after school for my kids yesterday as a little end-of-week treat, they went crazy for them! I used a little chocolate milk instead of regular for my youngest who refuses to drink plain milk, and he didn’t even notice the difference from the fancy coffee shop drinks he begs for when we run errands. 10/10, will be making these on repeat all summer long.
I’ve been adding this to my weekly meal prep! I batch make the espresso shots on Sunday, keep them in mason jars in the fridge, and then I can pour this over ice with milk in literally 30 seconds when I get to work. Saves me so much time during the week when I’m running out the door late. Only tiny note is don’t skip chilling the espresso first, otherwise it melts all the ice way too fast and gets watery. Otherwise it’s perfect!
Wait, can I make this with regular strong brewed coffee if I don’t have an espresso machine? I don’t have any fancy coffee gear at my apartment and I don’t want to buy an espresso maker just for lattes, lol. This looks so good I need to try it asap!