
lamb weston super crispy tots
intro
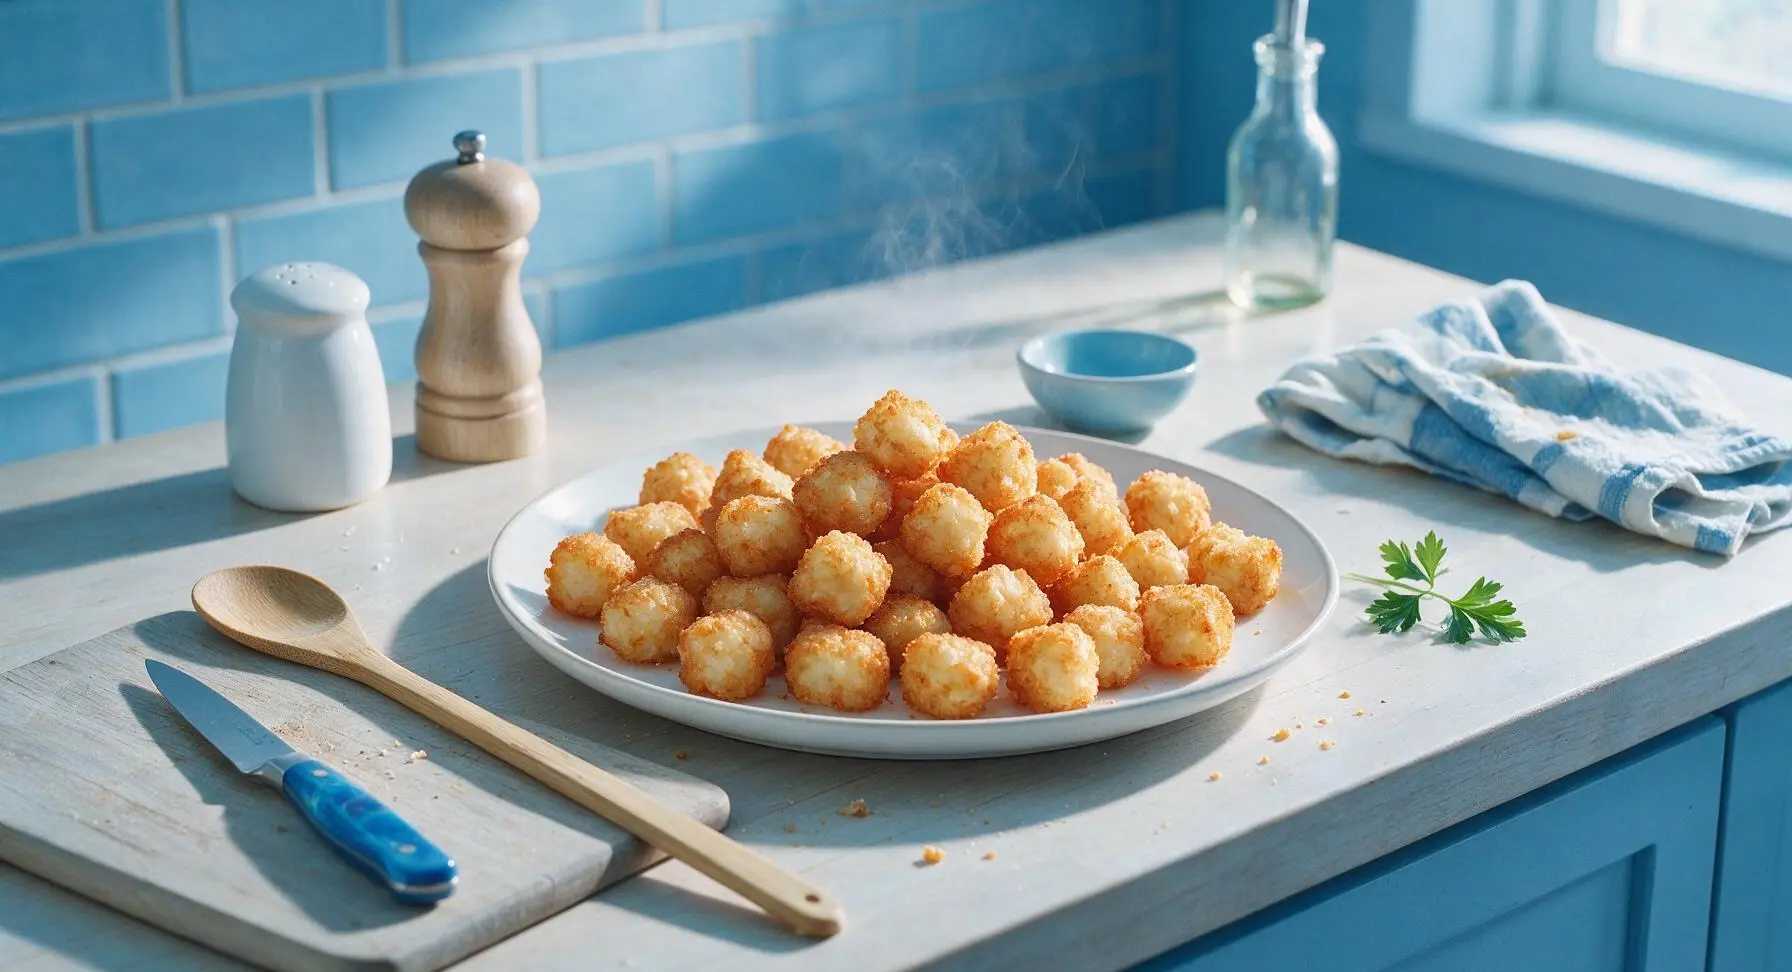
Shatteringly crisp on the outside, light and fluffy inside, these perfectly cooked Lamb Weston super crispy tots are seasoned to perfection, ideal for sharing and dipping on game night.
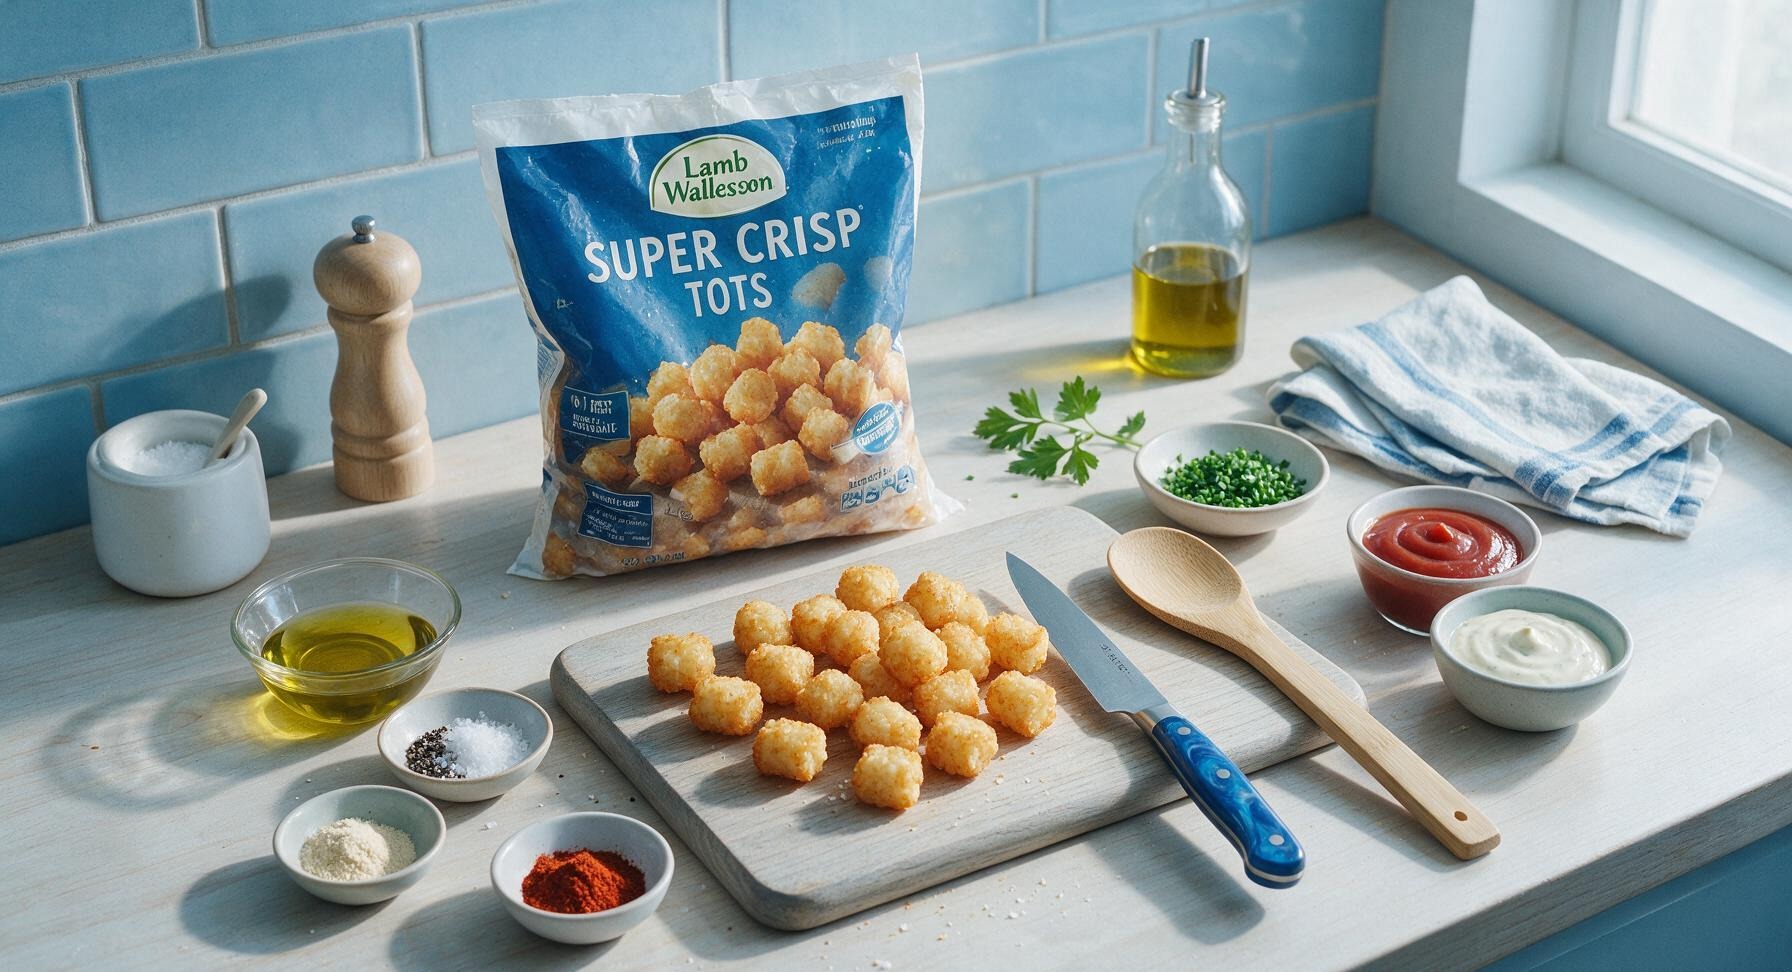
Ingredients
Steps
Preheat Oven, Prep Pan
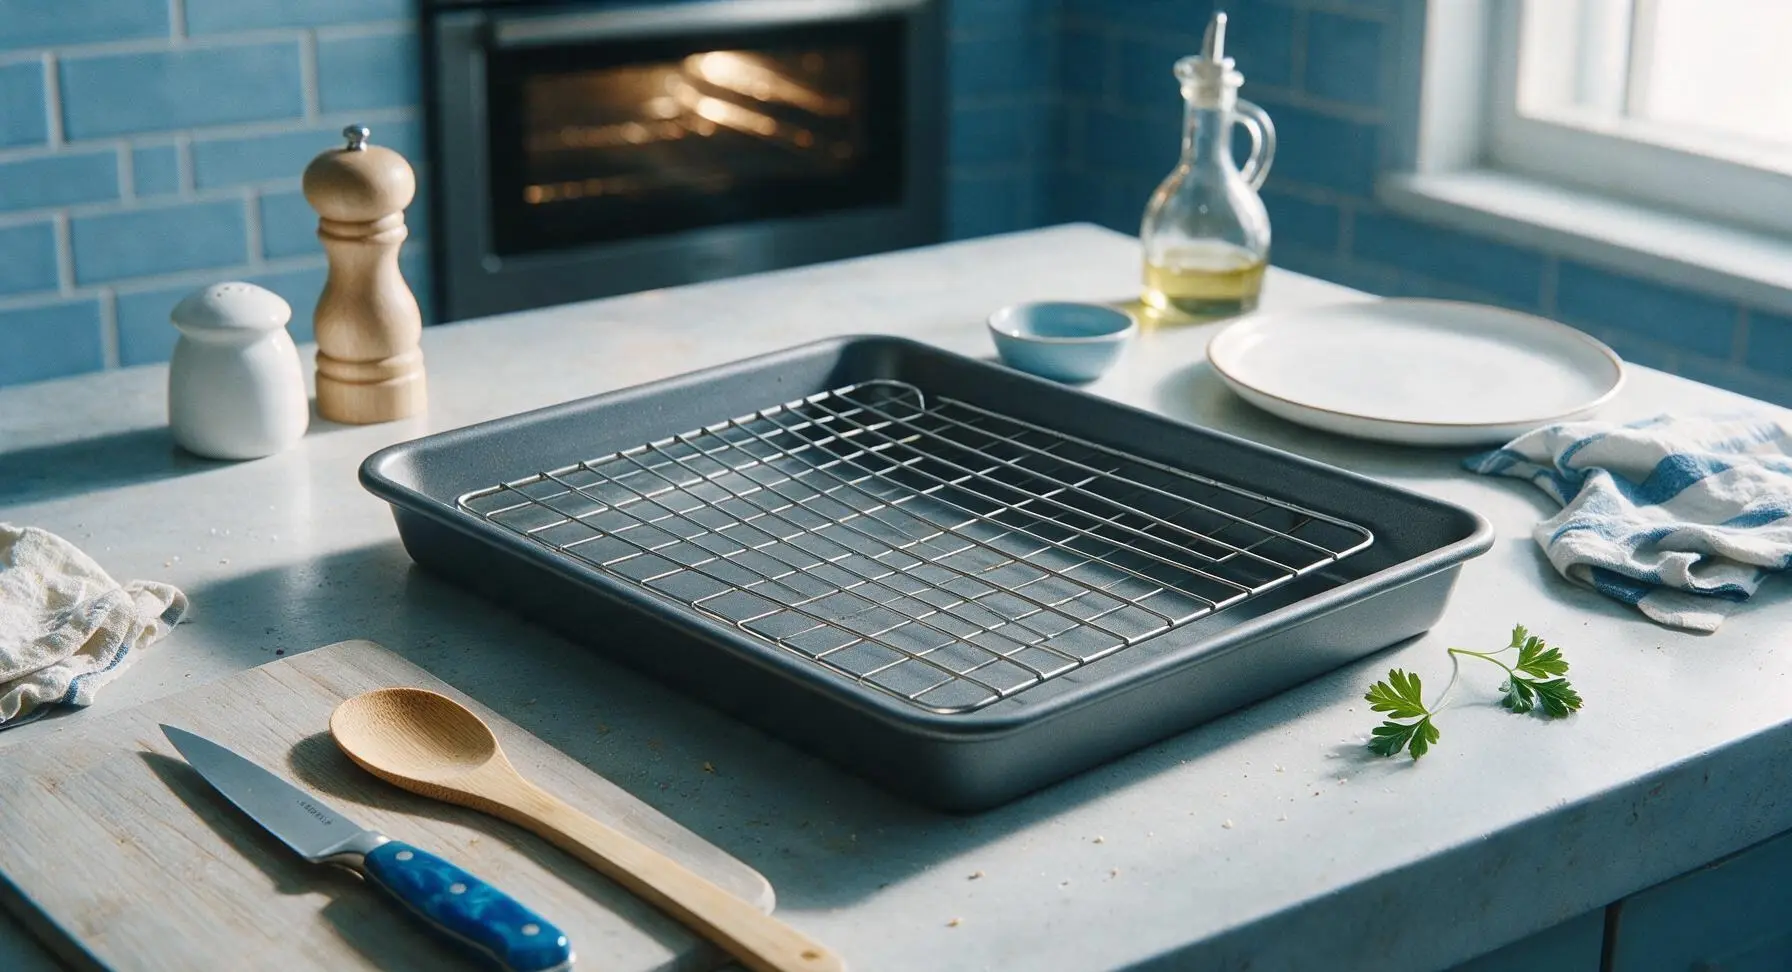
Adjust your oven rack to the middle position, then preheat the oven to 425°F (220°C). Set the stainless steel wire cooling rack securely inside the matte dark gray half-sheet pan, ensuring it sits level across the pan surface. Do not line the pan or rack with parchment paper, aluminum foil, or excess cooking spray at this stage, as these materials trap steam and prevent all-over crisping.
Mix Seasoning Blend
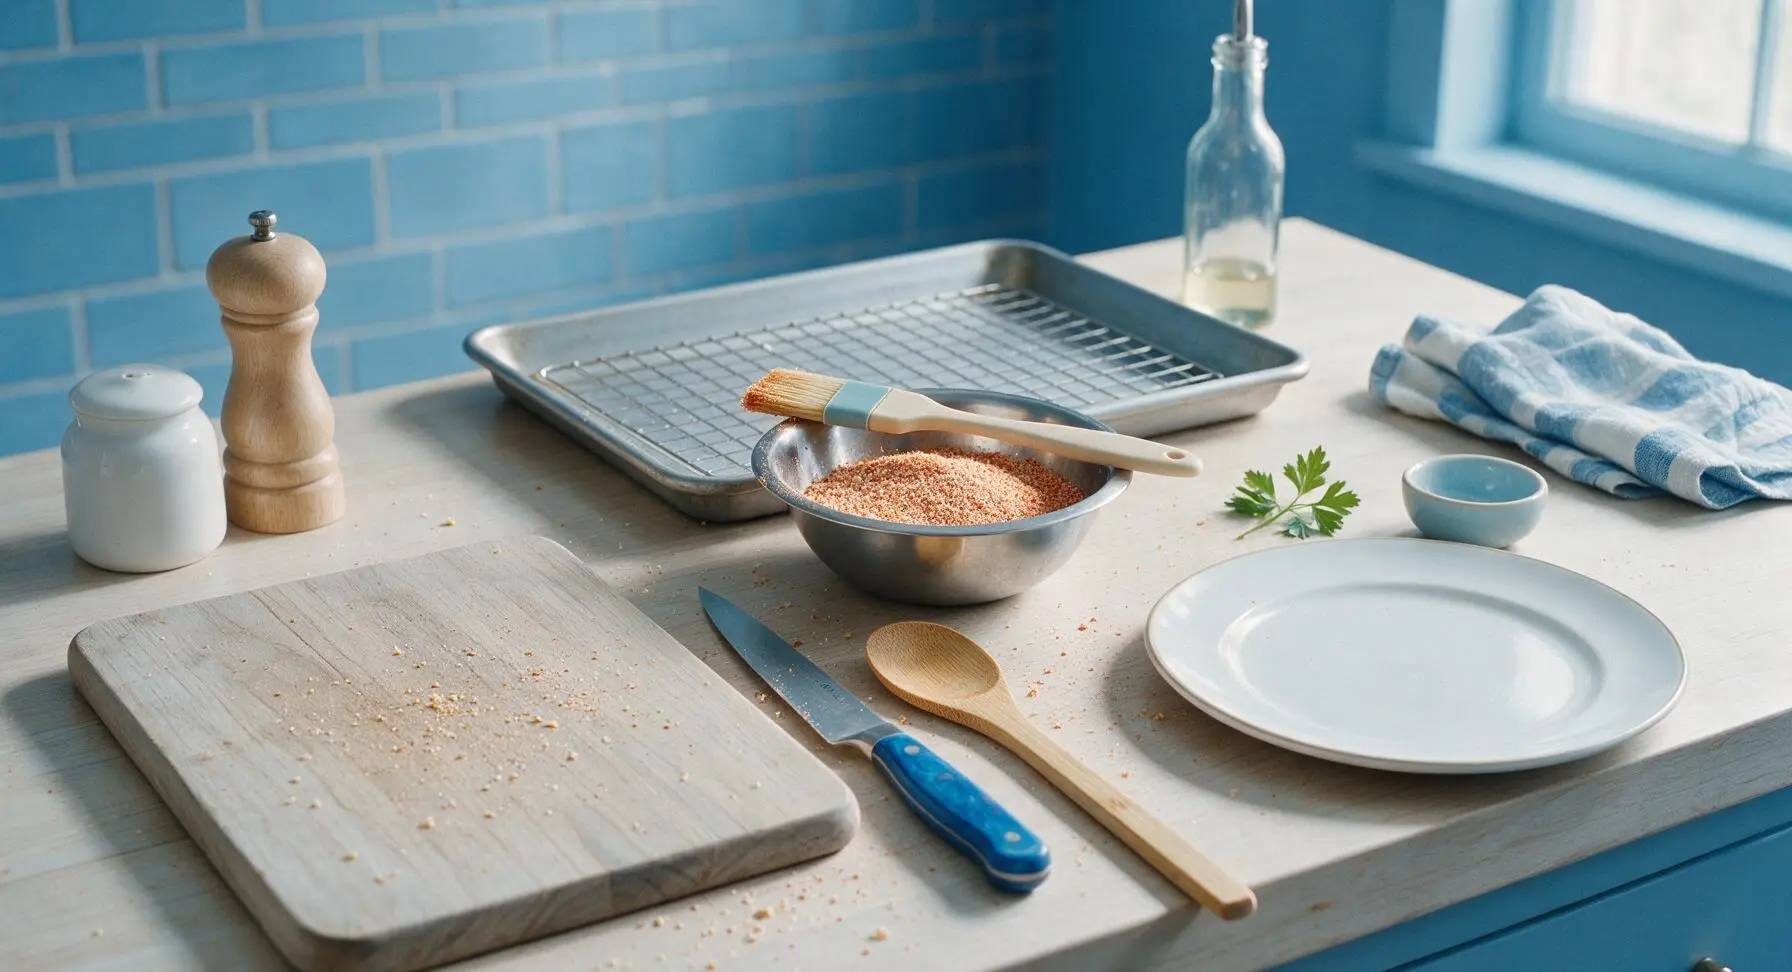
In the small polished stainless steel mixing bowl, combine 3/4 teaspoon flaky sea salt (reserve the remaining 1/4 teaspoon for final finishing), 1/2 teaspoon freshly ground black pepper, 1/4 teaspoon garlic powder, and 1/4 teaspoon smoked paprika. Stir the spices together with the tip of the silicone pastry brush until fully blended into an even, pale reddish-tan mixture.
Arrange Tots on Rack
Open the 28oz bag of frozen Lamb Weston super crispy tots, pouring them directly onto the wire rack set in the half-sheet pan. Use the spring-loaded stainless steel tongs to spread the tots into a single, uncrowded layer, leaving 1/2 inch gaps between pieces where possible. Overcrowding or stacking tots traps steam, which leads to soft, soggy sides instead of crisp crusts.
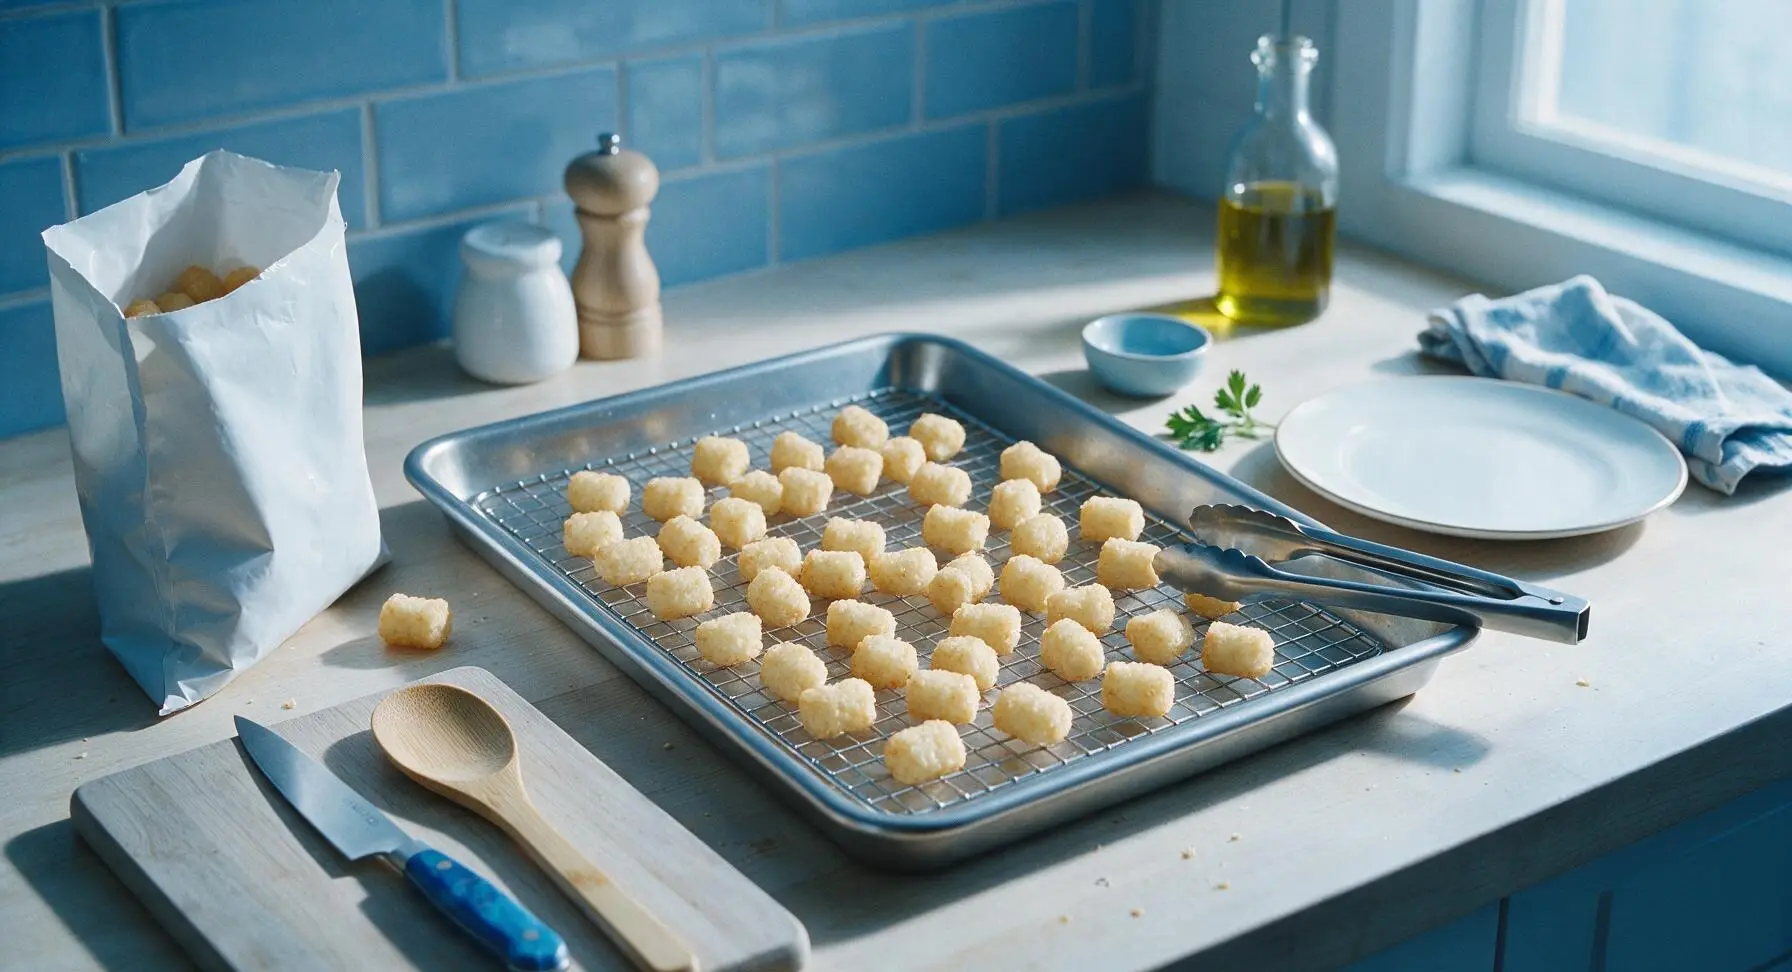
Coat Tots Lightly with Oil
Drizzle 1 teaspoon of extra-virgin olive oil evenly over the arranged frozen tots. Use the silicone pastry brush to spread the oil into a thin, even coat across every tot surface, covering any dry, floury frozen spots. Avoid applying excess oil, as too much oil will make tots greasy rather than crisp.
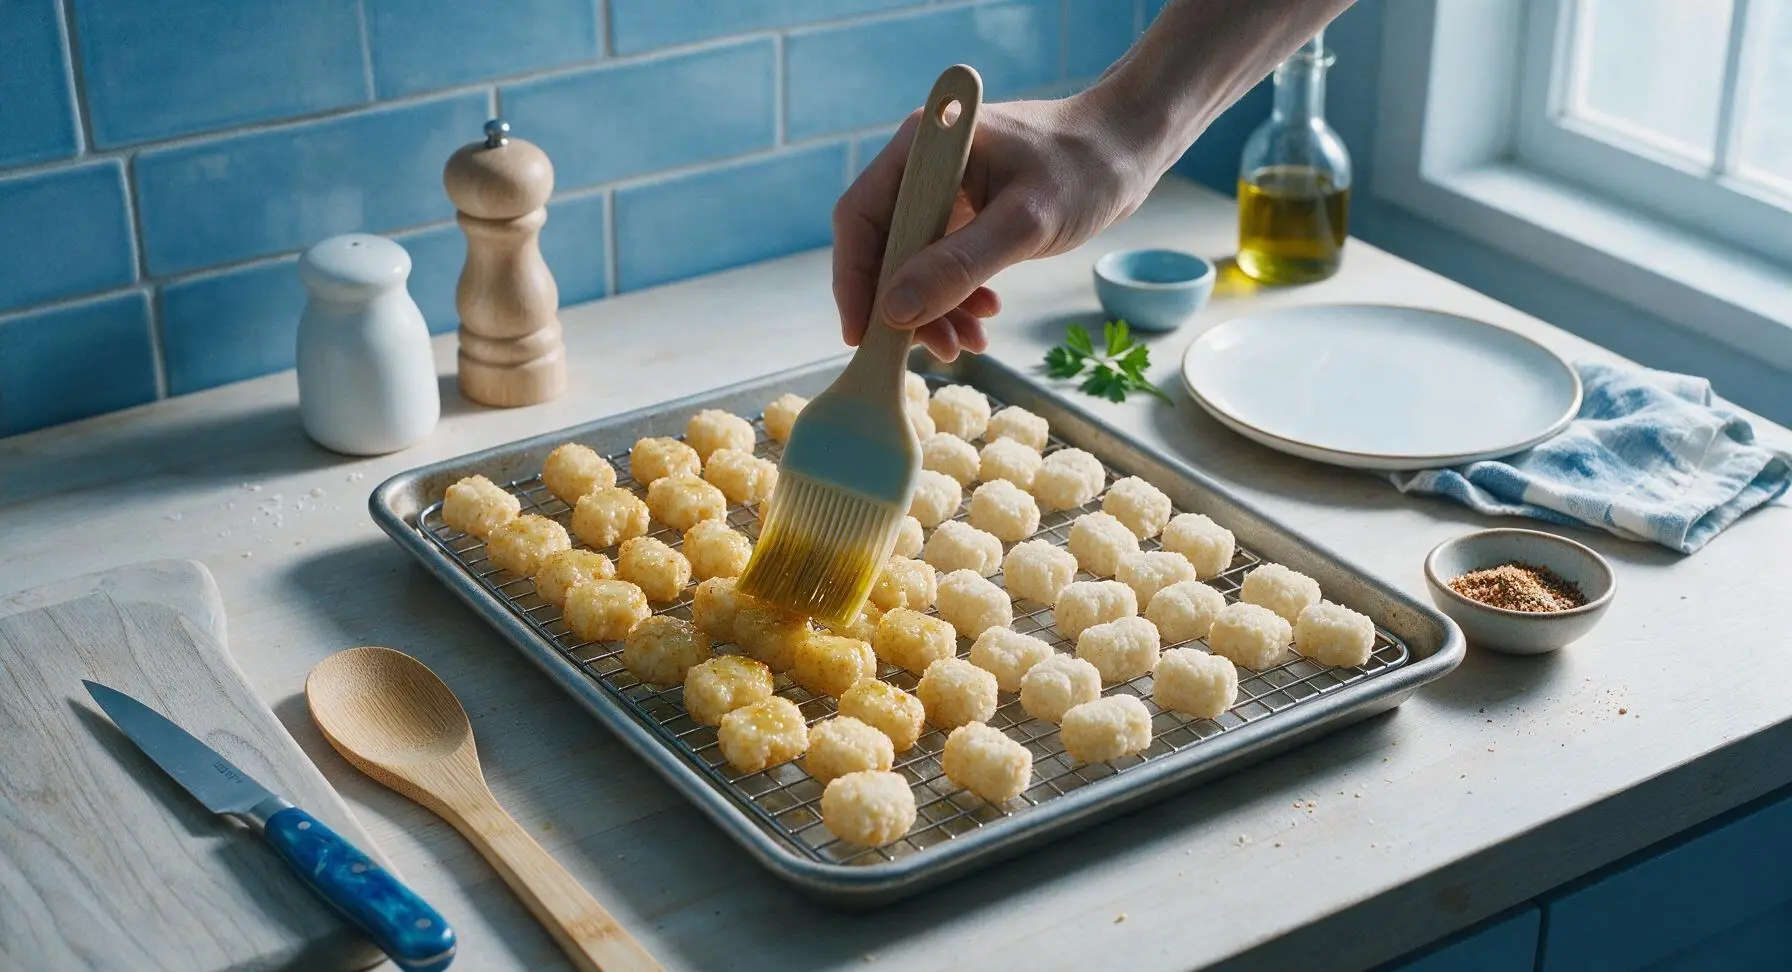
Bake First Side Undisturbed
Carefully transfer the pan with oiled tots to the preheated middle oven rack. Bake for 15 minutes at 425°F (220°C) without opening the oven door. Do not stir, shake, or flip the tots during this first bake period, as the developing crust needs time to set fully.
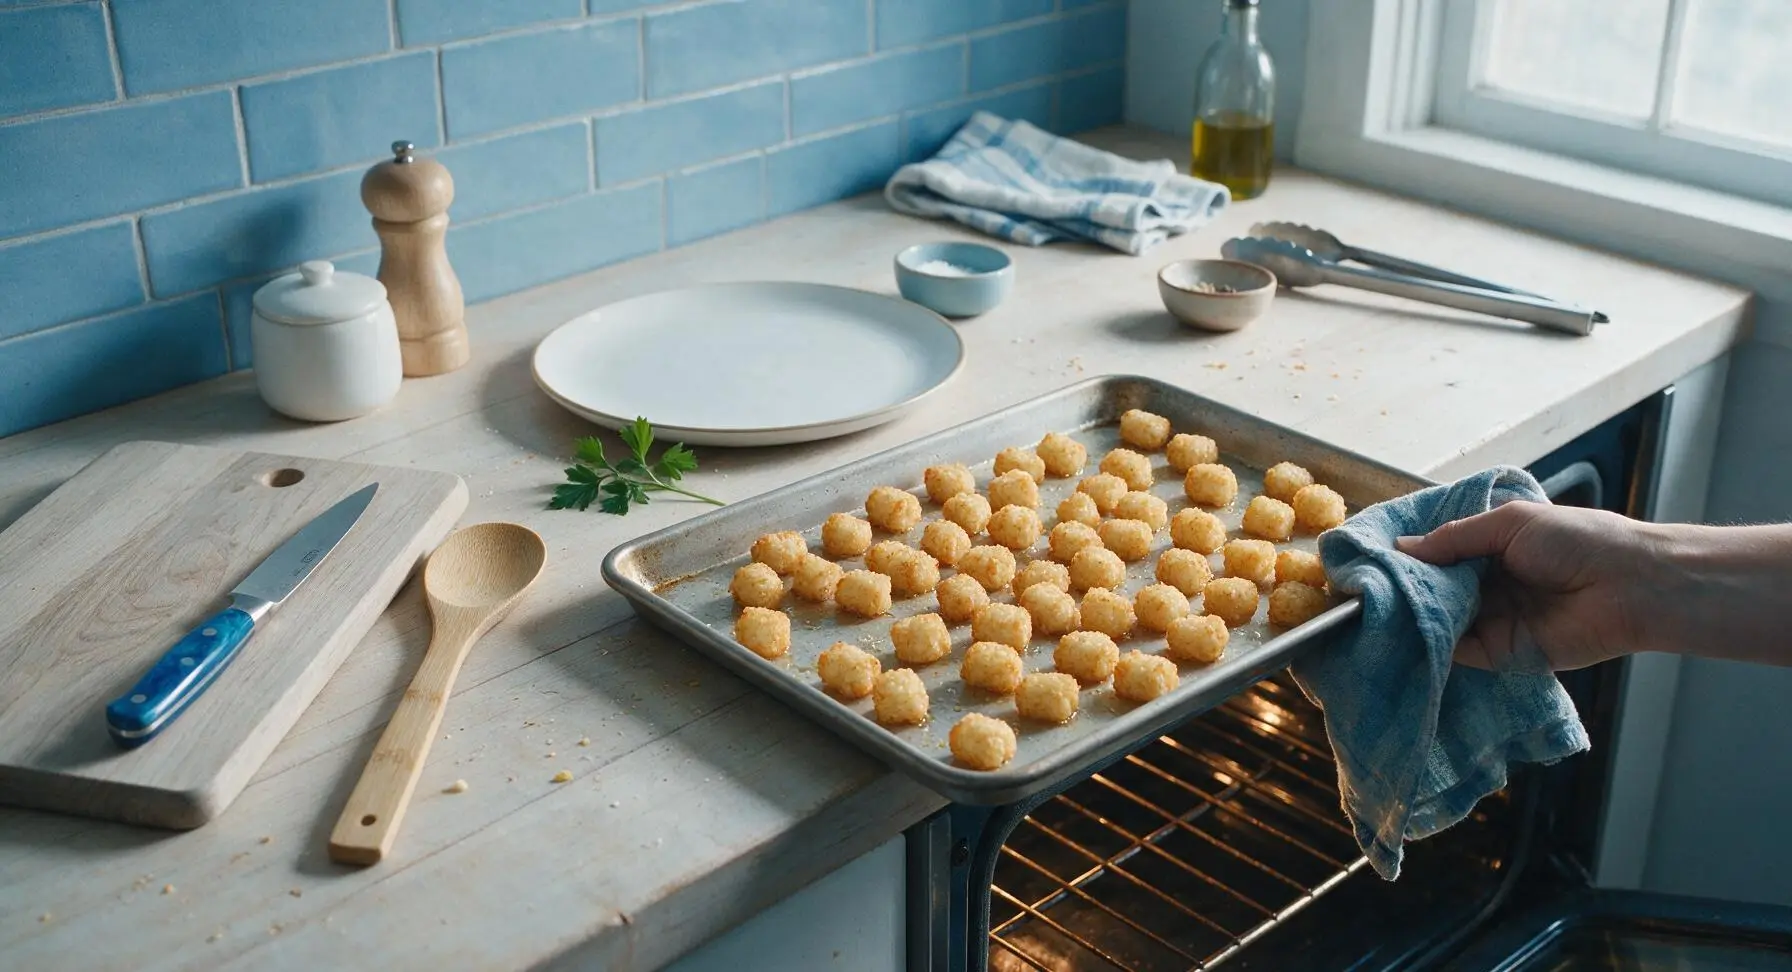
Flip Tots Carefully
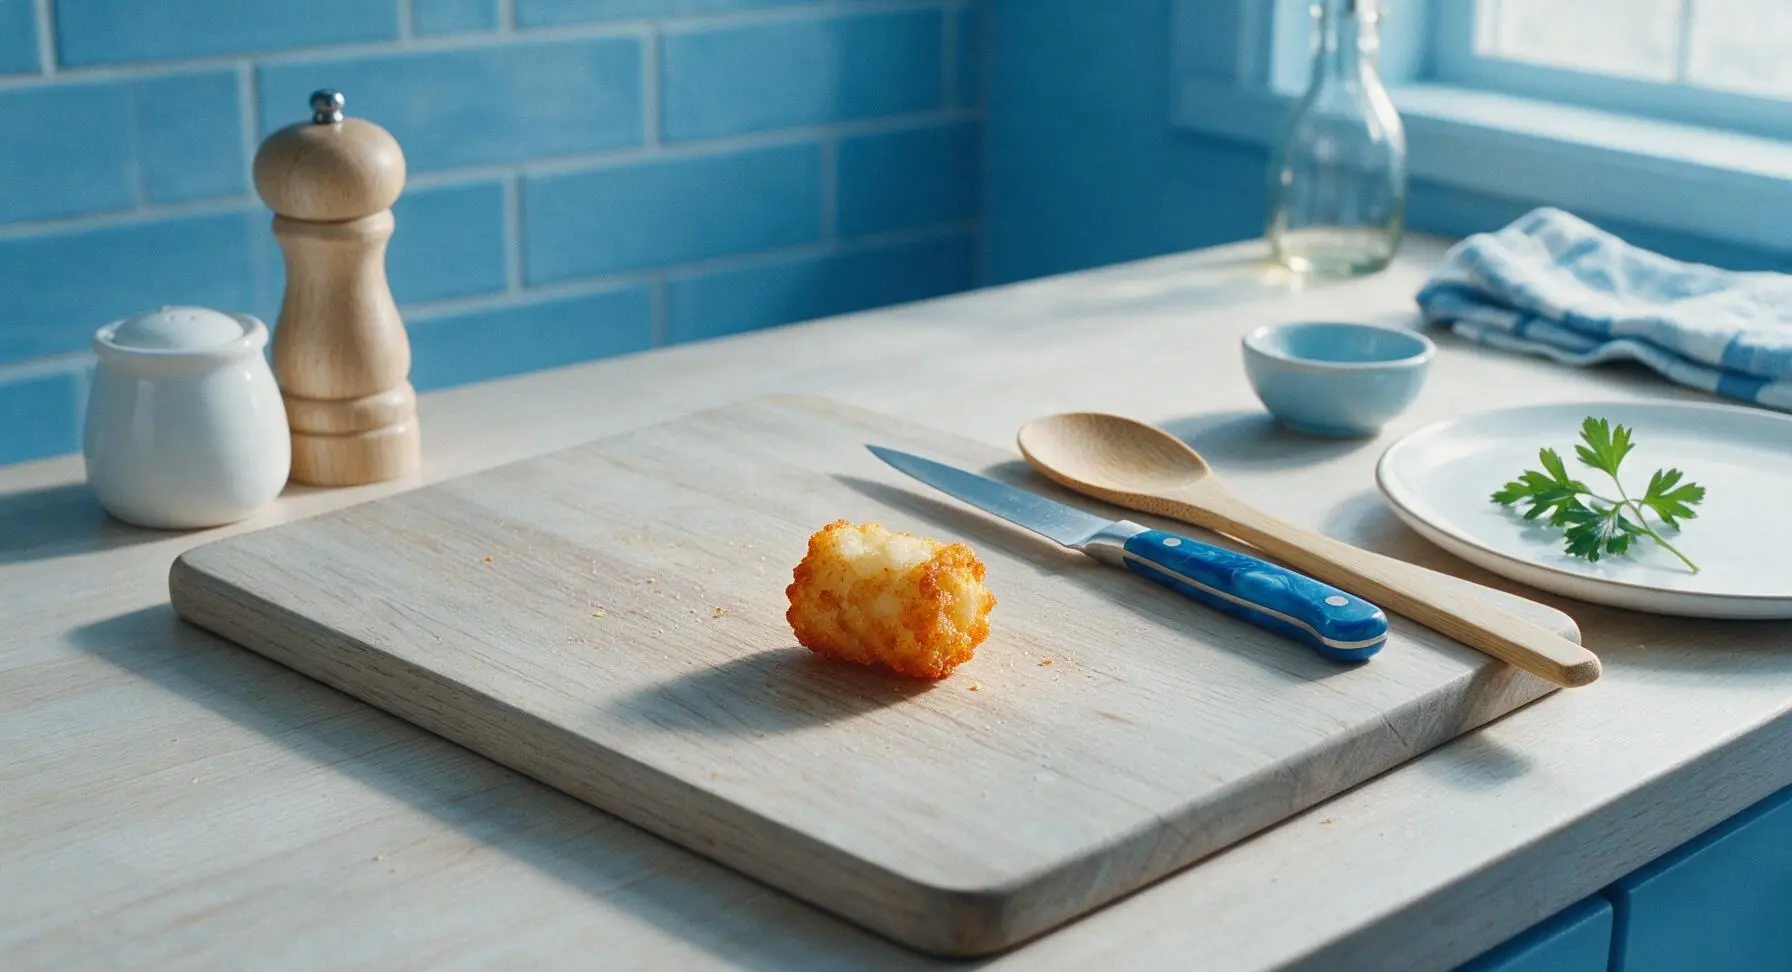
After the first 15 minutes of baking, pull the pan out of the oven, closing the oven door immediately to retain heat. Use the stainless steel tongs to gently flip every tot, taking care not to scrape or tear the golden crust that has formed on the cooked bottom. The cooked side should be deep golden brown and firm to the touch, not pale or soft.
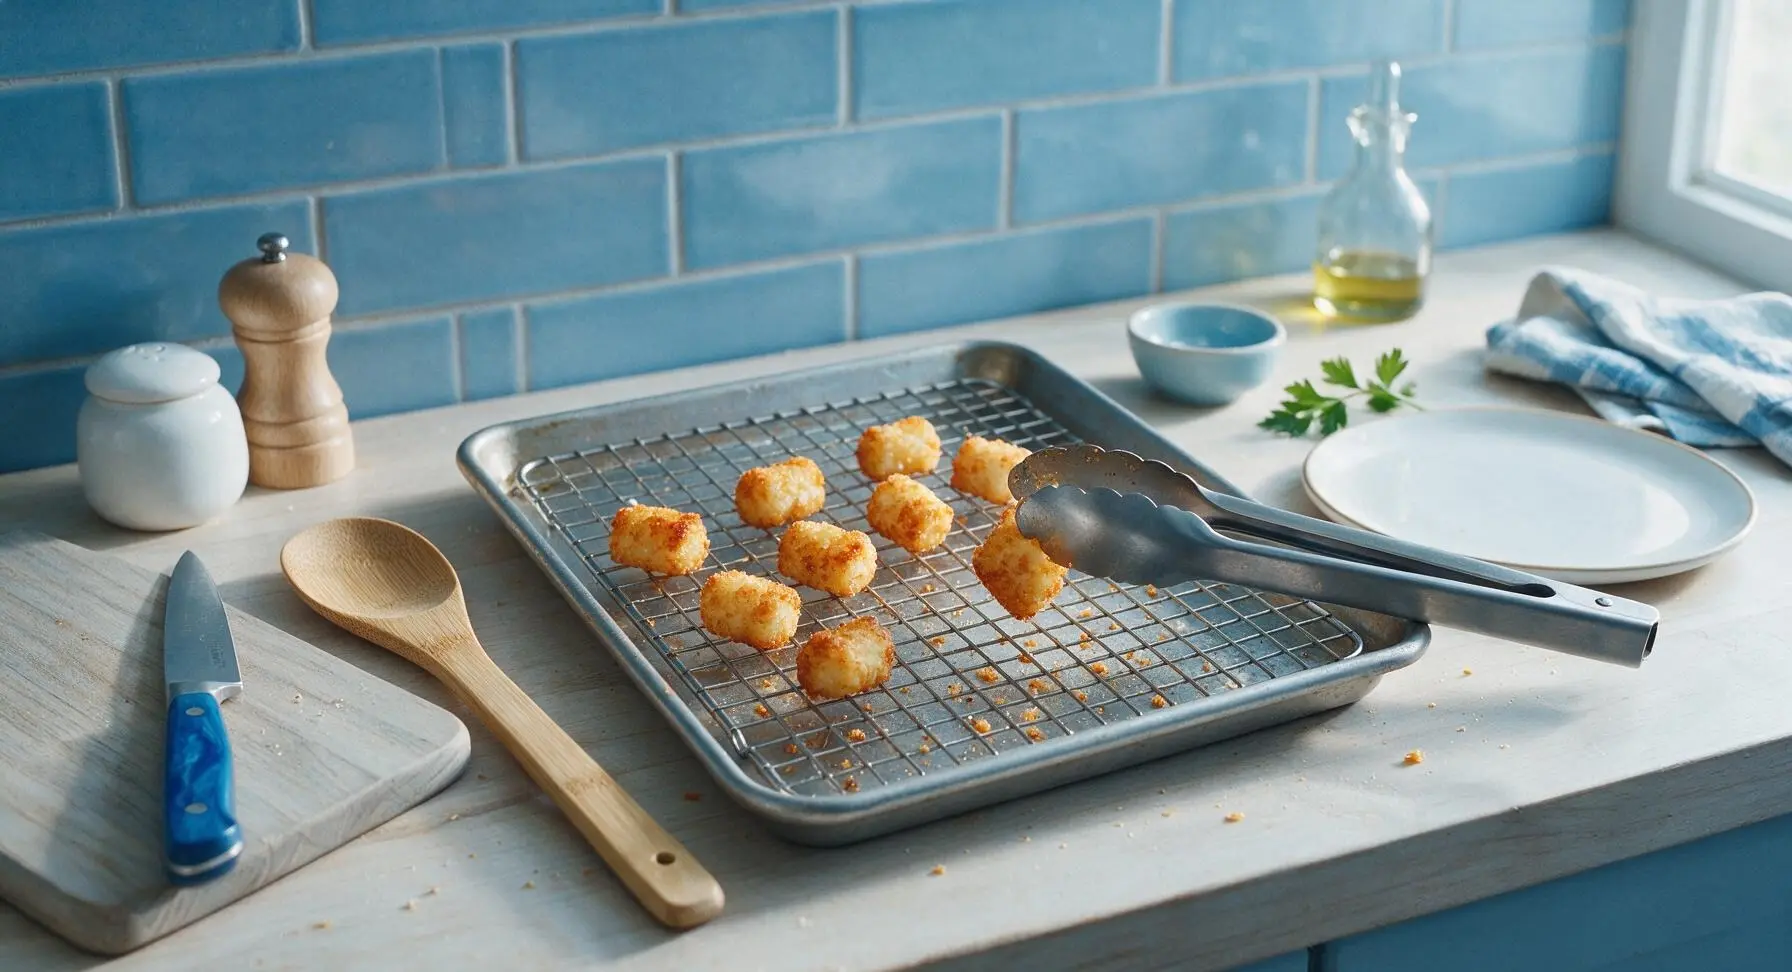
Bake to Full Crispness
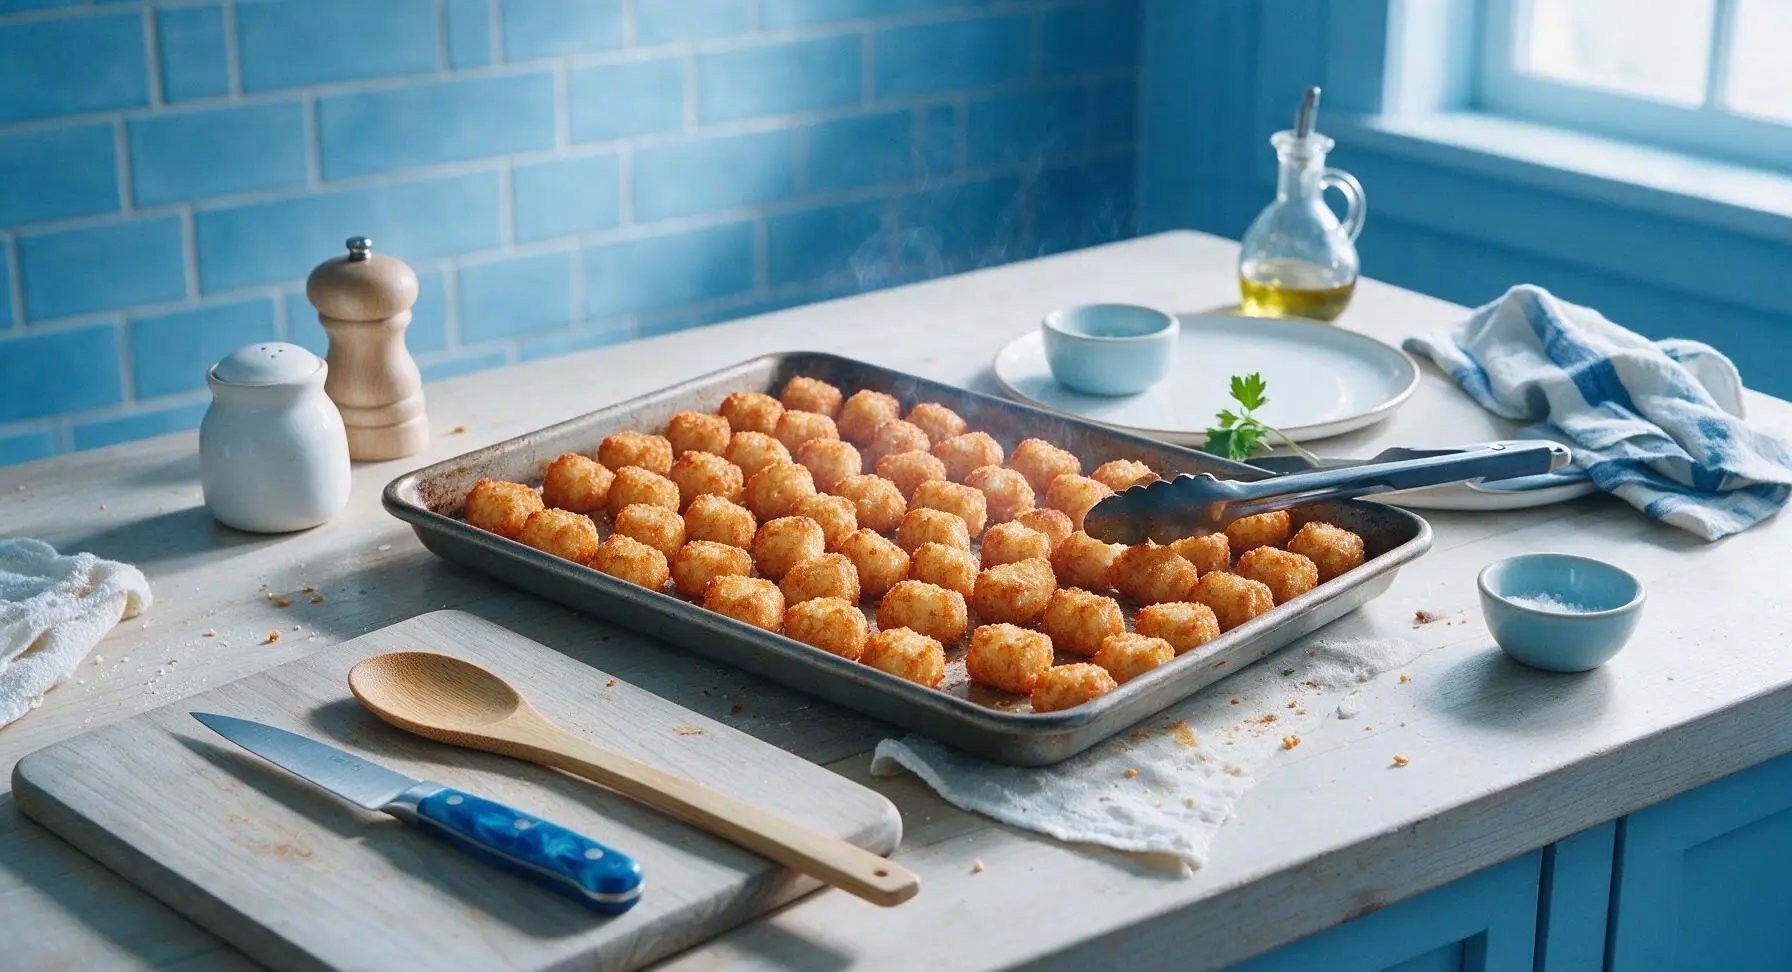
Return the pan to the middle oven rack, baking for an additional 10-12 minutes at 425°F (220°C). Tots are done when all sides are deep golden brown, firm to the touch, and produce a light hollow, crisp sound when tapped gently with the tongs. Total cook time will be 25-27 minutes; add 1-2 minutes if your oven runs cool, or reduce by 1 minute if it runs hot.
Season Tots While Hot
While the tots are still piping hot (immediately after removing from the oven), pull the small light oak cutting board forward and finely chop the fresh chives into 1/4 inch pieces with the chef's knife. Sprinkle the pre-mixed spice blend evenly across all tot surfaces, top with the reserved 1/4 teaspoon flaky sea salt, then scatter the chopped chives over the tots for bright color and mild onion flavor.
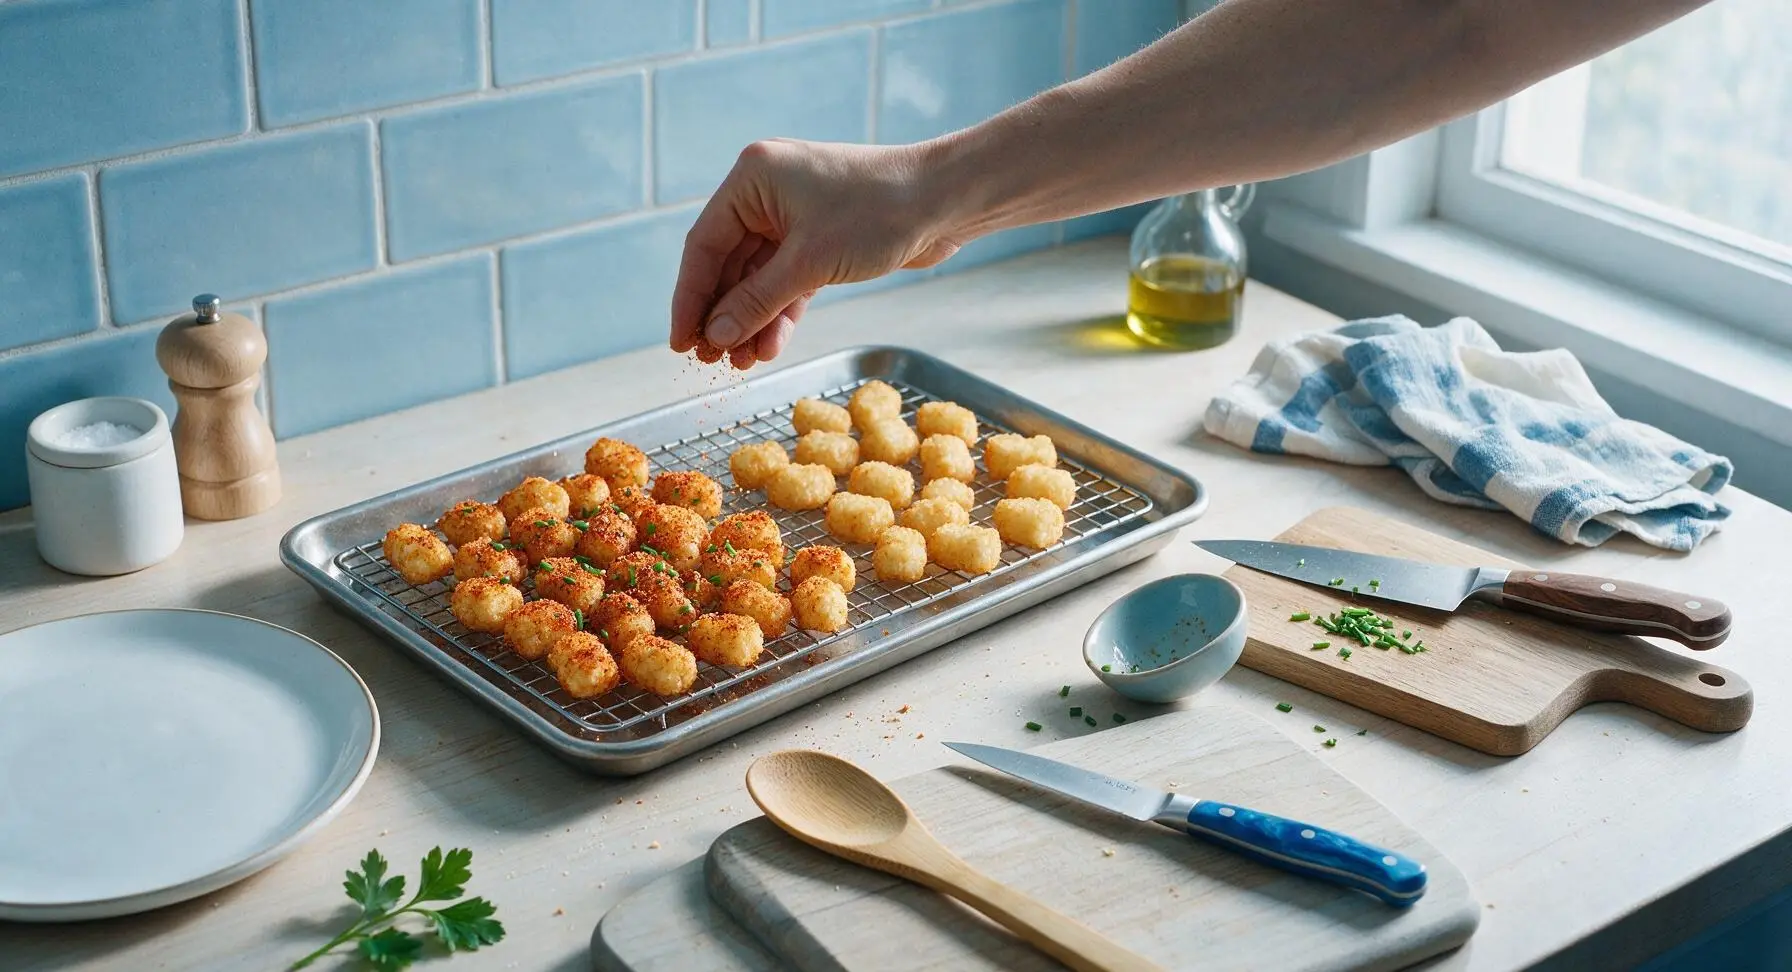
Plate and Serve Immediately
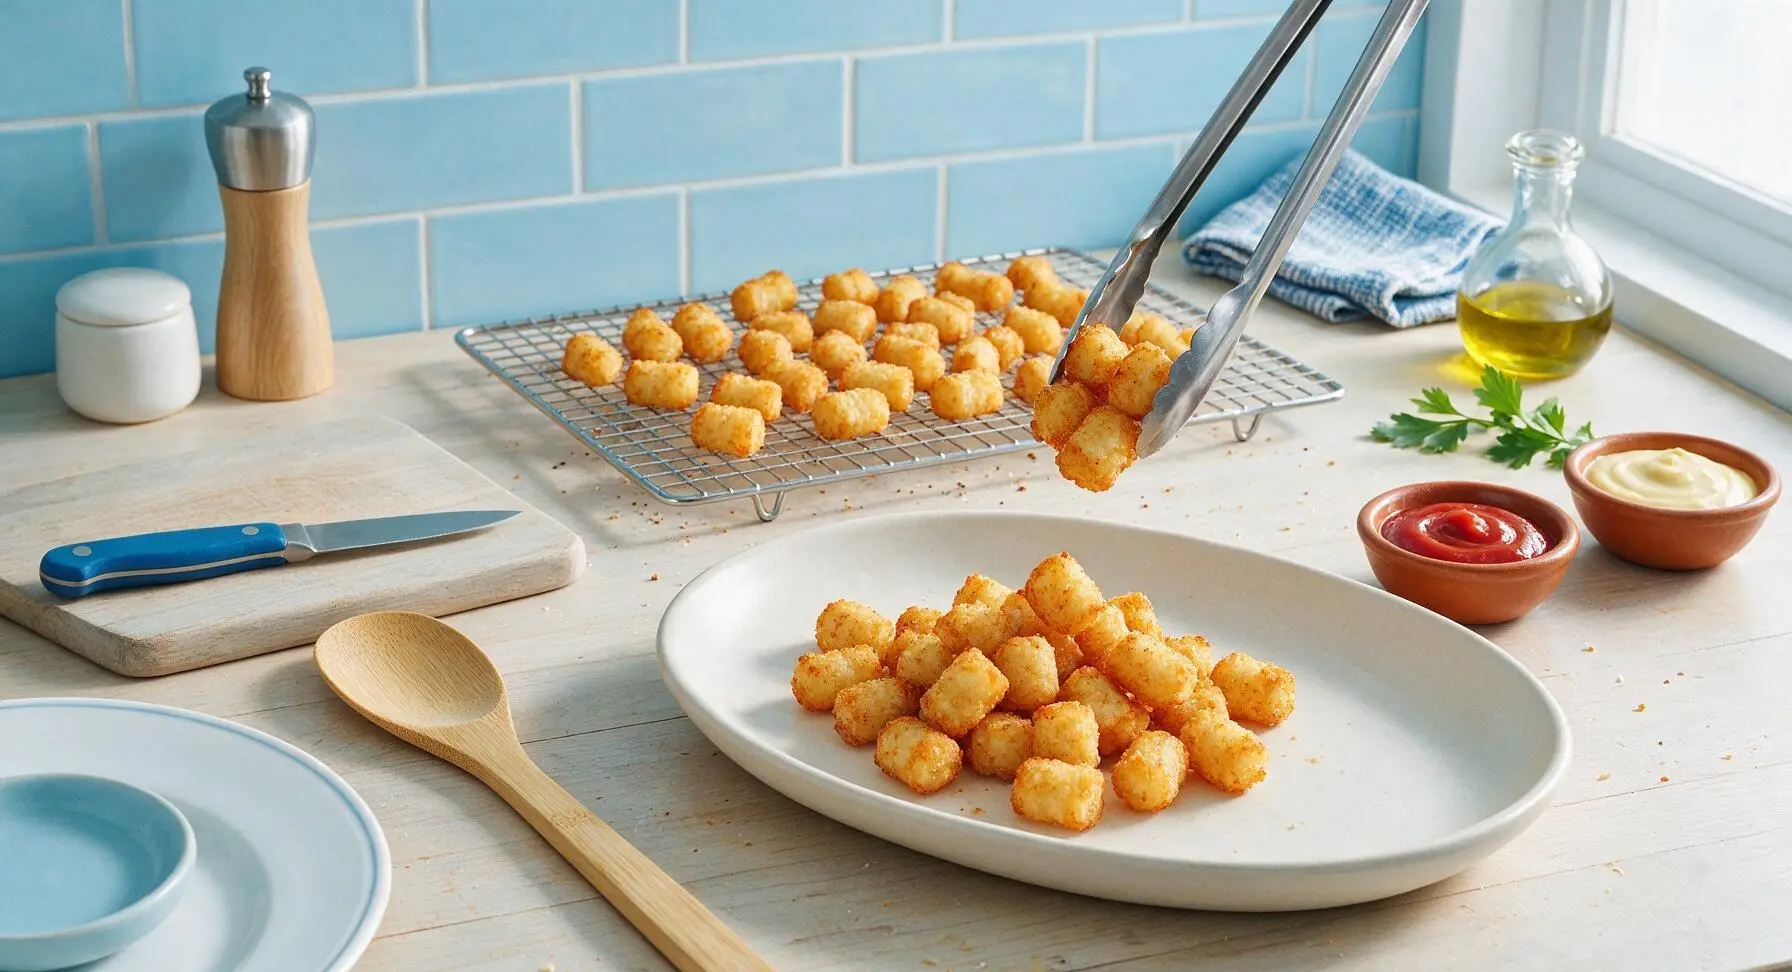
Use the tongs to transfer the hot, seasoned tots to the matte off-white ceramic serving platter, piling them in a loose, natural mound. Fill the two terracotta dipping bowls with ketchup and garlic aioli, setting them alongside the platter. Serve right away, as tots are crispiest within the first 10 minutes after coming out of the oven.
Tips
2.Skip parchment paper or foil liners on your baking sheet, and always use a wire rack insert. Liners trap steam against tot surfaces, while the elevated rack allows 360-degree hot air circulation to crisp every side without deep frying.
3.Resist the urge to flip or stir tots during the first 15 minutes of baking. The crispy outer crust needs time to fully set; moving tots too early will tear the delicate crust, leave pieces stuck to the rack, and create uneven soft spots.






OMG these came out SO crispy! I’ve been messing up frozen tots for years, always ending up with soggy sad little potato lumps. Followed this exact method for game night last weekend and my crew demolished the whole bag in 10 minutes. Total game changer for quick weeknight sides too.
Super easy to make, but mine were a little less crispy than I hoped after 25 minutes. Did I crowd the pan? I used a standard baking sheet, maybe I should’ve split them between two? Still tasty, just not next level crispy like the pics.
Made these for our neighborhood potluck last week and people were asking me for the recipe left and right! Who knew a few simple tweaks to the bag instructions could make tots taste this good? Dipped them in spicy garlic aioli, chef’s kiss.
Perfect for my weekly meal prep! I make a big batch on Sunday and reheat them in the air fryer for 3 minutes when I need a quick side with my burgers or chicken strips. They stay way crispier than any other tot brand I’ve tried.
My kids loved it! I’ve been fighting dinnertime battles with my 4 and 6 year old for months, but they ate every last tot on their plates and asked for seconds. I sprinkled a little parmesan on top right when they came out of the oven and they went wild. Easy, fast, zero complaints — 10/10.
So happy these are gluten free and turn out this crispy! I’ve had such bad luck with frozen GF sides that turn out mushy or weirdly textured, but these are perfect. Served them with chili and cheese for a cozy weekend dinner and it was chef’s kiss.
Has anyone tried making these in the air fryer instead of the oven? The recipe says 25 minutes for the oven, I don’t want to burn them by guessing the air fryer temp and time.
Made these for our football watch party yesterday with a whole spread of dips — queso, ranch, buffalo chicken dip, you name it. These tots held up to every single dip, no sogginess even after sitting out for a couple hours. Way better than the generic store brand tots I usually grab. Will be repurchasing for sure.
First time making tots that didn’t come out burnt on the outside and frozen in the middle! This method is so foolproof, even I couldn’t mess it up. 25 minutes in the oven on a preheated baking sheet? Who knew preheating the pan was the secret? Total game changer.
Love how quick these are! I get home from work at 6, pop these in the oven, and by the time I finish making the main protein, the tots are done. No fancy steps, no weird ingredients, just perfectly crispy potatoes every single time.
These are SO good. I’ve tried every frozen tot on the market trying to find ones that get as crispy as the ones at my local burger joint, and these finally deliver. Crunchy on the outside, fluffy on the inside, no weird aftertaste. Worth every penny.
I tossed these with a little cajun seasoning before baking and oh my god, they were insane. The crispiness held up even with the extra seasoning, no sogginess at all. Will definitely be doing that every time from now on.
These are such a solid vegetarian side for any meal! I served them with roasted veggie burgers and a side salad for dinner last night, and my meat-eating roommate even stole half the plate off my counter. Only tiny downside is my oven smoked a little when I used the preheated sheet trick, but the end result was so worth it.