
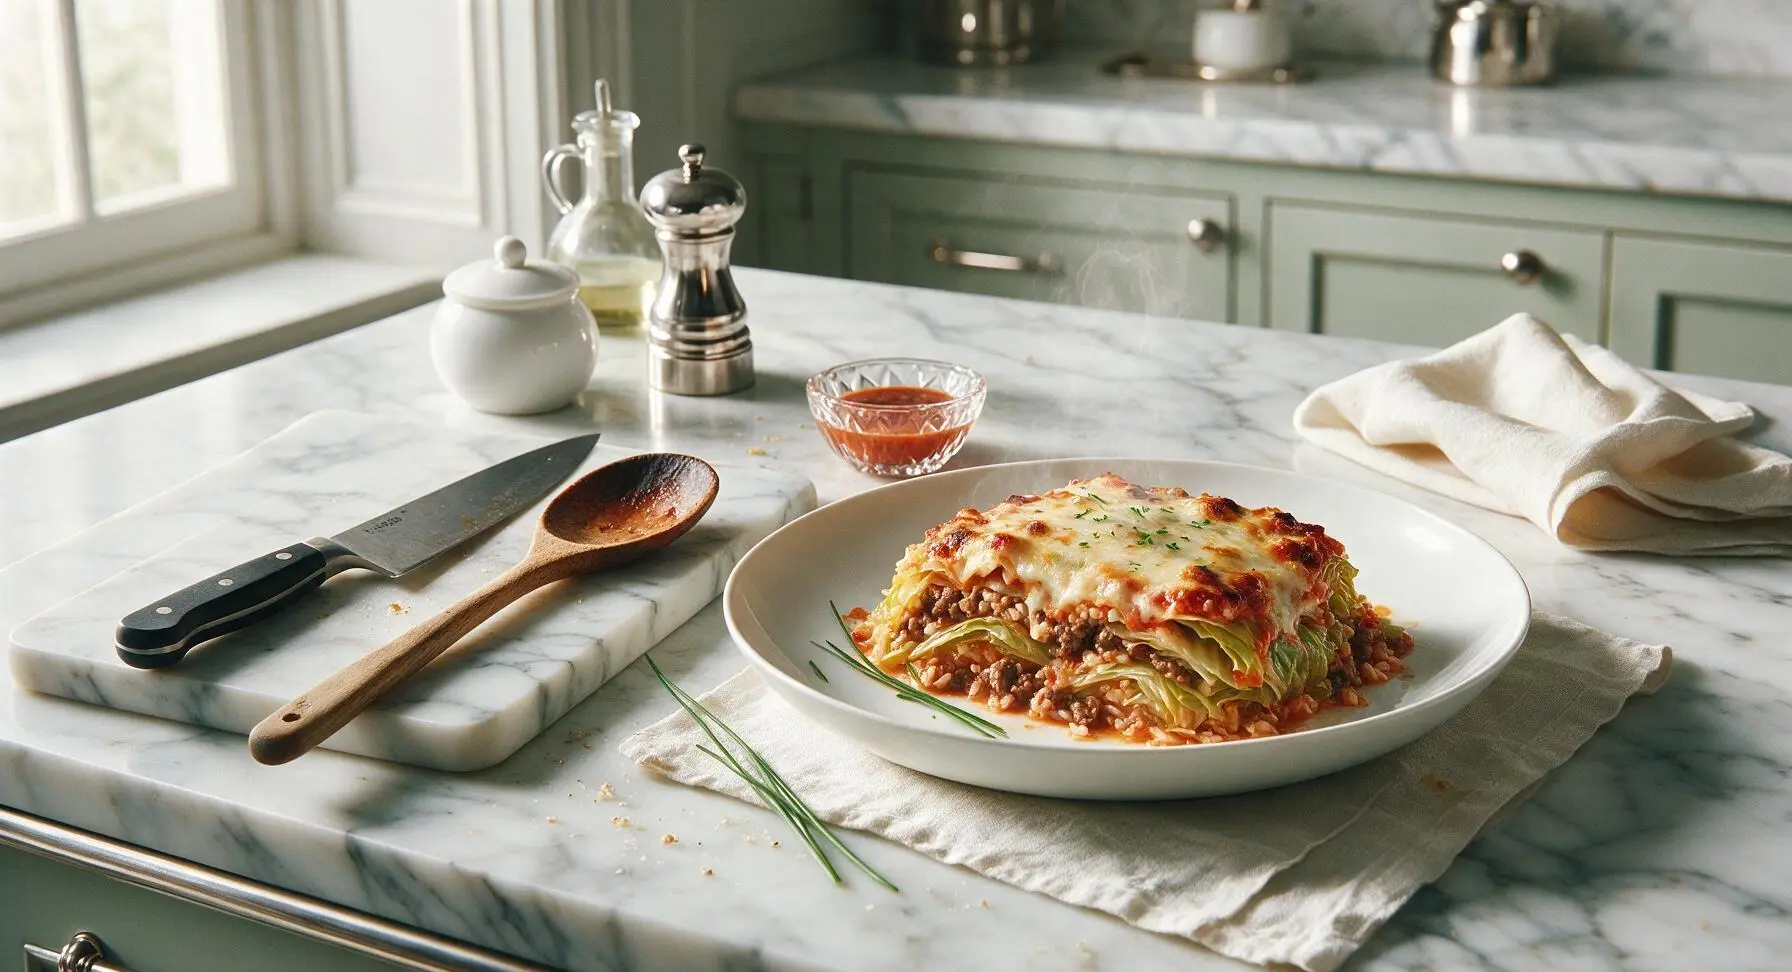
layered cabbage casserole

title 1
layered cabbage casserole
⏱️ cook time 1 hour 10 minutes
🍽️ servings 6
⚡ Difficulty easy

intro

Tender layered cabbage, savory beef and rice, creamy tomato sauce, and bubbly melted cheese baked to golden perfection—cozy, satisfying comfort food for warm family meals.

Ingredients
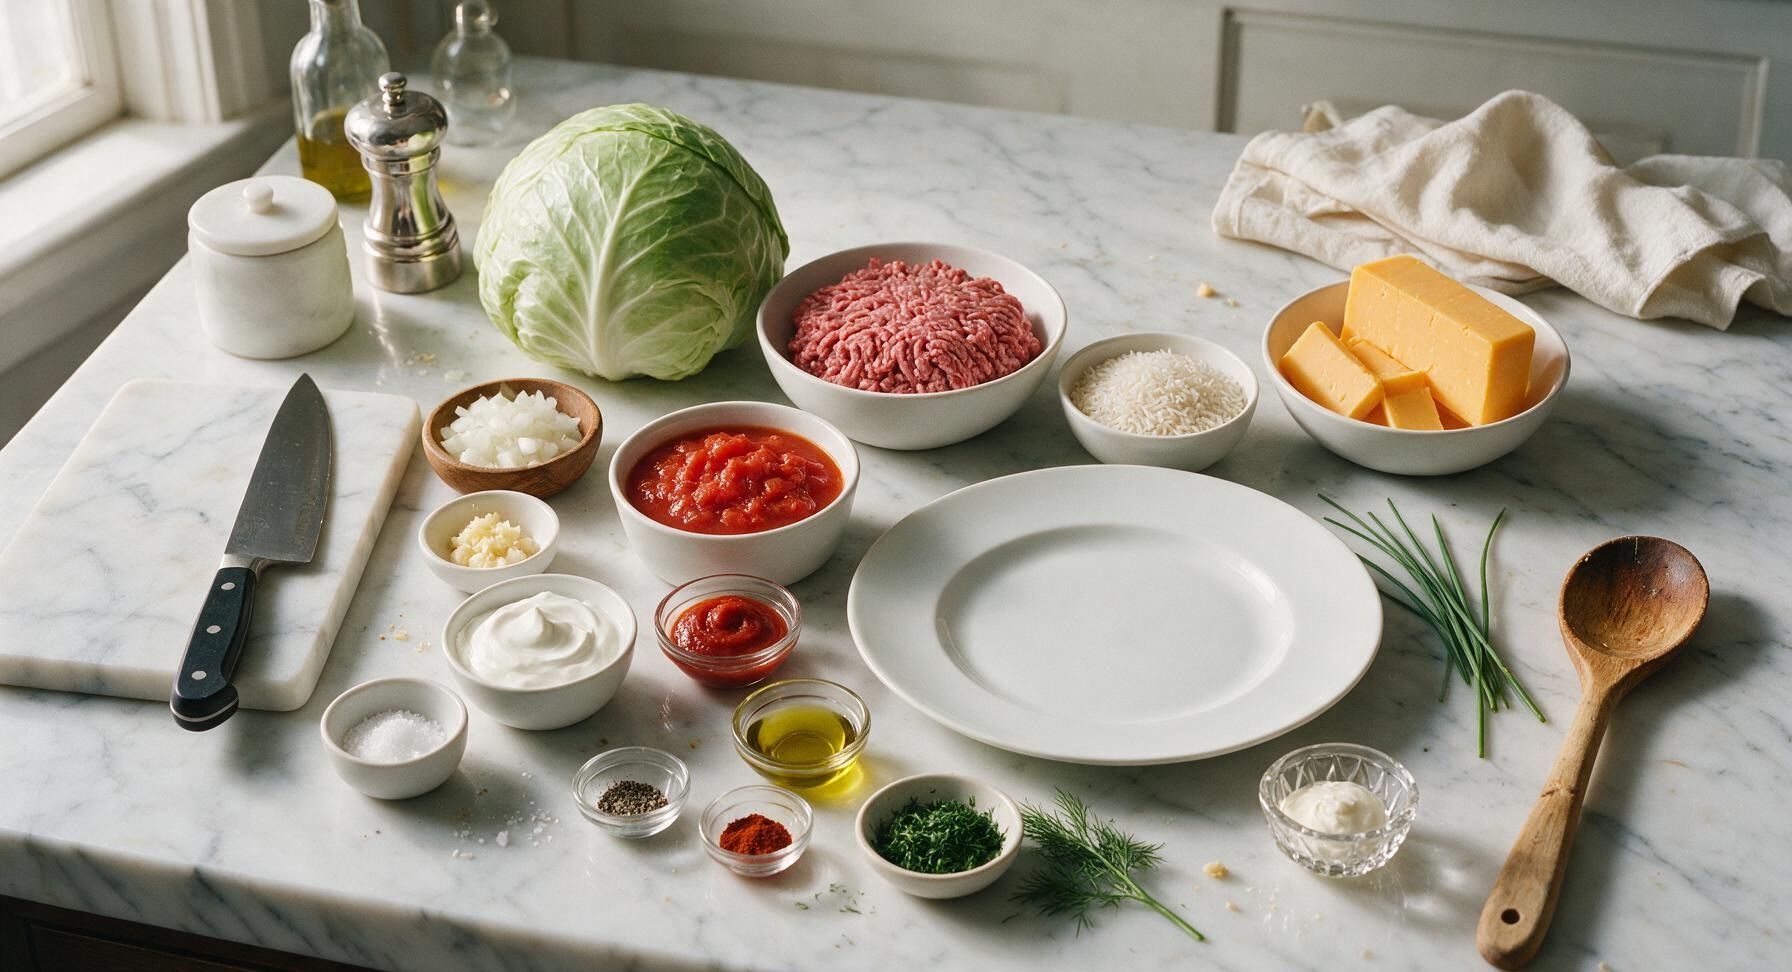
Green cabbage 1 medium head (about 1.5lb / 680g)
Lean ground beef 1lb / 450g
Long-grain white rice (uncooked) ½ cup / 90g
Sharp cheddar cheese 8oz / 225g
Yellow onion 1 small (110g, diced)
Garlic 2 cloves (6g, minced)
Crushed tomatoes 1 15oz can / 425g
Tomato paste 2 tbsp / 32g
Sour cream ½ cup / 120g, plus extra for serving
Olive oil 1 tbsp / 15ml
Kosher salt 1 tsp / 5g
Freshly ground black pepper ½ tsp / 1g
Sweet paprika ½ tsp / 1g
Fresh dill 2 tbsp / 5g chopped, plus extra sprigs for garnish

Steps

1

Prep and blanch cabbage

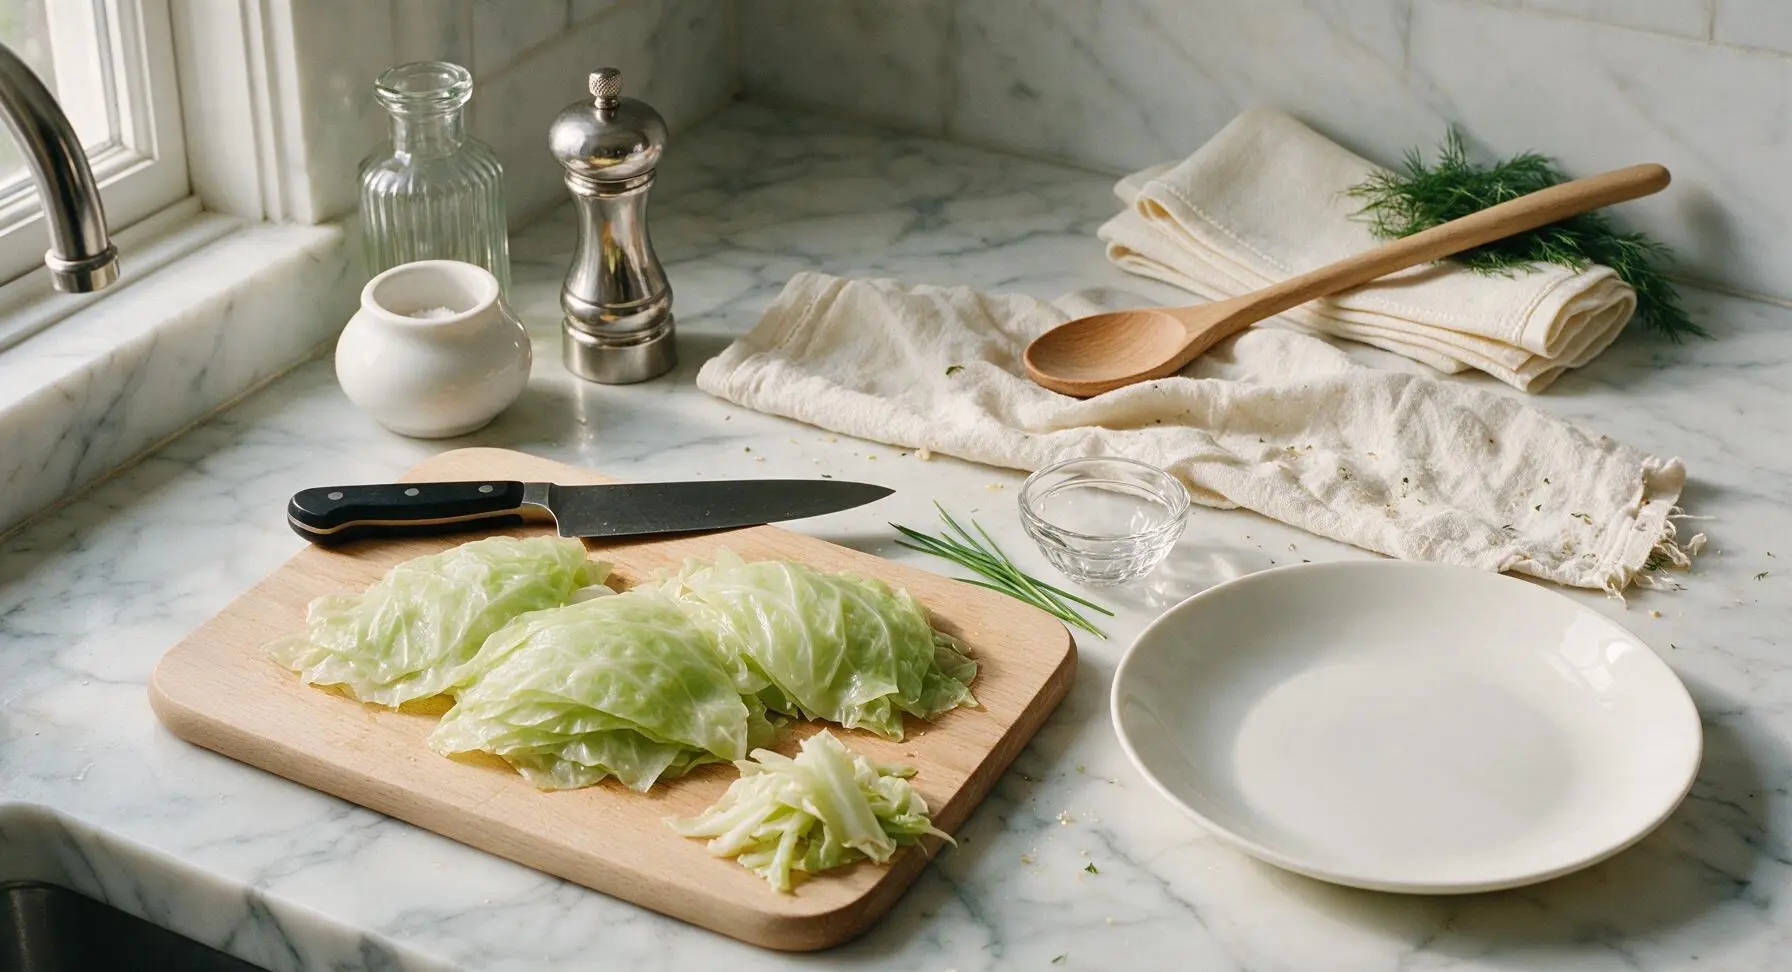
Bring 4 quarts of heavily salted water to a rolling boil. Discard any wilted outer leaves from the green cabbage, cut out the tough woody core, and gently separate whole leaves. Blanch leaves in boiling water for 3 minutes until soft and pliable, then transfer to an ice bath to stop cooking. Drain thoroughly and pat leaves dry with the linen kitchen towel, trimming thick central veins so leaves lay flat for layering. Set aside.
Step 1
step1:Prep and blanch cabbage
2

Sauté onion and garlic

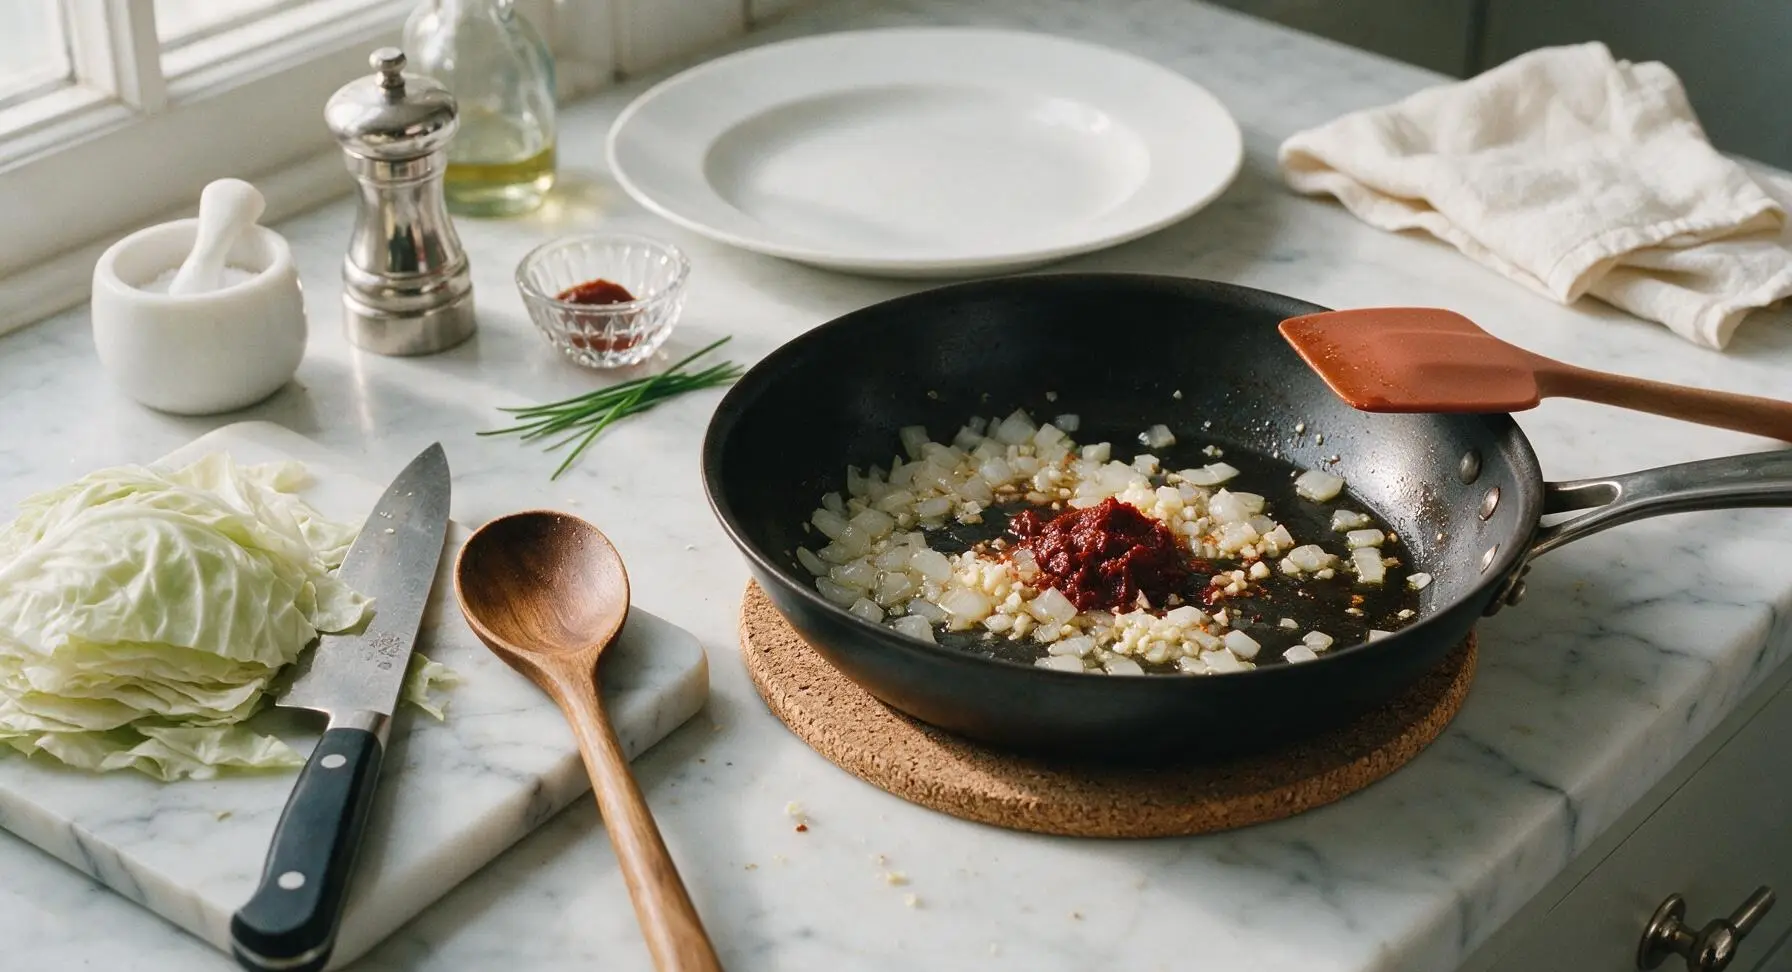
Place the 10-inch matte black carbon steel skillet on the stovetop over medium heat, add 1 tablespoon olive oil. Once oil shimmers, add diced small yellow onion, sauté for 4 minutes until soft and translucent. Add minced garlic and 2 tablespoons tomato paste, cook for 1 more minute until tomato paste darkens slightly and smells fragrant, stirring constantly with the terracotta silicone spatula.
Step 2
step2:Sauté onion and garlic
3

Brown ground beef mixture

Add 1lb lean ground beef to the skillet with the onion mixture, break it apart with the silicone spatula as it cooks for 6-7 minutes until fully browned with no pink remaining. Stir in ½ teaspoon sweet paprika, 1 teaspoon kosher salt, ½ teaspoon black pepper, then add the 15oz can of crushed tomatoes and ½ cup uncooked long-grain white rice. Stir to combine, bring to a gentle simmer, then reduce heat to low, cover, and cook for 10 minutes until rice is partially cooked and has absorbed about half the liquid. Remove from heat and stir in 2 tablespoons chopped fresh dill.
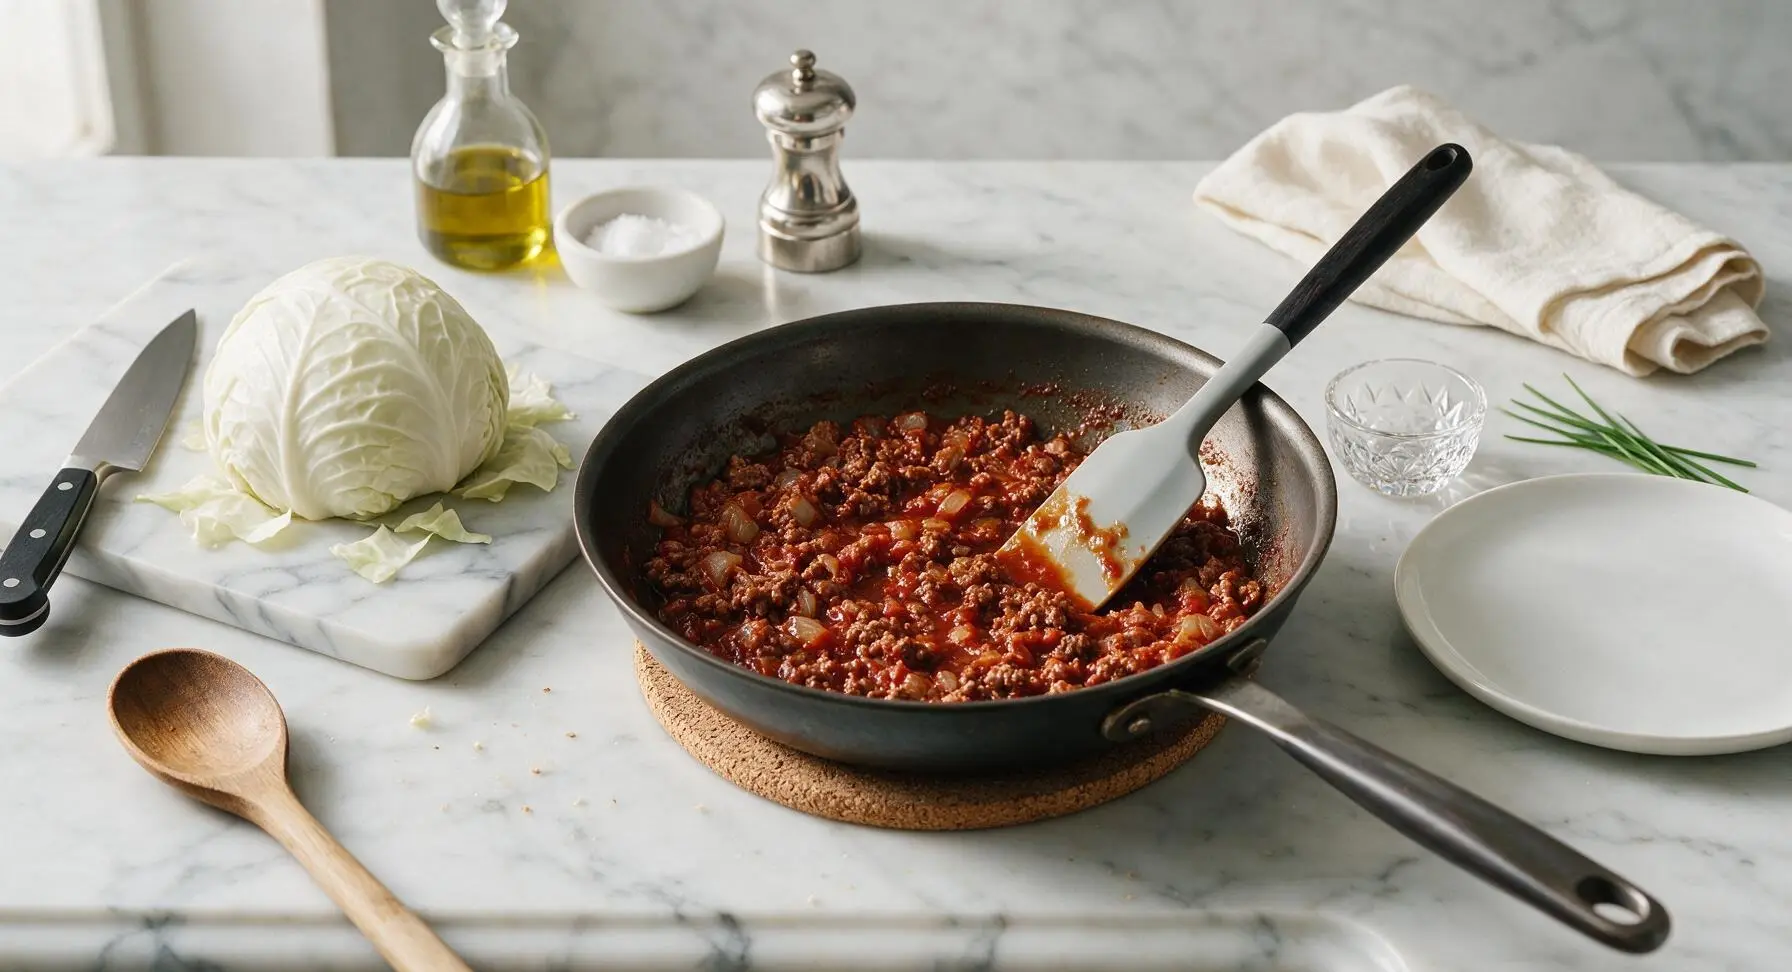
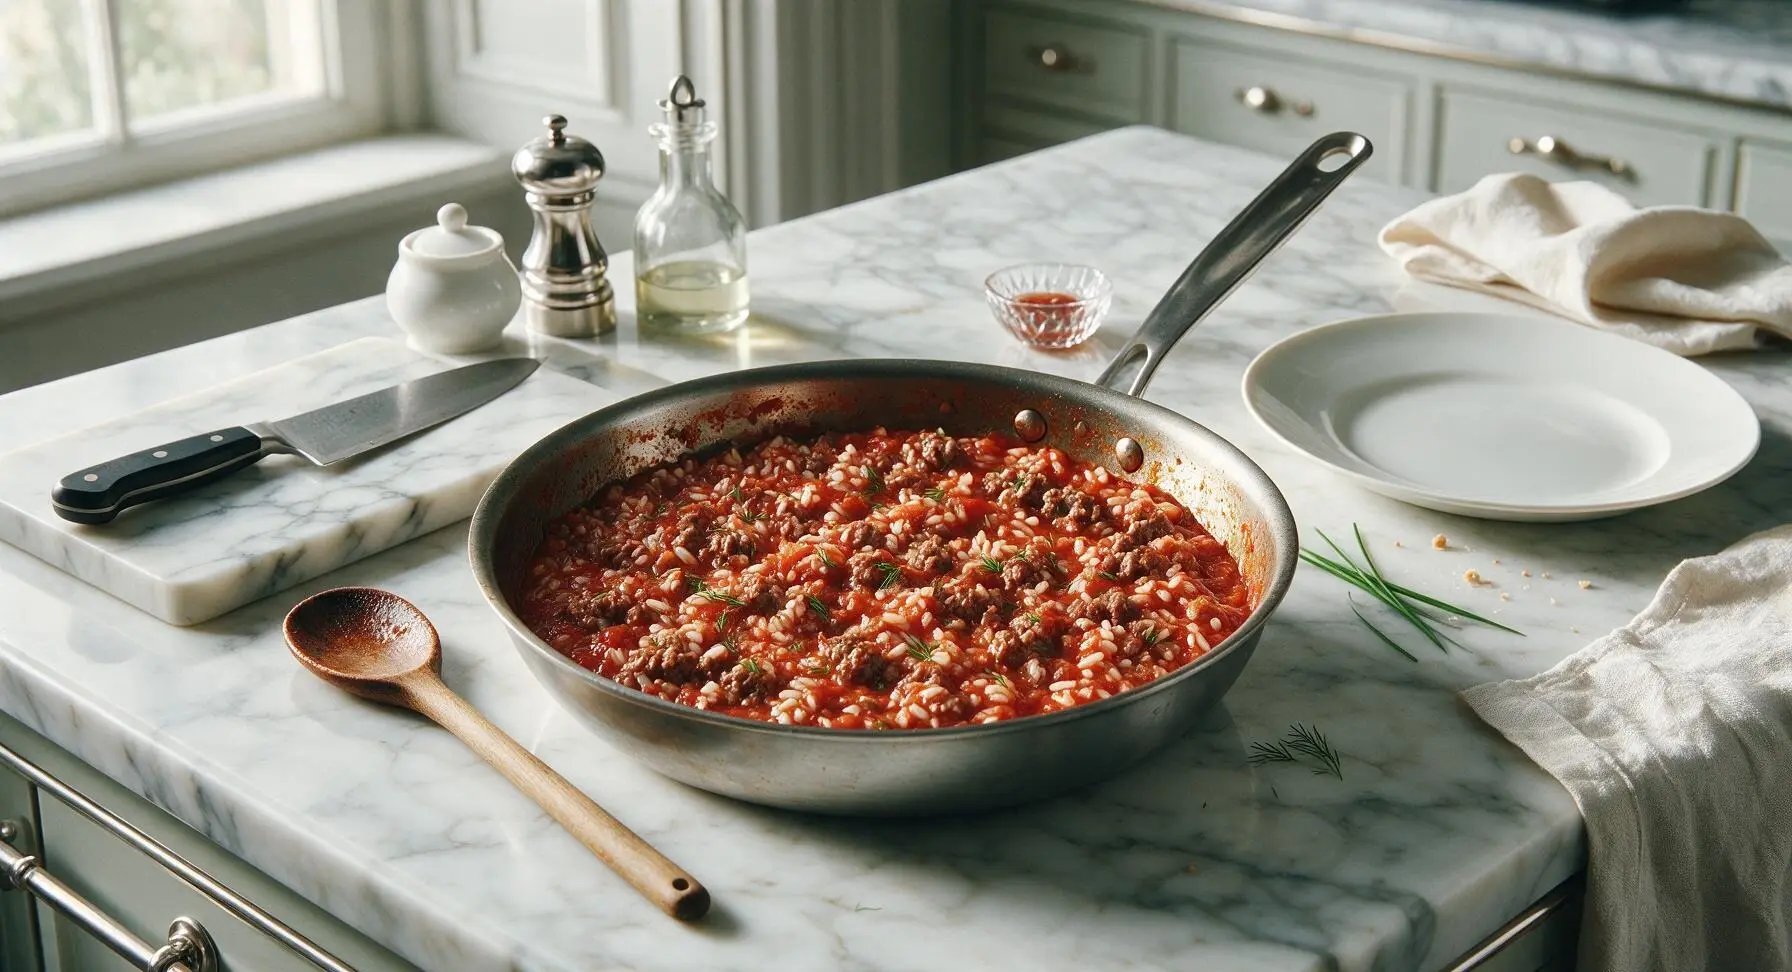
Step 3
step3:Brown ground beef mixture
Step 3
step3:Brown ground beef mixture
4

Shred sharp cheddar cheese

Place the box grater on the right side of the cutting board. Shred the entire 8oz block of sharp cheddar cheese into a loose pile, setting aside ½ cup of shredded cheese for the top layer. Keep remaining cheese ready for layering.

Step 4
step4:Shred sharp cheddar cheese
5

Build layered casserole

Move the 9x13 inch matte white ceramic baking dish onto the cork trivet center counter, setting the filled skillet temporarily to the back right. Spread a thin layer of ¼ cup sour cream across the bottom of the dish, then top with a single overlapping layer of blanched cabbage leaves to cover the sour cream. Add half of the beef-rice filling, spread evenly, then top with ⅓ of the shredded cheddar. Repeat layers: cabbage leaves, remaining beef filling, ⅓ of the cheddar, then a final top layer of cabbage leaves. Spread the remaining ¼ cup sour cream evenly over the top cabbage layer.
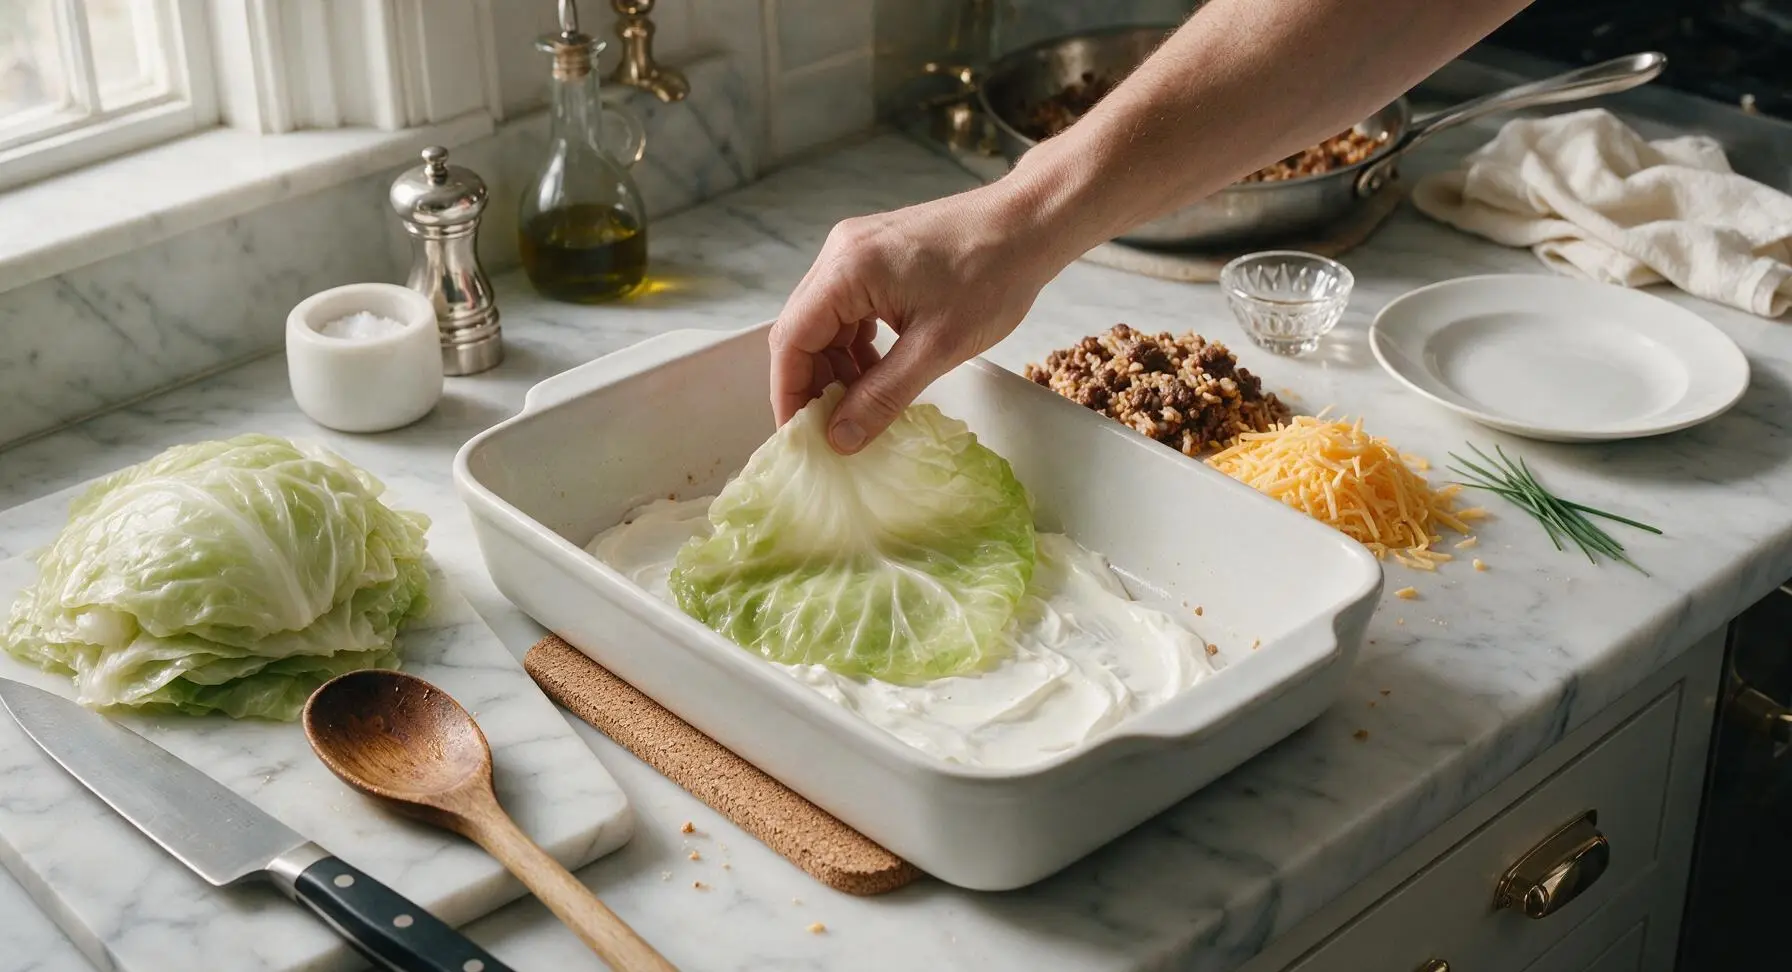
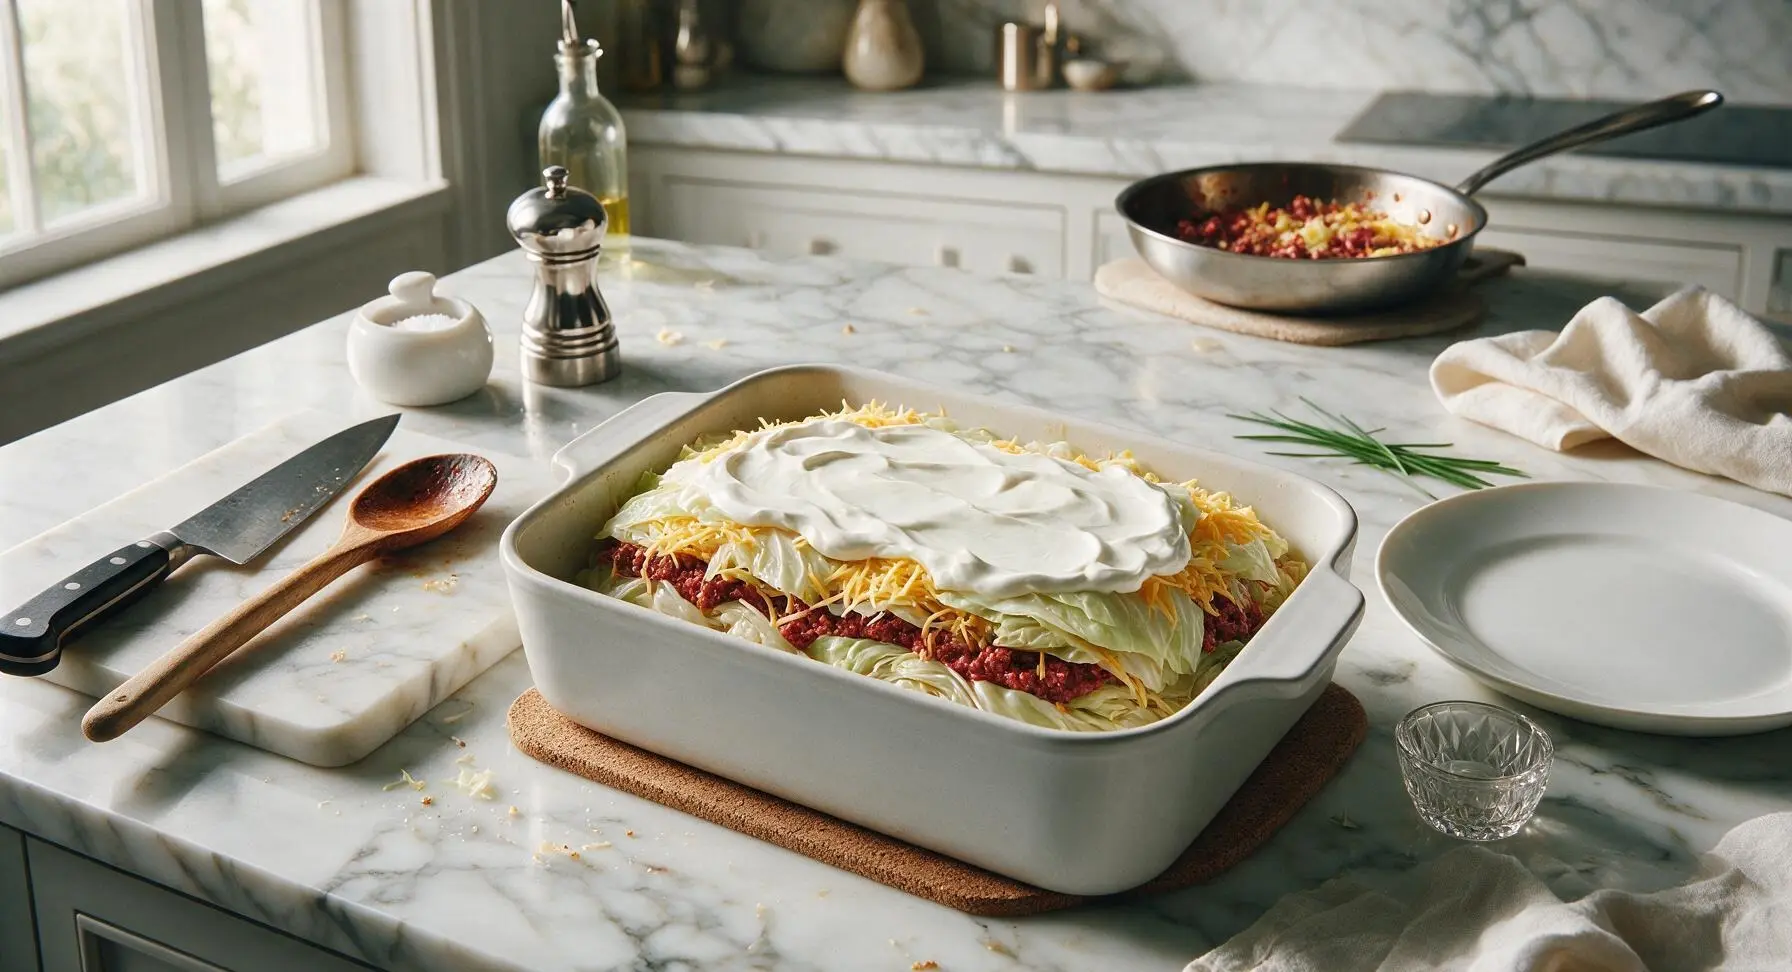
Step 5
step5:Build layered casserole
Step 5
step5:Build layered casserole
6

Bake until bubbly

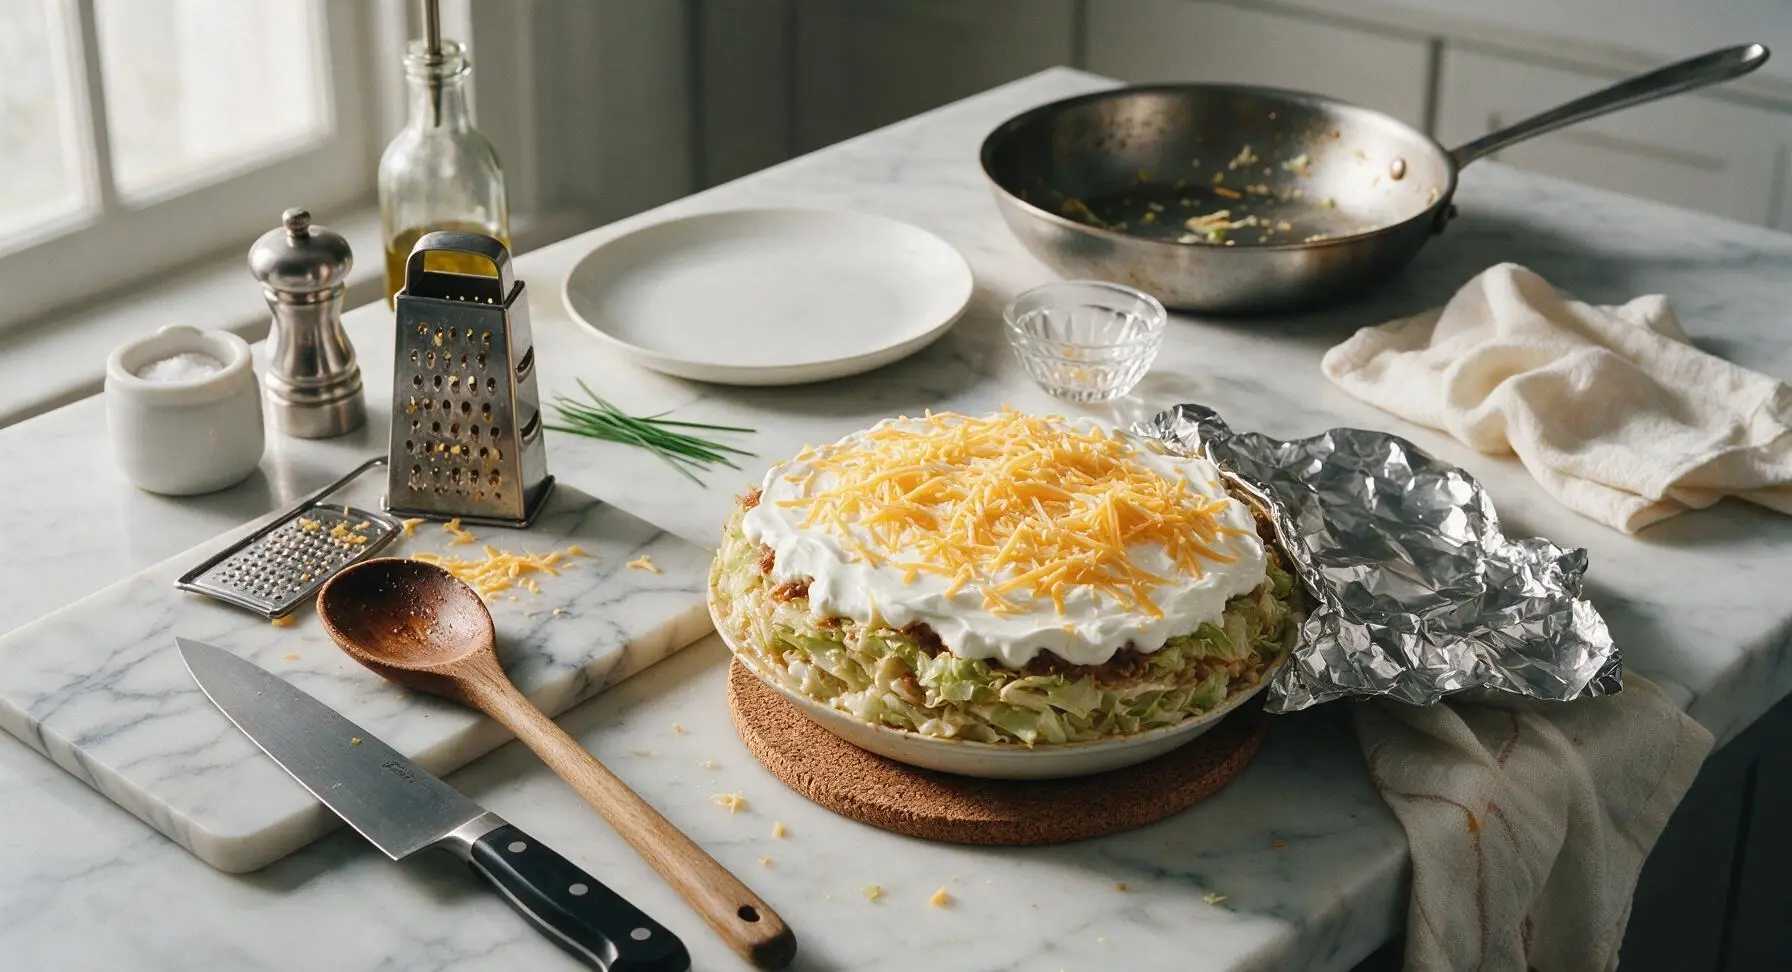
Sprinkle the reserved ½ cup shredded cheddar evenly over the top sour cream layer. Cover the baking dish tightly with aluminum foil, place in a preheated 375°F (190°C) oven, and bake for 30 minutes. Remove foil, then bake for an additional 15 minutes until the top cheese is golden and bubbly, and the edges of the casserole are slightly crispy. Remove from oven and let rest for 10 minutes before serving to allow layers to set.
Step 6
step6:Bake until bubbly
7

Rest before serving

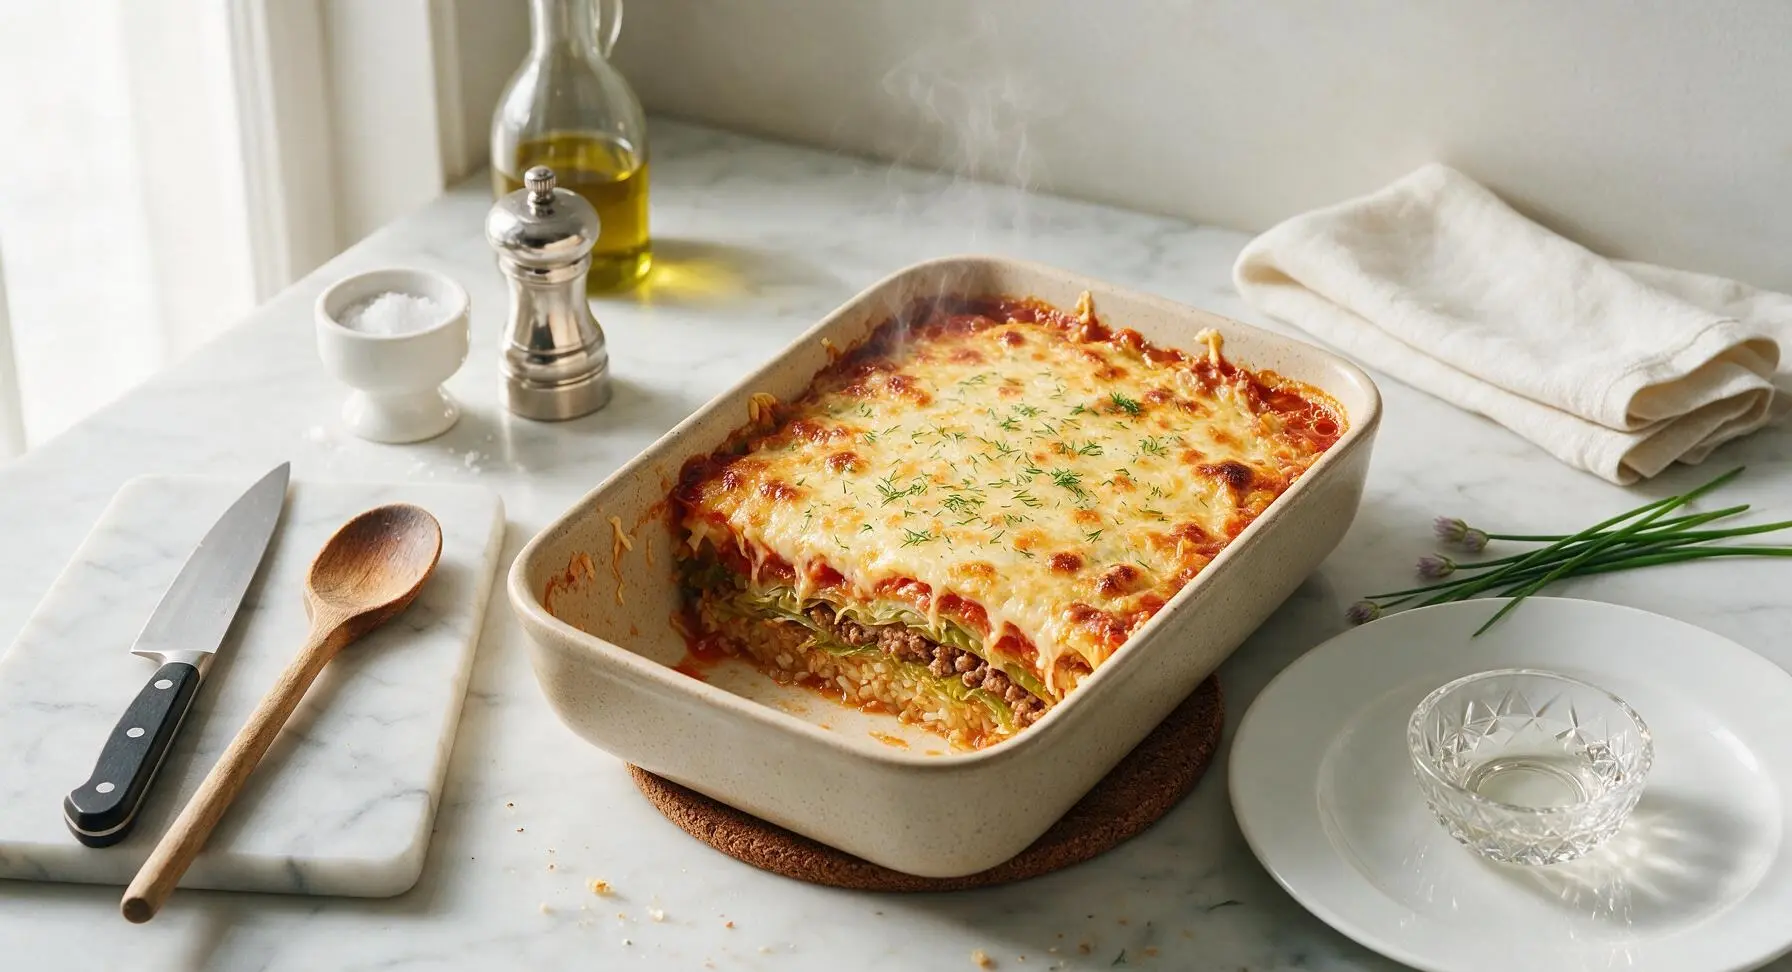
After removing the baked casserole from the oven, let it rest uncovered on the counter for 10 minutes. This allows the rice to finish absorbing excess liquid and the layers to set, so slices hold their shape when served. Sprinkle the top with remaining chopped fresh dill before slicing into squares.
Step 7
step7:Rest before serving

Tips

1.Always blanch cabbage leaves for 3 minutes before layering: Raw cabbage releases large amounts of excess moisture as it bakes, which will result in a watery, loose casserole. Blanching softens leaves to be pliable for easy layering and removes surface moisture for firm, set slices.
2.Shred cheddar fresh from a block instead of using pre-shredded cheese: Pre-shredded cheese is coated in potato starch anti-caking agent that prevents smooth, even melting, leading to a grainy top layer instead of the ideal bubbly, stretchy melted cheese texture.
3.Let the baked casserole rest for the full 10 minutes before slicing: The partially cooked rice will finish absorbing residual liquid during this rest time, and layers will firm up so each square slice holds its neat shape instead of sliding apart when served.


✨ You May Also Like

Main Course
🍜 United Kingdom

A showstopping classic of tender seared beef, savory mushroom duxelles, and crisp prosciutto wrapped in flaky golden puff pastry, baked to juicy perfection.

⏱️ 2 hours 1Main Course ★ 4.7
Main Course
🍜 India

Tender charred marinated chicken simmered in a rich, spiced creamy tomato sauce, this iconic Anglo-Indian curry pairs perfectly with basmati rice or warm naan.

⏱️ 50 minuteMain Course ★ 4.6
Main Course
🍜 Thailand

Classic tangy, sweet, and savory Thai stir-fried rice noodles with shrimp, tofu, and crunchy garnishes, balancing all five core Thai flavor profiles.

⏱️ 30 minuteMain Course ★ 4.5
Main Course
🍜 United Kingdom

Crispy golden beer-battered cod and fluffy double-fried chips, served with tangy tartar sauce and malt vinegar: the timeless, beloved British pub comfort classic.

⏱️ 45 minuteMain Course ★ 4.7
Main Course
🍜 Mexico

Smoky, chile-marinated pork tacos with caramelized pineapple, fresh cilantro, and lime: a beloved classic Mexican street food perfect for casual summer gatherings.

⏱️ 1 hour 45Main Course ★ 4.8
Main Course
🍜 United States

Crunchy Fritos corn chips layered with savory beef chili and melted cheddar, topped with cool, zesty fixings for a beloved, cozy Tex-Mex comfort food.

⏱️ 35 minuteMain Course ★ 4.8

layered cabbage casserole:Frequently Asked Questions

1.Do I need to pre-cook the long-grain white rice before adding it to the casserole? ▾
Great question! No pre-cooking is required here—this recipe is built for uncooked long-grain white rice, which steams to perfect tenderness as the casserole bakes. Just spread it in a thin, even layer so no clumps get trapped, and add ¼ cup extra broth if your tomato sauce is extra thick to make sure every grain hydrates fully.
2.Can I use ground turkey instead of lean ground beef for a lighter option? ▾
Absolutely! A 93/7 blend of lean ground turkey is a seamless swap for ground beef here. Just add an extra pinch of salt, pepper, and a dash of smoked paprika to amp up savoriness, since turkey is milder than beef. You won’t notice a difference in the hearty, cozy texture of the finished baked casserole.
3.How do I keep the cabbage from getting mushy when baking? ▾
To avoid soggy, mushy cabbage, skip pre-boiling it and cut it into ¼-inch thick, uniform slices, patting off any excess surface moisture before layering. Bake the casserole covered for the first 45 minutes, then uncover for the final 15 to let excess steam escape, which keeps cabbage tender but not waterlogged.
4.What kind of cheese works best if I don’t have sharp cheddar on hand? ▾
Sharp cheddar brings that perfect tangy, rich bite, but you can easily swap it for other melty, flavorful cheeses. A 50/50 blend of mozzarella and Monterey Jack works for a milder, stretchy melt, or smoked gouda adds cozy, deep flavor. Shred your own cheese for the smoothest, bubbliest melt, since pre-shredded has anti-caking coatings.
5.Do I need to cover the casserole while it bakes? ▾
Yes, for most of the bake time! Keep it tightly covered with aluminum foil for the first 45 minutes to trap steam, which cooks the uncooked rice evenly and softens the cabbage without drying out the beef. Remove the foil for the last 15 to 20 minutes of baking to let the cheese turn golden and bubbly on top.
6.Can I make this casserole ahead of time for meal prep? ▾
Definitely! You can assemble the entire uncooked casserole, cover it tightly, and store it in the fridge for up to 2 days before baking, or freeze it for up to 3 months. If baking from chilled, add 10 extra minutes of covered bake time; if frozen, thaw it fully in the fridge first before popping it in the oven.
7.Why is my rice still crunchy after the recommended bake time? ▾
Crunchy rice almost always stems from two issues: too little moisture in your sauce, or rice clumped too thickly in one layer. Fix it by making sure your sauce is loose (not thick paste consistency), spreading rice in a single thin layer, and checking that your foil seal is tight to trap steam. If you catch it early, stir in 2 tablespoons of warm broth and bake 10 more minutes.
8.Can I use red cabbage instead of green cabbage in this recipe? ▾
You can, but note that red cabbage has a slightly earthier, peppery flavor and will turn your creamy tomato sauce a soft purple-pink hue as it bakes. It has a firmer texture than green cabbage, so slice it a touch thinner to make sure it softens fully within the standard bake time.
9.How do I cut the cabbage for even, clean layers? ▾
Start by peeling off any wilted outer leaves from the green cabbage head, then cut it in half from root to tip and carve out the tough, woody core. Lay each half cut-side down, and slice across into uniform ¼-inch thick slices—these lay flat easily, cook evenly, and don’t fall apart when serving.
10.Do I need to sauté the ground beef and yellow onion before layering? ▾
Yes, always! Browning the lean ground beef and diced yellow onion first cooks off excess fat, builds deep, savory flavor from the Maillard reaction, and ensures the beef doesn’t release greasy, watery liquid into the casserole as it bakes. Drain any excess rendered fat after browning to keep the final dish from being greasy.
11.What can I add to the creamy tomato sauce to boost its flavor? ▾
You can amp up the sauce easily with pantry staples! A teaspoon of Worcestershire sauce adds umami depth, a pinch of red pepper flakes brings a subtle warm kick, a half teaspoon of dried oregano adds herby brightness, and a spoonful of tomato paste cooked for 1 minute deepens that rich tomato taste.
12.How long do leftovers stay good in the fridge? ▾
Stored in an airtight, sealed container, leftover layered cabbage casserole will stay fresh and safe to eat for 3 to 4 days in the refrigerator. Reheat individual portions in the microwave at 50% power for 2 to 3 minutes, or reheat the whole dish in a 350°F oven covered for 15 minutes until warmed through.
13.Can I make this recipe without beef for a vegetarian version? ▾
Absolutely! Swap the ground beef for cooked lentils, plant-based ground crumbles, or even sautéed cremini mushrooms for a hearty, meat-free version. Use vegetable broth instead of beef broth to thin your sauce if needed, and opt for rennet-free cheddar if you follow a strict vegetarian diet.
14.What size baking dish works best for this recipe? ▾
A standard 9x13-inch deep baking dish is ideal for this layered casserole—it gives you enough room to stack even layers of cabbage, beef, rice, sauce, and cheese without overflowing as it bubbles. If you only have smaller dishes, split the ingredients between two pans to avoid messy boil-overs in your oven.
15.Why is my finished casserole watery at the bottom? ▾
Watery casserole usually comes from not draining excess fat from browned beef, using overly watery tomato sauce, or skipping the post-bake rest. Let the casserole sit for 10 minutes after you pull it from the oven; this short rest lets liquids reabsorb into the rice and layers instead of running out when you cut into it.
16.Can I add extra vegetables to the layers for more nutrition? ▾
Of course! Thinly sliced bell peppers, shredded carrot, sautéed zucchini, or even a layer of squeezed, chopped spinach all work beautifully tucked between the cabbage and beef layers. Just pat any high-moisture veggies very dry before adding to keep the casserole from getting soggy as it bakes.
17.Should I use regular, parboiled, or instant long-grain white rice for this recipe? ▾
Stick to standard, uncooked long-grain white rice for the most consistent results. Parboiled (converted) rice takes longer to cook and will stay chewy after the full bake time, while instant rice will overcook and turn mushy. If you only have parboiled rice, par-cook it for 10 minutes first before layering.

Comments (18)

3 days ago

OMG this layered cabbage casserole is a total game changer for our weekly family dinners! I was so tired of fighting my kids to eat veggies, but they went back for SECONDS last night. The layers get so creamy and flavorful, no mushy cabbage at all. Even my husband who swears he hates cabbage asked when I’m making it again. 10/10

2 days ago

Wait did you use green cabbage or the savoy kind? I tried a similar recipe once and the cabbage was super tough no matter how long I baked it

yesterday

So glad your family loved it! We recommend regular green cabbage for this recipe, and make sure your slices are no thicker than 1/4 inch to get that perfect tender texture without sogginess!

5 days ago

Brought this to our neighborhood potluck last weekend and people were asking me for the recipe before I even set the dish down! SO good, I added a little crumbled bacon between the layers because I put bacon on everything, and it slapped. Super easy too, didn’t have to spend all day prepping in the kitchen.

3 days ago

Love the bacon addition! That’s such a tasty swap to add a little smoky flavor — we’ll have to test that version ourselves soon!

1 week ago

This is perfect for my weekly meal prep! I made a big pan on Sunday, portioned it out for lunches all week, and it held up so much better than I thought it would. The flavors actually get better as it sits in the fridge, who knew? Only change I made was adding a sprinkle of nutritional yeast on top for a little cheesy, umami kick.

5 days ago

As someone who barely knows how to boil water, this recipe was so easy to follow! I was able to grab all the ingredients for under $10 at the grocery store, and the whole cook time was totally hands off once I got it in the oven. Way better than the microwave meals I’ve been living off of all semester.

3 days ago

Same! I’m terrible at cooking and this came out perfect on my first try. No fancy skills needed at all, it’s foolproof

2 weeks ago

I’ve been making cabbage casserole for 40 years and this recipe is hands down better than my old go-to! The layering method makes every bite have the perfect ratio of cabbage, creamy sauce, and crispy topping. My grandkids scraped the pan clean when they came over for Sunday dinner.

1 week ago

I remember my mom making something like this when I was a kid, I can’t wait to try it and see if it tastes like I remember! Did you use regular breadcrumbs for the topping or panko?

5 days ago

What a sweet compliment! We used panko for the topping to get that extra crispy crunch, but regular seasoned breadcrumbs work great too if that’s what you have in the pantry!

yesterday

Made this for my office potluck yesterday and I’m low-key mad I didn’t make a double batch. Every last bite was gone in 10 minutes, and three people emailed me today asking for the recipe. It’s vegetarian as written so it worked for almost everyone’s dietary needs too, which is such a win for work events.

2 hours ago

Wait, how long does this keep in the fridge for? I want to make it for next week’s lunches but I don’t want it to go bad before I can eat it all. Also, does it freeze well?

30 minutes ago

Great question! It stays fresh in an airtight container in the fridge for up to 4 days, and it freezes really well for up to 3 months. Just thaw it in the fridge overnight and reheat in the oven at 350F until warmed through!

3 days ago

I was skeptical about a cabbage-based casserole because I usually think of casseroles as heavy and loaded with pasta, but this was so light and satisfying! I didn’t even feel sluggish after eating a big helping, which is rare for casserole night at my house. Will be making this on repeat all fall.

2 days ago

I made this last night and my 7 year old who refuses all green foods ate three servings? I almost fell out of my chair. The creamy sauce is so mild and tasty, it totally covers up any “cabbage” taste that kids usually turn their nose up at. Game. Changer.

yesterday

Oh this gives me hope! My 6 year old acts like I’m trying to poison him every time I put a vegetable on his plate. Gonna test this out tomorrow night, wish me luck!

2 hours ago

Nothing makes us happier than hearing kiddos are enjoying their veggies! Fingers crossed your little one loves it as much as ours do — you can always add a little extra cheese on top if you need to win them over 😉

1 week ago

Y’all, this is the perfect side dish for grilled chicken or smoked sausage! I served it with our weekly smoked brisket last weekend and it was the ideal complement, cut through all the rich smoky meat so well. Super easy to throw together while the brisket is smoking too.

5 days ago

Oh that combo sounds insane! I’m making this for our next cookout with smoked sausage, that’s gonna be such a good pair. Thanks for the idea!

5 days ago

Made this after a long day hike last weekend and it was the perfect cozy, warm meal. It was filling but didn’t leave me feeling bloated before my next hike early the next morning. I added a little extra garlic because I’m a garlic fiend, and it was chef’s kiss.

2 hours ago

Wait, do you have to pre-cook the cabbage before layering it? The last cabbage casserole I made had me boil the cabbage first and it was so watery and mushy, total disaster. I want to make sure I get this right for dinner tonight!

30 minutes ago

Great question! No pre-cooking required for the cabbage — it cooks perfectly tender right in the casserole as it bakes, which also helps prevent that watery, mushy texture you ran into last time. Just be sure not to over-sauce the layers!

2 weeks ago

I tried this recipe last week and thought it was good, but it was a little bland for my taste. Next time I’m going to add some paprika and a dash of hot sauce to the sauce to give it a little more kick. Overall solid base recipe though, easy to customize!

1 week ago

I did the same thing! Added smoked paprika and a pinch of red pepper flakes and it totally took it to the next level. Totally agree it’s a great base to tweak to your own taste.

5 days ago

Thanks for the honest feedback! We love that you’re customizing it to your taste — smoked paprika and hot sauce are such fantastic additions for anyone who loves a little heat, we might have to add that as a variation note in the recipe!

5 days ago

Made this for my bridge club lunch earlier this week and all the ladies raved about it! It’s not too heavy, so it was perfect for a midday meal, and the crispy topping adds such a nice textural contrast. I’ll definitely be adding this to my regular rotation of dishes to make for guests.

5 days ago

I swapped the dairy sour cream for coconut yogurt to make this vegan, and it turned out absolutely amazing! You couldn’t even tell the difference, it was still so creamy and rich. So happy to have a new vegan-friendly casserole to bring to gatherings.

2 days ago

Oh that swap is genius! I’m dairy free and have been trying to find a good substitute for sour cream in casseroles, can’t wait to try coconut yogurt here. Thanks for the tip!

30 minutes ago

As a single dad working 9-5, I’m always looking for easy weeknight meals that don’t require a million ingredients or hours of cleanup. This checked every single box! One dish to prep, one pan to wash, and my kid actually ate it without complaining. Absolute win in my book.

2 days ago

I made this for my husband for our first at-home date night after we got back from our honeymoon, and he said it’s better than the fancy restaurant cabbage dish we had on our trip! I felt like such a pro cook, even though it was so simple to throw together. We ate the leftovers for lunch the next day and it was even better.

yesterday

Aww, that makes our day! So happy we could be a small part of your first at-home date night as a married couple — congratulations to you both!

5 minutes ago

Wait, can I make this ahead of time and refrigerate it overnight before baking? I’m hosting family for dinner next weekend and want to get as much prep done the night before as possible so I’m not stuck in the kitchen while everyone is visiting.

just now

I did this for my office potluck earlier this week! Layered it all the night before, covered it tight in the fridge, and baked it the next day. It turned out exactly the same as when I made it and baked it right away, no difference at all!

just now

Great question! You can absolutely assemble it the night before, keep it covered in the fridge, and pop it in the oven when you’re ready — that’s one of our favorite tricks for stress-free hosting too. Just add 5-10 minutes to the bake time if it’s going in cold from the fridge!



