
milk pudding
intro
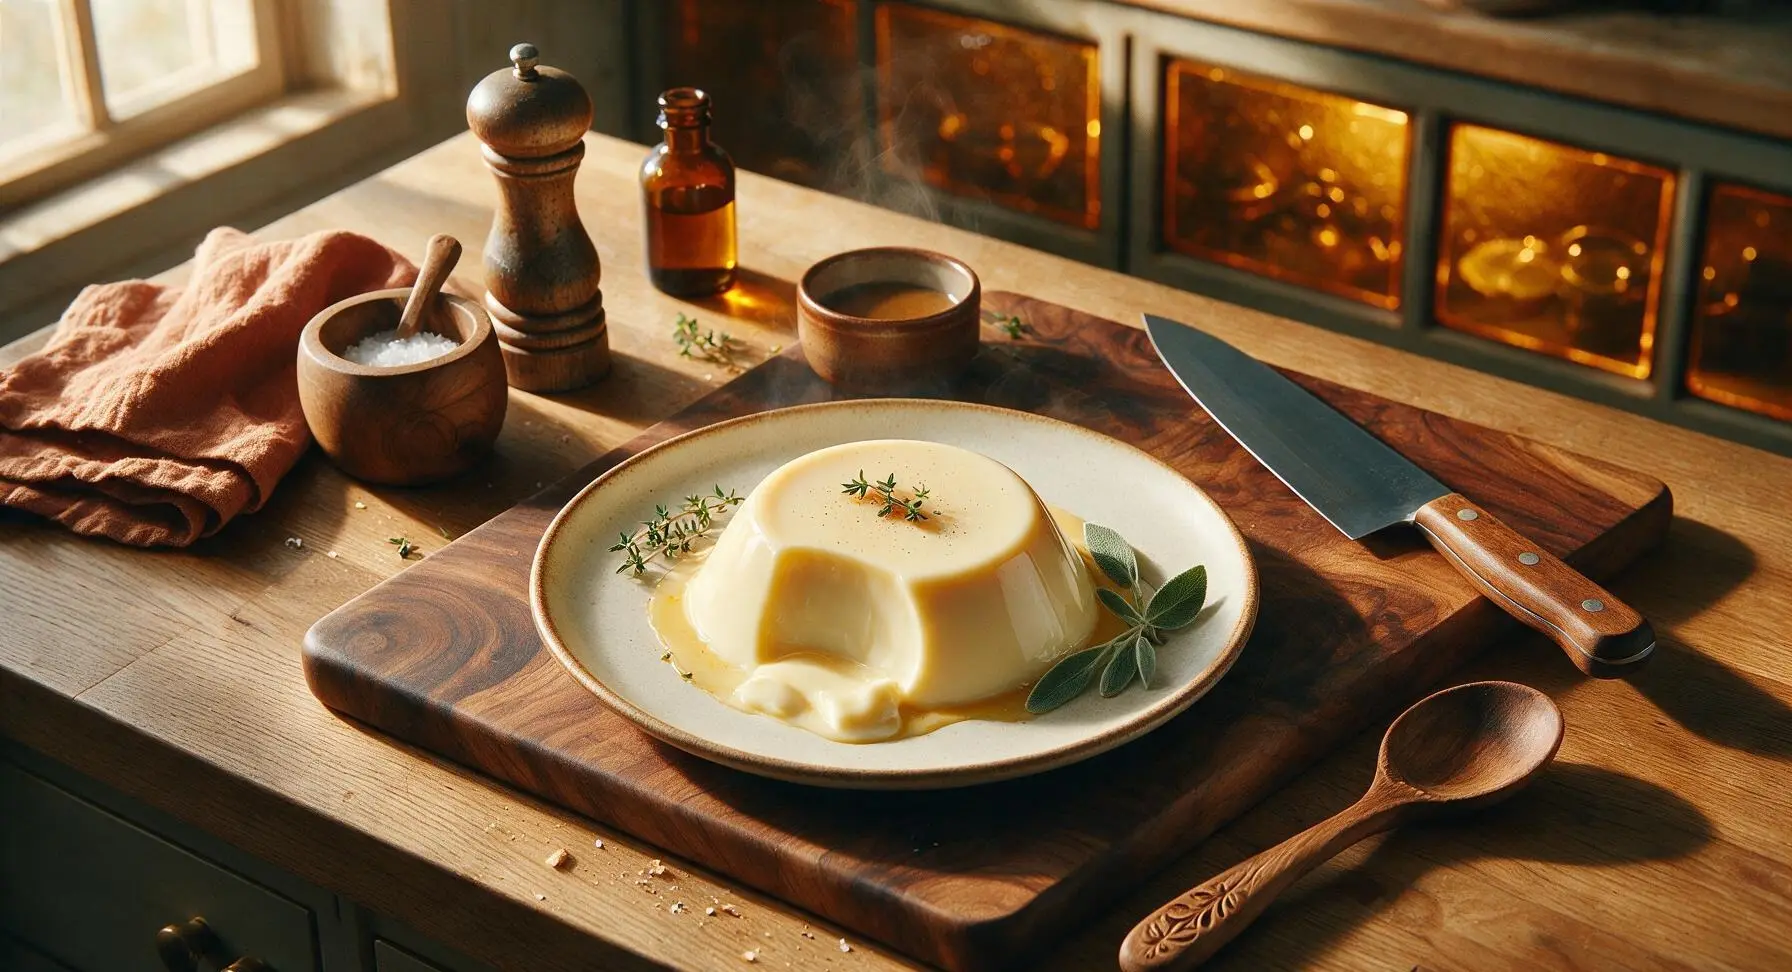
Silky, wobbly, lightly sweet chilled milk pudding with a delicate vanilla note, boasting a melt-in-your-mouth texture perfect for warm summer days.
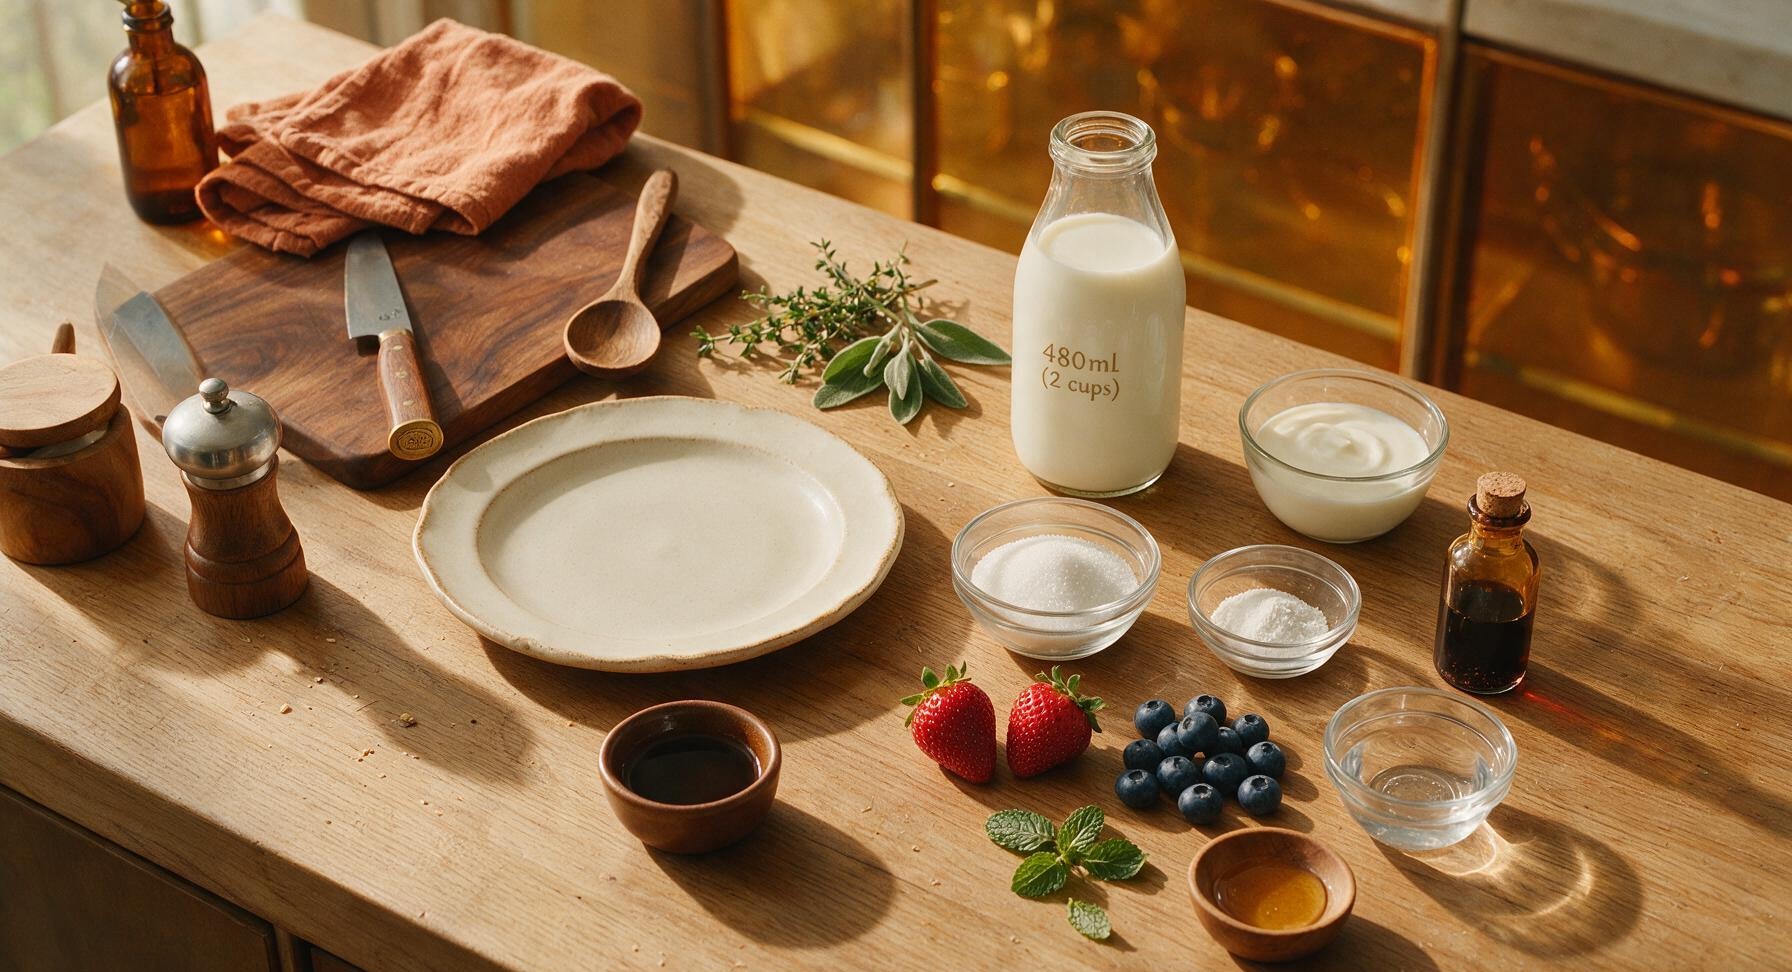
Ingredients
Steps
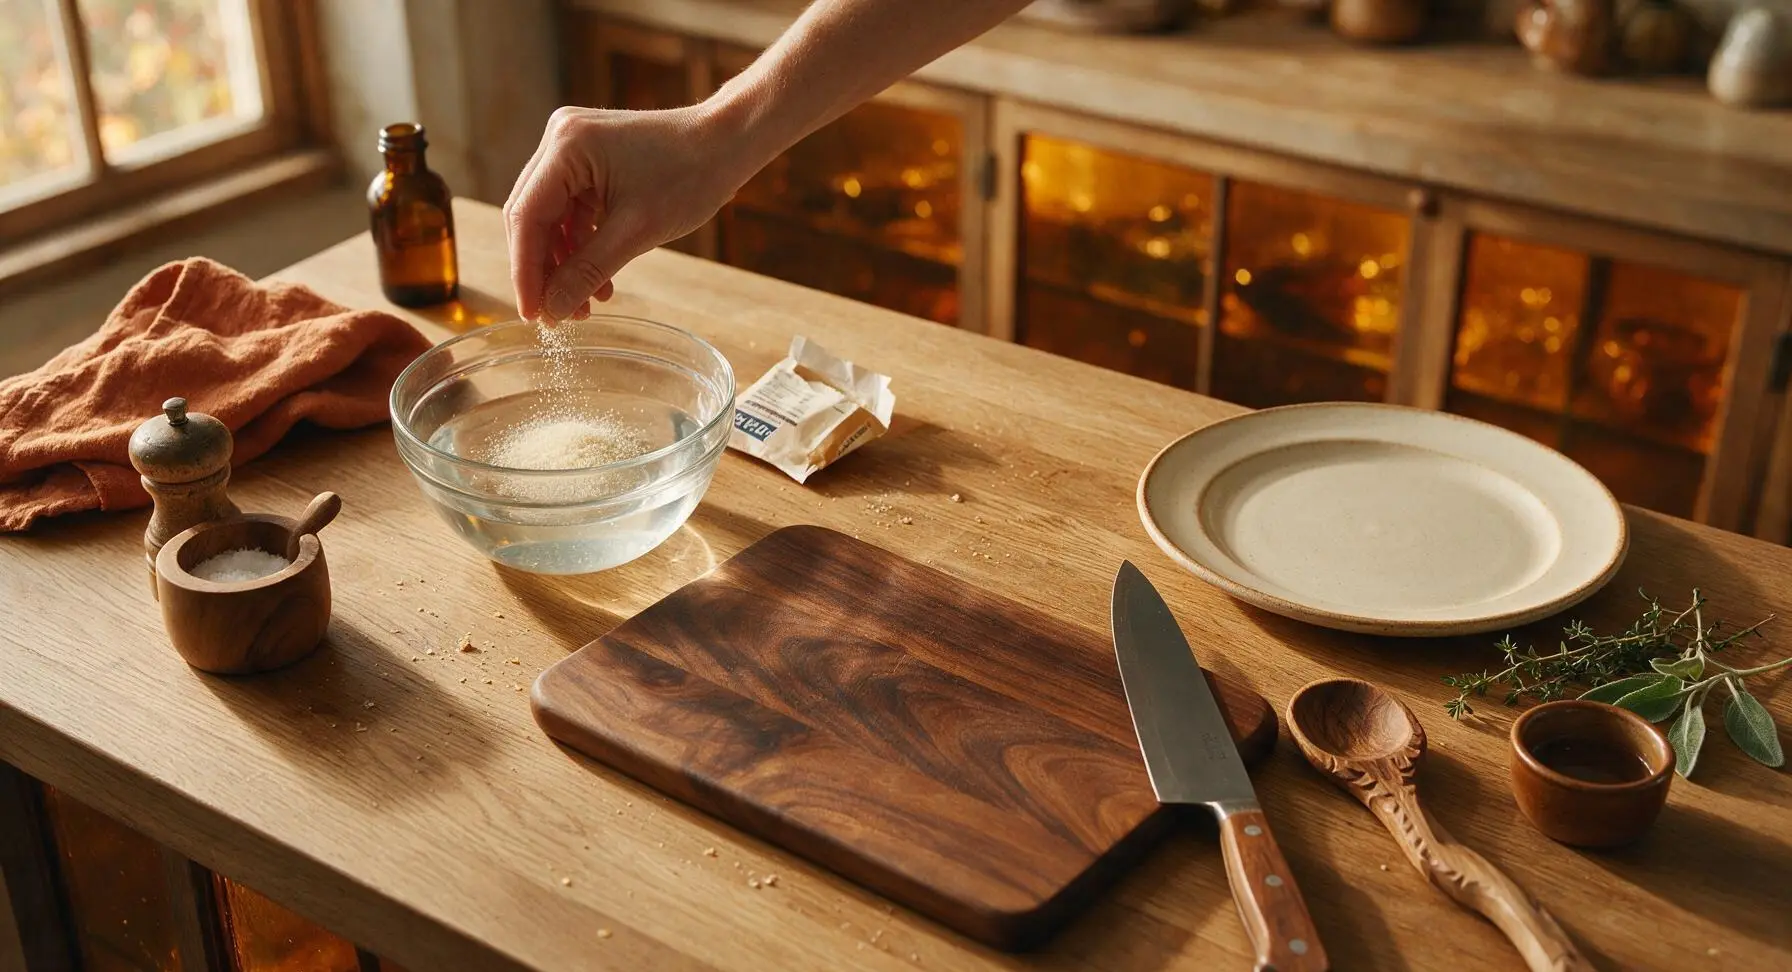
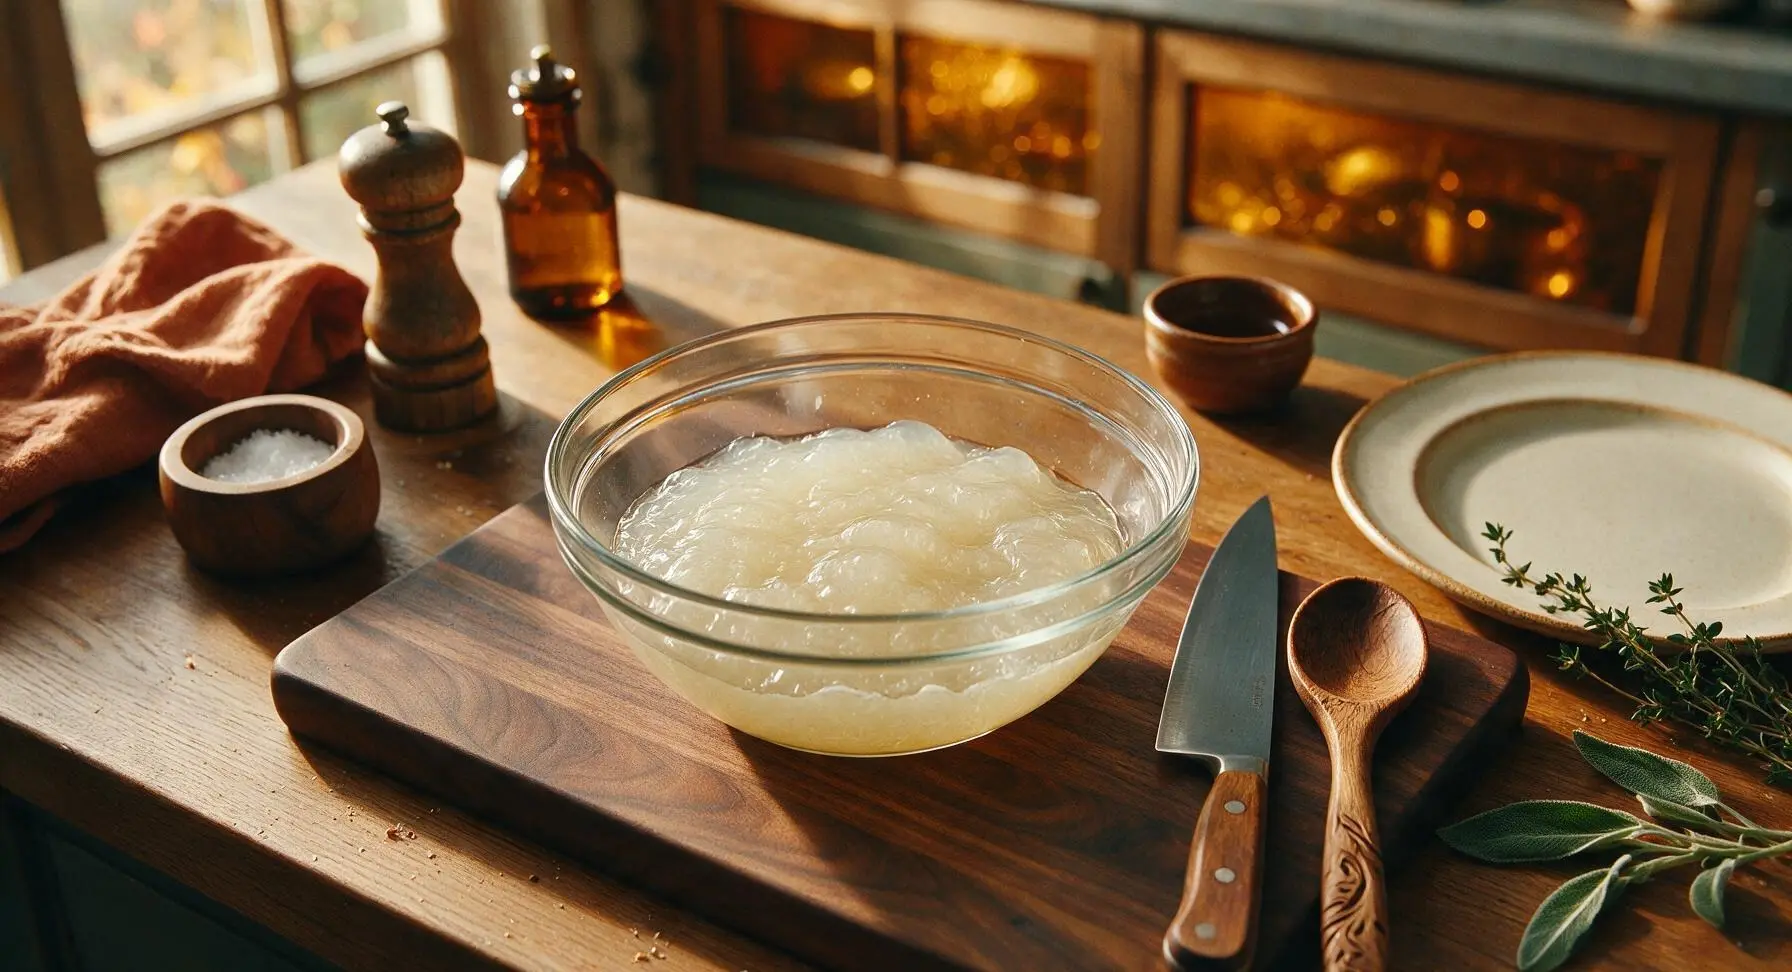
Bloom the Gelatin
Pour 30ml (2 tbsp) cold filtered water into the small clear tempered glass mixing bowl. Sprinkle the 7g of powdered gelatin evenly over the surface of the water, avoiding dumping it in one clump to prevent dry lumps. Let rest for 5 minutes at room temperature; the gelatin will absorb the water and swell into a thick, rubbery, opaque layer. Do not stir during the blooming process.
Warm Milk Base
Pour the 480ml whole milk, 120ml heavy cream, and 45g granulated sugar into the 1.5L heavy-bottomed stainless steel saucepan set over low heat (induction setting 2/10). Stir slowly with the silicone whisk until the sugar fully dissolves, about 3-4 minutes. Heat the mixture to exactly 60C (140F) – it will feel hot to the touch but show no simmering bubbles or boiling; boiling will curdle the milk and ruin the silky texture.
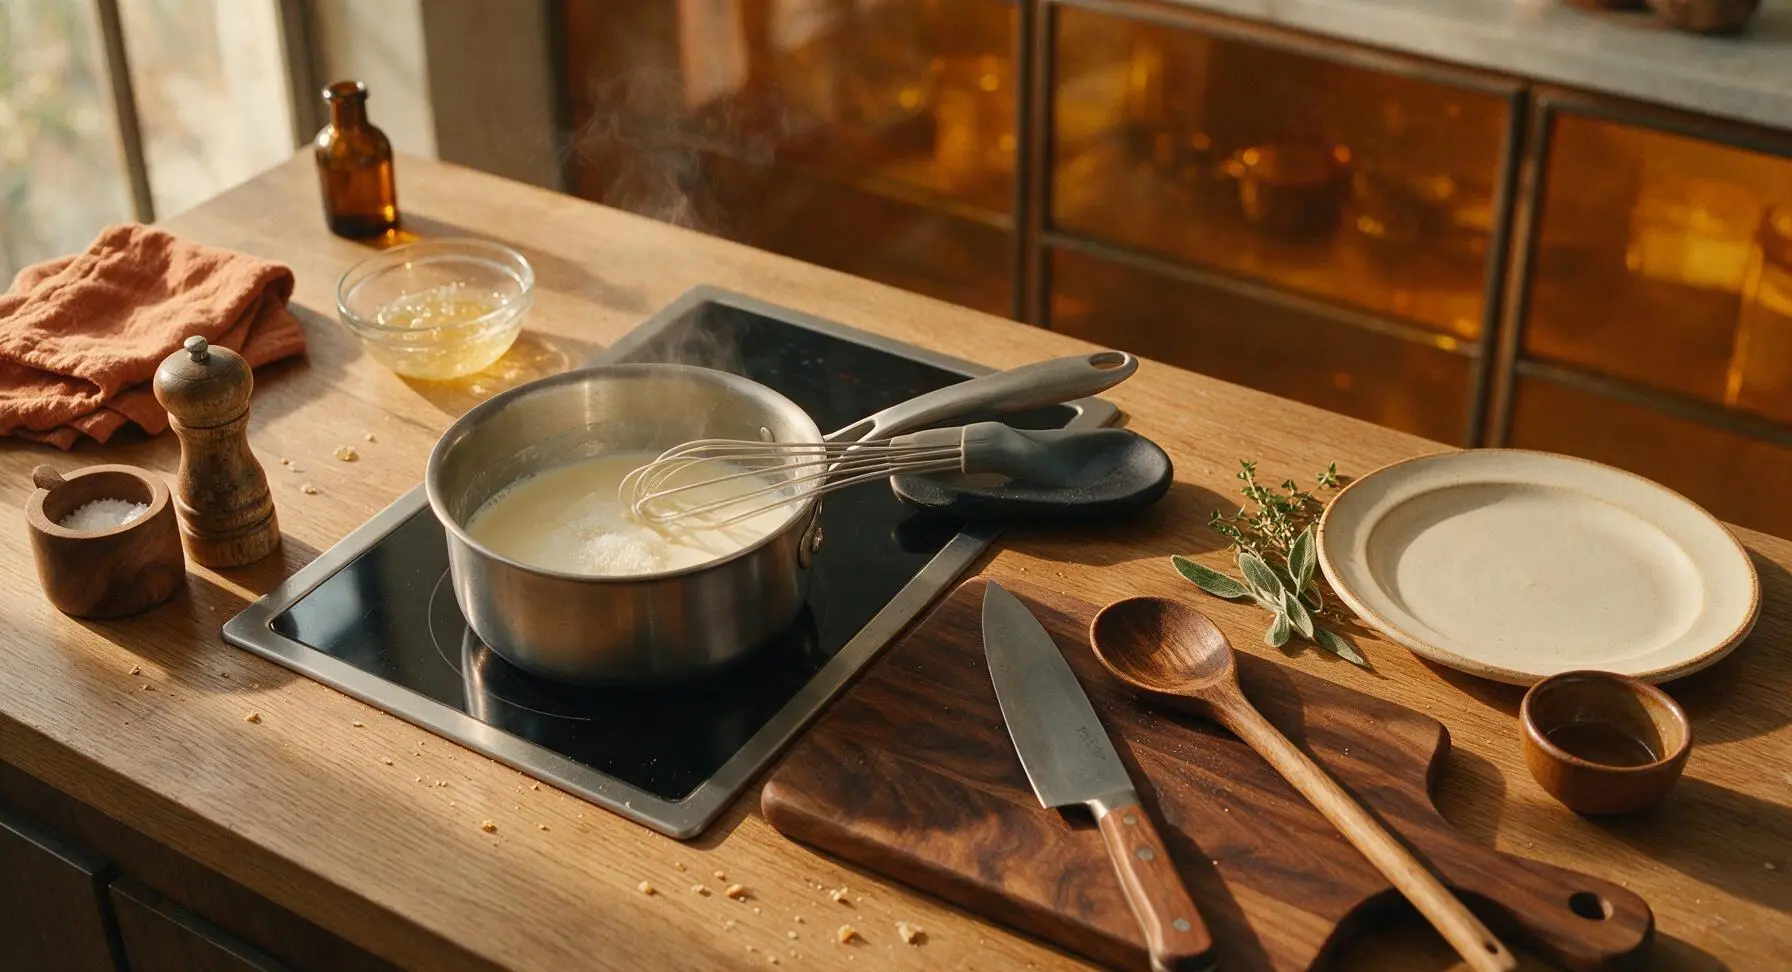
Melt Bloomed Gelatin
Remove the warm milk mixture from heat. Scrape the fully bloomed, rubbery gelatin into the saucepan, stirring gently and consistently with the silicone whisk for 1 full minute until the gelatin fully melts and incorporates completely into the milk, with no visible lumps or gel clumps remaining. Stir in the 1 tsp pure vanilla extract until evenly mixed.
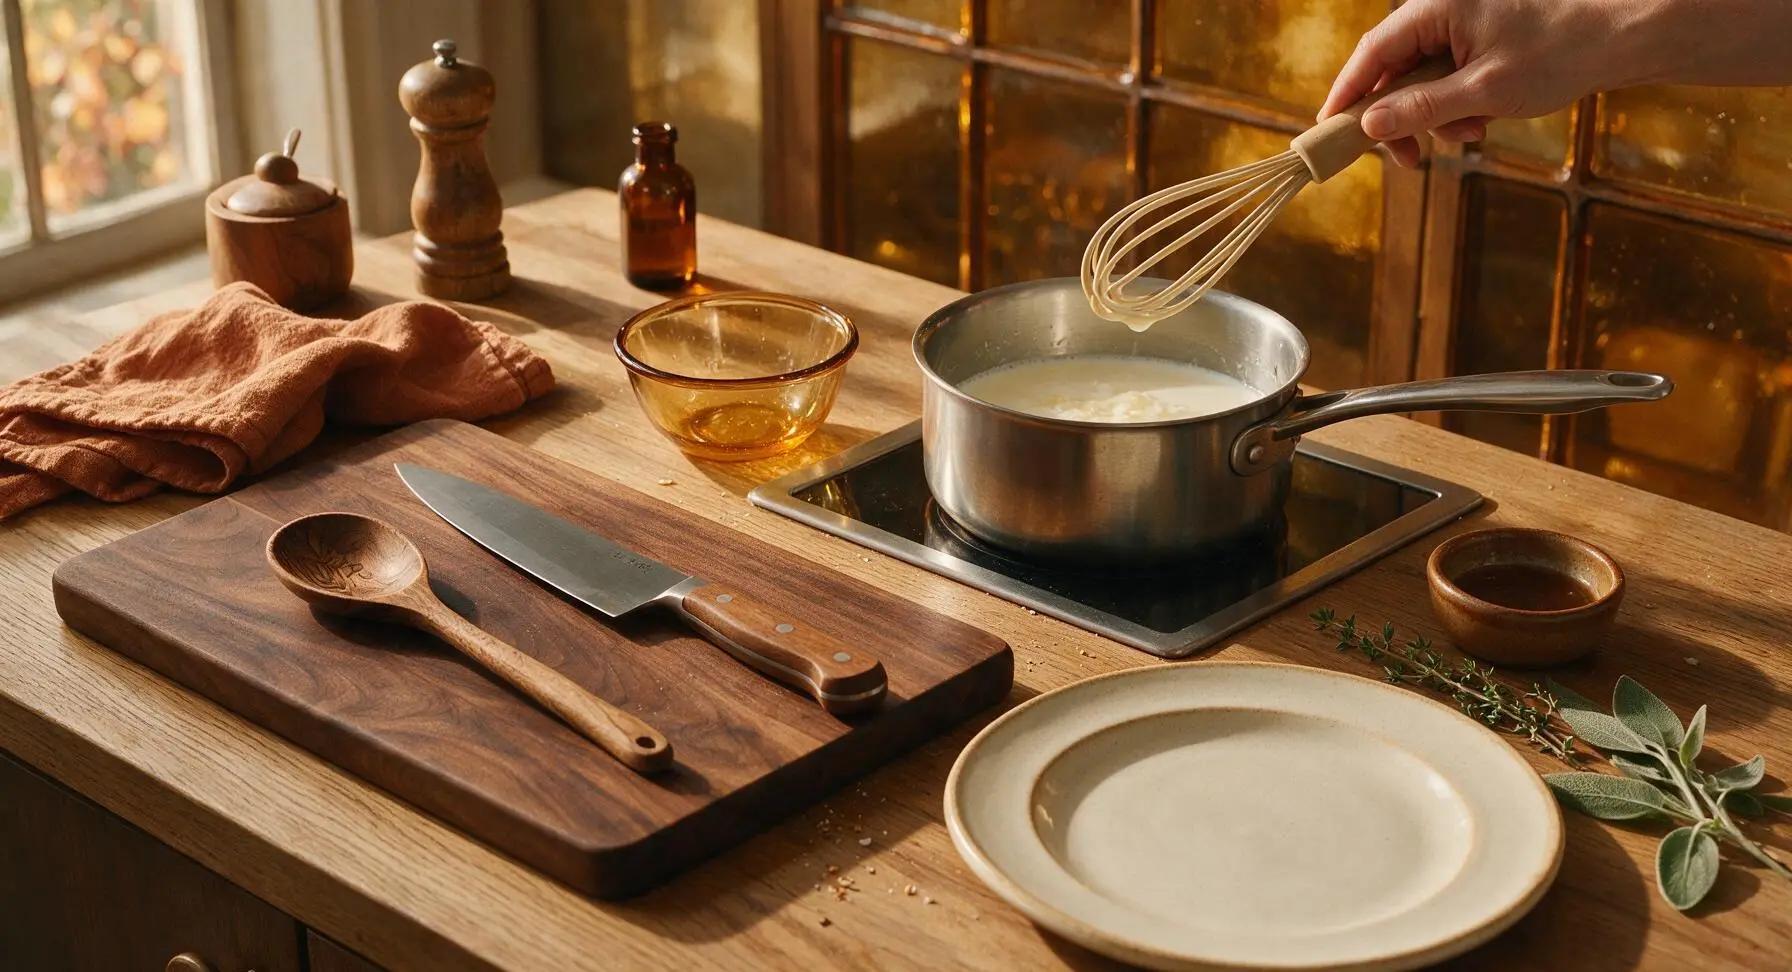
Strain Pudding Base
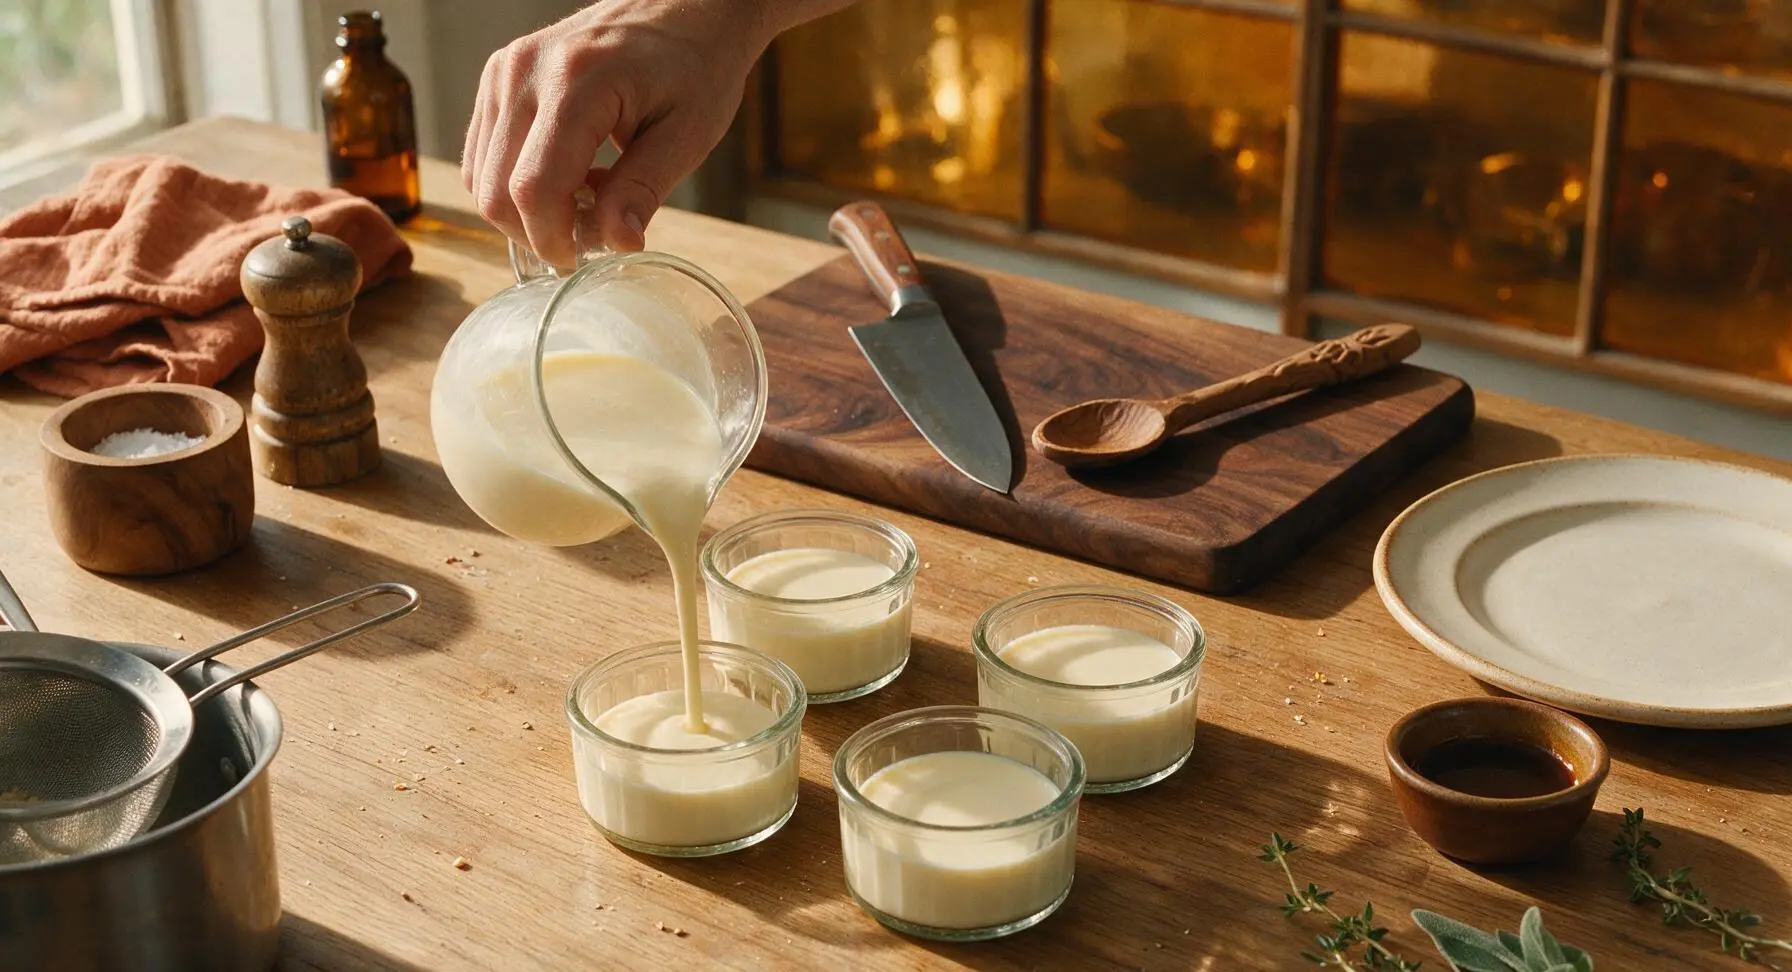
Place the fine-mesh stainless steel sieve over the 400ml clear heatproof glass measuring jug. Slowly pour the warm milk pudding mixture through the sieve to catch any undissolved gelatin lumps, bits of milk skin, or trapped air bubbles, resulting in a perfectly smooth, lump-free base. Do not press any trapped solids through the sieve; discard any small lumps left in the mesh after straining.
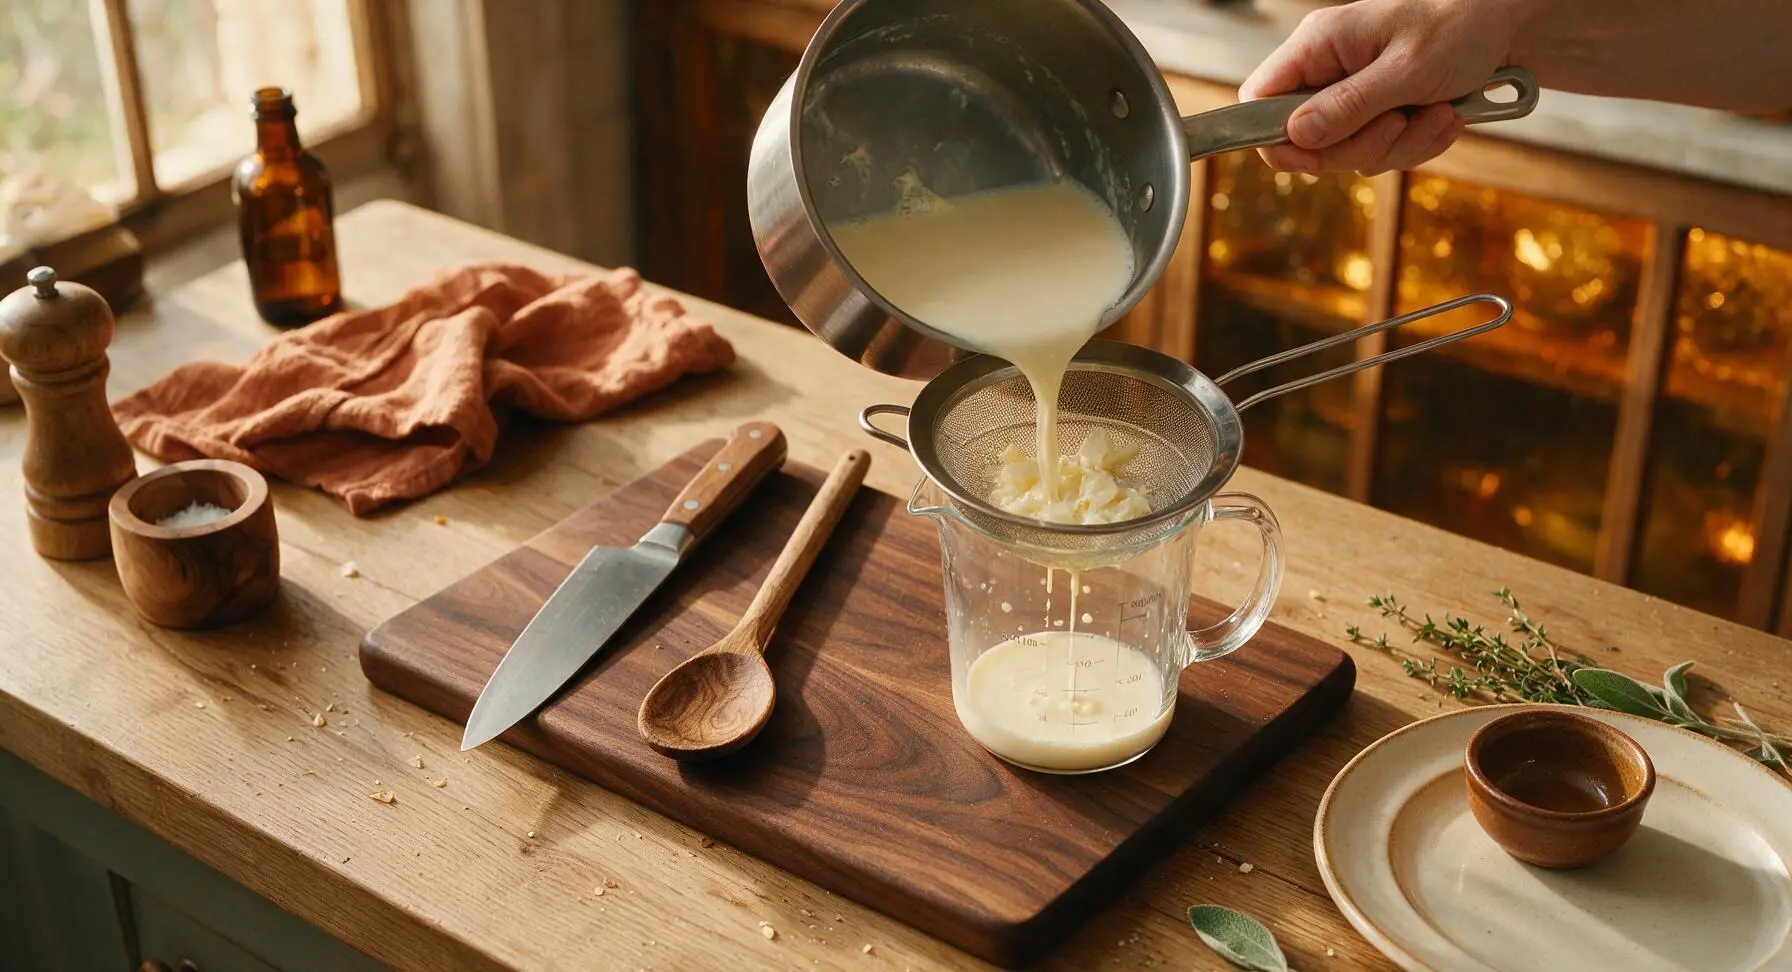
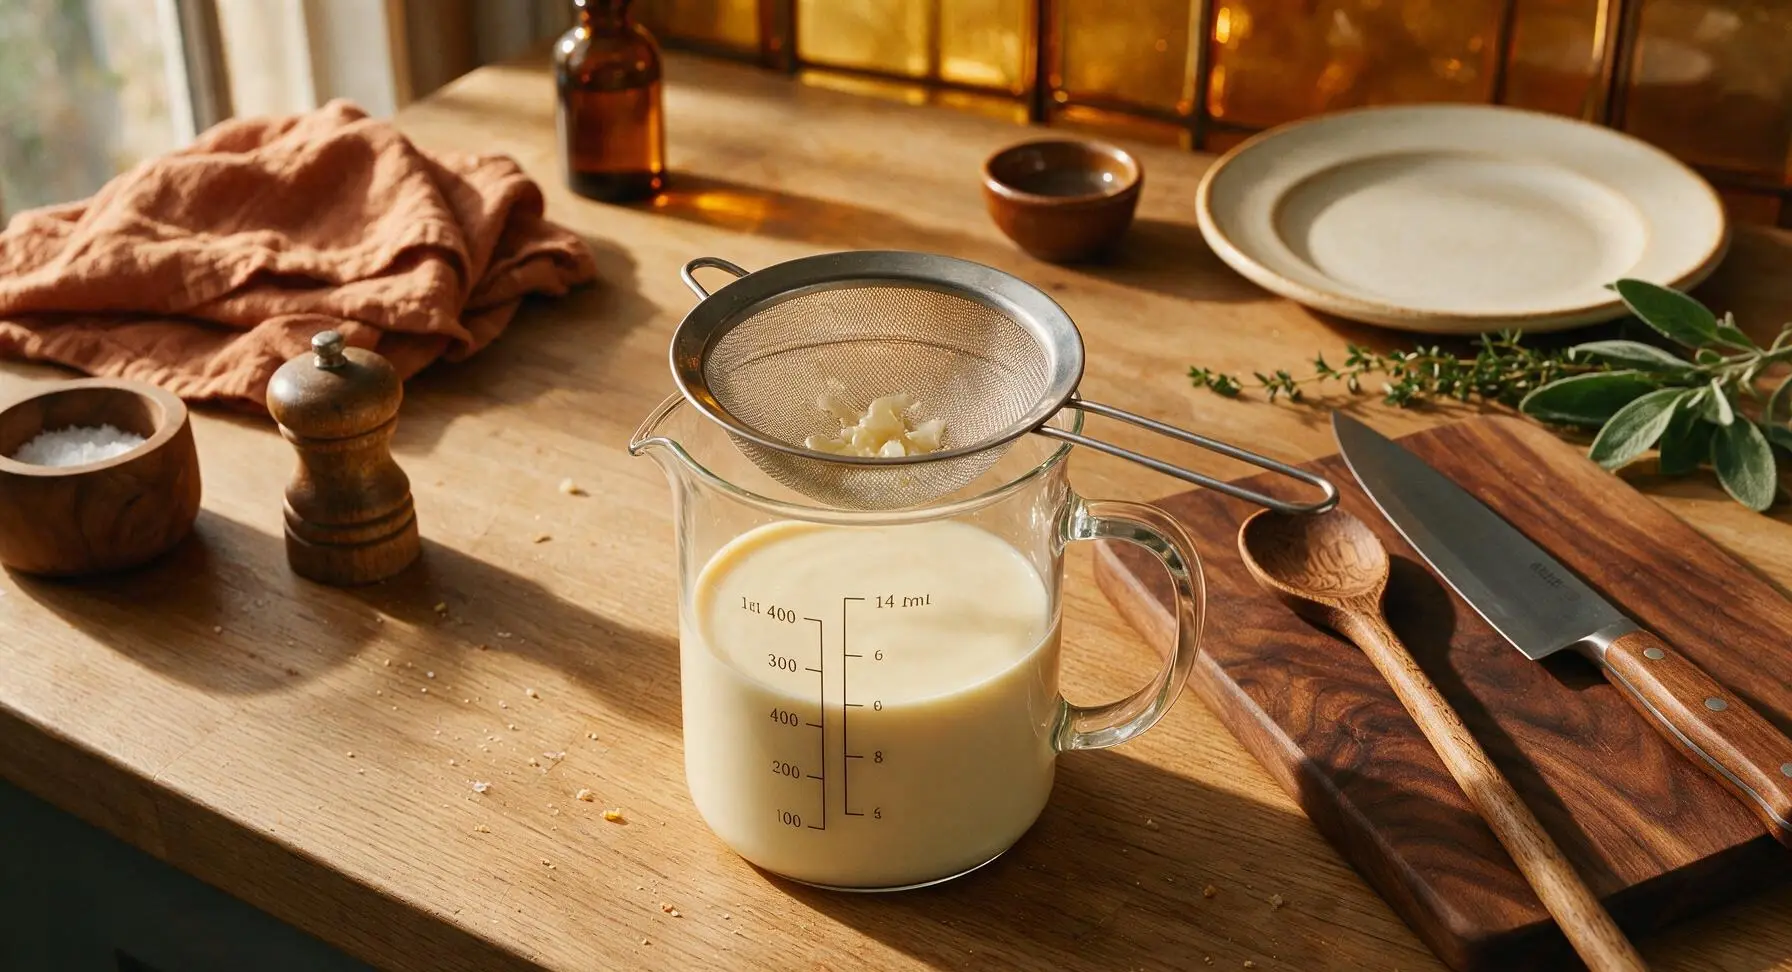
Pour into Ramekins
Arrange the 4 clear glass ramekins in a 2x2 grid on the center of the counter. Slowly pour the strained pudding base evenly between the 4 ramekins, filling each to 1cm below the rim to leave space as it sets. After pouring, gently tap each ramekin on the counter 2-3 times to release trapped air bubbles, popping any remaining surface bubbles with a toothpick to ensure a perfectly smooth top.
Chill Until Set
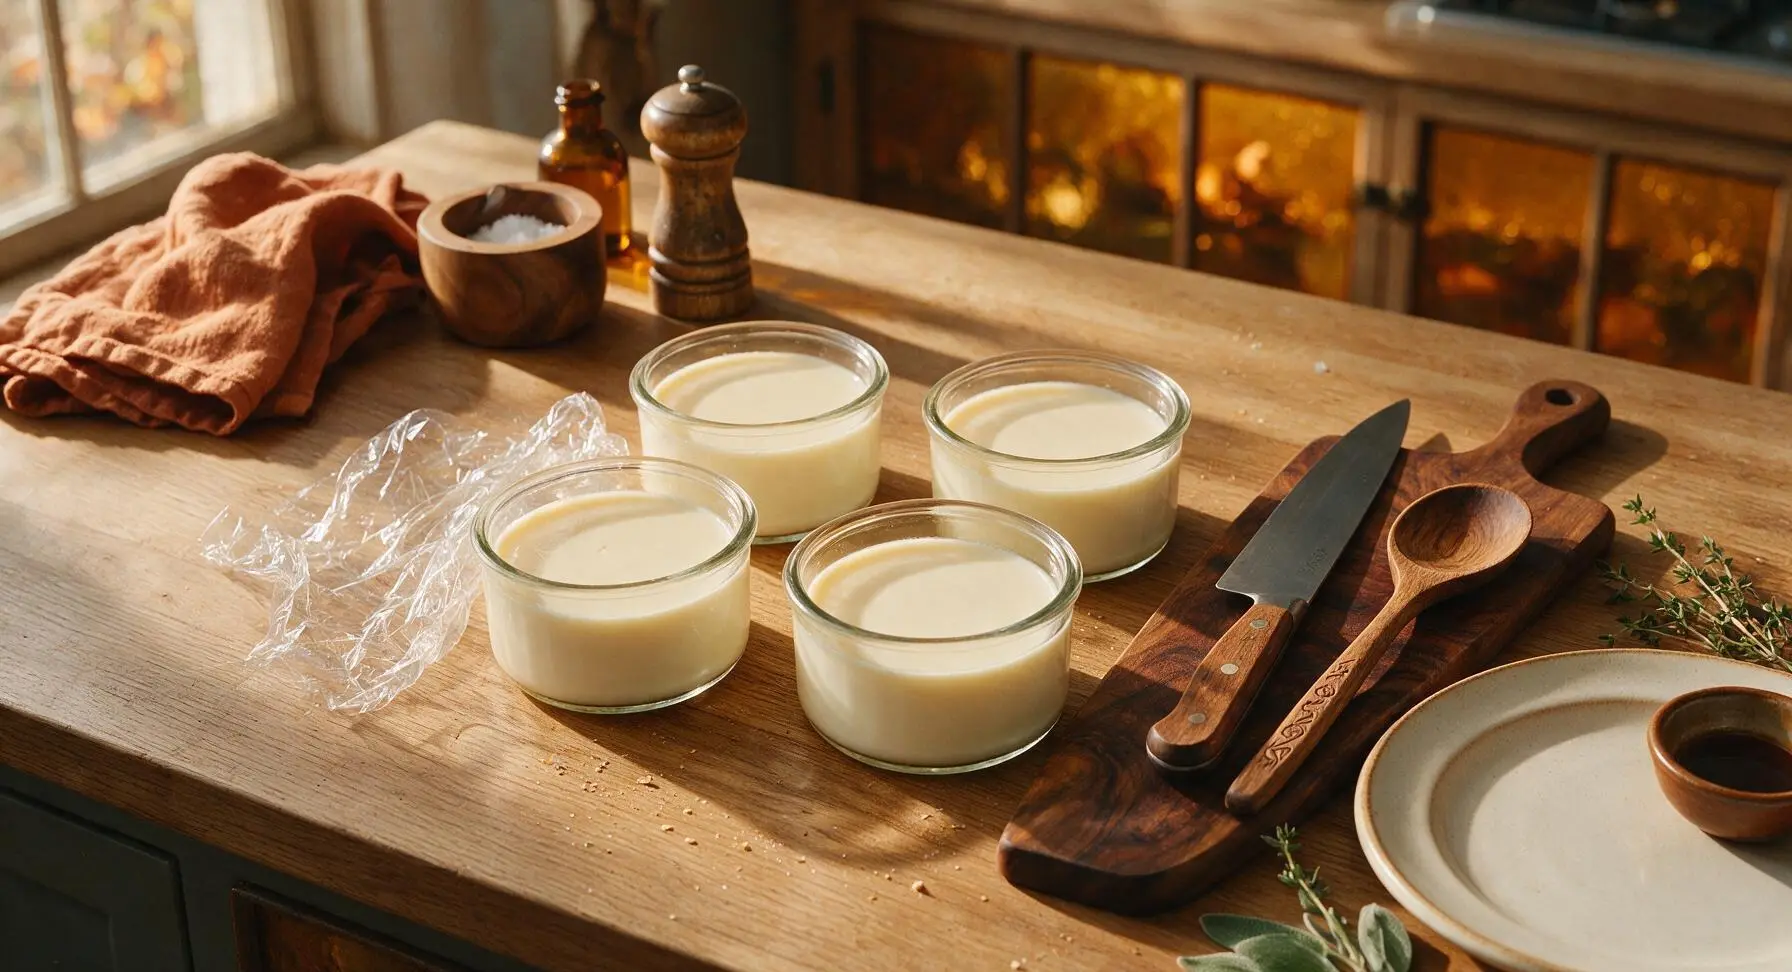
Carefully transfer the filled ramekins to the refrigerator, leaving them uncovered for the first 30 minutes, then covering loosely with plastic wrap to prevent a thick skin from forming on the surface. Chill for a minimum of 4 hours (or up to 24 hours for make-ahead prep) until the pudding is fully set: it will jiggle softly when tapped but will not slosh, and will leave no liquid residue on a clean finger touched lightly to the top. Do not freeze the pudding, as this will cause dairy separation and a grainy texture.
Unmold and Garnish
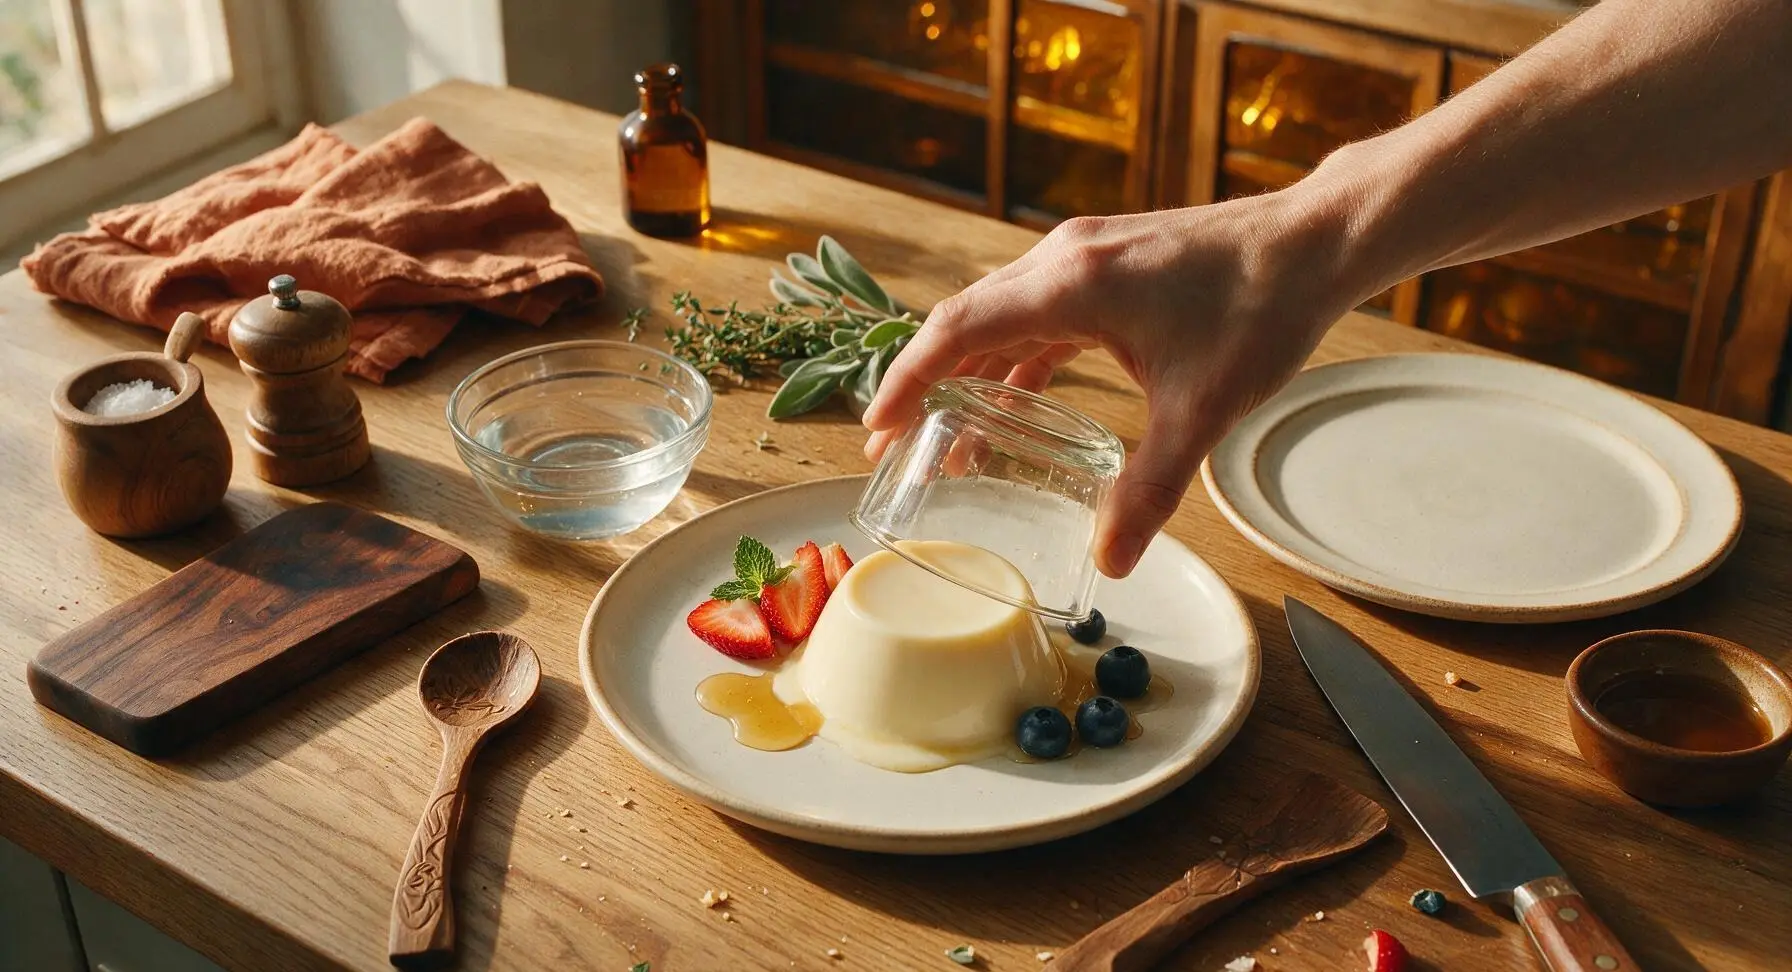
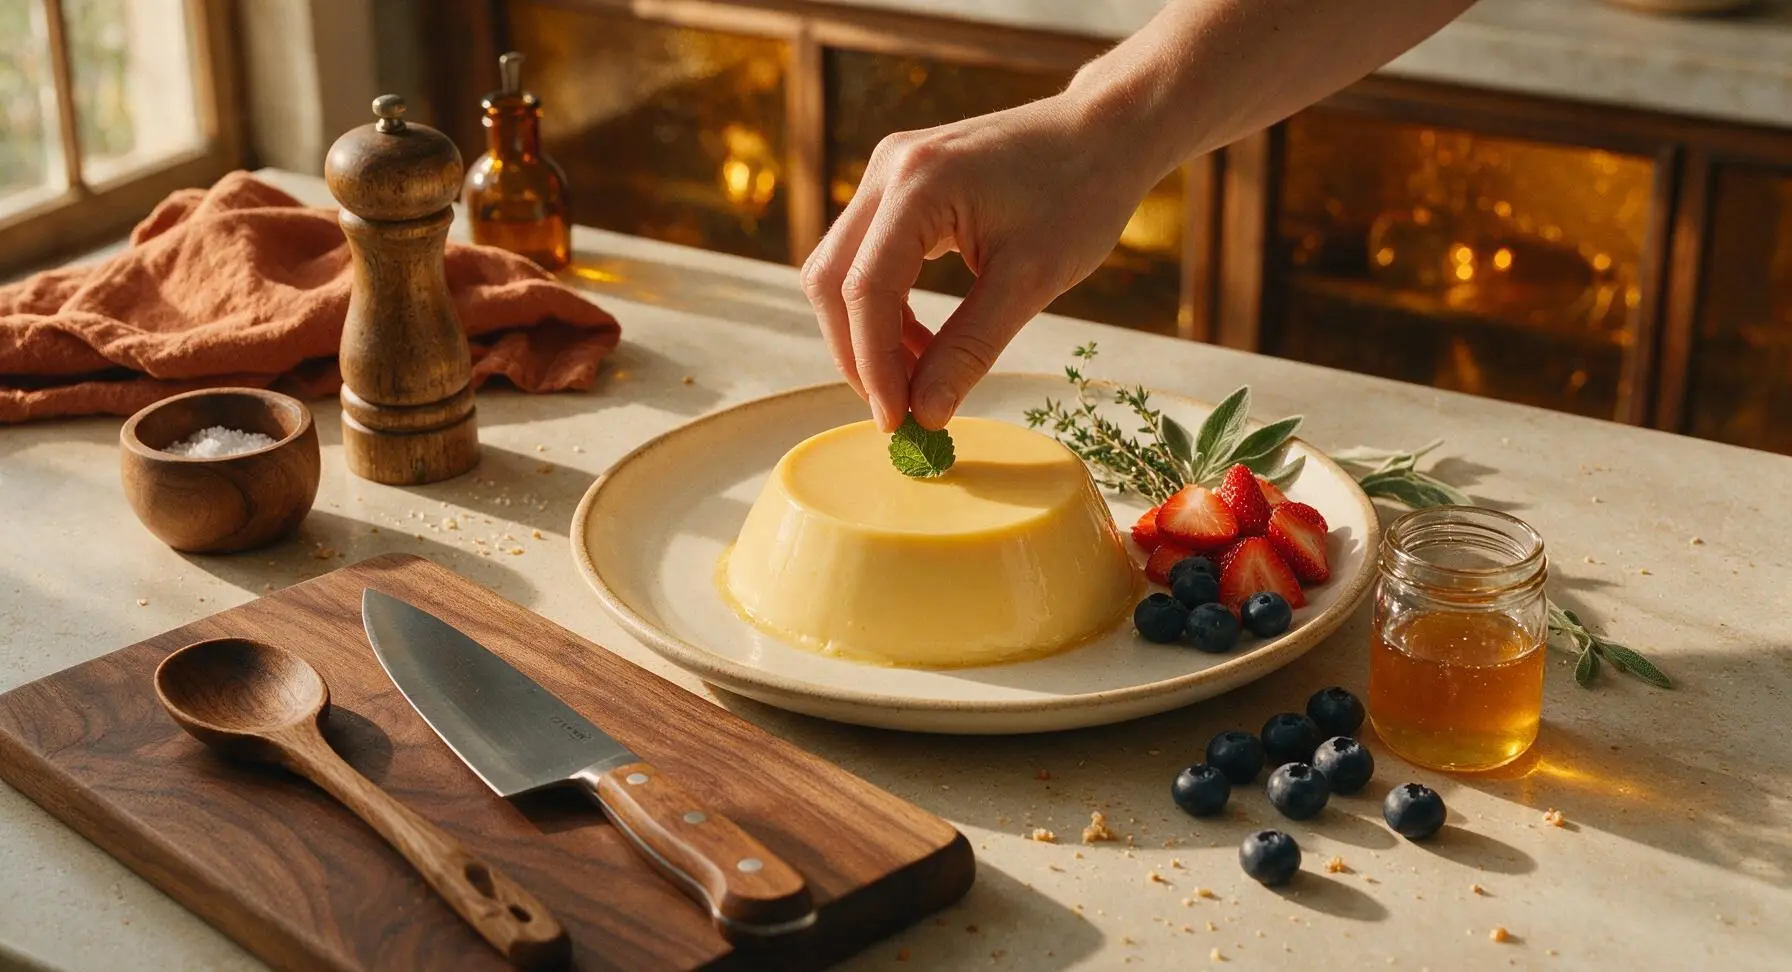
To serve, run the tip of the small paring knife around the inner edge of each ramekin to loosen the pudding edge. Dip the bottom of each ramekin in the small clear glass bowl of warm (not boiling) water for 10 seconds to slightly melt the outer pudding layer, then invert the ramekin onto the center of the cream white ceramic dessert plate, giving it a gentle shake until the pudding slides out cleanly. Arrange sliced strawberry, blueberries, and a mint leaf around and on the pudding, then drizzle lightly with raw honey before serving.
Tips
2.Always bloom gelatin in cold water: Using warm or hot water makes gelatin dissolve prematurely on the surface, trapping dry, unhydrated powder in the center that creates hard lumps in the finished pudding. Sprinkle powder evenly over cold water instead of dumping it in one pile for even hydration.
3.Don’t skip the warm water dip for unmolding: Dipping the ramekin base in warm (not boiling) water for 10 seconds melts just the thin outer layer of pudding, letting it slide out smoothly without tearing or sticking. Avoid dipping longer than 15 seconds, or the pudding edge will become too soft and lose its clean, smooth shape.






Game changer! I’ve tried so many Hokkaido milk pudding recipes before and they always turned out grainy or too jiggly, but this one is perfectly silky every single time. The 10 minute cook time is chef’s kiss— I whipped this up while my pasta was boiling for dinner last night and my whole family was obsessed. Even my super picky partner who swears he doesn’t like creamy desserts went back for a second serving!
Really solid recipe! I prepped a batch of these on Sunday for weekday work snacks and they held up perfectly in the fridge all week. I knocked off a star only because I added a tiny bit too much gelatin the first time and it came out a little firmer than I wanted, but that was totally my bad for not measuring carefully. Next time I’ll stick to the exact measurements, and probably toss on some fresh strawberry compote on top for extra fruity flavor.
Made this for our church potluck last Sunday and people were literally asking me for the recipe before we even finished going through the potluck line! It’s so light and not cloyingly sweet, which was perfect after all the heavy mac and cheese and green bean casseroles we had. I added a little drizzle of salted caramel sauce on top for serving and it was *chef’s kiss*. Only regret is I didn’t make a double batch—we scraped the pan clean in 10 minutes flat!
OMG, just finished heating up the mixture and poured it into ramekins to set, and I already know these are gonna be a hit! The warm milk smelled like absolute heaven when I was stirring it—so rich and creamy, no weird artificial aftertaste from anything. My twin toddlers kept hovering by the stove begging for a tiny taste while I was cooking, haha. Can’t wait to dig in after dinner tonight!