
Mochi Grilled Cheese

title 1
Mochi Grilled Cheese
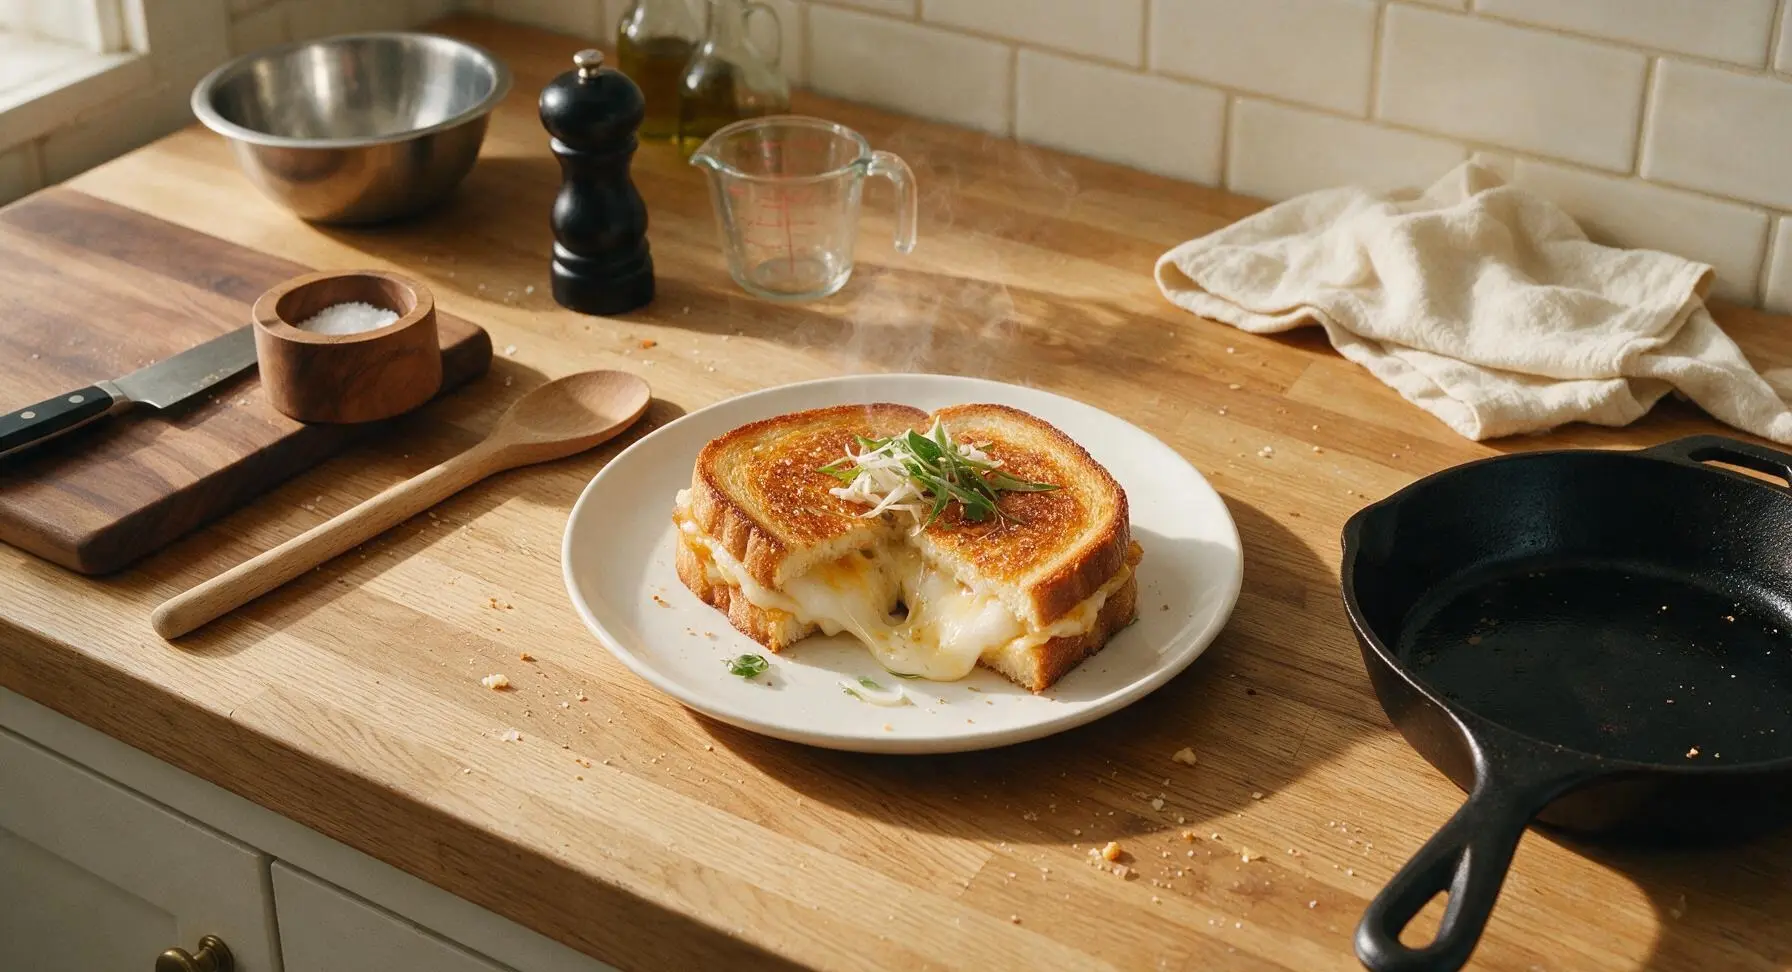
⏱️ cook time 12 minutes
🍽️ servings 4
⚡ Difficulty easy

intro

Crispy buttery toasted bread wrapped around chewy, stretchy mochi and oozing melted cheese — a playful Japanese-American fusion twist on classic comfort food.

Ingredients
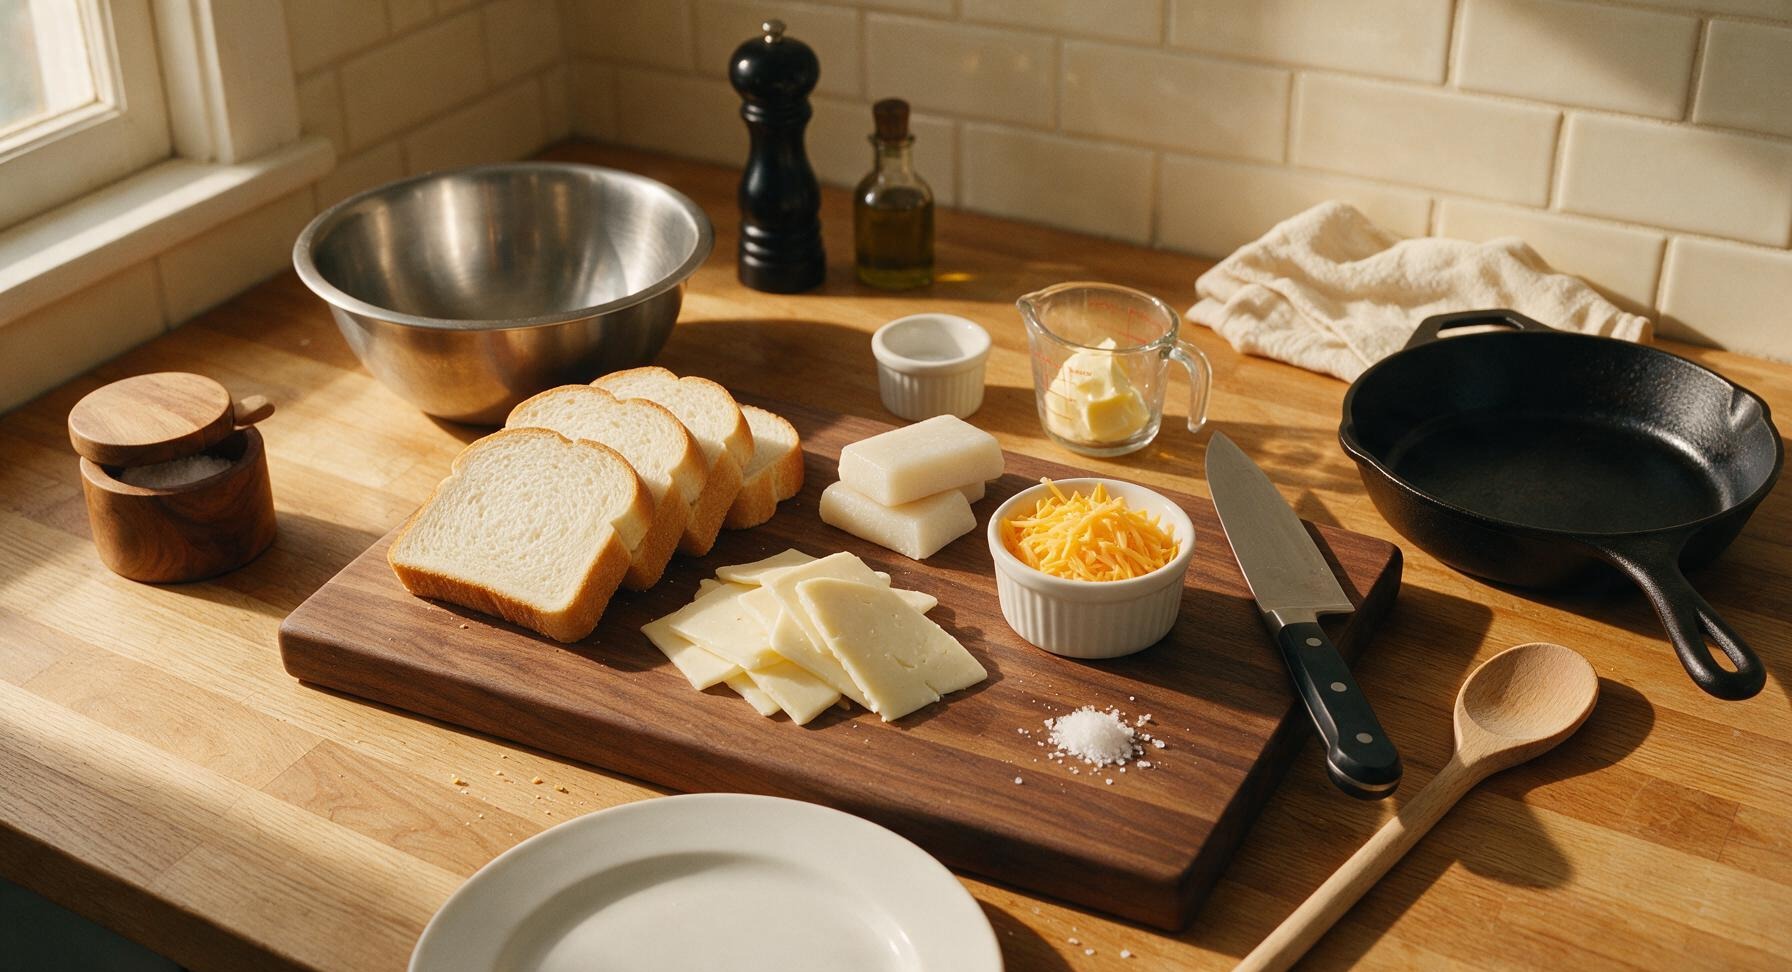
Thick-cut white milk bread 4 slices (200g total)
Fresh kirimochi (dried rice cake blocks) 100g (two 50g blocks)
Low-moisture mozzarella cheese, sliced 120g
Sharp cheddar cheese, shredded 40g
Unsalted butter, softened 2 tbsp (28g)
Flaky sea salt 1/4 tsp

Steps

1

Slice mochi evenly

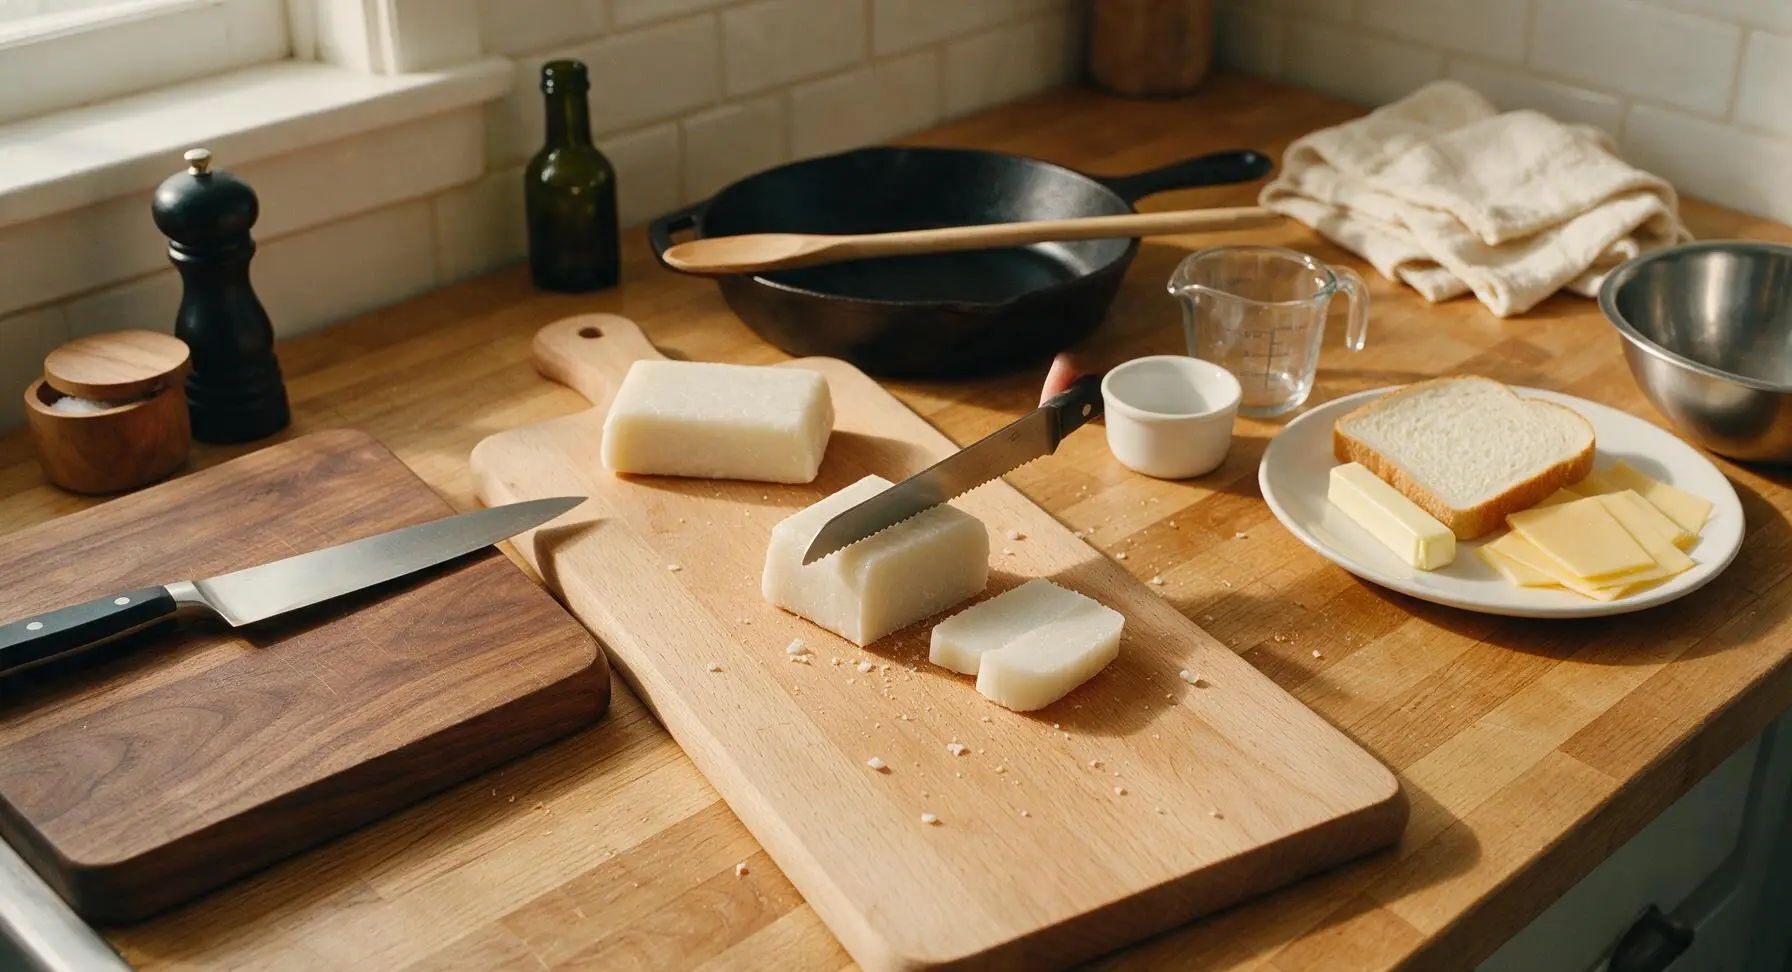
Place the two kirimochi blocks on the beech wood cutting board. Hold the serrated bread knife at a slight angle and slice each block into even 1cm-thick slabs, making 4 total mochi slices. Set sliced mochi aside; avoid cutting slices thicker than 1cm, as over-thick mochi will not fully soften during the short cooking time.
Step 1
step1:Slice mochi evenly
2

Butter bread slices

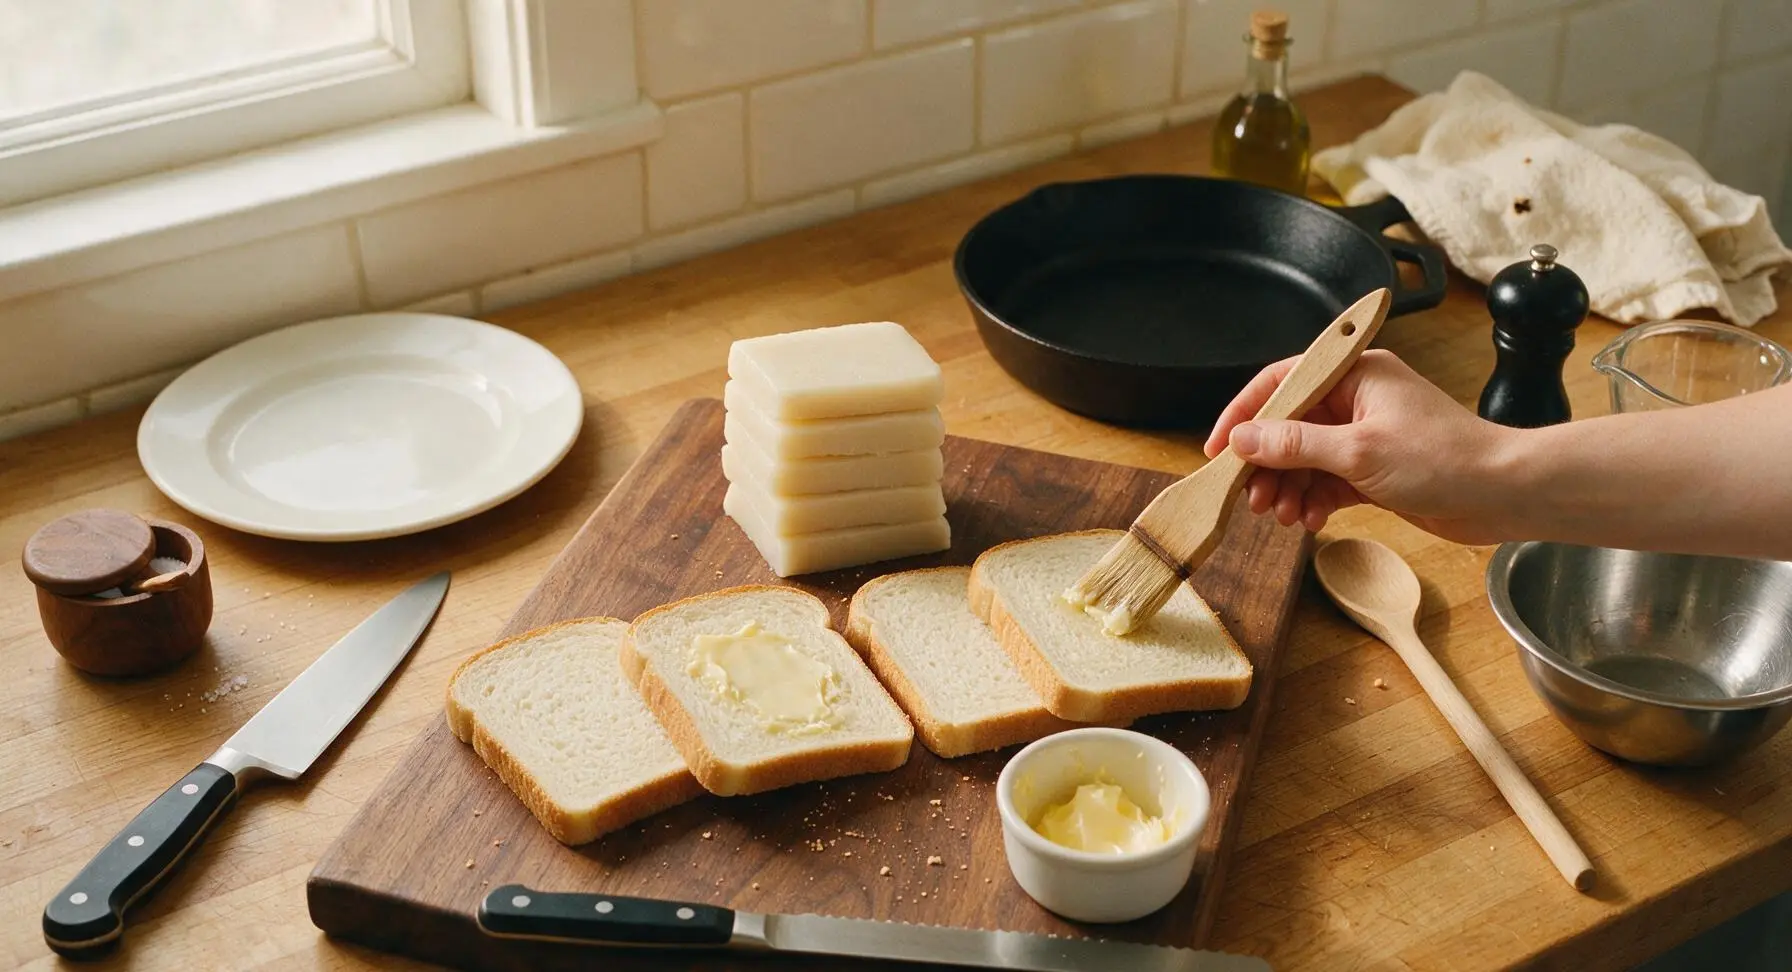
Lay all 4 bread slices flat on the beech wood cutting board. Use the natural bristle pastry brush to spread 1/2 tablespoon of softened butter evenly across one entire side of each slice, spreading all the way to the crust edges to ensure uniform, all-over crisping. The buttered sides will face outward against the hot skillet during cooking.
Step 2
step2:Butter bread slices
3

Layer sandwich fillings

Flip two of the bread slices so the buttered side faces down on the cutting board. Layer 30g of sliced mozzarella, two slices of mochi, 20g of shredded cheddar, and the remaining 30g of mozzarella on each unbuttered bread face, distributing fillings evenly to within 1cm of the crust to prevent oozing. Top each stack with the remaining two bread slices, buttered side facing up, to form two complete, evenly thick sandwiches.
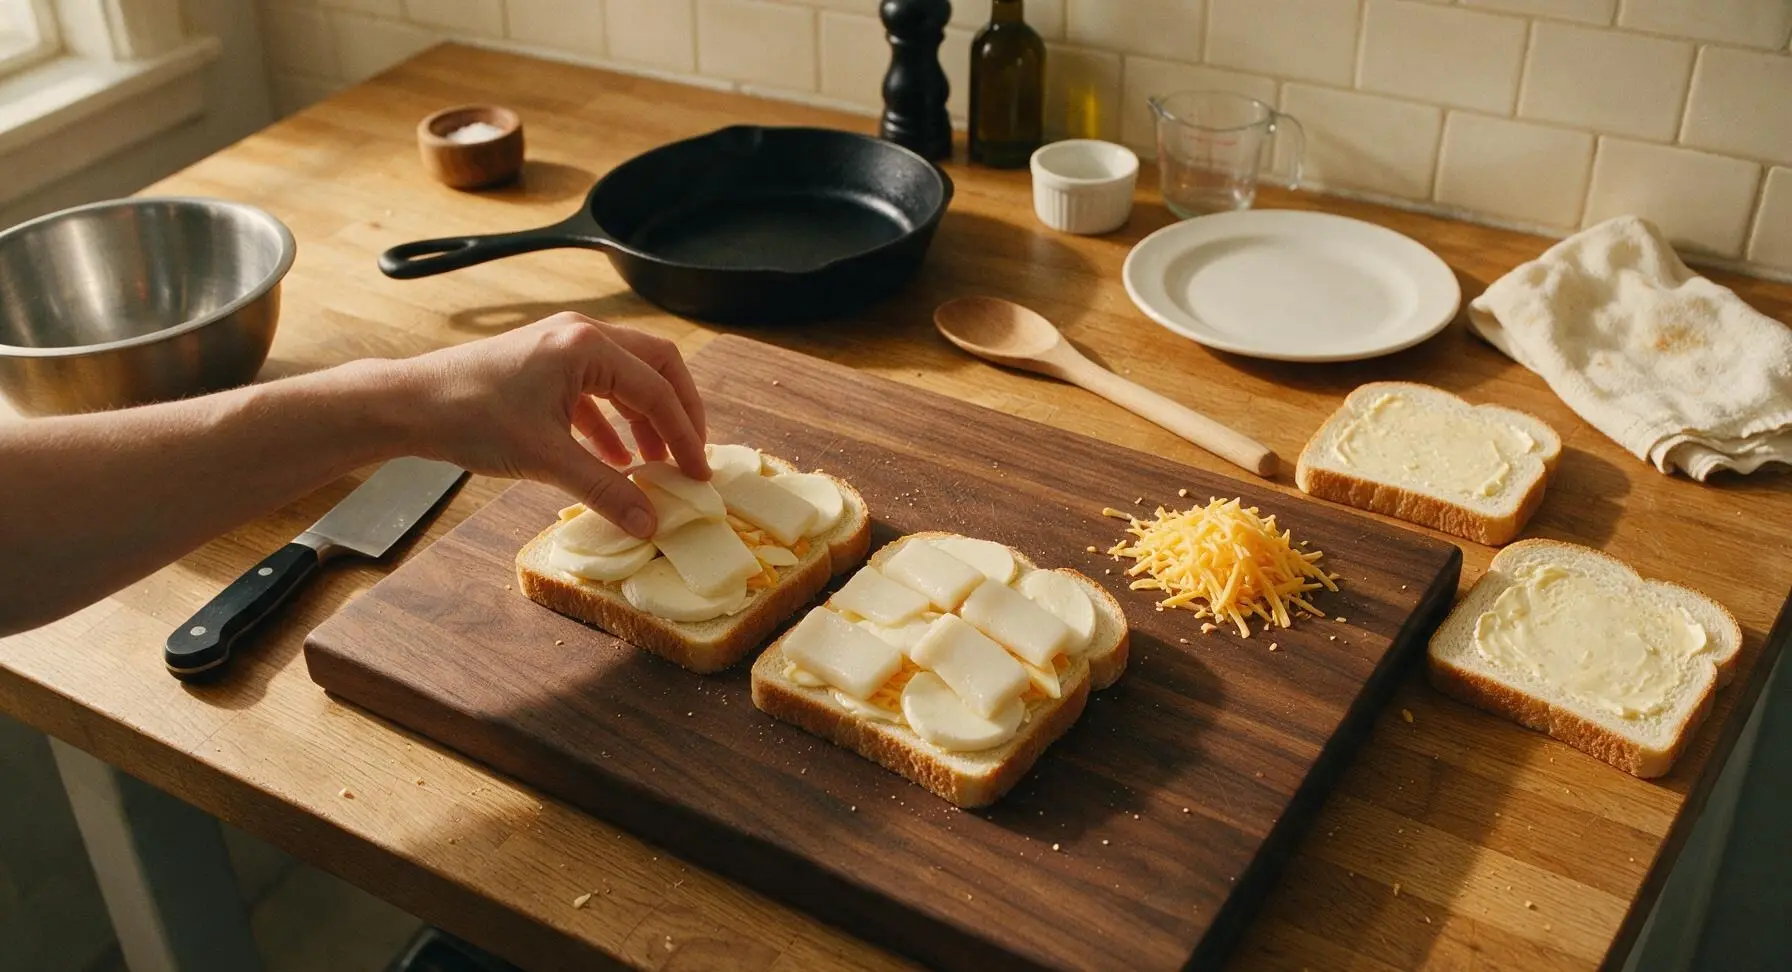
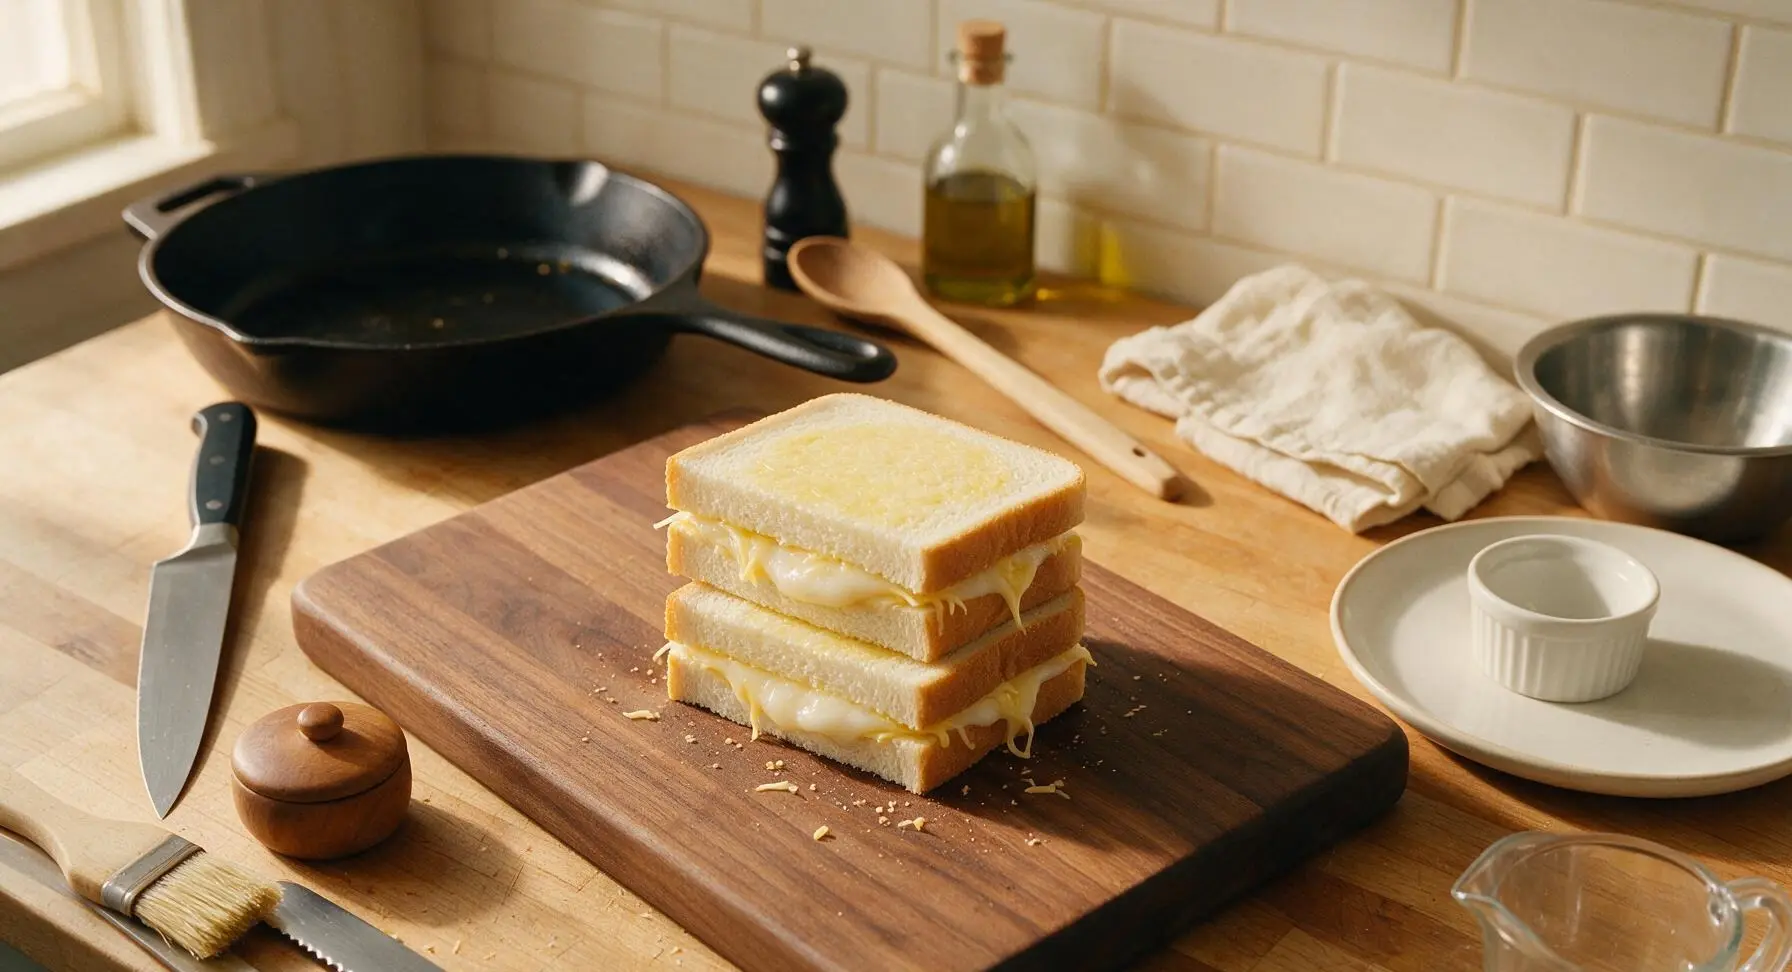
Step 3
step3:Layer sandwich fillings
Step 3
step3:Layer sandwich fillings
4

Preheat non-stick skillet

Place the matte black portable induction cooktop in the center of the counter, then set the 8-inch matte charcoal non-stick skillet on the cooktop surface. Turn the induction burner to medium-low heat (325°F / 160°C) and preheat for 2 minutes, until a drop of cold water sprinkled on the pan surface sizzles and dances across the pan without evaporating instantly. Too high heat will burn the bread before the mochi has time to soften.
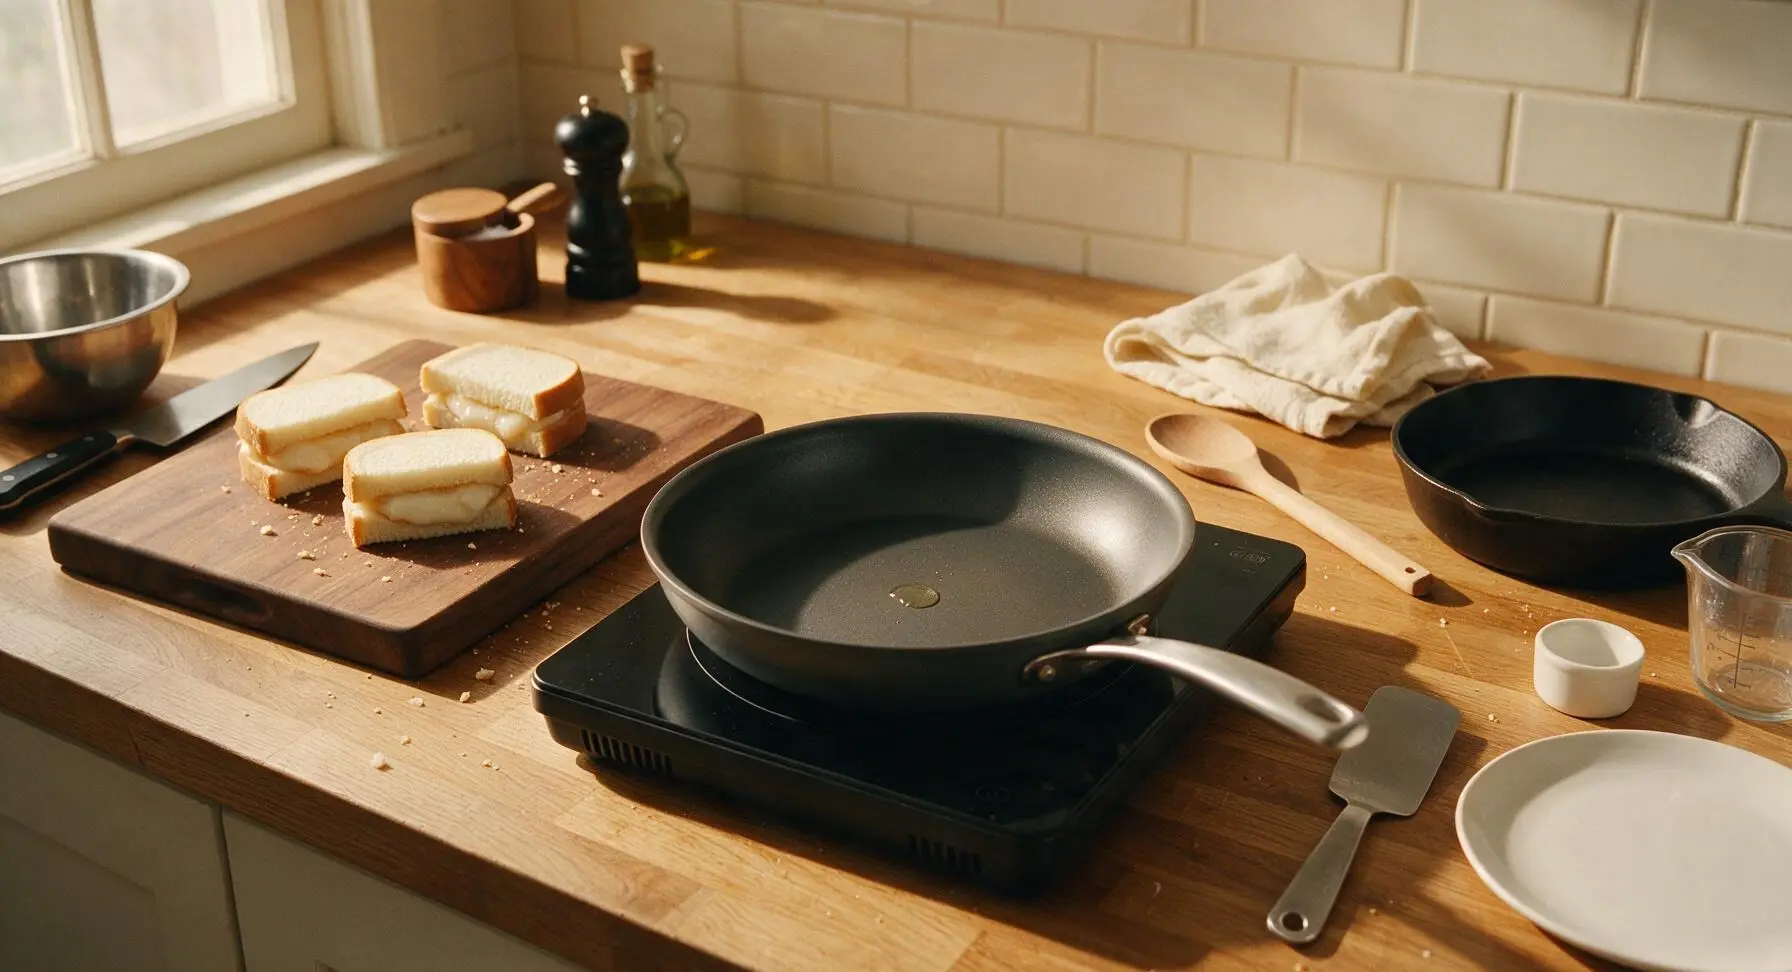
Step 4
step4:Preheat non-stick skillet
5

Toast first sandwich side

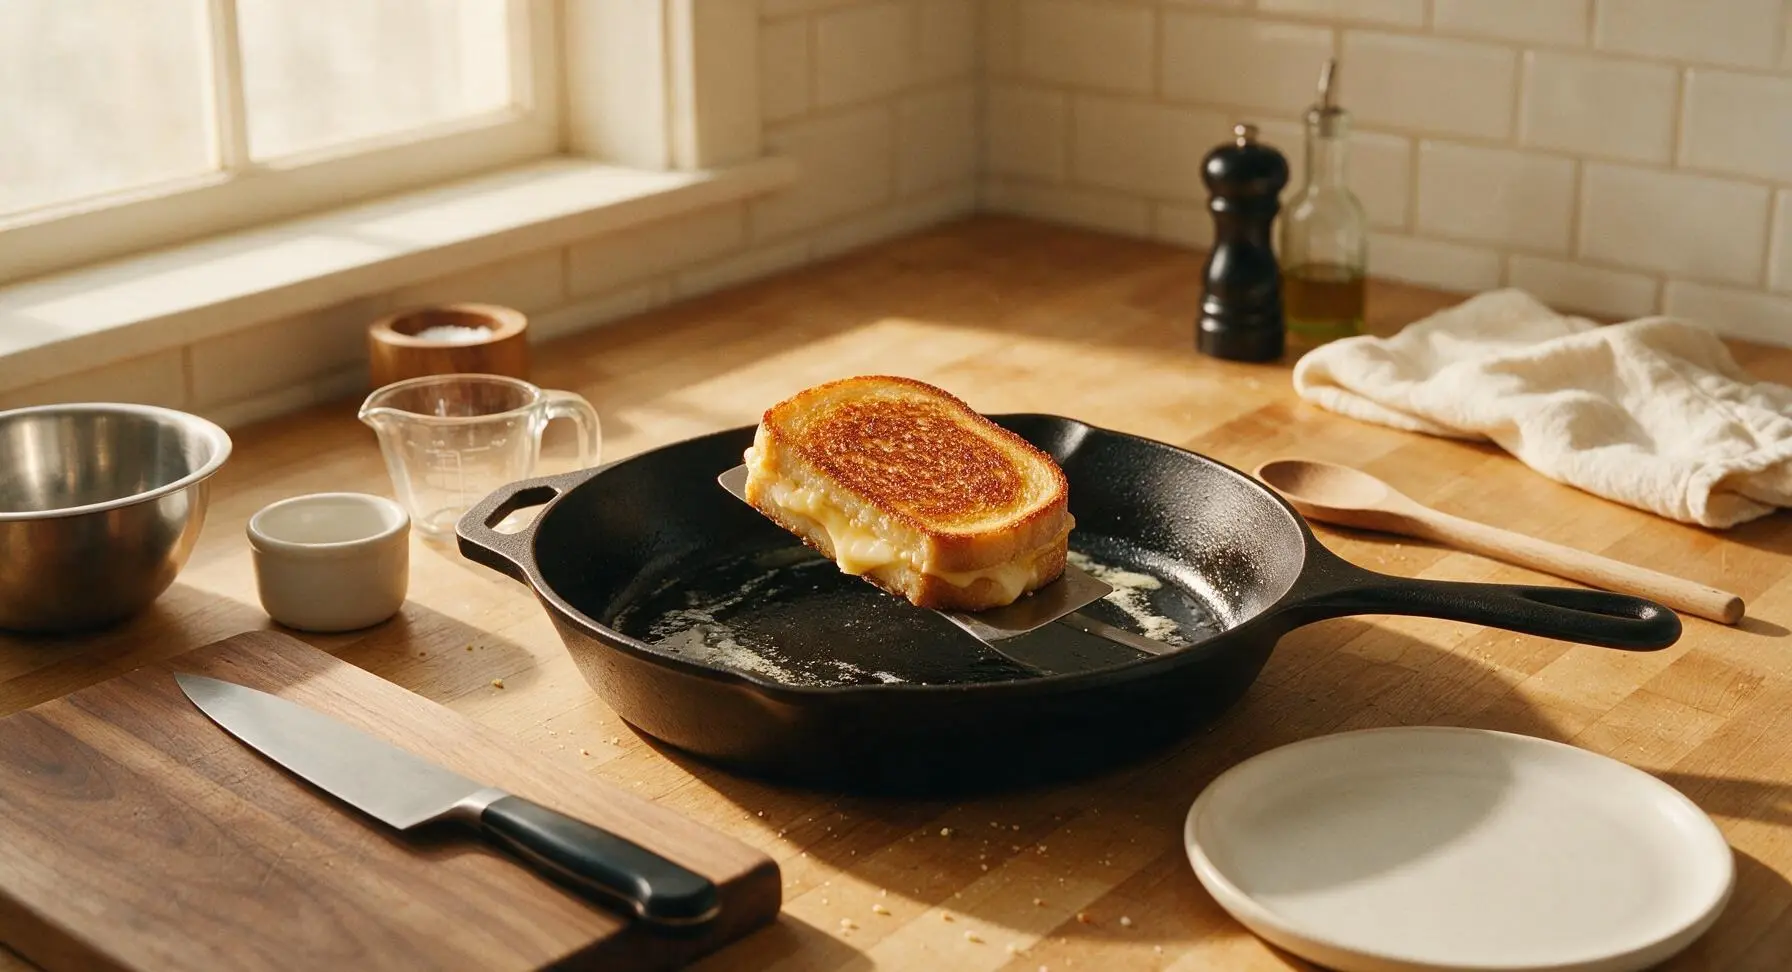
Carefully lift one assembled sandwich with the offset spatula and place it in the center of the preheated skillet. Cook for 3 minutes, resisting the urge to press down on the sandwich, until the bottom bread slice is deep golden brown and crisp to the touch, and the cheese closest to the pan has started to melt and bubble slightly at the edges.
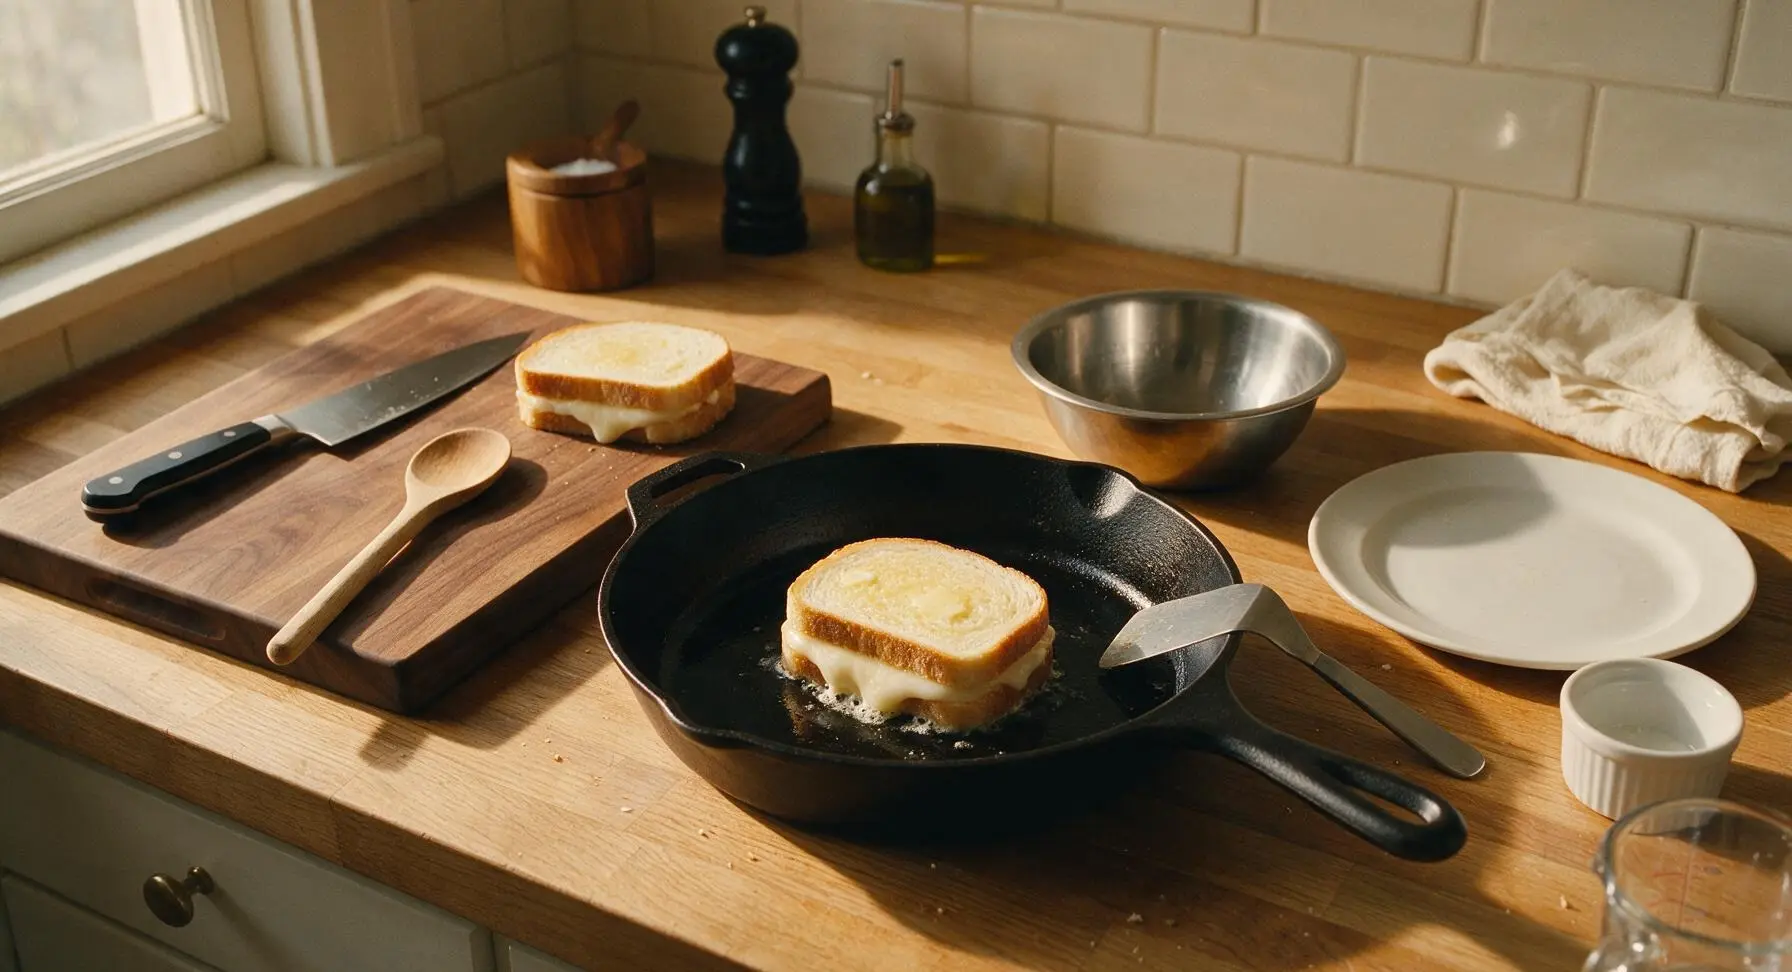
Step 5
step5:Toast first sandwich side
6

Flip and cook through

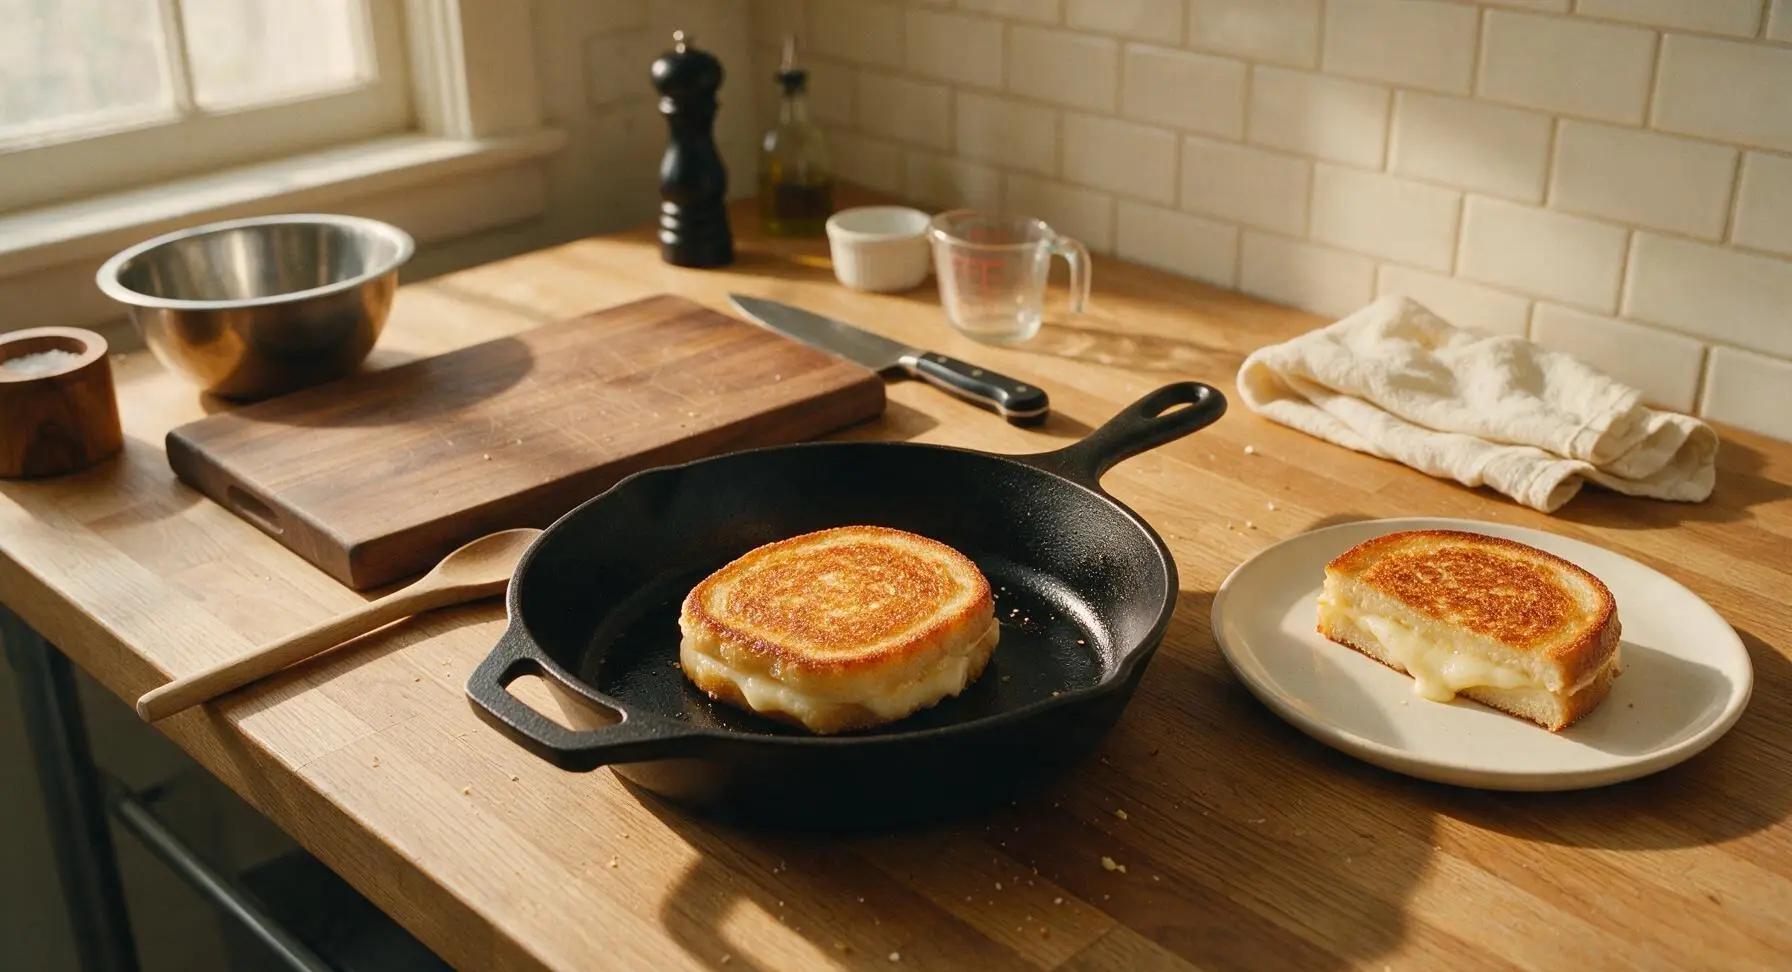
Slide the offset spatula fully under the sandwich to support the entire base, lift gently, and flip it in one smooth motion. Cook for an additional 3 minutes on the second side, until that side is also deep golden brown, the cheese is fully melted, and the mochi inside is soft and stretchy (you will notice a slight, springy give when you press the top of the sandwich gently with the spatula). Remove the finished sandwich to the cream white ceramic lunch plate, then repeat the full 6-minute cooking process with the second sandwich.
Step 6
step6:Flip and cook through
Step 6
step6:Flip and cook through
7

Season and rest sandwiches

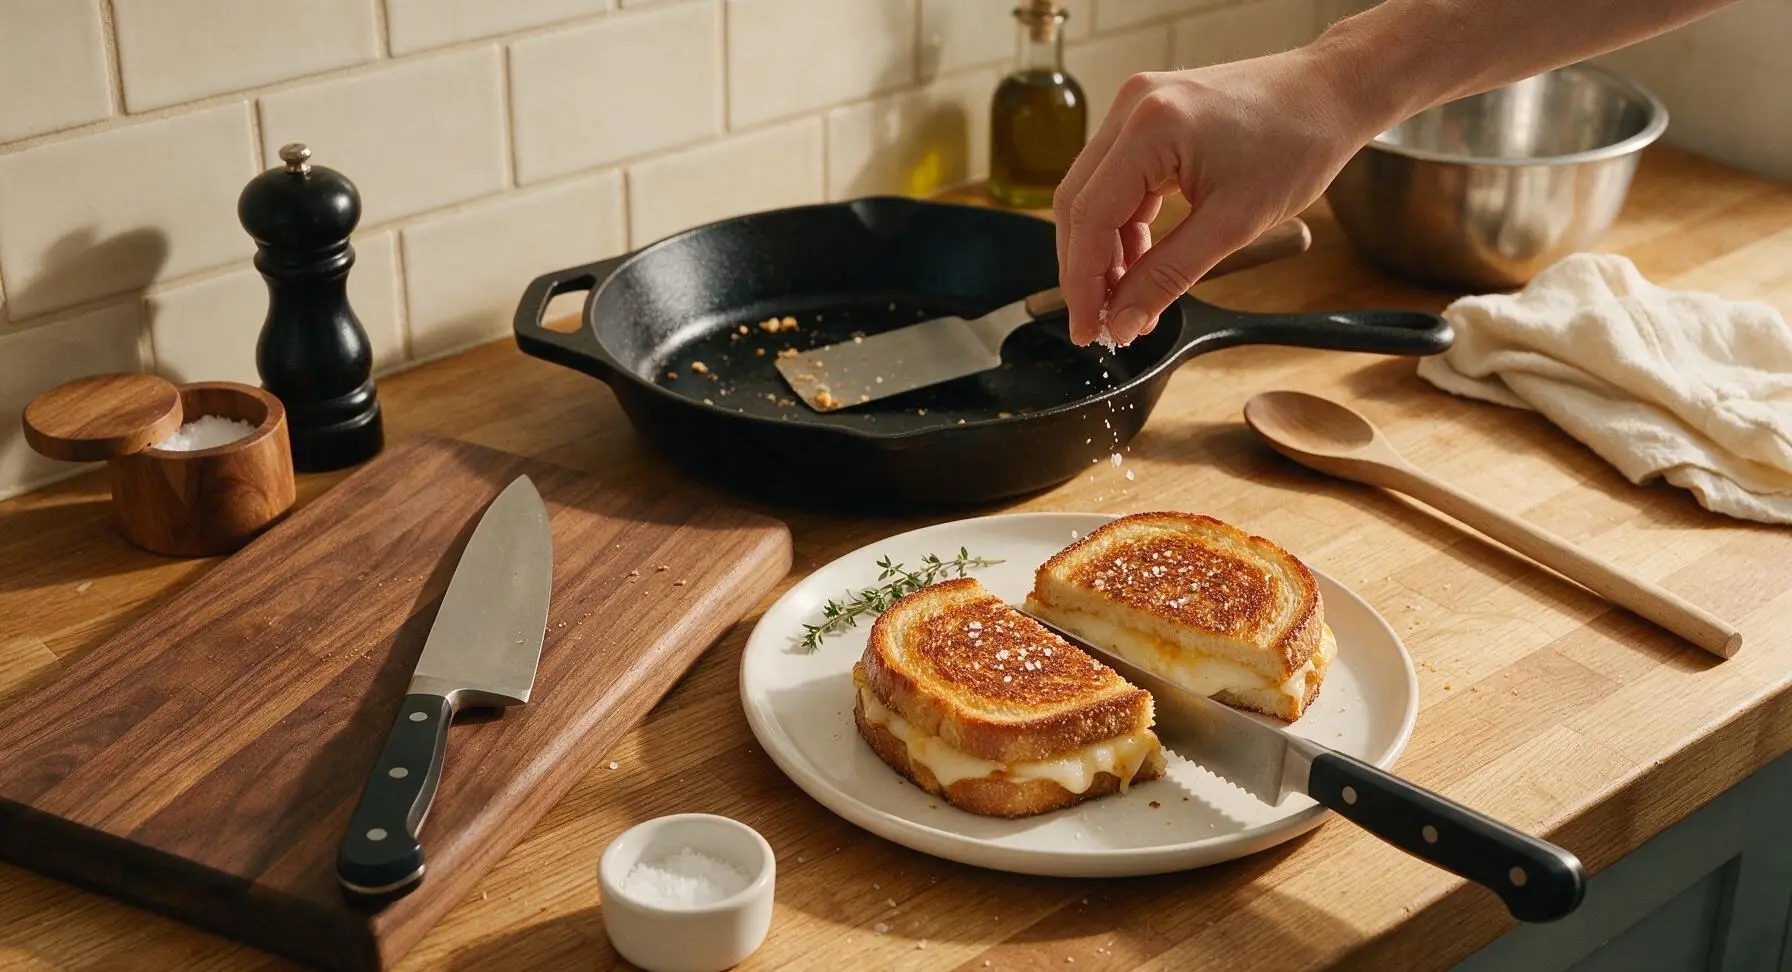
Transfer the second finished sandwich to the cream white ceramic plate. Let both sandwiches rest for 1 minute to allow the mochi and cheese to set slightly (this prevents fillings from pouring out when you cut into them), then cut each sandwich diagonally in half with the serrated bread knife. Sprinkle the toasted tops with a light pinch of flaky sea salt, and tuck a small thyme sprig on the plate for garnish.
Step 7
step7:Season and rest sandwiches

Tips

1.Use only low-moisture mozzarella for this recipe: fresh mozzarella packed in water releases excess moisture as it melts, which will make the bread soggy and prevent the mochi from developing its signature chewy, stretchy texture.
2.Never press down on the sandwich with the spatula while cooking: pressing squeezes melted cheese and softened mochi out onto the pan, compresses the bread, and leads to a dense, less crisp final sandwich instead of a light, crispy crust.
3.Let the sandwiches rest for 1 full minute after cooking: cutting into them immediately will cause runny melted cheese and stretchy mochi to pour out the sides, while a short rest lets the fillings set enough to stay neatly between the bread slices when you take a bite.


✨ You May Also Like

Snacks & Appetizers
🍜 Mexico

Crispy thick-cut tortilla chips piled high with seasoned beef, melted cheese, and bright fresh toppings for a shareable, crowd-favorite bite.

⏱️ 25 minuteSnacks & Appetizers ★ 4.8
Snacks & Appetizers
🍜 United States

Crisp, sweet-tangy spiced pickled watermelon rind is a zero-waste summer staple, perfect with grilled meats, charcuterie, or eaten straight from the jar as a bright snack.

⏱️ 30 minuteSnacks & Appetizers ★ 4.6
Snacks & Appetizers
🍜 Germany

A tangy, jellied pork cold cut slow-simmered with aromatic spices, set into a firm sliceable loaf, served cold with mustard and crusty bread.

⏱️ 3 hours 4Snacks & Appetizers ★ 4.8
Snacks & Appetizers
🍜 United States

Creamy, tangy, perfectly seasoned hard-boiled egg halves filled with a rich, smooth yolk mixture, a timeless, crowd-pleasing bite for holiday and casual gatherings alike.

⏱️ 40 minuteSnacks & Appetizers ★ 4.8
Snacks & Appetizers
🍜 Russia

Silky, dill-forward no-smoke cured salmon, a Scandinavian classic with bright salty-sweet flavor, ideal for holiday starter platters and open-faced rye sandwiches.

⏱️ 48 hours Snacks & Appetizers ★ 4.7
Snacks & Appetizers
🍜 Japan

Crisp golden bottoms, juicy savory pork and vegetable filling, and tangy dipping sauce make these pan-fried gyoza a beloved shareable bite.

⏱️ 45 minuteSnacks & Appetizers ★ 4.8

Mochi Grilled Cheese:Frequently Asked Questions

1.What type of bread is best for mochi grilled cheese, and can I substitute regular sandwich bread? ▾
Thick-cut white milk bread (Japanese shokupan) is ideal, thanks to its soft, sturdy, slightly sweet crumb that crisps beautifully without getting soggy under heavy fillings. If you only have thin regular sandwich bread, double up slices per side to add structure, and press firmly as you cook to keep mochi and cheese contained.
2.Do I need to prep dried kirimochi before adding it to the sandwich? ▾
Yes, small prep steps keep mochi from staying rock-hard in the finished sandwich. Slice kirimochi blocks into ¼-inch thick slabs for even cooking. You can microwave slices for 10 to 15 seconds to soften them first, or add them raw if you plan to cook the sandwich low and slow to let mochi turn chewy and stretchy before the bread burns.
3.Why does the recipe use both low-moisture mozzarella and sharp cheddar instead of just one cheese? ▾
The two cheeses balance texture and flavor perfectly! Low-moisture mozzarella delivers that iconic, stretchy, melty pull that pairs so well with chewy mochi, without adding excess sogginess. Sharp cheddar adds bold, tangy depth that cuts through mild, sweet mochi and buttery bread, so every bite feels rich instead of bland.
4.Can I use fresh mozzarella instead of low-moisture mozzarella for this recipe? ▾
I don’t recommend it, unless you pat it extremely dry first. Fresh mozzarella has very high water content that will seep into your bread as it melts, creating a soggy, mushy crust and making mochi slide around. Stick to low-moisture block mozzarella, sliced fresh, for the best stretch and texture without excess moisture.
5.What heat setting should I use to cook this so mochi softens before the bread burns? ▾
Cook over medium-low heat the entire time—this is non-negotiable! Higher heat will toast bread to a crisp in minutes before dense kirimochi has time to soften and turn chewy. Plan to cook 3 to 4 minutes per side, pressing gently with a spatula every minute, until bread is golden and fillings are fully melted.
6.My mochi always leaks out of the sandwich while cooking—how do I prevent that? ▾
Two easy fixes stop leaky mochi! First, don’t overstuff: use no more than two ¼-inch mochi slices per serving, centered between cheese layers so the cheese acts as a glue holding mochi in. Second, press bread edges firmly together before cooking, and weigh the sandwich down with a small skillet lid as it cooks to seal edges shut.
7.Can I make mochi grilled cheese in an air fryer instead of on the stovetop? ▾
Absolutely, it works great! Assemble the sandwich as directed, spread softened butter on the outside of both bread slices, and air fry at 350°F for 4 minutes, flip, then cook 3 to 4 more minutes until bread is crispy and mochi is soft. Keep a close eye on it, as air fryer hot spots can burn bread faster than stovetop cooking.
8.Do I need to soak or boil kirimochi before adding it to the sandwich? ▾
No, boiling or soaking kirimochi will make it overly sticky and waterlogged, which leads to soggy bread. The low, slow heat from toasting the sandwich is enough to steam and soften thin mochi slices into that perfect chewy, stretchy texture, as long as you cut them to ¼-inch thickness to cook all the way through.
9.Can I add extra mix-ins like bacon or jam to this grilled cheese? ▾
Of course! This fusion recipe is super customizable, just keep add-ins low-moisture so your bread doesn’t get soggy. Crispy bacon, thinly sliced pickled jalapeños, a thin spread of yuzu jam, or a sprinkle of furikake all pair beautifully. Avoid wet add-ins like tomato slices unless you pat them completely dry first.
10.The butter always burns when I make grilled cheese—what’s the trick to avoid that? ▾
Use fully softened, not melted, unsalted butter spread in a thin, even layer all the way to the edges of the bread. Melted butter runs off and burns faster, while cold butter tears soft milk bread. If you’re extra worried about burning, swap half the butter for a thin layer of mayonnaise on the bread exterior, which has a higher smoke point.
11.How do I know when the mochi is fully cooked and stretchy inside the sandwich? ▾
You’ll know it’s ready when cheese is fully oozing out the edges a little, and the sandwich feels soft and yielding when you press the center gently with a spatula. If you’re unsure, peek by lifting a corner of the top slice: mochi should be translucent, squishy, and stretch easily, not opaque and firm in the center.
12.Can I use frozen mochi instead of dried kirimochi for this recipe? ▾
You can, but adjust your prep first! Thaw frozen mochi completely, then pat off any excess condensation with paper towels before slicing it into ¼-inch slabs. Frozen mochi has higher moisture content than dried kirimochi, so you may need to cook the sandwich 30 seconds longer per side to evaporate extra moisture for that perfect chewy bite.
13.What’s the best way to reheat leftover mochi grilled cheese so it stays crispy? ▾
Skip the microwave—it will turn bread soggy and make mochi tough and rubbery. Instead, reheat slices in a dry skillet over low heat for 2 to 3 minutes per side, or in a 350°F toaster oven for 4 to 5 minutes, until bread re-crisps, cheese melts again, and mochi returns to its chewy, stretchy texture.
14.Why is shredded sharp cheddar recommended over sliced cheddar for this recipe? ▾
Shredded sharp cheddar melts faster and more evenly than thick pre-sliced cheddar, so it blends smoothly with mozzarella to create a uniform melty layer that seals mochi between bread slices. Pre-shredded bagged cheddar works in a pinch, but freshly shredded block cheddar melts better, as pre-shredded versions have anti-caking coatings that can create a grainy texture.

Comments (16)

2 days ago

OMG this mochi grilled cheese is a total game changer! I made it for my kids’ after school snack yesterday and they begged for seconds before they even finished their first bite. The chewy mochi center with the melty American cheese? *Chef’s kiss* So easy to throw together too, I didn’t even have to run to the store for fancy ingredients. 10/10 will be making this every week for meal prep!

1 day ago

Wait did you use regular sliced mochi or the fresh kind from the refrigerated section? I tried this last week with frozen mochi and it got a little too crispy on the edges for my taste.

20 hours ago

Great question! We recommend using refrigerated sliced kirimochi for the best chewy, not-too-crispy texture! If you only have frozen mochi, let it thaw for 10 minutes before cooking and lower the heat a touch to avoid burning the edges.

30 minutes ago

Perfect quick dorm meal! I only have a tiny countertop griddle in my room and this came together in 12 minutes exactly like the recipe said. Used a mix of cheddar and mozzarella because that’s what I had left in my mini fridge, and it slapped. Way better than the sad dining hall grilled cheese, no cap.

20 minutes ago

So glad this worked for your dorm setup! Love the cheddar-mozzarella swap, that melty pull sounds incredible. Pro tip: sprinkle a little everything bagel seasoning on the outside of the bread next time for an extra flavor kick!

1 week ago

Brought these cut into bite-sized squares to my neighborhood potluck last weekend and they were gone in 10 minutes flat! Everyone kept asking me for the recipe, I felt like such a rockstar. Who knew adding a little mochi could elevate regular grilled cheese so much? SO good.

3 days ago

Wait, is mochi gluten free? I have celiac so I have to be super careful with cross contamination, but this looks so good I’m dying to try it! Also, does it work with gluten free sourdough bread?

2 days ago

Mochi is traditionally made from glutinous rice which is totally gluten free! Just make sure you grab a brand that doesn’t have any added wheat fillers, I use the Shirakiku brand all the time with no issues.

2 days ago

Absolutely works with gluten free sourdough! I’ve tested it with multiple GF bread brands and the texture holds up perfectly, just make sure to butter the outside well to get that crispy crust. Enjoy!

yesterday

Tried this last night for a quick dinner and I messed up the mochi placement? I think I put too big of a piece because it oozed out all over my pan and got super chewy and stuck. Flavor was still bomb though, I’ll definitely try again with thinner slices.

12 hours ago

Oh I did the exact same thing my first try! Cut the mochi into 1/4 inch thin slices and lay them flat so they don’t hang over the edge of the bread, no more oozing. It makes such a difference!

2 weeks ago

My super picky 7 year old who refuses to eat anything but chicken nuggets ate TWO whole servings of this for dinner last night. I almost cried. This is going into the permanent weekly dinner rotation, no questions asked. Thank you for this genius recipe!

5 days ago

How well does this hold up for meal prep? I usually make my lunches for the week on Sundays and reheat them in the office microwave. Would the mochi get weird and hard if I make it ahead?

4 days ago

Great question! For best results, we recommend assembling the sandwiches ahead but cooking them fresh when you’re ready to eat, but if you do cook them ahead, reheat in a pan or toaster oven instead of the microwave to keep the mochi chewy and the bread crispy. Microwaving will make the mochi tough and the bread soggy!

2 hours ago

Whoever thought to put mochi in grilled cheese deserves a Nobel prize fr. The chewy, crispy, cheesy combo is unmatched. I added a little drizzle of hot honey on mine and it was life changing. 100/10, no notes.

1 hour ago

The hot honey addition is brilliant! Sweet, salty, spicy, chewy? That sounds like the perfect bite, we’re definitely testing that variation next week!

30 minutes ago

Oh my gosh hot honey is such a good call! I added a sprinkle of red pepper flakes last time I made it but hot honey is next level, I’m trying that tonight!

1 week ago

Made this for my Saturday afternoon football watch party with the guys and everyone was obsessed. We dipped them in tomato soup like regular grilled cheese and the mochi added such a fun texture twist. Will be making these for every game day from now on.

2 days ago

Tried this with vegan cheddar and vegan butter for my dairy free roommate and I, and it still slapped! The mochi is such a fun textural element, I never would have thought to pair it with grilled cheese if I saw this recipe.

1 day ago

Wait which vegan cheddar did you use? I’ve tried a couple brands that don’t melt right and I want to make sure I get a good one for this!

5 minutes ago

Wait do you put the mochi between the cheese slices or directly on the bread? I saw two different versions of this online and I don’t want to mess up the layer order!

3 minutes ago

I did bread → cheese → mochi → cheese → bread and it worked perfectly! The cheese melts around the mochi so it doesn’t slide out when you take a bite.

1 minute ago

Seconding this layer order! I tried putting mochi directly on the bread once and it stuck a little when I flipped the sandwich, the cheese barrier helps so much.

3 days ago

12 minute cook time? Sign me up. Between school drop offs, work meetings, and soccer practice I barely have time to make toast some nights. This was fast, filling, and the whole family cleaned their plates. Can’t beat that.

1 week ago

Has anyone tried this with a little sweet red bean paste mixed in? I love red bean mochi and I’m curious if the sweet/savory combo would work with the cheese, or if that would be weird?

6 days ago

That combo is actually delicious! We tested a version with a thin layer of red bean paste on one side of the bread and a slice of sharp cheddar, and the sweet-savory balance is chef’s kiss. Don’t knock it till you try it!

yesterday

Has anyone tried making this in the air fryer instead of a pan? I hate cleaning pans and I use my air fryer for 90% of my meals these days. Curious if it would turn out the same!

8 hours ago

I did it! 370 degrees for 6 minutes, flip halfway through. The bread gets extra crispy and the mochi gets perfectly chewy, just watch it closely so the cheese doesn’t bubble out.

5 hours ago

Great tip! We tested the air fryer method too and it works like a charm, just make sure to spray the basket with a little nonstick spray so the bread doesn’t stick. So much less cleanup!

just now

I’m literally terrible at cooking, like I burn toast half the time, and even I pulled this off! It was so easy to follow, no fancy steps or weird ingredients. I felt like a real chef making this for my boyfriend last night, he was so impressed lmao.

just now

Same! I’m such a newbie in the kitchen and this was foolproof. My roommate thought I ordered takeout when I made it, I was so proud.

2 weeks ago

Made mini versions of these for my office potluck today and they were such a hit! People kept coming back for thirds, and half my team asked for the recipe before the meeting even started. Easy, portable, delicious, 10/10 potluck pick.



