
mozzarella
intro
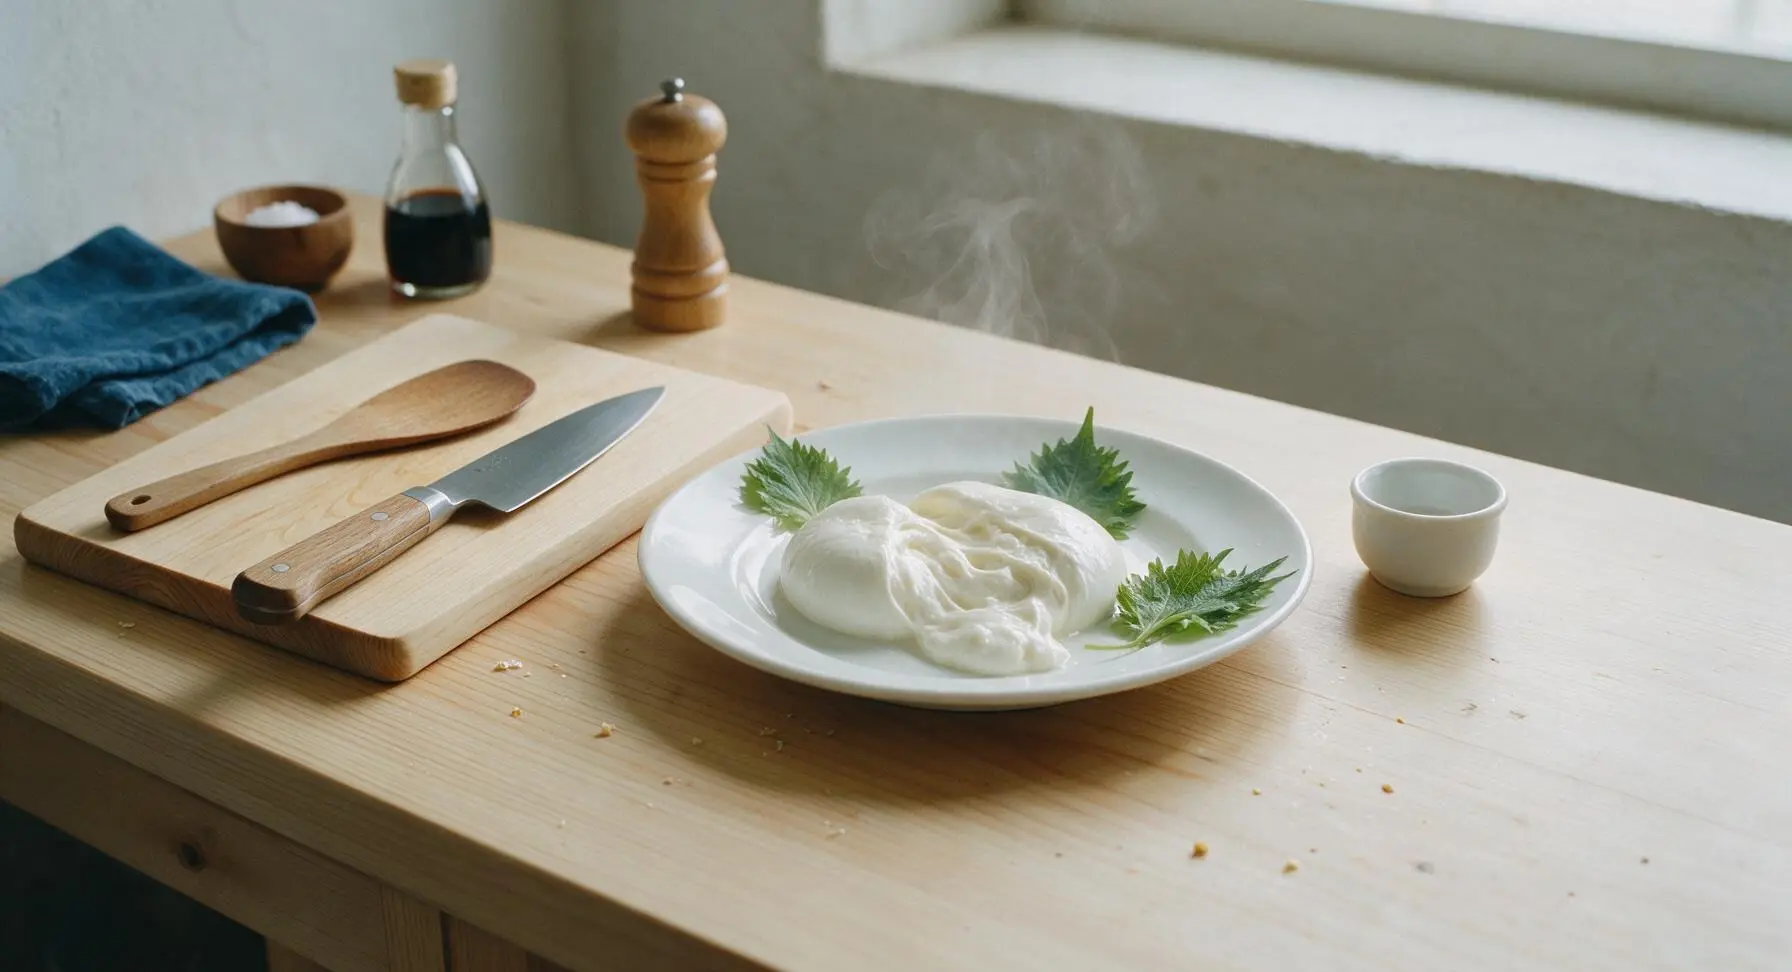
Creamy, stretchy fresh homemade mozzarella with delicate milky flavor, perfect for caprese salads, melting on pizza, or enjoying plain with a pinch of flaky salt.
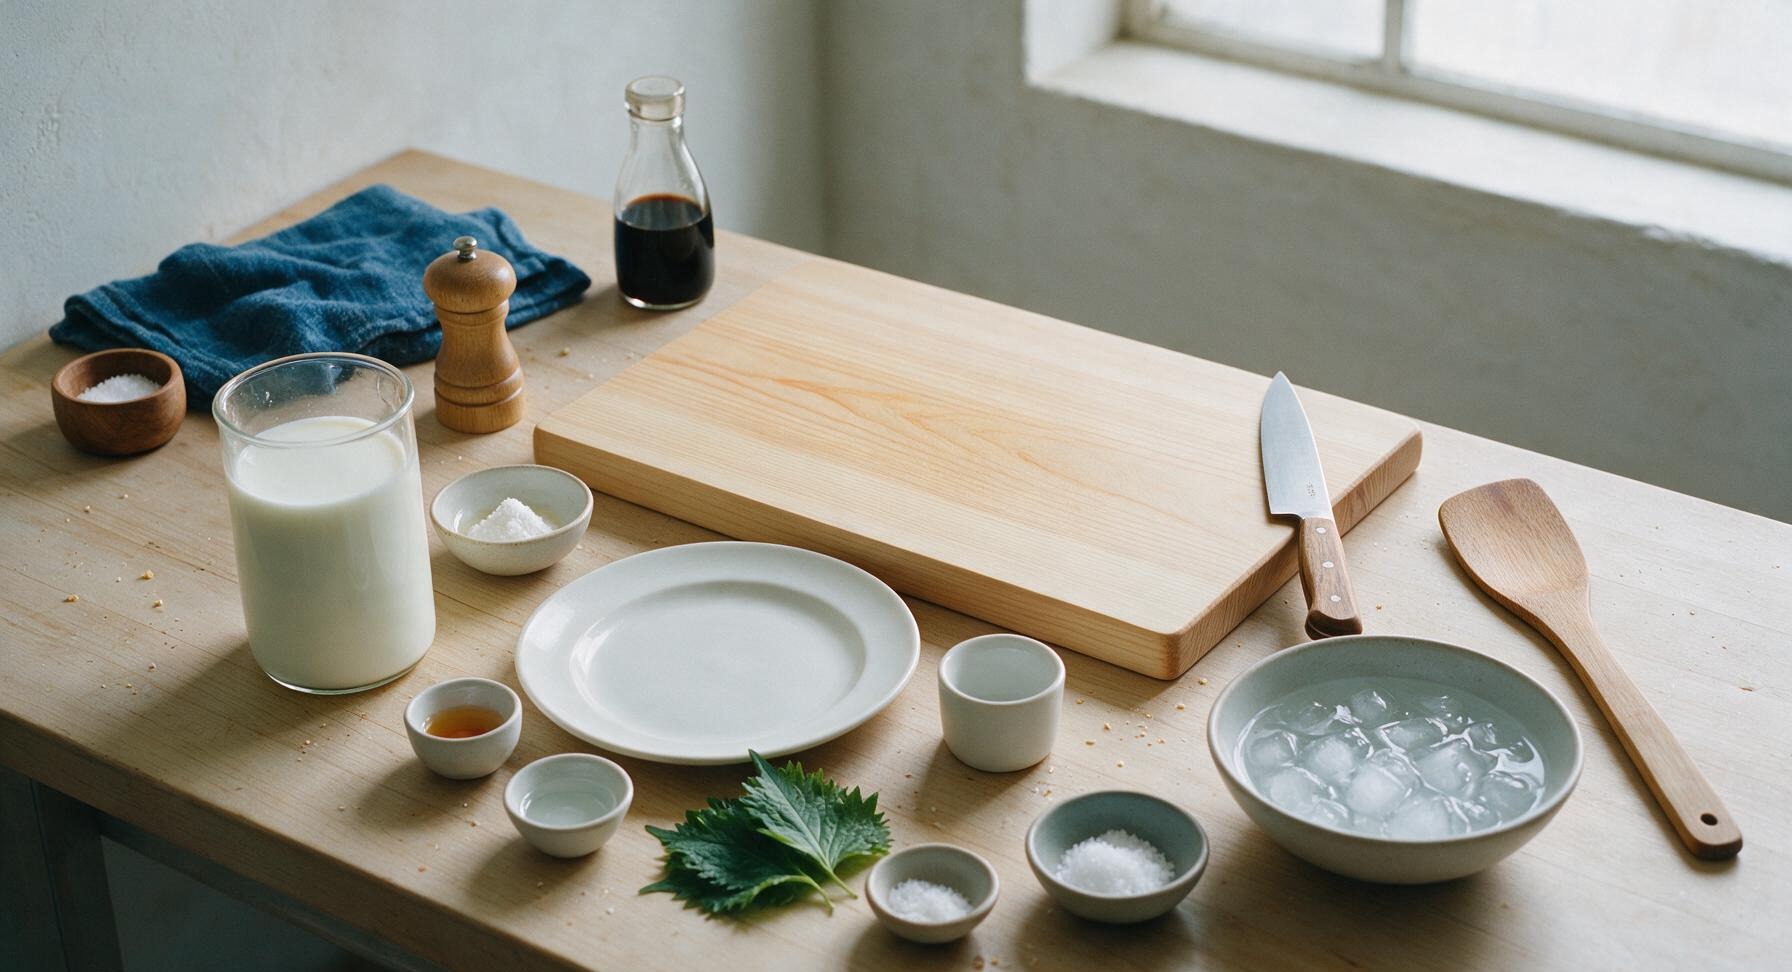
Ingredients
Steps
Mix Coagulant Solutions
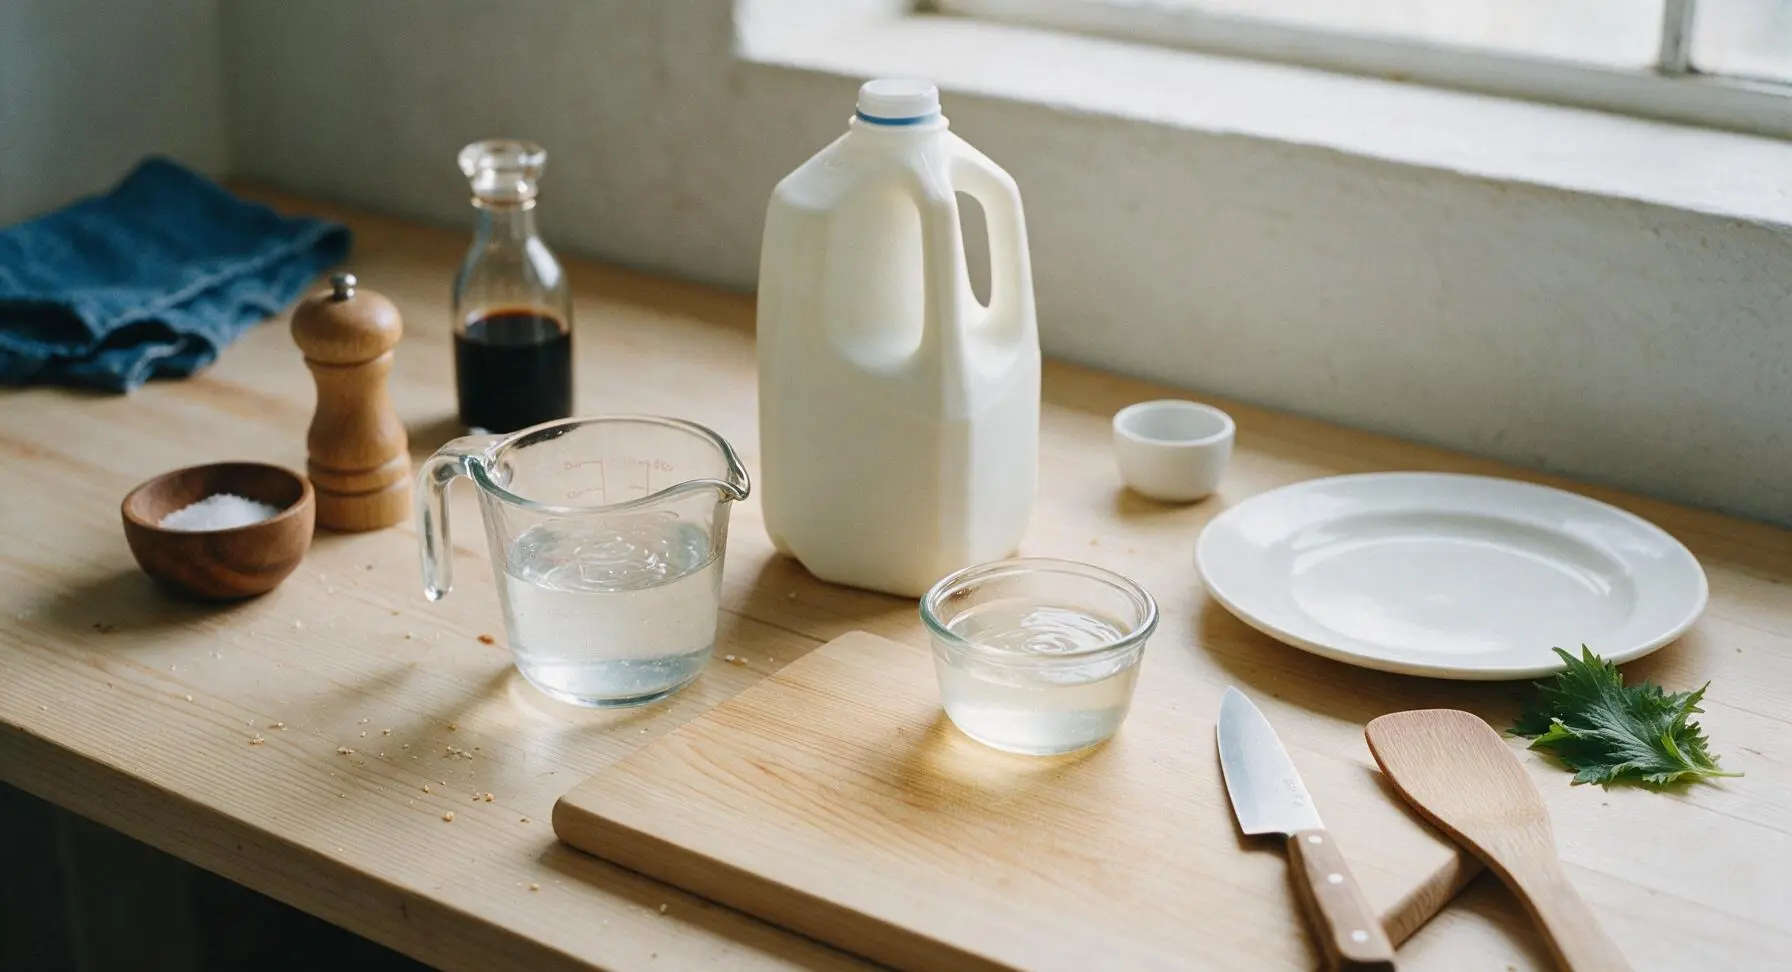
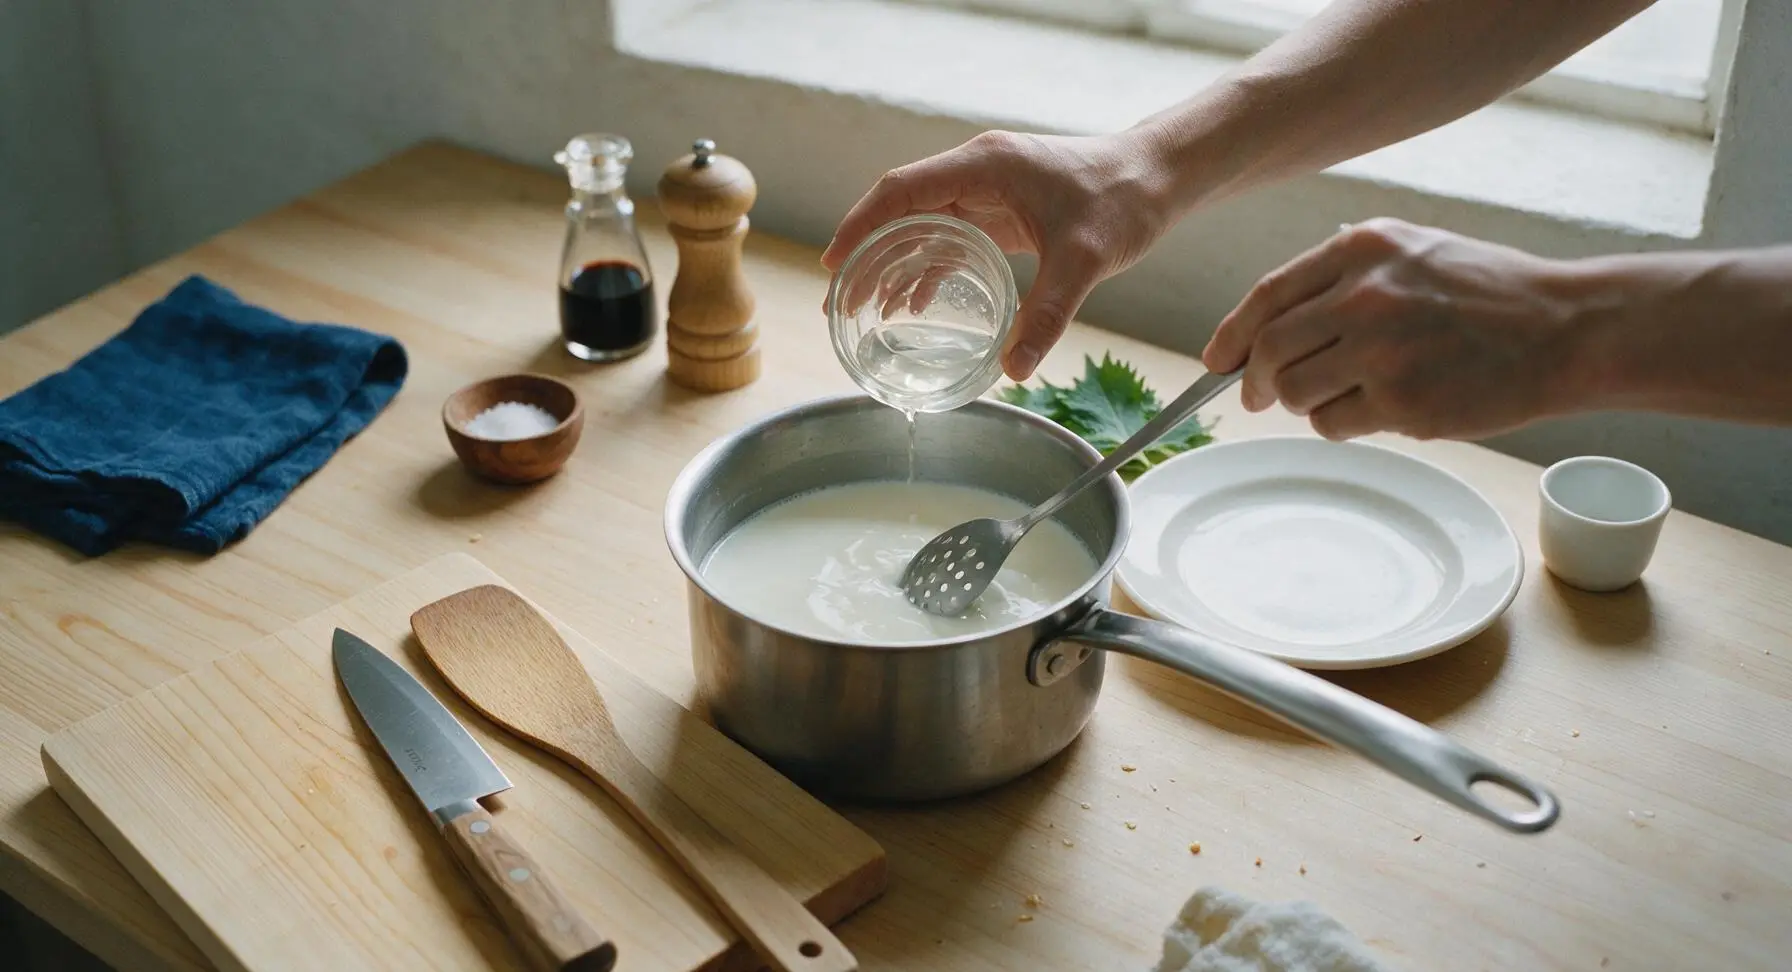
Pour 1/2 cup cool filtered water into the 2-cup clear glass measuring cup, stir in 1.5 teaspoons citric acid until fully dissolved with no visible granules. Pour the remaining 1/2 cup cool filtered water into the 8cm clear glass ramekin, stir in 1/4 teaspoon liquid rennet to dilute, and set both mixtures aside. Do not combine the two solutions, as this will prevent proper curd formation.
Warm Acidulated Milk
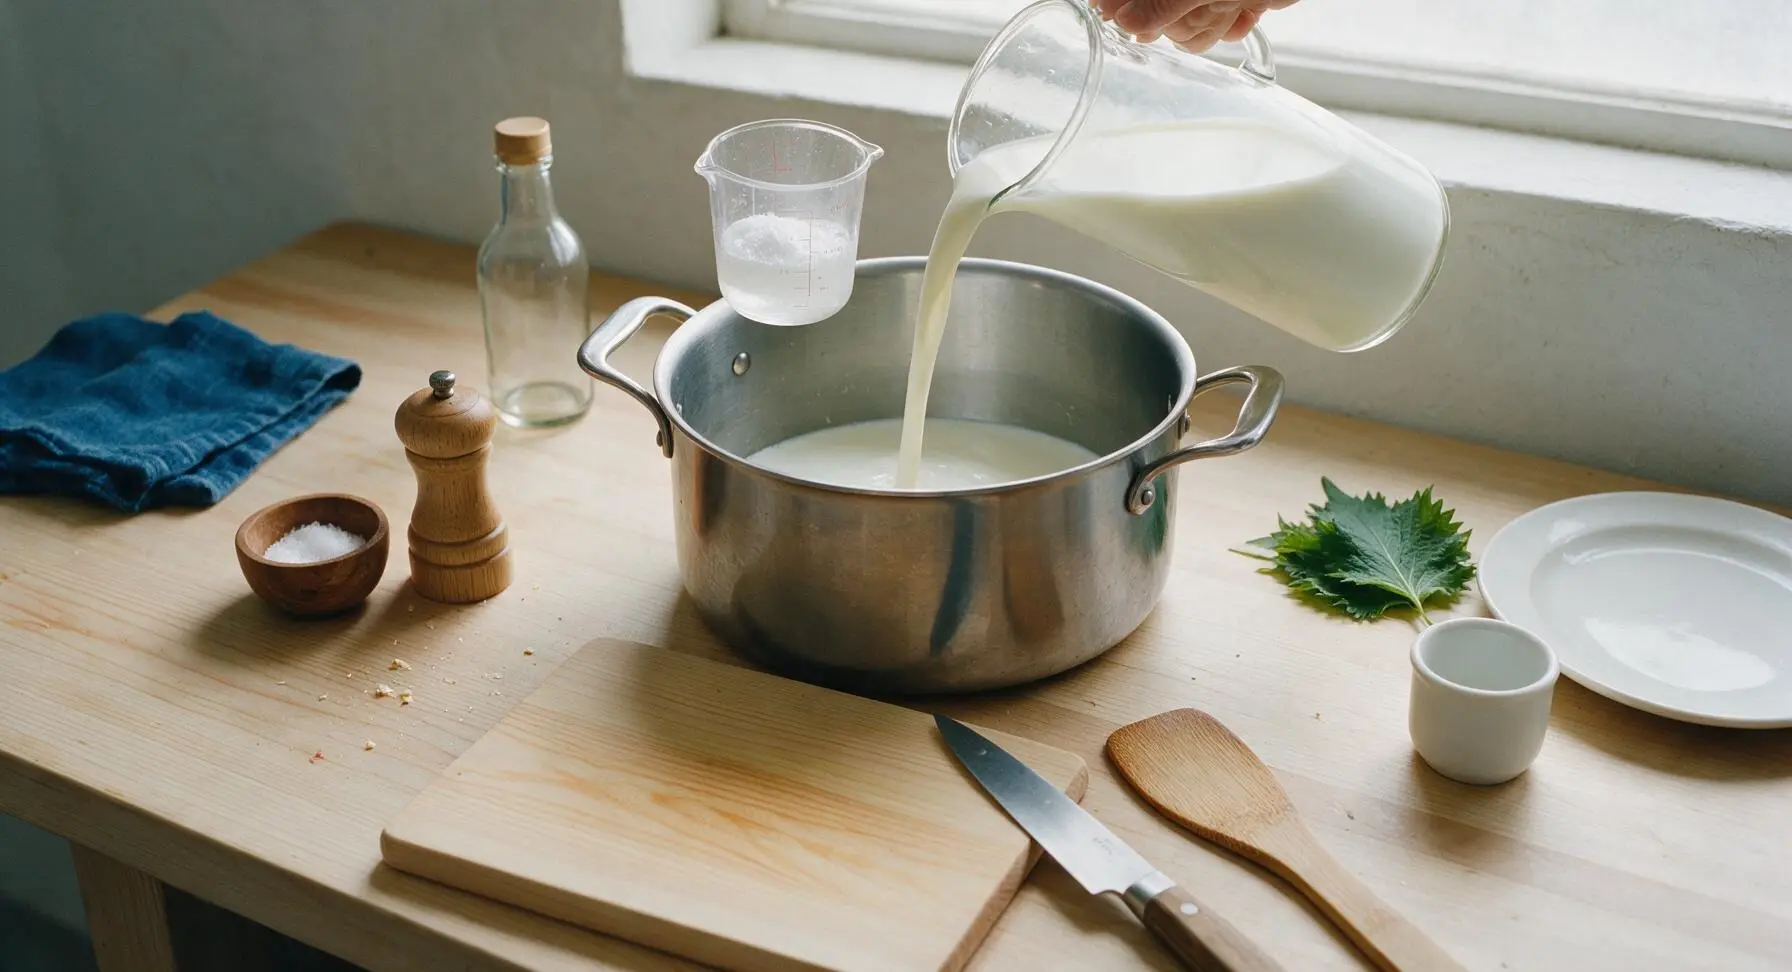
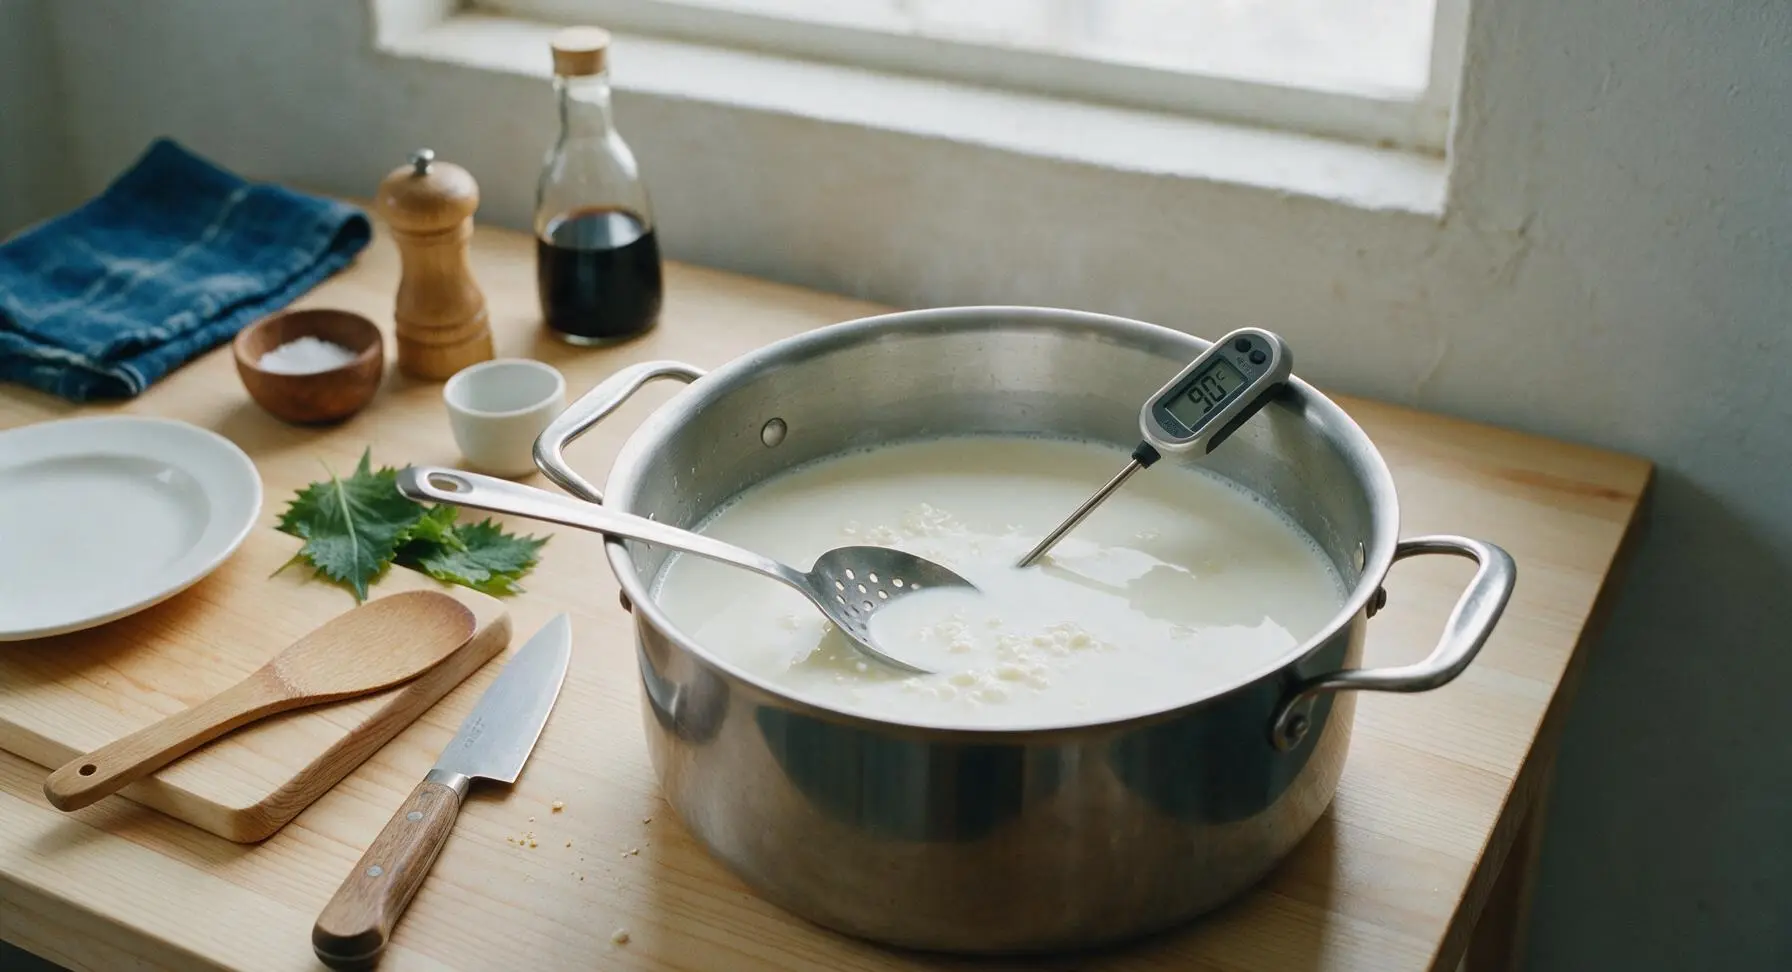
Pour the full gallon of whole milk into the 6-quart stainless steel stock pot. Stir the dissolved citric acid mixture into the milk thoroughly for 30 seconds to distribute evenly. Place the pot over medium-low heat, stirring slowly with the slotted stainless steel spoon as it warms, until the milk reaches exactly 90°F (32°C) as measured with the digital instant-read thermometer. You will notice tiny, soft curds starting to form as the milk reaches target temperature.
Add Rennet to Set
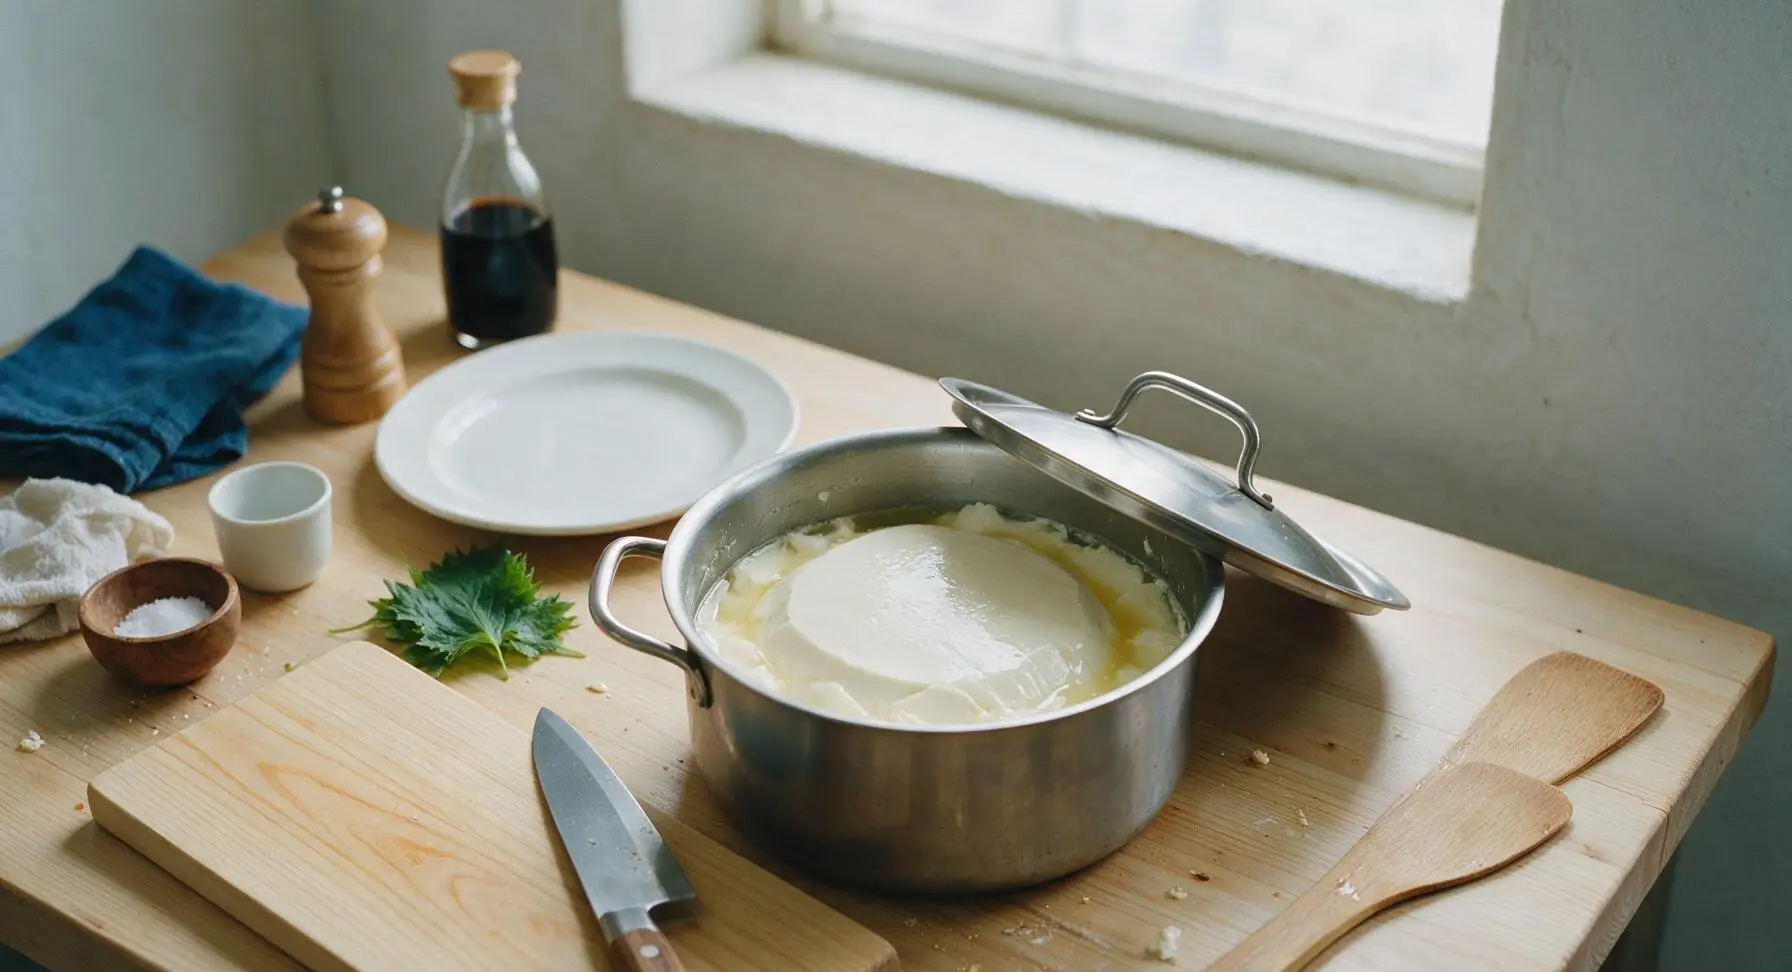
Turn off the heat under the pot. Slowly pour the diluted rennet mixture into the warm milk, stirring gently in slow up-and-down motions for exactly 30 seconds to distribute the rennet without breaking forming curds. Cover the pot with its stainless steel lid and let it sit undisturbed for exactly 5 minutes. After resting, the curd will be set into a soft, jello-like mass that pulls cleanly away from the sides of the pot, with pale yellow-green whey separating around the edges.
Cut Curds Into Cubes
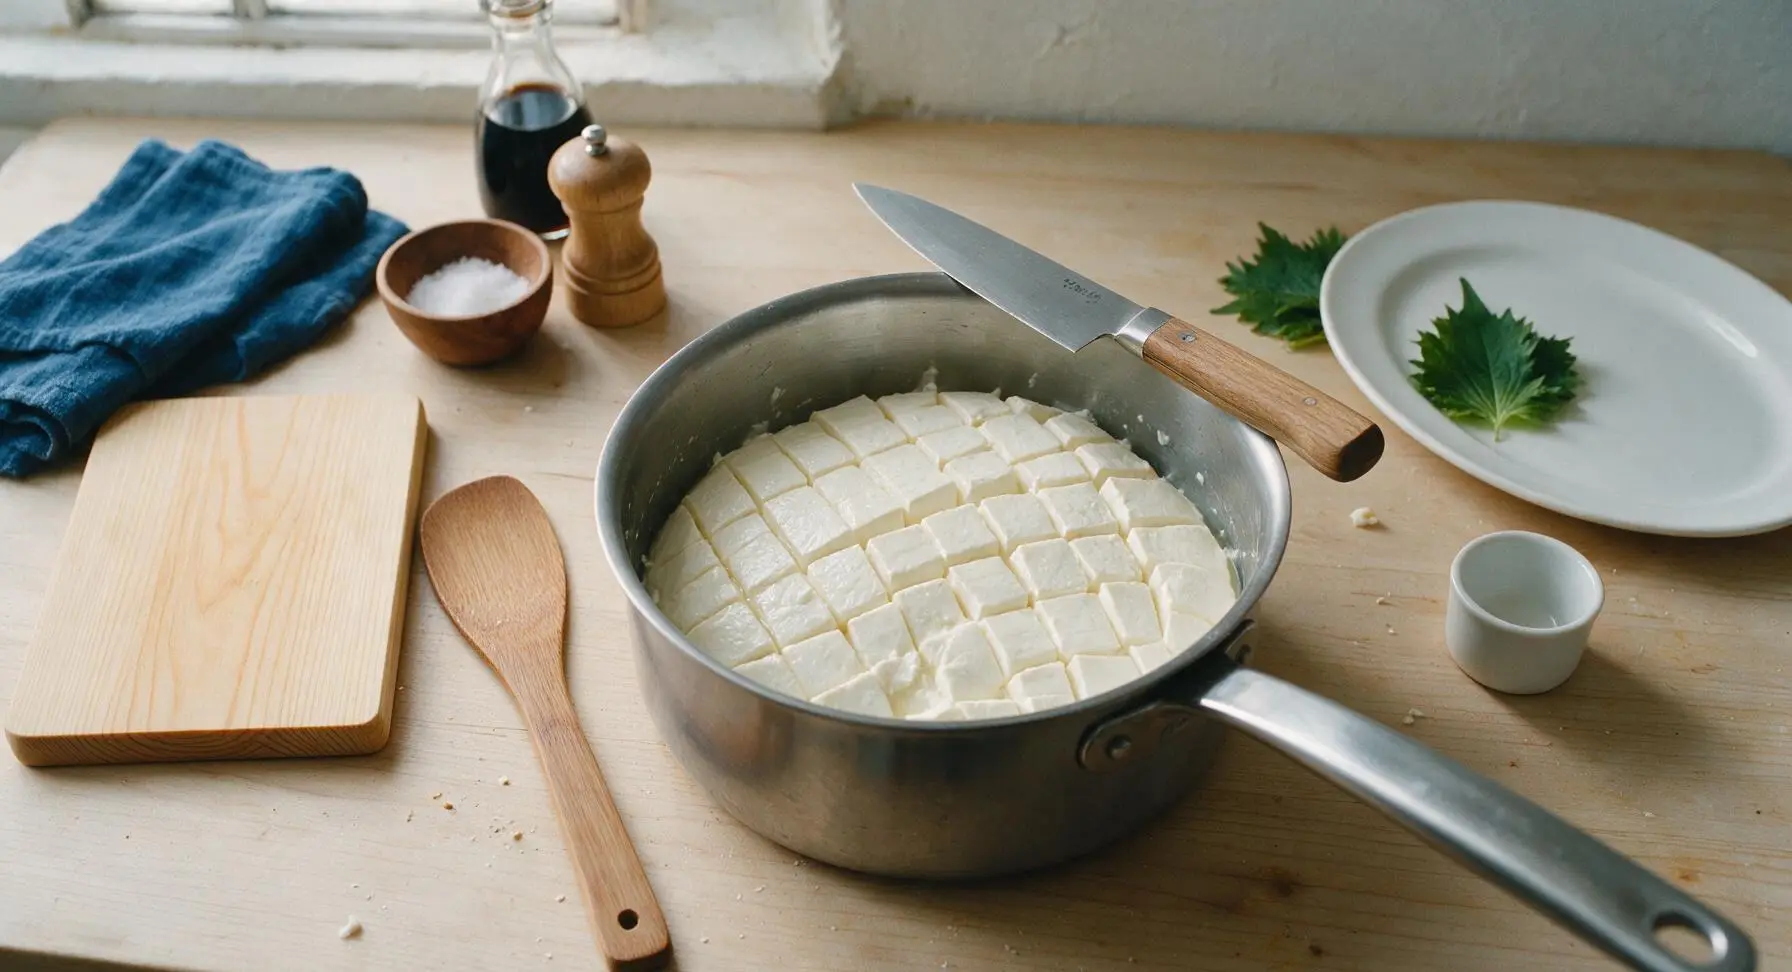
Use the thin-bladed stainless steel paring knife to cut the set curd into a uniform 1-inch grid pattern: make straight vertical cuts all the way to the bottom of the pot 1 inch apart, then turn the pot 90 degrees and make a second set of vertical cuts 1 inch apart to form even cubes. Let the cut curds rest for 2 minutes to release additional whey.
Cook Curds Gently
Return the pot to medium-low heat, stirring the cut curds very slowly with the slotted spoon as they warm, until the whey reaches exactly 105°F (40°C). As the curds cook, they will shrink slightly and firm up, separating more clearly from the yellow whey. Once at target temperature, turn off the heat and let the curds rest for 3 minutes.
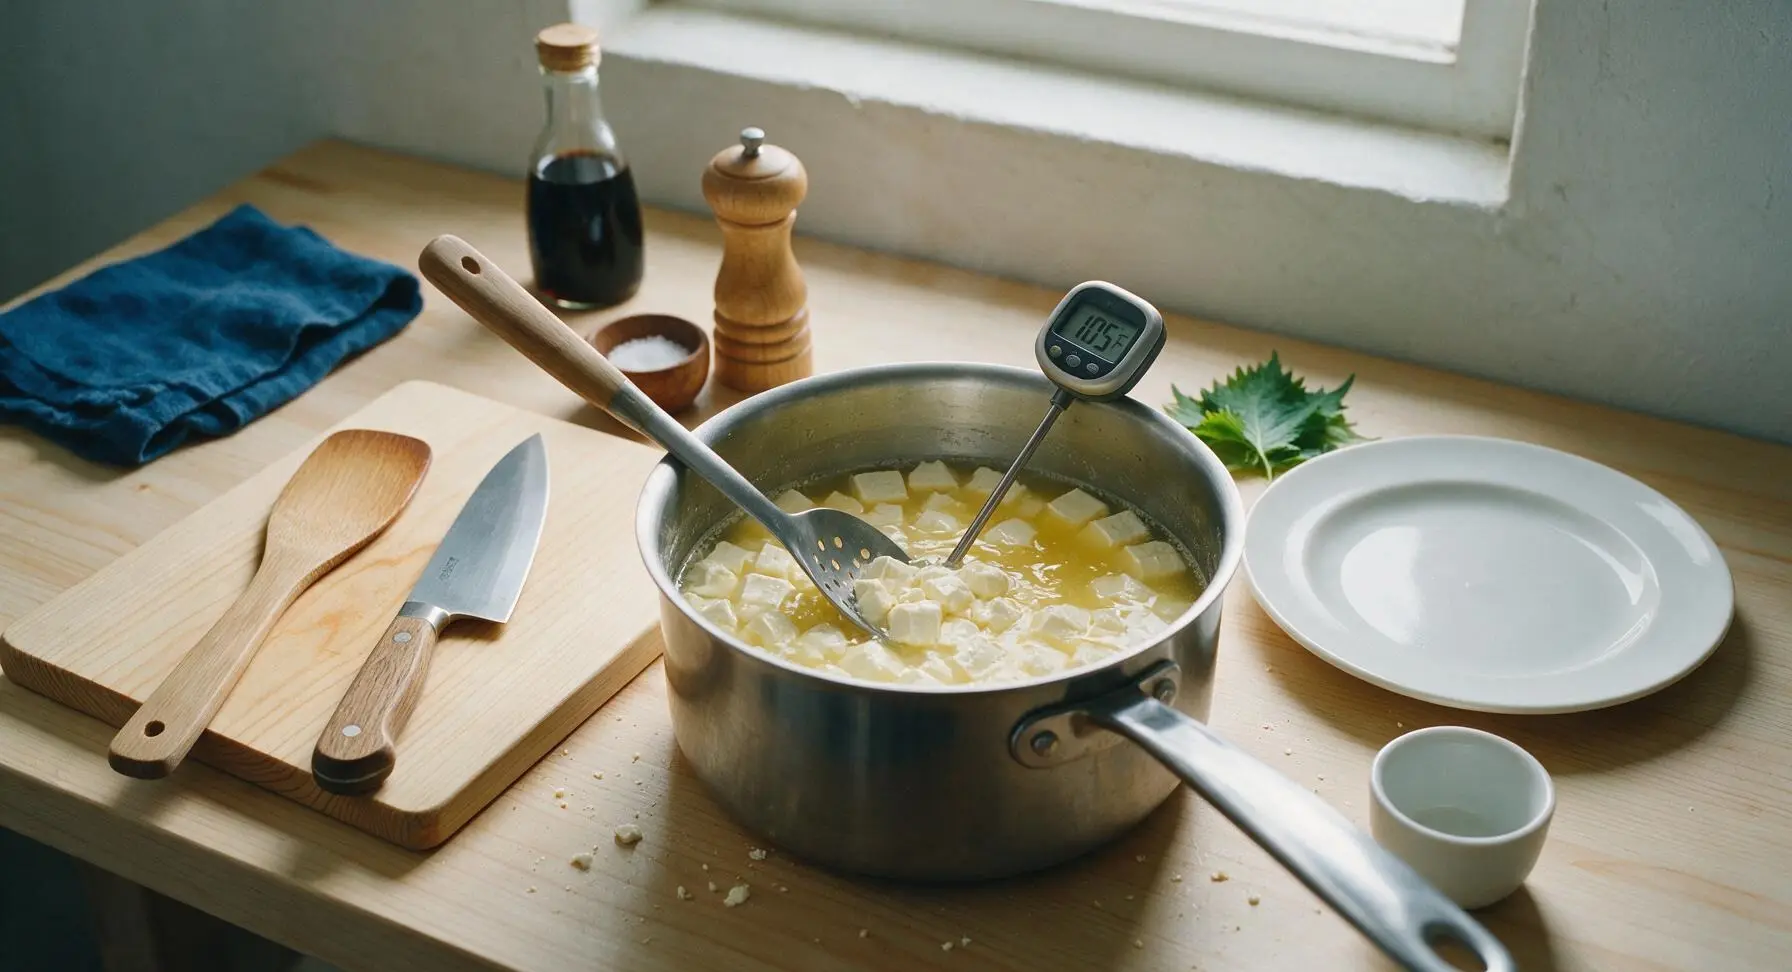
Drain Excess Whey
Place the small fine-mesh stainless steel strainer over the 2-cup glass measuring cup. Use the slotted spoon to scoop the firm curds out of the pot and into the strainer, letting excess whey drain off into the measuring cup below. Gently press the curds with the back of the slotted spoon to squeeze out loose whey, taking care not to press so hard that curds push through the strainer holes. Let curds drain for 1 minute.
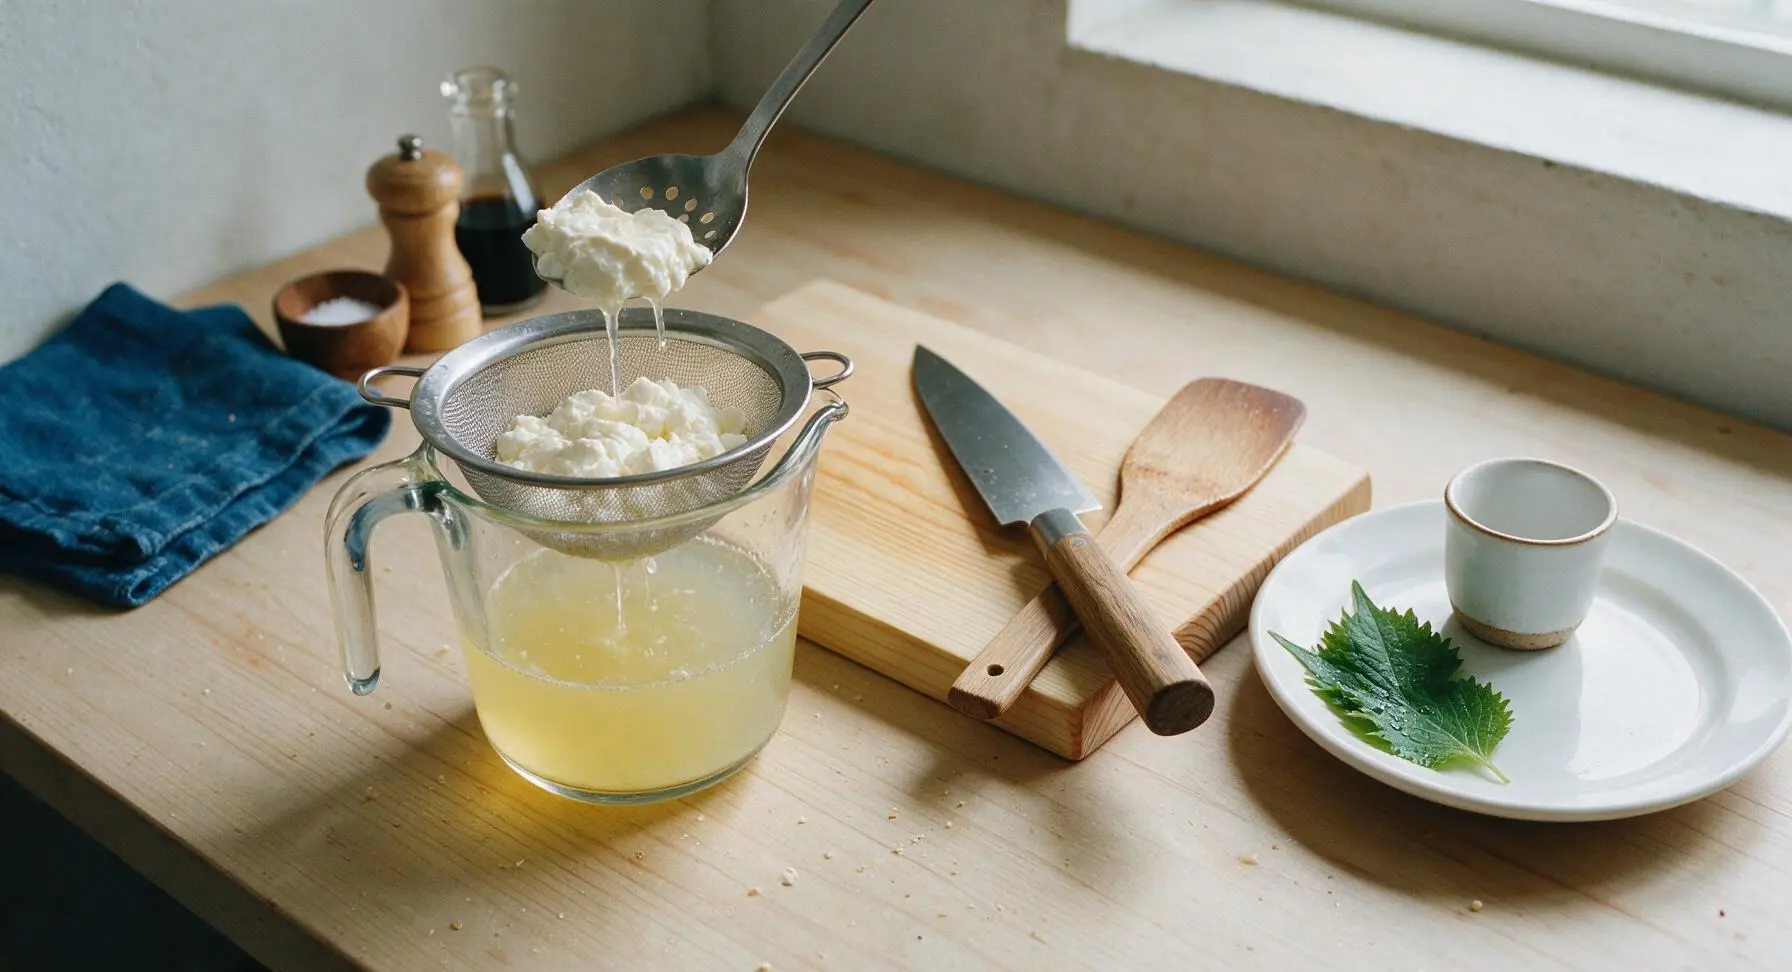
Stretch Curds Smooth
Put on the heat-resistant white nitrile gloves to protect hands from hot curds. If curds have cooled below 135°F (57°C), submerge the strainer of curds back into the hot whey in the pot for 30 seconds to reheat. Lift curds out, sprinkle with 2 teaspoons kosher salt, then fold and stretch the curd mass repeatedly, pulling it into a long rope and folding it back on itself as you would knead bread dough. Continue stretching for 2-3 minutes until the curd becomes smooth, shiny, and elastic, with no lumps remaining. If the curd tears or feels crumbly, it is too cold – submerge in hot whey for 15 seconds more before resuming.
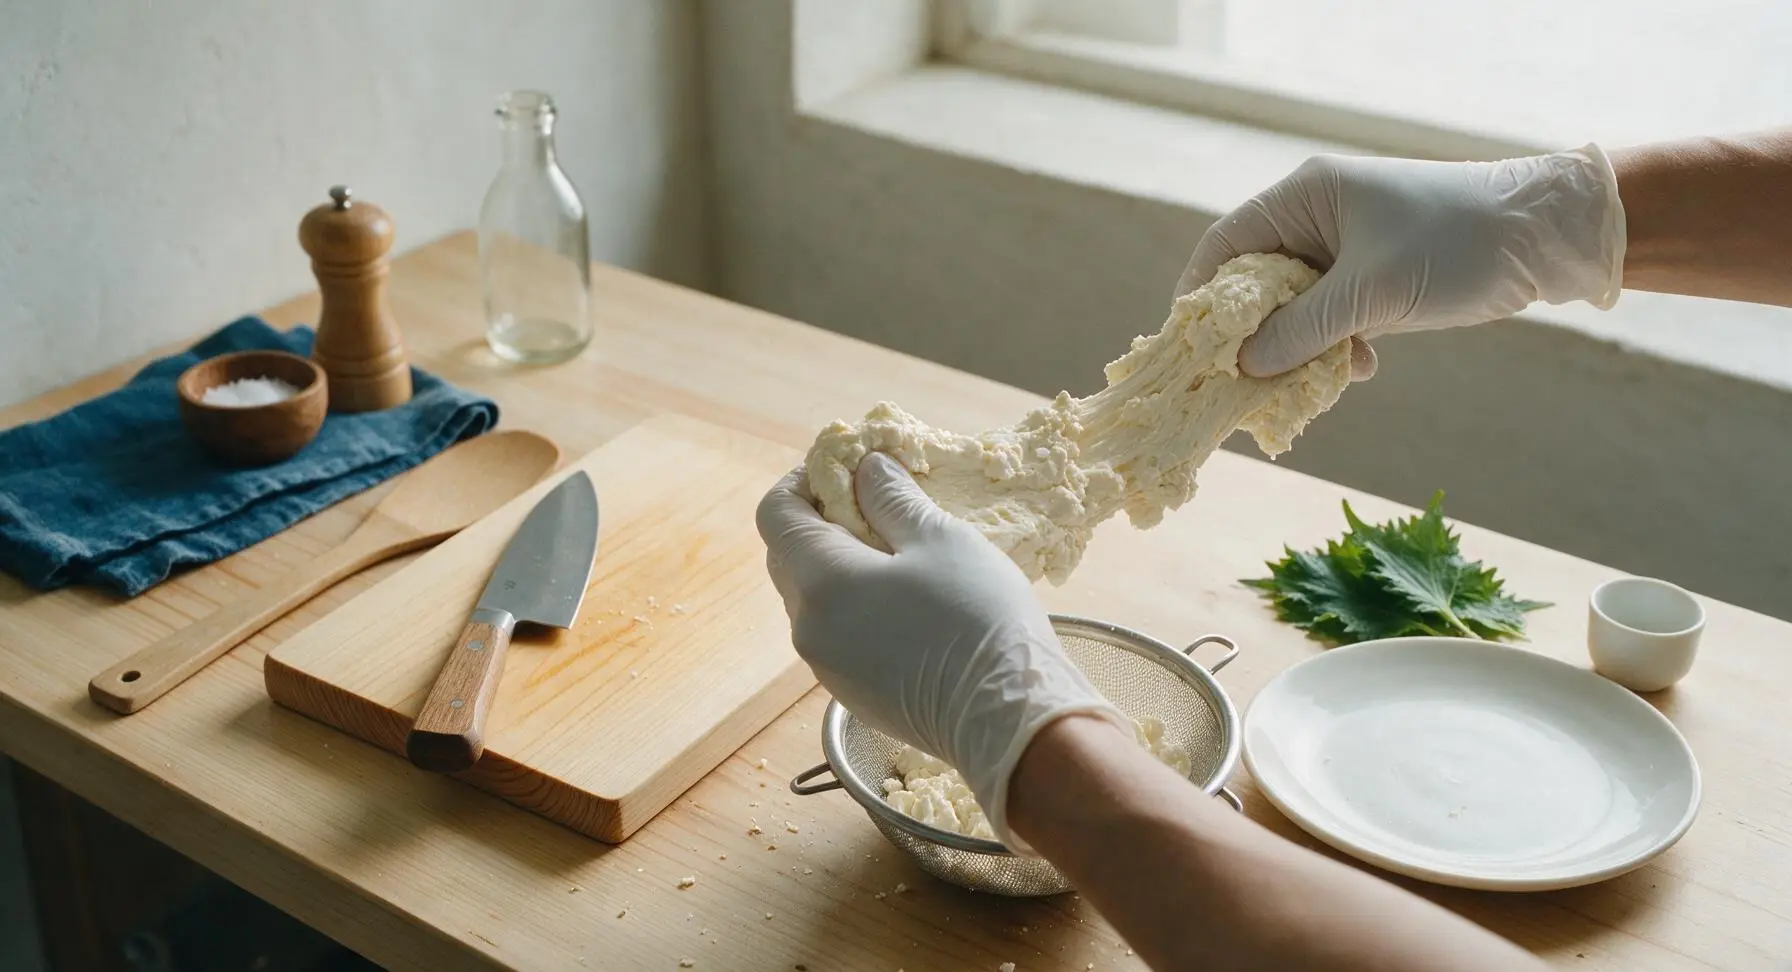
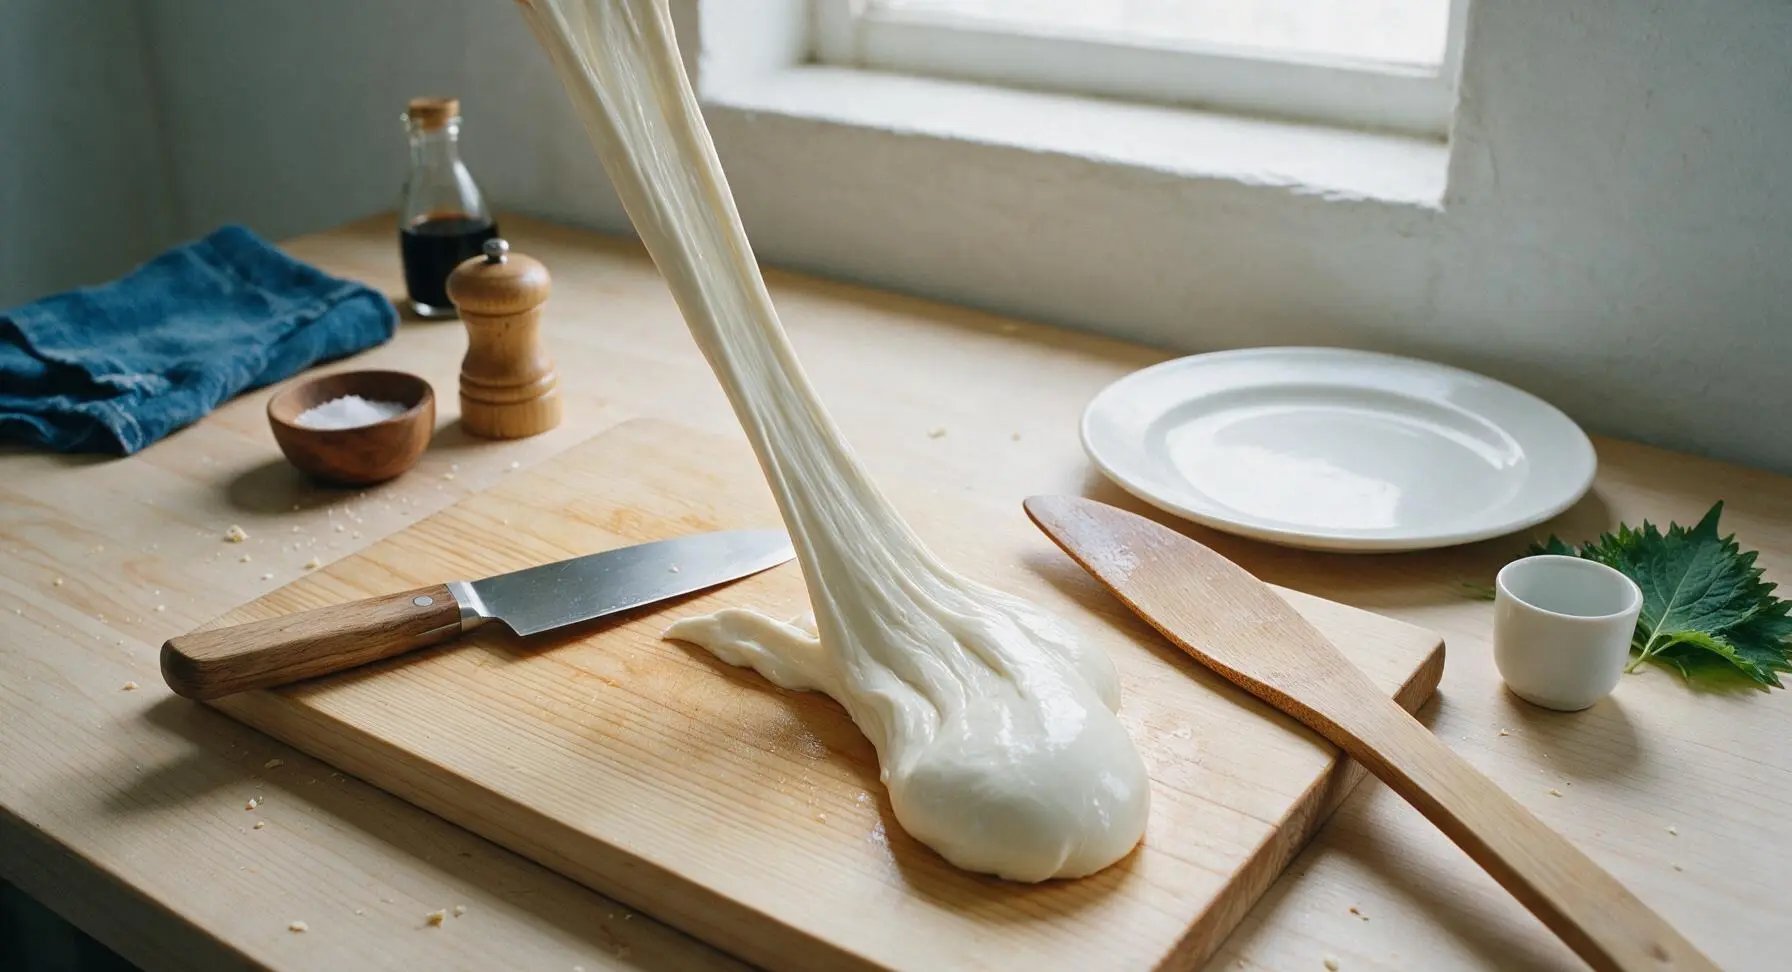
Shape and Chill Balls
Divide the smooth stretched curd into two equal portions. Fold each portion into a tight, smooth ball by tucking the edges under to form a taut top surface. Fill the 2-quart clear glass mixing bowl with ice cold water, then gently lower the mozzarella balls into the ice bath, and let them chill for 15 minutes to set their shape. This stops the stretching process and gives the mozzarella its signature firm, smooth texture.
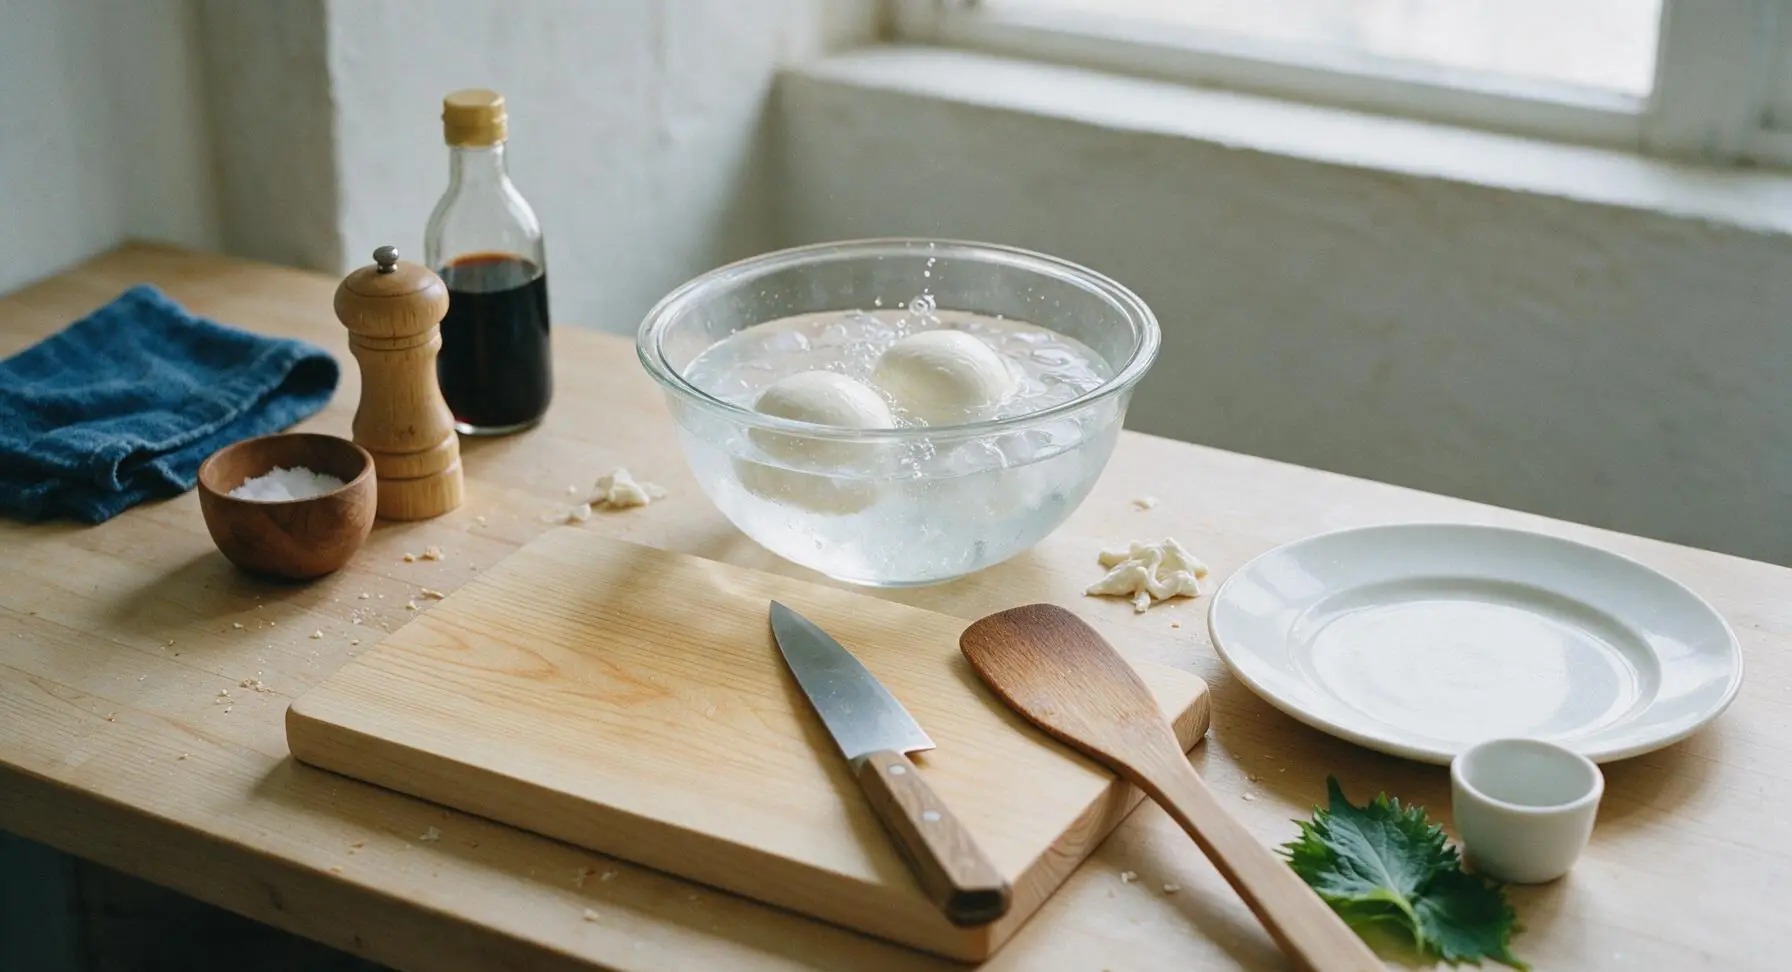
Plate and Finish
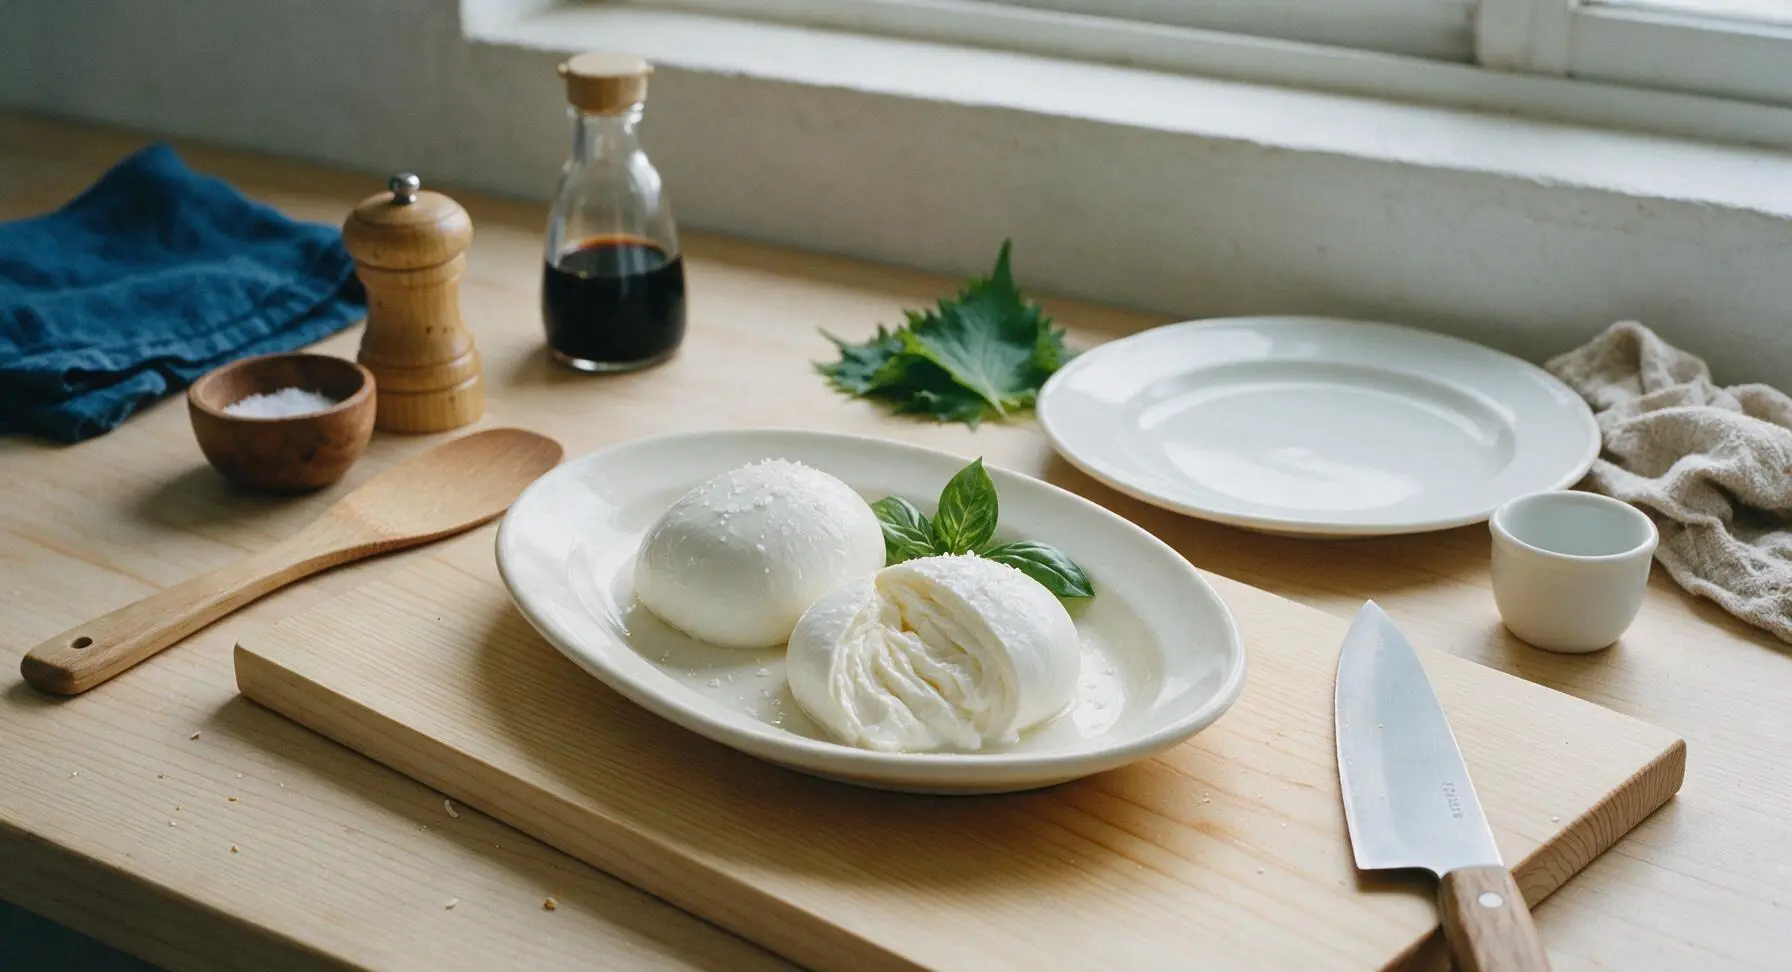
Remove the chilled mozzarella balls from the ice water, pat them lightly dry with the corner of the oatmeal linen towel. Place both balls on the cream-white ceramic serving platter, slice one ball open slightly to reveal the soft, layered curd interior, and sprinkle lightly with flaky sea salt. Tuck a few fresh basil leaves next to the cheese for garnish.
Tips
2.Heat milk slowly over medium-low heat: high heat will scorch milk solids at the bottom of the pot, giving finished mozzarella a burnt, bitter flavor and causing curds to form too quickly.
3.Only stretch curds when they reach 135°F: cold curds will tear easily and result in tough, rubbery mozzarella. Reheat curds in hot whey for 15 seconds if they cool too much during stretching.






OMG this homemade fresh mozz is a total game changer! I made it for my family’s Sunday pasta night and everyone thought I picked it up from the fancy Italian deli down the street. So creamy, way better than the rubbery store-bought stuff I usually grab for caprese salads. Only messy part was stretching the curd, but totally worth it.
Took this to my neighborhood potluck last weekend and people were hovering over the caprese platter the whole time! I will say I burned my first batch of curd when I was heating the milk, so don’t walk away from the stove like I did, lol. Once I got the temp right it came out perfect.
Wait, can I use regular grocery store pasteurized milk for this? I tried making mozz once a few years ago and it never formed proper curds, I was so frustrated! I really want this to work for my kid’s birthday pizza night next week.
SO good!!! I made this for meal prep this week to toss on salads, sandwiches, and even snack on with cherry tomatoes and balsamic glaze. My kids kept sneaking pieces off the cutting board while I was portioning it out, I barely had enough left for the week 😂 Will absolutely be making this on repeat.
Taste was 10/10 but my mozz turned out a little tougher than I expected, not as soft and creamy as the photos look. Did I overwork the curd when I was stretching it? I probably kneaded it way longer than I needed to, oops.
Game. Changer. I’ve been paying $8 a ball for fresh mozz at the specialty market for years, and this recipe costs me like $2 to make the same amount. I added a tiny bit of flaky salt to the curd while stretching and it’s chef’s kiss. Made homemade margherita pizza with it last night and my roommate said it’s better than our local pizza joint’s.
I was so intimidated to try making homemade cheese because I thought it would be super complicated and require fancy equipment, but this recipe was so straightforward! I didn’t have a thermometer at first but borrowed one from my neighbor, and the whole process took right around 45 minutes like the recipe said. 10/10, no notes.
Really solid recipe! I stirred in a little chopped fresh basil and a pinch of red pepper flakes into the curd right before shaping it into balls, and it added such a nice little pop of flavor. Served it with grilled peaches and prosciutto for our girls’ night appetizer spread and everyone asked for the recipe. Will definitely be experimenting with different mix-ins next time!
Wait, my curds never separated from the whey no matter how long I waited. I followed the measurements exactly, or at least I thought I did? Did I maybe not add enough citric acid? I used the bottled lemon juice I had in the fridge instead of the powdered citric acid, could that be the problem?
Made these into little mozz sticks for my watch party last Sunday and they were gone in 10 minutes flat. People were begging me for the recipe, I felt like a professional chef! The fresh mozz melts so much better than the pre-shredded stuff you get in a bag, no weird added coatings or anything. 10/10, will be making these for every game day from now on.
As someone who’s gluten free and always hunting for easy, versatile snacks I can make at home, this is an absolute win. I used this mozz on top of my gluten free flatbreads, as a snack with olives, and even tossed little chunks into my pasta salad last night. It’s so creamy and fresh, no weird additives or preservatives like the store bought brands that bother my stomach. Obsessed!
Okay, full transparency: I messed up the first two batches so bad I almost gave up. First batch I used ultra-pasteurized milk (oops), second batch I overheated the curds. Third time was the charm though, and wow, it’s so much better than I thought it would be. Don’t get discouraged if you mess up the first try, it’s so worth it when you get it right! I’m bringing a batch to my cousin’s cookout this weekend to show off.