
nduja sausage

title 1
nduja sausage
⏱️ cook time 10 weeks (fermentation and slow curing)
🍽️ servings 12
⚡ Difficulty medium

intro

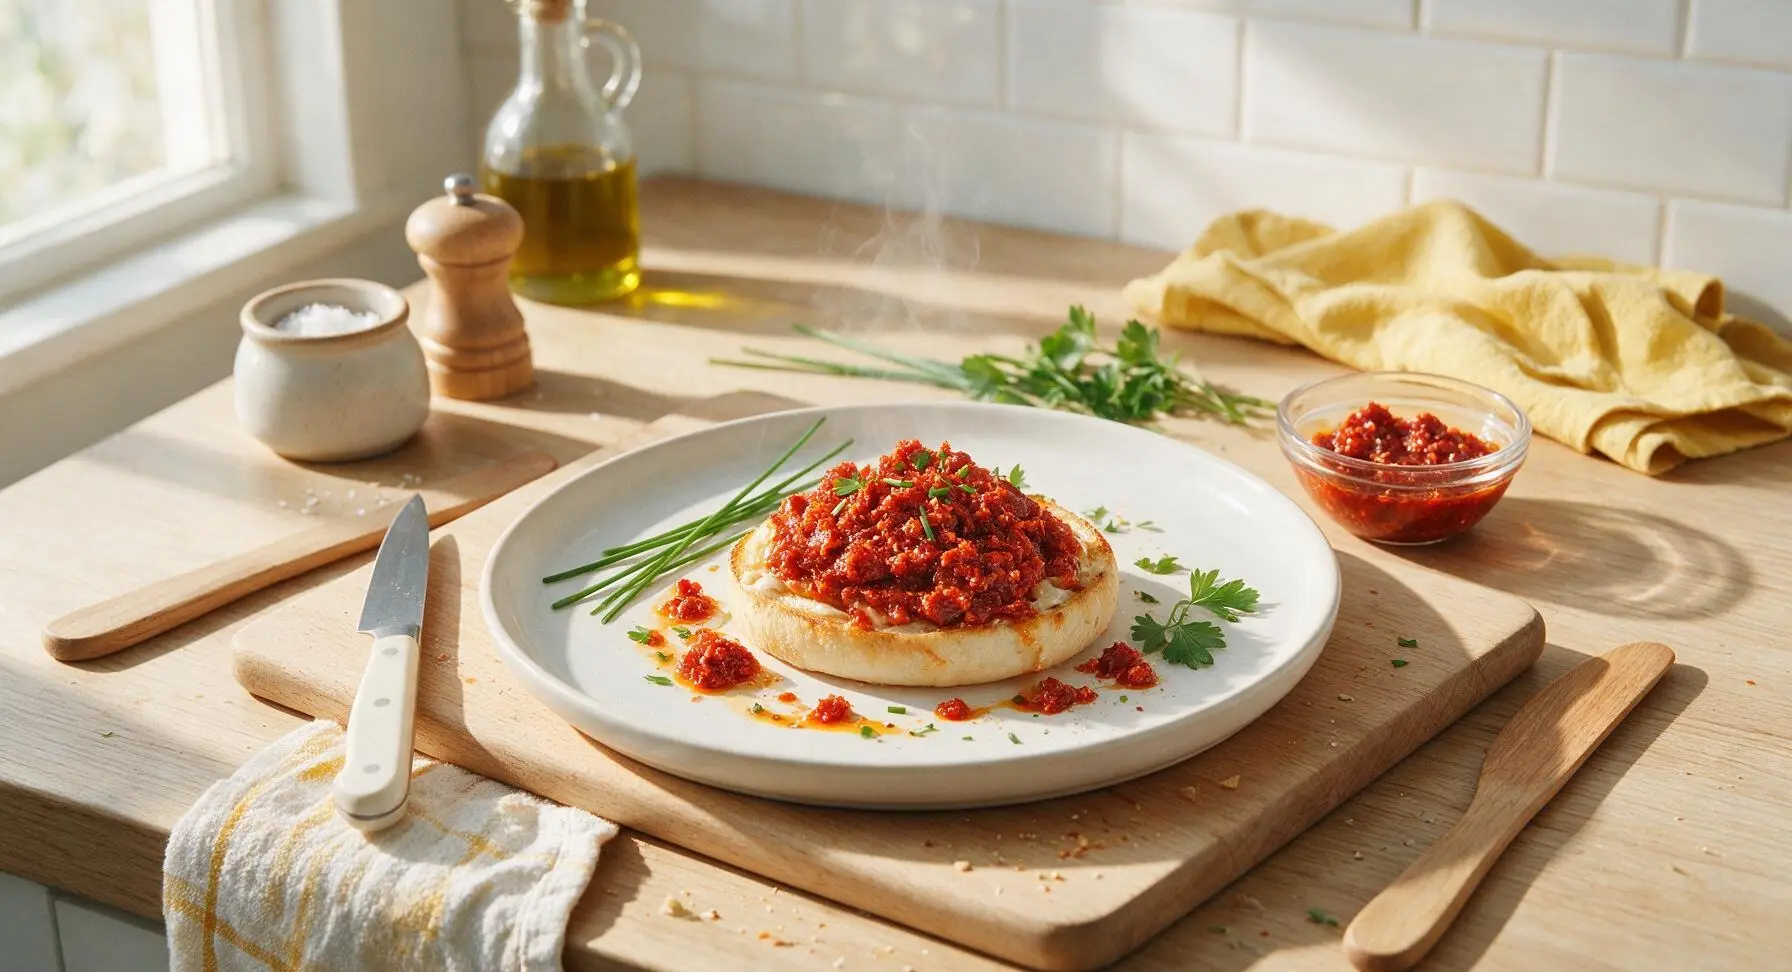
Fiery, spreadable Calabrian nduja is a bold, umami-rich cured sausage, perfect for slathering on crusty bread, stirring into pastas, or topping pizzas for a bright spicy kick.

Ingredients
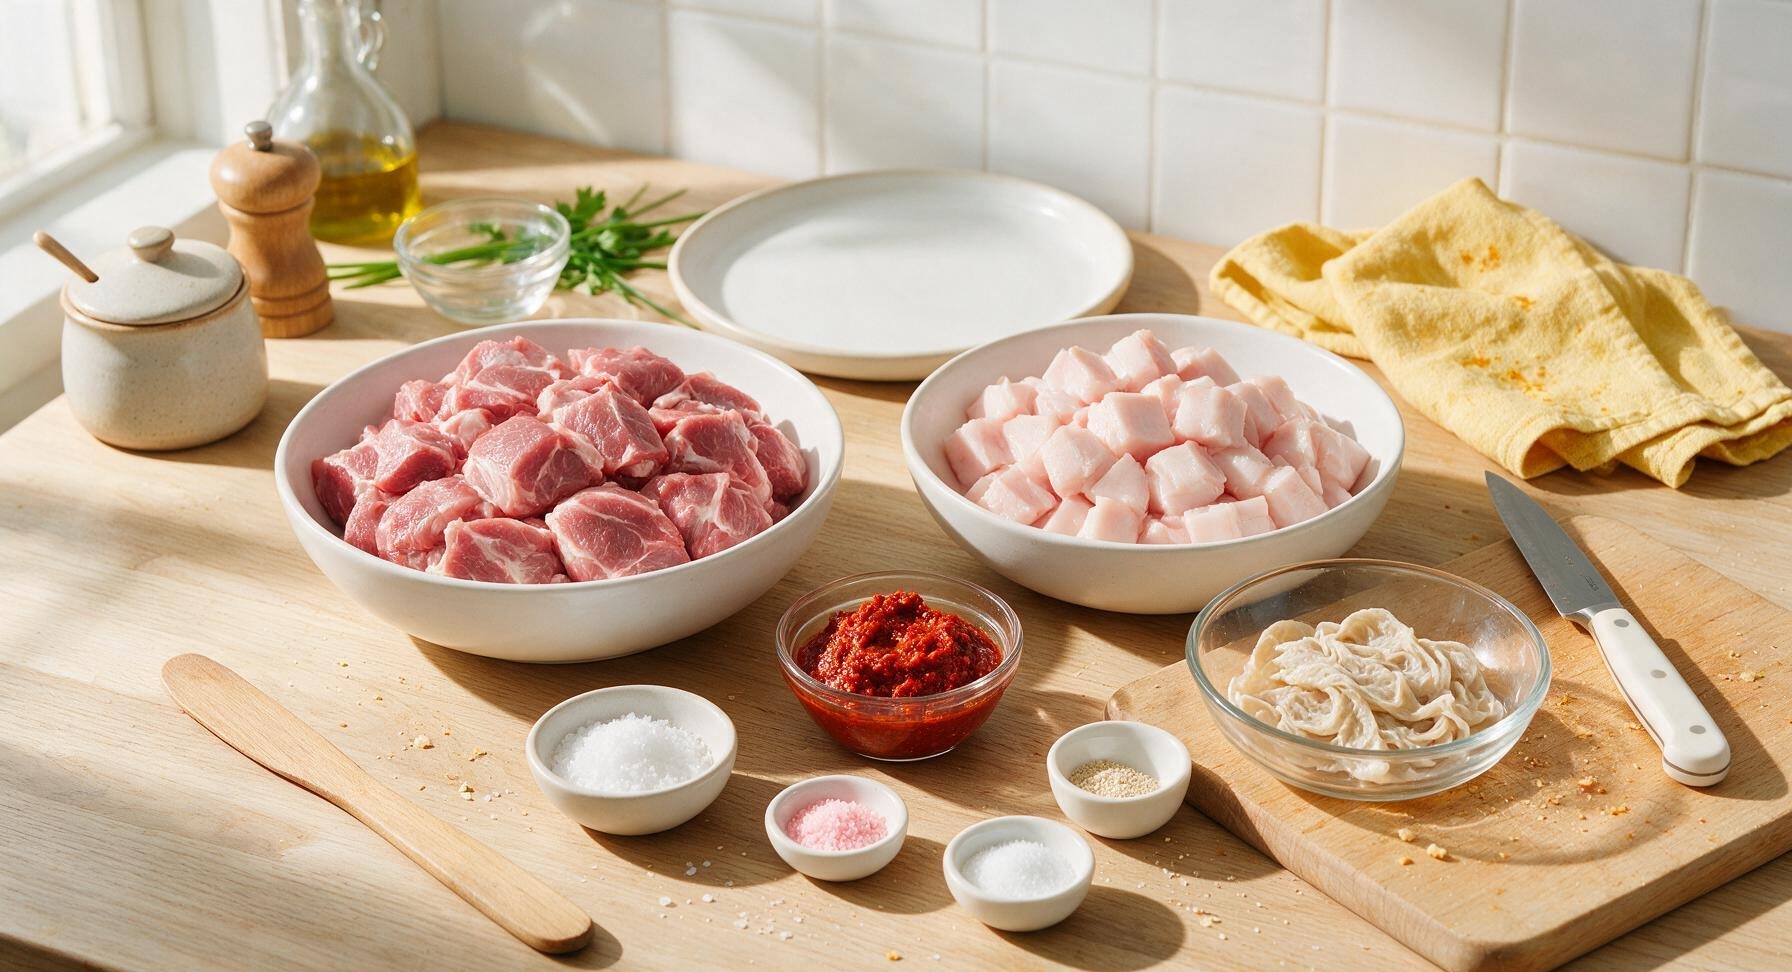
Boneless pork shoulder (trimmed, cut into 2cm cubes) 700g
Pork back fat (cut into 2cm cubes) 300g
Hot Calabrian chili paste 150g
Non-iodized kosher salt 25g
Curing salt #2 (pink salt) 2.5g
Dextrose 5g
Meat starter culture (Bactoferm F-RM-52) 1/8 tsp
Natural hog casings (32-35mm diameter, soaked) 1m total length

Steps

1

Chill Meat and Fat

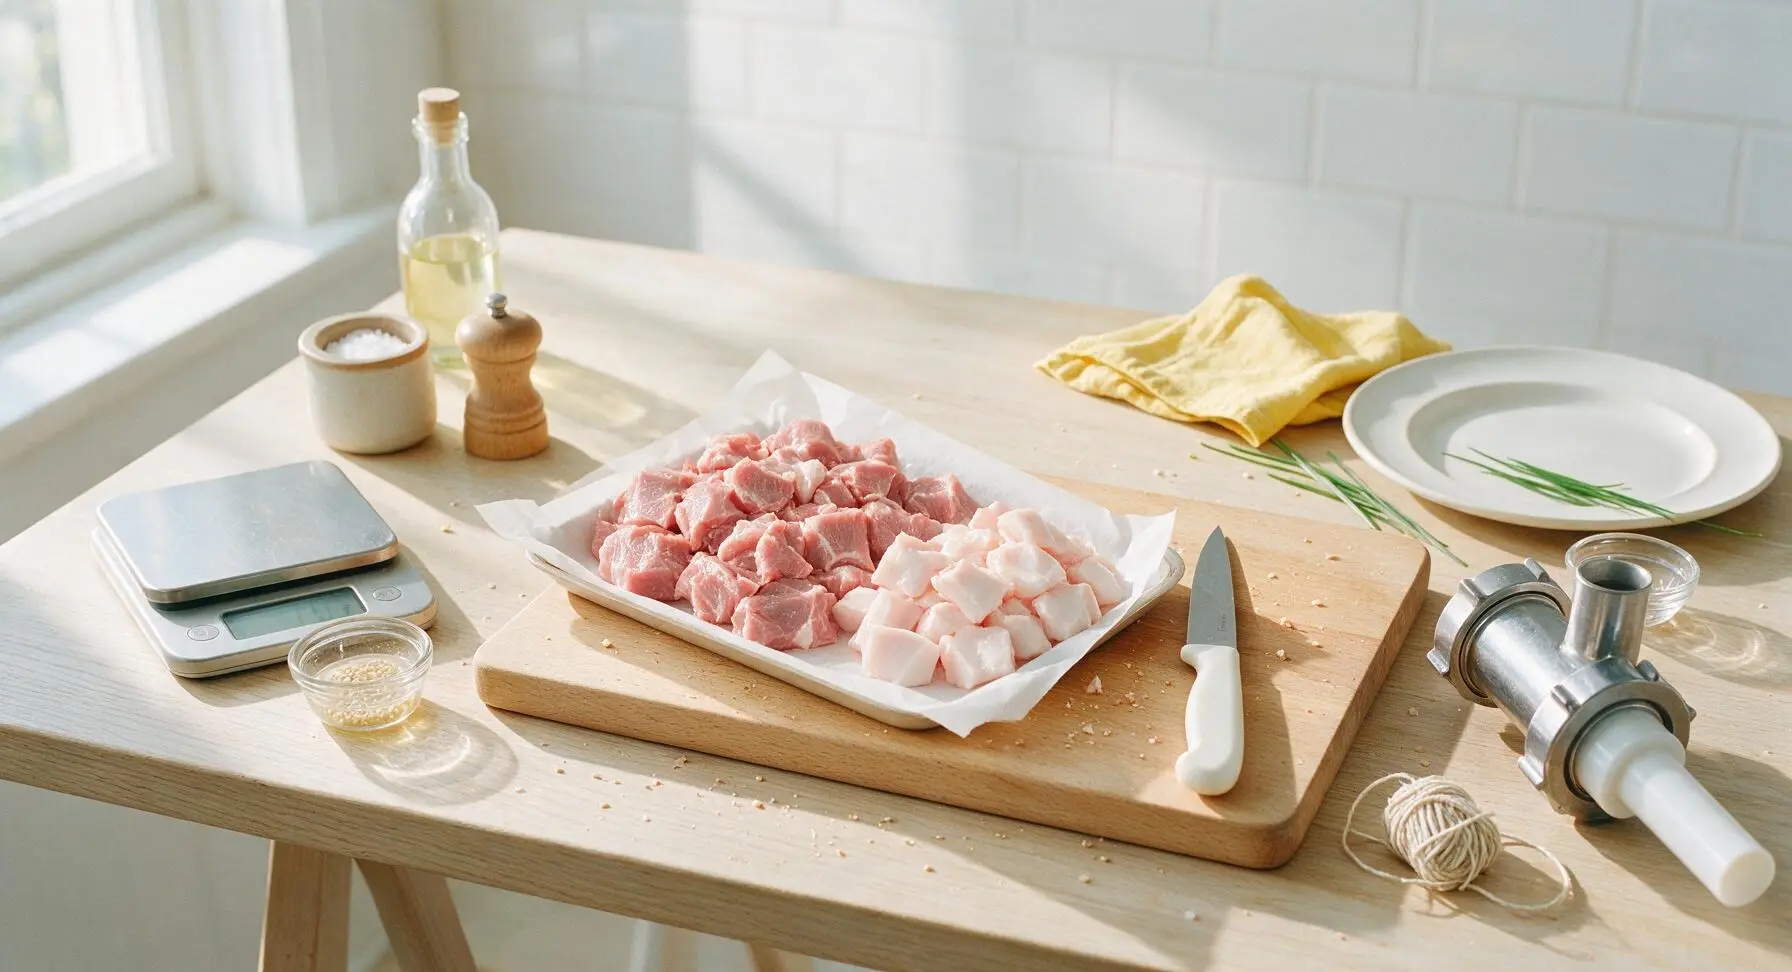
Place cubed pork shoulder and pork back fat on a parchment-lined tray, and freeze for 45 minutes until firm to the touch (but not fully solid, around -1°C / 30°F). Chilling the meat ensures clean grinding without smearing the fat, which is critical for the signature smooth, spreadable texture of finished nduja. While the meat chills, dissolve the starter culture in 2 tablespoons of room-temperature non-chlorinated water, and set aside for 15 minutes to activate.
Step 1
step1:Chill Meat and Fat
2

Grind Chilled Ingredients

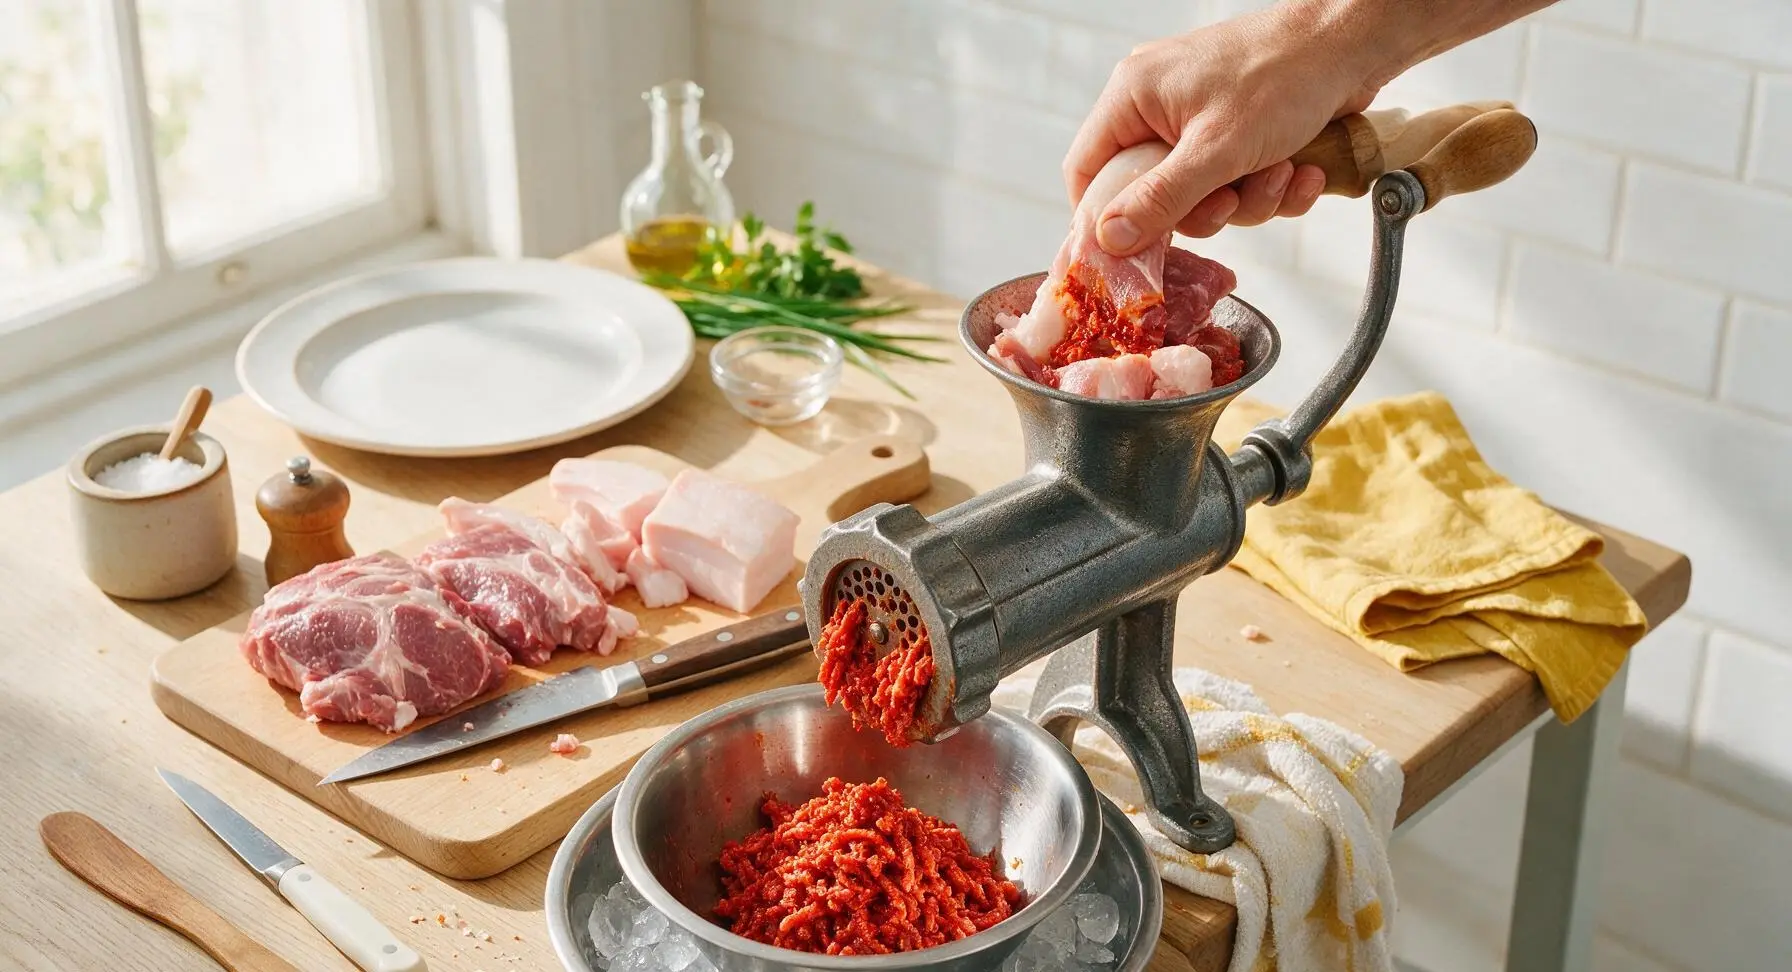
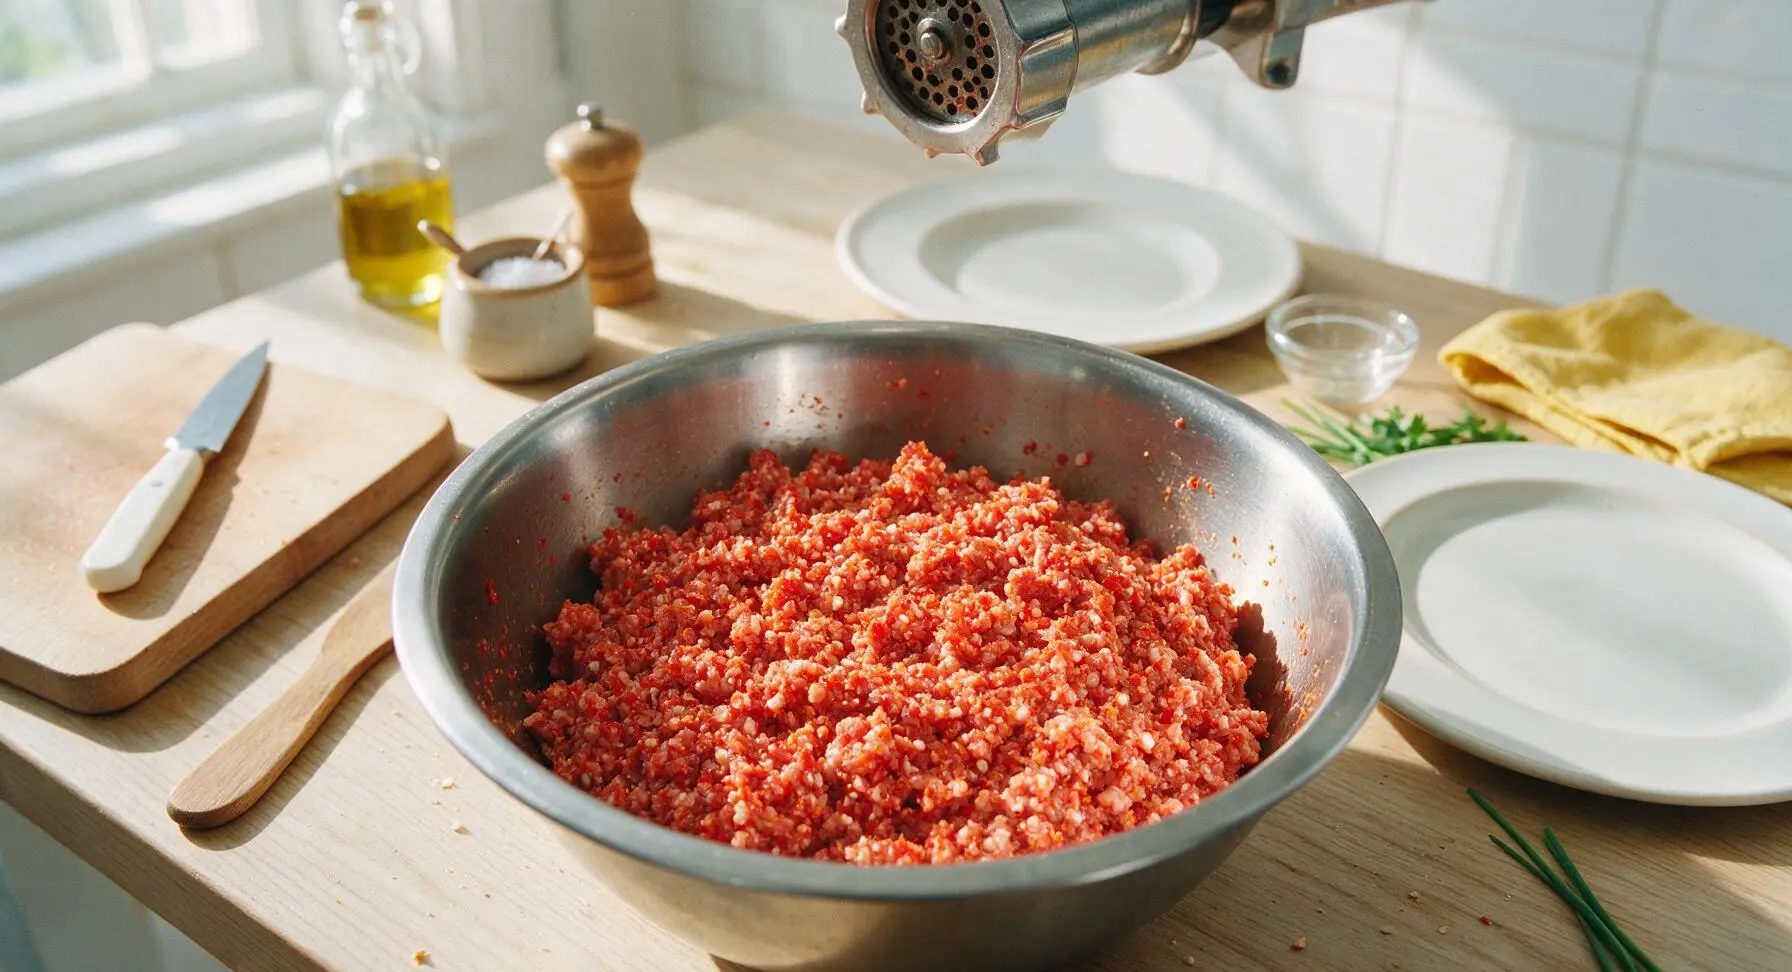
Assemble the meat grinder with a 4.5mm (3/16 inch) grinding plate, the smallest standard plate. Feed the partially frozen pork shoulder, pork back fat, and Calabrian chili paste through the grinder into a large chilled metal bowl set under the grinder outlet. Alternate pieces of meat, fat, and chili paste to ensure even distribution as you grind. Hold the bowl in an ice bath under the grinder to keep the mixture below 4°C / 40°F at all times to prevent fat smearing.
Step 2
step2:Grind Chilled Ingredients
Step 2
step2:Grind Chilled Ingredients
3

Blend in Seasonings

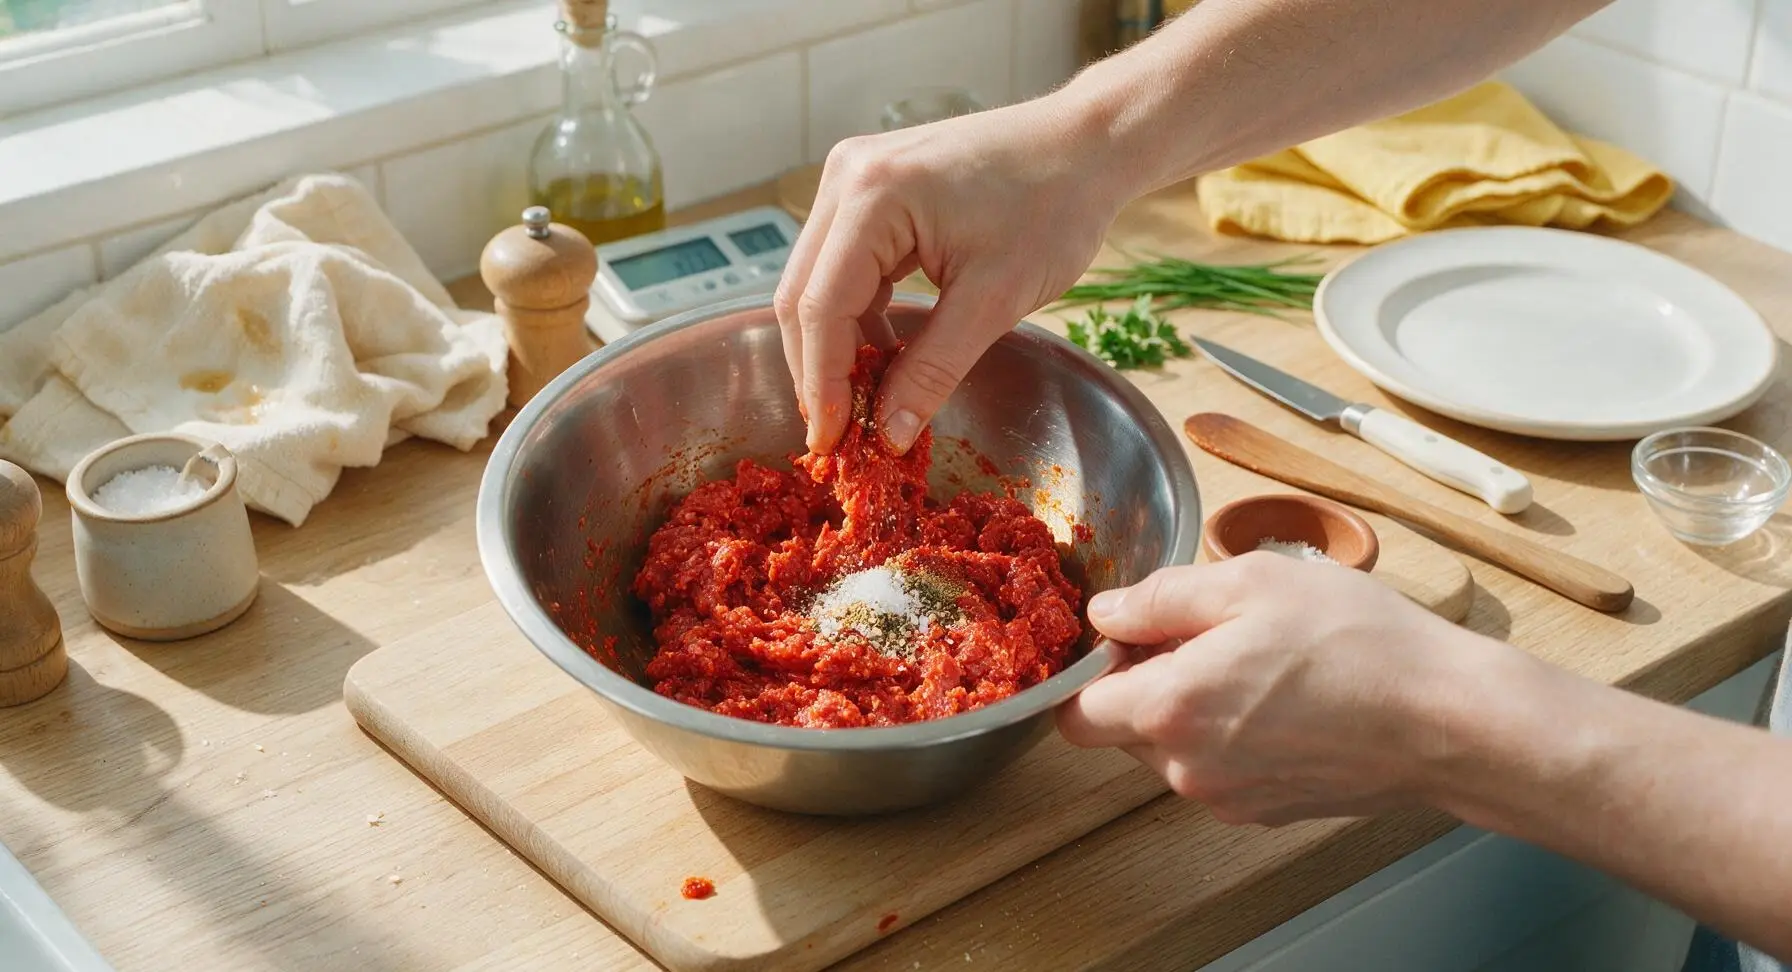
Add the measured kosher salt, curing salt #2, dextrose, and activated starter culture to the ground meat mixture. Using clean, cold hands, mix vigorously for 3-4 minutes until the mixture becomes sticky and tacky, pulling away from the sides of the bowl. The binding that occurs during mixing ensures the nduja holds together as it cures, rather than becoming crumbly. Return the mixed meat to the refrigerator to chill for 30 minutes before stuffing.
Step 3
step3:Blend in Seasonings
4

Prepare Sausage Casings

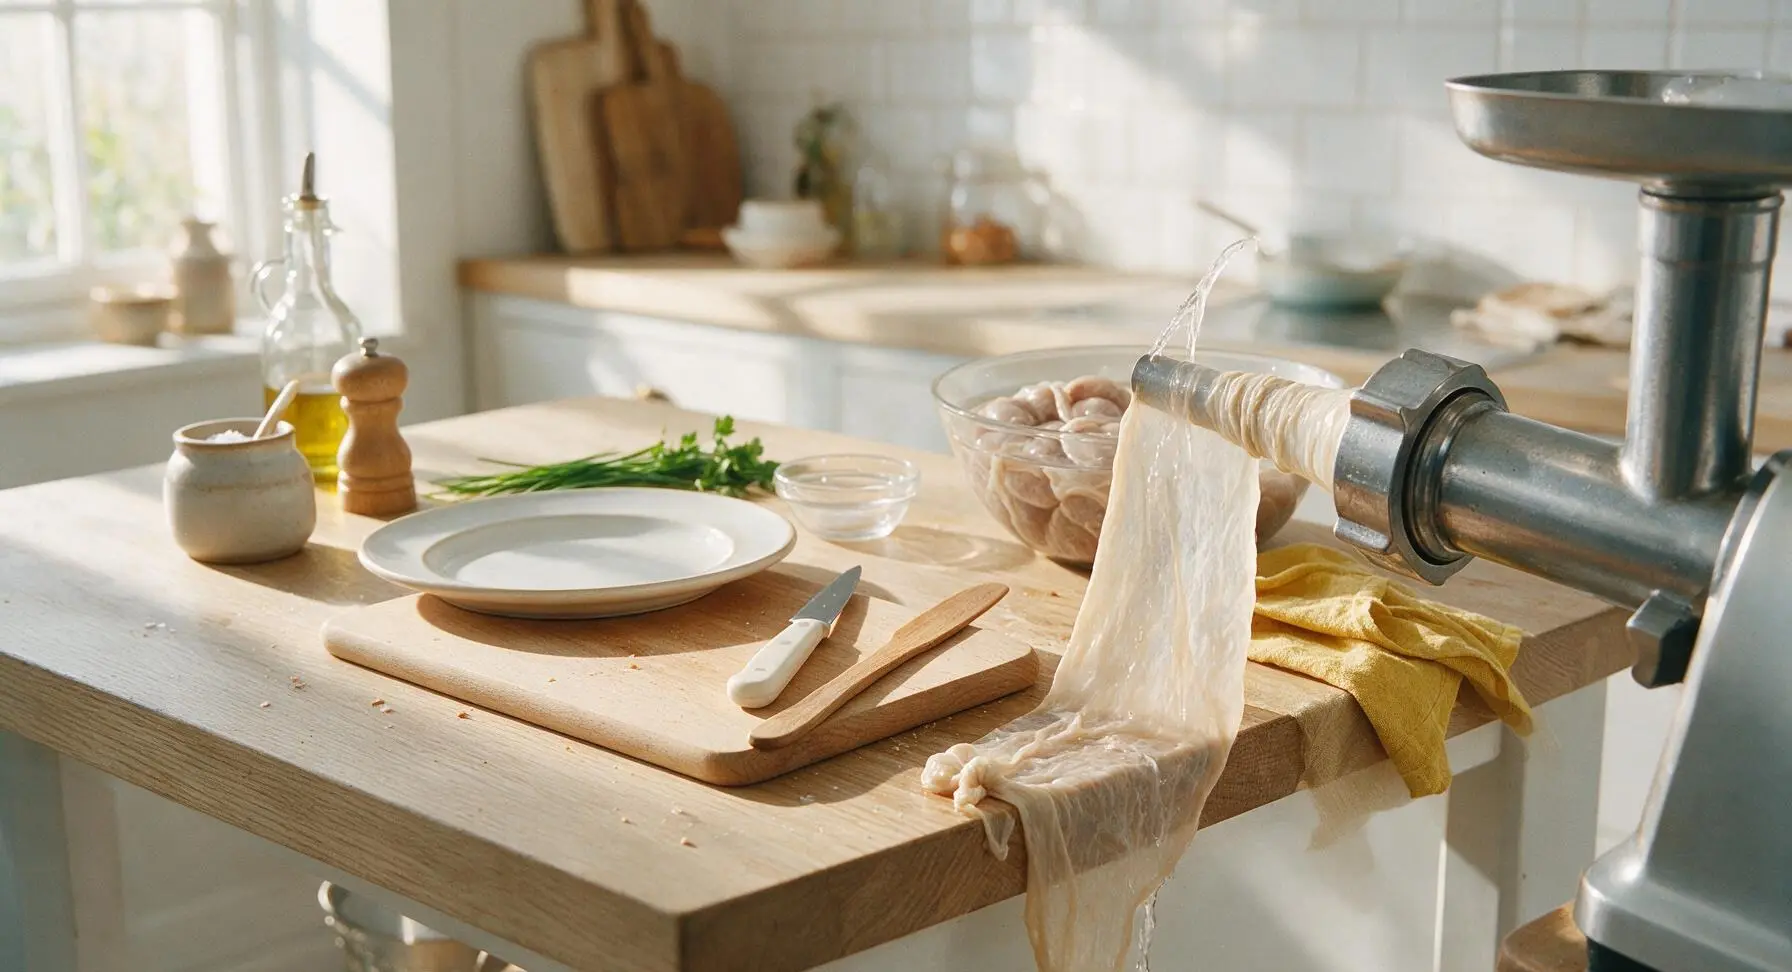
Remove the soaking hog casings from their cold water bath. Fit one end of a casing over the cold water tap, and run a slow stream of cold water through the entire length of the casing to check for tears. Tie a tight overhand knot at one end of each casing length, leaving a 5cm tail of twine for hanging later. Keep casings submerged in cold water until ready to stuff to prevent drying.
Step 4
step4:Prepare Sausage Casings
5

Stuff Nduja Links

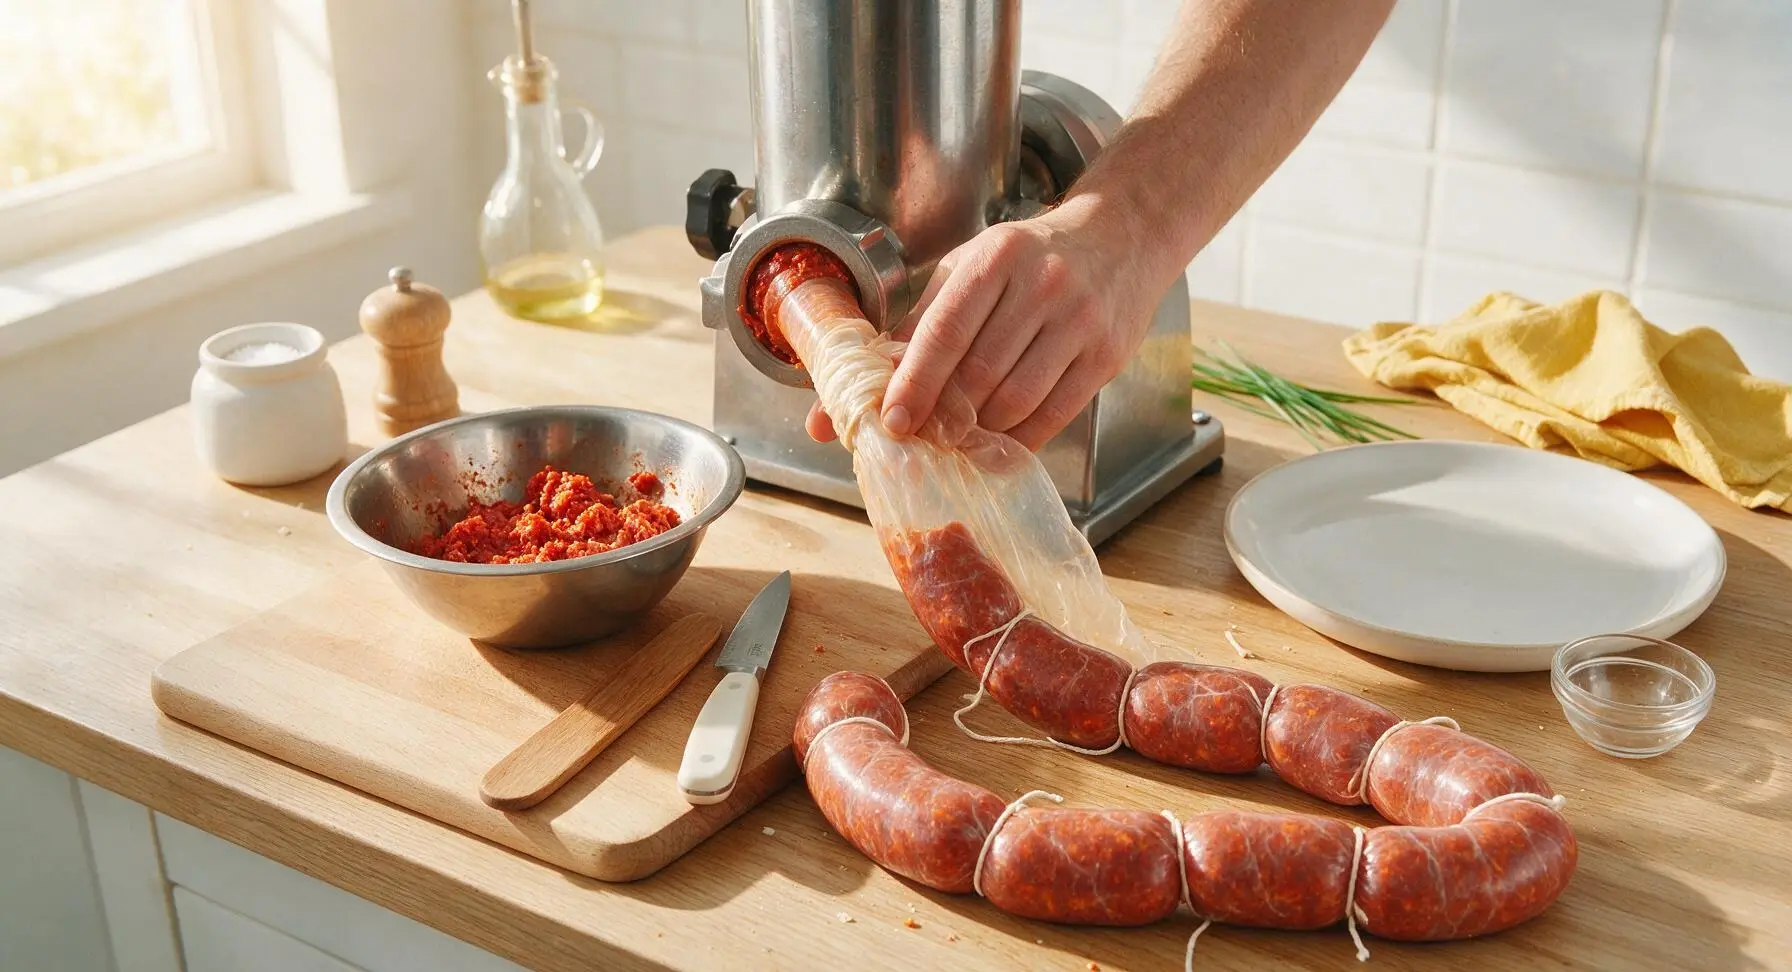
Feed the chilled meat mixture through the grinder (now fitted with the stuffing tube), sliding the open end of the prepared casing over the end of the stuffing tube. Crank slowly to fill the casing evenly, avoiding air pockets; do not overstuff, as casings can burst during fermentation. Once filled, twist the casing every 20cm to form individual links, tying each twist tightly with butcher's twine. Prick any visible air bubbles with a sterilized pin to prevent gaps during curing.
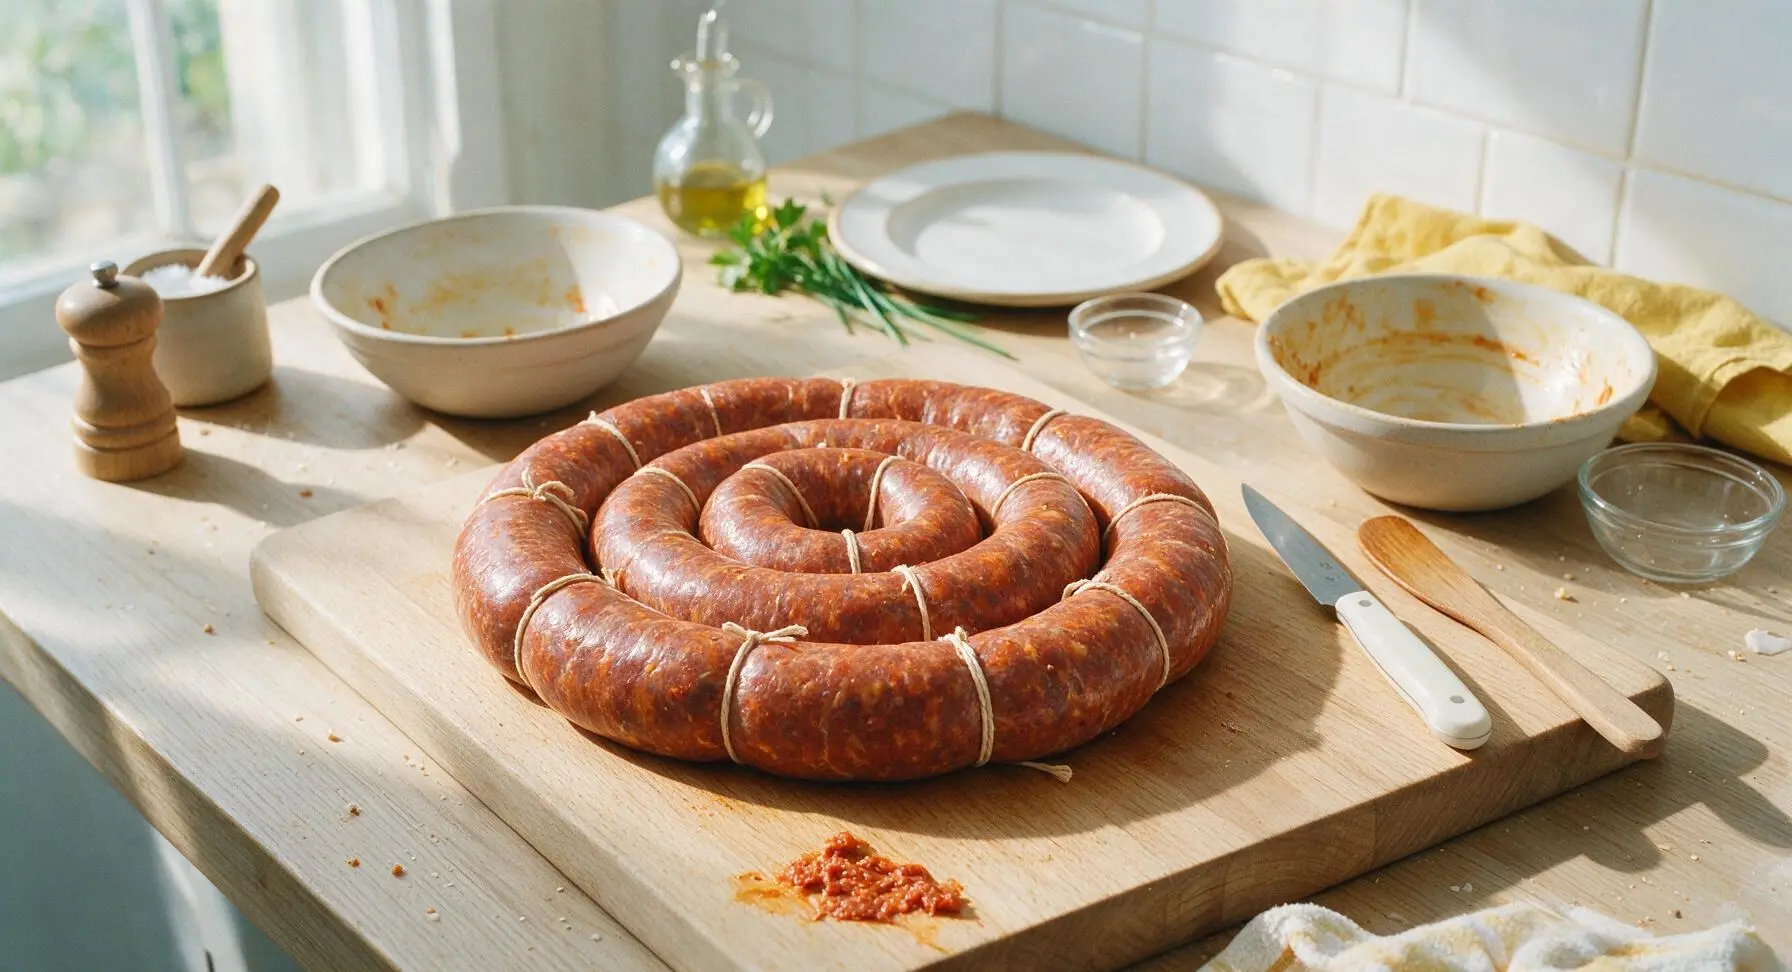
Step 5
step5:Stuff Nduja Links
Step 5
step5:Stuff Nduja Links
6

Ferment for Tangy Flavor

Hang the tied nduja links in a temperature-controlled fermentation chamber (or dedicated curing fridge) held at a constant 24°C / 75°F with 85% relative humidity for 48 hours. The sausage is ready for the next stage when the surface is dry to the touch, and the internal pH reads 4.9-5.2, indicating safe, tangy fermentation. A faint, pleasant lactic acid smell will be noticeable, with no off odors.
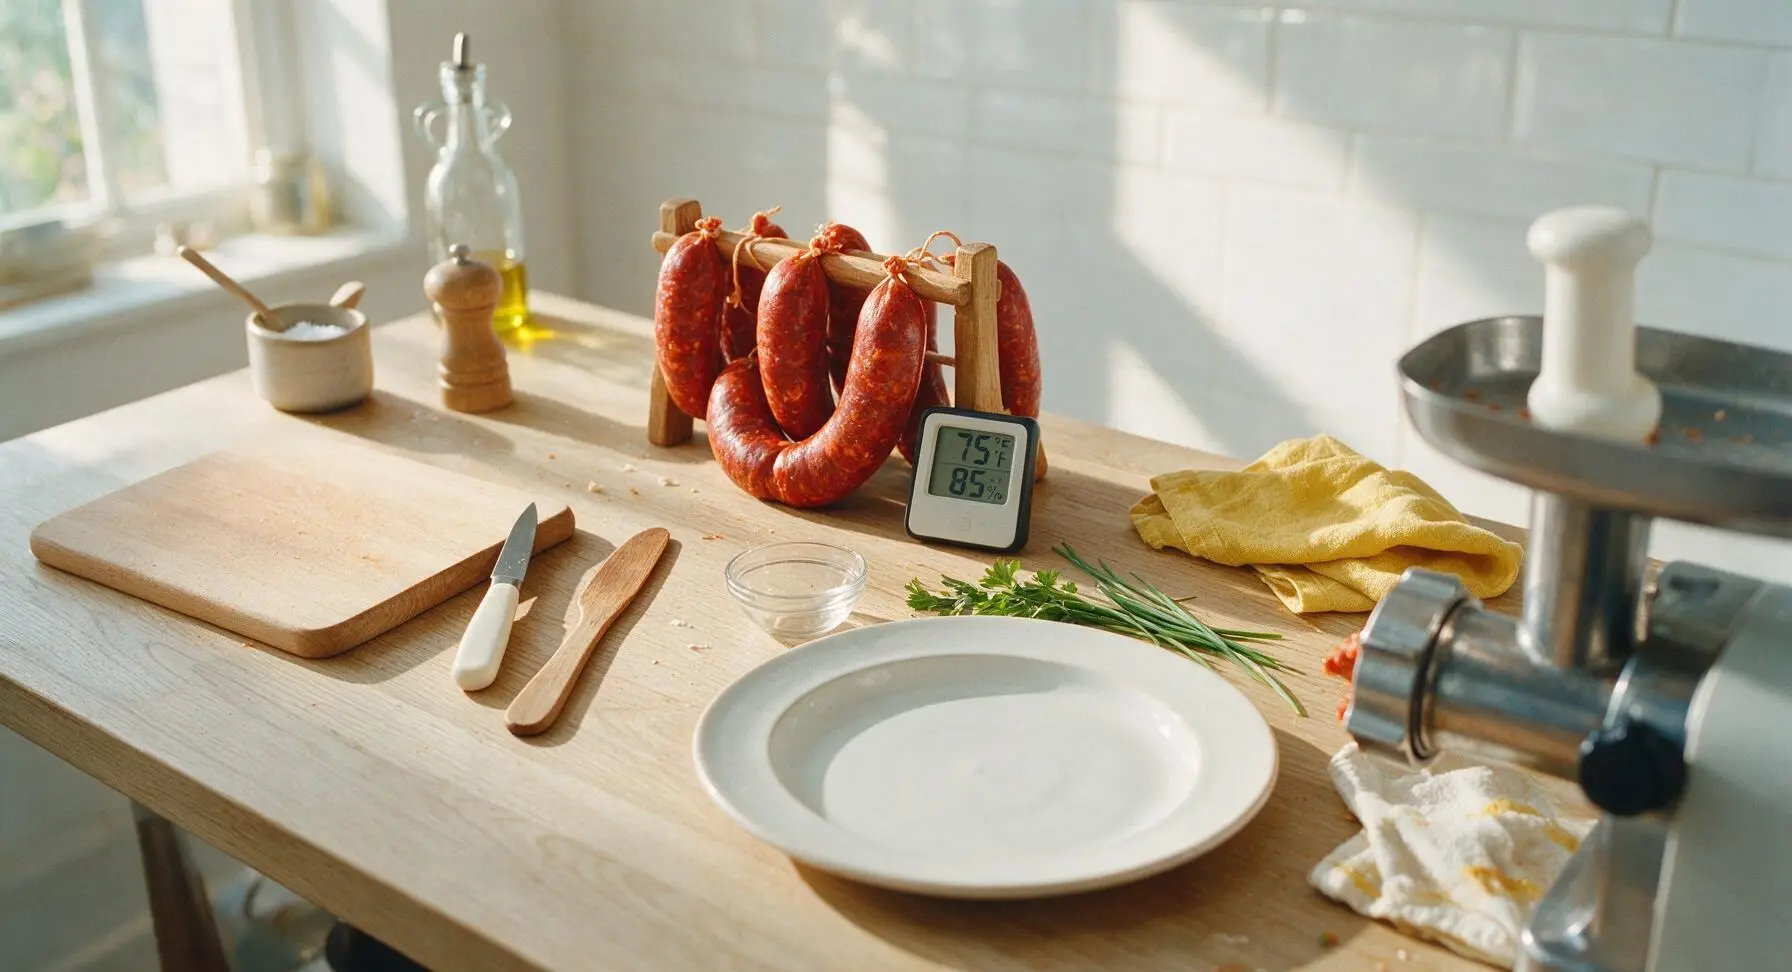
Step 6
step6:Ferment for Tangy Flavor
7

Slow Cure Nduja

Move the fermented nduja links to a cool, dark curing space held at a constant 12°C / 54°F with 70-75% relative humidity. Cure for 8-12 weeks, until the links have lost 35-40% of their original stuffed weight. The finished nduja will feel soft and spreadable when squeezed gently through the casing, with a firm, dry outer surface. Wipe any harmless white mold from the casing surface with a cloth dipped in vinegar during curing if it appears.
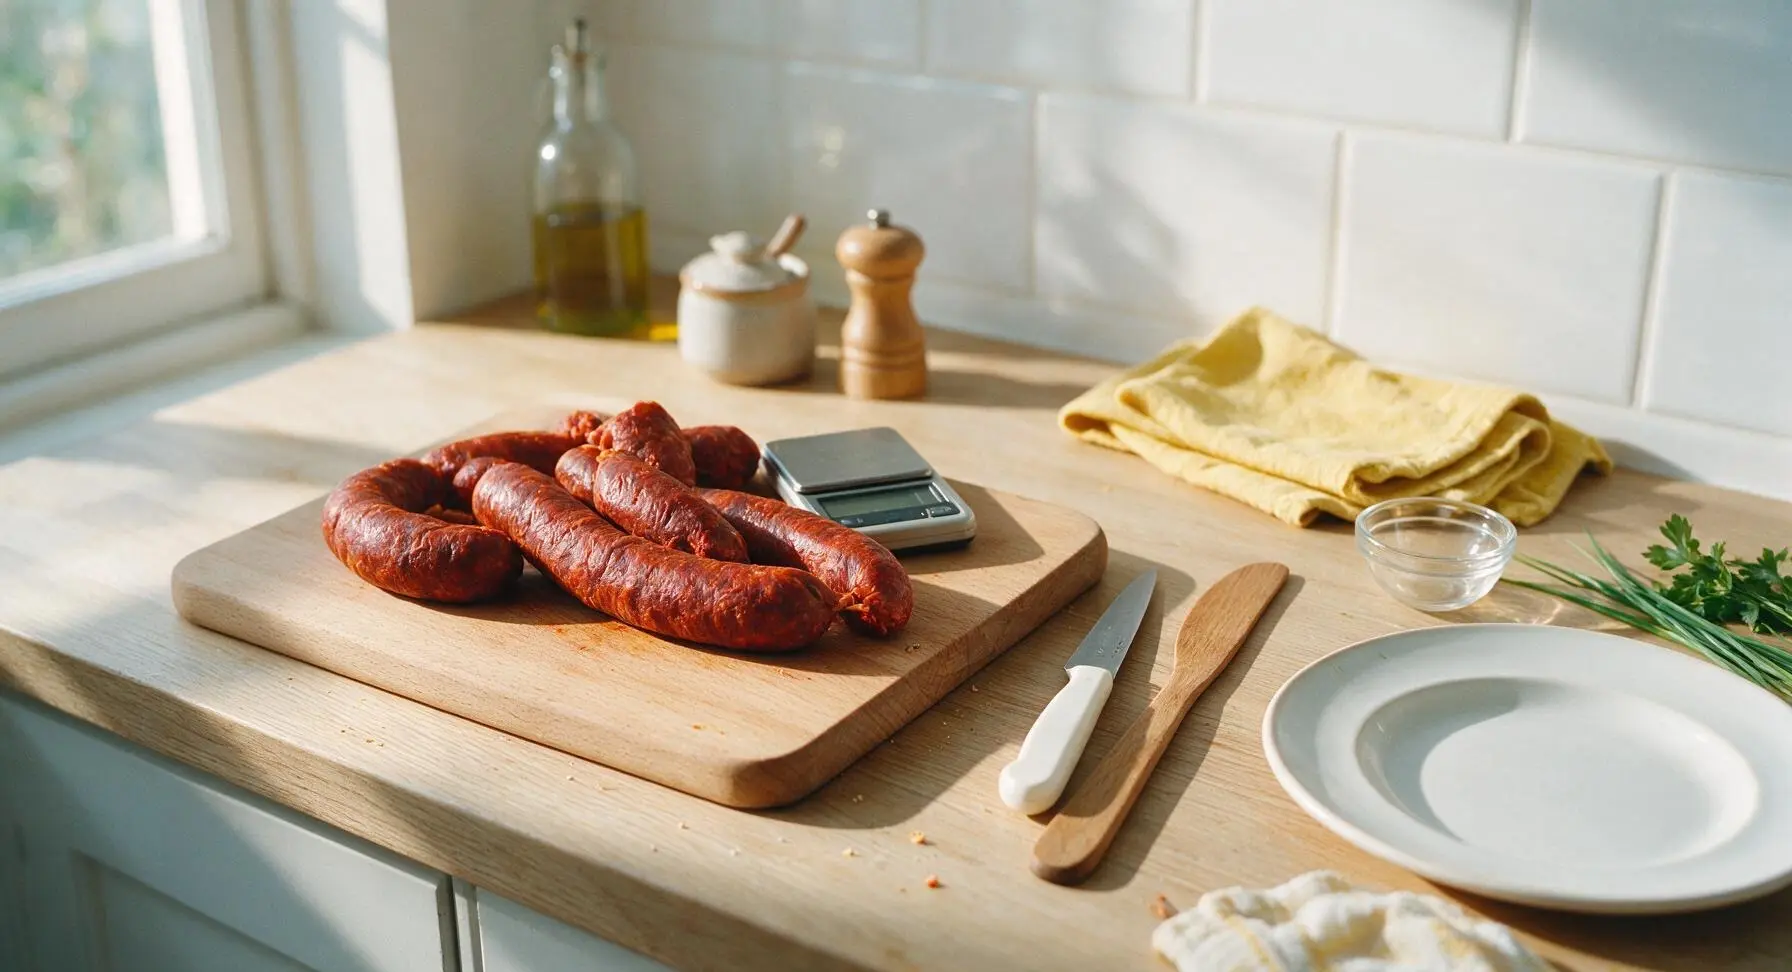
Step 7
step7:Slow Cure Nduja

Tips

1.Keep all meat, equipment, and bowls ice-cold during grinding and mixing: fat that warms above 4°C / 40°F will smear, resulting in a greasy, grainy nduja instead of the signature smooth, spreadable texture.
2.Do not skip curing salt #2: it prevents dangerous botulism growth during the long, low-temperature curing process, and is non-negotiable for safe home charcuterie making.
3.If soft, white fuzzy mold appears on casing surfaces during curing, simply wipe it away with a cloth dipped in white vinegar; this is harmless wild mold, but discard any links with green, black, or slimy mold immediately to avoid foodborne illness.


✨ You May Also Like

Snacks & Appetizers
🍜 Mexico

Crispy thick-cut tortilla chips piled high with seasoned beef, melted cheese, and bright fresh toppings for a shareable, crowd-favorite bite.

⏱️ 25 minuteSnacks & Appetizers ★ 4.8
Snacks & Appetizers
🍜 United States

Crisp, sweet-tangy spiced pickled watermelon rind is a zero-waste summer staple, perfect with grilled meats, charcuterie, or eaten straight from the jar as a bright snack.

⏱️ 30 minuteSnacks & Appetizers ★ 4.6
Snacks & Appetizers
🍜 Germany

A tangy, jellied pork cold cut slow-simmered with aromatic spices, set into a firm sliceable loaf, served cold with mustard and crusty bread.

⏱️ 3 hours 4Snacks & Appetizers ★ 4.8
Snacks & Appetizers
🍜 United States

Creamy, tangy, perfectly seasoned hard-boiled egg halves filled with a rich, smooth yolk mixture, a timeless, crowd-pleasing bite for holiday and casual gatherings alike.

⏱️ 40 minuteSnacks & Appetizers ★ 4.8
Snacks & Appetizers
🍜 Russia

Silky, dill-forward no-smoke cured salmon, a Scandinavian classic with bright salty-sweet flavor, ideal for holiday starter platters and open-faced rye sandwiches.

⏱️ 48 hours Snacks & Appetizers ★ 4.7
Snacks & Appetizers
🍜 Japan

Crisp golden bottoms, juicy savory pork and vegetable filling, and tangy dipping sauce make these pan-fried gyoza a beloved shareable bite.

⏱️ 45 minuteSnacks & Appetizers ★ 4.8

nduja sausage:Frequently Asked Questions

1.Do I really need to use curing salt #2, or can I skip it for this nduja recipe? ▾
Don’t skip it! Curing salt #2 is non-negotiable for safe, long-cured charcuterie like nduja—it prevents dangerous botulism growth during the low-temperature hanging period, and helps lock in that signature bright red color. Measure it precisely, as too much is unsafe, and never substitute it with plain table salt or curing blends made for quick-cooked sausages.
2.What if I can’t find pre-made hot Calabrian chili paste for this recipe? ▾
You can make a perfect substitute at home: rehydrate dried Calabrian chilis in warm water for 20 minutes, drain, then blend with a tiny splash of white wine vinegar and pinch of salt until smooth. Don’t swap in generic red chili flakes, as they lack the fruity, slightly smoky heat that defines Calabrian nduja and won’t distribute evenly through the spread.
3.Why does the recipe call for non-iodized kosher salt instead of regular table salt? ▾
Iodized table salt adds a harsh, metallic off-flavor to cured meats that becomes very noticeable during the long curing process. It’s also far denser than kosher salt, so swapping by volume will leave you with overly salty nduja. If you only have iodized salt in a pinch, cut the measured salt amount by 25% and know the final flavor won’t be quite as clean.
4.How do I know when my homemade nduja is fully cured and safe to eat? ▾
After stuffing into casings, hang nduja in a 55–60°F space with 60–70% humidity for 3–4 weeks. It’s ready when it has lost roughly 30% of its original starting weight, has a deep rich red hue, and feels softly firm with a spreadable consistency, not squishy or raw in the center. Cutting into it early can disrupt curing and introduce unwanted bacteria.
5.Can I make this nduja if I don’t have a sausage stuffer or casings? ▾
Absolutely! For a simpler, short-cured version, skip the casings entirely, pack the mixed pork shoulder, back fat, chili paste, and salt blend tightly into sterilized glass jars, and let it cure in the fridge for 3 days before using. This version won’t develop the deep fermented flavor of hung, cased nduja, but it’s still delicious spread on bread or stirred into pasta.
6.What’s the best way to store finished nduja, and how long will it keep? ▾
Whole, uncut cased nduja will stay good in a cool, dark pantry (around 55°F) for up to 6 months. Once you slice into it, wrap the cut end tightly in parchment paper, store it in the refrigerator, and use it within 3 months. You can also scoop 1-tablespoon portions into an ice cube tray and freeze for up to a year to toss straight into sauces or pizzas.

Comments (10)

2 days ago

OMG I’ve been buying store-bought nduja for my weekly pizza nights for years and finally worked up the courage to try making it from scratch! The 10 week cure felt like forever to wait, but that spicy, spreadable, umami-packed payoff is SO good. I served it slathered on toasted sourdough with a drizzle of hot honey at our neighborhood potluck last weekend and every single person asked me for the recipe. Total game changer!

yesterday

So stoked to hear it was a hit at the potluck! That hot honey pairing is chef’s kiss, one of my all-time favorite ways to serve fresh nduja too. Thanks for giving the recipe a go!

3 days ago

Quick question for anyone who’s made this: I’m on week 6 of curing and noticed a tiny bit of white fuzzy mold on the outside of one of the links. Is that normal, or do I need to toss the whole batch? I followed all the temp and humidity instructions to a T so I’m a little stressed.

2 days ago

Great question! A little thin white mold is totally normal during the curing process — just wipe it off with a little paper towel dampened with white vinegar and you’re good to go. If you ever see fuzzy green or black mold, that’s when you’ll want to discard that link. Sounds like you’re right on track!

1 week ago

My kids loved it! I stirred a little dollop into our weeknight pasta sauce and it added the perfect subtle spicy kick that even my pickiest 7 year old asked for seconds of. Worth every minute of the wait, I’m already planning my second batch to give out as holiday gifts to my extended family.

5 days ago

I was so intimidated to try curing meat at home because I thought it required super fancy equipment, but this recipe broke every step down so clearly! I only had a cheap digital scale and an old fridge I converted to a curing chamber and it turned out perfect first try. 10/10, will make again and again.

3 days ago

Wait, I used an old mini fridge for my curing chamber too! Did you have to add any extra humidity trays, or did the natural moisture from the sausage hold steady? My first batch of salami last winter got way too dried out on the ends and I’m still troubleshooting my setup.

2 days ago

Pro tip for mini fridge setups: add a small pan of distilled water on the lowest shelf and check humidity daily with a cheap hygrometer — you want to hold steady around 60-70% humidity for the first two weeks of fermentation, then drop it slightly for the rest of the cure. That should help prevent those dried out ends!

yesterday

Used this nduja in my family’s traditional Sunday gravy last weekend and my nonna, who’s Calabrese born and raised, said it tasted exactly like the stuff her uncle used to make back in Reggio Calabria. High praise doesn’t get better than that, honestly.

2 hours ago

Nonna approval is the absolute best seal of approval we could ask for! That means the world, thank you so much for sharing that.

30 minutes ago

Wait, how spicy is this if I dial back the Calabrian chilis a little? My partner can’t handle super hot food but loves the spreadable texture of nduja, so I want to adjust it so we can both enjoy it.

5 minutes ago

I cut the chilis by about a third on my last batch and it was perfect for my low-spice tolerance! Still had that bright, fruity chili flavor without burning my tongue off, it was great on breakfast sandwiches too.

just now

Great call from MildSauceMom! You can absolutely scale the chilis up or down to your heat preference without messing with the curing process — just make sure you keep the total ratio of fat to meat the same to keep that signature spreadable texture.

2 weeks ago

Put thin slices of this nduja on my holiday charcuterie board last Christmas alongside some manchego, fig jam, and crostini and it was the first thing to get completely polished off. People were hovering over that corner of the board the whole night. 100% worth the 10 week wait, don’t let the cure time scare you off!

5 minutes ago

I messed up the first fermentation step and held my temp a little too high for the first 48 hours — thought I ruined the whole batch! But I ended up letting it cure the full 10 weeks anyway and it still turned out really tasty, even if it was a little tangier than the batch I made a month later that I did by the book.

just now

So glad it still turned out tasty! That extra tang is actually a signature of longer/hotter ferments, a lot of people intentionally lean into that flavor profile. Great job troubleshooting and sticking with it!

2 hours ago

SO good. Melted a thick slice of this on my turkey and provolone panini at lunch today and it took the whole sandwich from fine to absolutely legendary. The garlic and chili flavor cuts through the creamy cheese so perfectly, I’m never making a pressed sandwich without nduja again. Even brought a little container of it into work to share with my coworkers and they were all obsessed.

1 week ago

Anyone try adding a little smoked paprika to the mix? I was thinking about tossing a teaspoon in for my next batch to add a little extra smoky depth, but I don’t want to throw off the cure balance.

5 days ago

I added a half teaspoon of smoked paprika to my last batch and it was incredible! Didn’t mess with the cure at all, just added that nice subtle smoky note that paired so well with the chilis. Don’t overdo it though, too much paprika can make the texture a little grainy.

3 days ago

Oh that’s perfect to hear! I’ll stick to a half teaspoon then, can’t wait to fire up this next batch. Already have my curing chamber set up and ready to go for this weekend.



