1.Can I use long-grain white rice instead of short-grain sushi rice for this recipe?
▾
No, I don’t recommend it. Short-grain sushi rice has the high starch content that lets you press tight, hold-together triangles that don’t fall apart while toasting. Long-grain rice is drier, far less starchy, and will crumble when you flip it in the pan, leaving you with a loose, cheesy rice mess instead of a crisp, intact onigiri patty.
2.Why do you specify low-moisture mozzarella instead of fresh mozzarella?
▾
Fresh mozzarella has a very high water content that will seep out as it melts, making your rice triangles soggy instead of crisp. Low-moisture mozzarella melts into that perfect stretchy, oozy pull we love in grilled cheese without adding excess moisture, so your rice crust stays crunchy and golden on the outside.
3.Do I need any special tools to shape the onigiri triangles?
▾
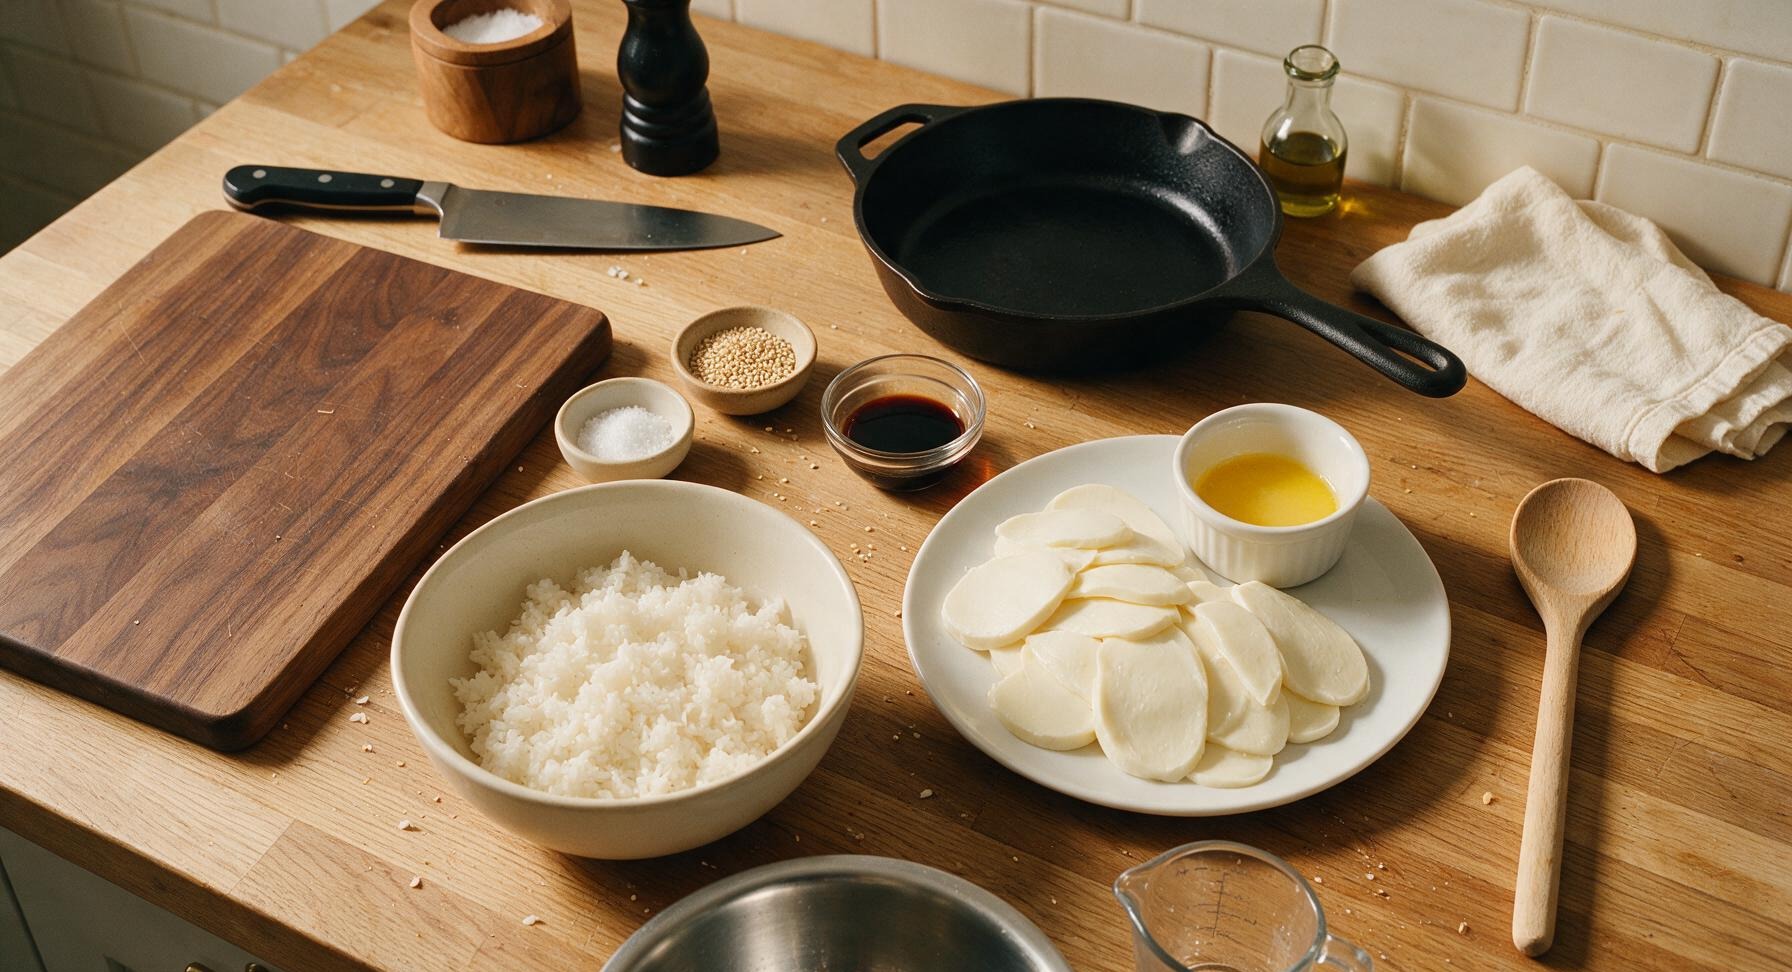
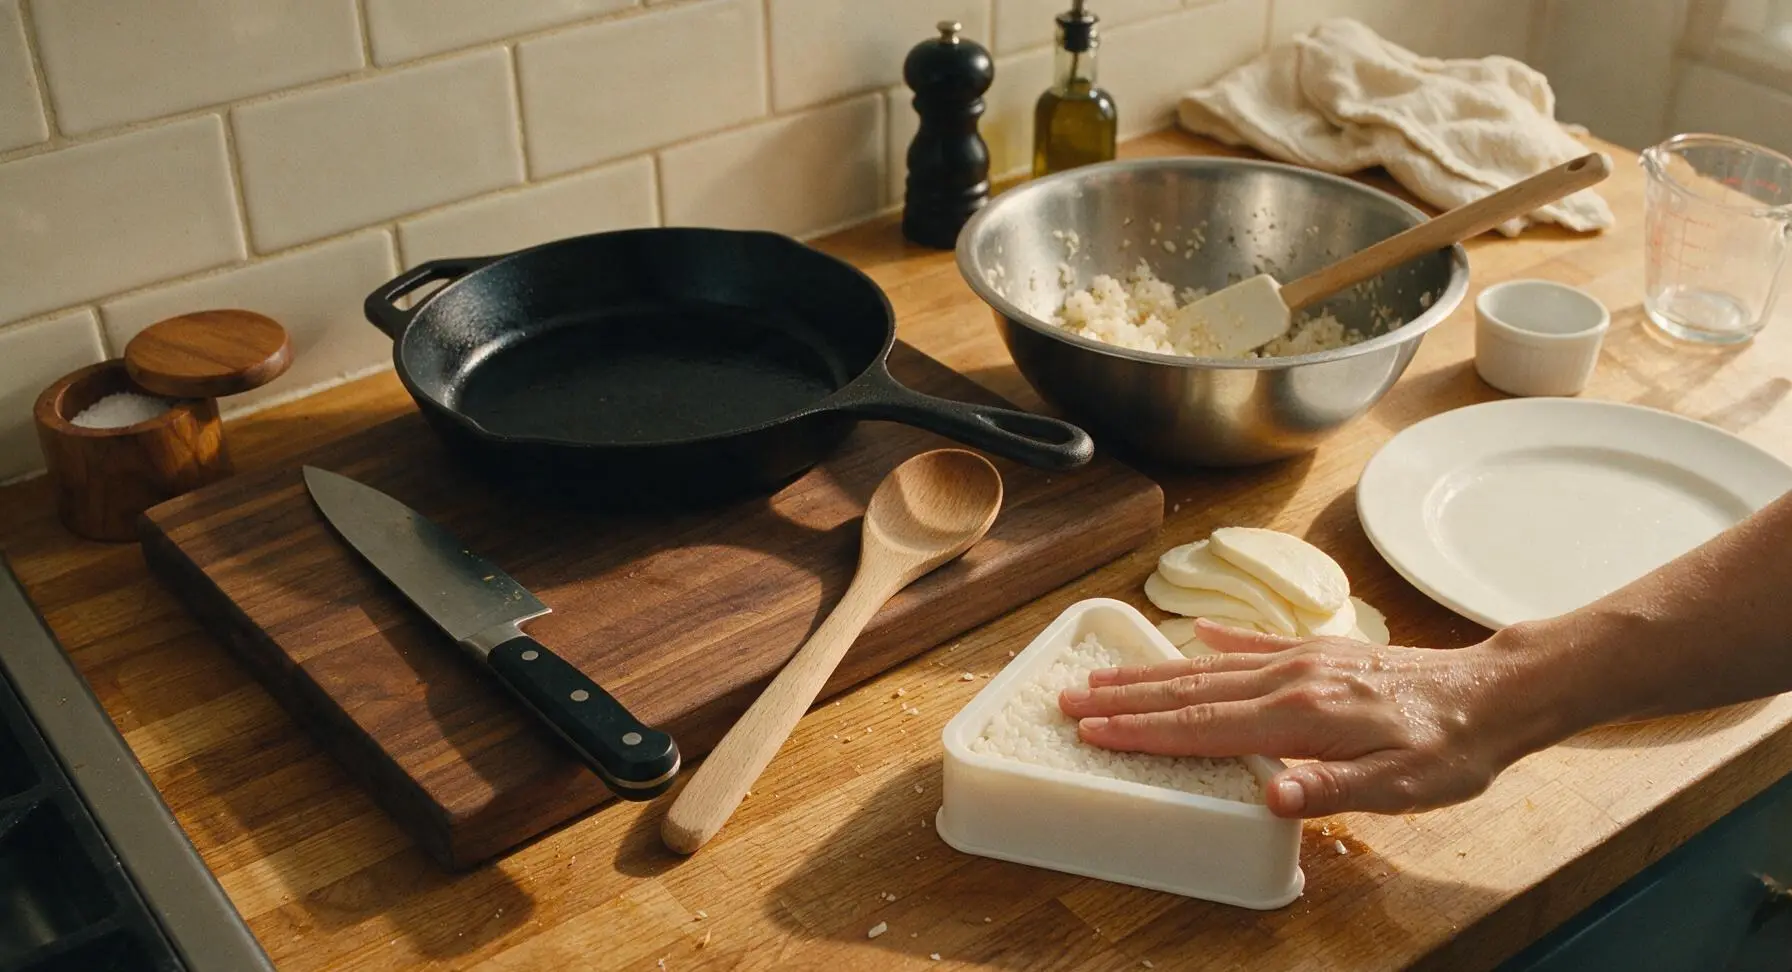
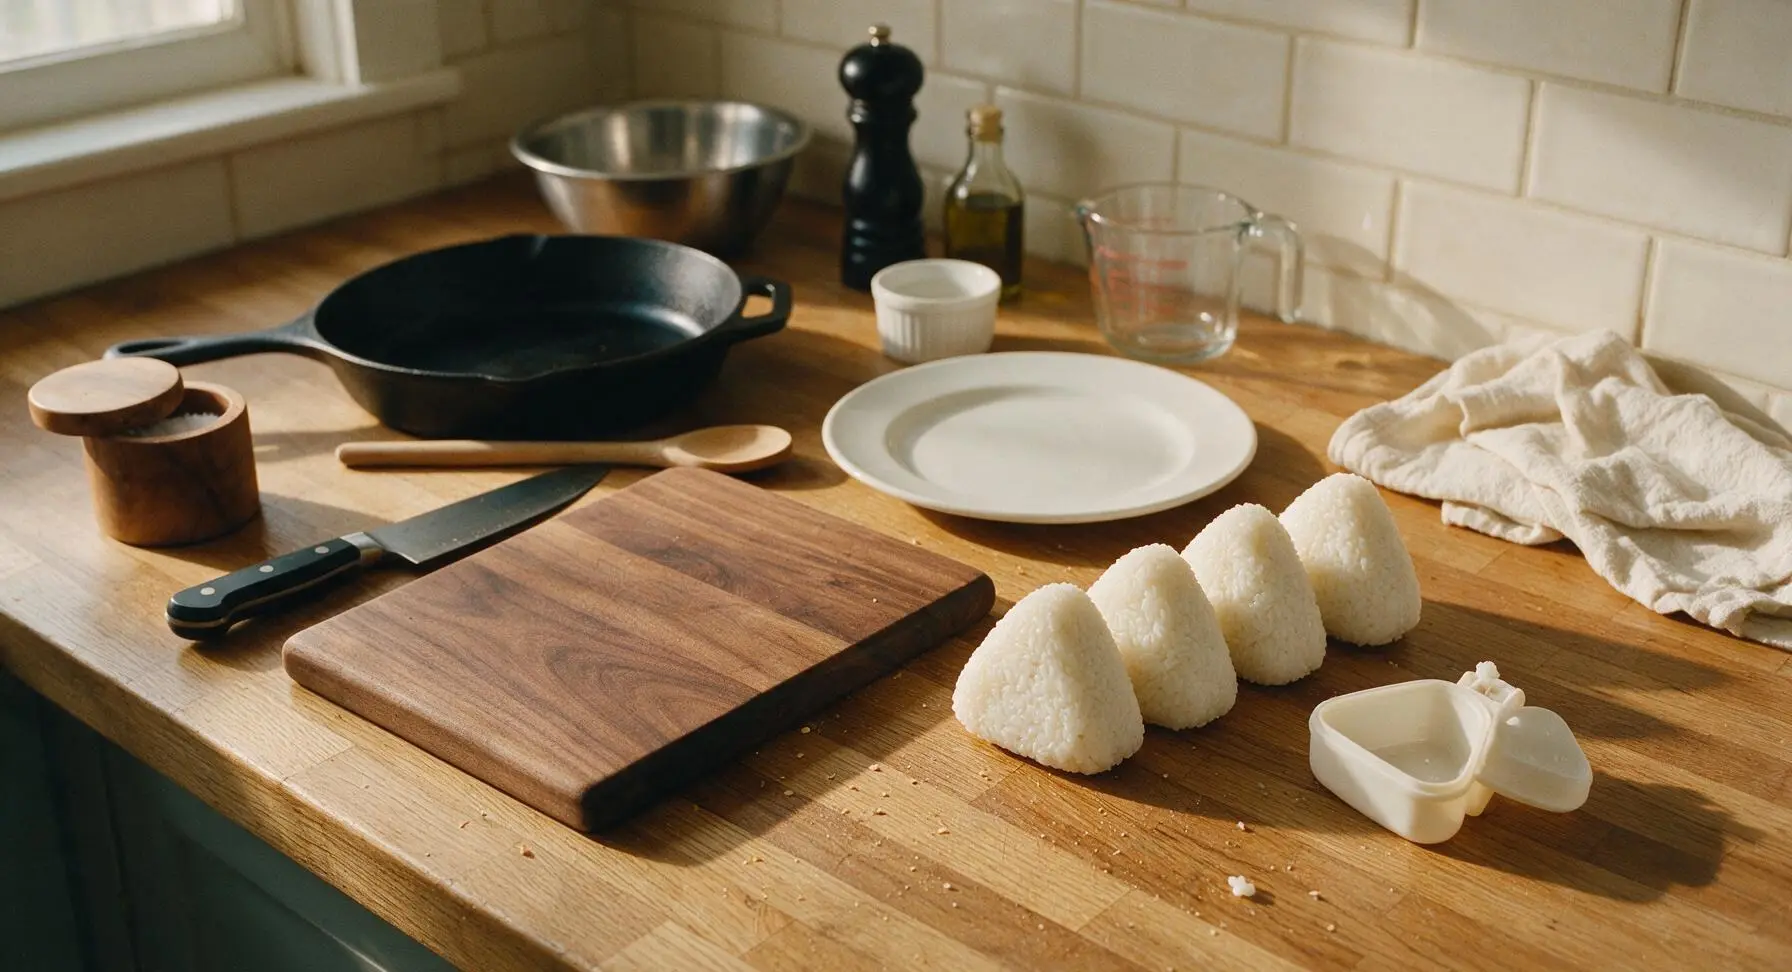
You don’t need a fancy onigiri mold at all! Lightly wet your hands with cool water to keep rice from sticking, scoop a ½-cup mound of rice, press a cube of cheese into the center, then pat and press firmly into a 1-inch thick triangle with your palms. Just make sure the cheese is fully sealed inside so it doesn’t leak out while cooking.
4.How do I keep the rice from sticking to my hands when I’m shaping the triangles?
▾
The easiest trick is to keep a small bowl of cool, lightly salted water next to your work station, and dip your fingertips and palms in it every time you handle the rice. The thin layer of water stops starchy rice from glomming onto your skin, and it also adds a tiny bit of extra surface salt for flavor as you shape.
5.What heat setting should I use to pan-toast these so the rice gets crispy without burning?
▾
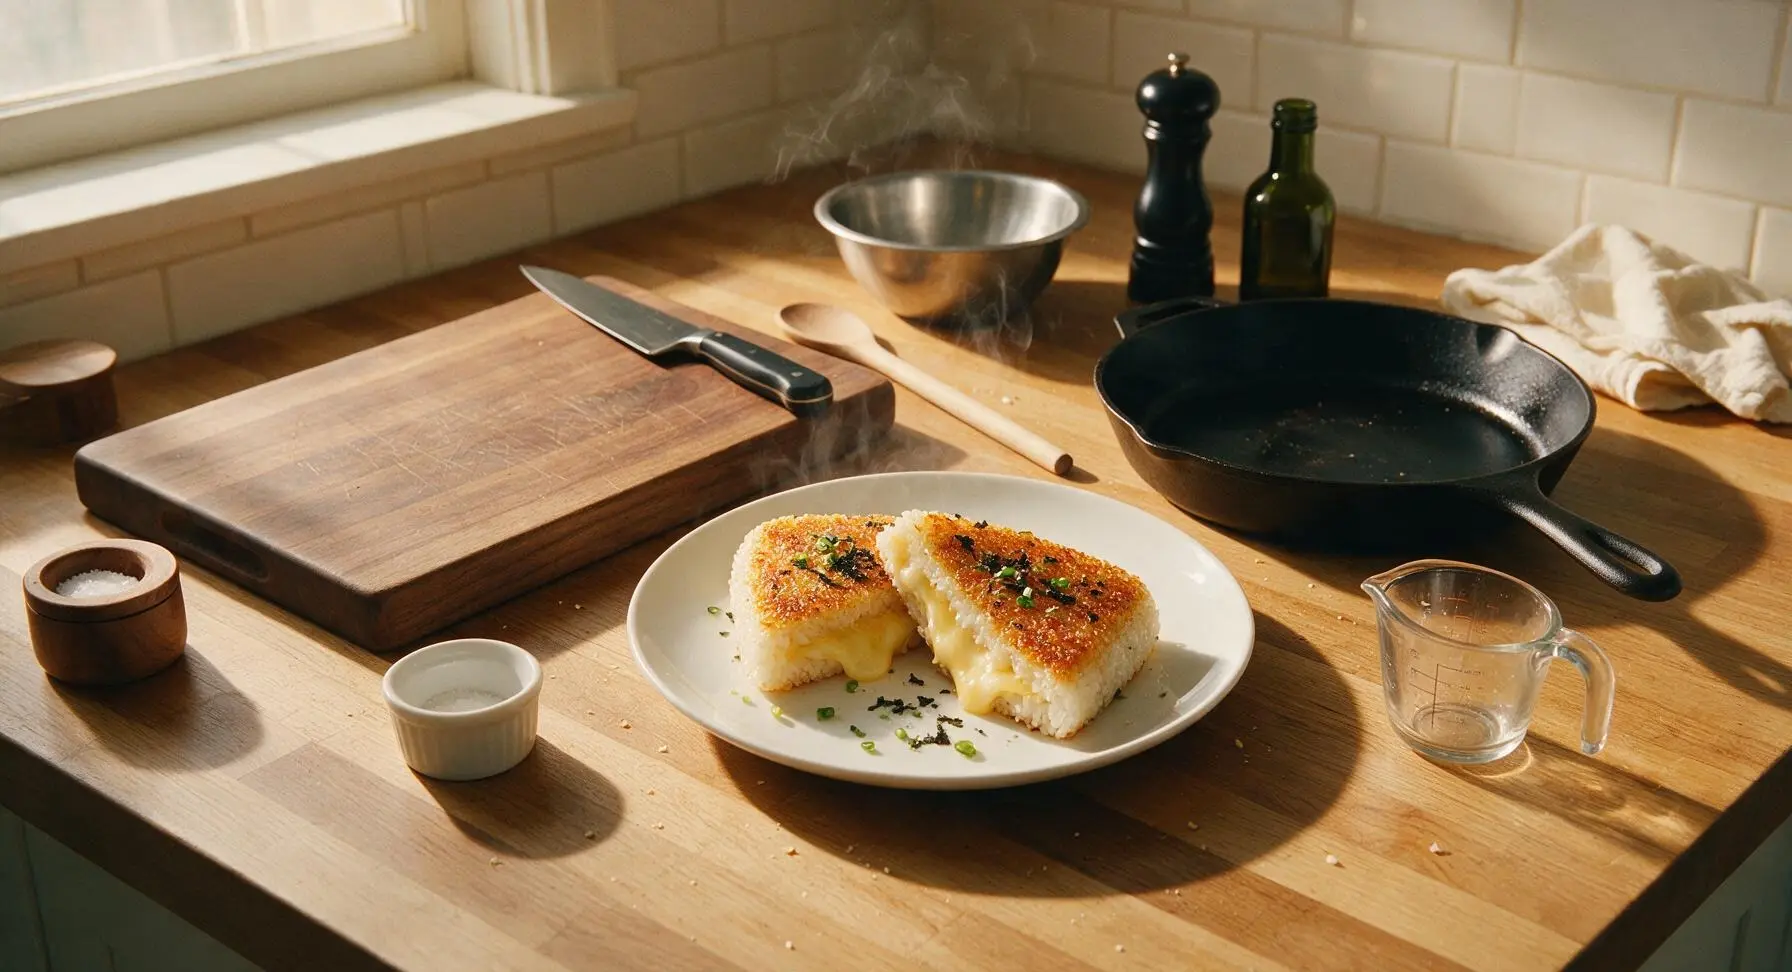
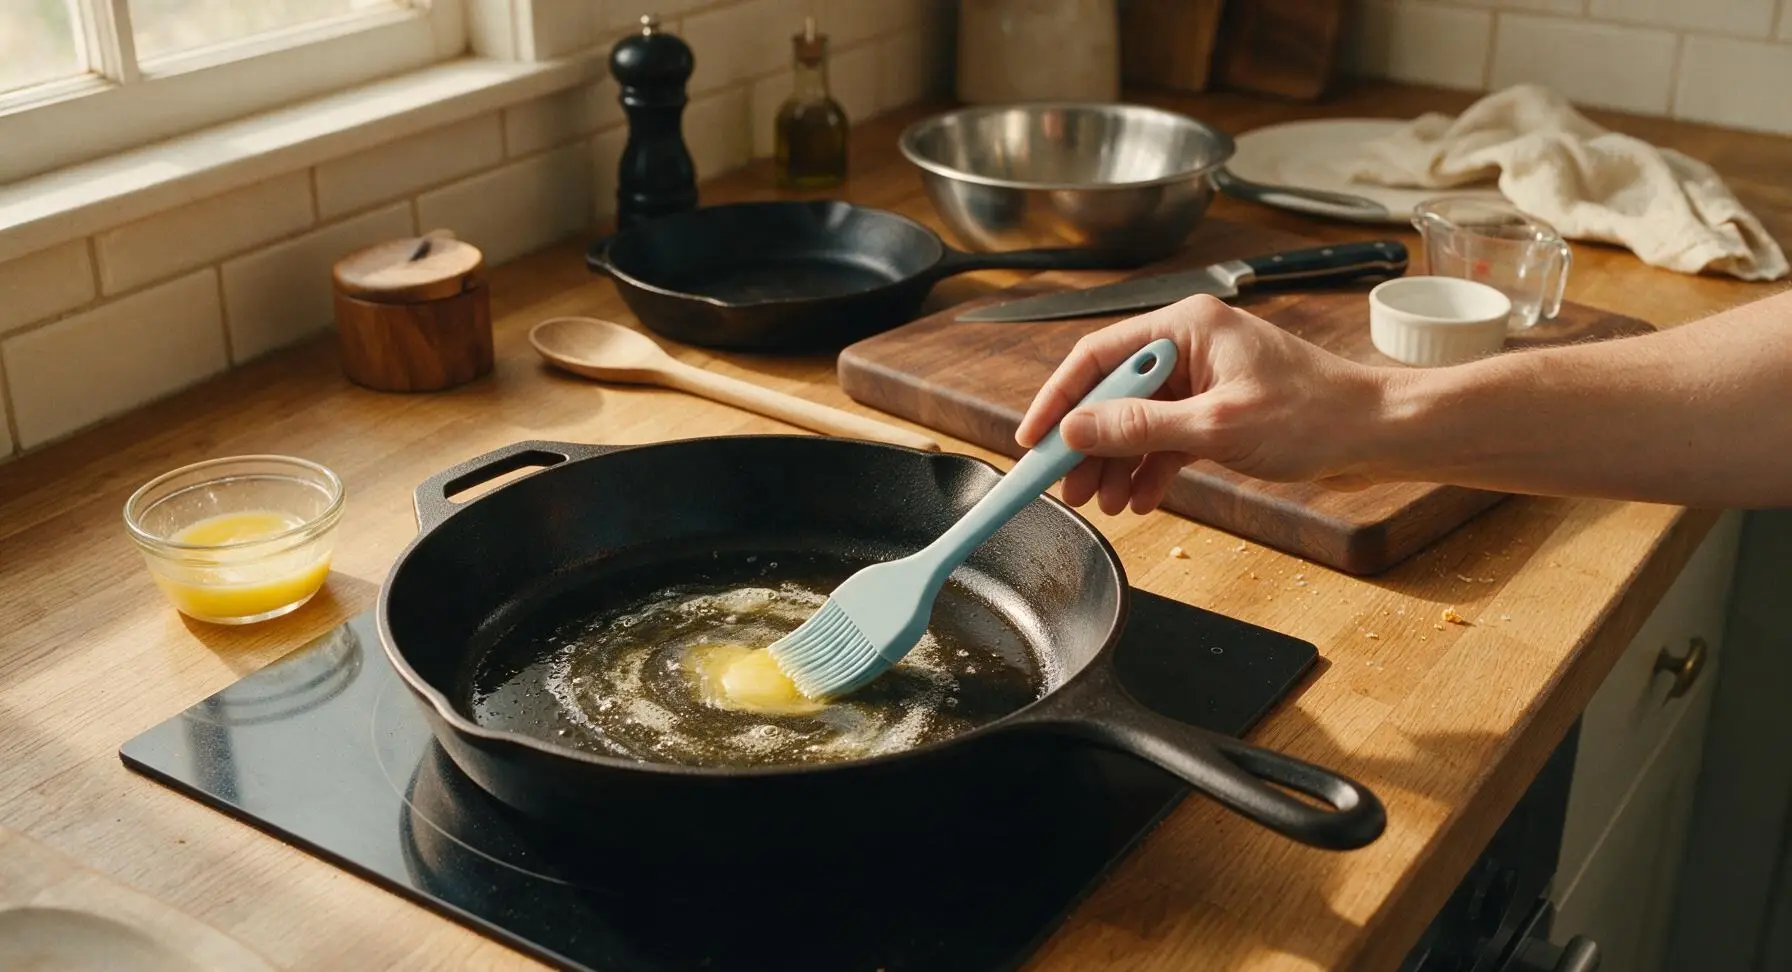
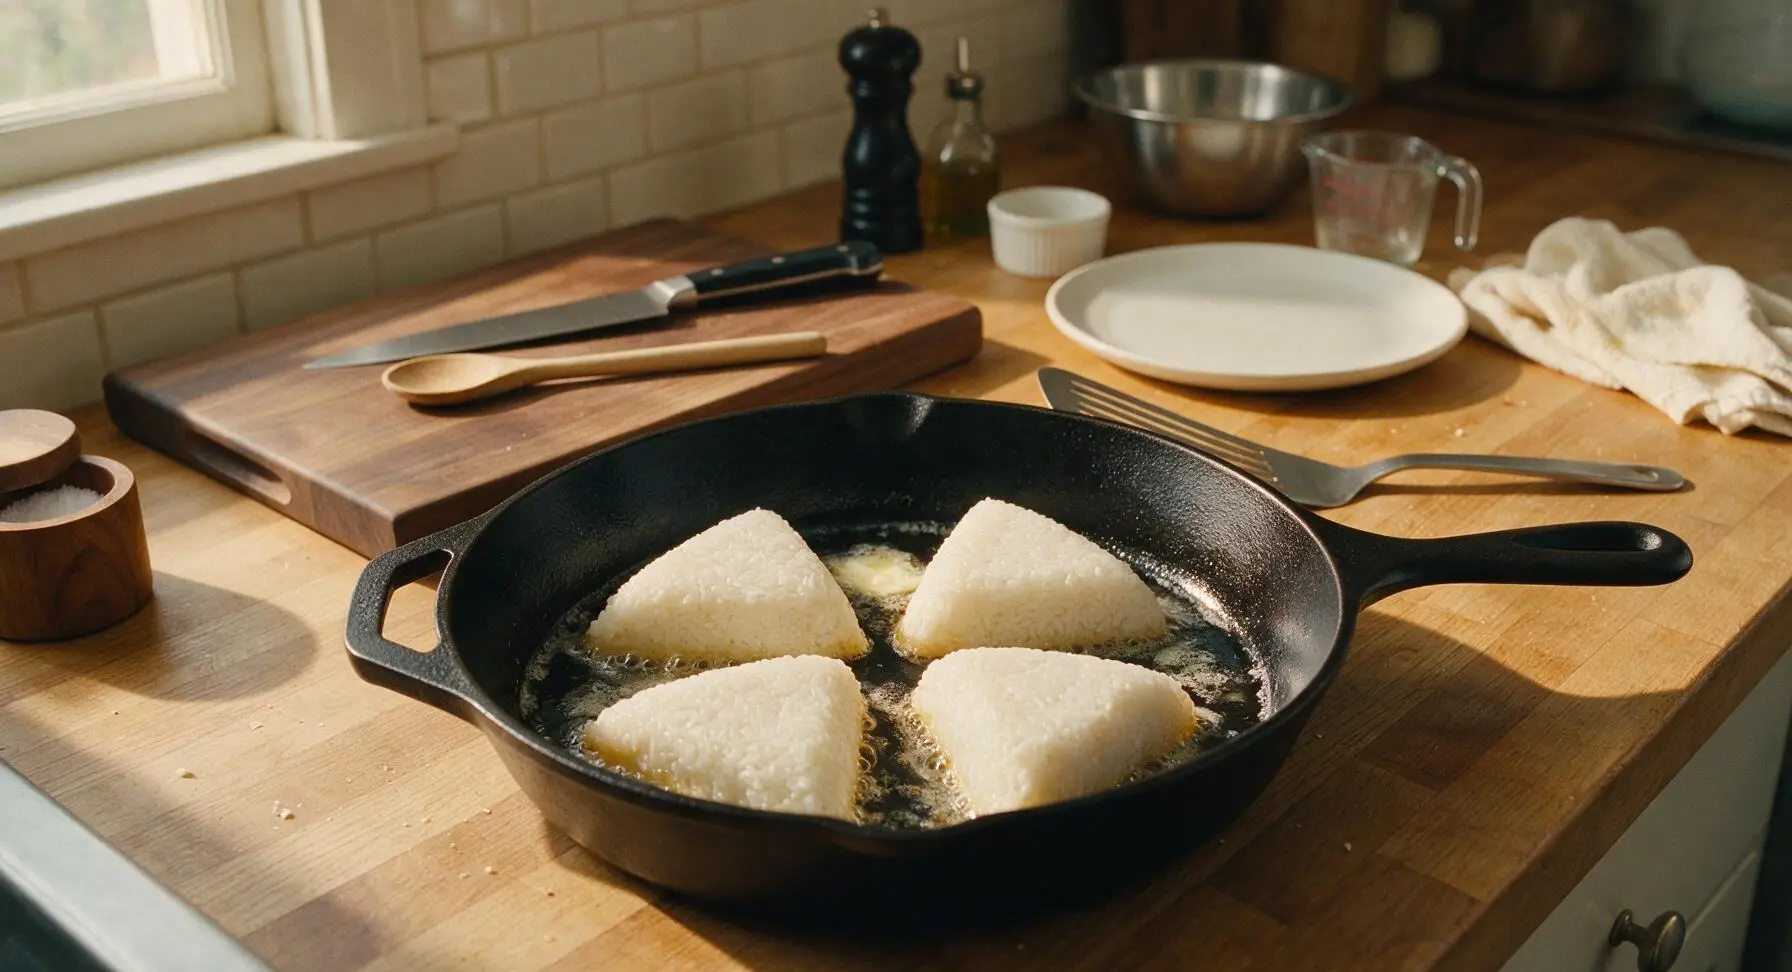
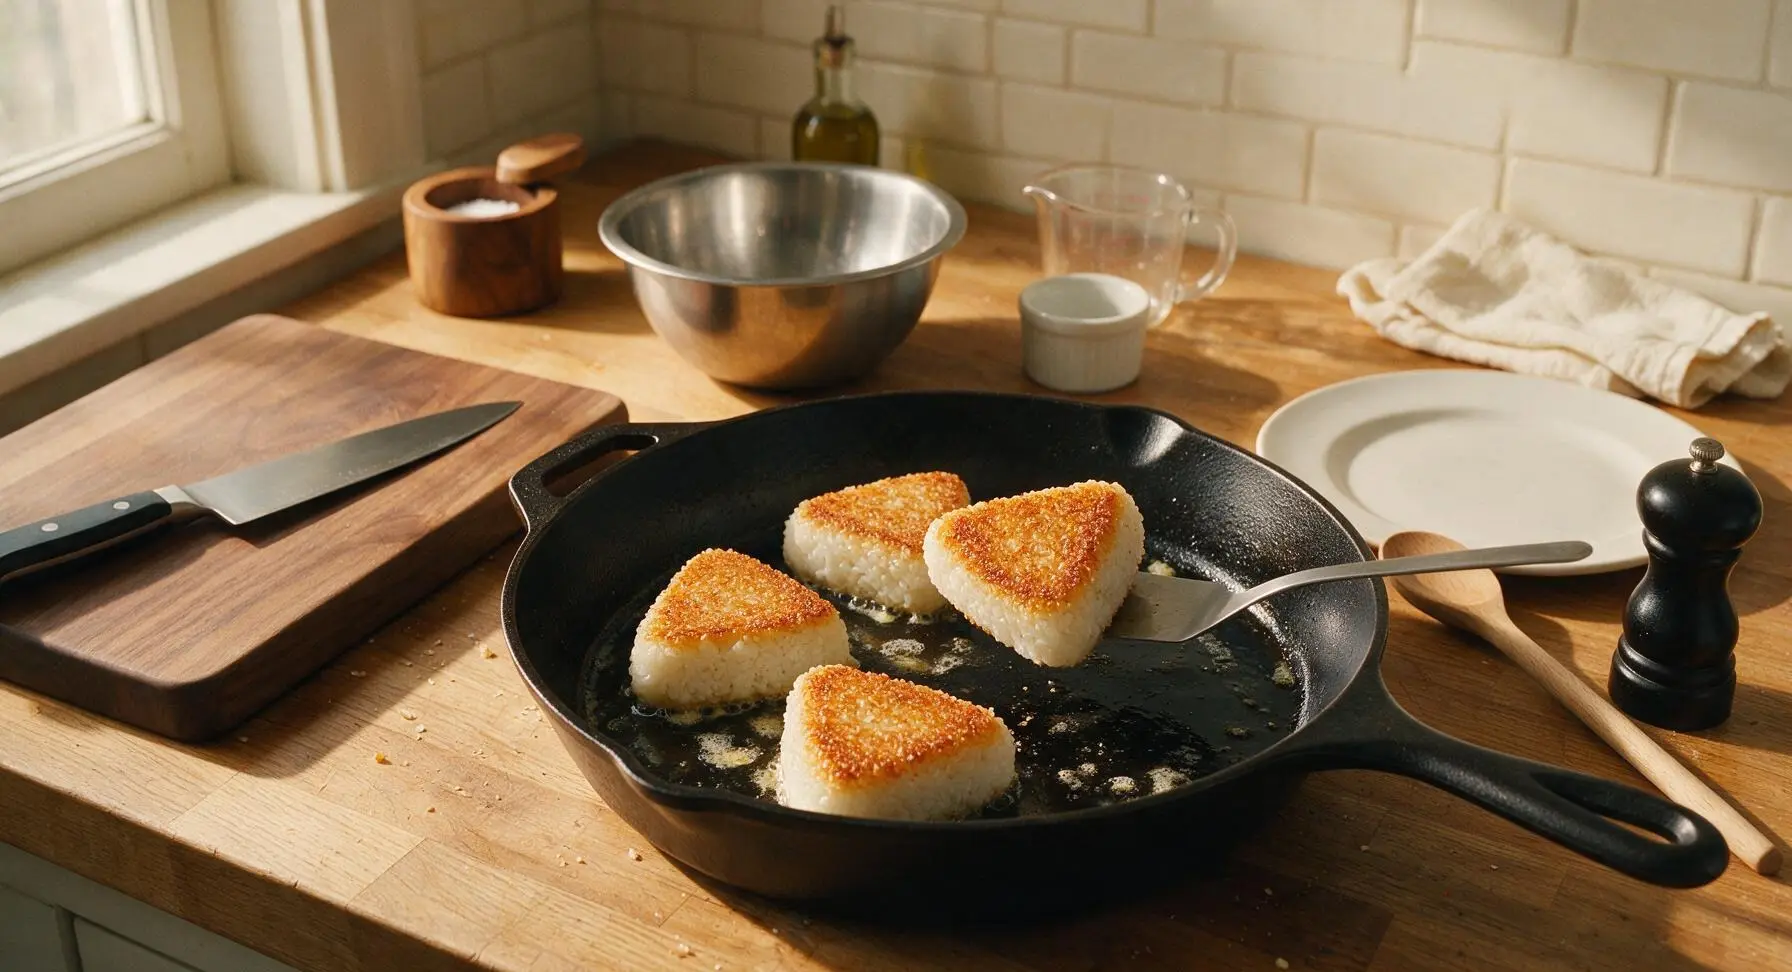
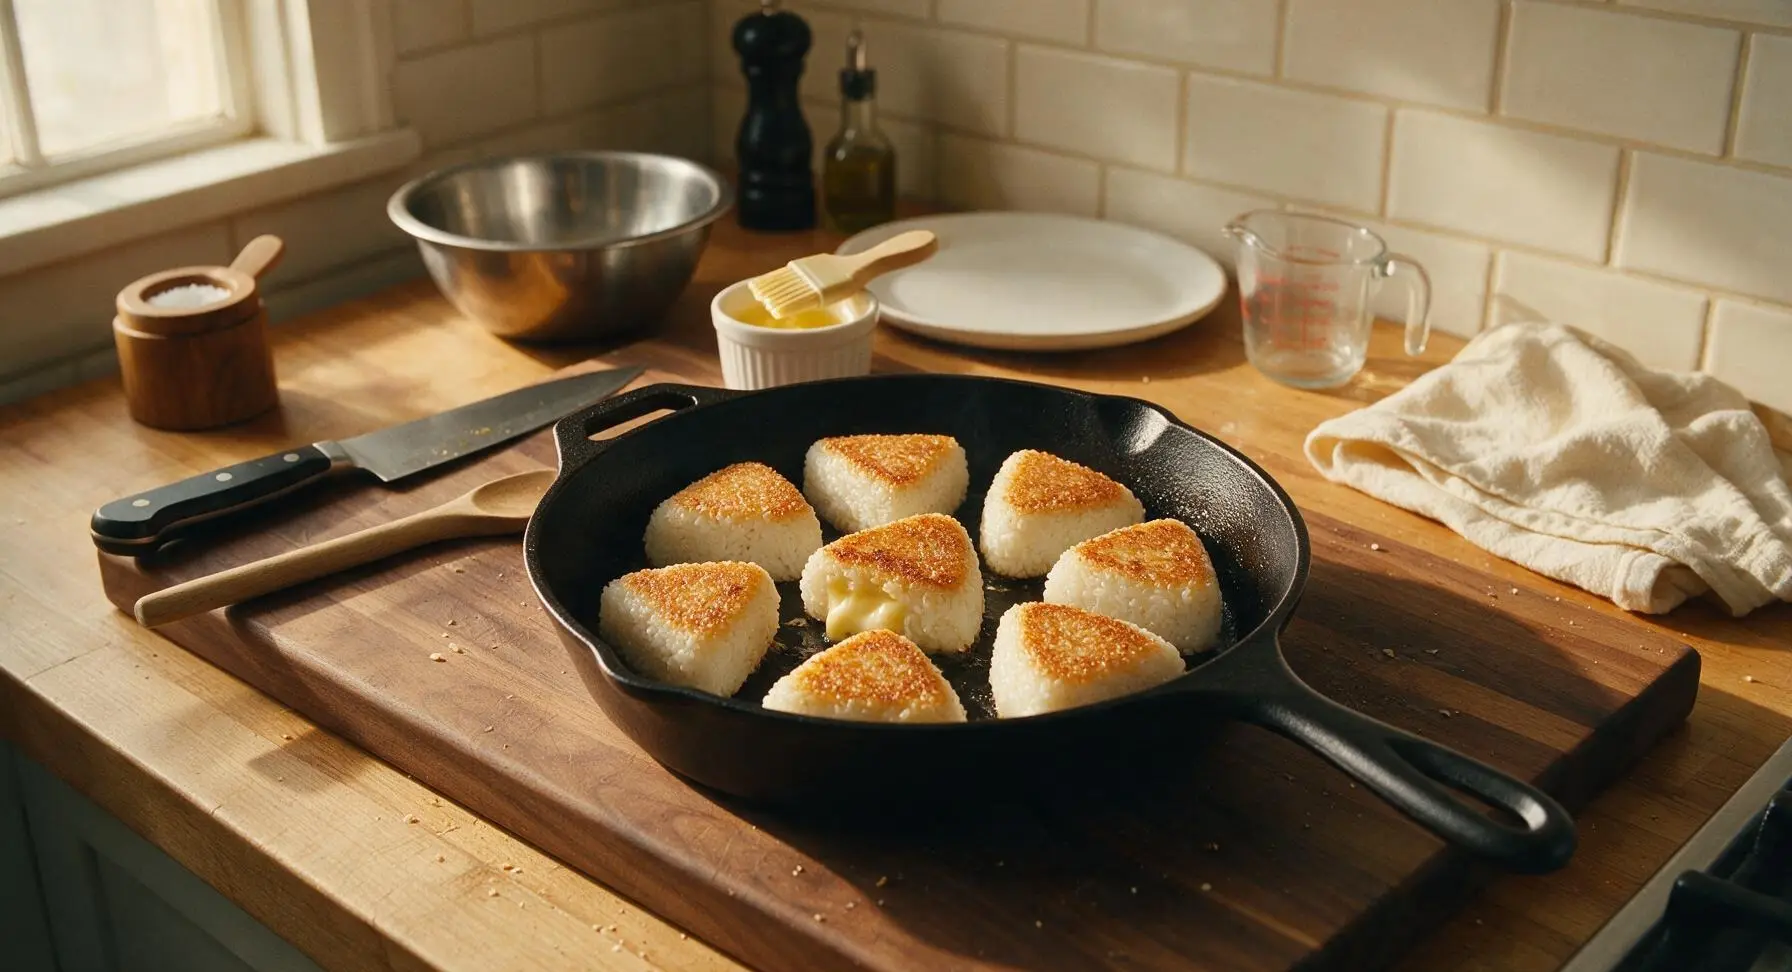
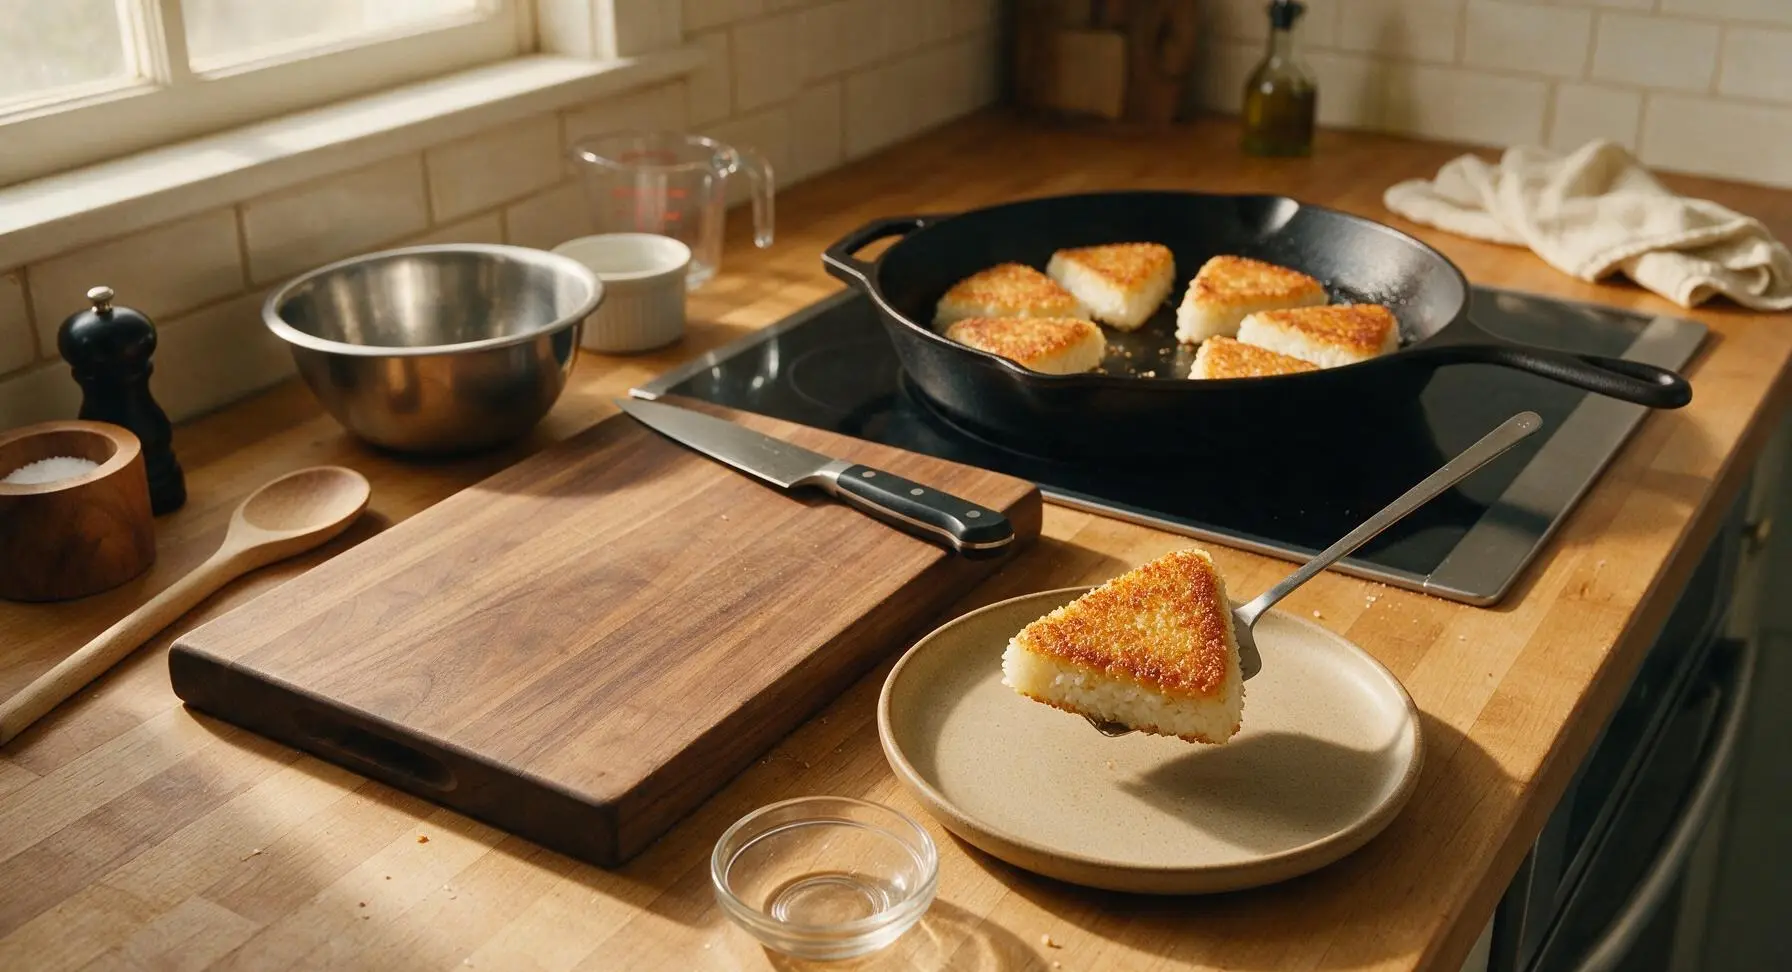
Stick to medium-low heat the whole time. Melt your butter first, then add the rice triangles. Cook 3-4 minutes per side, until the outer rice layer is deep golden and crisp, and the cheese inside is fully melted. Higher heat will burn the butter and outer rice before the cheese has a chance to melt all the way through.
6.Can I add extra fillings inside the onigiri besides cheese?
▾
Absolutely! Just stick to low-moisture add-ins so you don’t make the rice soggy. Great options include a tiny bit of cooked, crumbled bacon, a pinch of furikake, a thin slice of pickled plum, a sprinkle of shredded nori, or a small dollop of spicy mayo. Just make sure not to overstuff, or the filling will leak out as it cooks.
7.How much butter should I use per batch to get that rich, grilled cheese flavor without making them greasy?
▾
For 4 standard onigiri grilled cheeses, use 2 tablespoons of unsalted butter total. Melt it evenly across the pan before adding the triangles, and tilt the pan to make sure the entire surface is coated. That’s enough to give every bite that buttery, toasted crust without leaving the rice heavy or greasy to hold.
8.My cheese keeps leaking out of the triangles while I cook them—what am I doing wrong?
▾
That almost always happens when the cheese isn’t fully sealed inside the rice, or you cut the cheese too large. When shaping, make sure there’s a solid ¼-inch layer of rice completely surrounding the cheese cube, with no thin spots or gaps. Press the edges firmly to seal, and don’t overstuff the center with more cheese than the rice can hold.
9.Can I make these ahead of time for meal prep or packed lunches?
▾
You can shape the uncooked, cheese-stuffed rice triangles up to 24 hours ahead, wrap them tightly in plastic wrap, and store them in the fridge. Wait to toast them in butter right before you eat them, though—if you toast them ahead, the crispy crust will turn soggy as it sits, and the melted cheese will firm back up as it cools.
10.What’s the purpose of the toasted white sesame seeds, and when do I add them?
▾
The toasted sesame seeds add a nutty, toasty crunch and a subtle pop of flavor that pairs perfectly with the buttery rice and melted cheese. Sprinkle them over the hot, freshly toasted triangles right after you pull them out of the pan, so they stick lightly to the buttery crust instead of falling off onto your plate.
11.Can I make these dairy-free for a vegan diet?
▾
Definitely! Swap the unsalted butter for a good quality vegan butter that melts and browns similarly to dairy butter, and use your favorite low-moisture vegan mozzarella-style shreds or block. Just make sure the vegan cheese you pick melts smoothly, so you still get that classic oozy grilled cheese pull when you bite in.
12.How do I know when the cheese inside is fully melted without cutting the triangle open?
▾
If you cook them 3-4 minutes per side over medium-low heat, the residual heat from the toasted rice will fully melt the cheese in the center by the time both sides are golden. You’ll also notice a tiny bit of cheese might bubble out of the edge of the seal once it’s fully melted, which is a reliable sign it’s ready to pull from the pan.
13.Can I cook these in an air fryer instead of pan-toasting them in butter?
▾
You can, though you won’t get that exact classic buttery grilled cheese richness. Brush the outside of the shaped rice triangles lightly with melted butter, air fry at 375°F for 8 minutes, flipping halfway through, until the outside is crisp. I still prefer pan-toasting for the even, buttery crust, but the air fryer works for a lower-mess option.
14.Do I need to season the rice itself, or is the fine sea salt and butter enough?
▾
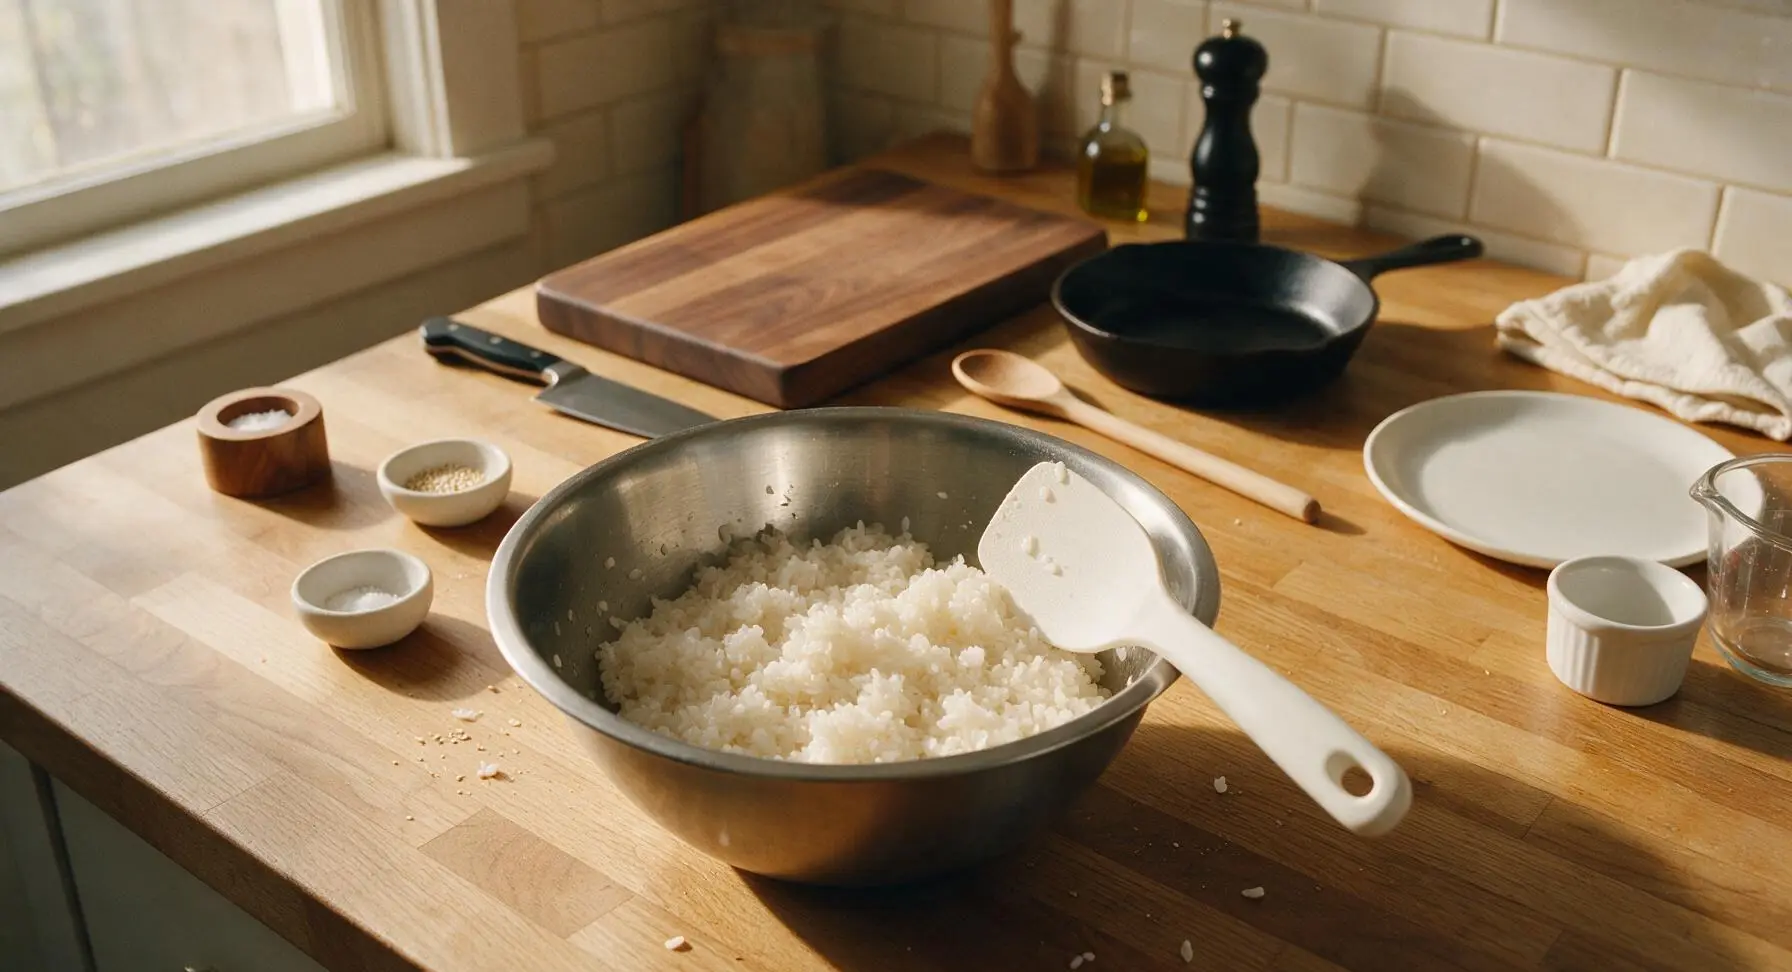
A light pinch of fine sea salt mixed into the warm cooked rice before shaping goes a long way to make the flavor pop, rather than only salting the outside. Taste the rice after mixing in the salt—it should be gently seasoned, not salty, since the butter and cheese will add their own rich savoriness to the final dish.
15.What should I serve with onigiri grilled cheese for a full meal?
▾
These pair beautifully with light, bright sides to cut through the rich, buttery cheese. Try a simple cucumber salad with rice vinegar and a pinch of sugar, a small cup of miso soup, a side of pickled daikon and carrots, or even a small pile of crispy seaweed snacks for a little extra briny, umami crunch.
16.Can I use leftover rice to make these, or do I need to use freshly cooked rice?
▾
Day-old leftover short-grain rice works perfectly here, as long as you warm it up slightly in the microwave for 30-45 seconds before shaping. Cold leftover rice is too firm and dry to press into tight triangles that hold together, but a quick zap softens the starches enough that it shapes just as well as fresh-cooked rice.
17.Why does my rice crust turn out chewy instead of crispy when I toast it?
▾
That usually happens if your pan isn’t fully preheated before you add the butter and rice triangles, or if you’re using too low of a heat. Make sure the pan is warm enough that the melted butter bubbles gently (but doesn’t brown instantly) when you add the triangles, and resist the urge to flip them too early—let the first side fully crisp before turning.
18.Can I freeze the shaped, uncooked onigiri triangles for later use?
▾
Yes! Wrap each individual shaped, cheese-stuffed triangle tightly in plastic wrap, then tuck them into a freezer bag for up to 3 months. You don’t even need to thaw them before cooking—just unwrap, add to the buttered pan over medium-low heat, and cook 5-6 minutes per side until crisp and the cheese is melted through.
19.Is it okay to use pre-shredded mozzarella from the bag instead of block mozzarella I shred myself?
▾
It works in a pinch, but note that pre-shredded mozzarella is coated in anti-caking agents (usually potato starch or cornstarch) that can make the melted cheese slightly less smooth and stretchy. If you do use pre-shredded, give it a quick rinse in cool water and pat it fully dry before adding it to the center of the rice to cut down on that starchy coating.







OMG this is such a game changer! My 7 and 9 year old are so picky about after school snacks and they devoured these in 2 minutes flat. I used a little leftover white rice from last night’s takeout and added a slice of cheddar, pan fried it per the instructions, and WOW. Already adding this to our weekly meal prep rotation. SO good!!
As someone who survives on quick dorm meals, this is elite. 10 minute cook time is no joke, I didn’t even need any fancy tools. I mixed a tiny bit of furikake into the rice before assembling and it tasted exactly like the fancy onigiri I get at the food truck down the street, but with gooey cheese in the middle. 10/10
Made these for my partner’s bento lunch this week and he texted me before noon asking when I’d make them again! I used pepper jack for a little kick and dipped them in a tiny bit of soy sauce, *chef’s kiss*. Perfect easy work lunch option that doesn’t get soggy like regular grilled cheese.
Wait hold up, this is naturally gluten free if you use GF soy sauce to dip? I’ve been missing crispy, cheesy snacks so bad since going GF and this looks like it’ll hit the spot. Has anyone tried making these with brown rice?
Brought a big batch of these to our neighborhood block party potluck last weekend and they were gone before I even got a second one! People kept asking for the recipe, I can’t believe how simple they are. I did half with American cheese for the kids and half with smoked gouda for the adults. My kids loved the American cheese ones so much they snuck extra before the party even started, total hits.
This has become our go-to quick weeknight dinner when we have leftover rice from takeout. My teen who hates “fusion food” even admitted it’s better than regular grilled cheese. We dip ours in a little sriracha mayo for extra zing, can’t recommend enough.
Wait, how well do these keep in the fridge for meal prep? I want to make a batch on Sunday for quick lunches all week, but I’m worried the rice will get hard or the cheese won’t melt right when I reheat.
Tried these last night after seeing the recipe pop up on my feed, and holy cow they’re good. I added a little pickled daikon and carrot in the middle with the cheese for that banh mi vibe, and it was insane. Why didn’t I think to combine onigiri and grilled cheese sooner?!