
Oyster Spam Musubi
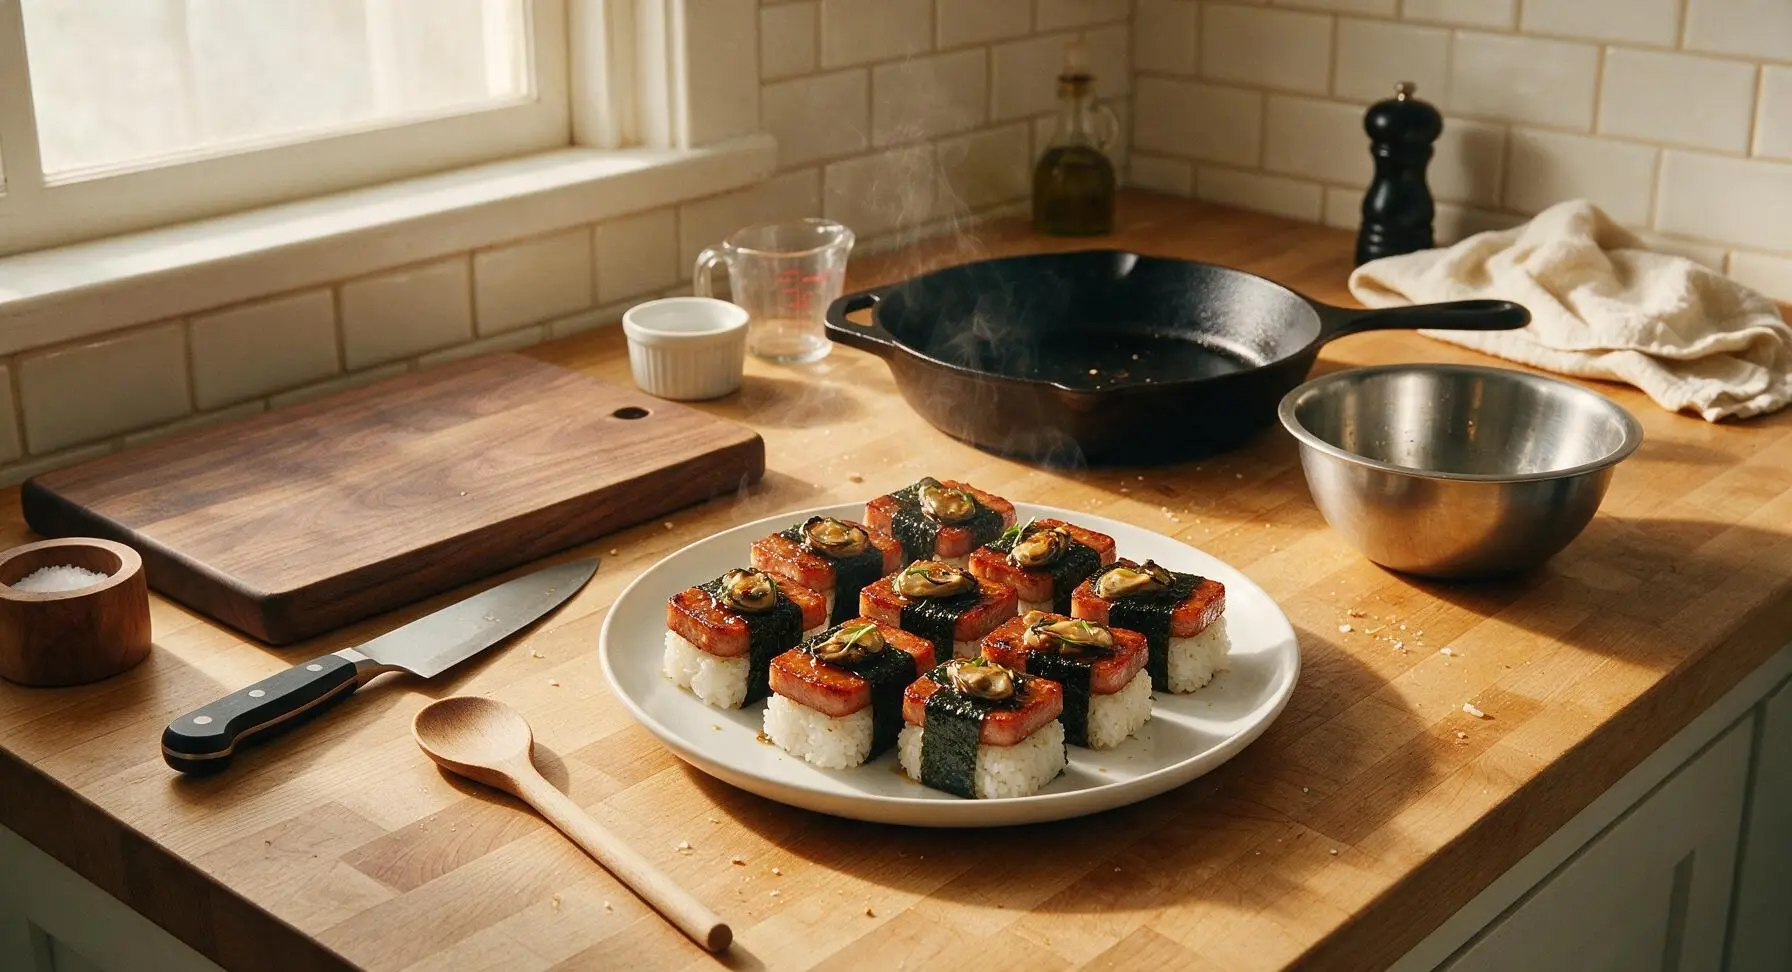
intro
Salty, umami-packed handheld bites of seared oyster-glazed Spam, sticky sushi rice, and crisp nori—ideal for portable, no-mess summer eating.
Ingredients
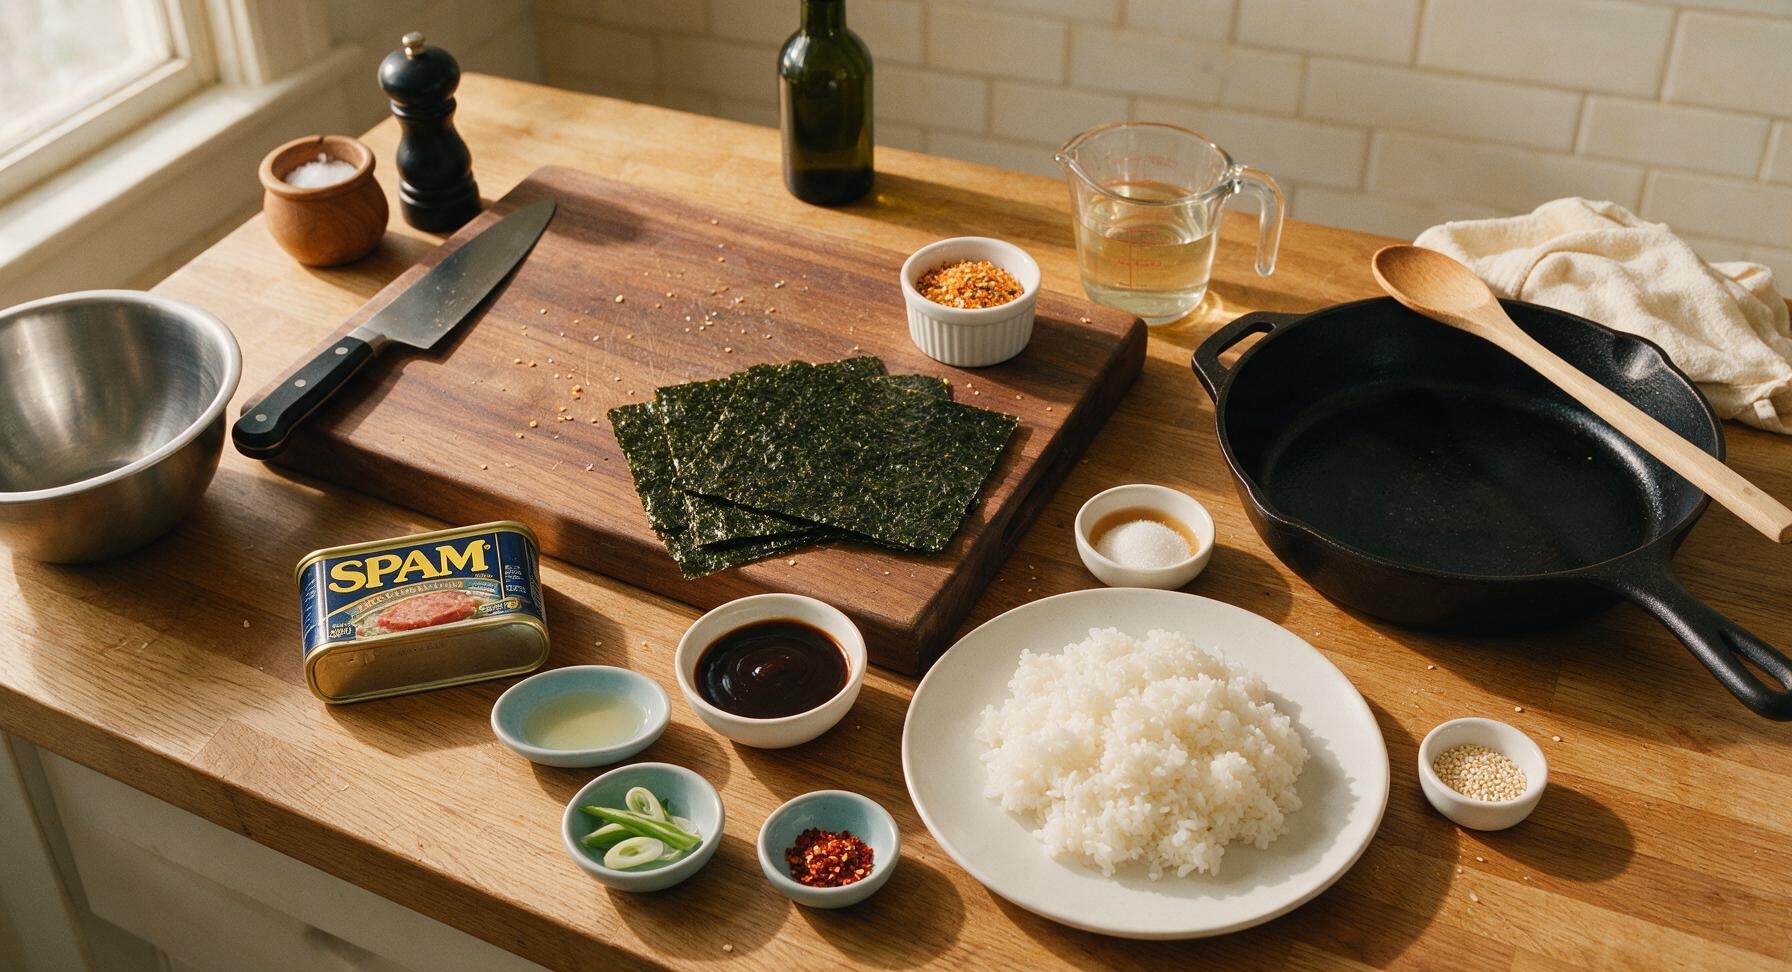
Steps
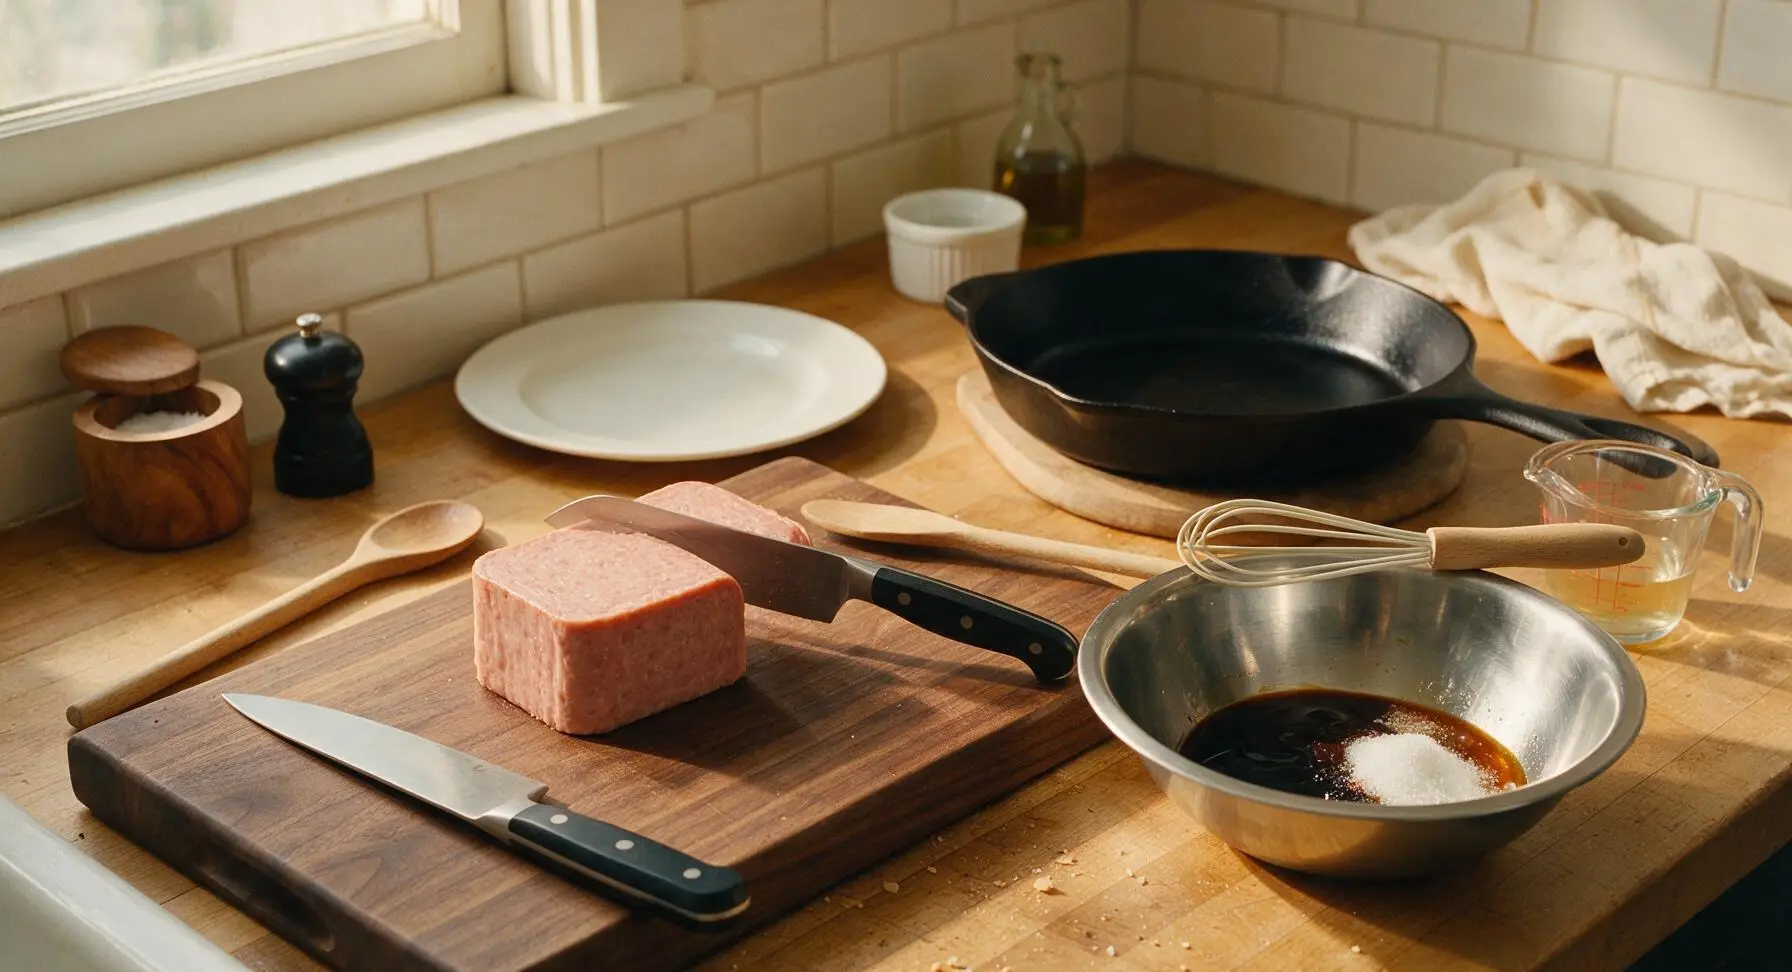
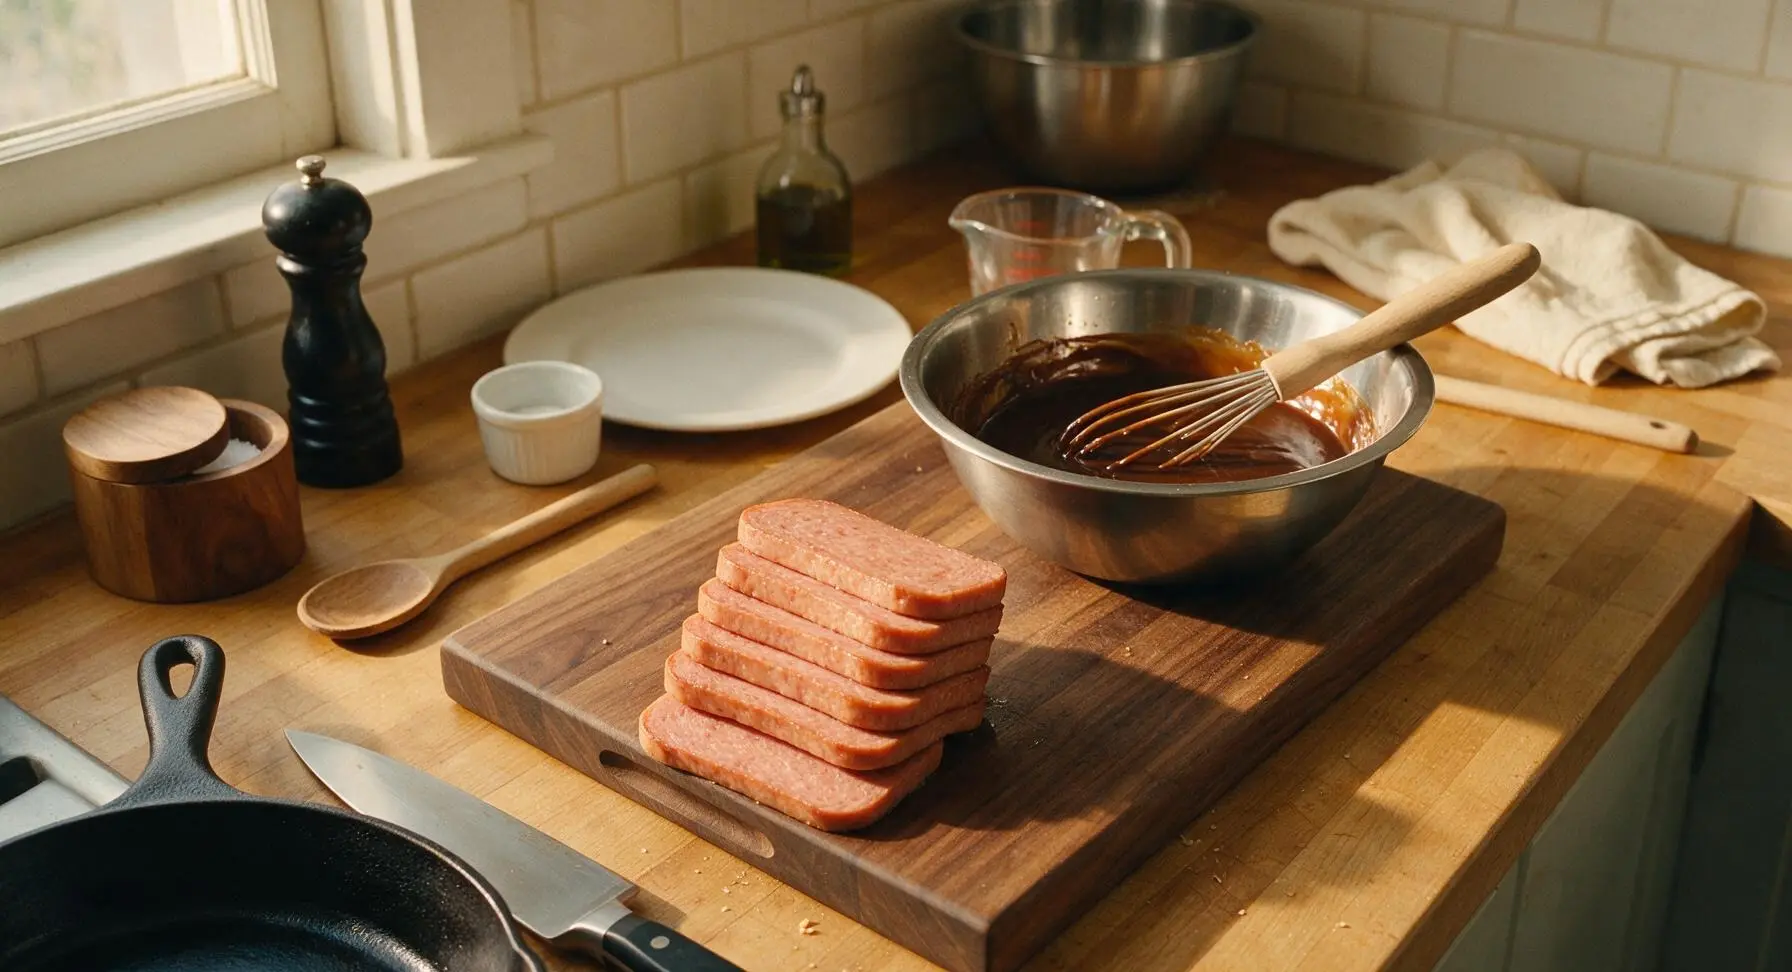
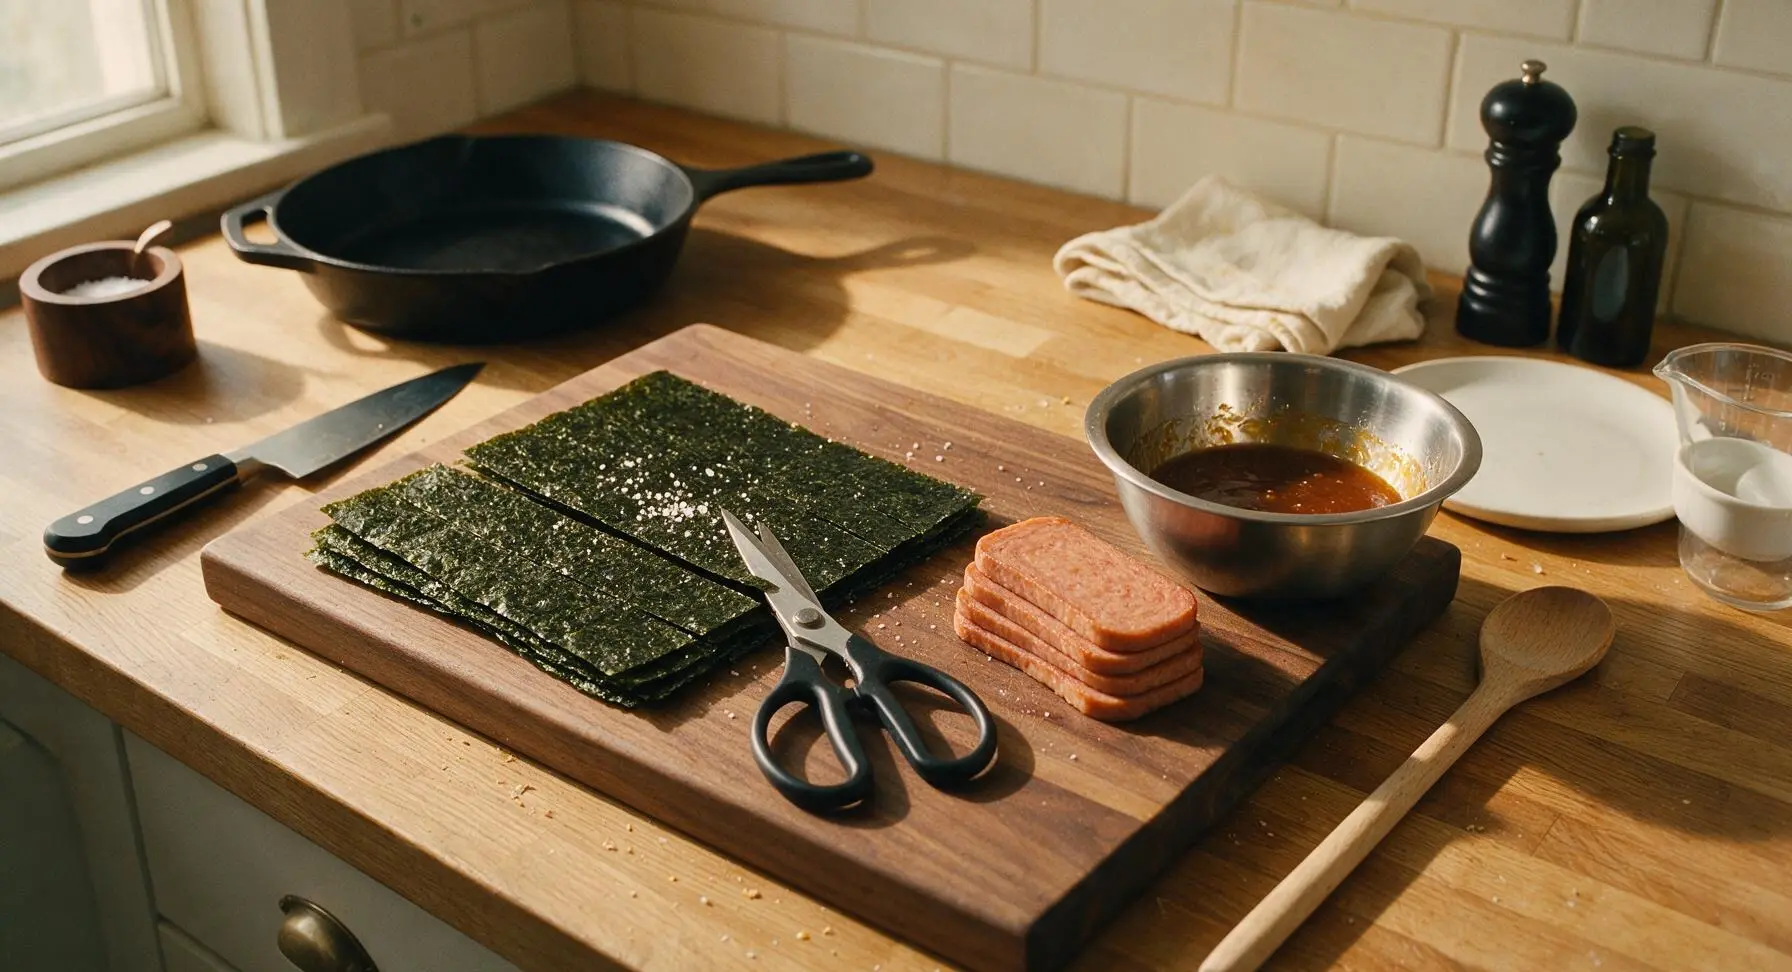
Prep Spam and Glaze
Place the whole block of Spam on the acacia wood cutting board. Using the Santoku knife, slice the Spam crosswise into 8 equal 1cm-thick slices. In the medium stainless steel mixing bowl, combine 3 tablespoons oyster sauce, 1 tablespoon low-sodium soy sauce, 1 tablespoon granulated sugar, and 1 teaspoon rice vinegar. Whisk with the small silicone whisk until sugar is fully dissolved and glaze is smooth, with no lumps.
Cut Nori Wrapper Strips
Lay the 3 full nori sheets flat on the dry section of the cutting board. Use the kitchen shears to cut each sheet lengthwise into 3 equal 4cm-wide strips, yielding 9 total strips (set aside 1 extra for patching tears if needed). Keep strips in a dry spot to prevent them from becoming chewy from moisture exposure.
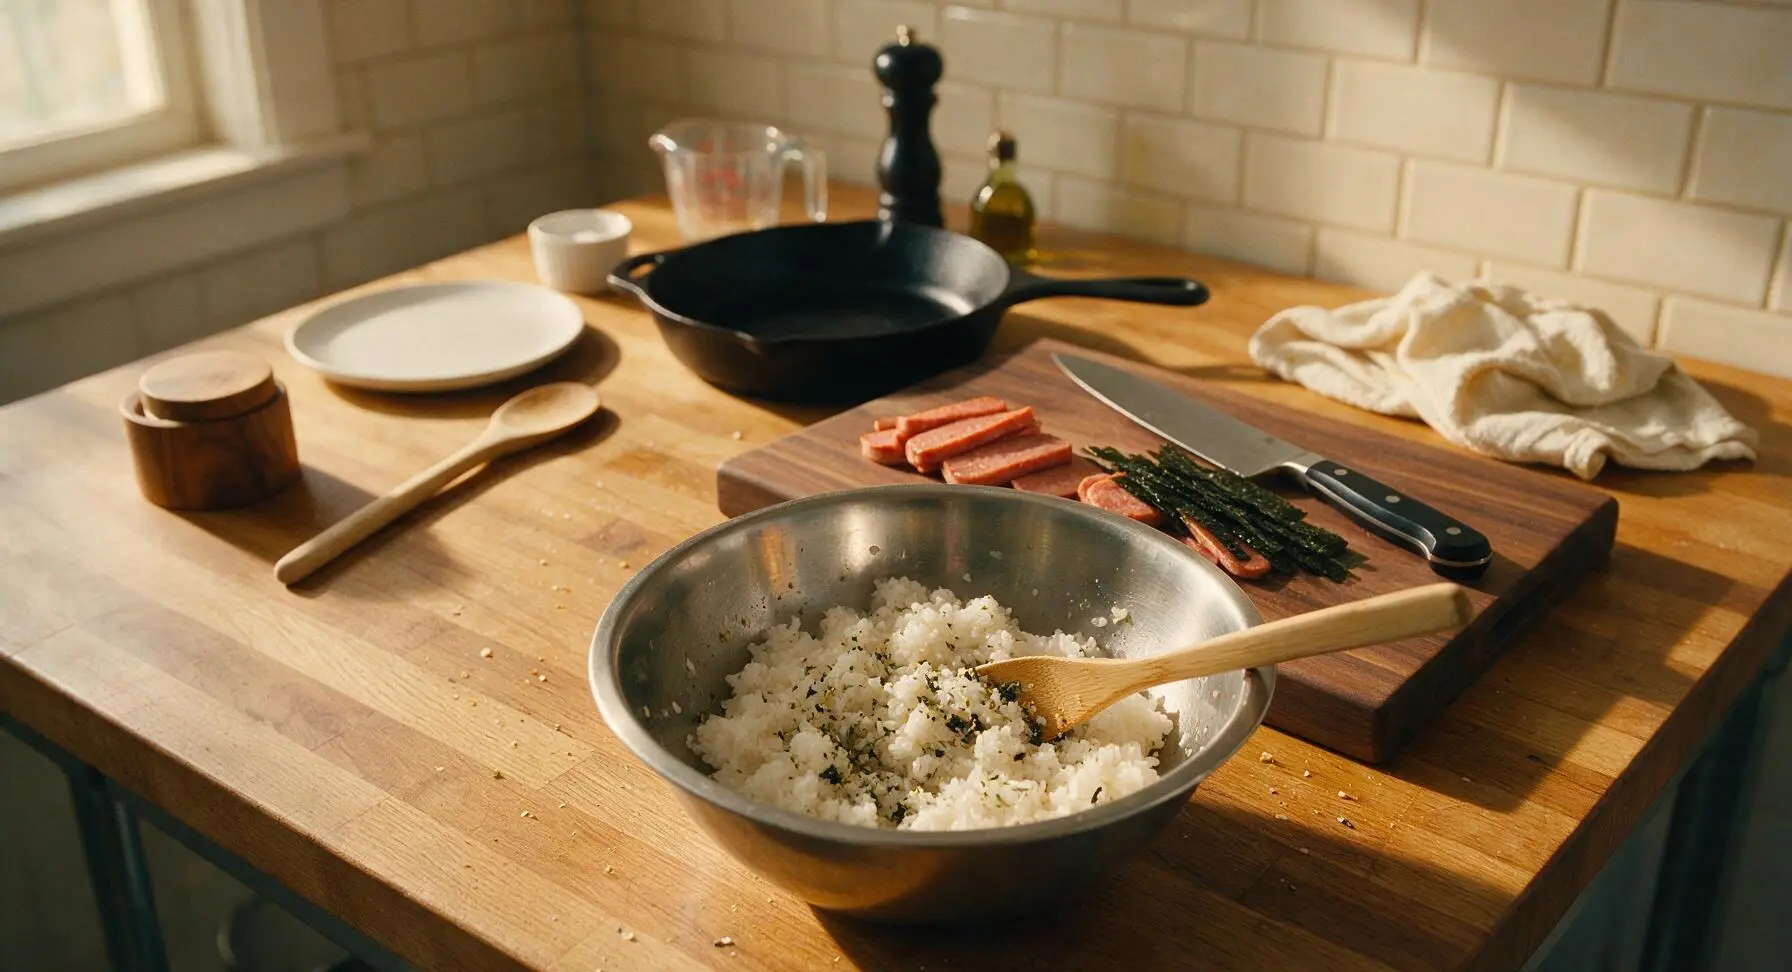
Season Cooked Sushi Rice
Place the warm cooked short-grain sushi rice in a clean section of the mixing bowl (no need to wash the bowl first, residual glaze adds subtle umami). Add the remaining 1 teaspoon rice vinegar and 1 tablespoon furikake seasoning, then fold gently with the bamboo rice paddle to evenly distribute seasoning, taking care not to mash the rice grains. The rice should be sticky enough to hold its shape when squeezed, with separate intact grains.
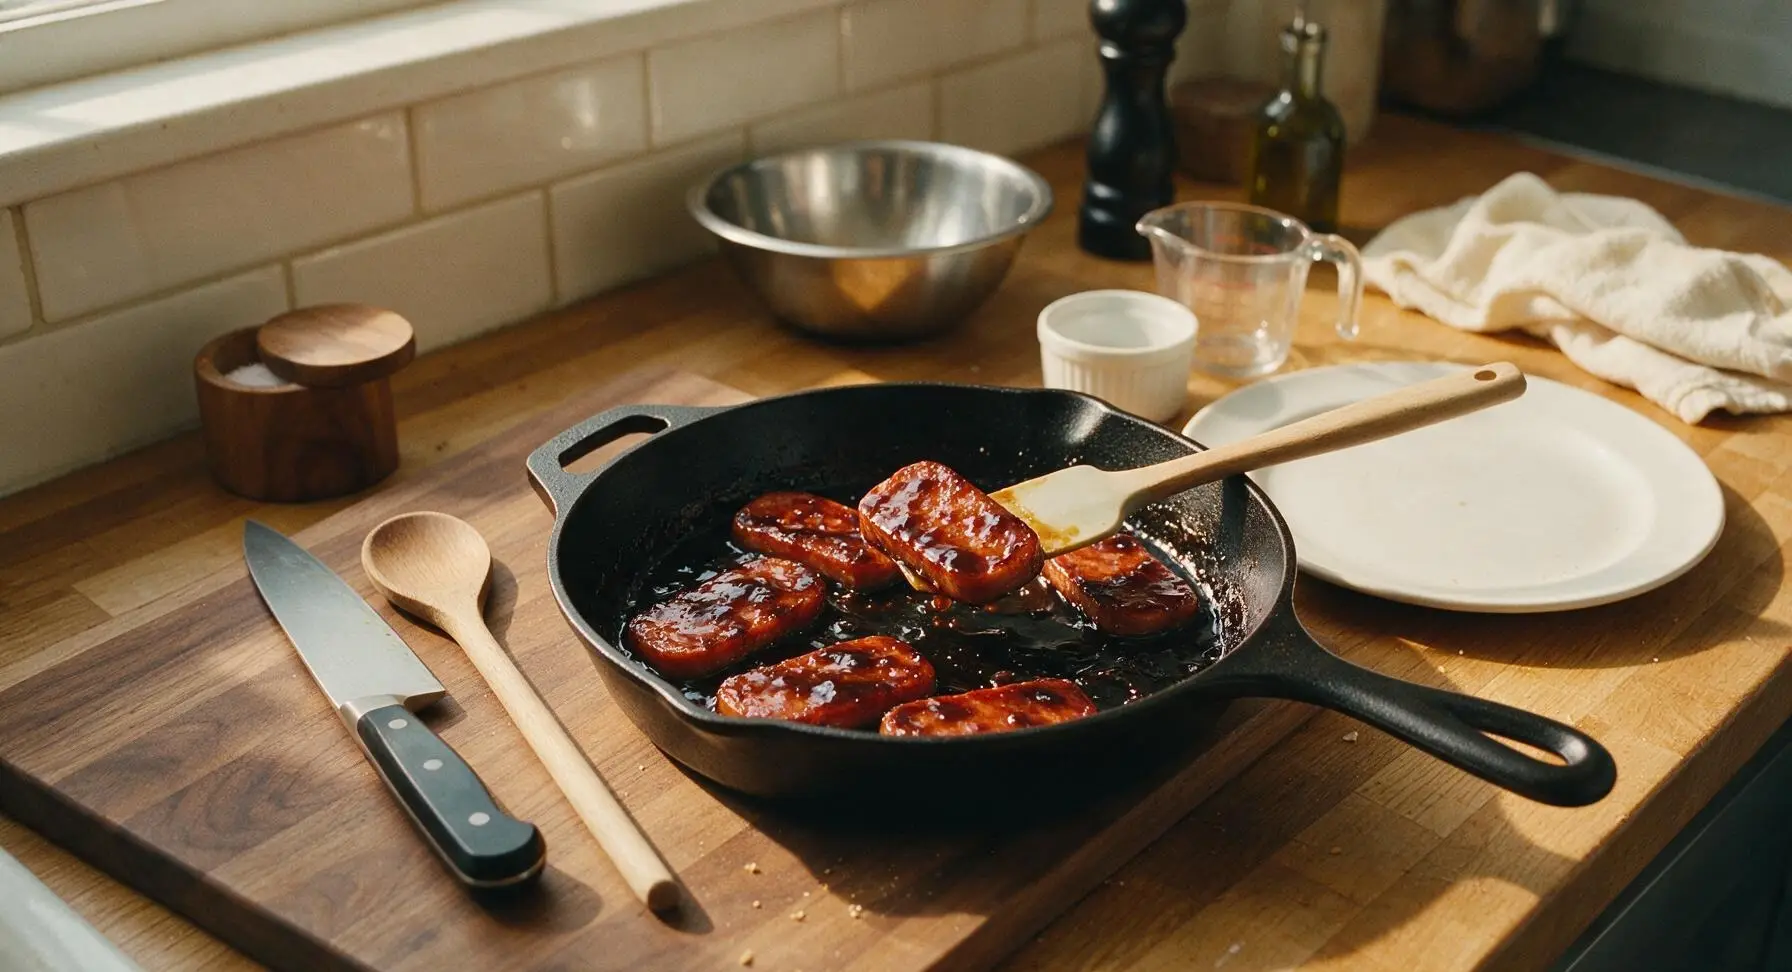
Sear Spam Until Crisp
Place the 10-inch non-stick carbon steel skillet on the stovetop over medium heat, add 1 teaspoon neutral canola oil, and swirl to coat the pan. Once oil shimmers (about 1 minute), arrange Spam slices in a single layer in the pan, working in 2 batches if needed to avoid crowding. Sear for 2 minutes per side, until edges are deep golden and slightly crisp, and the surface of the Spam is lightly caramelized.


Baste Spam with Glaze
Reduce stovetop heat to low. Pour the prepared oyster glaze into the skillet with the seared Spam. Use the silicone spatula to turn the Spam slices repeatedly, basting all sides for 1 to 2 minutes, until the glaze thickens to a syrupy consistency and coats every slice in a shiny, dark umami layer. Remove the pan from heat and set aside.
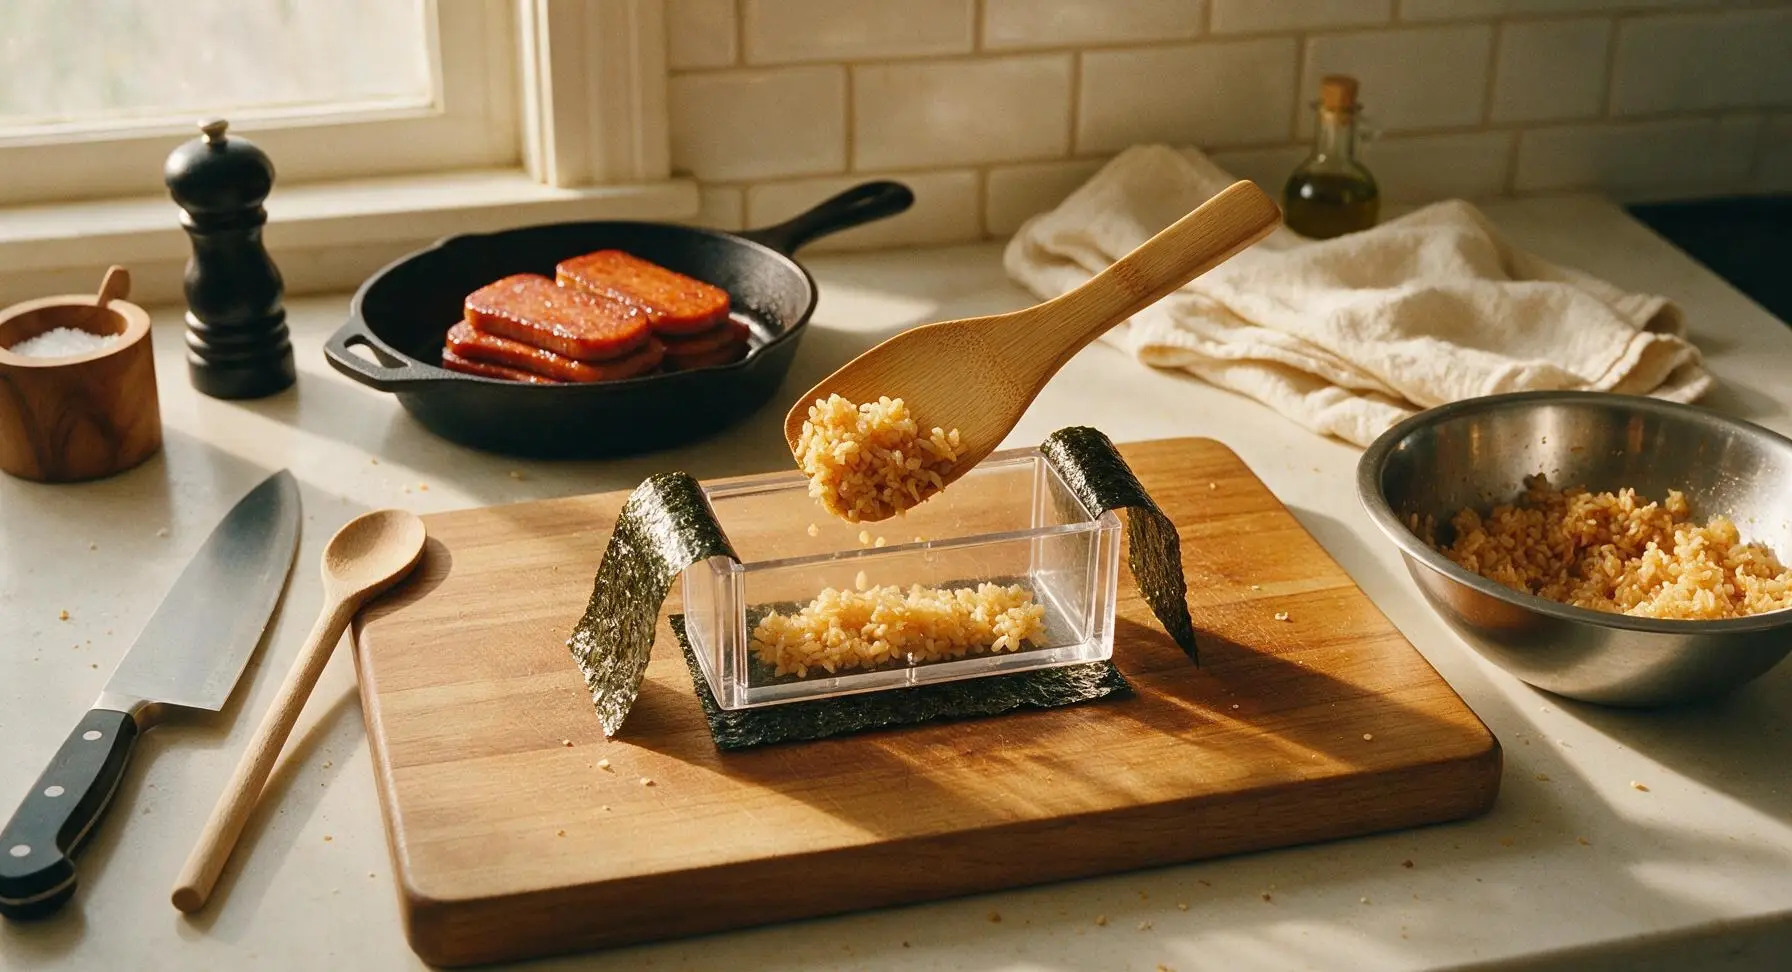
Press Musubi Layers
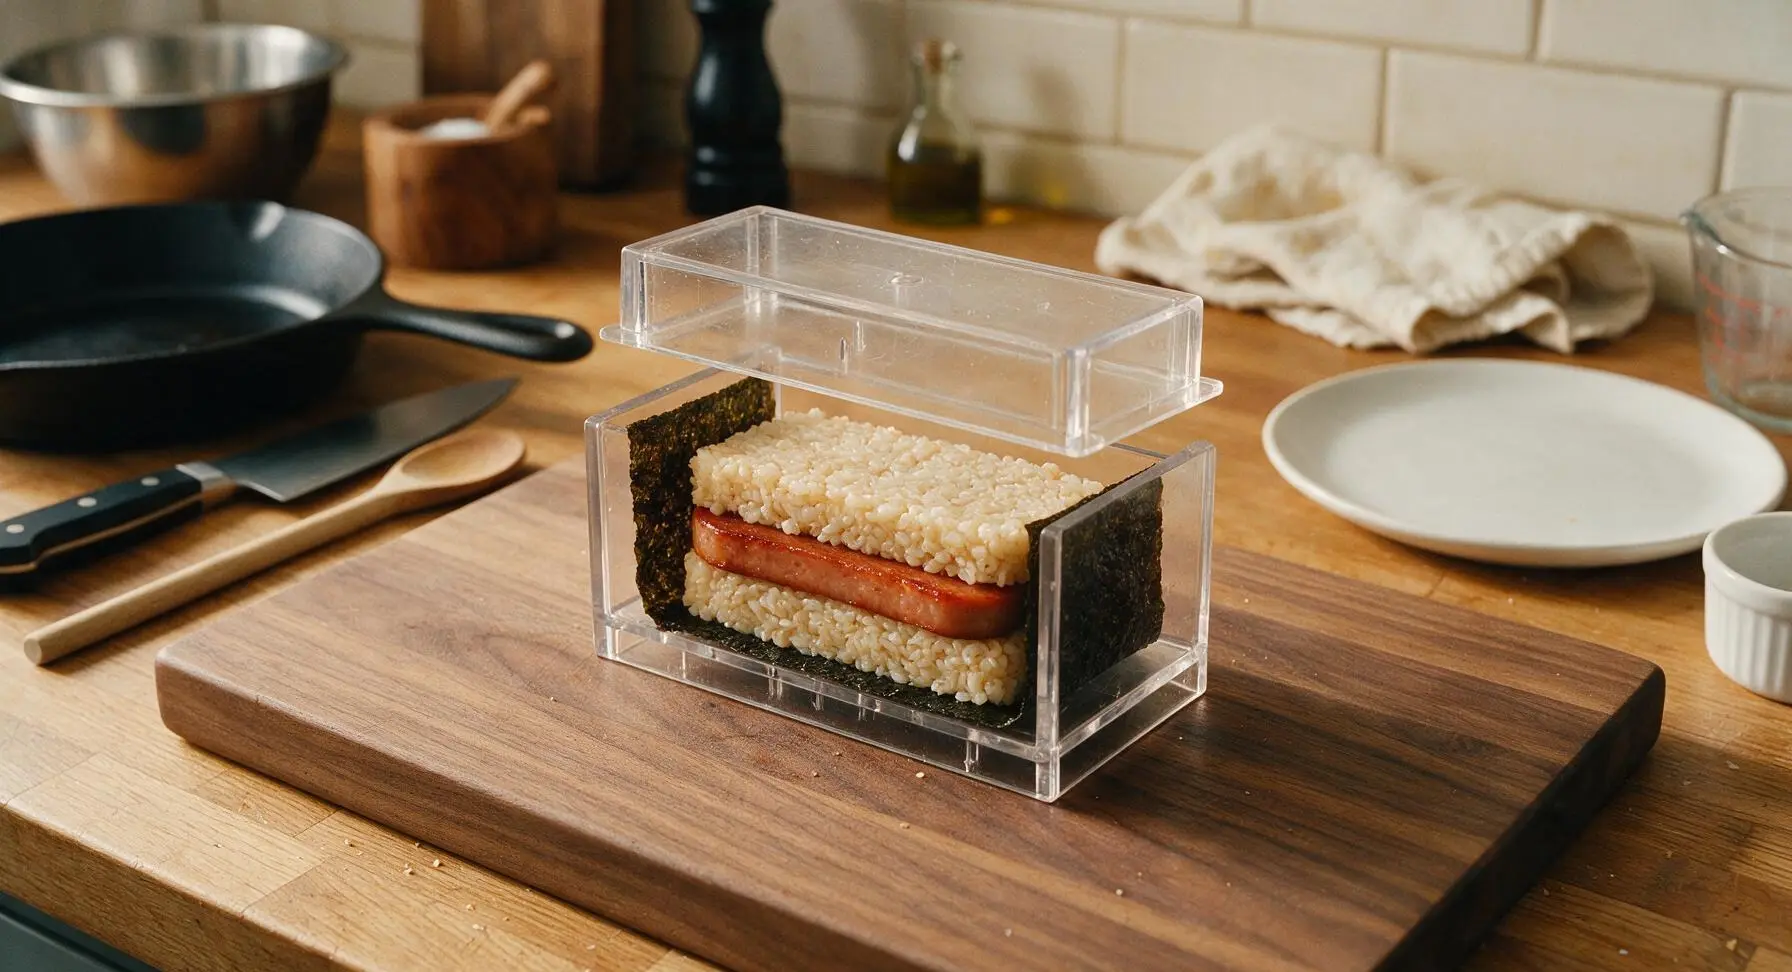
Set the clear acrylic musubi press on the center of the acacia cutting board. Place one nori strip across the base of the press, centered so equal lengths of nori hang over the two long edges of the mold. Scoop 1/4 cup of seasoned rice into the mold, press firmly with the rice paddle to create an even 1cm-thick rice layer. Place one glazed Spam slice directly on top of the rice, then add a second 1/4 cup layer of rice, pressing firmly with the musubi press top to compact the layers into a tight rectangular block.
Wrap Musubi with Nori
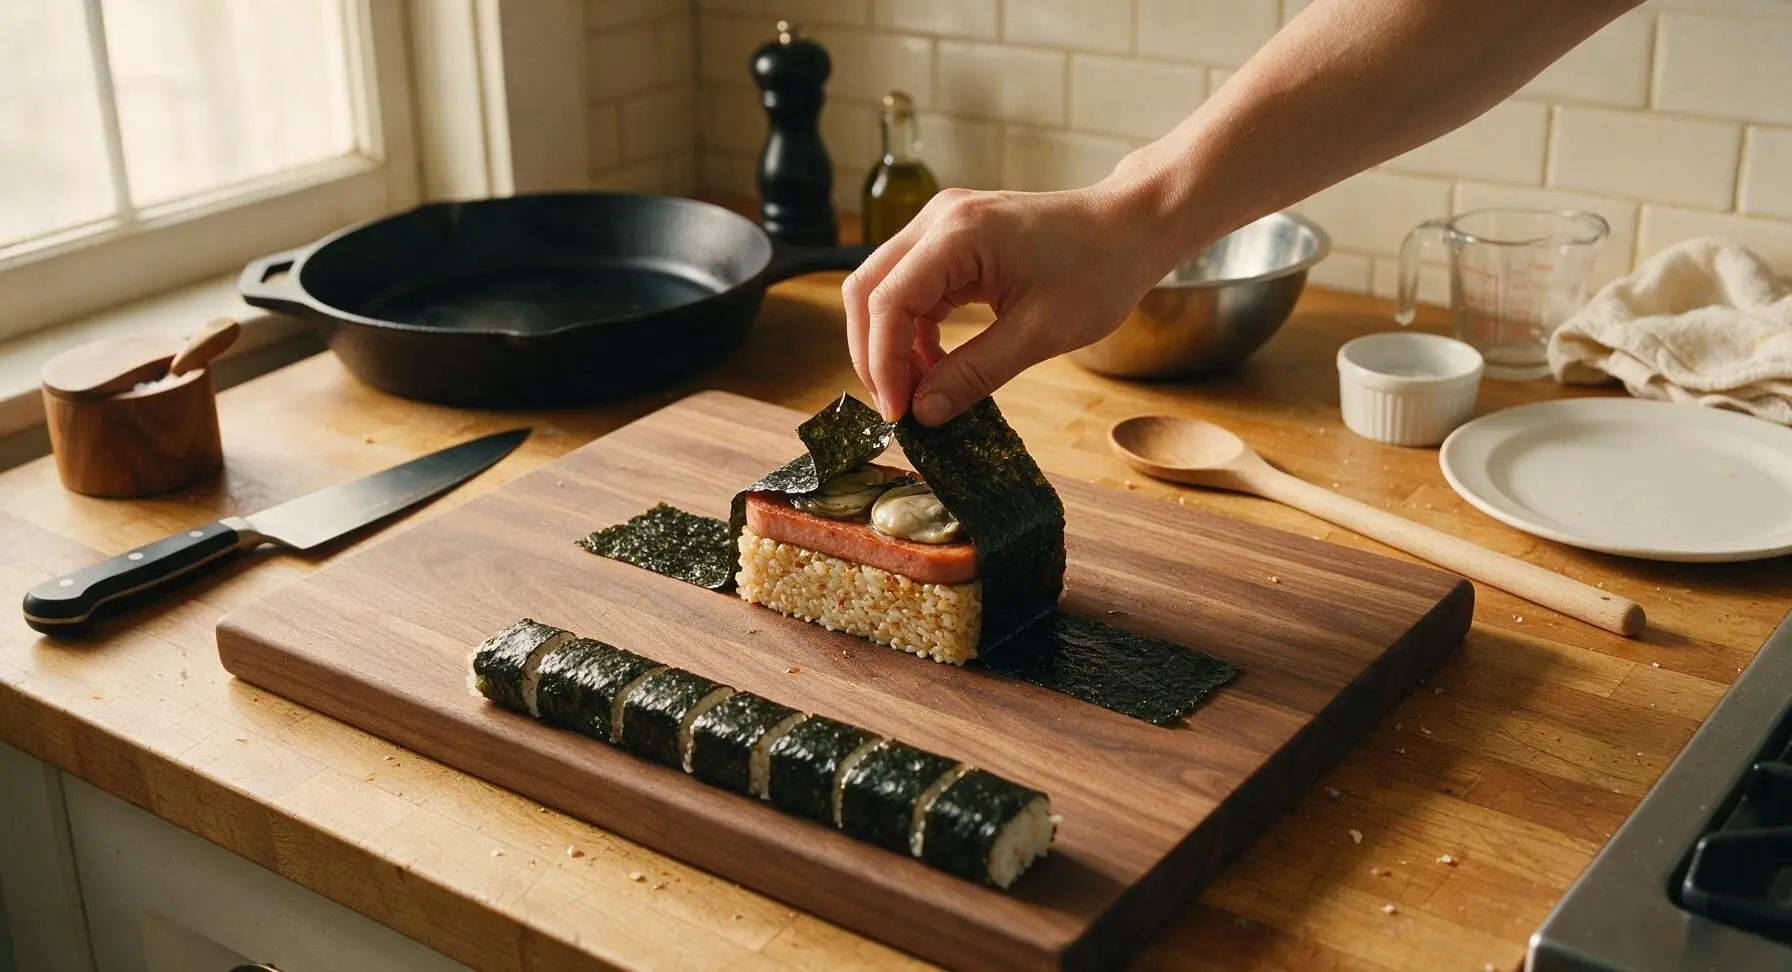
Lift the pressed rice and Spam block out of the musubi mold. Fold the two overhanging ends of the nori strip up over the top of the block, dabbing a tiny dot of water on the nori edge to seal it closed. Repeat the pressing and wrapping process for all 8 musubi pieces, arranging them seam-side down as you work.
Garnish and Plate Musubi
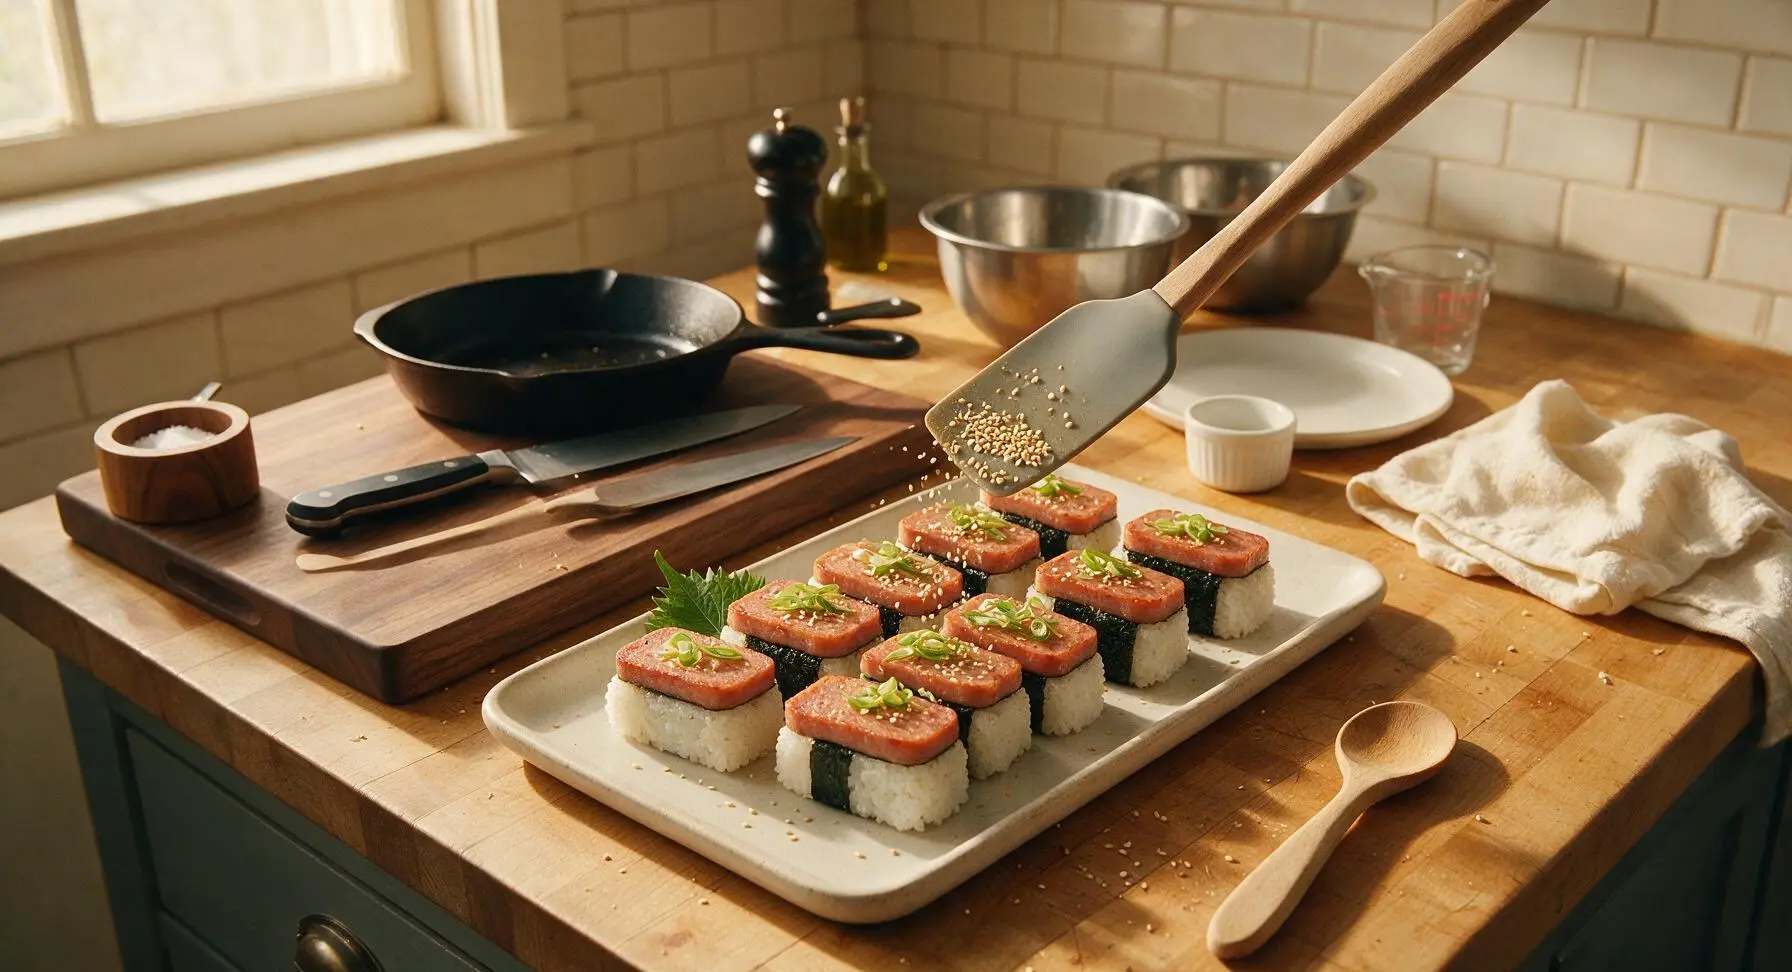
Arrange all finished musubi pieces on the matte off-white rectangular stoneware serving platter. Sprinkle the top of each piece with toasted white sesame seeds and thinly sliced scallion greens. Serve at room temperature or slightly warm, with extra furikake on the side if desired.
Tips
2.Keep nori completely dry until ready to wrap: exposure to steam from warm rice or humid summer air will turn crisp nori chewy and leathery. On high-humidity days, quickly toast nori sheets 2 inches over a low gas flame for 2 seconds per side before cutting to boost crispness and seal out moisture.
3.Glaze Spam over low heat only: the sugar in the oyster glaze will burn quickly at medium or high heat, creating a bitter, charred flavor instead of the desired sticky, sweet-savory coating. The glaze is perfectly reduced when it coats the back of the silicone spatula and runs off in a slow, thick stream instead of a thin, watery drip.






OMG this recipe is a total game changer for our weeknight meal prep! I was worried the oyster and Spam combo would taste weird, but it’s SO good – my kids loved it, even my super picky 7-year-old asked for seconds. It took literally 10 minutes to throw together just like the recipe says, no fancy skills or weird ingredients required. Perfect for busy school nights when I don’t have energy to cook a big meal.
I was pretty skeptical about adding oysters to my go-to Spam musubi, but man this recipe slaps. I made a double batch for my son’s high school football team pre-game snack last week and the boys demolished the whole platter in 10 minutes flat. It’s genuinely easy to make, no complicated steps, will absolutely be adding this to our regular tailgate rotation this fall.
Obsessed!!! I’ve been making regular Spam musubi for years for my work lunch meal prep and the oyster addition adds such a perfect briny, deep umami kick. The 10 minute cook time is no joke – I threw a batch together before my morning meeting today and didn’t even run late. I added a little sprinkle of furikake on the rice for extra crunch and it was *chef’s kiss*. 10/10, will make again.
Made these for our day hike last weekend and they were the perfect no-mess trail snack! They didn’t get soggy in my pack, the flavor held up great even after a few hours in the sun, and my hiking partner begged me for the recipe. My only tiny note is that I wish I’d cut the Spam a little thicker, but that’s just personal preference. Would absolutely make again for day trips and camping, and I’ll be slicing it thicker next round!