
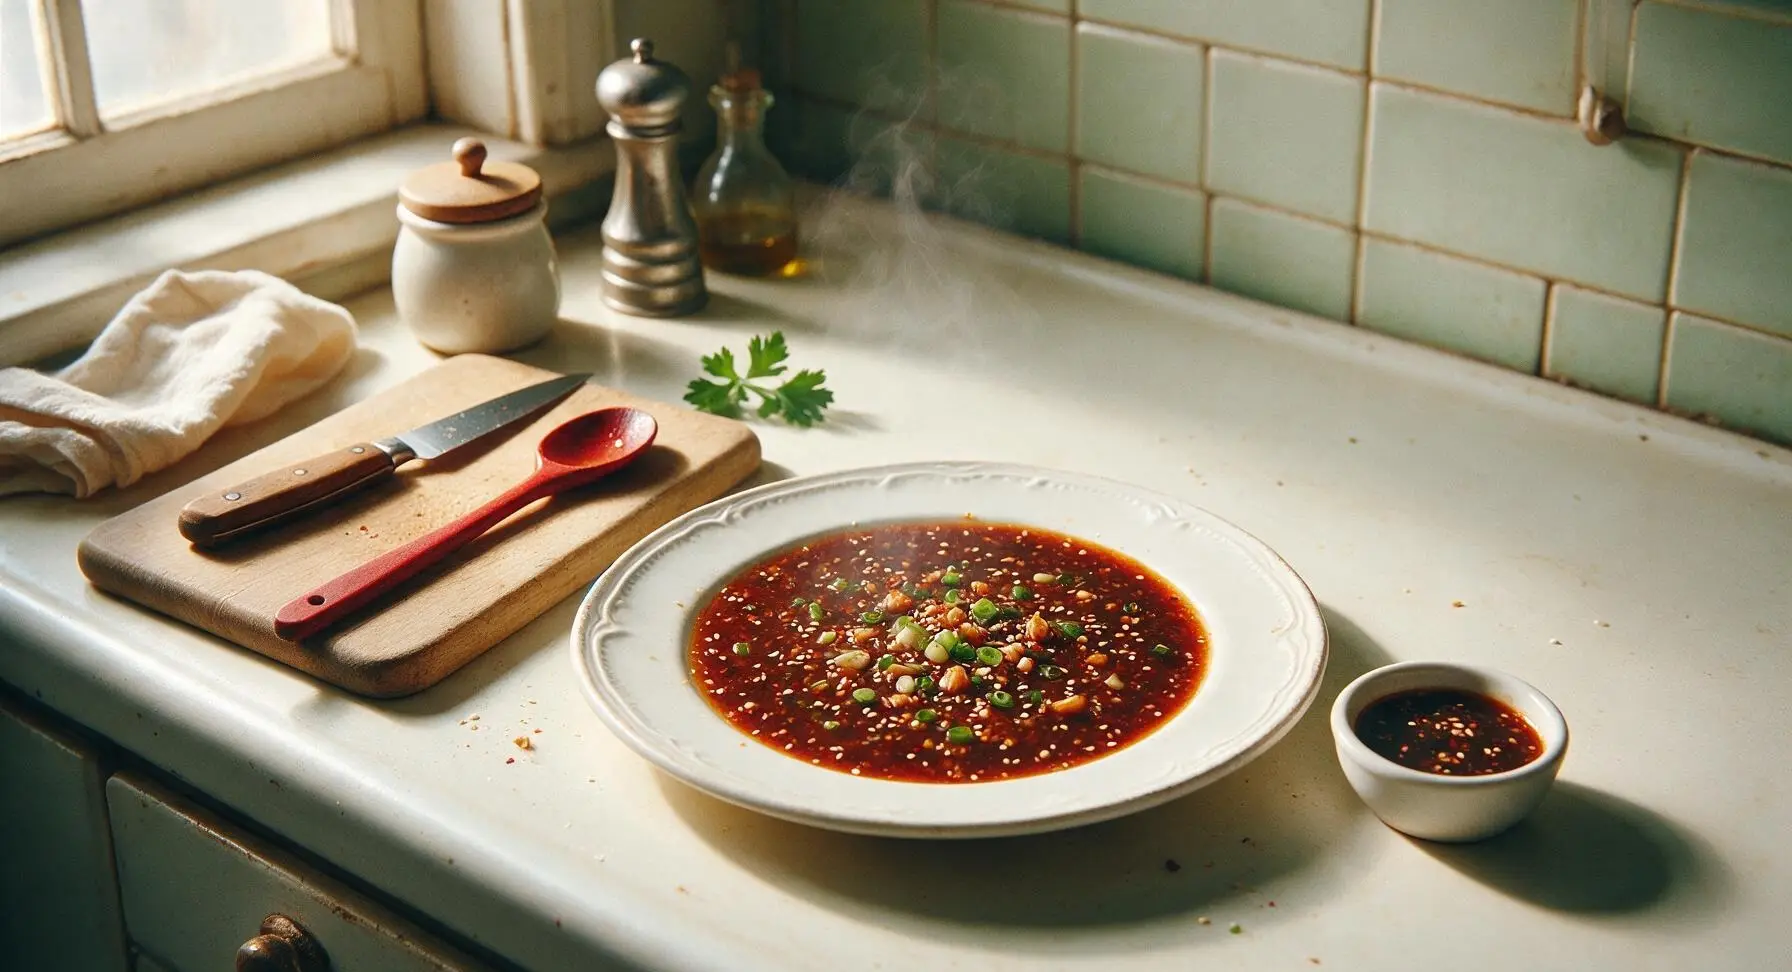
potsticker sauce

title 1
potsticker sauce
⏱️ cook time 0 minutes
🍽️ servings 4
⚡ Difficulty easy

intro

Tangy, savory, and perfectly balanced with nutty sesame, bright aromatics, and a gentle hint of heat, this classic potsticker sauce takes 5 minutes to stir together for crispy dumplings.

Ingredients
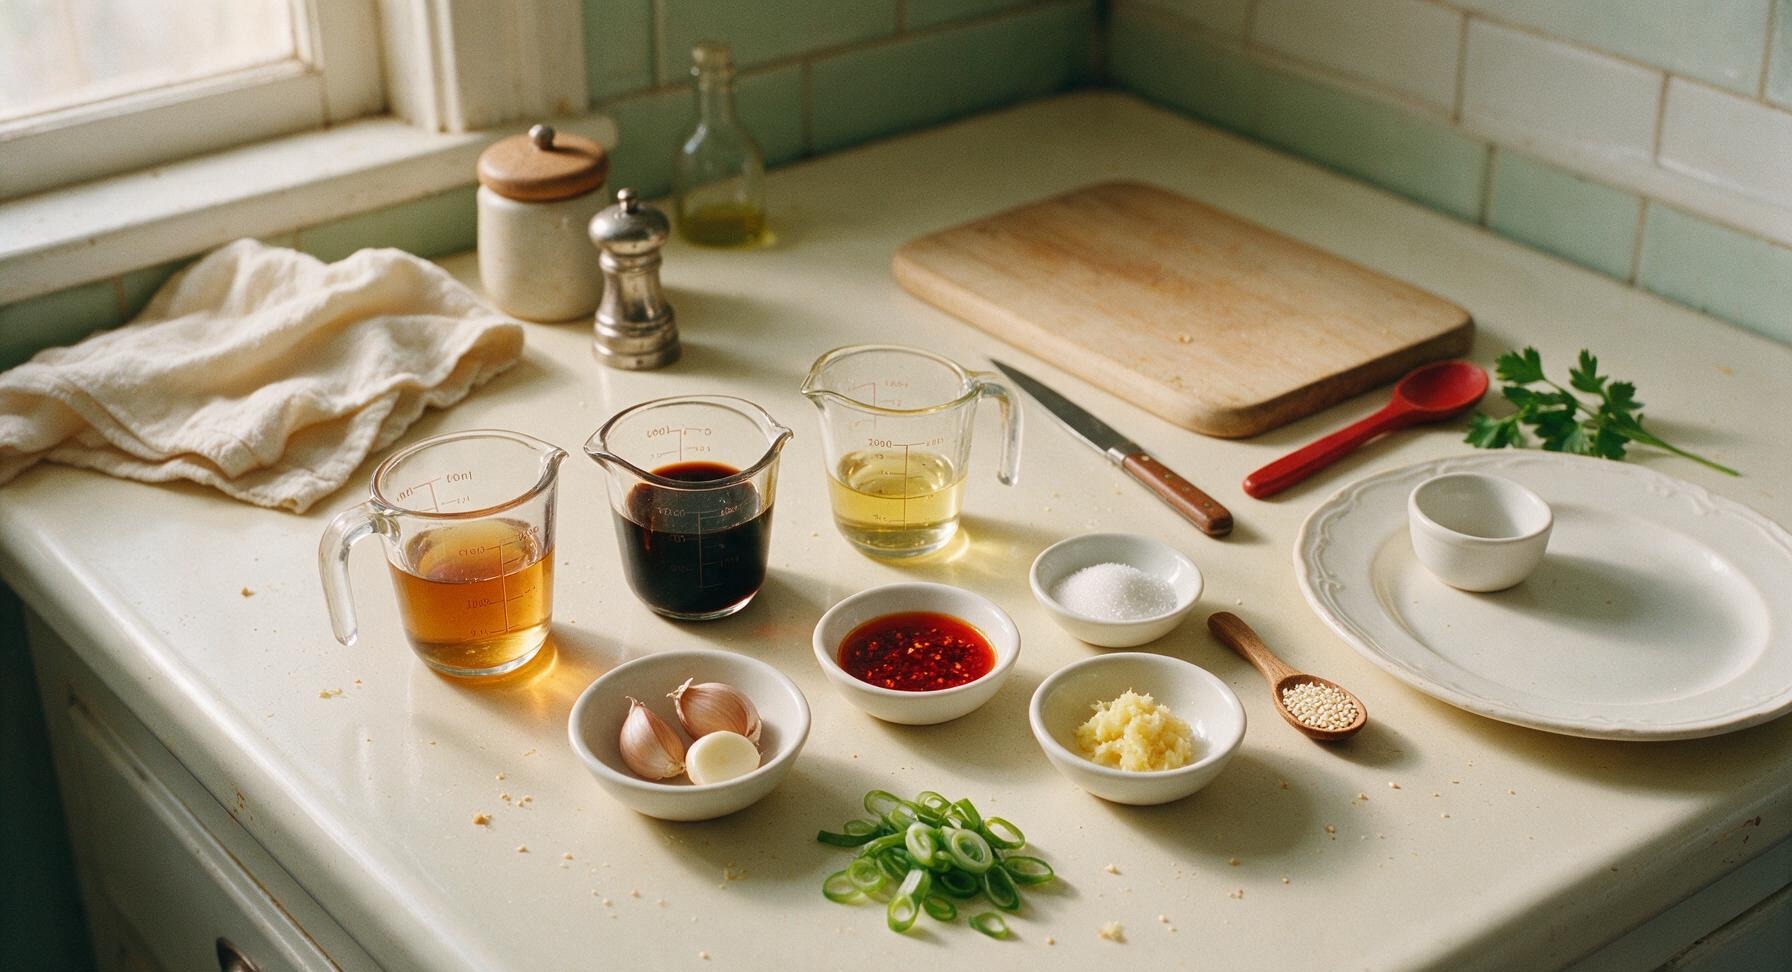
Low-sodium light soy sauce 1/3 cup (80ml)
Chinkiang black vinegar 2 tbsp (30ml)
Toasted sesame oil 1 tbsp (15ml)
Granulated sugar 1 tsp
Fresh garlic 2 cloves (6g)
Fresh ginger 1 tsp grated (5g)
Chili oil 1 tsp (adjustable)
Fresh scallion (green tops only) 1 tbsp thinly sliced
Toasted white sesame seeds 1/2 tsp

Steps

1

Prep Garlic and Ginger

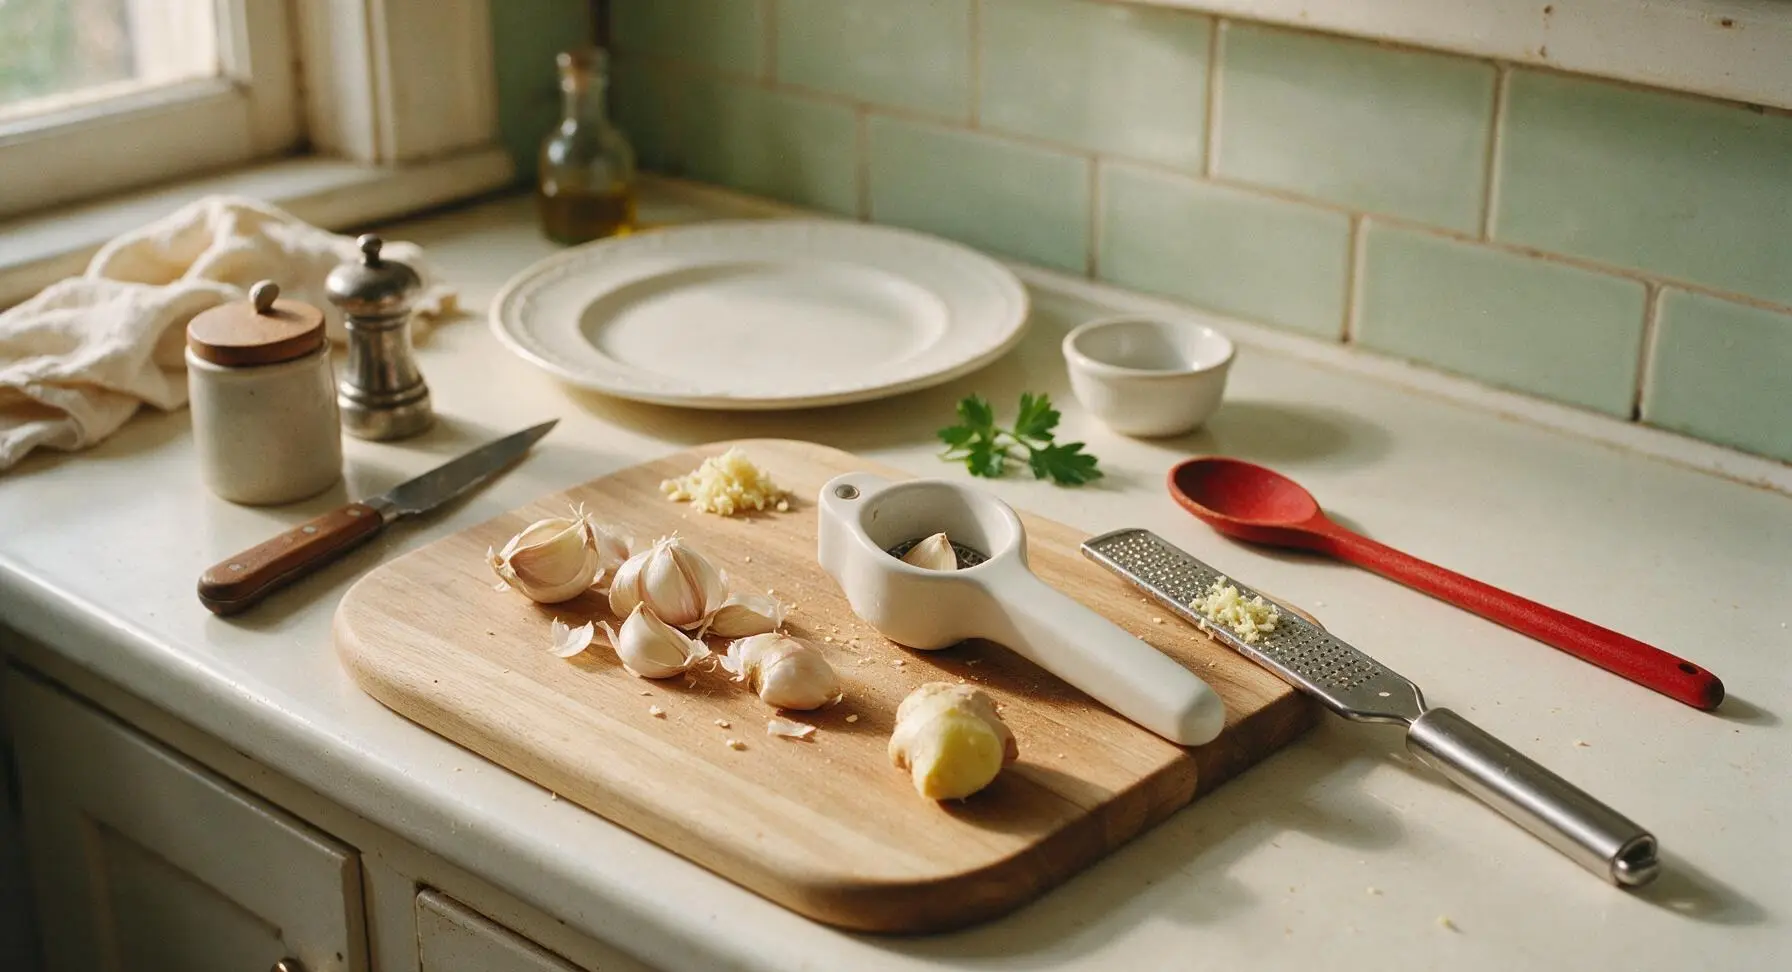
Set the honey-toned acacia wood cutting board within easy reach. Use the 7-inch stainless steel chef's knife to trim the rough root ends off the 2 garlic cloves, peel away papery outer skins, then press through the matte white ceramic garlic press to create a fine, even mince, collecting the pressed garlic directly on the cutting board. Use the microplane zester to grate 1 tsp of fresh ginger from the peeled knob, collecting grated ginger next to the garlic. Discard any tough, stringy ginger fibers left caught on the zester teeth.
Step 1
step1:Prep Garlic and Ginger
2

Slice Fresh Scallions

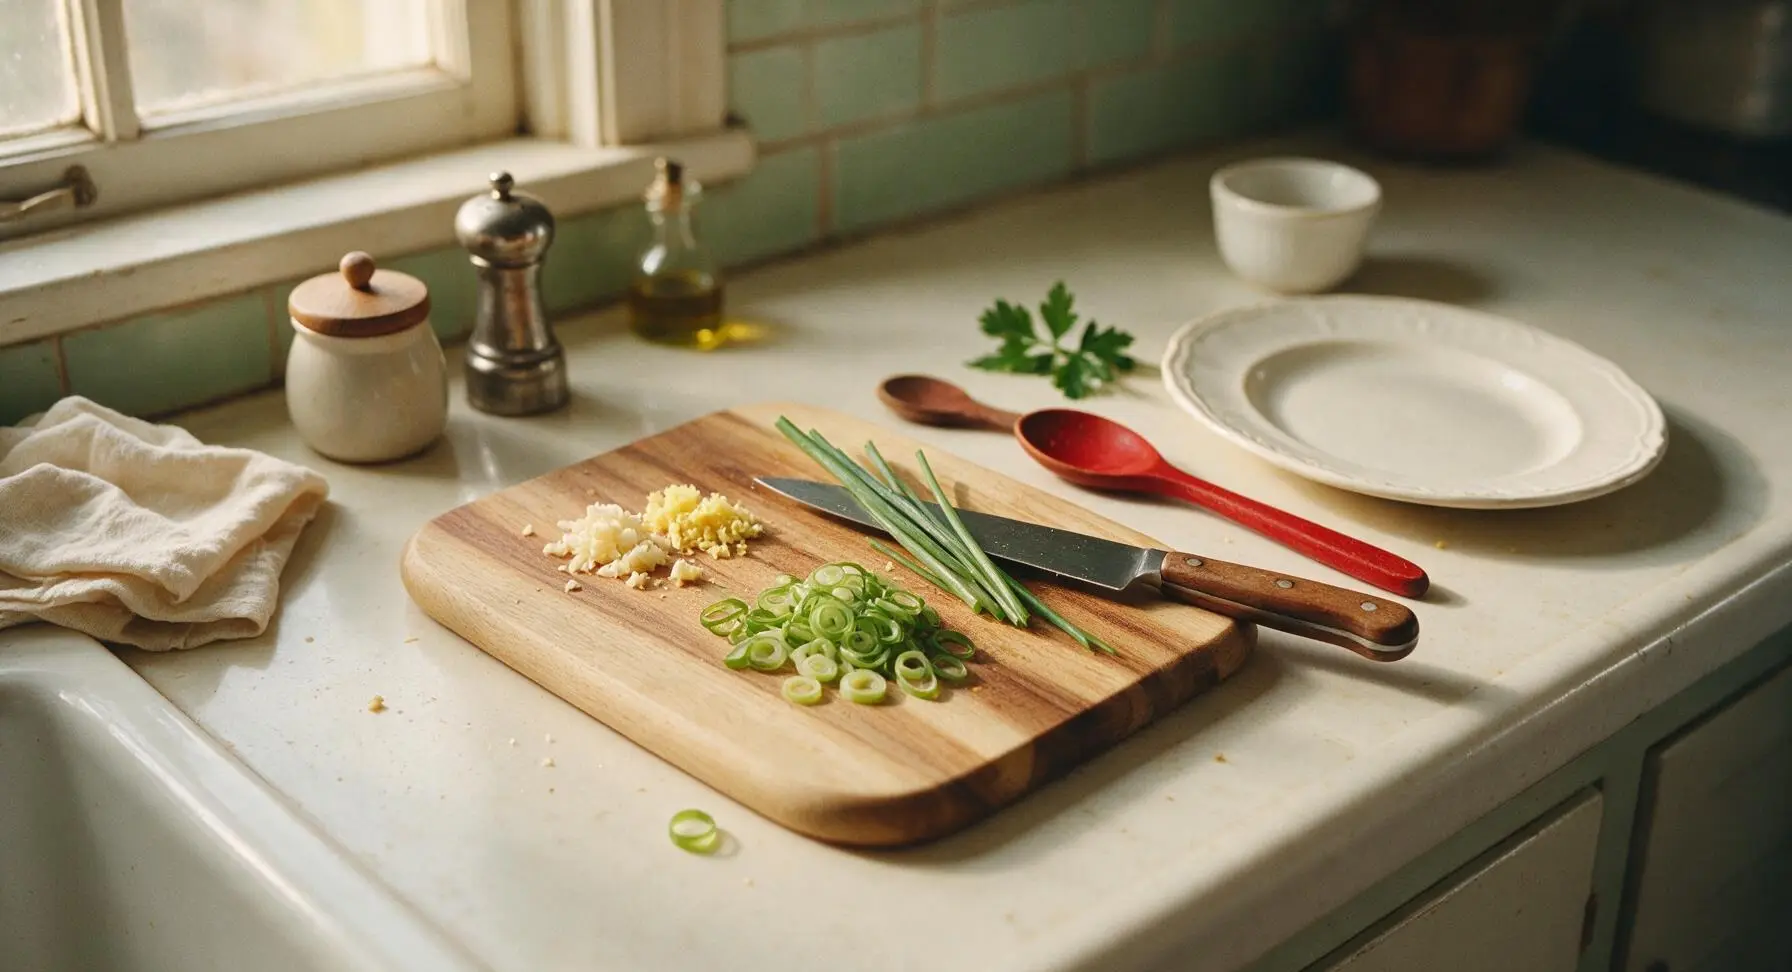
Separate the dark green top sections of the scallion bunch from the pale white/light green bottoms (reserve the white sections for stir-fries or stock). Lay the green sections flat on the acacia cutting board, pushing the prepped garlic and ginger to a corner to make space. Use the chef's knife to slice the greens into thin 1mm rings, measuring out 1 tbsp of sliced greens. Set sliced scallions aside for garnish.
Step 2
step2:Slice Fresh Scallions
3

Mix Base Liquid Ingredients

Measure and pour the low-sodium light soy sauce, Chinkiang black vinegar, and toasted sesame oil into the central light amber glass mixing bowl. Add the 1 tsp granulated sugar to the liquid, letting it settle to the bottom before stirring to avoid splashing.
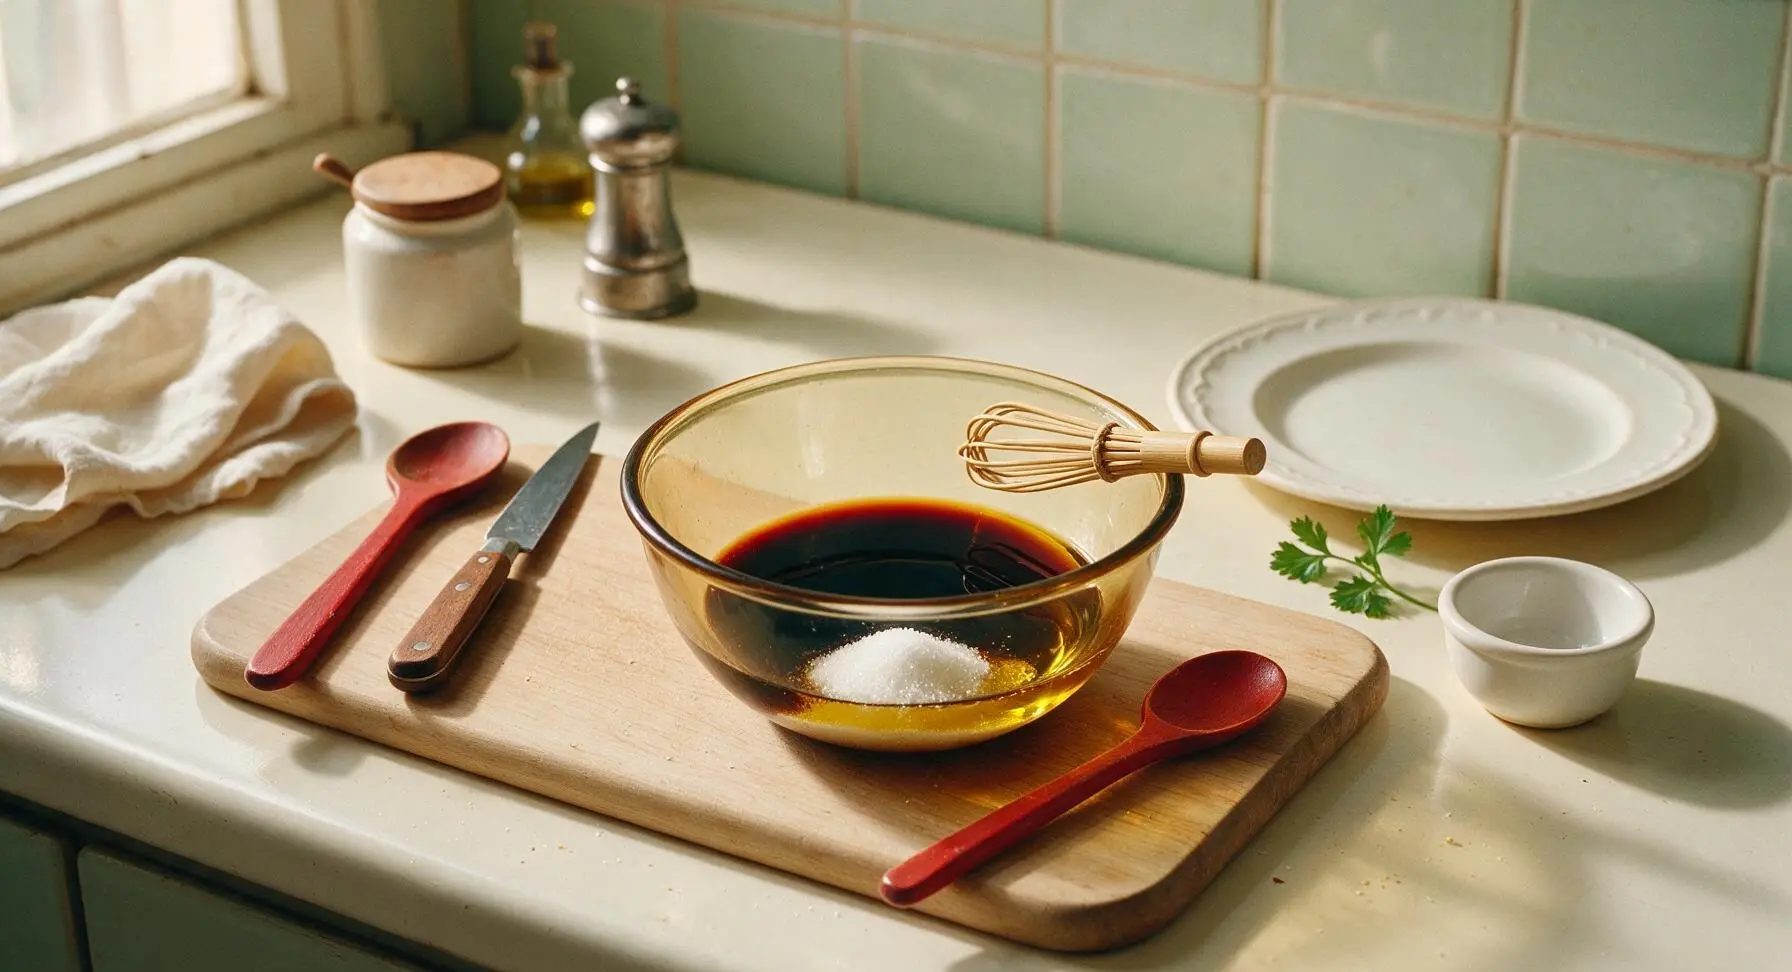
Step 3
step3:Mix Base Liquid Ingredients
4

Stir in Aromatics

Scrape the finely minced garlic, grated ginger, and measured chili oil (use 1/2 tsp for mild, 2 tsp for extra spicy) into the amber mixing bowl with the liquid base. Use the mini bamboo whisk to stir steadily in small circular motions for 30 seconds, until the sugar is fully dissolved (no gritty texture felt when the whisk scrapes the bowl bottom) and all ingredients are evenly combined, with no separate pools of oil floating on the surface.
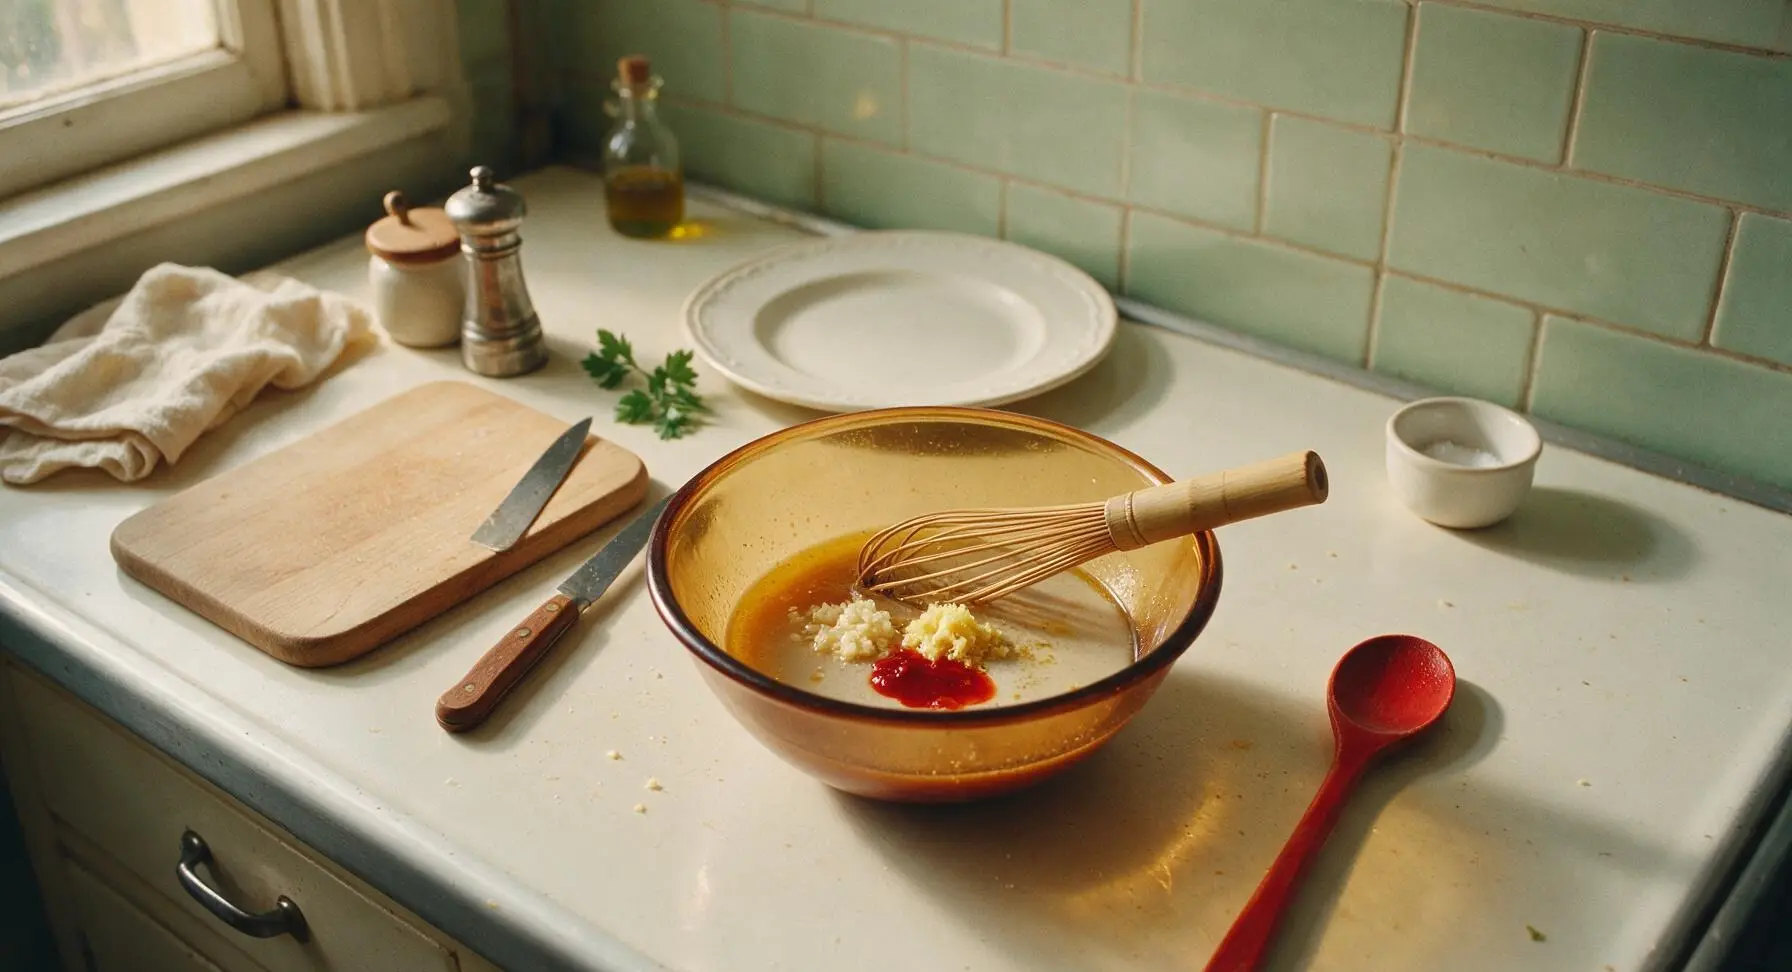
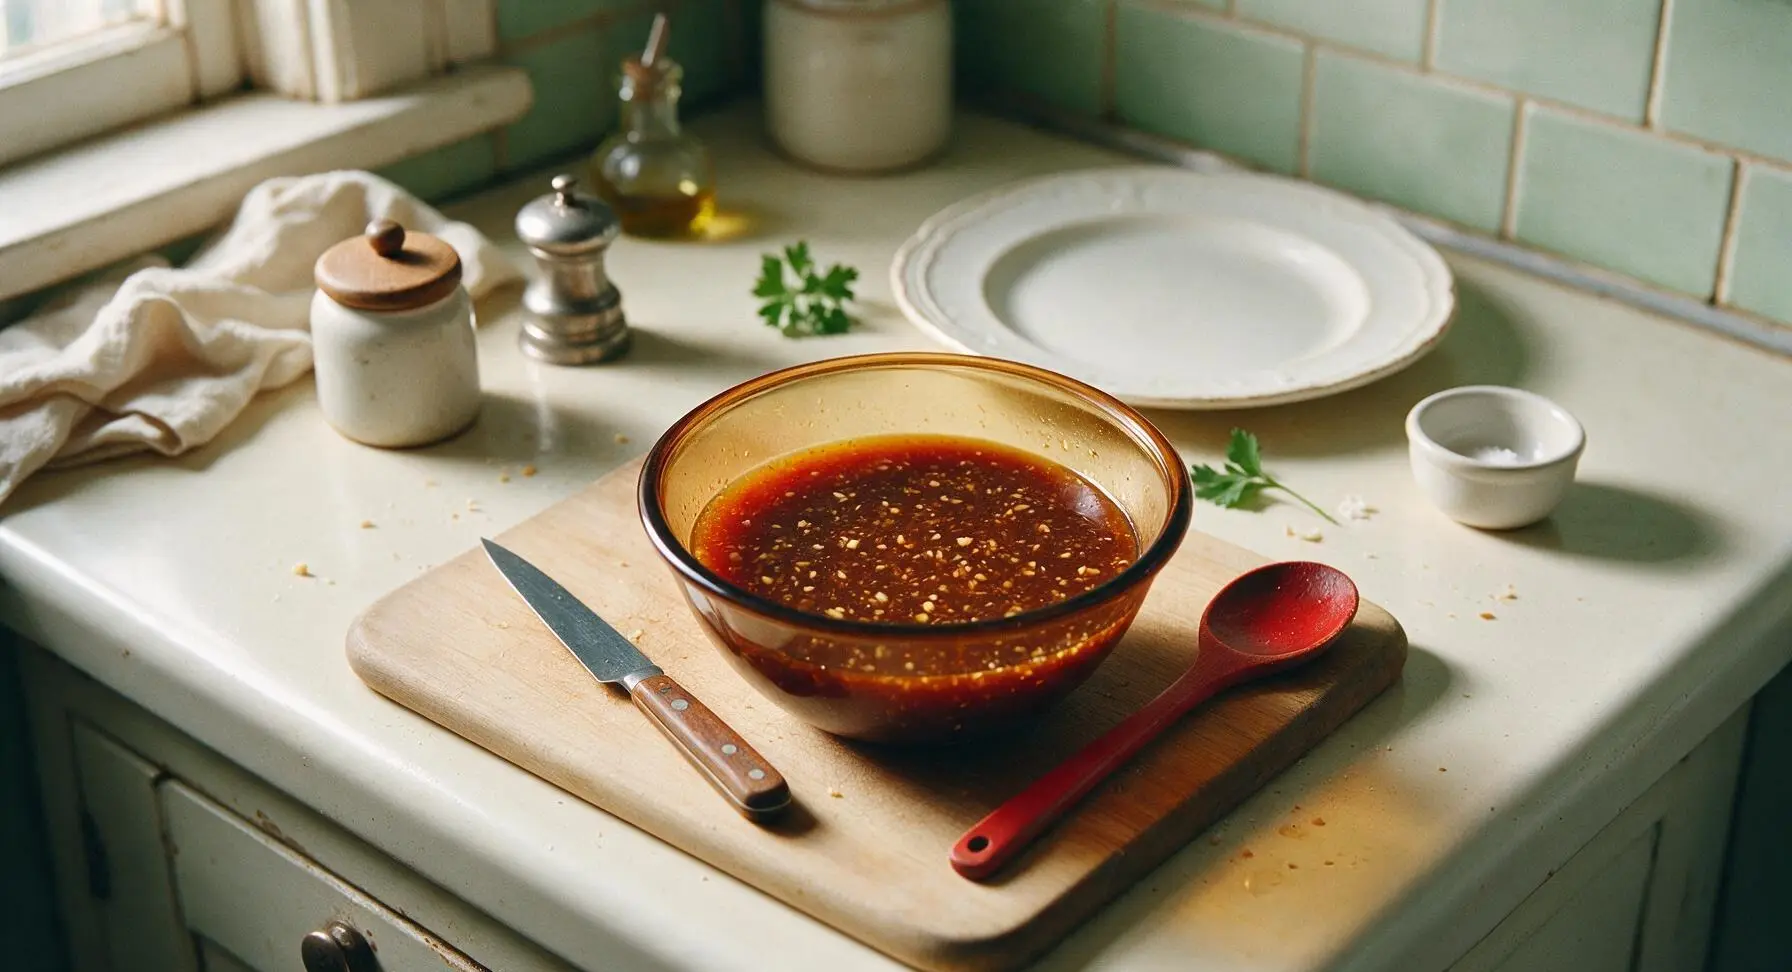
Step 4
step4:Stir in Aromatics
Step 4
step4:Stir in Aromatics
5

Fold in Most Garnishes

Set aside a small pinch of sliced scallions and a pinch of toasted sesame seeds to use as a top garnish. Fold the remaining sliced scallions and 1/4 tsp of toasted sesame seeds into the mixed sauce, stirring gently with the bamboo whisk for 10 seconds to distribute them evenly. Avoid over-stirring, as this will bruise the scallion pieces and make them lose their bright, fresh flavor.
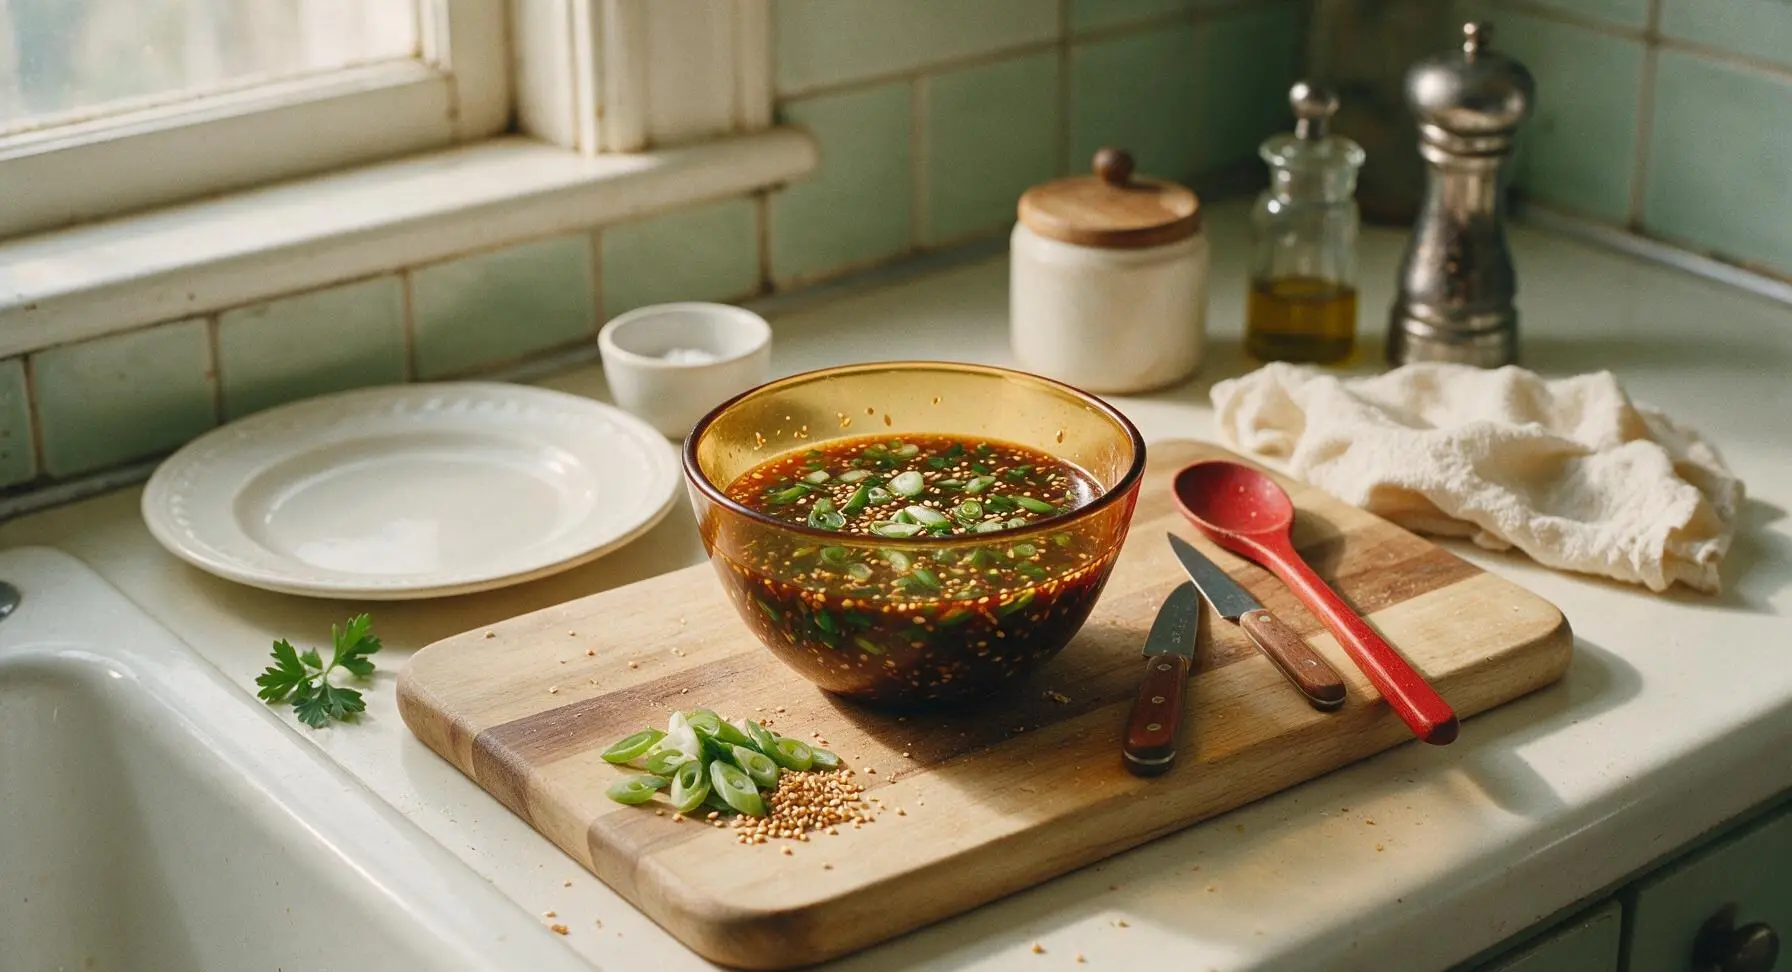
Step 5
step5:Fold in Most Garnishes
6

Transfer to Serving Bowl

Move the matte indigo ceramic serving bowl from its fixed position at the right rear of the counter to the center of the work zone. Pick up the amber mixing bowl, and pour the fully mixed sauce carefully into the indigo serving bowl. Use the mini bamboo whisk to scrape any remaining garlic, ginger, or scallion bits from the amber bowl into the serving dish to avoid wasting ingredients.
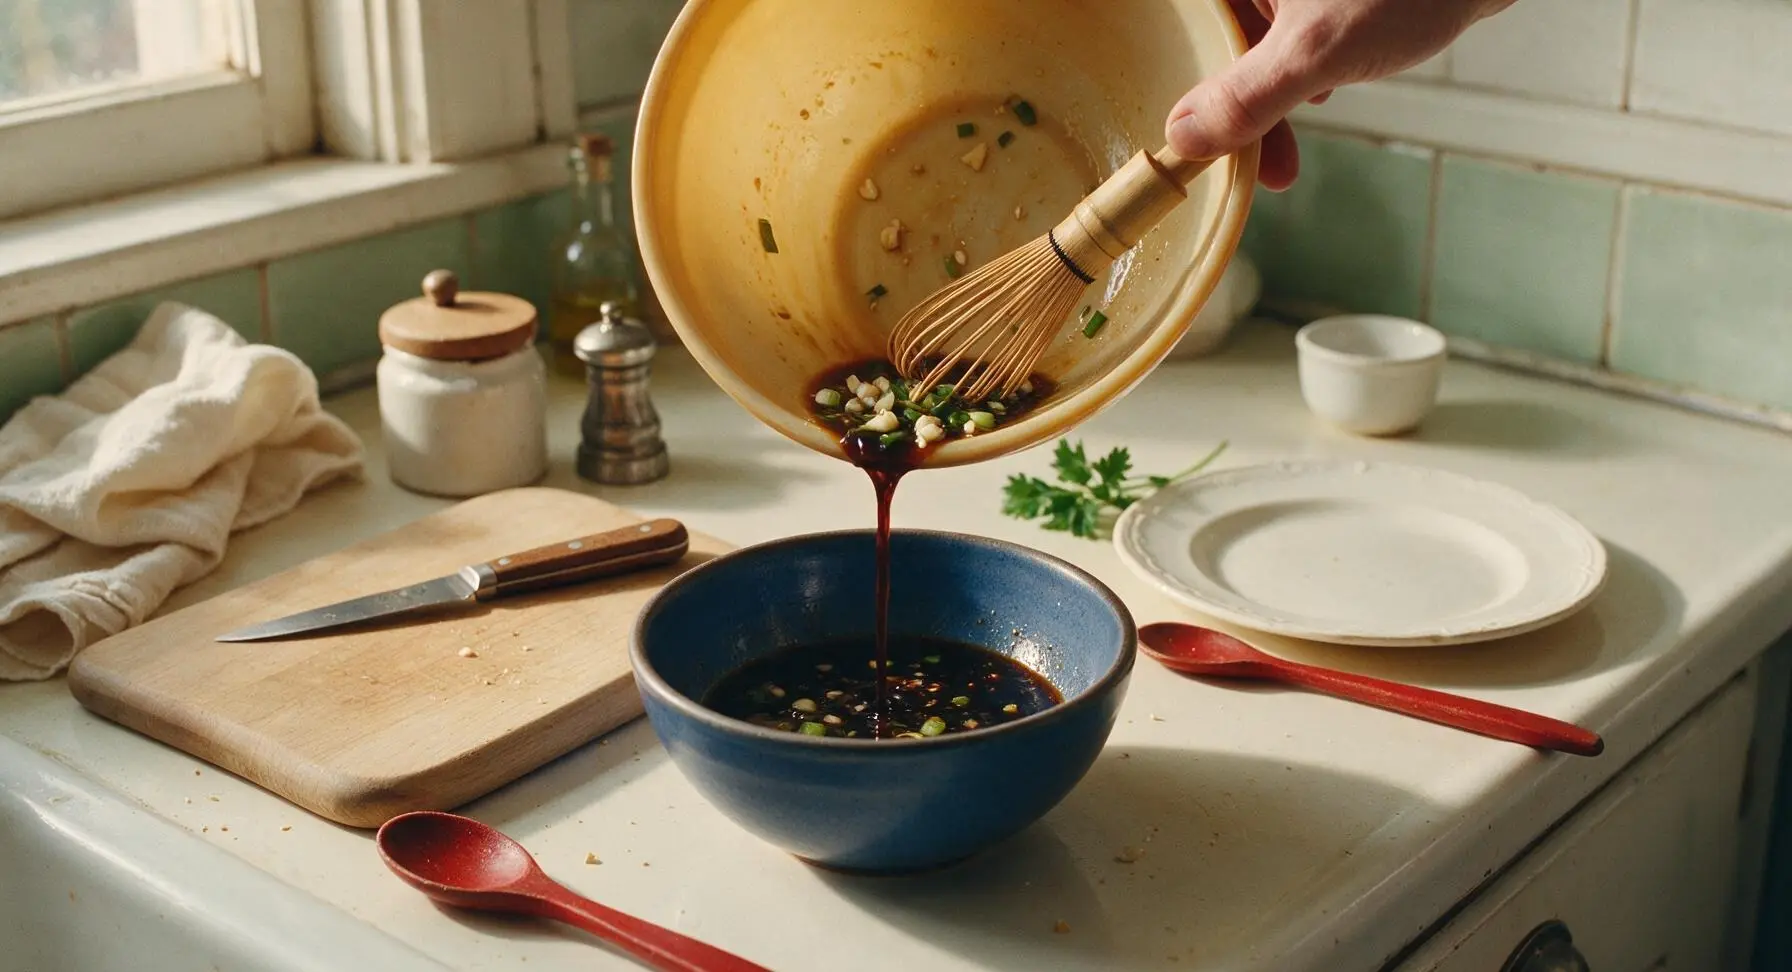
Step 6
step6:Transfer to Serving Bowl
7

Add Final Garnish

Sprinkle the reserved pinch of sliced scallions and remaining 1/4 tsp toasted sesame seeds over the top of the sauce in the indigo serving bowl. Add a tiny extra drizzle of chili oil on top for color and extra heat if desired, creating a faint red swirl on the sauce surface. Let the sauce rest for 2 minutes at room temperature to allow flavors to meld before serving alongside crispy pan-fried potstickers.
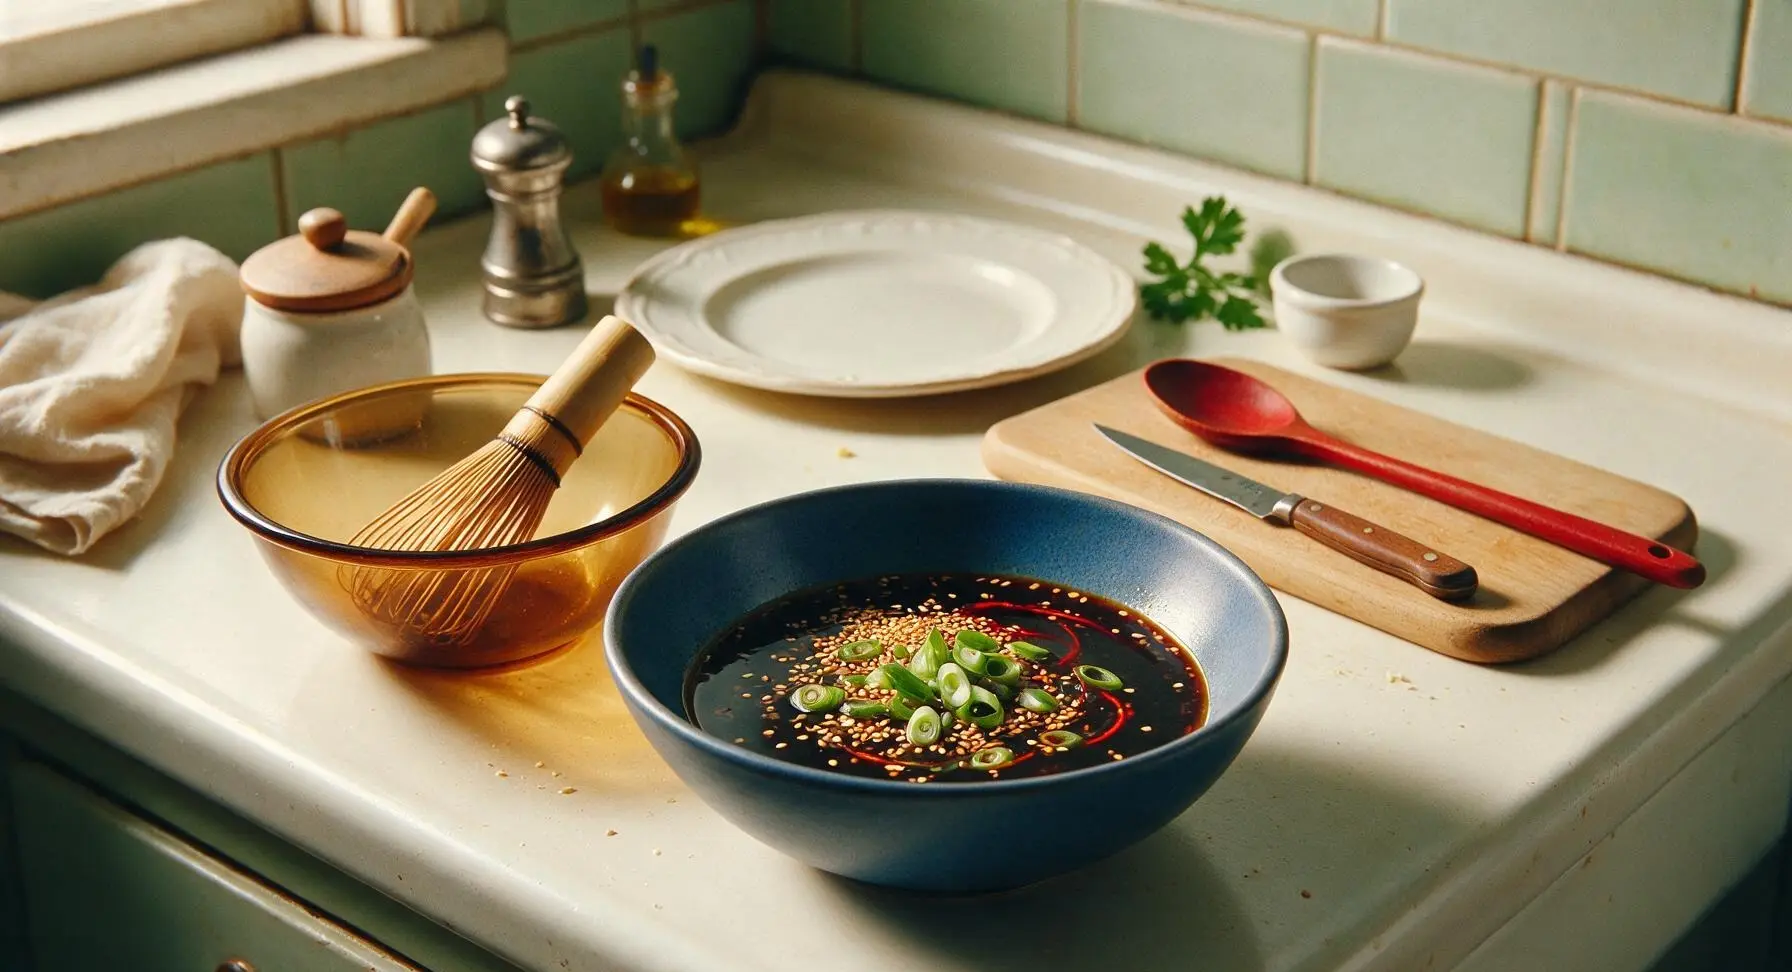
Step 7
step7:Add Final Garnish

Tips

1.For the most authentic, balanced tang, use aged Chinkiang black vinegar instead of plain white rice vinegar: its deep, malty, slightly sweet profile cuts through the rich, fatty pork filling of classic potstickers far better than sharper, lighter vinegars.
2.Always let the sauce rest for 2 full minutes after mixing before serving: this short resting time lets the garlic and ginger mellow and infuse their aromatic oils into the liquid, so the sauce tastes cohesive instead of having sharp, raw garlic bites.
3.If watching sodium intake, swap 1 tbsp of the low-sodium soy sauce for 1 tbsp of cool water: most store-bought potsticker wrappers and fillings already contain added salt, so diluting the soy sauce slightly prevents the whole bite from tasting overly salty without losing umami depth.


✨ You May Also Like

Snacks & Appetizers
🍜 Mexico

Crispy thick-cut tortilla chips piled high with seasoned beef, melted cheese, and bright fresh toppings for a shareable, crowd-favorite bite.

⏱️ 25 minuteSnacks & Appetizers ★ 4.8
Snacks & Appetizers
🍜 United States

Crisp, sweet-tangy spiced pickled watermelon rind is a zero-waste summer staple, perfect with grilled meats, charcuterie, or eaten straight from the jar as a bright snack.

⏱️ 30 minuteSnacks & Appetizers ★ 4.6
Snacks & Appetizers
🍜 Germany

A tangy, jellied pork cold cut slow-simmered with aromatic spices, set into a firm sliceable loaf, served cold with mustard and crusty bread.

⏱️ 3 hours 4Snacks & Appetizers ★ 4.8
Snacks & Appetizers
🍜 United States

Creamy, tangy, perfectly seasoned hard-boiled egg halves filled with a rich, smooth yolk mixture, a timeless, crowd-pleasing bite for holiday and casual gatherings alike.

⏱️ 40 minuteSnacks & Appetizers ★ 4.8
Snacks & Appetizers
🍜 Russia

Silky, dill-forward no-smoke cured salmon, a Scandinavian classic with bright salty-sweet flavor, ideal for holiday starter platters and open-faced rye sandwiches.

⏱️ 48 hours Snacks & Appetizers ★ 4.7
Snacks & Appetizers
🍜 Japan

Crisp golden bottoms, juicy savory pork and vegetable filling, and tangy dipping sauce make these pan-fried gyoza a beloved shareable bite.

⏱️ 45 minuteSnacks & Appetizers ★ 4.8

potsticker sauce:Frequently Asked Questions

1.What sets this Northern Chinese potsticker sauce apart from other dumpling dipping sauces? ▾
This Northern-style sauce centers the bold, malty tang of Chinkiang black vinegar, rather than the extra-sweet, heavily seasoned profiles common in Southern Chinese dumpling sauces. It keeps the ingredient list simple, letting toasty sesame, sharp fresh garlic, and mellow soy complement crispy potsticker fillings without overpowering them, just like versions served at northern Chinese family dumpling houses.
2.Can I use plain white vinegar instead of Chinkiang black vinegar if I don’t have it on hand? ▾
I don’t recommend plain white vinegar as a direct swap—it’s far harsher and lacks the deep, malty, slightly sweet complexity of Chinkiang black vinegar. If you’re in a pinch, mix 3 parts unseasoned rice vinegar with 1 part low-sodium light soy sauce and a tiny pinch of smoked paprika to mimic that malty depth, though the flavor won’t be an exact match.
3.Do I have to use low-sodium light soy sauce, or is regular light soy okay? ▾
You can absolutely use regular light soy sauce, but you’ll want to cut the soy measurement by roughly 1 teaspoon per 3 tablespoons called for to avoid making the sauce overly salty, and skip any extra added salt if you tweak the recipe later. Low-sodium light soy lets you control salt levels better so tangy vinegar and nutty sesame notes don’t get buried.
4.How long will this sauce stay fresh if I store it in the refrigerator? ▾
Stored in a tightly sealed glass jar or airtight container, this sauce will stay fresh for up to 1 week in the fridge. The fresh garlic will mellow slightly over time, and the sesame oil may solidify a little when cold—just give the jar a quick stir before using, and let it sit at room temp for 2 minutes if it’s too chilled.
5.Is this sauce spicy on its own, or do I need to add heat separately? ▾
The base recipe has no added chili, so it’s mild enough for kids and people who don’t enjoy spicy food. That gentle warm note referenced in the intro comes from the bright, sharp zing of fresh garlic, not hot pepper. If you want a subtle kick, stir in ¼ teaspoon of chili oil or a pinch of crushed red pepper flakes right before serving.
6.Can I make this sauce ahead of time for a dumpling night party? ▾
Absolutely! This is a perfect make-ahead party staple. Mix all the ingredients except the fresh garlic up to 3 days in advance, then stir in the minced garlic 30 minutes before guests arrive. Adding garlic too early can make its flavor harsh and overly pungent, which throws off the sauce’s gentle, balanced profile.
7.Why does the recipe call for granulated sugar instead of other sweeteners like honey? ▾
Granulated white sugar dissolves completely in room-temperature sauce in 30 to 60 seconds of stirring with no heating required, so it delivers clean, even sweetness that softens vinegar’s sharp edge and soy’s saltiness without adding extra flavor. Honey or maple syrup work, but they add distinct notes that shift the classic, traditional profile.
8.My sauce smells really strongly of sesame oil—did I add too much? ▾
Toasted sesame oil is extremely potent, so a little goes a very long way. If your sauce smells overwhelmingly nutty or bitter, stir in an extra ½ tablespoon of Chinkiang vinegar, ¼ teaspoon of sugar, and 1 tablespoon of light soy sauce to dilute and rebalance flavors. Next time, start with half the called-for amount, taste, and add more slowly.
9.Can I use jarred pre-minced garlic instead of fresh garlic? ▾
You can use jarred minced garlic in a pinch, but know it has a softer, slightly pickled, less bright flavor than fresh minced garlic. If you go that route, add an extra ¼ teaspoon of jarred garlic to make up for its milder profile, and skip any garlic with added preservatives that leave a metallic aftertaste in the cold sauce.
10.What other foods can I use this sauce for, besides potstickers? ▾
This versatile sauce works for way more than potstickers! Use it as a dip for pan-fried wontons, steamed dumplings, scallion pancakes, or crispy egg rolls, thin it with a splash of water to dress cold noodle salads, or brush it on roasted veggies or grilled chicken skewers for a quick, savory-tangy glaze. It’s a true kitchen staple.
11.Do I need to cook this sauce on the stovetop, or is it really stir-and-serve? ▾
No cooking required at all! That’s the beauty of this classic Northern-style sauce—all you need to do is stir the measured soy sauce, black vinegar, sesame oil, sugar, and minced garlic together in a small bowl until the sugar fully dissolves, which takes about 30 seconds of active stirring. It’s ready to use immediately.
12.How fine do I need to mince the garlic for this sauce? ▾
For the best texture, peel your garlic clove, trim the hard root end, and use a sharp chef’s knife to mince it into tiny, even pieces, or press it through a garlic press for ultra-smooth results. Big, chunky garlic pieces deliver harsh, overwhelming bites of raw garlic that throw off the sauce’s balance, so aim for pieces no bigger than a pinhead.
13.Can I adjust the ingredient ratios if I prefer more tangy or more savory flavor? ▾
Absolutely—this base ratio is a classic starting point, but you can tweak it to match your taste. If you love extra tang, add another ½ tablespoon of Chinkiang black vinegar; if you prefer a savorier, less tart profile, bump up the light soy sauce by ½ tablespoon. Just adjust in small increments, tasting as you go, to avoid throwing off the balance.
14.Is this sauce gluten-free for guests with dietary restrictions? ▾
The base recipe as written is not gluten-free, since traditional light soy sauce and Chinkiang black vinegar both contain wheat. To make a gluten-free version, swap the regular light soy for gluten-free tamari, and use a certified gluten-free black vinegar to get the same balanced flavor without gluten-containing ingredients.
15.I notice the sauce separates after sitting for a few minutes—is that normal? ▾
That separation is totally normal! Toasted sesame oil doesn’t mix permanently with the water-based vinegar and soy sauce, so you’ll see a thin layer of oil float to the top after the sauce sits for a few minutes. Just give the sauce a quick stir with chopsticks or a small spoon right before dipping, and it will be perfectly combined.
16.Can I add extra aromatics like ginger or scallion to the sauce? ▾
Absolutely! Many Northern Chinese family recipes add a teaspoon of finely minced fresh ginger or a tablespoon of thinly sliced scallion greens for extra bright, aromatic flavor. Just stick to small amounts so you don’t overpower the core balance of tangy vinegar, nutty sesame, and savory soy that makes the classic version so iconic.
17.What’s the best way to serve this sauce with potstickers to keep skins crispy? ▾
Pour the sauce into small, individual shallow dipping bowls so each diner can dip their potstickers directly, rather than using one large shared bowl for a crowd. Never drizzle it over potstickers ahead of time—that will make crispy potsticker skins go soggy fast. Serve it on the side, right alongside hot, freshly cooked dumplings.

Comments (6)

2 days ago

OMG this sauce is a total game changer! I’ve been making potstickers for my family’s weekly Sunday dinner for years and never got the dipping sauce right until now. SO good, even my super picky 8-year-old was dunking every bite and asking for extra. I mixed up a big batch for our neighborhood potluck last weekend and everyone was begging for the recipe!

1 day ago

Wait did you add any extra chili oil? I love a little heat and was wondering if it messes with the classic flavor!

1 day ago

So happy your family and potluck guests loved it! Adding a tiny splash of chili oil or a pinch of red pepper flakes works perfectly if you like heat—no need to worry about ruining the classic base, just adjust to your taste!

3 days ago

Super easy to throw together, zero cook time is perfect for my weeknight meal prep routine! I portioned this out into little dipping cups to grab with my frozen potstickers for work lunches all week. Only thing I did was add a tiny extra splash of rice vinegar because I love that tang, 10/10.

2 days ago

Love the meal prep hack! The extra rice vinegar addition sounds delicious—this base is super flexible for tweaks like that to match your personal preference. Hope your work lunches hit all week!

1 week ago

I was overcomplicating potsticker sauce for so long! I thought I needed a million fancy ingredients but this comes together with stuff I already had in my pantry. Tastes exactly like the sauce from my favorite Northern Chinese takeout spot back in Brooklyn, I’m obsessed.

5 days ago

Made this last night for our frozen potsticker night with the kids, and my wife said it’s better than the restaurant version? Wild. I did half regular soy half low-sodium soy because I watch my salt intake, and it still turned out amazing. Only knock is I wish there was a note about optional add-ins for different flavor twists, but otherwise will be making this every single time we have potstickers from now on.

4 days ago

I did the half low-sodium soy swap too! Worked like a charm, I didn’t even notice a difference in depth of flavor compared to using full regular soy sauce.

3 days ago

So glad it was a hit with your family! The low-sodium soy swap is such a smart call for folks watching their salt intake, I’m glad it worked out so well for you. Thanks for the feedback about add-in notes, I’ll update the recipe soon with fun optional twist ideas!

30 minutes ago

Wait, is this supposed to be the same sauce they serve at dim sum places? I’ve been chasing that exact potsticker sauce flavor for literal years and I made this tonight to go with the pork and cabbage potstickers I whipped up from scratch this afternoon. It’s PERFECT. Exactly the flavor I remembered, I could cry. 10/10 no notes.

5 minutes ago

Right?! I made it last week for dim sum night with my roommates and it was dead on for our favorite local spot’s sauce. So glad it lived up to the hype for you too!

just now

As a broke college student with basically zero cooking skills, this was so easy to make! No cooking required, all ingredients were cheap at my local grocery store, and it made my microwave frozen potstickers taste like a fancy restaurant meal. My roommate stole half the batch I made lmao, definitely a win.



