Rendering

Rendering
⏱️ cook time 90 minutes
🍽️ servings 4
⚡ Difficulty easy

intro

Slow-rendered pork lard is a versatile, high-smoke-point cooking fat, paired with salty, shatteringly crisp cracklings perfect for snacking.

Ingredients

Skinless raw pork back fat (trimmed of lean bits) 1000 grams (2.2 lbs)
Cold water 120 ml (1/2 cup)
Fine sea salt 1 teaspoon

Steps

1

Prep the raw fat

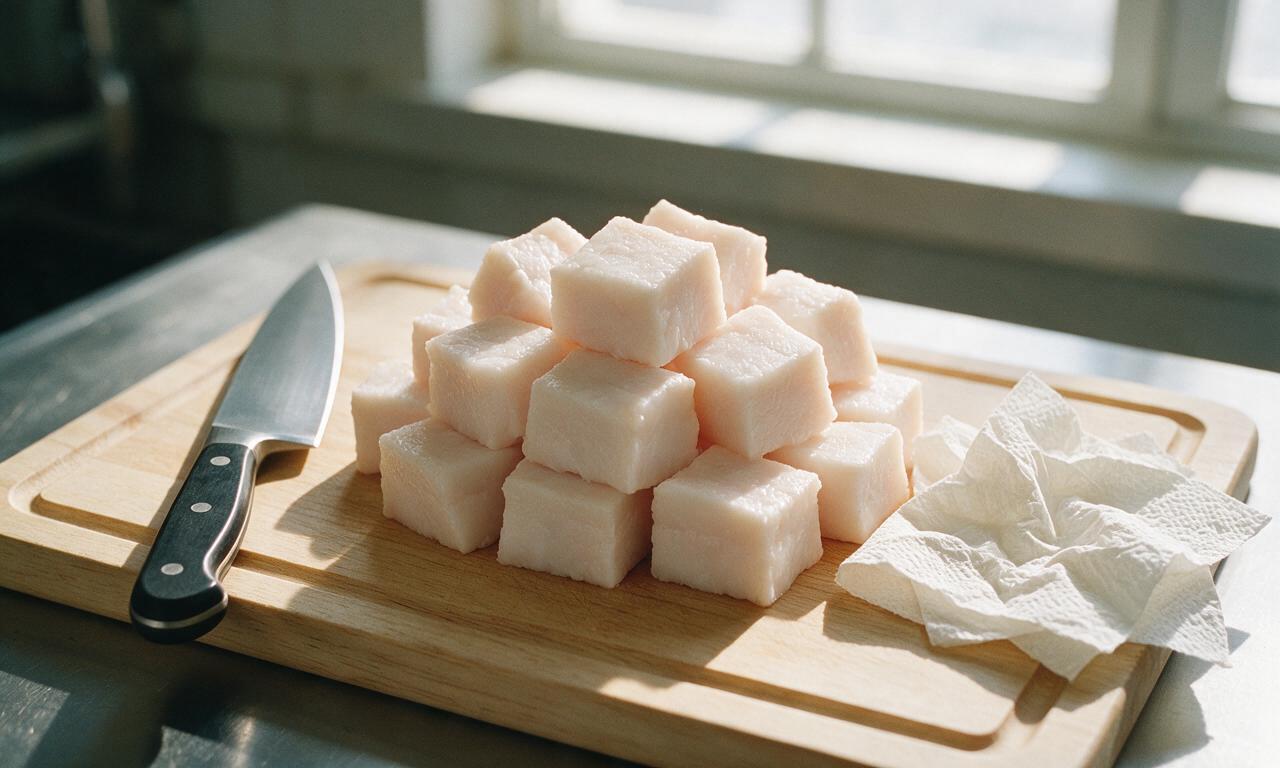
Pat the 1000g of trimmed, skinless pork back fat completely dry with paper towels, then cut into uniform 1cm (1/2 inch) cubes to ensure even rendering; discard any large chunks of lean meat or tough connective tissue that will not break down during cooking.
Step 1
step1:Prep the raw fat
2

Add fat and water

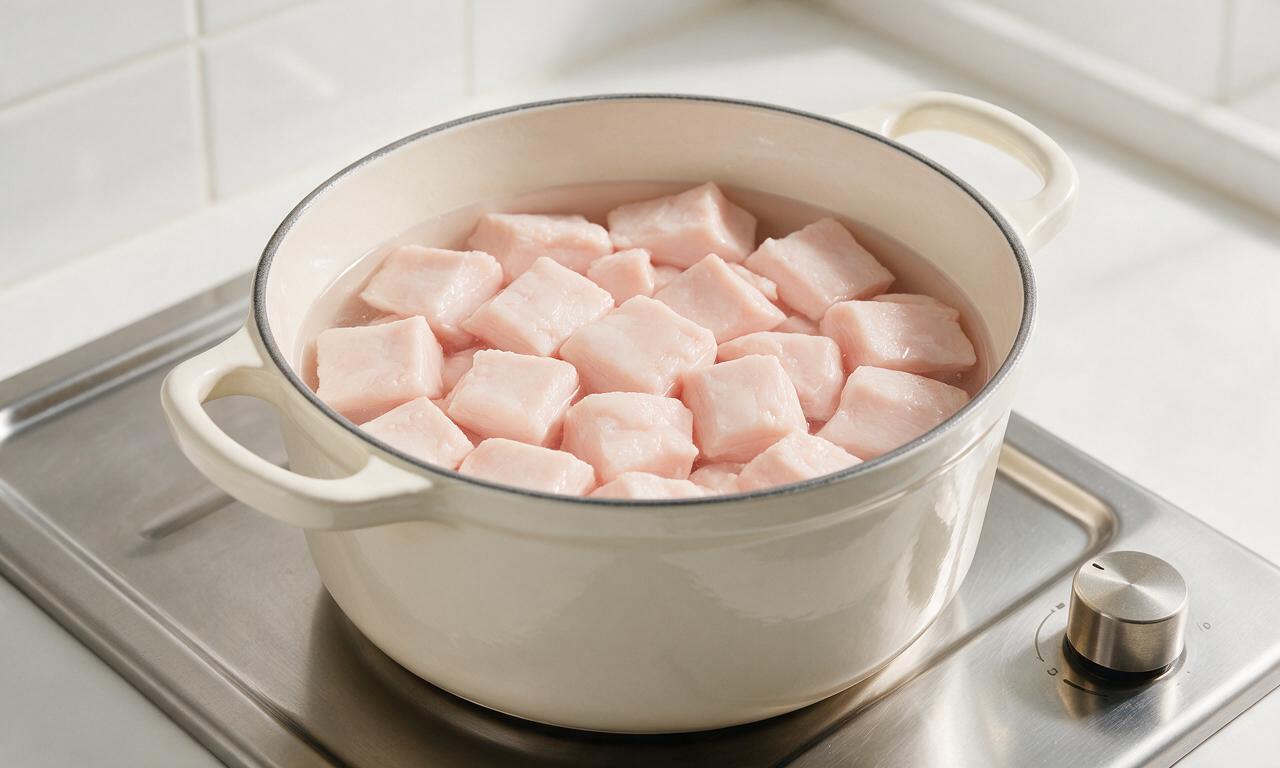
Place the cut fat cubes into a heavy-bottomed Dutch oven or stock pot, then pour in 120ml (1/2 cup) of cold water; the water creates an initial low-temperature steam environment to prevent fat from burning before it releases its own liquid fat. Set the pot on the stovetop over medium-low heat (130°C/265°F burner setting).
Step 2
step2:Add fat and water
3

Start the slow render

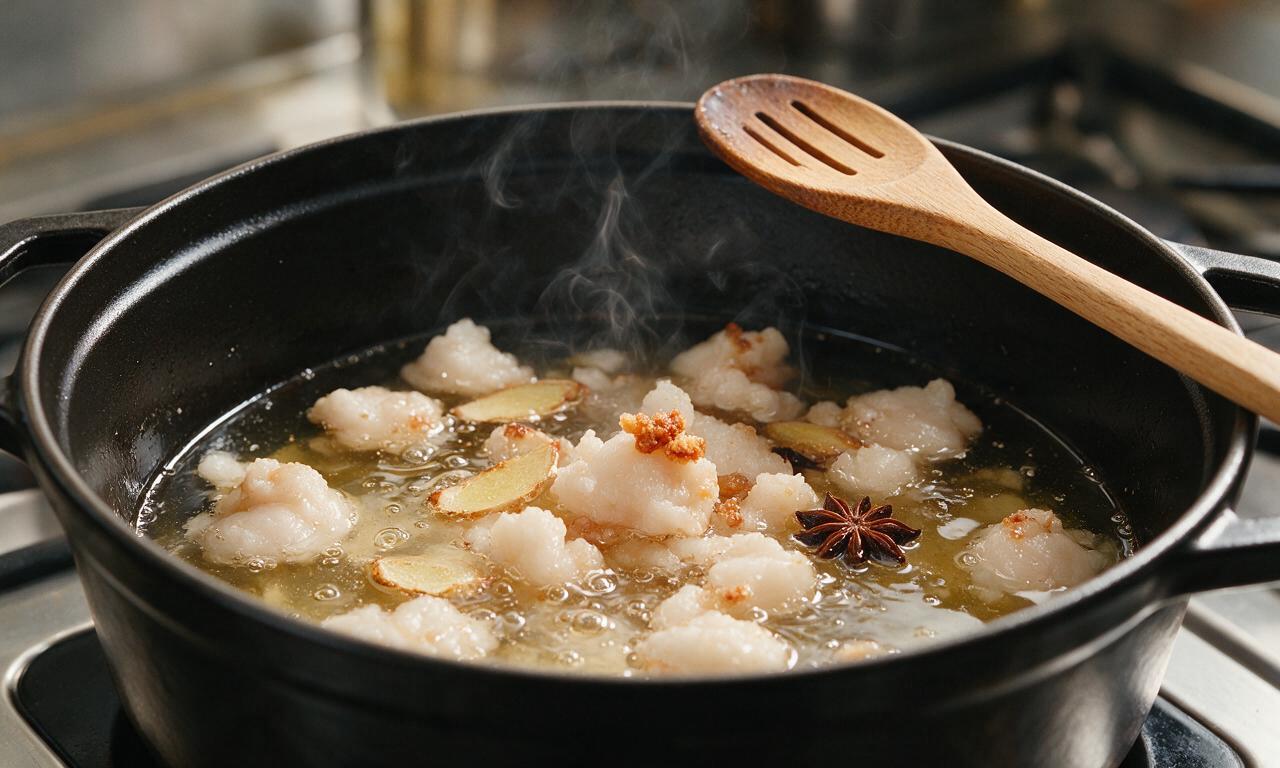
Bring the water and fat mixture to a gentle, low simmer, uncovered, stirring once every 5 minutes for the first 15 minutes. You will see water slowly evaporate as clear, golden liquid fat seeps out of the fat cubes; do not turn heat up, as high heat will burn the fat and create a bitter, off flavor.
Step 3
step3:Start the slow render
4

Cook until fat releases

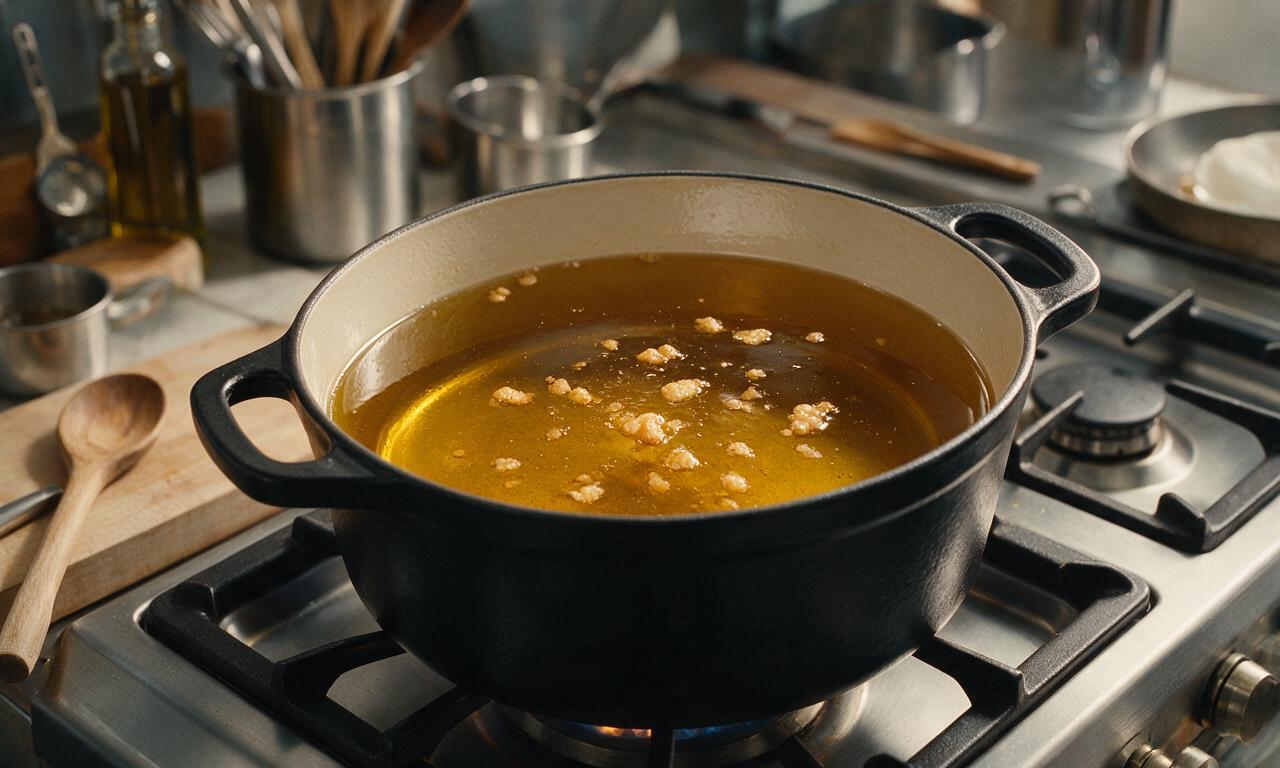
Reduce heat to low (110°C/230°F burner setting) once all water has evaporated (you will stop seeing steamy water bubbles and only see clear fat bubbles), then continue cooking, stirring gently every 10 minutes, for 50-60 minutes. The fat cubes will slowly shrink, turn translucent, then develop a light golden color as they crisp.
Step 4
step4:Cook until fat releases
5

Strain the rendered fat

Once the fat solids (cracklings) are deep golden and float to the surface, turn off the heat and let the pot cool for 10 minutes. Set a fine-mesh sieve lined with 2 layers of cheesecloth over a heatproof 1L glass jar, then carefully pour the liquid fat through the sieve to separate it from solid cracklings; you will yield approximately 700ml (3 cups) of pure lard.
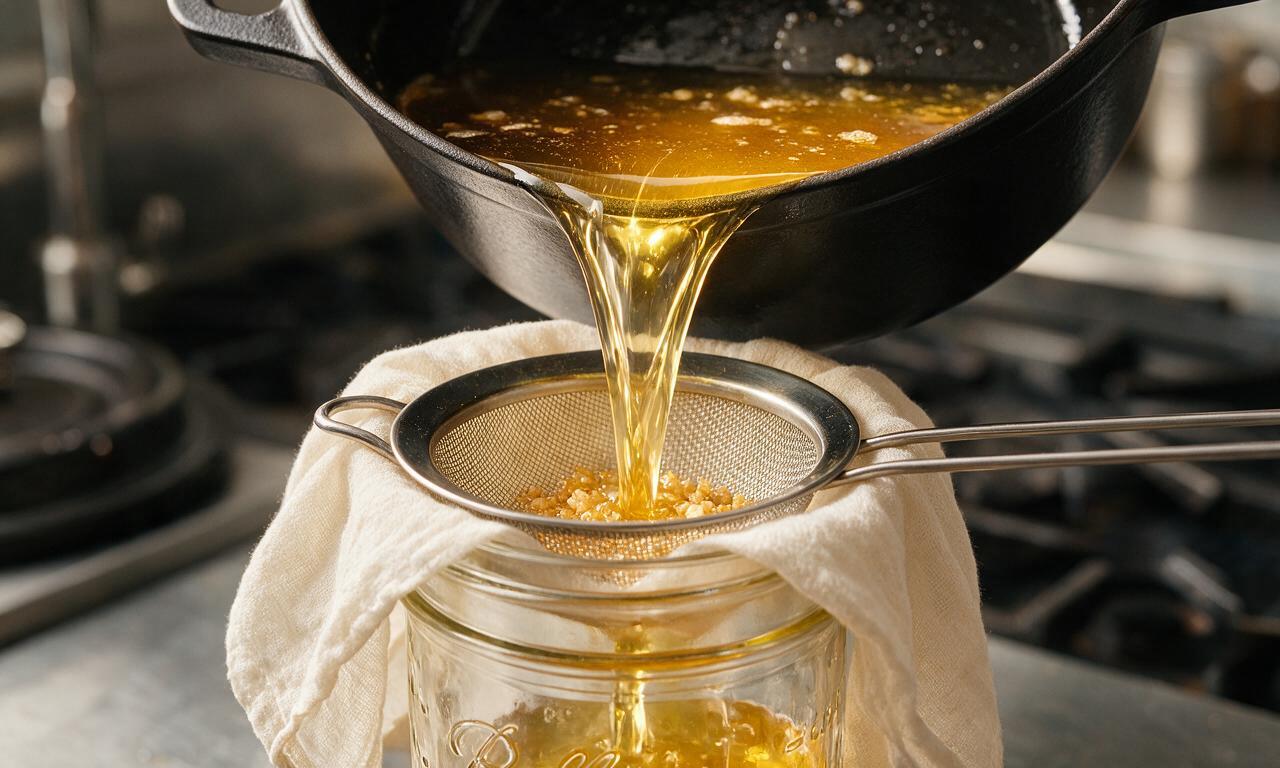
Step 5
step5:Strain the rendered fat
6

Season crispy cracklings

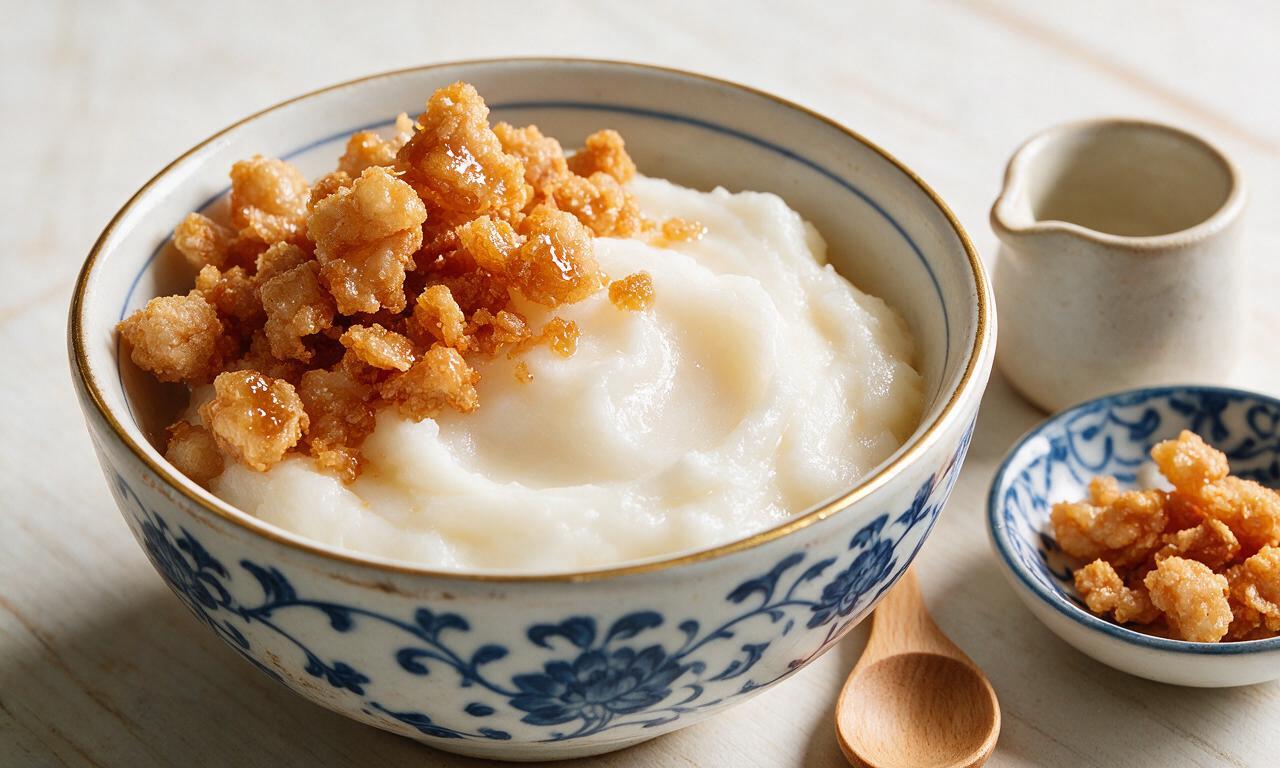
Transfer the strained solid cracklings to a paper-towel lined plate to drain excess fat, then toss immediately with 1 teaspoon of fine sea salt while they are still hot. Let them cool for 5 minutes, until they are shatteringly crisp.
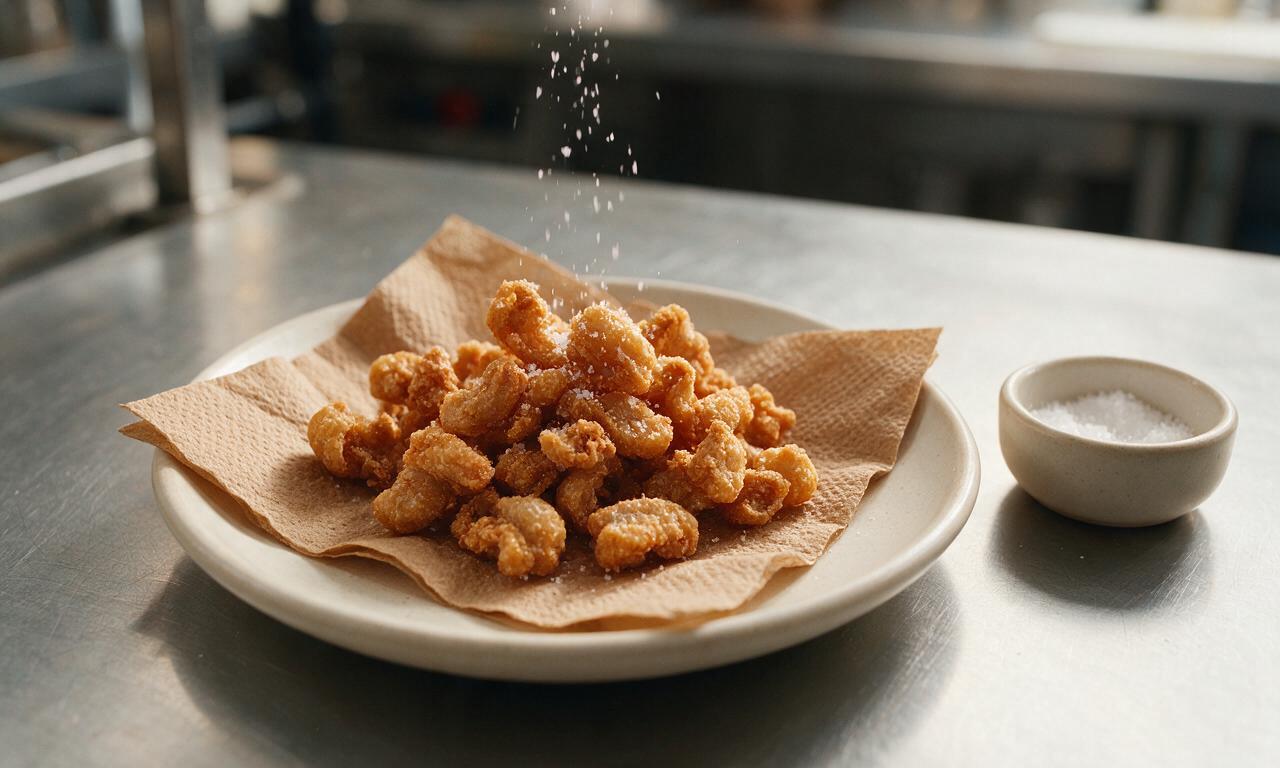
Step 6
step6:Season crispy cracklings
7

Store finished products

Let the strained lard cool completely to room temperature (about 30 minutes), then seal the jar tightly with a lid. Store lard in the refrigerator for up to 6 months, or in the freezer for up to 1 year; cooled cracklings can be stored in an airtight container at room temperature for up to 1 week for snacking or topping salads, soups, and baked goods.
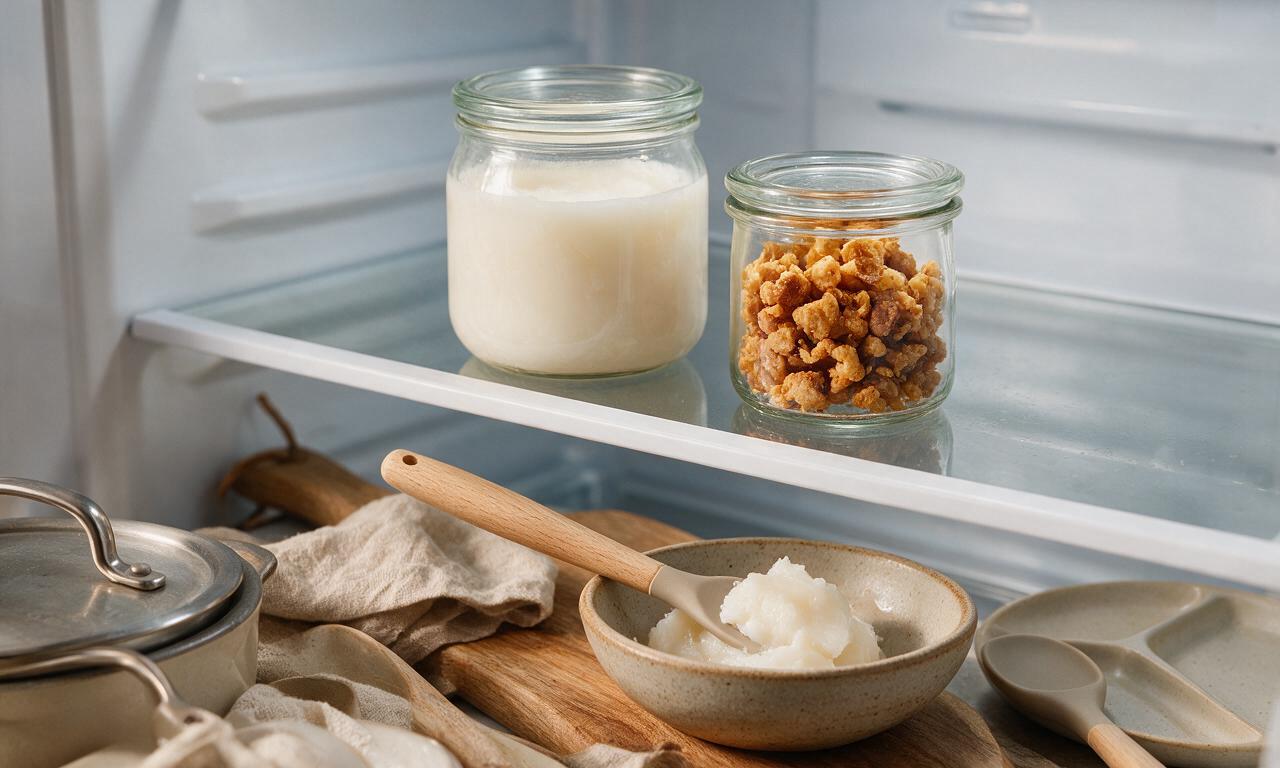
Step 7
step7:Store finished products

Tips

1.Avoid using high heat at any point during rendering, as this will burn the fat solids and turn the lard dark with a bitter, off-flavor that cannot be fixed.
2.For mild, neutral lard ideal for flaky pie crusts and baked goods, use pork leaf lard (fat from around the pig's kidneys) instead of back fat for a less pronounced porky taste.
3.Ensure all residual water evaporates fully before storing lard long-term, as trapped moisture will cause the fat to spoil quickly and develop mold even in the fridge.
✨ You May Also Like

Snacks & Appetizers
🍜 Mexico

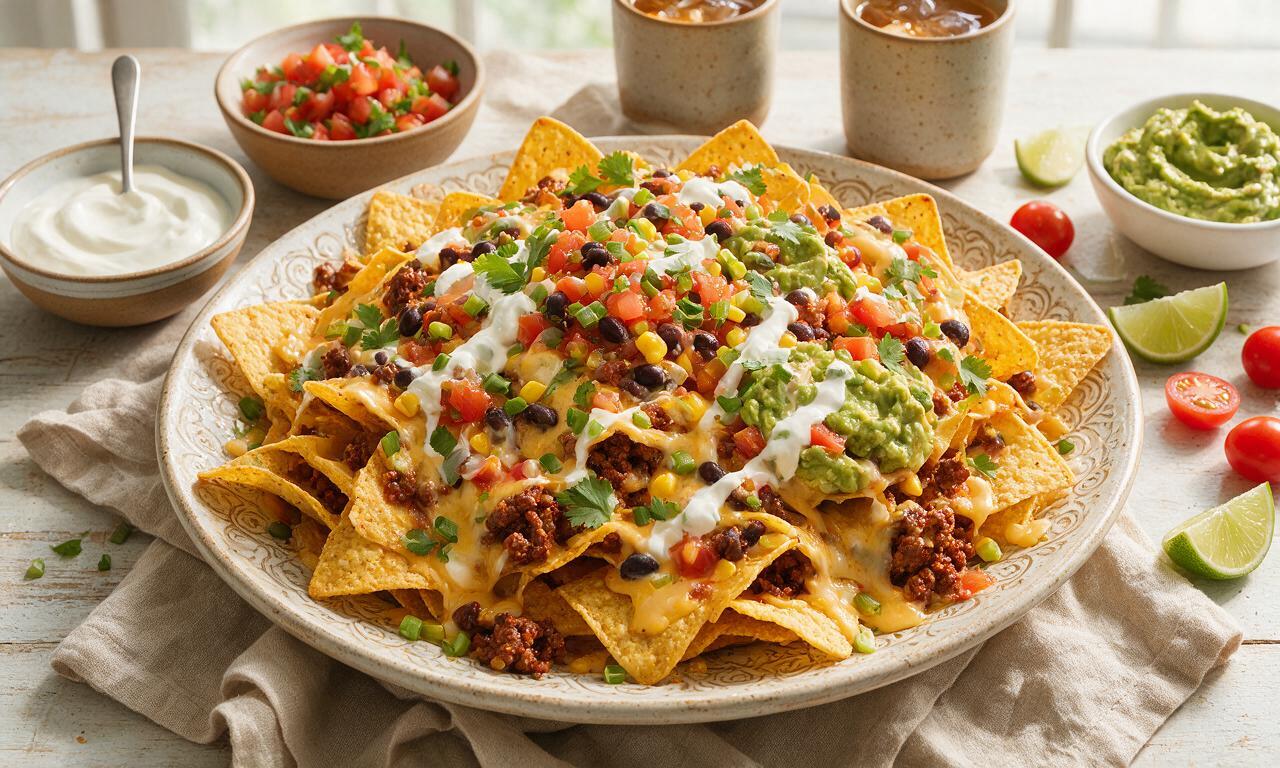
Crispy thick-cut tortilla chips piled high with seasoned beef, melted cheese, and bright fresh toppings for a shareable, crowd-favorite bite.

⏱️ 25 minuteSnacks & Appetizers ★ 4.7
Snacks & Appetizers
🍜 United States

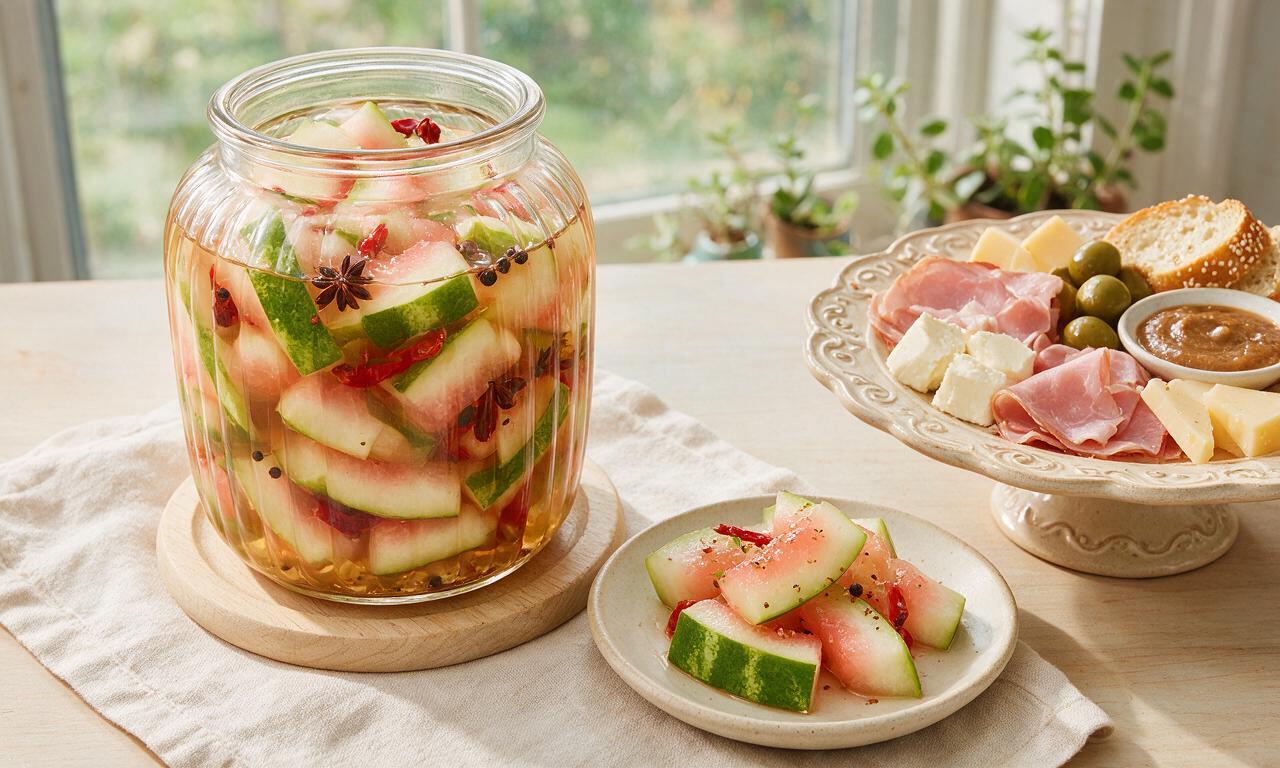
Crisp, sweet-tangy spiced pickled watermelon rind is a zero-waste summer staple, perfect with grilled meats, charcuterie, or eaten straight from the jar as a bright snack.

⏱️ 30 minuteSnacks & Appetizers ★ 4.8
Snacks & Appetizers
🍜 Germany

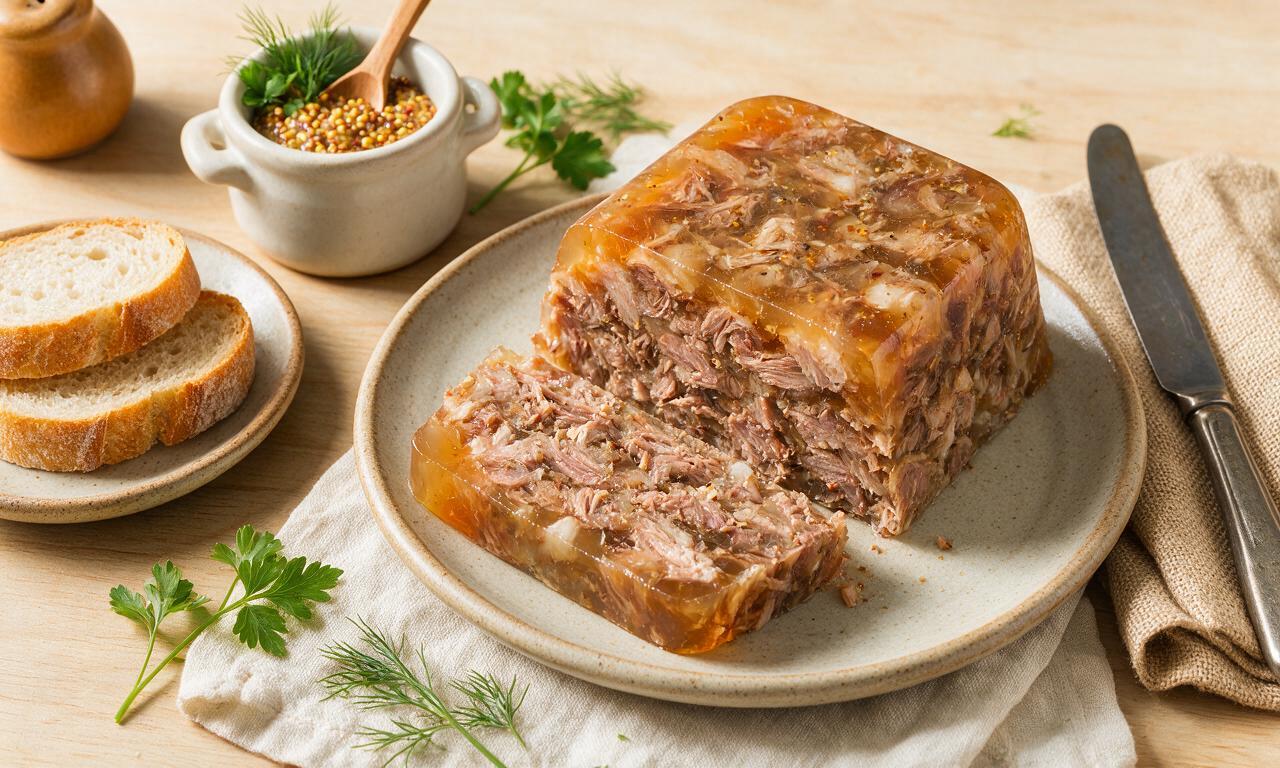
A tangy, jellied pork cold cut slow-simmered with aromatic spices, set into a firm sliceable loaf, served cold with mustard and crusty bread.

⏱️ 3 hours 4Snacks & Appetizers ★ 4.6
Snacks & Appetizers
🍜 United States

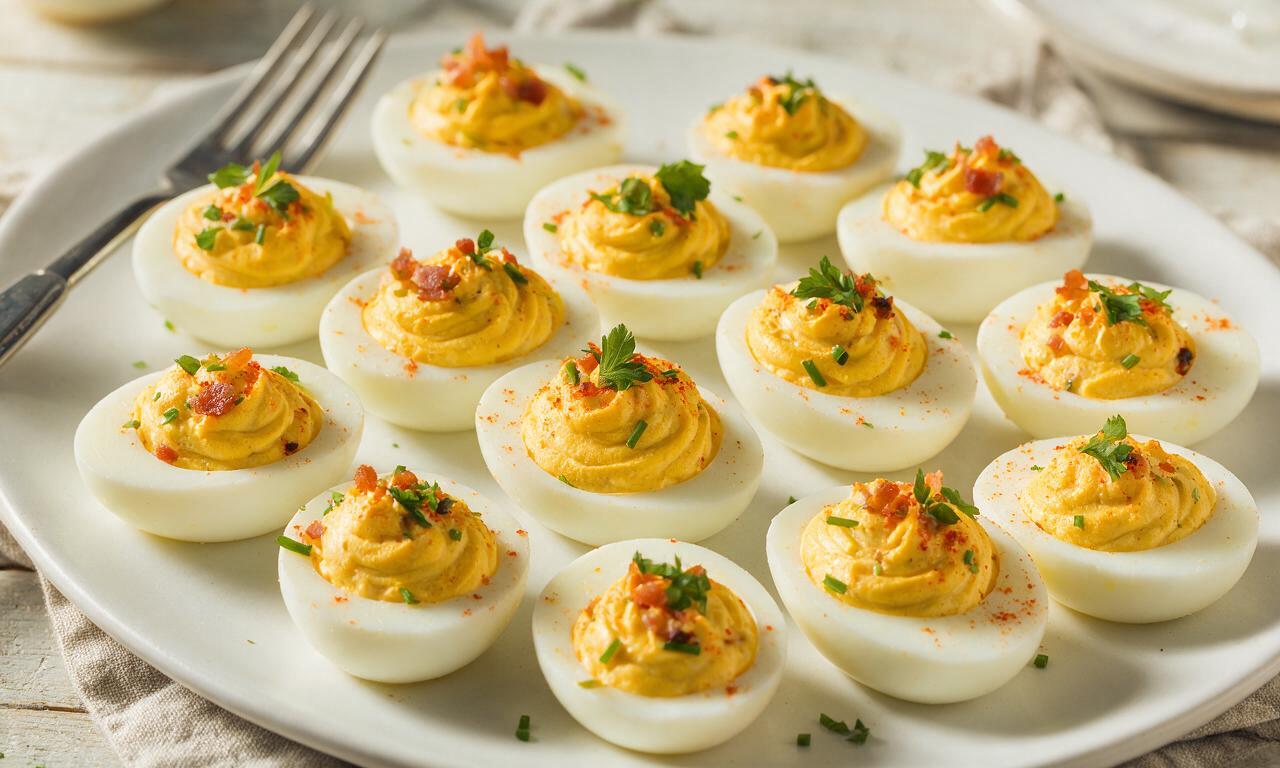
Creamy, tangy, perfectly seasoned hard-boiled egg halves filled with a rich, smooth yolk mixture, a timeless, crowd-pleasing bite for holiday and casual gatherings alike.

⏱️ 40 minuteSnacks & Appetizers ★ 4.7
Snacks & Appetizers
🍜 Russia

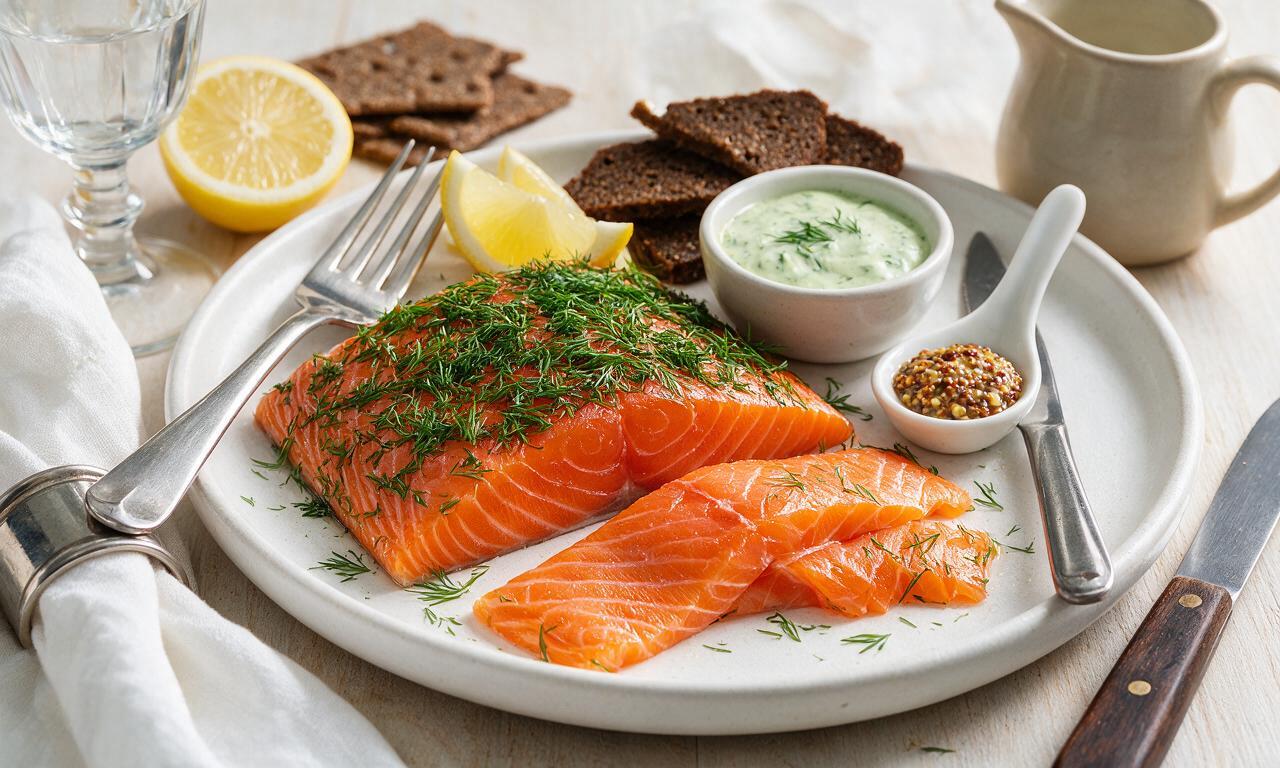
Silky, dill-forward no-smoke cured salmon, a Scandinavian classic with bright salty-sweet flavor, ideal for holiday starter platters and open-faced rye sandwiches.

⏱️ 48 hours Snacks & Appetizers ★ 4.6
Snacks & Appetizers
🍜 Japan

Crisp golden bottoms, juicy savory pork and vegetable filling, and tangy dipping sauce make these pan-fried gyoza a beloved shareable bite.

⏱️ 45 minuteSnacks & Appetizers ★ 4.9

Rendering:Frequently Asked Questions

1.Why do you add cold water to the pot instead of rendering the fat in a dry pan?
Cold water creates a gentle, even heat buffer as it slowly evaporates, preventing the fat from scorching before it fully melts out of the back fat. It keeps early render temperatures low for a clean, neutral-tasting lard instead of a burnt, bitter final product, and helps cracklings crisp evenly without burning on the pot bottom.
2.Is it okay to leave small bits of lean pork attached to the back fat before rendering?
Small stray lean bits will burn quickly during the long slow render, giving your finished lard an off, bitter, overly meaty burnt flavor and discoloring it to a murky brown. For the clearest, longest-lasting lard and light, non-bitter cracklings, take 5 extra minutes to trim off all pink lean bits before you start.
3.How small should I cut the pork back fat before I start rendering?
Cut the fat into uniform ½-inch cubes for the most consistent render. Unevenly sized pieces will render at different rates—small bits will burn before larger chunks fully release their fat, leaving you with overcooked, uneven cracklings and slightly scorched lard. You don’t need perfect dices, just keep sizes roughly consistent.
4.What heat setting should I use for the entire rendering process?
Stick to medium-low the entire time, no higher. High heat will scorch the fat, give your lard a strong, unpleasant burnt pork taste, and turn cracklings tough and acrid before all the fat renders out. If you see rapid, aggressive popping that smells overly toasty, turn the heat down a notch immediately.
5.How do I tell when the lard is fully rendered and the cracklings are done?
You’ll know it’s done when all the water has evaporated, the solid cracklings have sunk then floated back to the top, turned a light golden brown, and bubbling from melting fat slows to almost a stop. The full process takes 45 minutes to an hour. Don’t cook until cracklings are dark brown—they’ll keep cooking briefly off heat.
6.Do I need to stir the pot constantly while the lard is rendering?
Stir gently every 10 to 15 minutes to make sure no fat cubes stick to the bottom of the pot and burn. You don’t need to stir constantly—over-stirring won’t speed up the process, and can break up cracklings into tiny, hard-to-strain bits before they crisp up properly. A quick light scrape of the pot bottom is all you need.
7.What’s the best way to store finished lard to maximize its shelf life?
First, strain hot lard through a fine-mesh sieve lined with cheesecloth into clean, dry glass jars, separating out the cracklings. Let it cool completely to room temperature, seal tightly, and store in the fridge for up to 6 months, or in the freezer for up to 2 years. Keep stray water or food bits out of jars to avoid spoilage.
8.When should I add salt to the cracklings, and can I add other seasonings?
Toss the hot, strained cracklings with fine sea salt immediately after you remove them from the rendered lard, while they’re still glistening with residual fat. The heat helps the salt stick evenly instead of falling to the bottom of the bowl. You can add a pinch of paprika, garlic powder, or black pepper for a zesty snack twist if you’d like.
9.My cracklings turned chewy instead of shatteringly crisp—what went wrong?
Chewy cracklings usually mean you didn’t render them long enough to cook out all residual fat trapped in the solid bits, or you cooked them on too high heat so the outside seared before the inside fat melted. Next time, keep heat lower, cook to light golden all over, and drain cracklings on paper towels immediately after straining.
10.Can I use pork fat with the skin still attached, or fat from other pork cuts, instead of skinless back fat?
Fat with skin attached will make much chewier, tougher cracklings and produce a lard with a heavier, porkier flavor, since skin has lots of tough connective tissue. Fat trimmed from chops or other cuts often has too much attached lean meat that burns easily, so stick to trimmed, skinless back fat for the cleanest, most versatile result.
11.What’s the smoke point of home-rendered lard, and what cooking is it best for?
Properly rendered, clean home lard has a smoke point around 370°F to 400°F, which makes it perfect for pan-frying, roasting, sautéing, and even deep-frying favorite comfort foods. It has a mild, non-greasy flavor that doesn’t overpower dishes, and it makes incredibly flaky pie crusts and biscuits when used for baking too.
12.Is it normal for the lard to turn solid and opaque white after it cools?
That’s totally normal! Pure rendered lard will set to a smooth, opaque, creamy white solid when cooled to room temperature or chilled in the fridge. If it stays liquid and translucent after cooling, residual water is trapped in the fat, which shortens shelf life—reheat it gently to cook off that extra moisture if that happens.
13.Can I use the crispy cracklings in other recipes instead of eating them as a plain snack?
Absolutely! Crispy salted cracklings make a fantastic crunchy topping for salads, baked potatoes, soups, and chili, or you can chop them up and mix them into cornbread, biscuit dough, or scrambled eggs for a salty, savory kick. Store them in an airtight container in the fridge for up to a week, or freeze for 3 months.

Comments (5)

2 days ago

OMG y’all, this recipe is a total game changer! I grew up watching my grandma render lard on her old wood stove but never could get it right myself. The instructions were so straightforward, even for a total newbie like me. The cracklings came out perfectly crispy, not burnt at all! I tossed a little paprika and salt on them and my kids devoured the whole bowl before the lard even finished cooling. Used the first jar for pie crust this weekend and it was *chef’s kiss* flaky. 10/10 will be making this on repeat for meal prep!

yesterday

Wait you used the lard for pie crust? That’s genius! I’ve only ever used it for frying chicken, I’ve gotta try that next batch. Did you notice any savory pork flavor coming through in the sweet pie? I’m worried it’ll be weird!

12 hours ago

So glad you loved the recipe! If you want totally neutral lard for baking, just make sure you don’t cook the cracklings too dark once the fat is fully rendered—light golden cracklings mean the lard will have a very mild, almost unnoticeable flavor perfect for sweet pies. Enjoy!

1 week ago

Super easy recipe, turned out way better than the store bought lard I’ve been using for years. Only thing I messed up was I had the heat a touch too high at the start, so a small handful of the cracklings got a little charred at the bottom of the pot. Still tasted great though! Brought a jar of lard and a bag of the cracklings to our neighborhood potluck last weekend and everyone was asking where I bought them. Will definitely keep the heat lower next time like the recipe says, oops.

5 days ago

Thanks for the honest feedback, Mike! So many people run into that high heat issue when they’re first getting started—low and slow really is the secret to perfectly golden cracklings and smooth, clean-tasting lard. Glad it was still a hit at the potluck even with a few charred bits!

30 minutes ago

Wait, 90 minutes total? I thought rendering lard took all day! This is SO much faster than I expected. Just popped my pot on the stove a little bit ago and it’s already looking so good. The cracklings are starting to float and smell insane. Already planning to save a big jar to use for roasted veggies all month—nothing beats that lard crisp on roasted potatoes, am I right?

yesterday

Buddy of mine told me homemade lard makes the best fried fish, so I gave this recipe a shot last night. HOLY COW he was right. The fish came out so light and crispy, not greasy at all. The cracklings? I ate half of them standing over the sink while I was waiting for the oil to cool, no shame. My wife thought I was crazy for making lard at home until she tried a crackling, now she’s asking when we’re making the next batch. Game. Changer.

2 hours ago

Second this for fried fish! I’ve been making lard this way for a couple years now, it makes the best hush puppies too. Pro tip: toss a little cajun seasoning on the warm cracklings, you won’t regret it!

5 days ago

I’ve been scared to try rendering lard at home for ages because I thought it would be messy and complicated, but this recipe made it totally foolproof! My grandma would be so proud. I used the lard to make her old fashioned biscuit recipe this morning and they came out taller, flakier, and more flavorful than any batch I’ve made with butter or shortening. The cracklings got crumbled up and mixed into a batch of cornbread for our family dinner Sunday, and there were zero leftovers. SO good, can’t recommend enough.

3 days ago

Wait crackling cornbread? That’s the stuff of my childhood! My dad used to make that every fall when we’d go apple picking. I’ve got to render a batch this weekend just for that, I haven’t had it in years.

2 days ago

Crumbling cracklings into cornbread is such a perfect use—we love doing that too! So happy the recipe helped you recreate those nostalgic family favorite bakes. Nothing beats those generational recipe wins!