
seaweed sandwich
intro
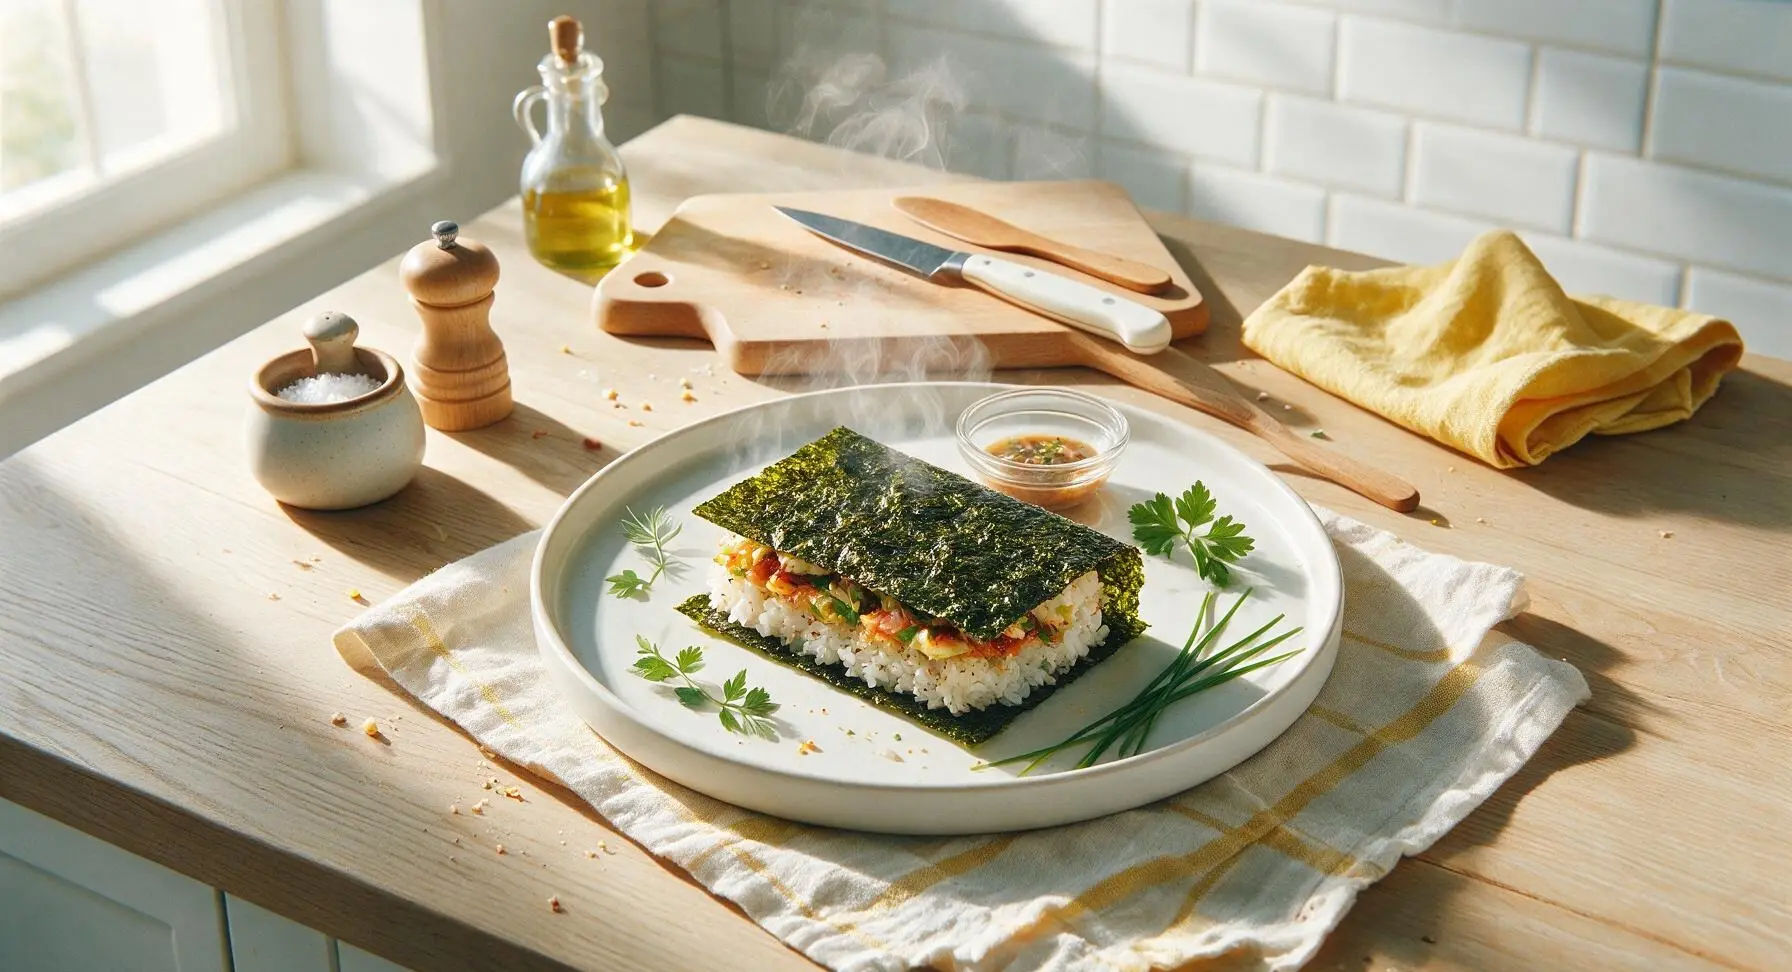
Crisp roasted seaweed sheets sandwich fluffy seasoned rice and bright, savory fillings for an umami-packed, portable bite with perfect texture contrast. Ready in minutes with no fancy equipment.
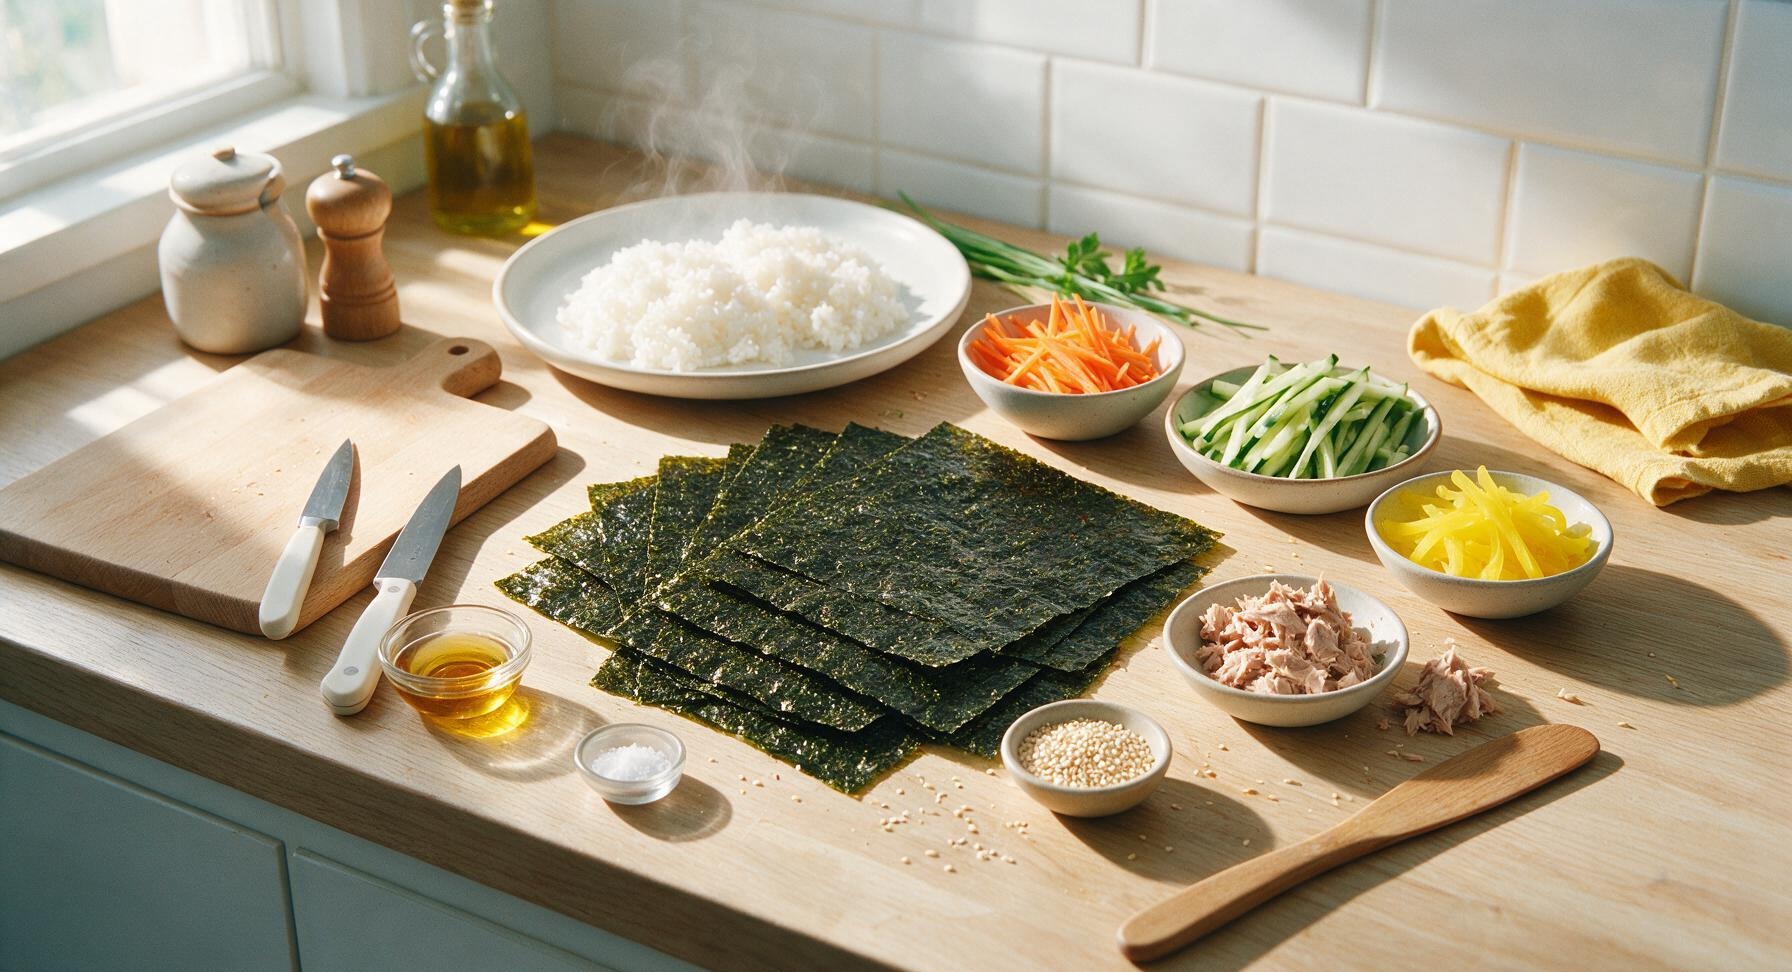
Ingredients
Steps
Season Cooked Rice
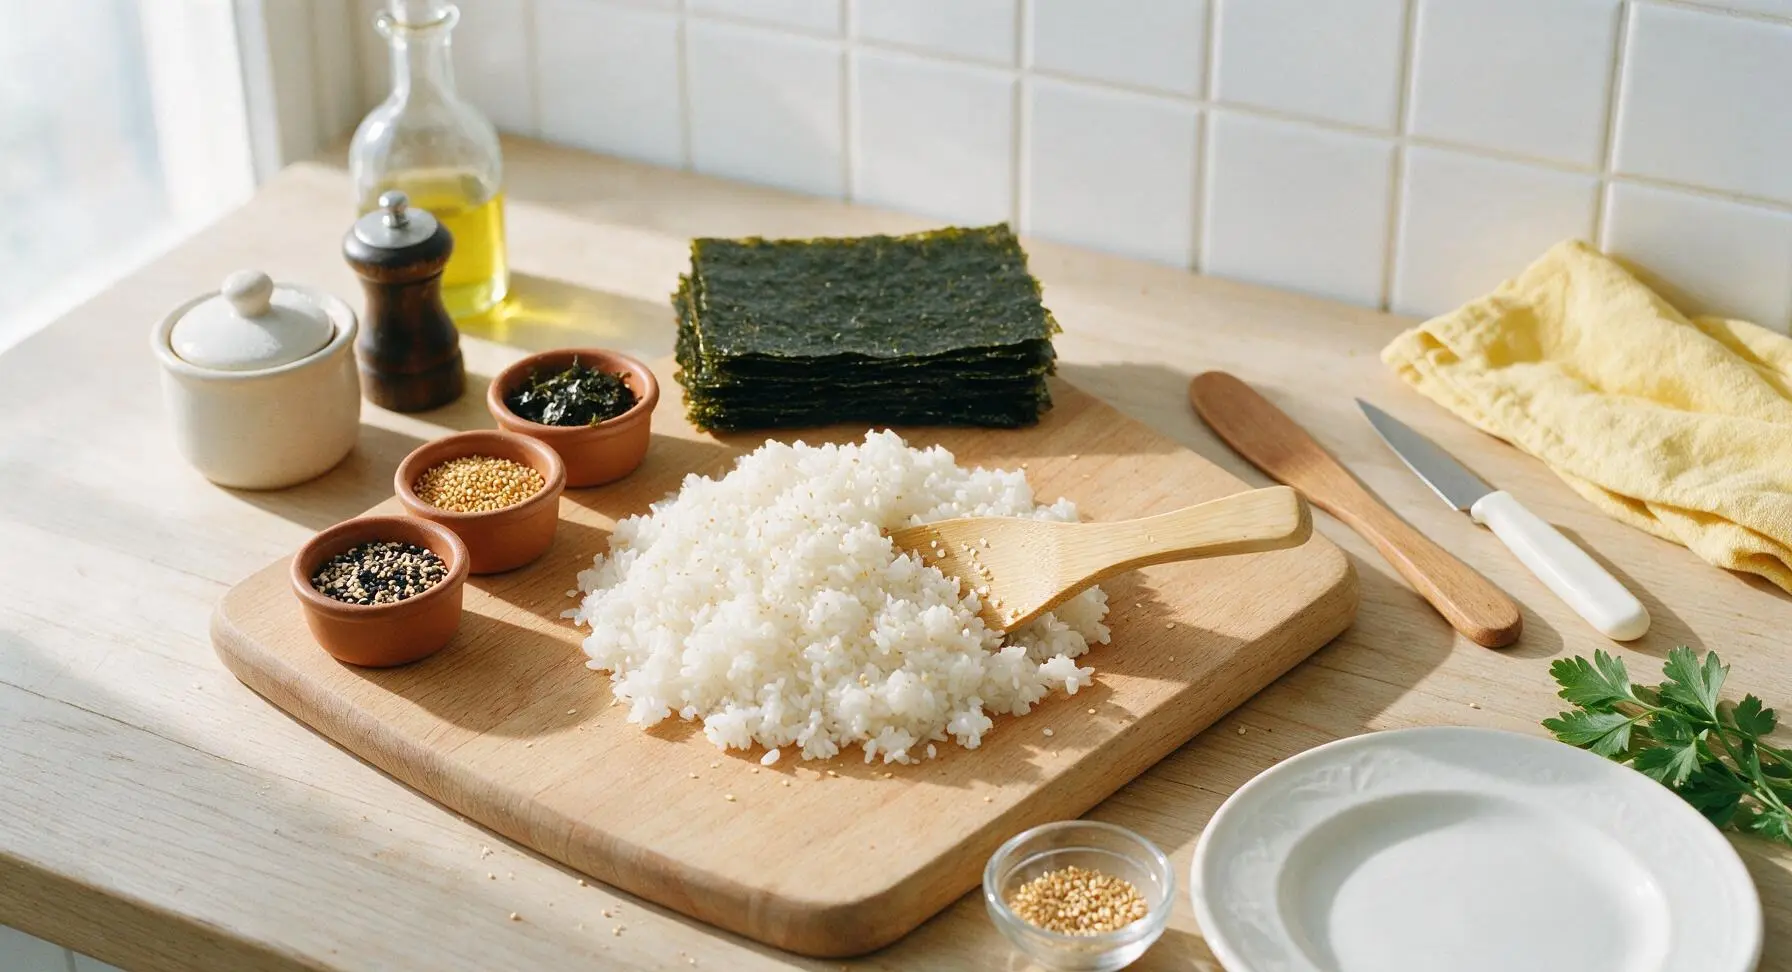
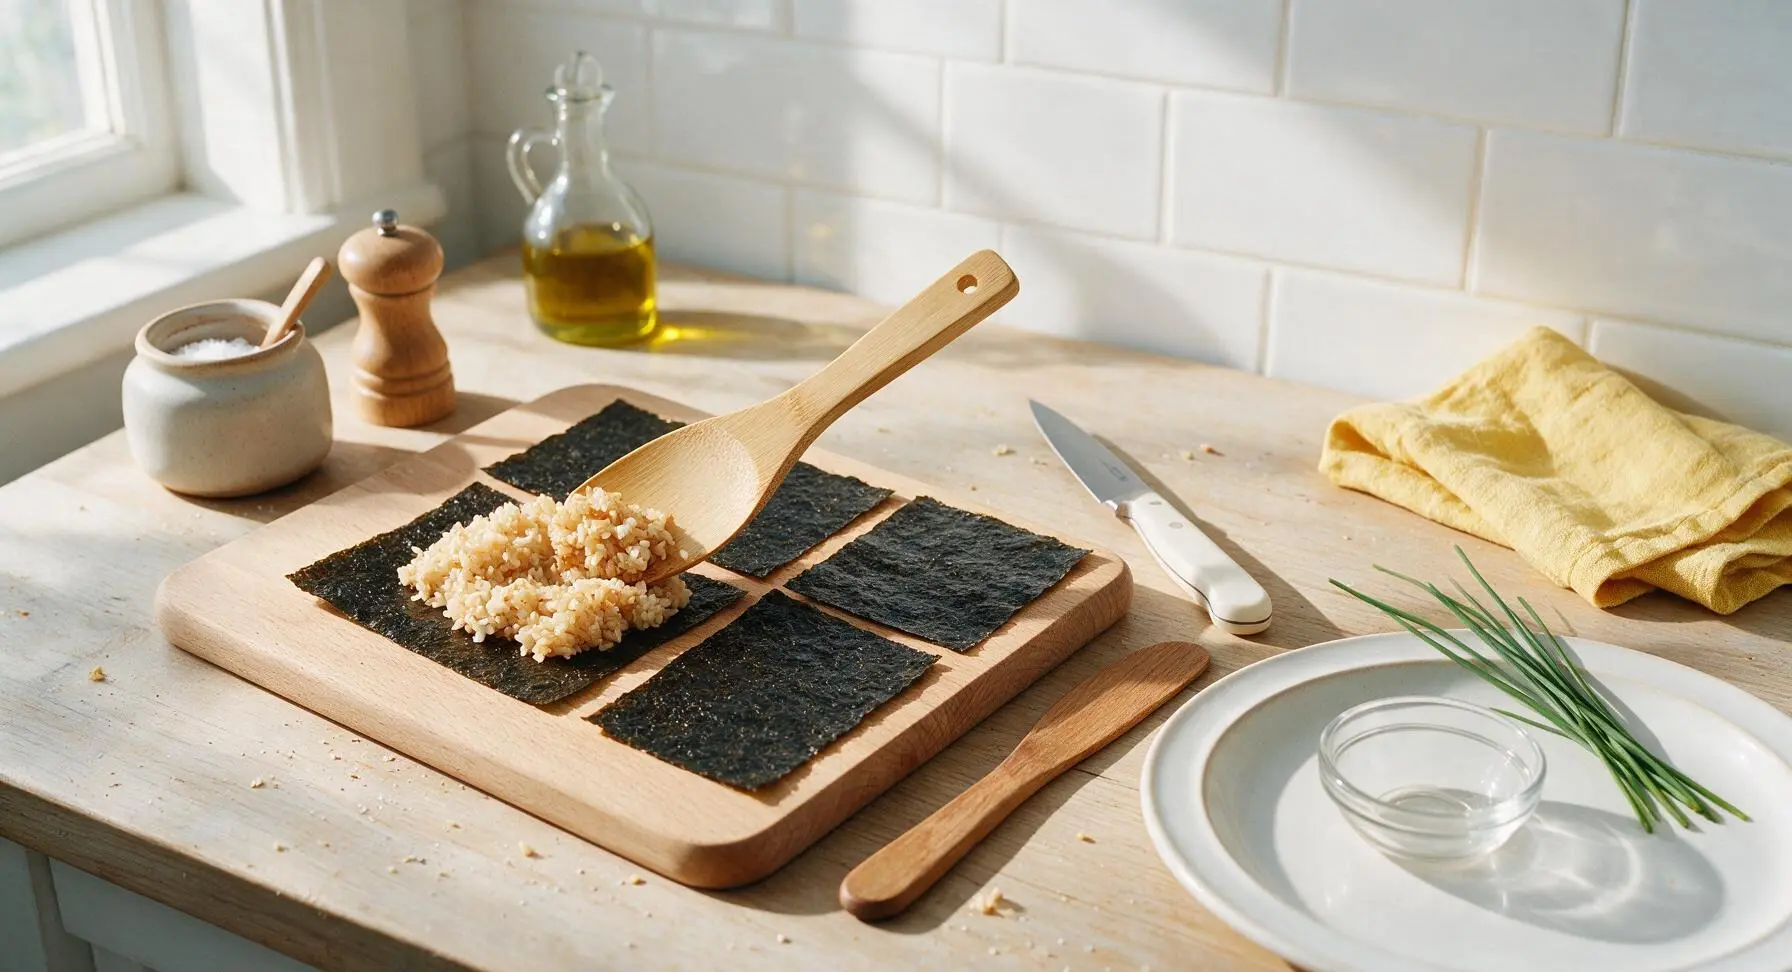
Transfer the slightly warm (not piping hot) cooked short-grain rice to the center of the acacia cutting board. Sprinkle 1/4 tsp fine sea salt, 1/2 tsp roasted sesame oil, and 1/2 tbsp toasted white sesame seeds over the rice. Use the bamboo rice paddle to gently cut and fold the seasonings through the rice, avoiding mashing or over-stirring to keep grains fluffy and separate. Set aside for 2 minutes to cool slightly, so residual heat does not make the seaweed soggy during assembly.
Lay Base Seaweed Sheets
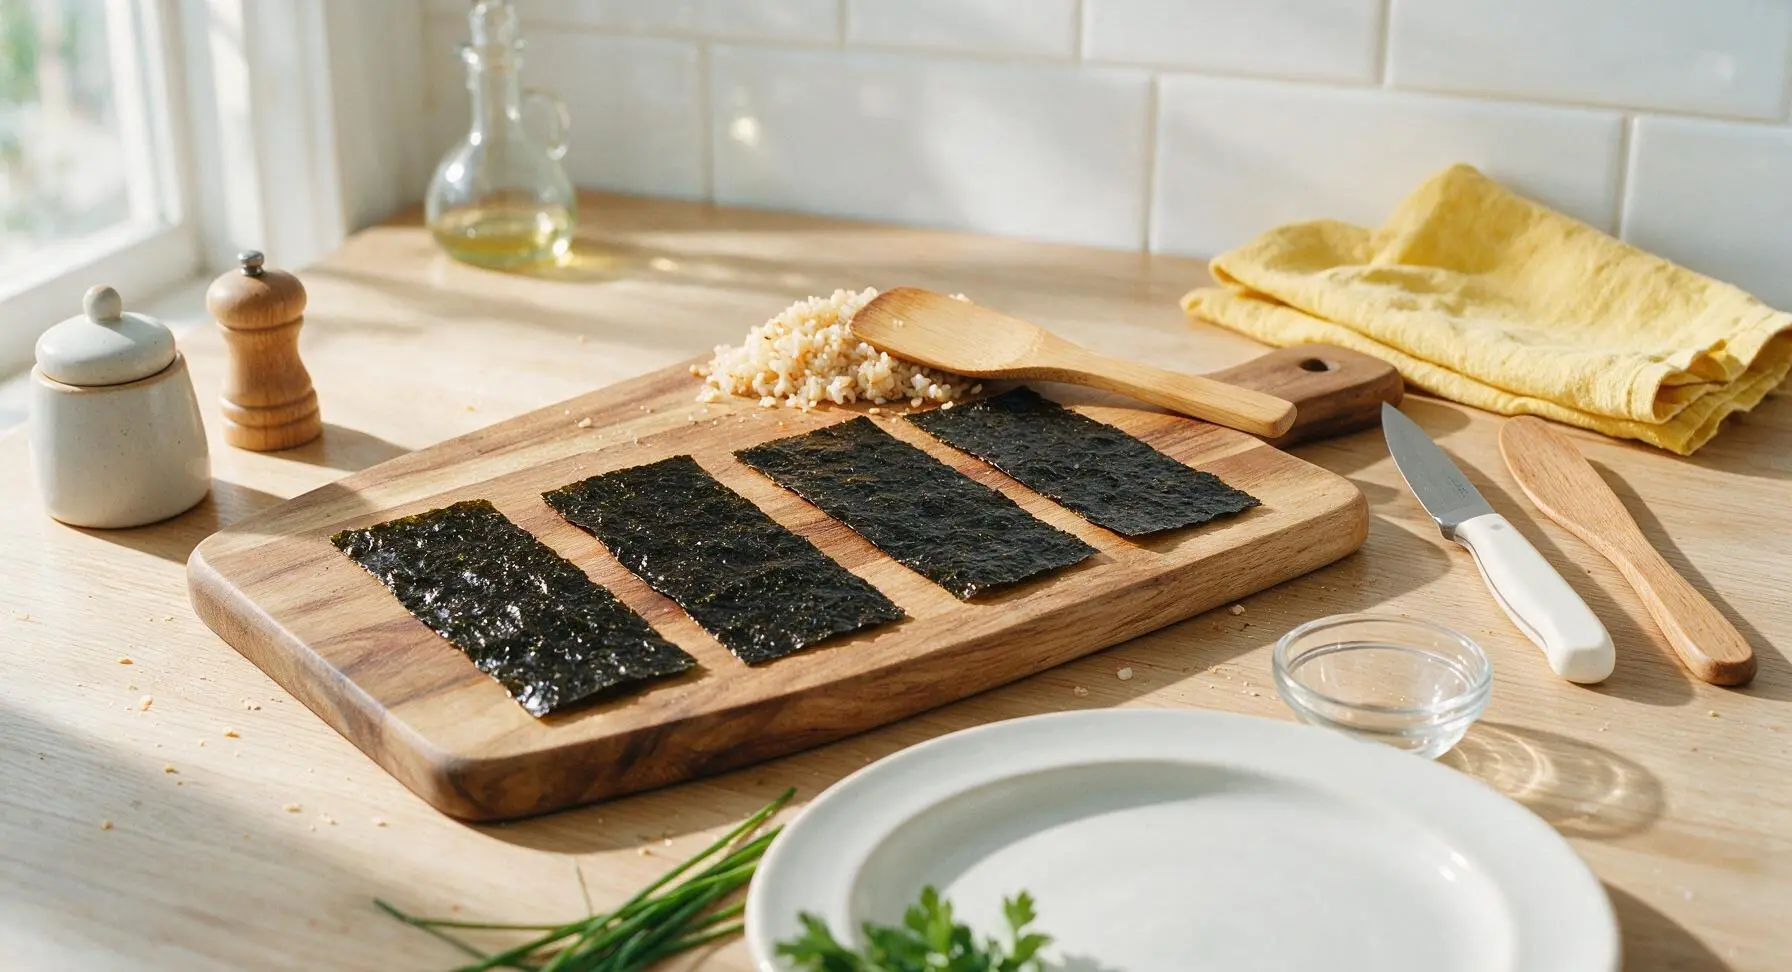
Take 4 of the 8 roasted seaweed sheets, and lay them flat in a single layer on the acacia cutting board, shiny side facing down. Leave a 1cm gap between each sheet to prevent filling overflow during assembly. Gently press any curled edges flat with your fingertip so sheets lie completely smooth against the board.
Spread Thin Rice Layer
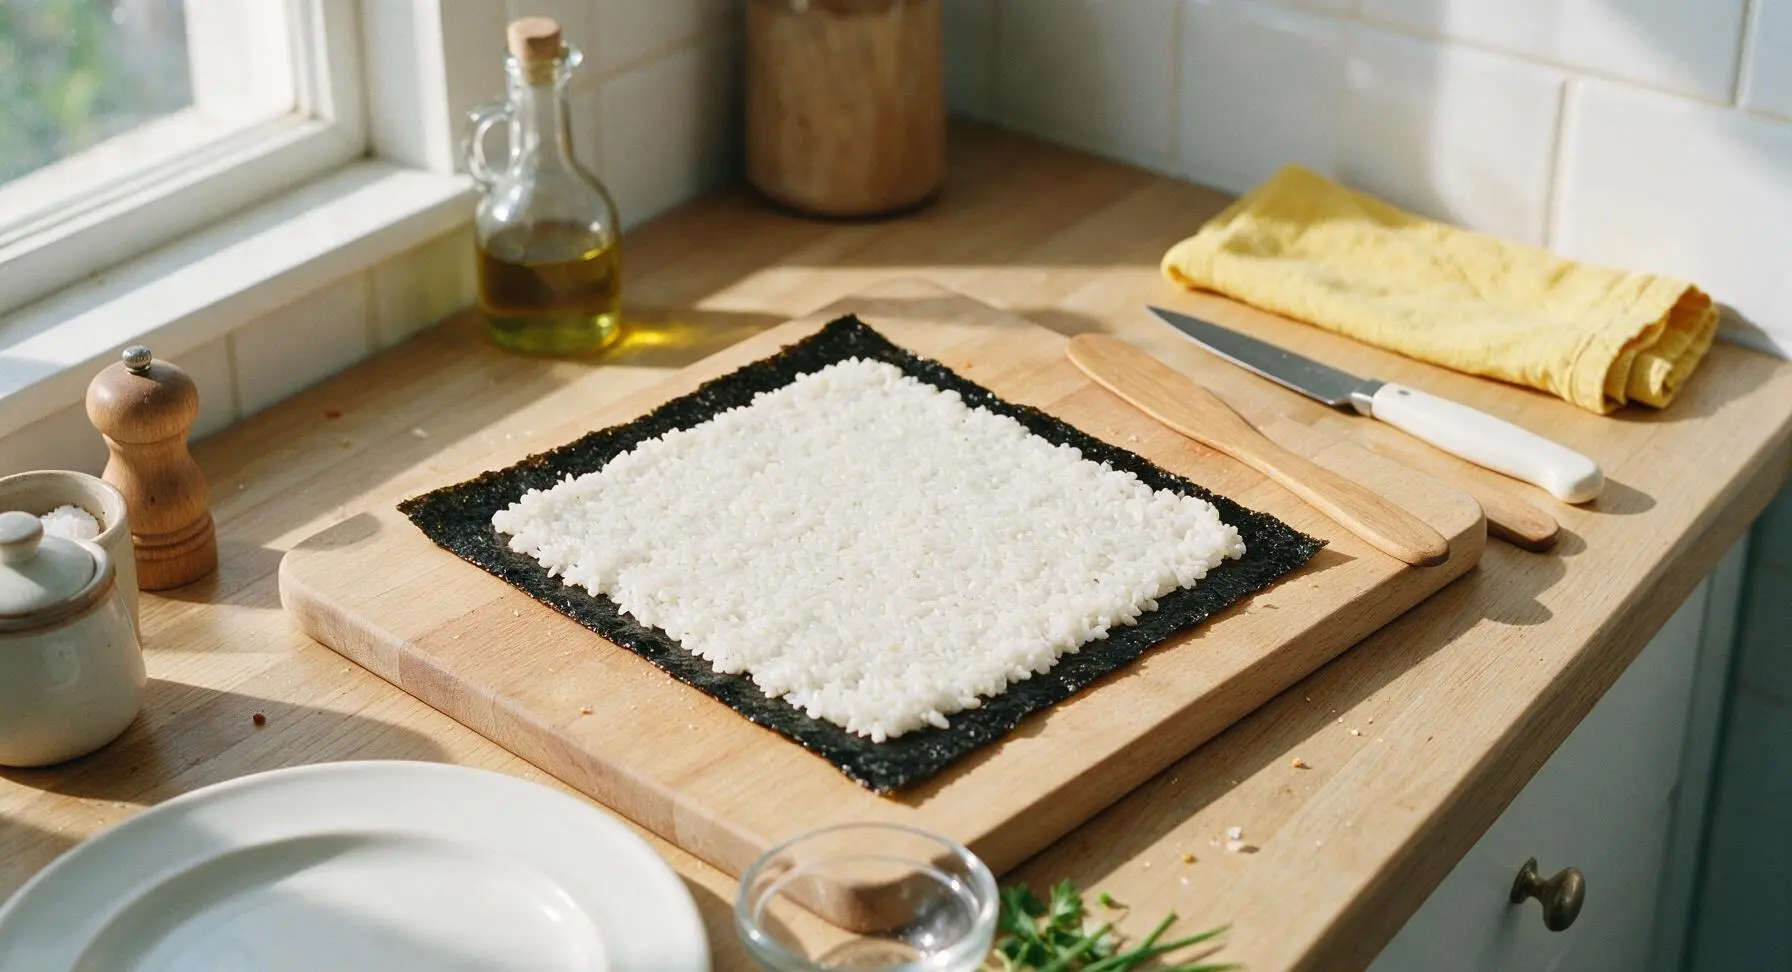
Use the bamboo rice paddle to scoop 1/4 cup of seasoned rice onto each seaweed sheet. Spread the rice in a thin, even 5mm thick layer across the entire surface of each sheet, leaving a 5mm bare seaweed border along all edges. Press the rice very gently so it adheres to the seaweed, taking care not to smash grains which would create a dense, heavy sandwich.
Add Filling Layers
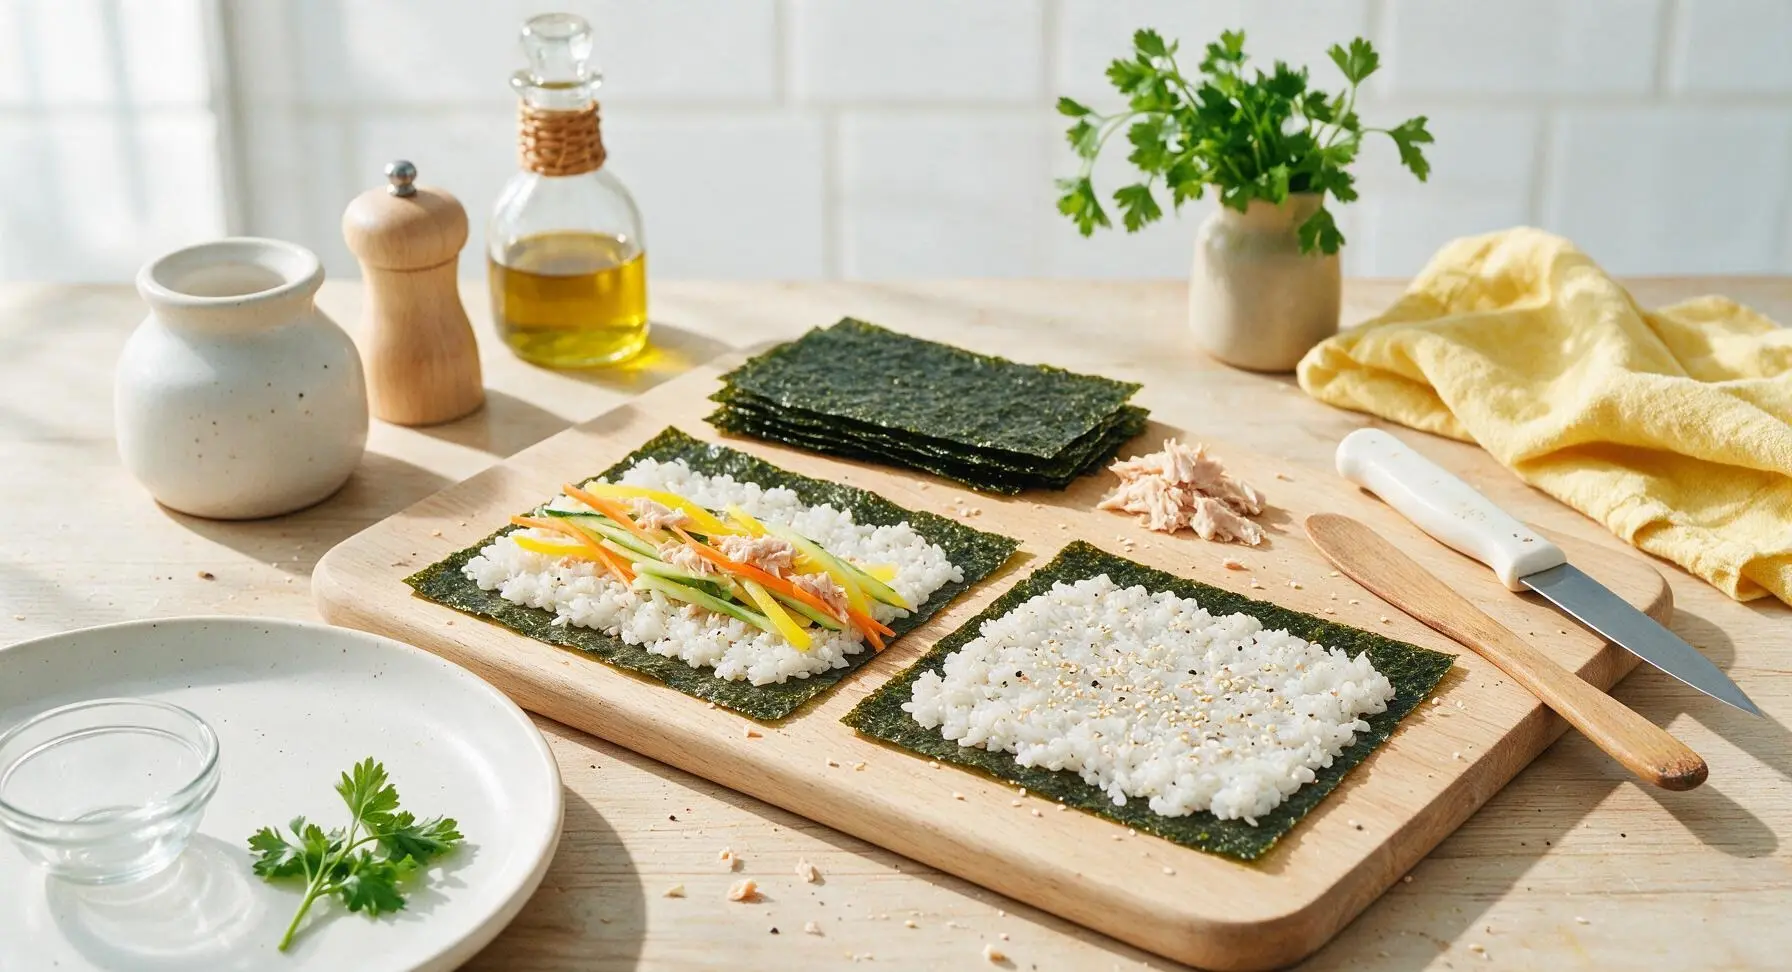
Divide the flaked drained tuna, julienned carrot, cucumber, and pickled radish evenly across the rice-covered seaweed sheets. Arrange fillings in a thin, single layer—do not overstuff, as excess filling will cause the sandwich to split when pressed. Spread fillings to the edge of the rice border to ensure every bite has a balanced mix of flavors and textures.
Top With Seaweed Lids
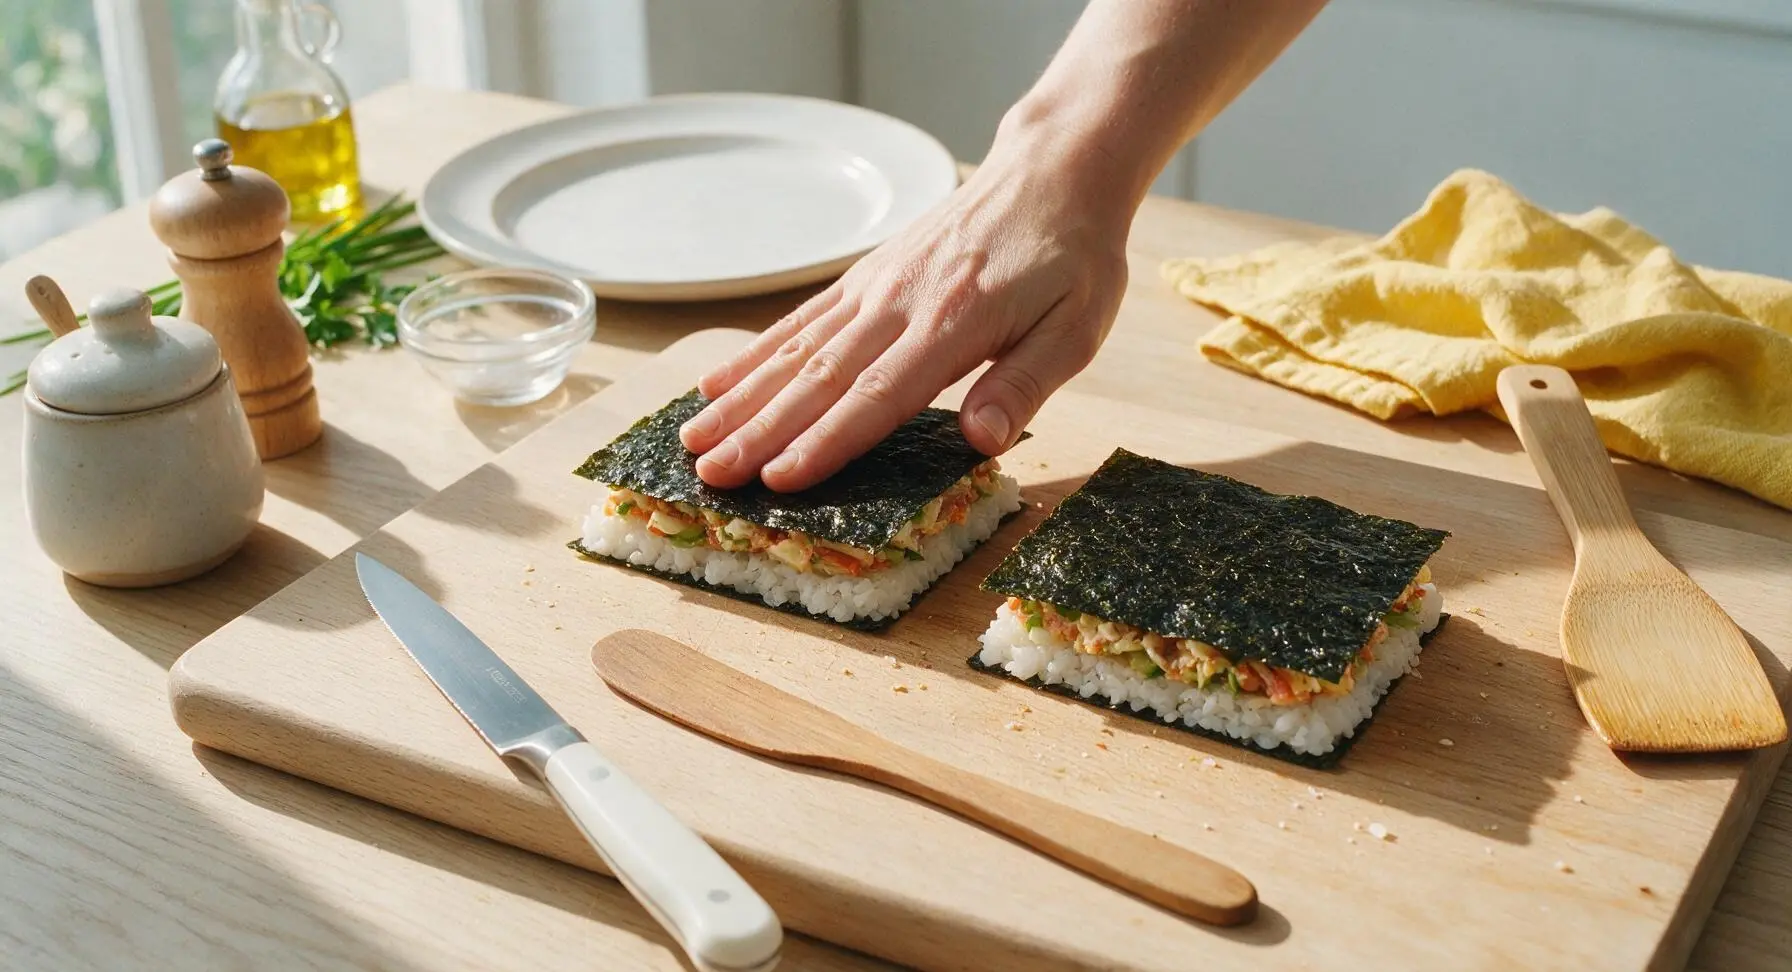
Take the remaining 4 roasted seaweed sheets, and place one sheet shiny side up over each filling-covered base. Align the edges perfectly so the top sheet matches the bottom sheet exactly. Gently press the surface of each sandwich with the flat of your palm to help the top seaweed adhere to the rice and create a temporary seal.
Press Sandwiches Evenly
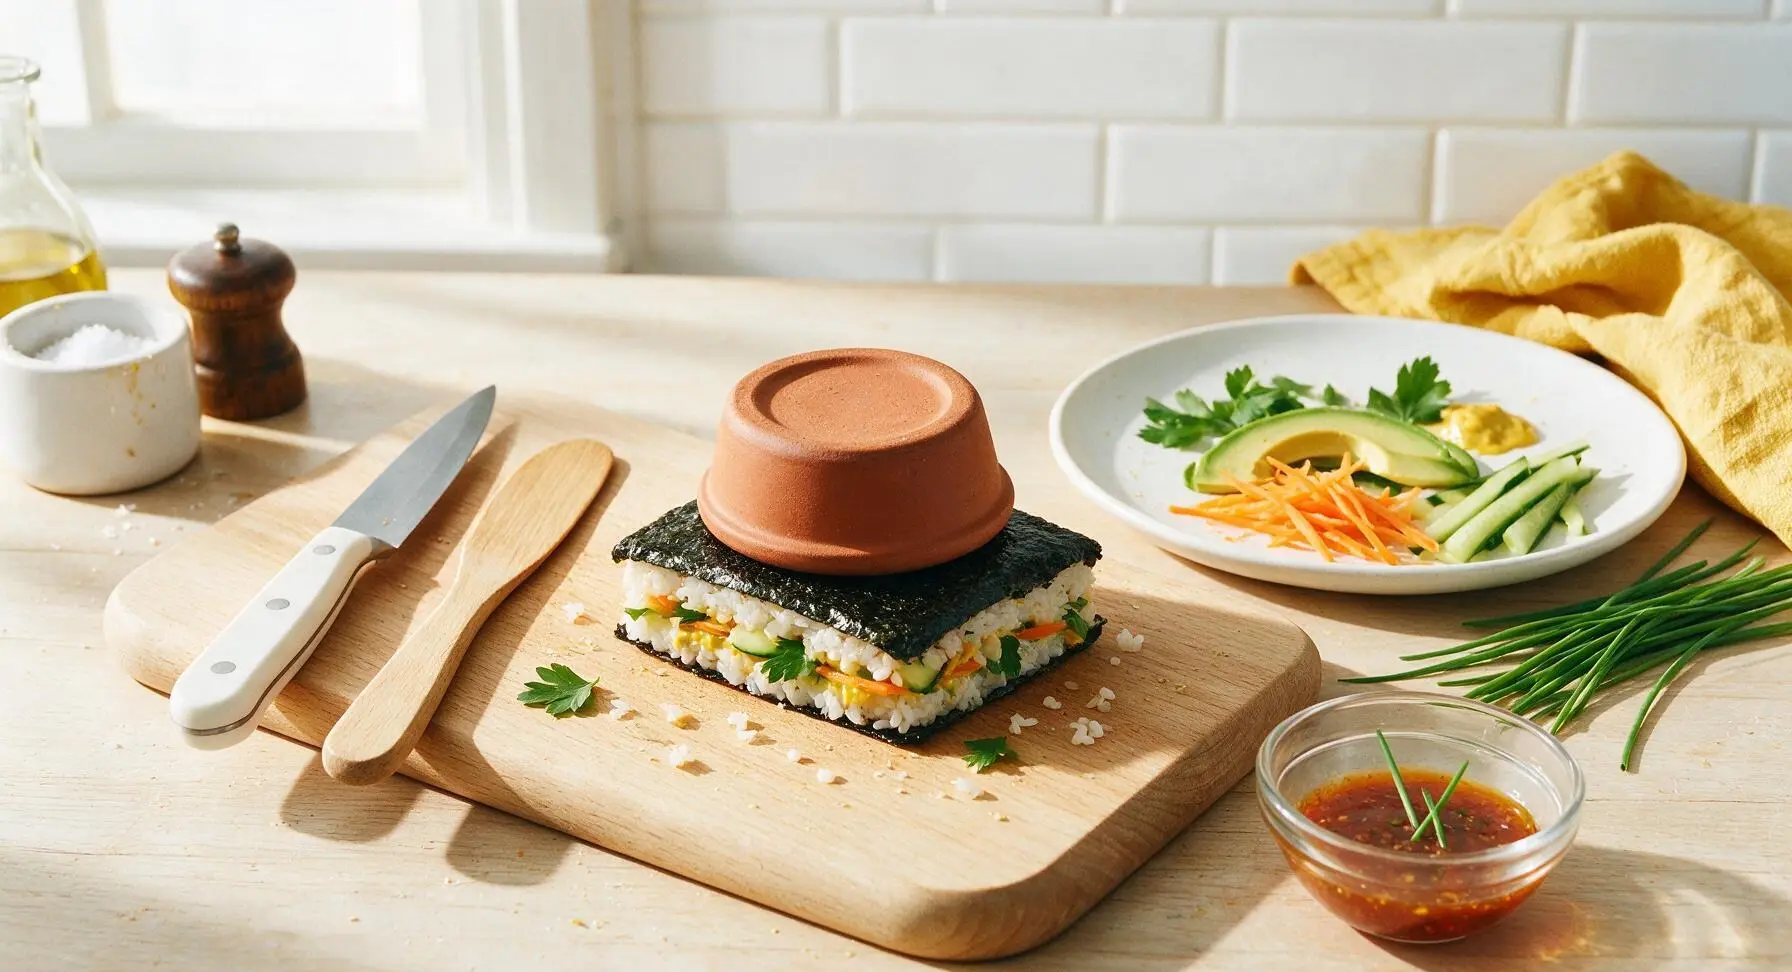
Use the flat base of a clean terracotta ramekin to press evenly across the entire surface of each seaweed sandwich, applying gentle, consistent pressure for 10 seconds per sandwich. This helps the rice stick to both seaweed layers, prevents fillings from falling out when cut, and creates a compact, crisp sandwich. Brush any stray rice grains or filling bits to the side of the cutting board as you work.
Cut Into Portions
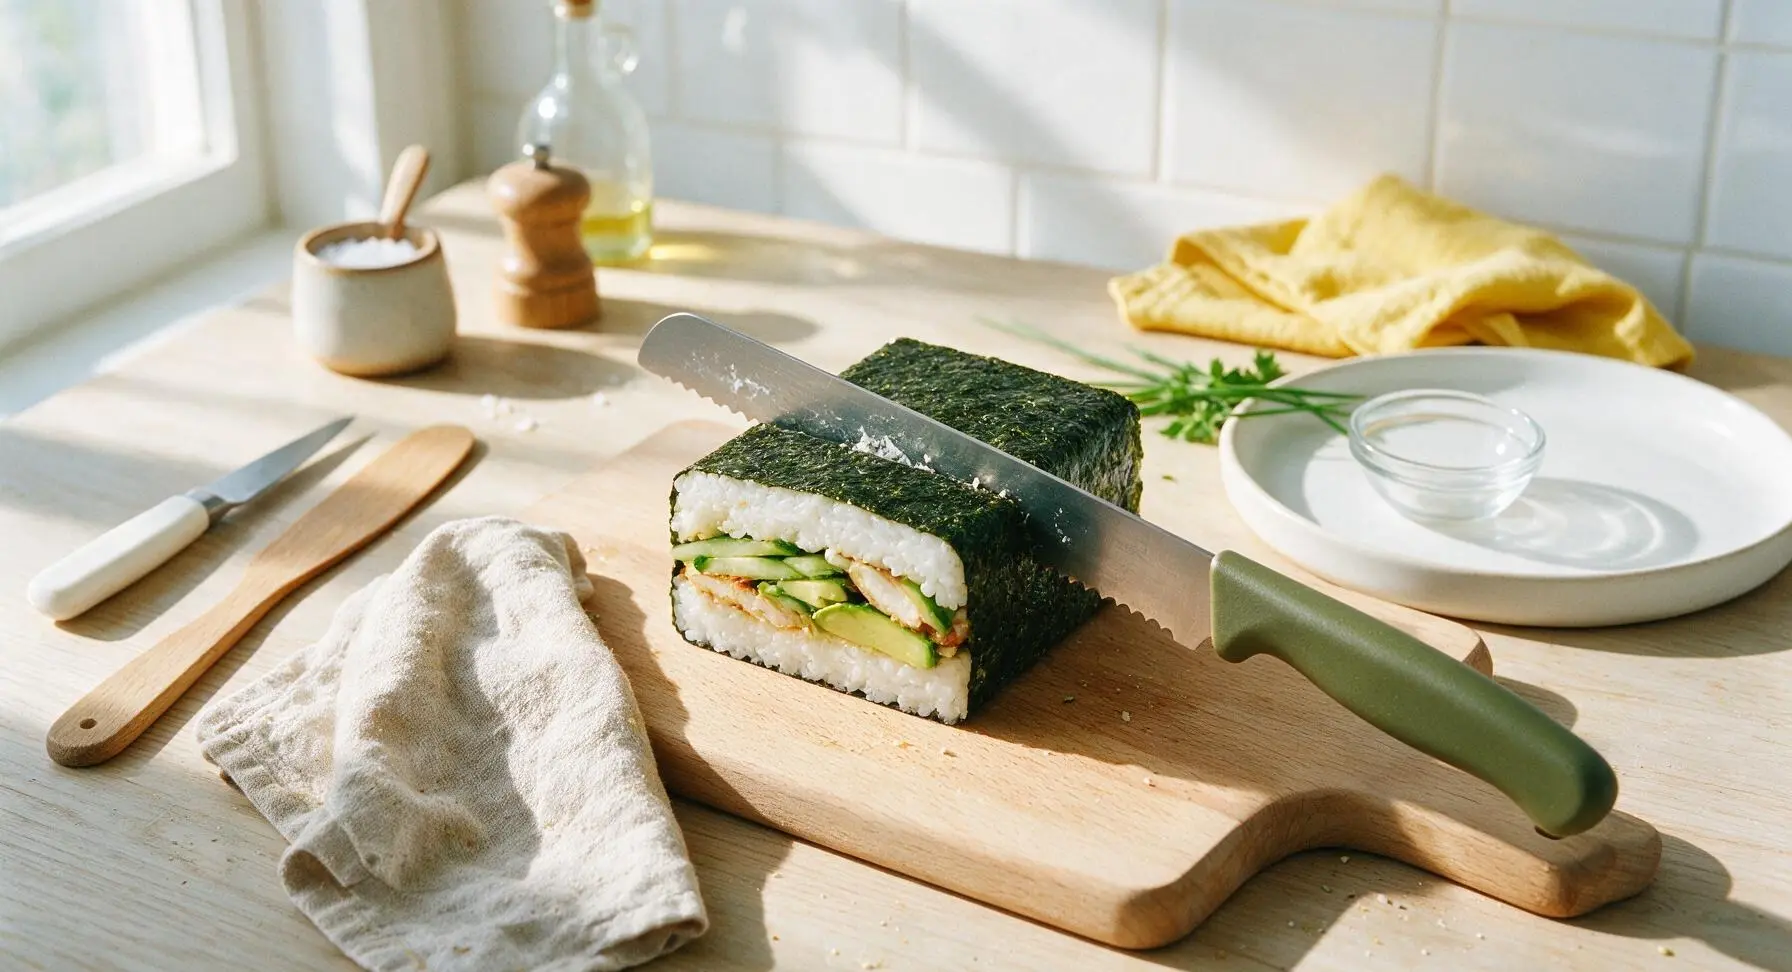
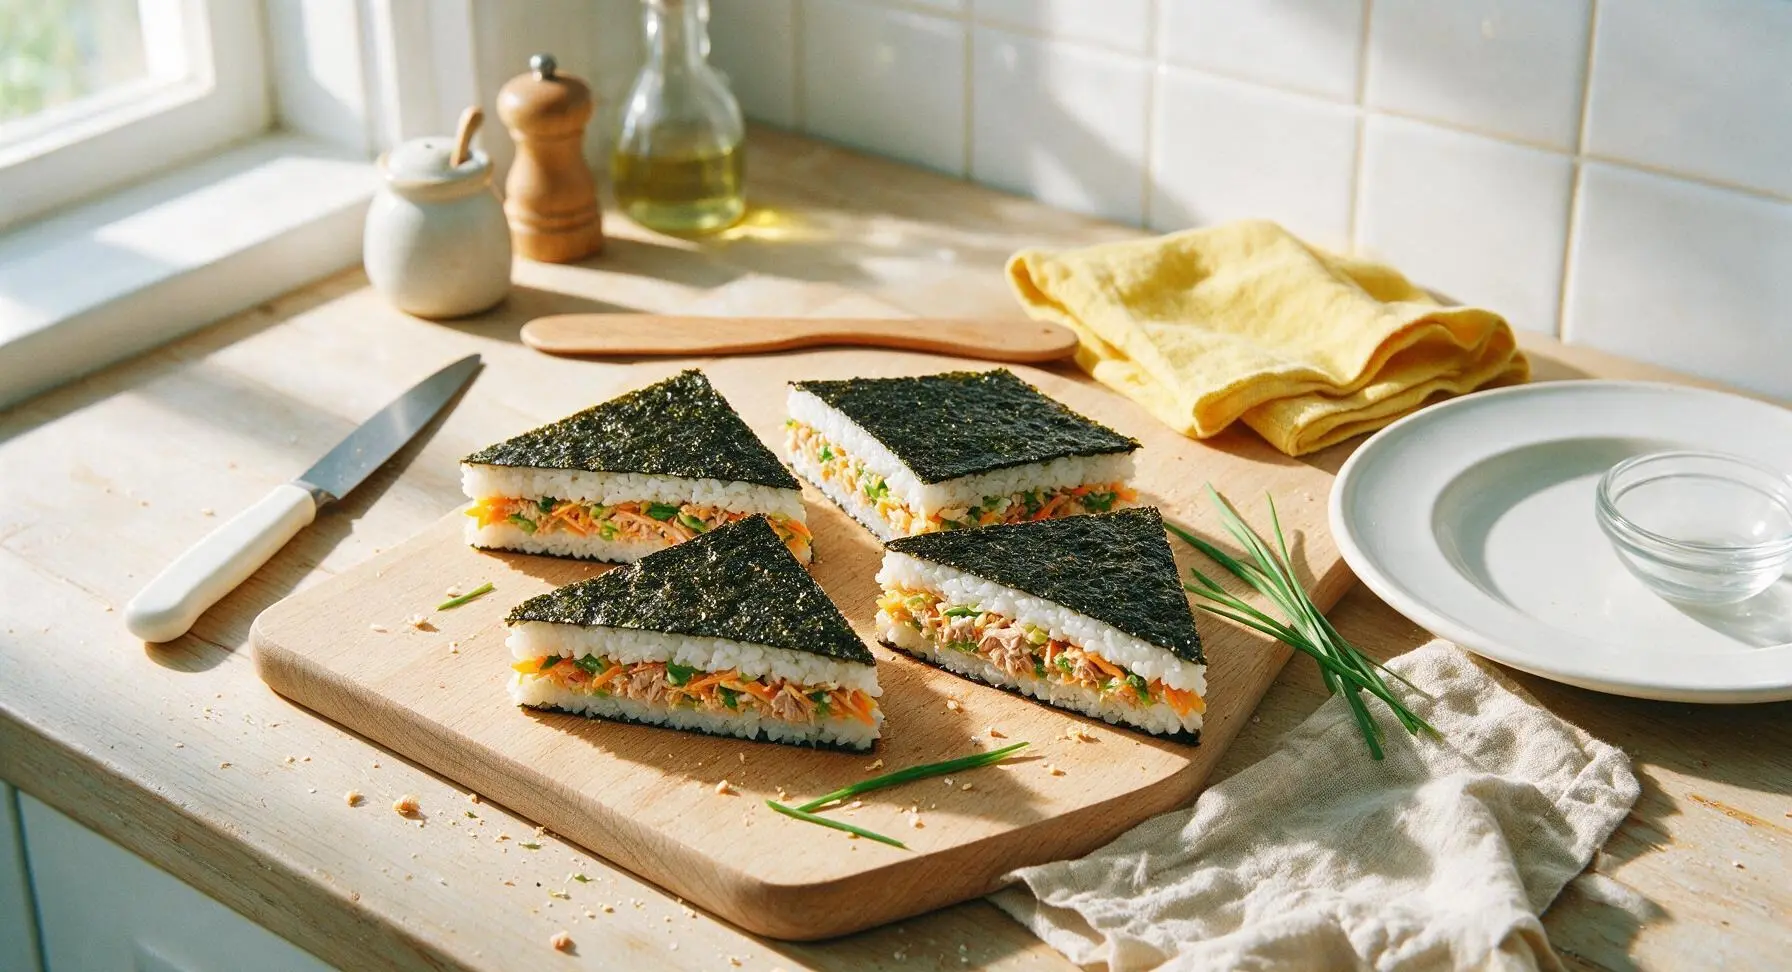
Use the 8-inch serrated utility knife to cut each pressed seaweed sandwich into 4 equal pieces, either square or cut diagonally into triangles as preferred. Wipe the knife blade on the oatmeal linen towel between cuts to prevent rice from sticking and creating ragged edges. Use a gentle sawing motion rather than pressing straight down, to avoid squeezing fillings out the sides.
Garnish and Plate
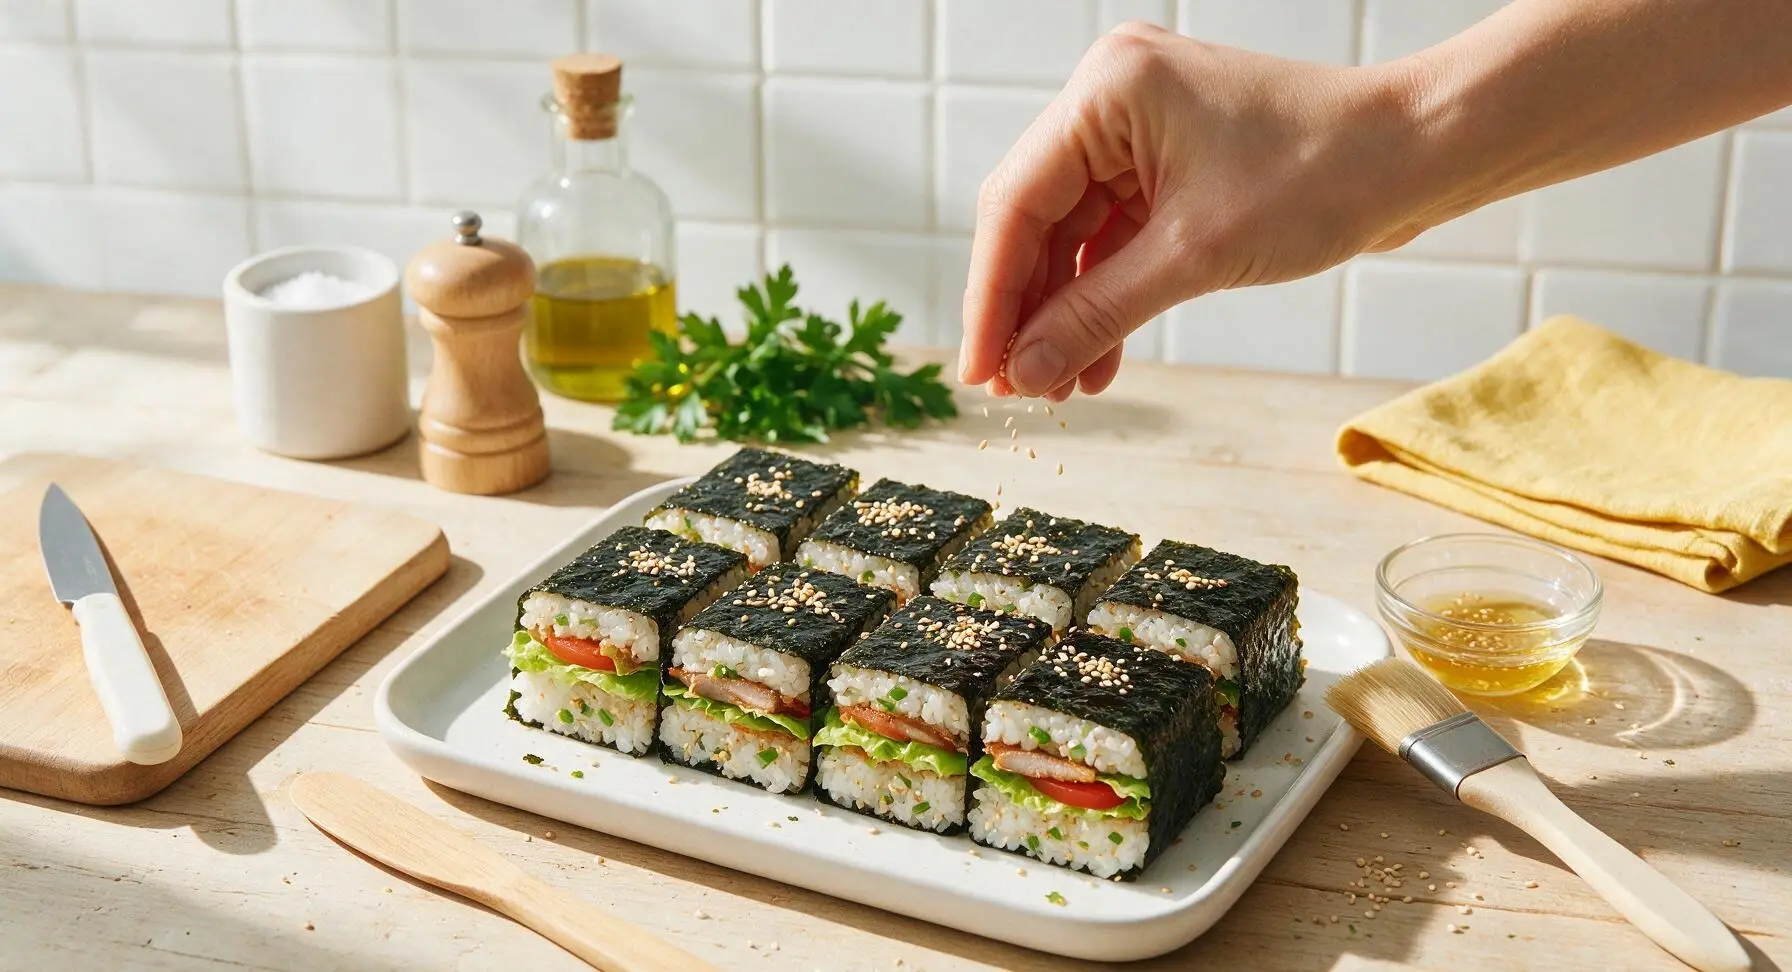
Arrange the cut seaweed sandwich pieces on the rectangular matte white ceramic serving platter. Use the small silicone basting brush to lightly coat the top of each piece with the remaining 1/2 tsp roasted sesame oil, then sprinkle with the remaining 1/2 tbsp toasted white sesame seeds. Serve immediately for the crispest seaweed texture.
Tips
2.Avoid overstuffing sandwiches: more than 1/4 cup of total filling per seaweed sheet will cause layers to split when pressed and cut, leading to fillings falling out with every bite. Thin, evenly spread layers create neat, easy-to-eat sandwiches with balanced flavor in every bite.
3.For best portability, pack uncut pressed sandwiches in an airtight container and cut them right before serving. The sandwiches will stay crisp for up to 2 hours at room temperature, making them perfect for picnics, work lunches, or quick on-the-go snacks; for a vegan swap, replace tuna with mashed seasoned avocado or pan-fried tofu strips.






OMG this is a total game changer for school lunches! I was so sick of packing the same old turkey sandwiches every week, and my 8 and 10 year old DEVOURED these. I added a little pickled radish inside for extra crunch and it was chef’s kiss. Zero cook time? Are you kidding? I can throw these together in 5 minutes flat before the bus comes. SO good. 10/10 will be on weekly rotation.
Made these for my roommate’s game night potluck last night and people were begging for the recipe! I used leftover sushi rice from the takeout we had the night before, tossed in a little spicy tuna filling, and crisped the seaweed just a tiny bit over the stove for extra crunch? I know the recipe says 0 cook time, but 10 seconds on each side made it next level. Everyone thought I ordered takeout from that fancy sushi spot downtown lmao.
As a broke college student with no access to a working stovetop in my dorm, this recipe was literally made for me. 0 cook time, minimal ingredients, I can prep 4 of these on Sunday and grab them between classes all week. I stuffed mine with avocado, cucumber, and a drizzle of sriracha mayo and they’re better than any overpriced wrap from the campus cafe. Only downside? My roommate keeps stealing them out of the mini fridge smh.
Finally, a quick portable lunch that’s 100% gluten free without any weird specialty ingredients! I’ve been missing grab-and-go sandwiches since going GF last year, and these hit every single spot. I added a little smoked salmon and cream cheese to mine for a breakfast version and it was *chef’s kiss*. Way less messy than a sushi roll too.
OK I was skeptical at first because rice as sandwich bread? Sounded weird. But wow, the crispy seaweed adds so much umami and the rice is the perfect chewy contrast. I tossed in some kimchi and bulgogi leftovers from last night’s Korean takeout and it was better than the actual takeout. 10/10, will make again, probably tomorrow tbh.
Made these for a quick weeknight dinner when I got home late from work and had zero energy to cook. The kids went crazy for them, my wife asked me to add them to the monthly dinner rotation, and even our picky 6 year old ate his entire serving without complaining. That’s a 5 star win in my book. I added a little teriyaki drizzle to the rice for extra flavor and it was perfect.