
shrimp rice noodle roll
intro
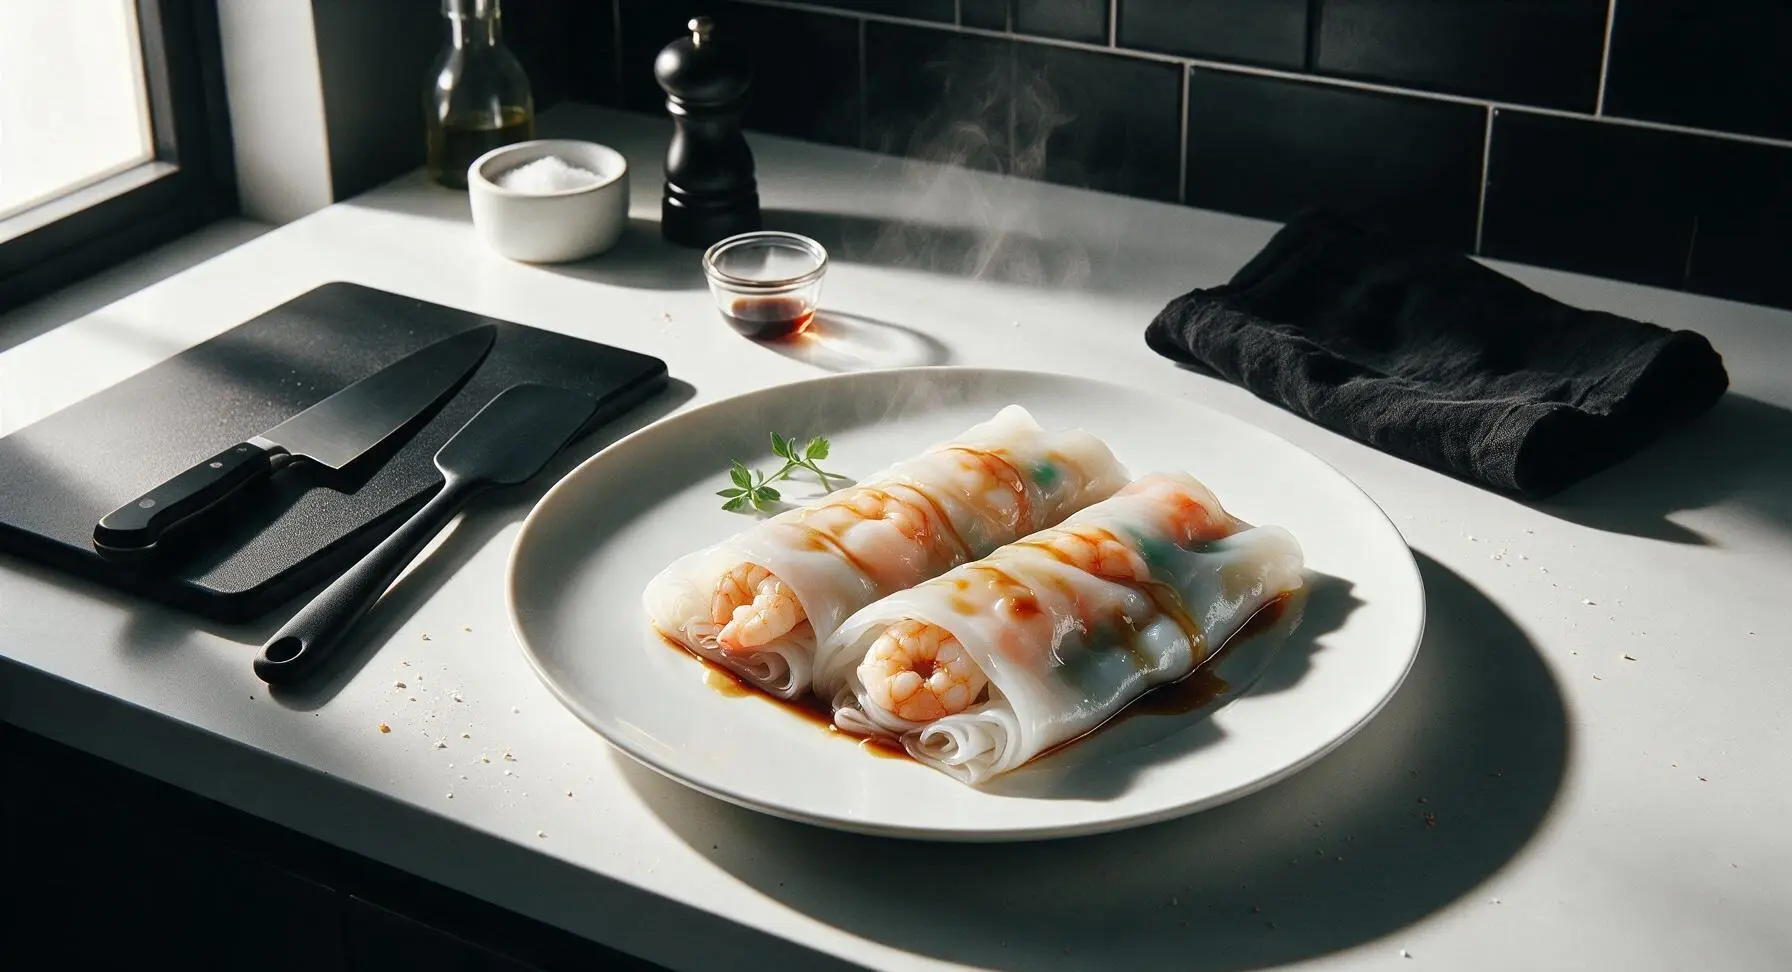
Silky, translucent rice noodle rolls wrapped around plump, juicy shrimp, drizzled with sweet savory soy sauce. This classic Cantonese dim sum staple is light, tender, and packed with fresh umami flavor.
Ingredients
Steps
Mix the rice batter
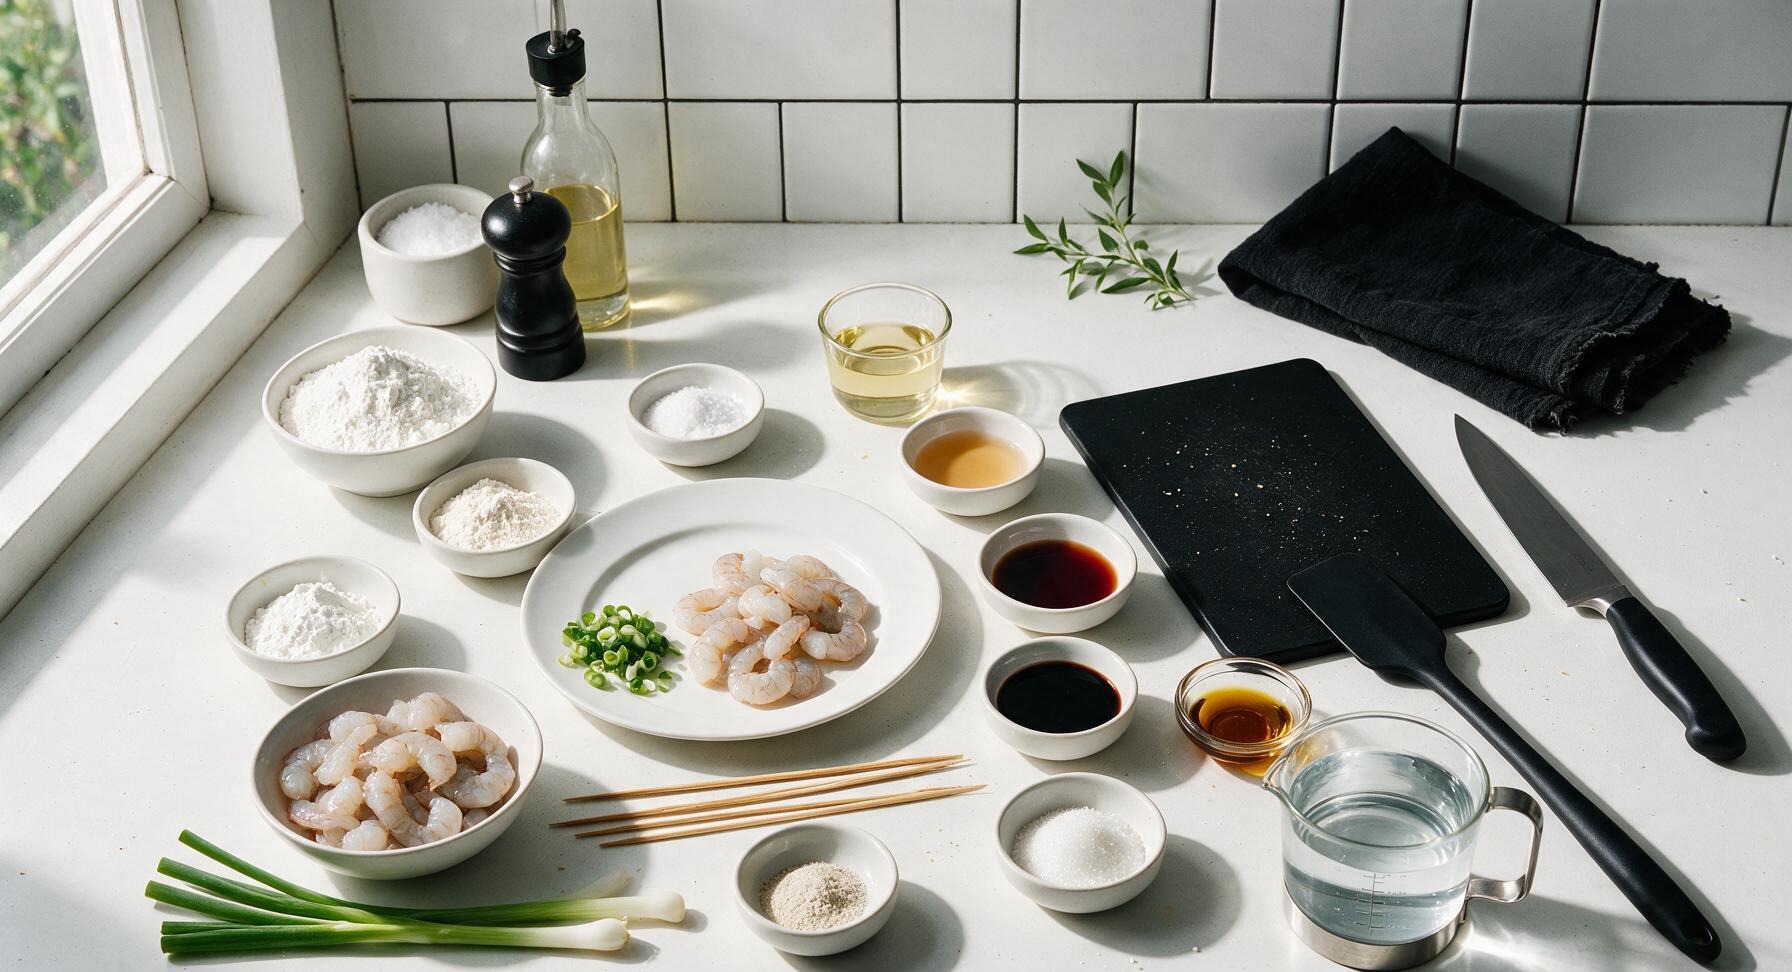
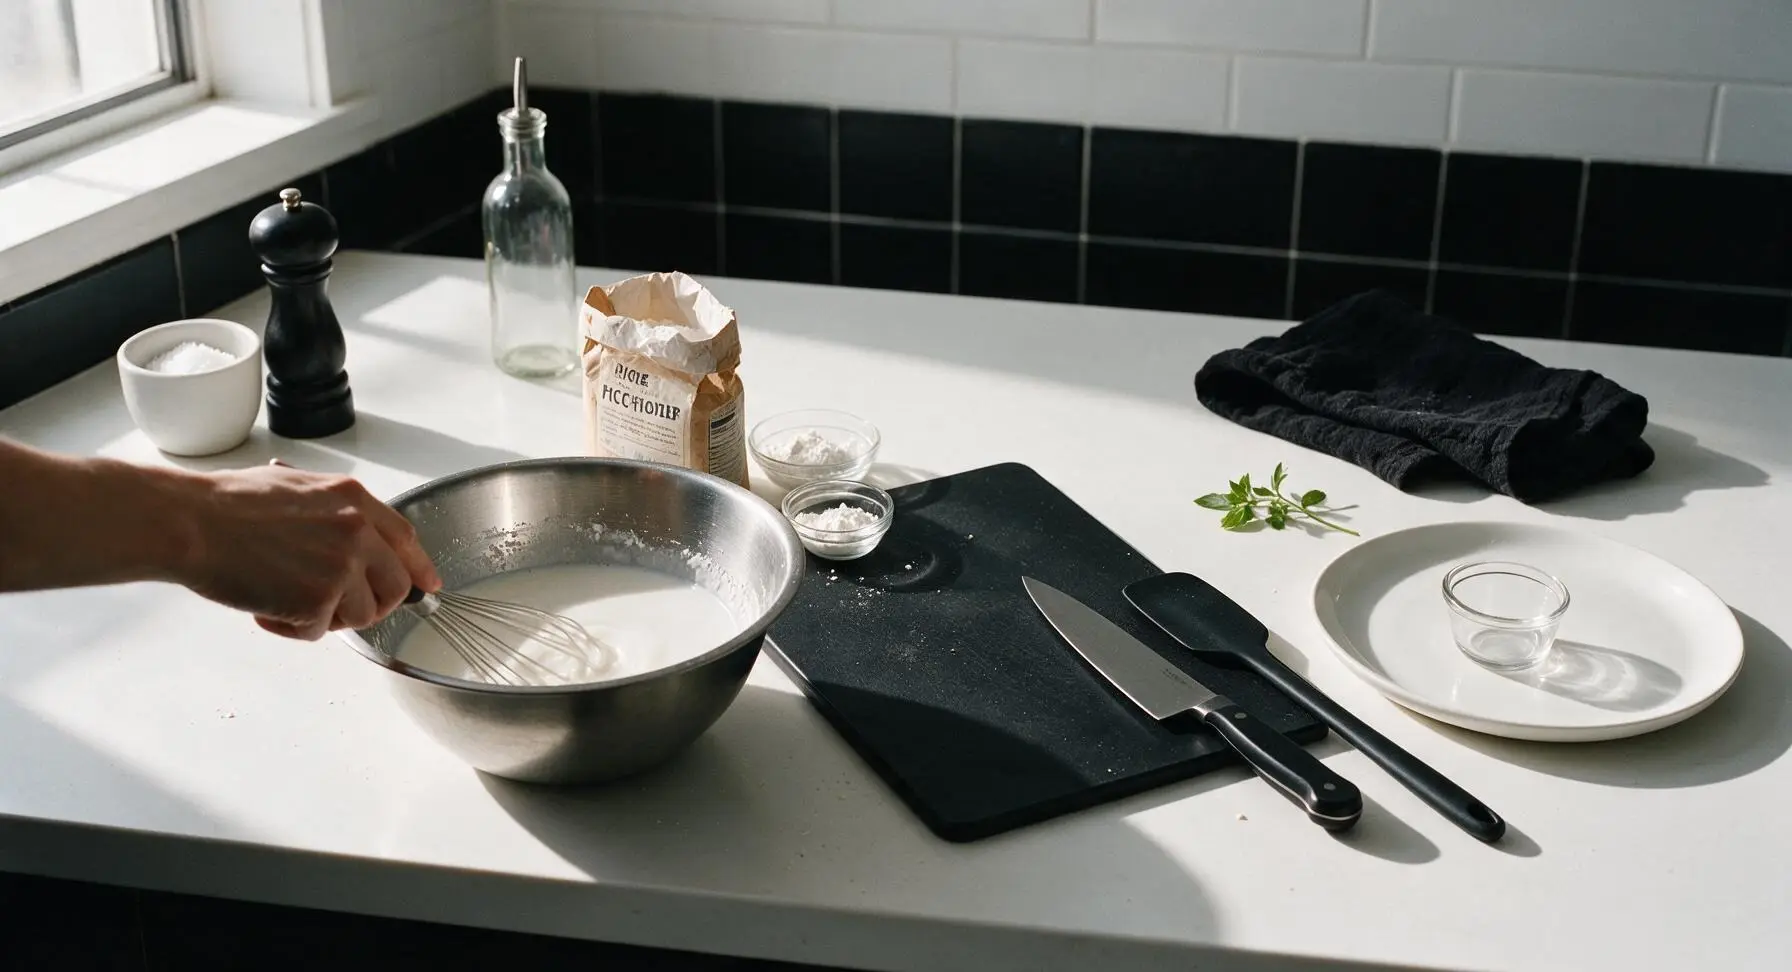
In the 2-quart stainless steel mixing bowl, combine 150g rice flour, 20g tapioca starch, 10g wheat starch, and 1/4 tsp fine sea salt. Slowly whisk in 480ml cold water and 1 tsp neutral canola oil, stirring until completely smooth with no dry lumps. Let the batter rest for 15 minutes at room temperature to allow starches to fully hydrate, which prevents tearing when rolling.
Marinate the shrimp
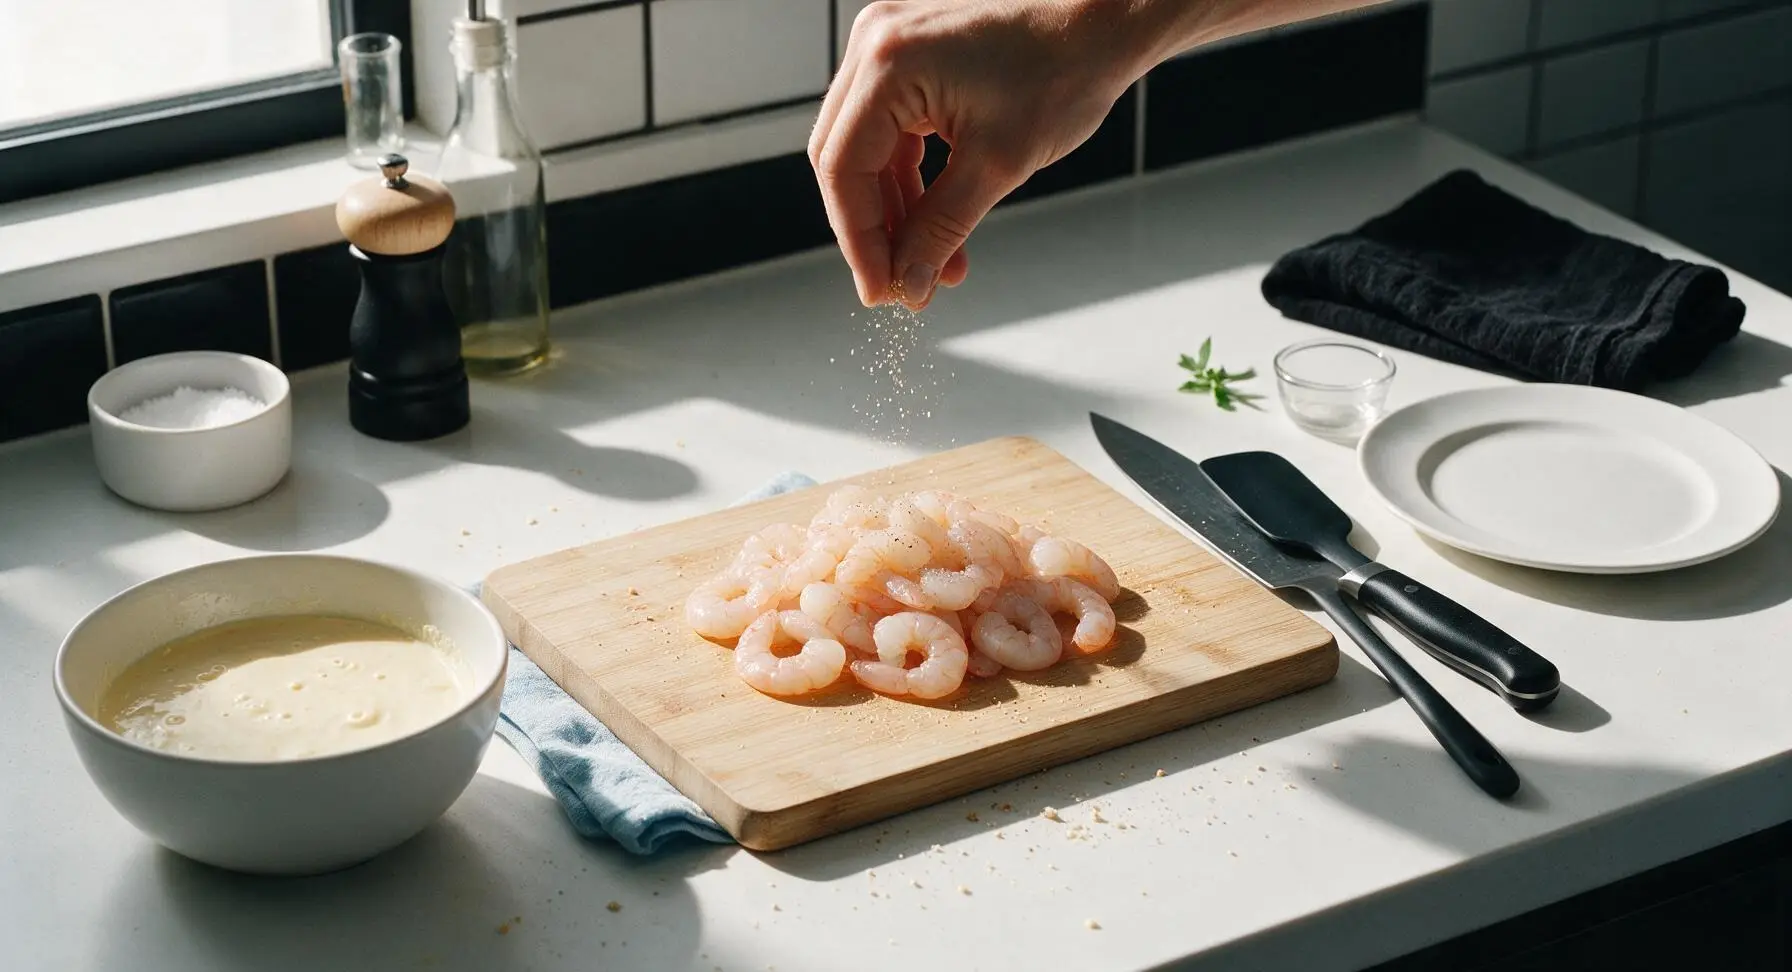
Pat the 240g peeled, deveined large shrimp completely dry with the pale blue cotton kitchen towel. Place shrimp on the bamboo cutting board, toss with 1/2 tsp Shaoxing wine, 1/4 tsp fine sea salt, and 1/4 tsp ground white pepper. Let marinate for 10 minutes at room temperature while the batter rests, to infuse flavor and keep shrimp firm when steamed.
Make the sweet soy sauce
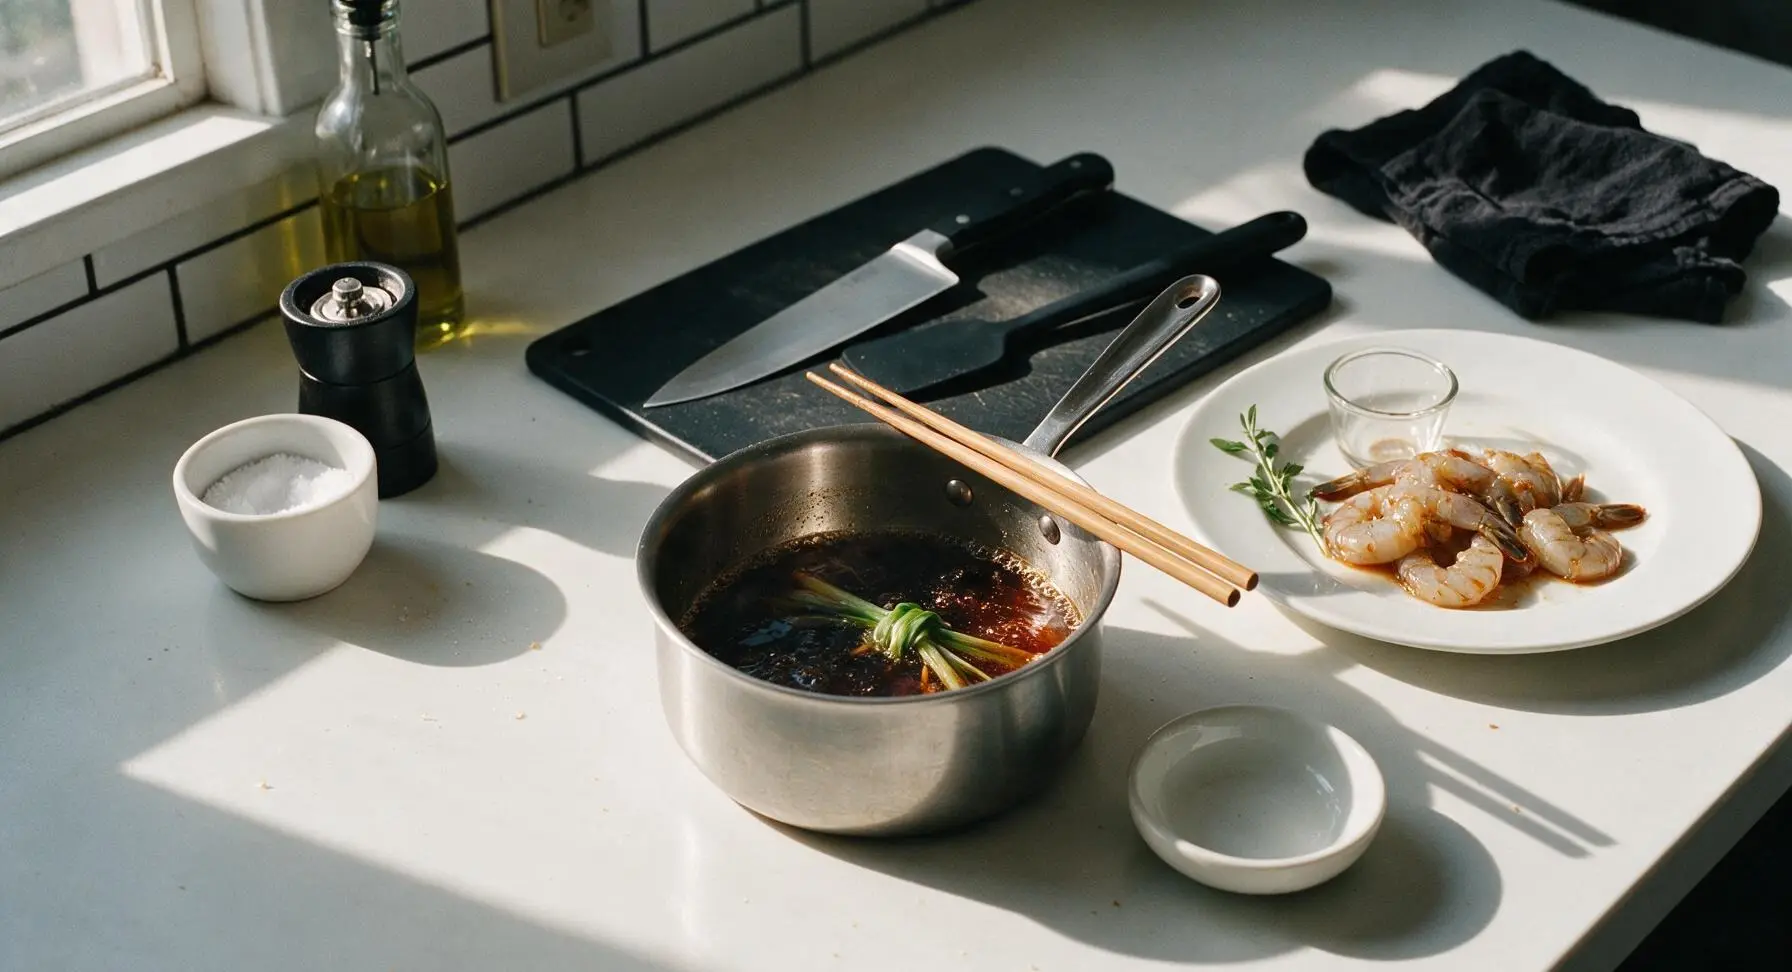
Bring the 1-quart stainless steel small saucepan to the counter from under-counter storage. Combine 3 tbsp light soy sauce, 1 tbsp dark soy sauce, 2 tbsp granulated sugar, 120ml water, and 1 scallion stalk tied in a knot in the pan. Simmer over medium heat for 3 minutes until sugar fully dissolves, then turn off heat, stir in 1 tsp toasted sesame oil, and discard the scallion knot. Pour finished sauce into the small matte white ceramic sauce dish to cool.
Set up the steamer
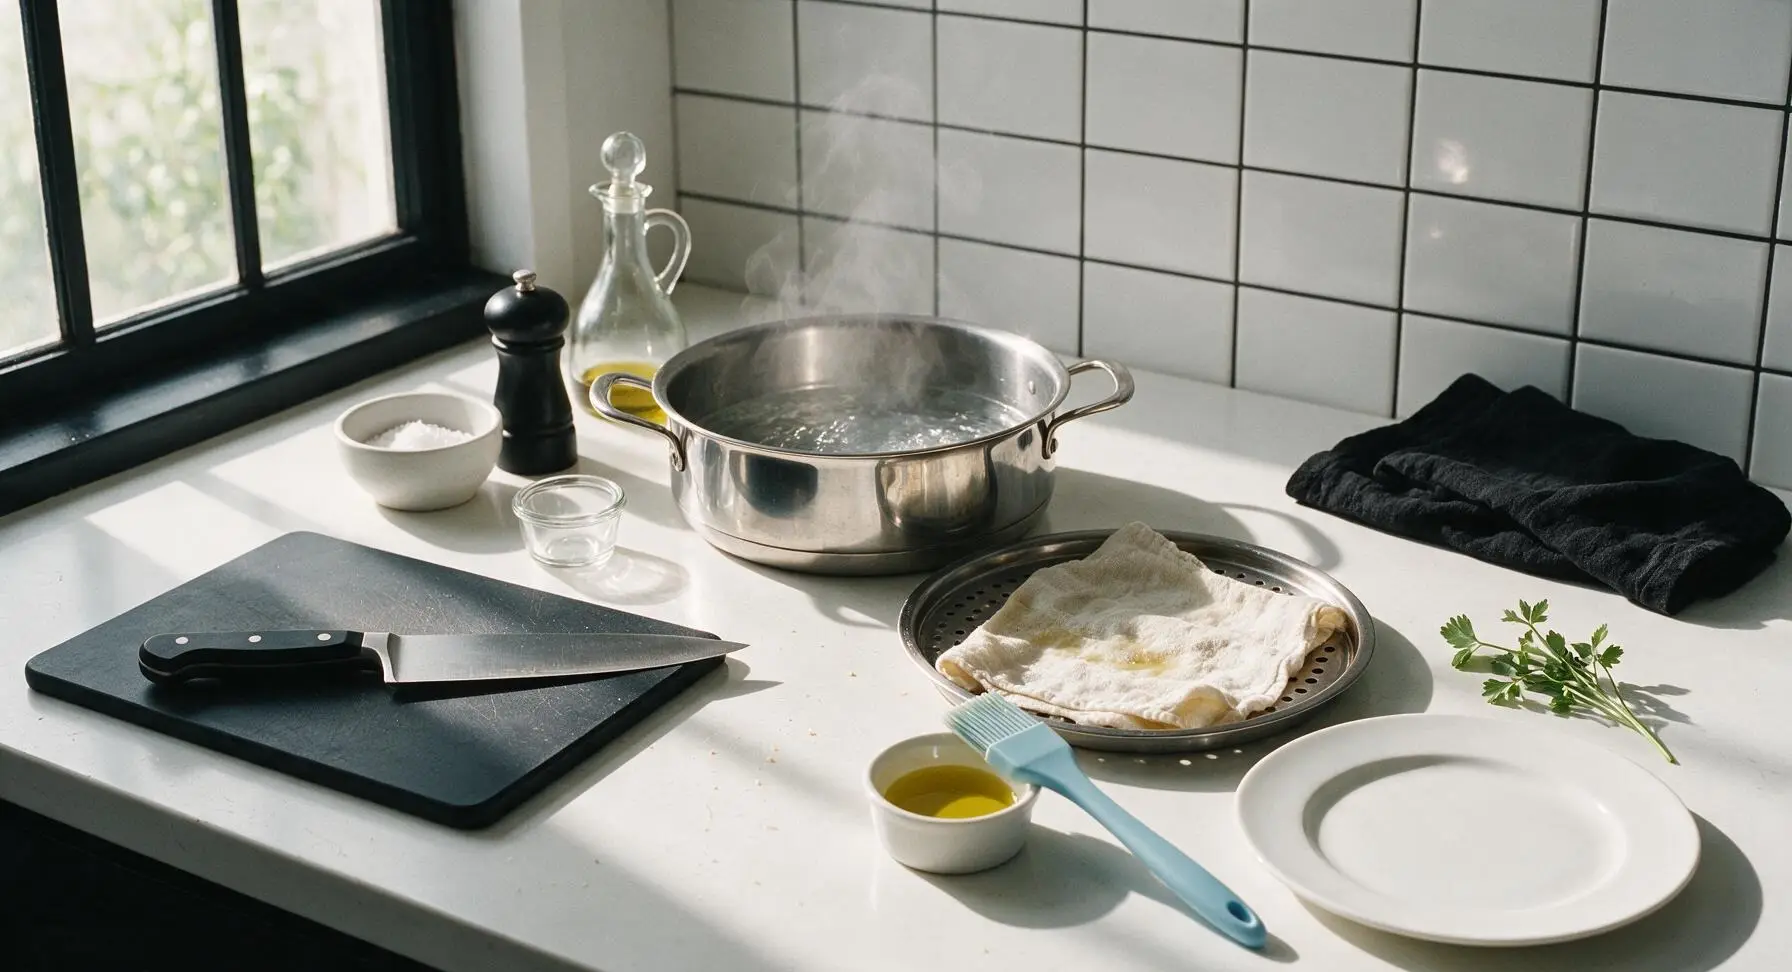
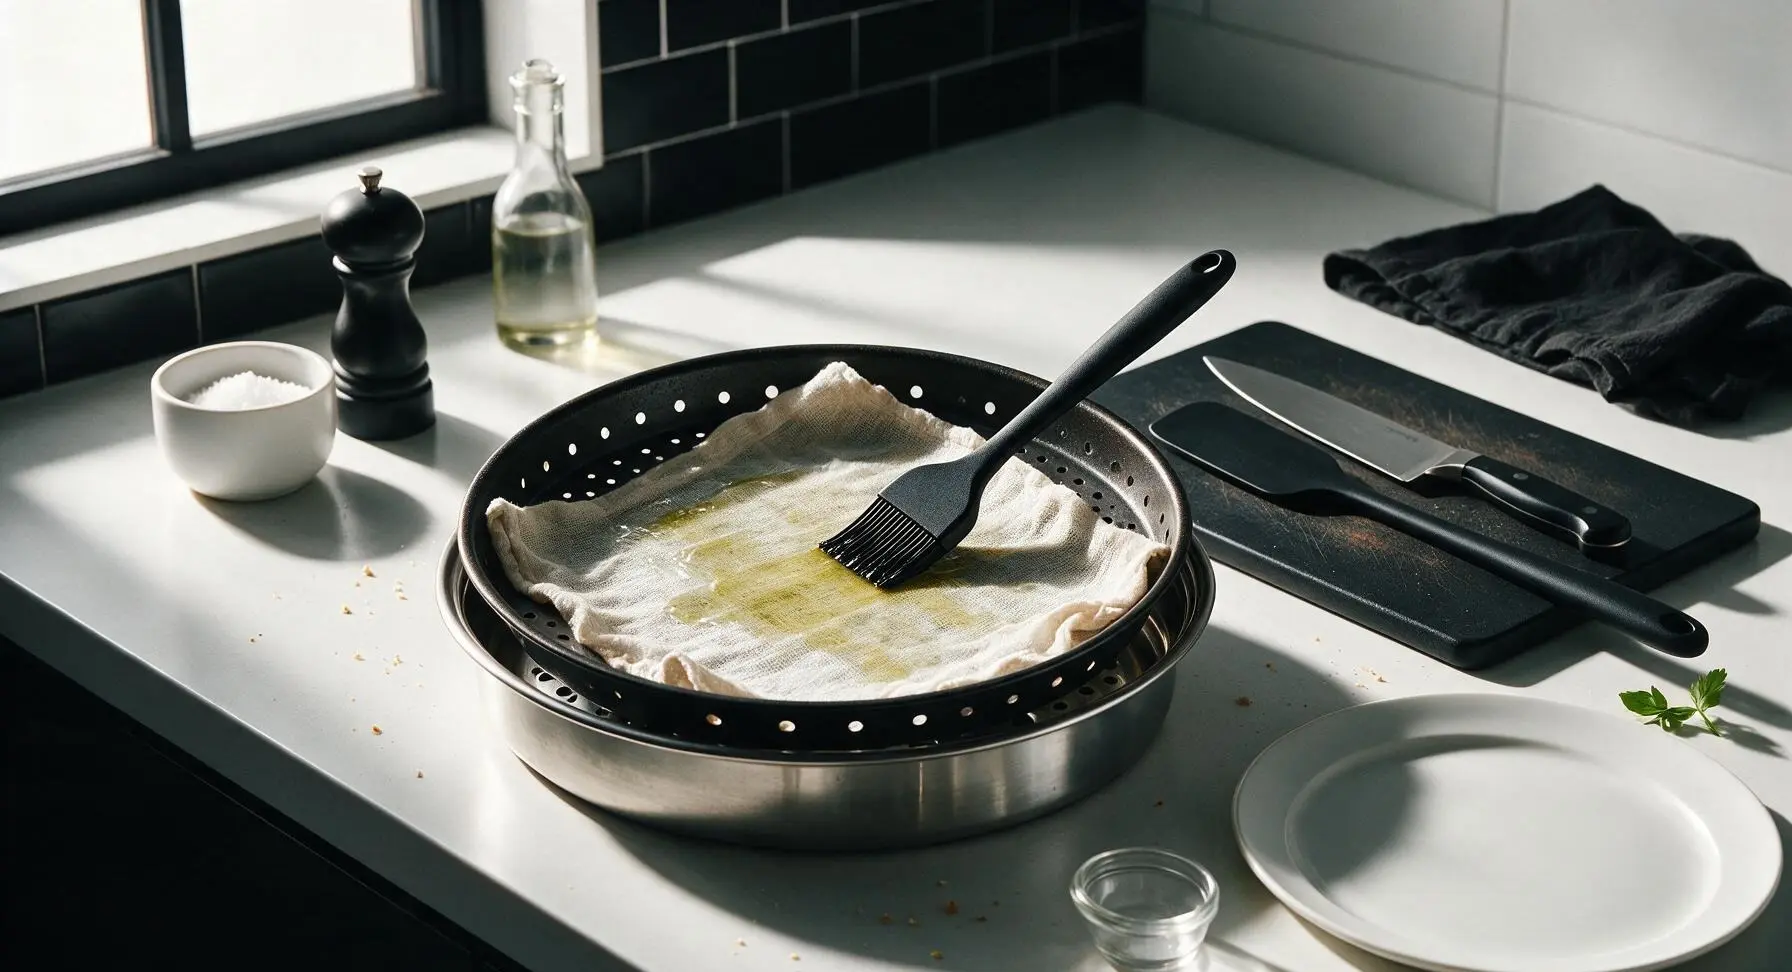
Bring the 12-inch stainless steel shallow steamer base pot and 10-inch perforated carbon steel steamer tray to the counter from under-counter storage. Fill the base pot with 5cm of water, bring to a rolling boil over high heat. Line the steamer tray with a damp unbleached cotton steamer cloth, then use the light blue silicone pastry brush to lightly coat the cloth with a thin layer of neutral canola oil to prevent sticking. Place the oiled tray over the boiling water, cover, and preheat for 1 minute.
Steam noodle sheets
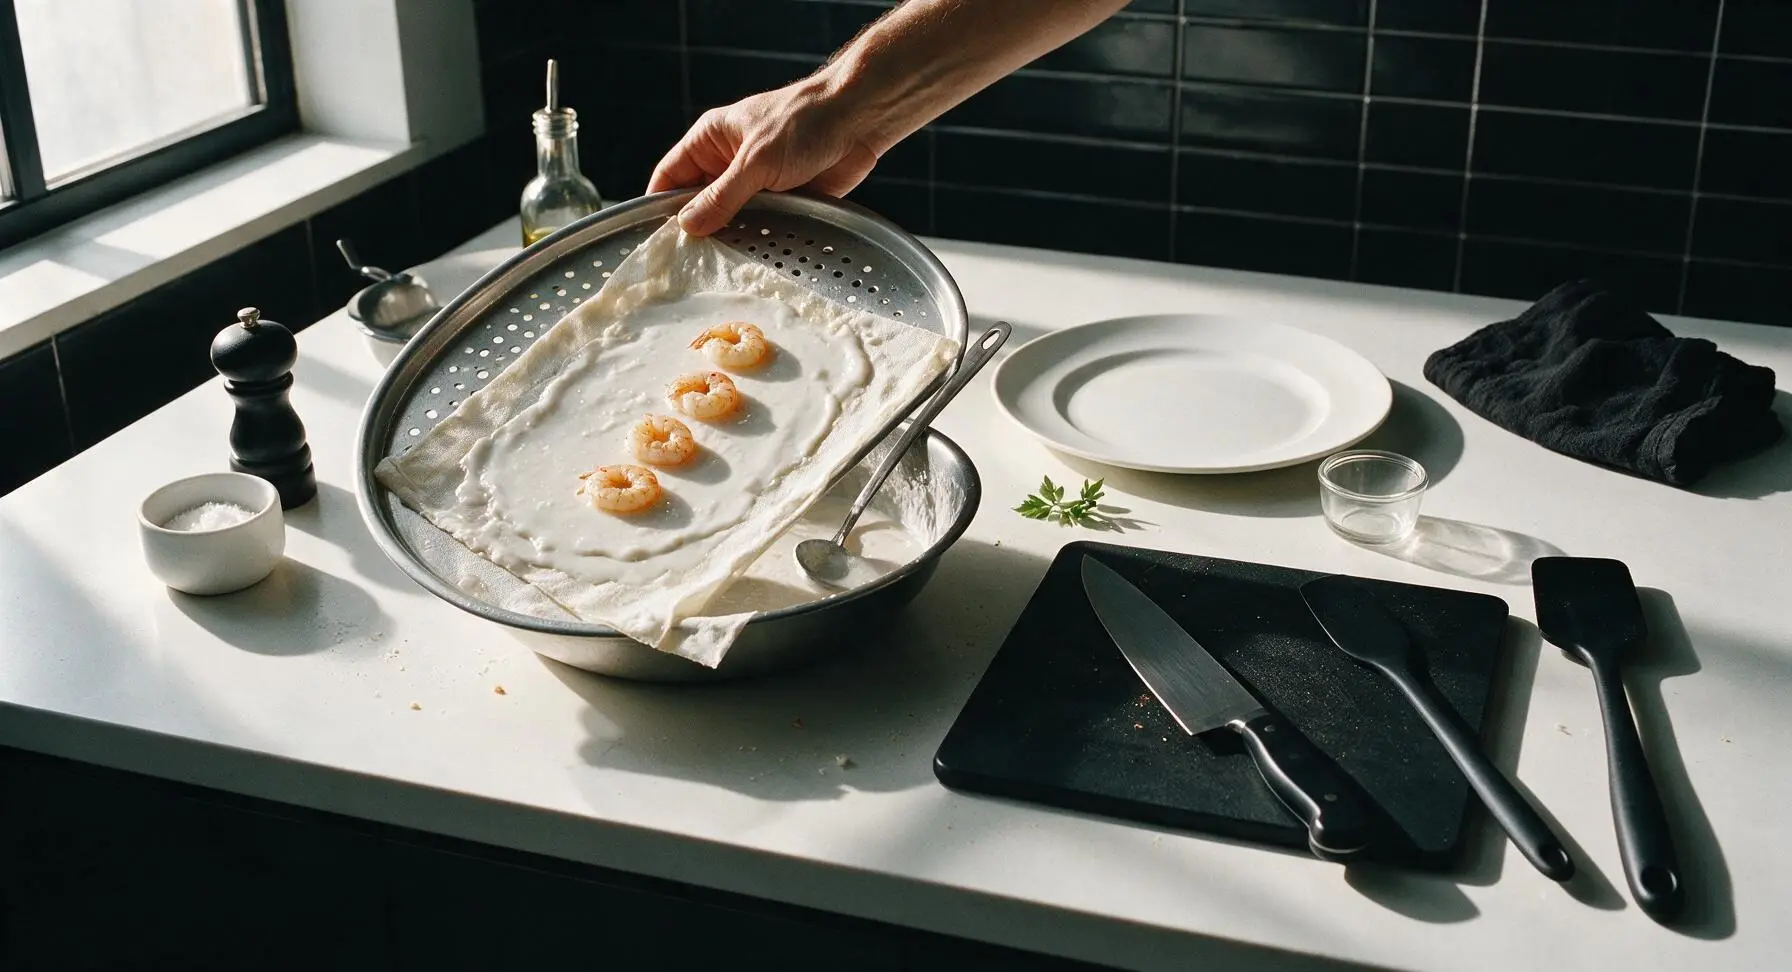
Stir the rested rice batter thoroughly, as starch will have settled to the bottom of the bowl. Ladle 1/4 cup of batter onto the preheated, oiled steamer tray, tilting the tray quickly to spread batter into a thin, even 2mm thick layer. Arrange 4 marinated shrimp in a single straight line down the center of the batter. Cover the steamer tightly, steam over high heat for 2.5 to 3 minutes, until the sheet is translucent, slightly puffed, and pulls away easily from the cloth.
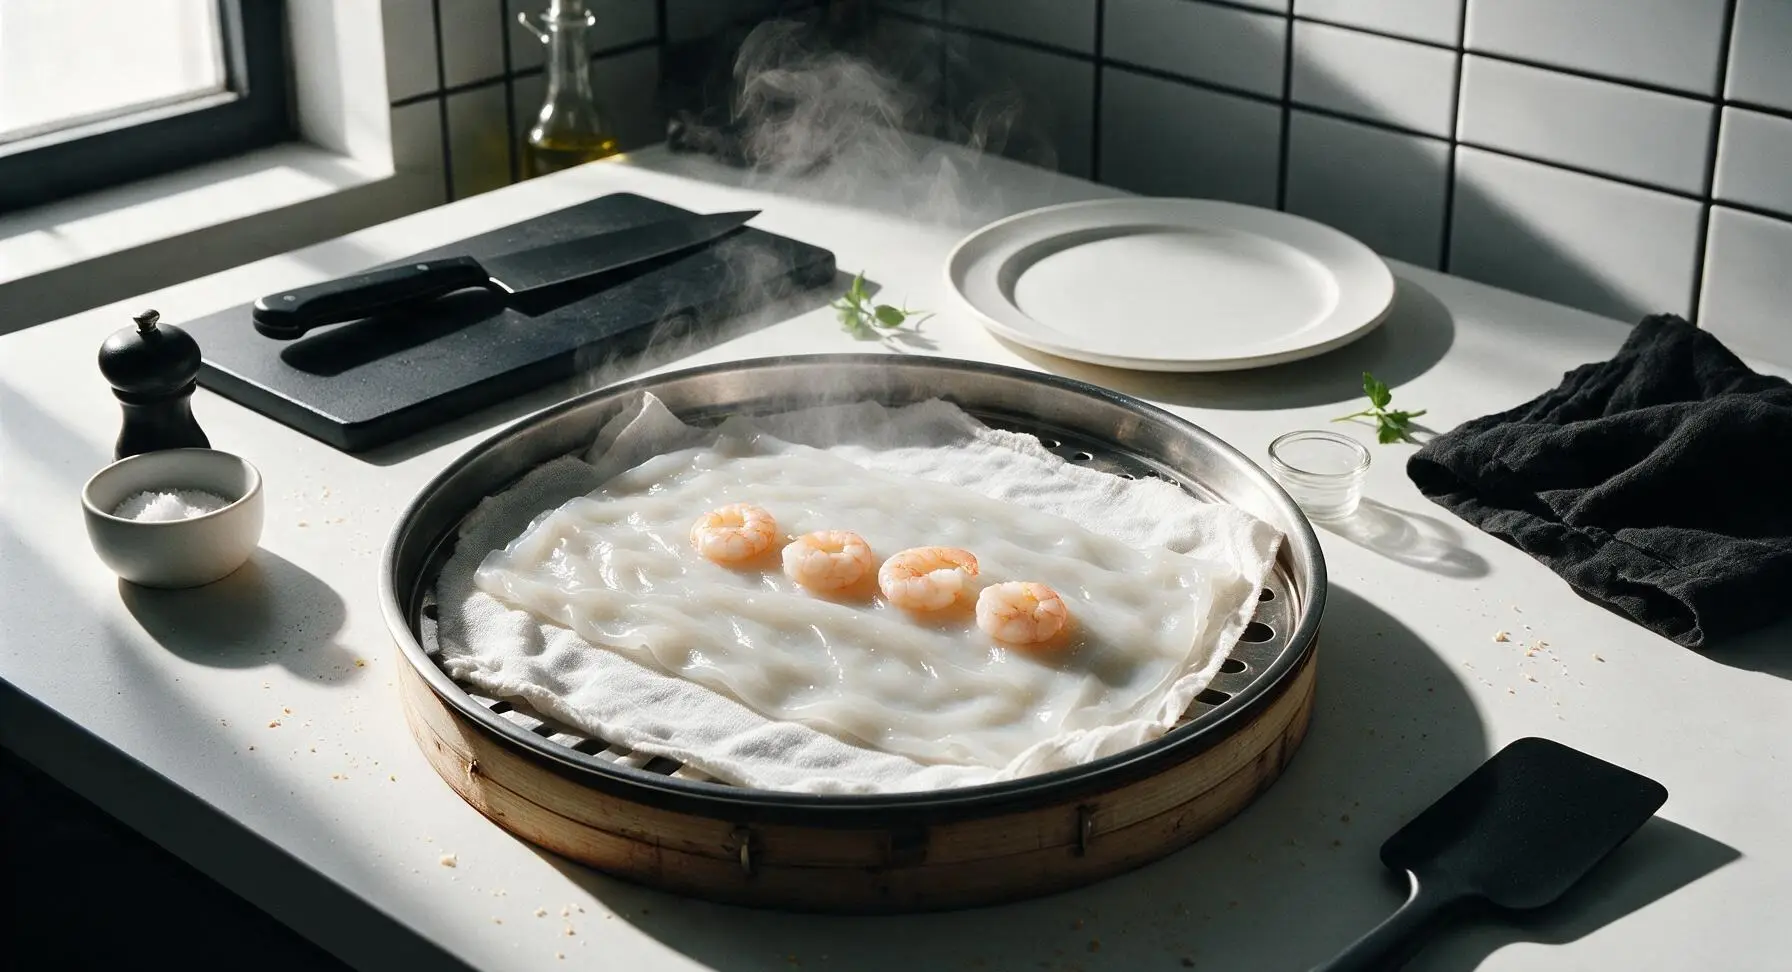
Roll filled noodle logs
Carefully lift the steamer tray off the boiling water (use oven mitts to avoid steam burns). Let the sheet rest for 10 seconds, then use the stainless steel bench scraper to gently lift one edge of the noodle sheet, folding it over the line of shrimp and rolling tightly into a 5cm wide log. Transfer the finished roll to the matte white ceramic oval serving platter. Repeat the steaming and rolling process with remaining batter and shrimp, brushing the steamer cloth with a thin oil layer between each batch to prevent sticking.
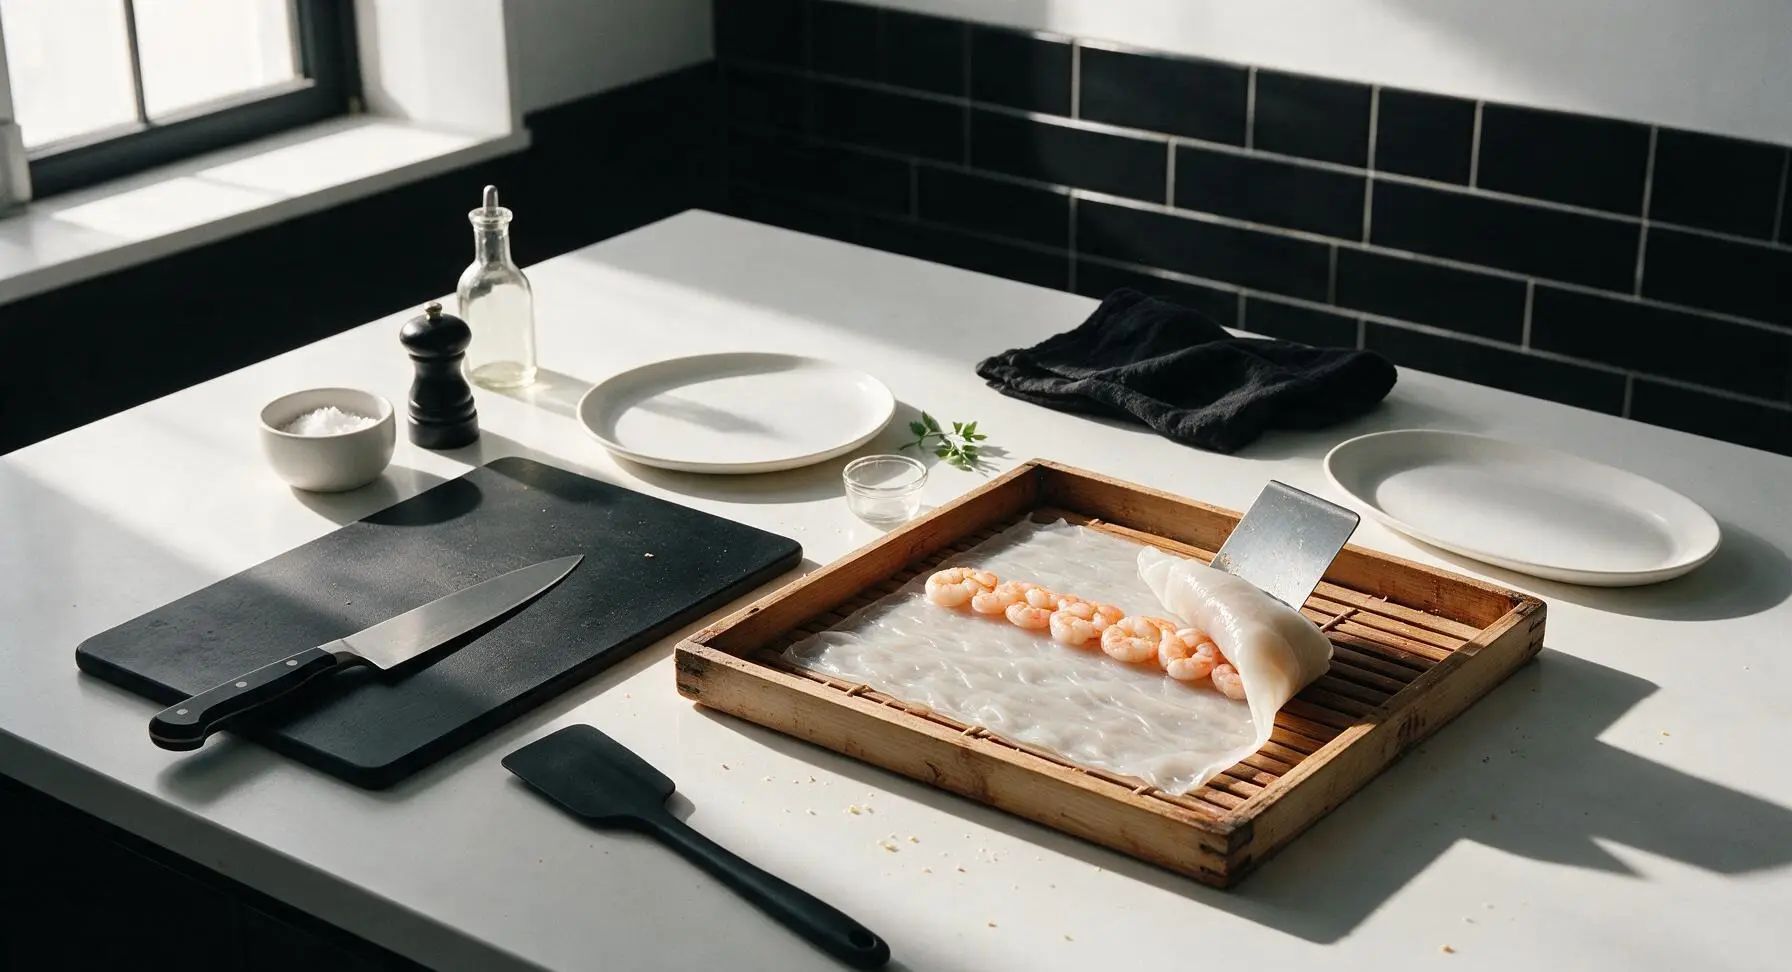
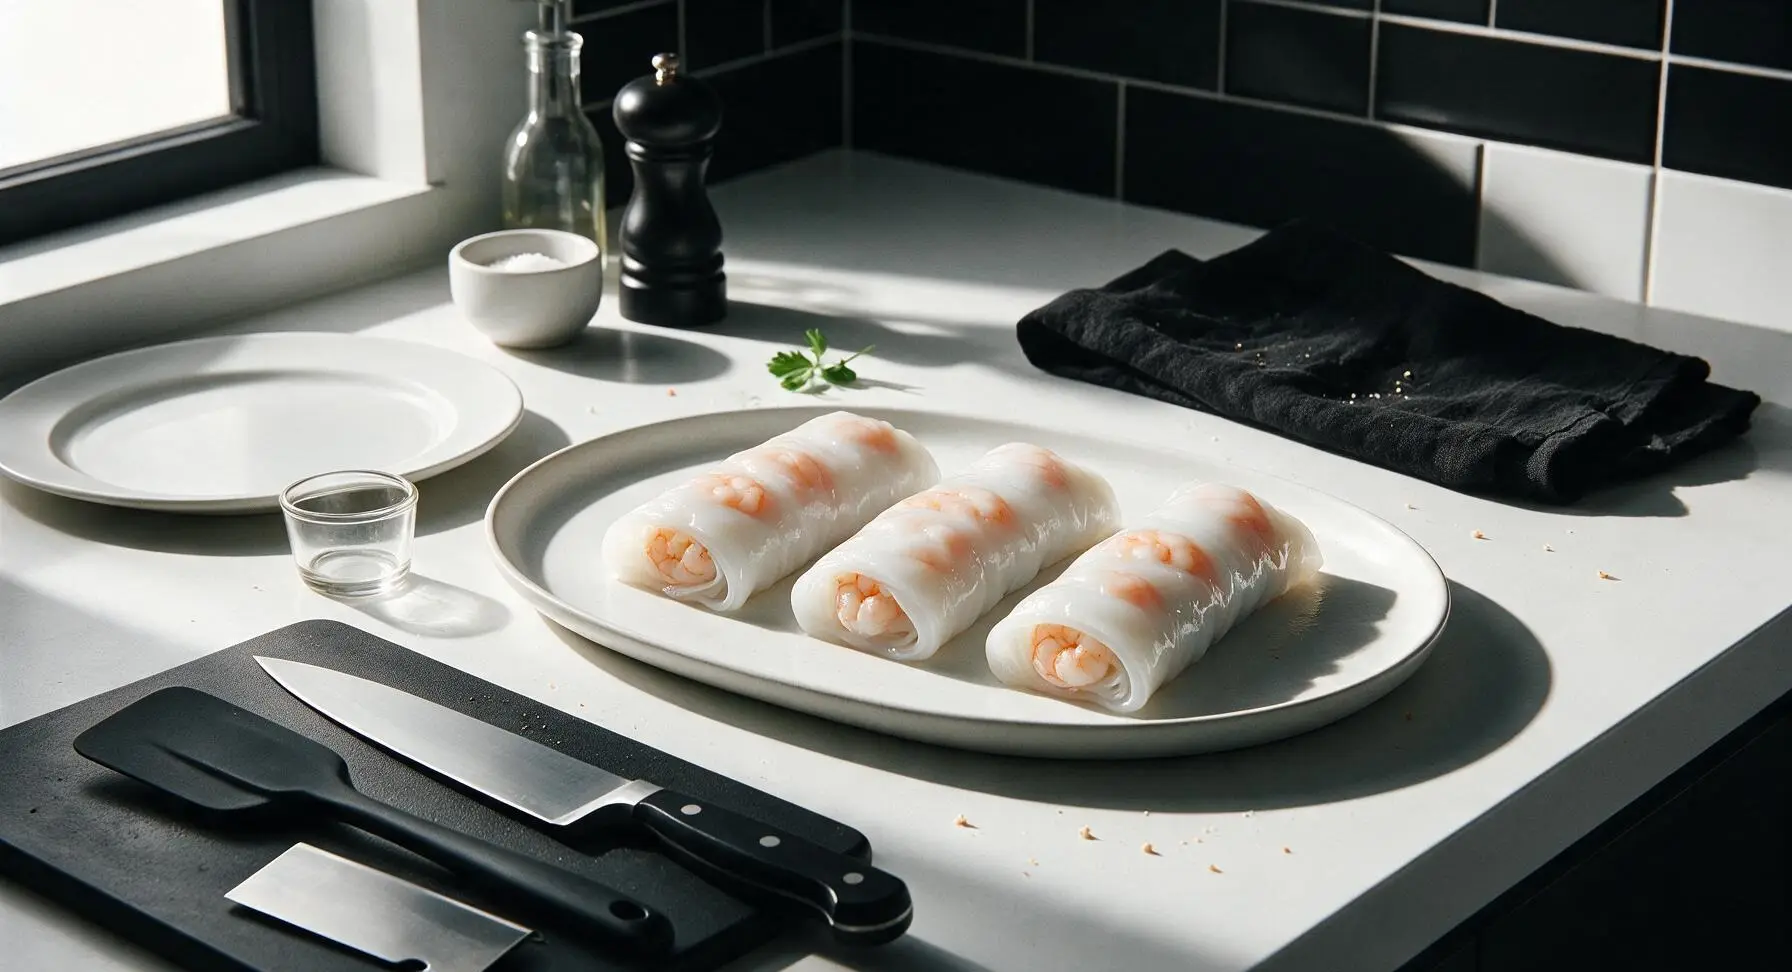
Garnish and serve
Let the finished whole rolls cool for 1 minute on the bamboo cutting board, then use the 7-inch chef knife to cut each roll into 5cm long sections. Arrange cut sections diagonally on the matte white ceramic oval serving platter, drizzle evenly with 2/3 of the prepared sweet soy sauce, then sprinkle with 2 tbsp finely chopped scallion greens. Serve immediately, with remaining soy sauce in the small sauce dish on the side for dipping.
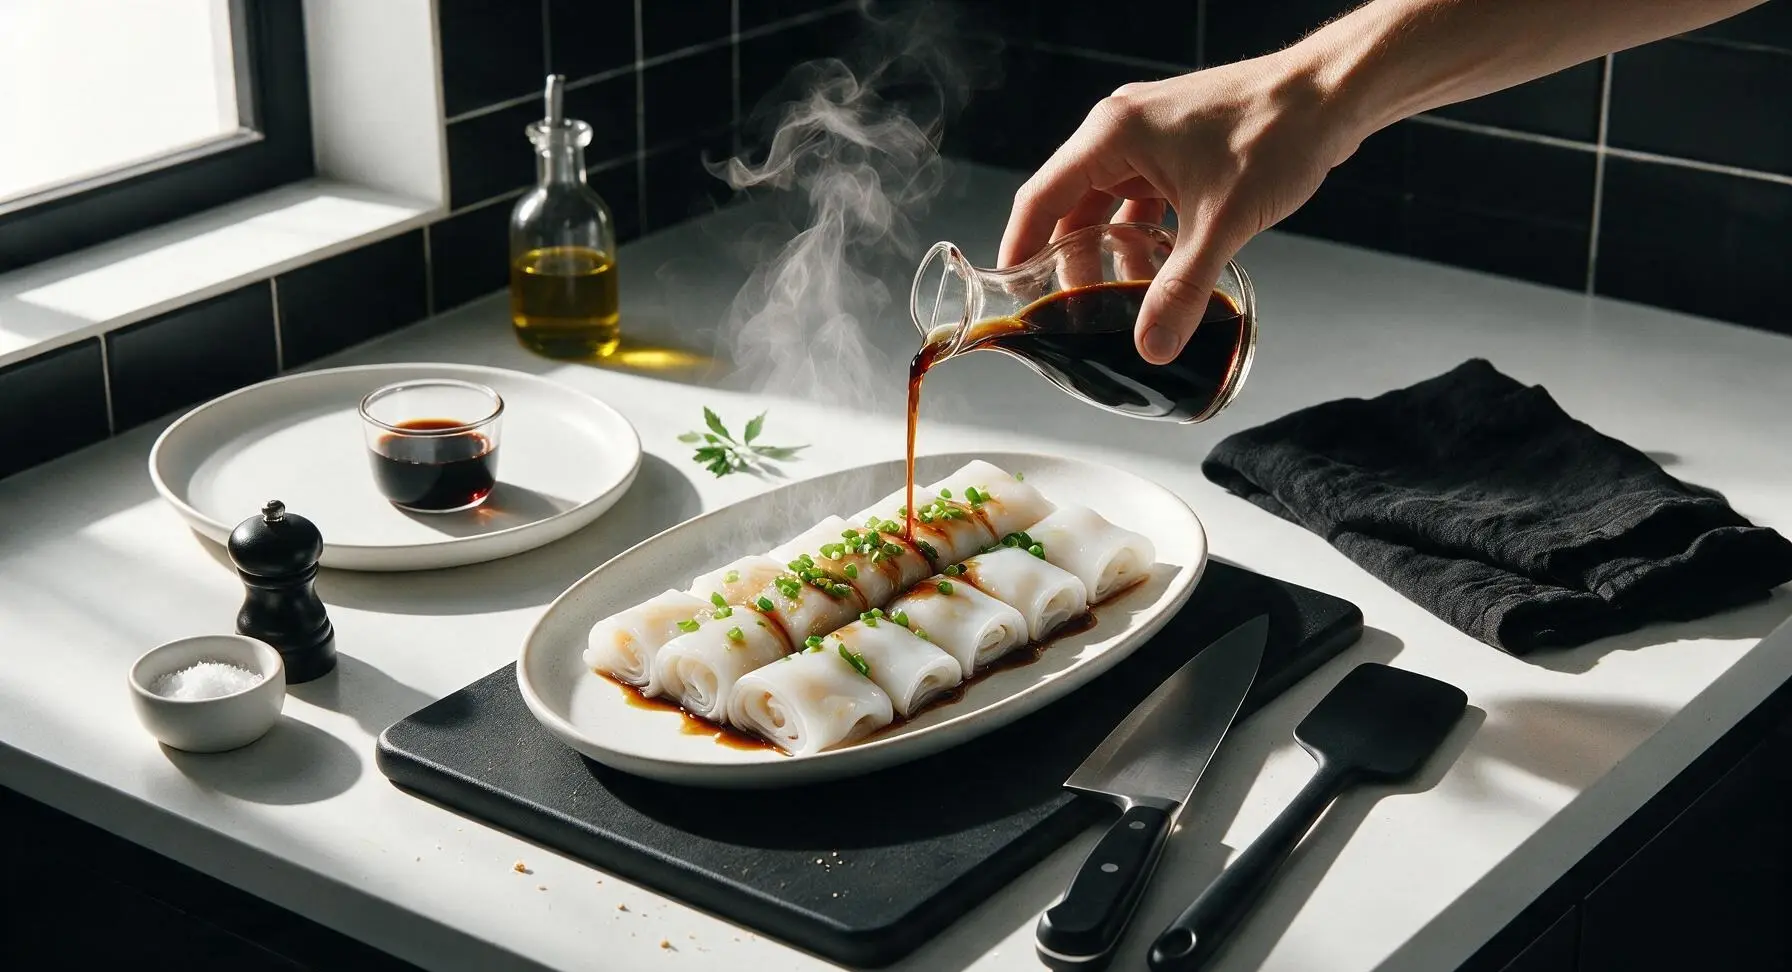
Tips
2.Steam each noodle sheet for exactly 2.5 to 3 minutes over a high, rolling boil. Oversteaming causes the rice sheets to become tough and sticky, making them impossible to roll without tearing, while understeaming leaves a raw, starchy aftertaste.
3.Let each freshly steamed sheet rest for 10 seconds after removing it from the heat before attempting to roll, and keep the steamer cloth well-oiled between batches. This short rest allows the sheet to release slightly from the cloth, drastically reducing the chance of tears.






OMG I’ve been craving dim sum cheong fun forever since our local spot raised their prices 30%! This recipe was so straightforward even for a beginner like me, the shrimp came out perfectly tender and the noodle had that silky slippery texture I love. SO good, my roommate ate half the batch in 5 minutes flat.
Game changer! I used to think you needed those big professional steamer trays from dim sum restaurants to make cheong fun, but I just used a regular nonstick pan per the notes and it worked perfectly. Brought these to a neighborhood potluck last weekend and everyone was begging for the recipe.
Made this for my kids’ after-school snack yesterday and they went crazy for it! I skipped the shrimp for a quarter of the batch to make plain ones for my picky youngest, and he ate three rolls dipped in sweet soy. Will absolutely be adding this to our weekly meal prep rotation.
Taste was 10/10 but I messed up the first two batches because I poured the batter too thick. Once I got the hang of spreading it super thin across the pan, they came out exactly like the restaurant version! Pro tip: don’t skimp on the oil to keep the noodles from sticking.
Wait, has anyone tried making these with a bit of char siu added alongside the shrimp? I’m obsessed with the shrimp and char siu cheong fun combo from my go-to dim sum spot and wondering if it works with this batter recipe. I’m giving it 5 stars even before I test that tweak, because the base recipe is flawless.
Help! My noodles keep coming out gummy instead of that silky soft texture. Did I overmix the batter? Or is my steamer not hot enough? I really want to nail these for my mom’s birthday dinner next week. I’m giving it 3 stars just because I haven’t gotten it right yet, I know the potential is there.
Meal prep win! I made a big batch of these on Sunday, stored them in an airtight container in the fridge, and they reheated beautifully in the microwave for 30 seconds all week for quick work lunches. Way better than grabbing takeout every day!
I was skeptical these would come close to the cheong fun I get in NYC Chinatown, but wow, these are legit! The sweet soy dipping sauce recipe that comes with it is *chef’s kiss*, I’ll be making that sauce for all my dumpling dishes from now on.
Our weekly family dim sum night at home just got upgraded! We set up a little steamer station on the counter and let everyone customize their rolls with shrimp, scallions, and a little sesame oil. The kids thought it was the coolest interactive dinner ever.
Okay I have to admit I was intimidated by the medium difficulty rating, but these were way easier than I expected! Total cook time was actually right at 20 minutes once I prepped all my ingredients ahead of time, which is faster than waiting for delivery from our local Chinese place.
Added a tiny bit of dried shrimp powder to the batter for extra umami, and let me tell you, that’s a move. Tastes exactly like the premium cheong fun we used to get at the dim sum parlor my grandma took me to as a kid. So nostalgic.
I made these gluten free by swapping the regular rice flour for a GF blend, and they worked perfectly! I was worried the texture would be off, but you couldn’t even tell the difference. So happy I can enjoy cheong fun again without worrying about gluten cross-contamination from restaurants.
Wait, is there a way to make these without a steamer? I live in a tiny studio apartment and don’t have any steamer baskets big enough for the pans I have. Would a baking sheet in the oven with a water bath work? I tried the pan fry method and it was good but not quite the right texture, so 4 stars for now.
These are SO good! I doubled the dipping sauce recipe because I am a sauce fiend, and I ended up drizzling it over roasted veggies for dinner the next night too. It’s sweet, salty, a little umami, totally addictive.
First time making any kind of dim sum at home and I’m shocked how well these turned out! The rolls were a little lumpy looking (my rolling technique needs work) but the flavor was spot on. Even my super critical dad said they tasted just like the ones he gets when he visits San Francisco.
Made these for my partner’s birthday dinner since cheong fun is his absolute favorite dim sum dish, and he said they were better than our usual takeout spot! I served them with some chili oil on the side for an extra kick, and he’s already asked me to make them again this weekend.
I never leave recipe reviews but I had to for this one! I’ve tried three other cheong fun recipes online and all of them came out rubbery or bland, but this one was perfect on the first try. The ratio of rice flour to tapioca starch is exactly right for that soft, bouncy texture. Absolute game changer.