
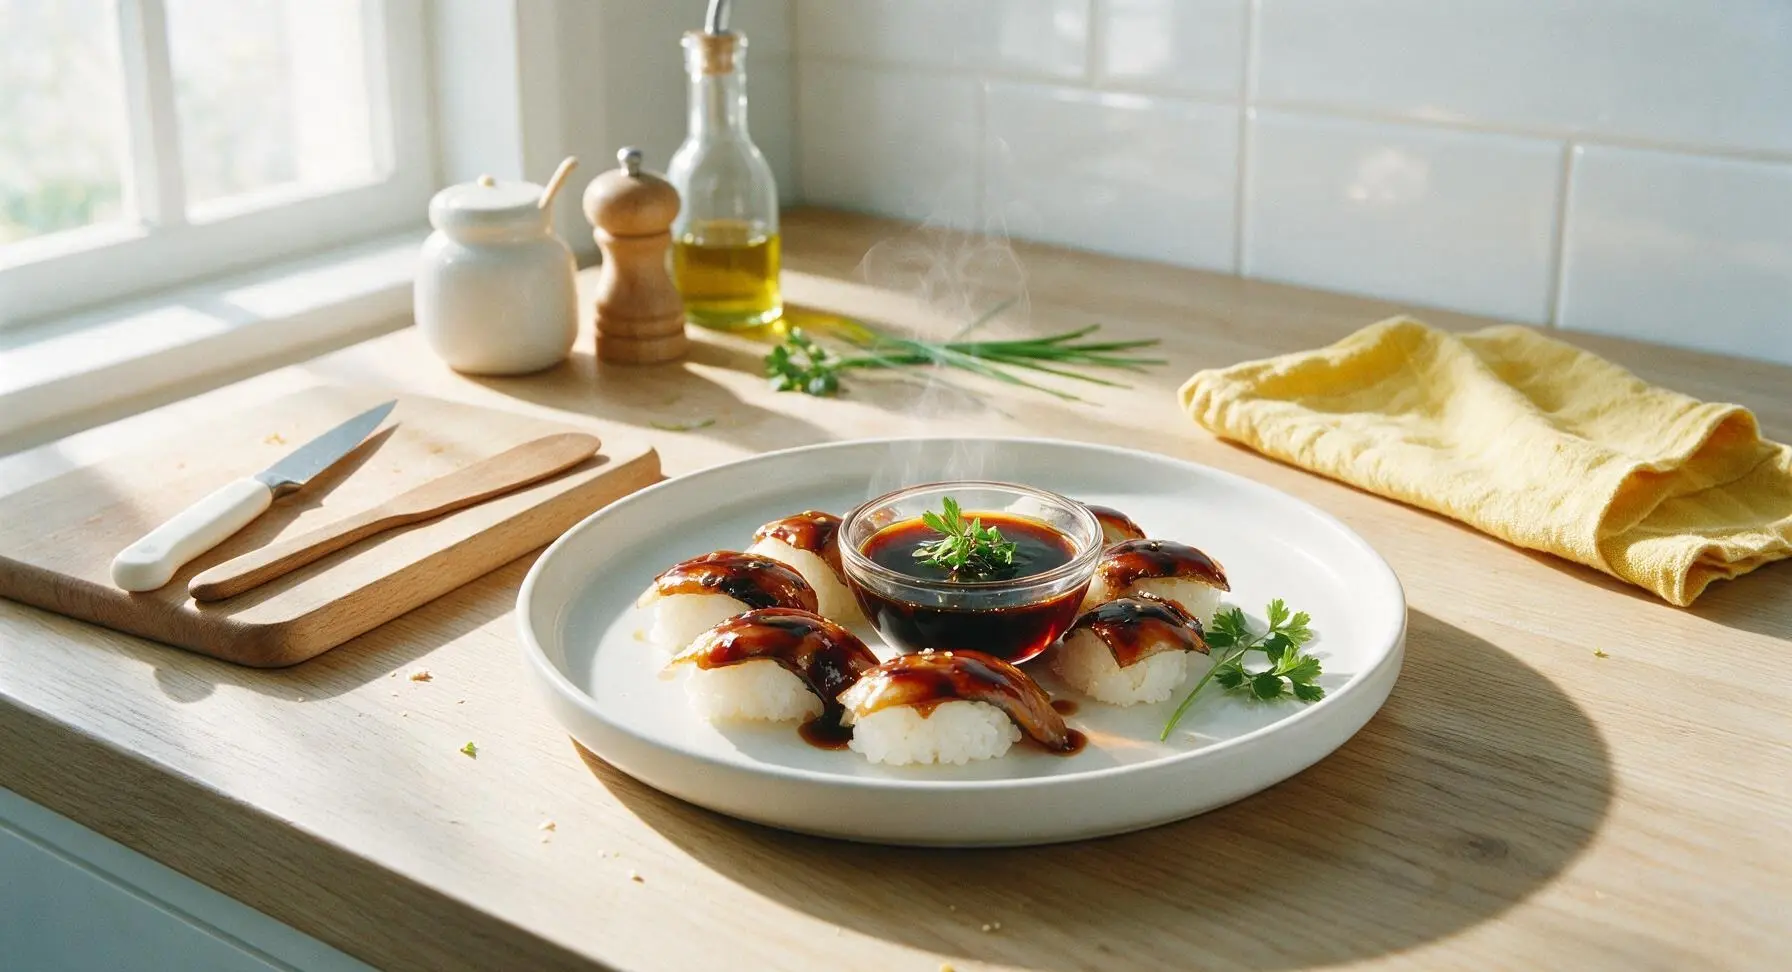
sushi sauce

title 1
sushi sauce
⏱️ cook time 10 minutes
🍽️ servings 8
⚡ Difficulty easy

intro

Glossy, umami-rich traditional Japanese nikiri sushi sauce is the sweet-savory glaze that turns homemade nigiri, maki, and poke bowls into restaurant-worthy bites.

Ingredients
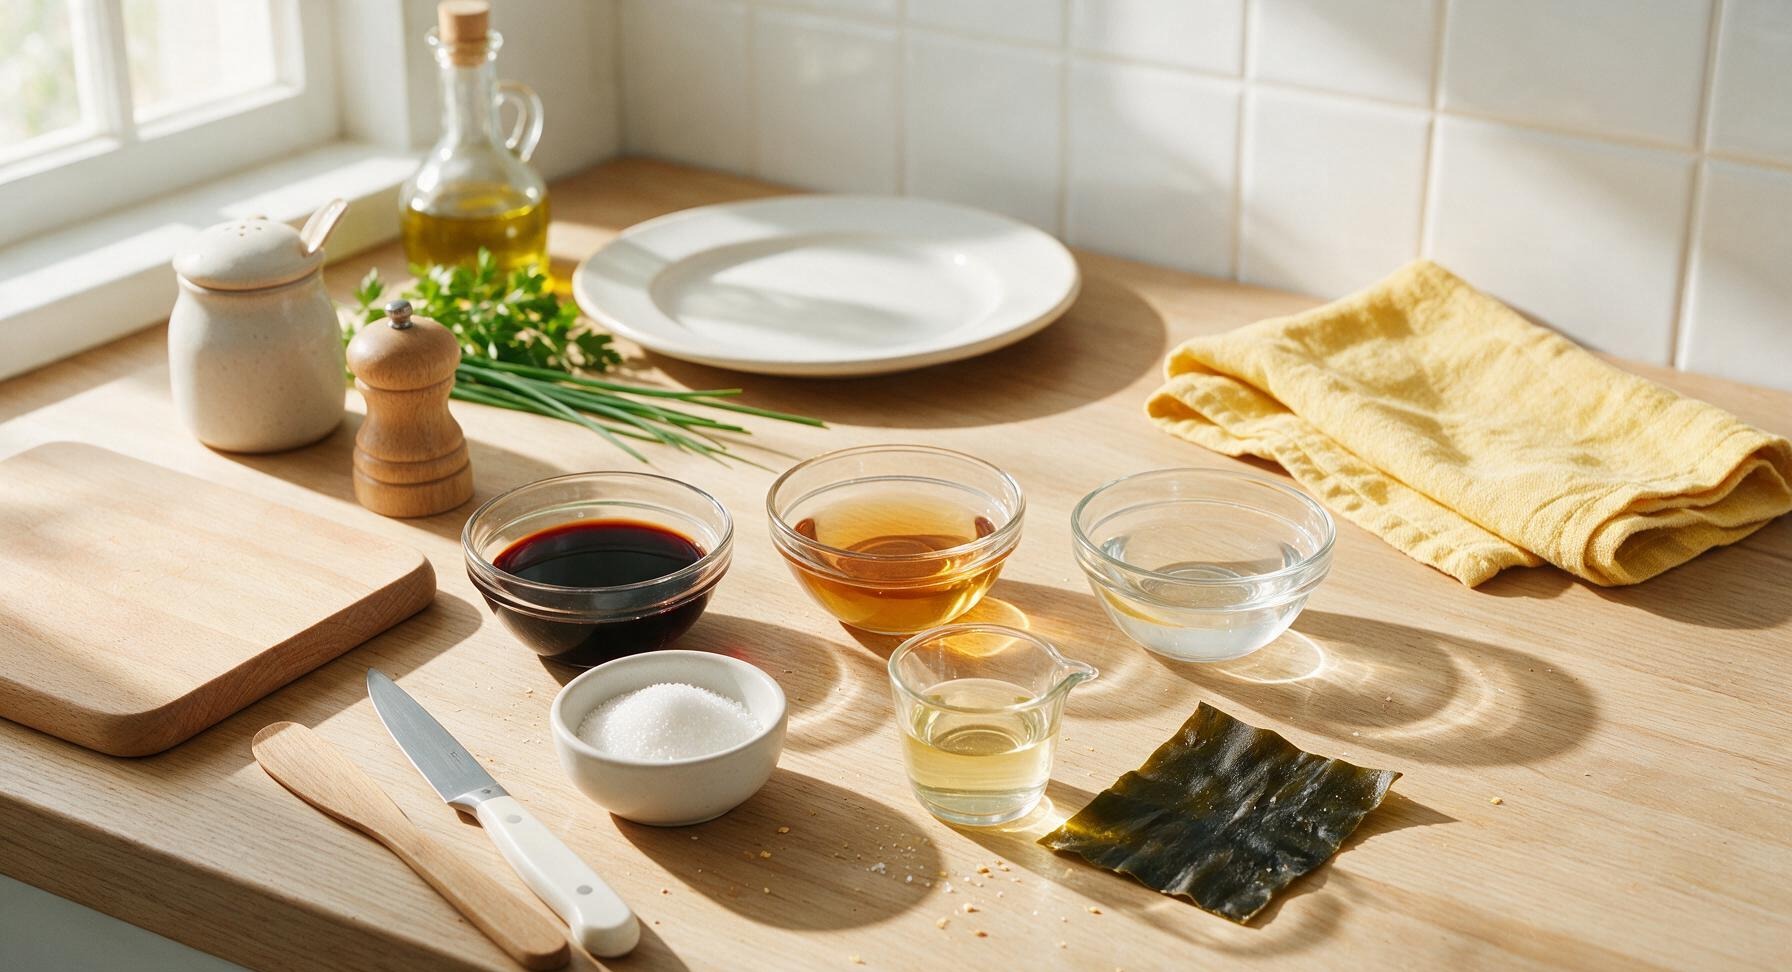
Low-sodium soy sauce 120ml (1/2 cup)
Mirin (sweet rice wine) 80ml (1/3 cup)
Dry sake 60ml (1/4 cup)
Granulated white sugar 2 tbsp
Unseasoned rice vinegar 1 tbsp
Dried kombu (kelp) 1 5x5cm piece (5g)

Steps

1

Measure All Ingredients

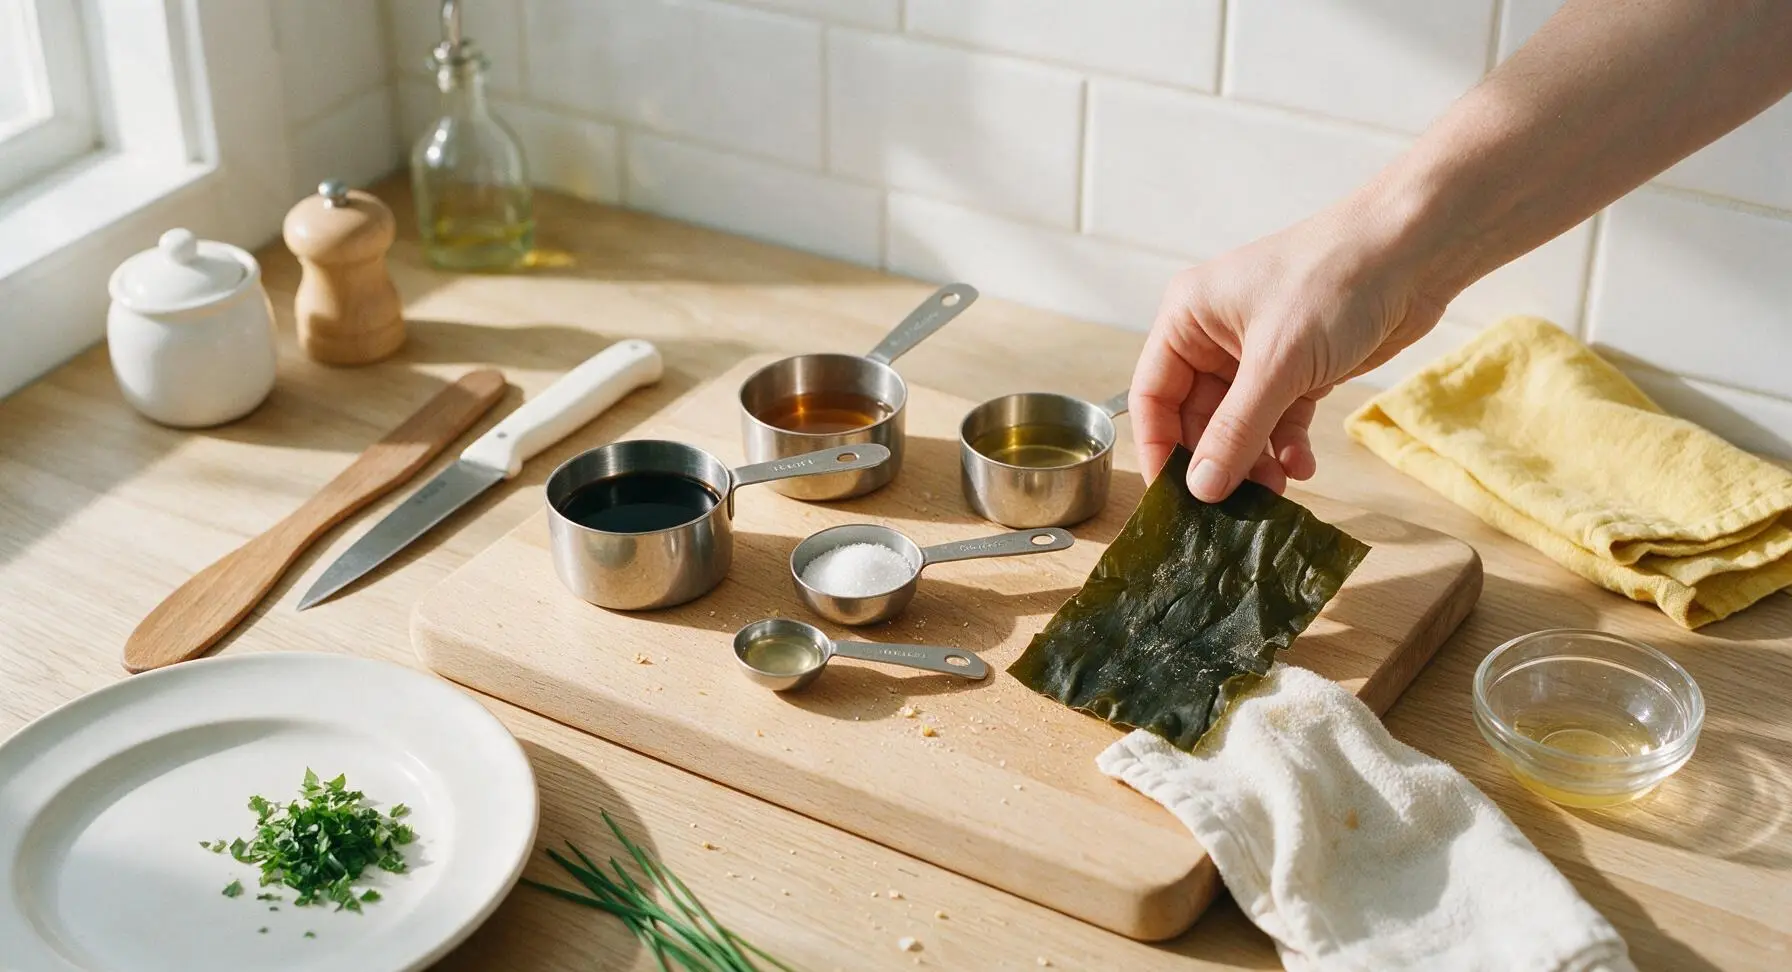
Use the stainless steel measuring cups and spoons to portion all ingredients: 1/2 cup low-sodium soy sauce, 1/3 cup mirin, 1/4 cup dry sake, 2 tablespoons granulated sugar, 1 tablespoon unseasoned rice vinegar, and 1 5x5cm piece of dried kombu. Wipe any surface dust off the kombu with a dry corner of the cotton towel—do not wash it, as this removes surface umami compounds. Set all measured ingredients within easy reach of the central induction burner.
Step 1
step1:Measure All Ingredients
2

Combine Base Ingredients

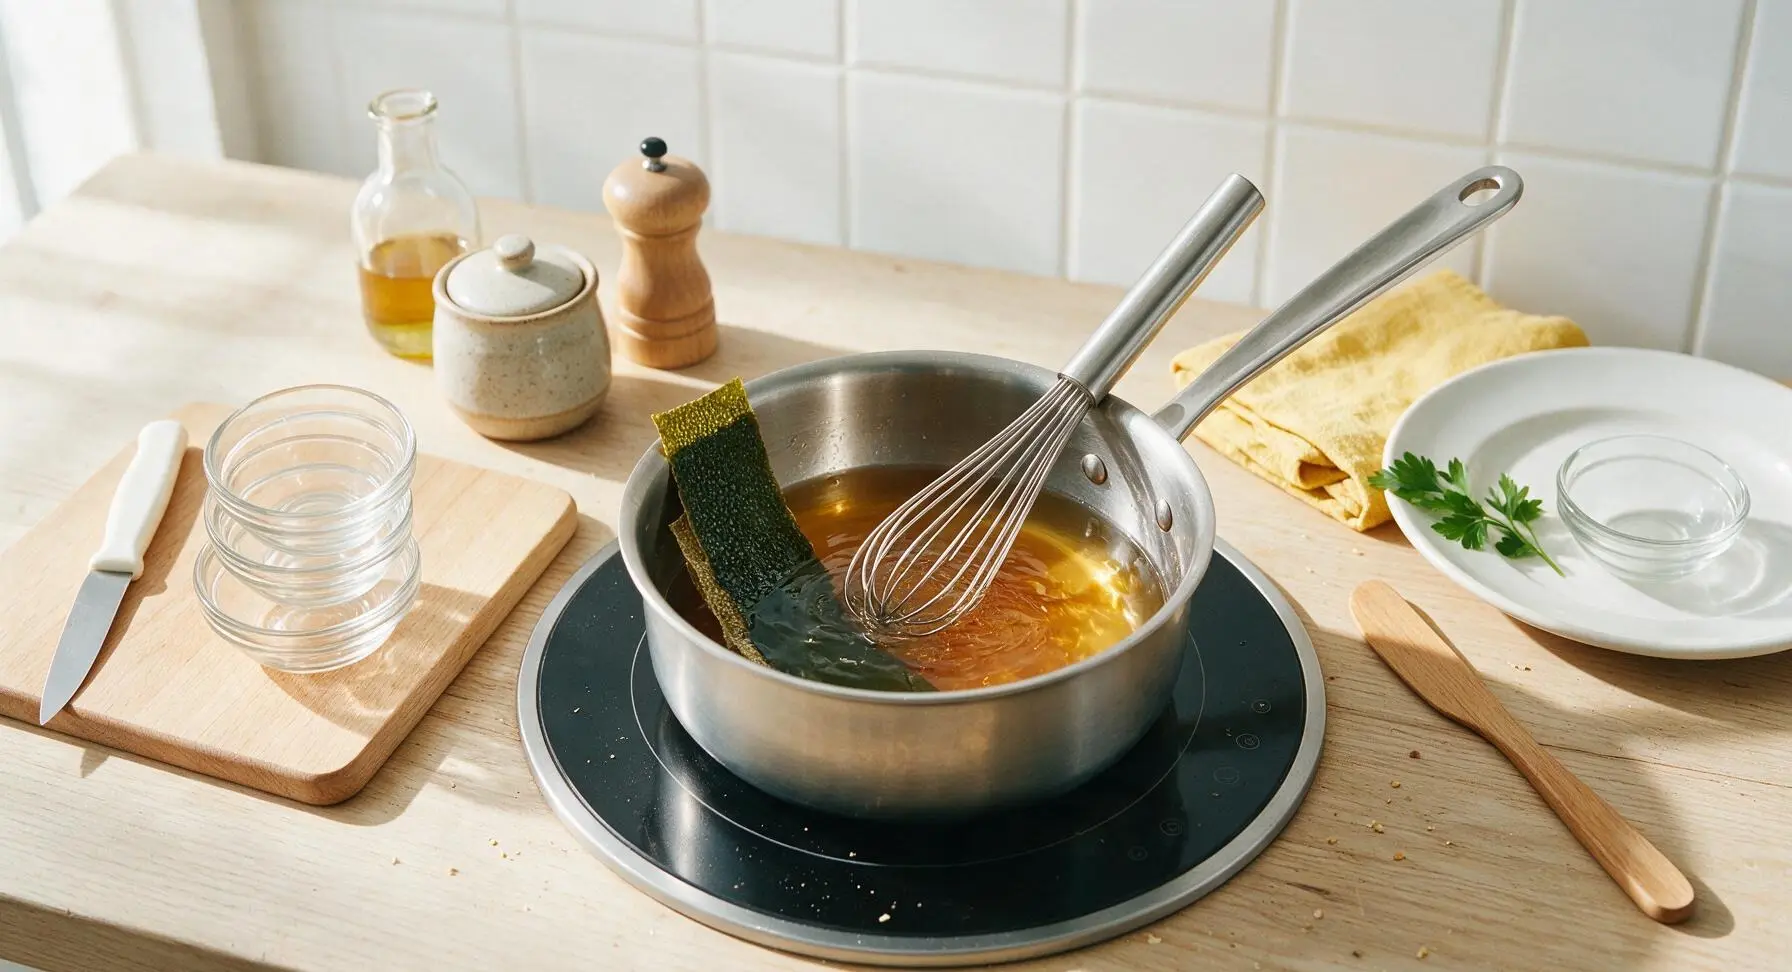
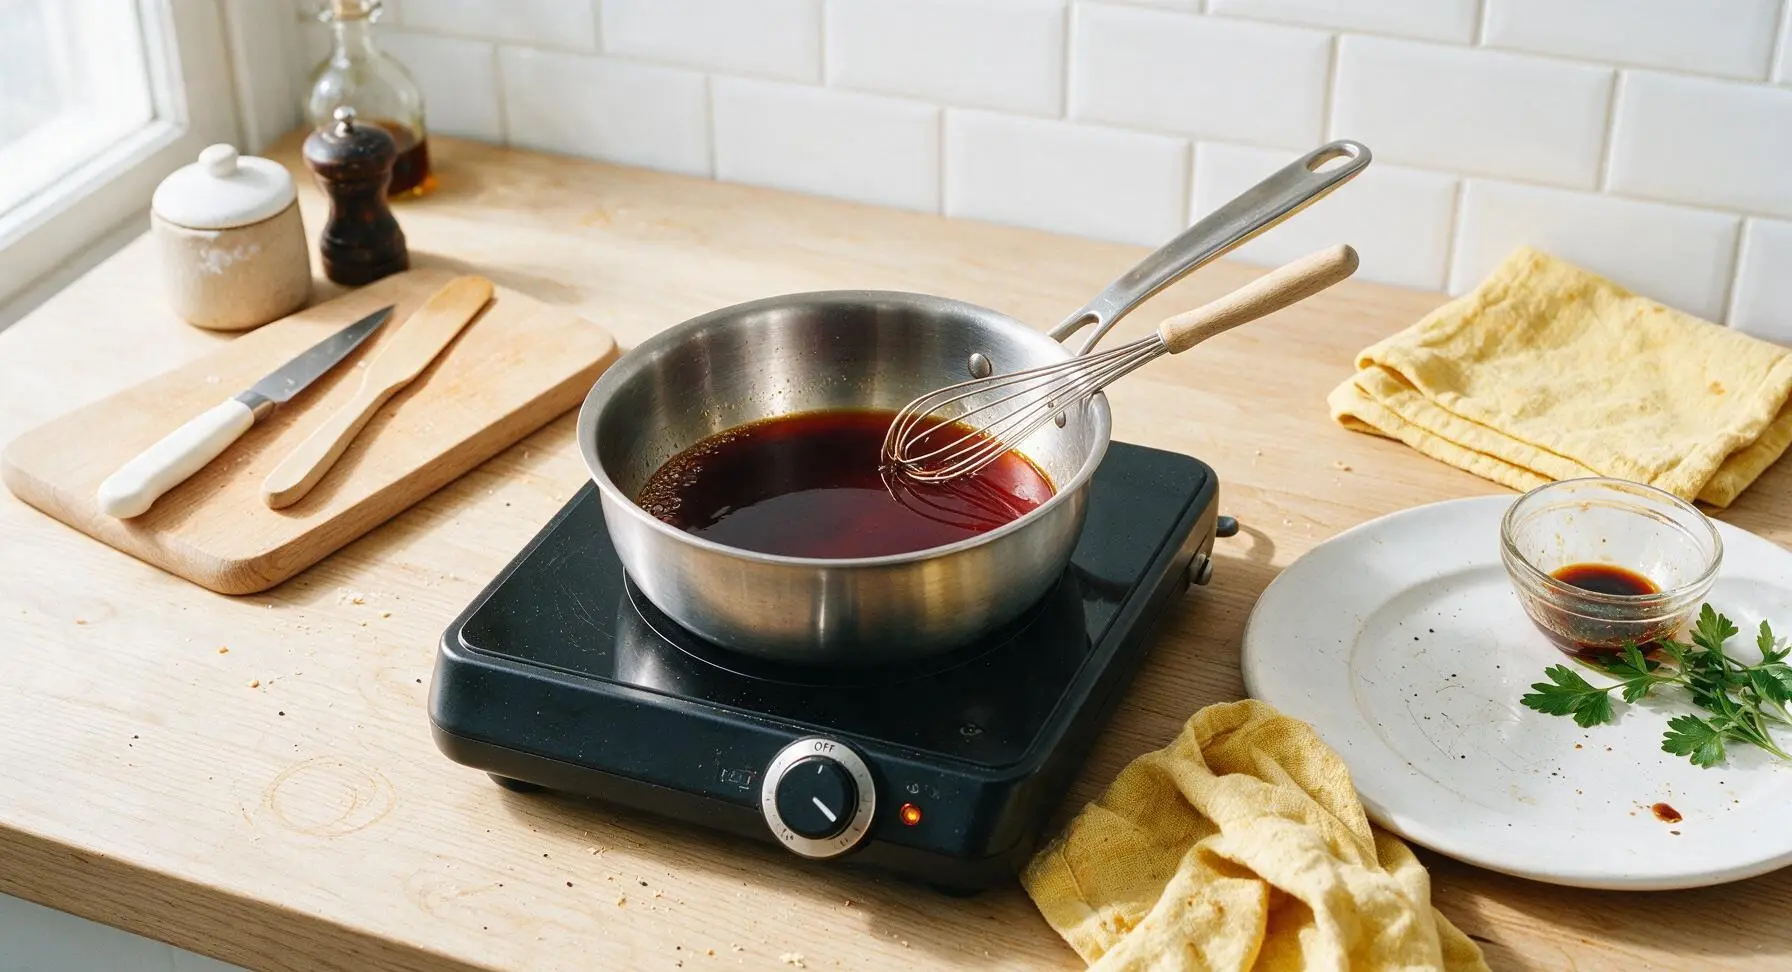
Retrieve the 1-quart stainless steel saucepan from below the counter and place it in the center of the induction burner. Pour the measured soy sauce, mirin, sake, rice vinegar, and granulated sugar into the pan, then whisk gently with the stainless steel whisk to combine until the sugar is fully dissolved and no grit remains at the bottom of the pan. Submerge the piece of dried kombu fully in the liquid, ensuring it does not stick to the pan bottom.
Step 2
step2:Combine Base Ingredients
3

Bring to Gentle Simmer

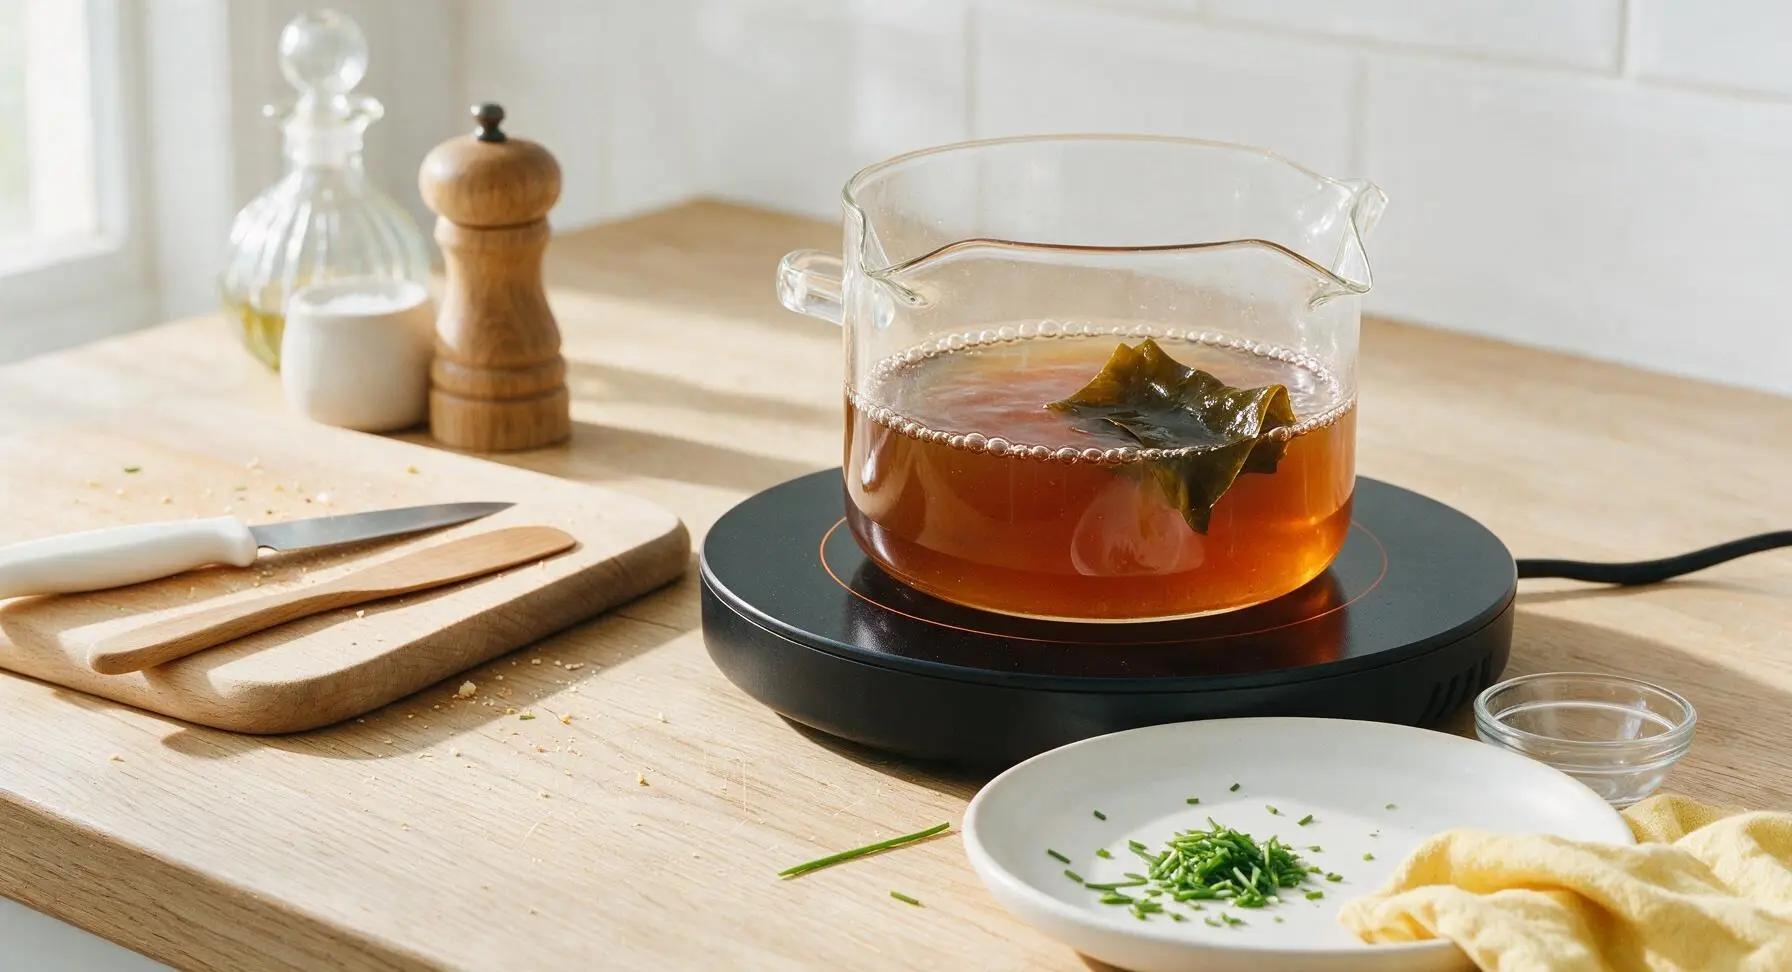
Turn the portable induction burner to medium-low heat. Heat the mixture slowly until it reaches a gentle, steady simmer (around 82°C / 180°F) – do not let it come to a hard, roiling boil, as this will make the sauce taste bitter from overcooked mirin and sake. Small, consistent bubbles should rise around the edges of the pan once the correct temperature is reached.
Step 3
step3:Bring to Gentle Simmer
Step 3
step3:Bring to Gentle Simmer
4

Simmer to Reduce

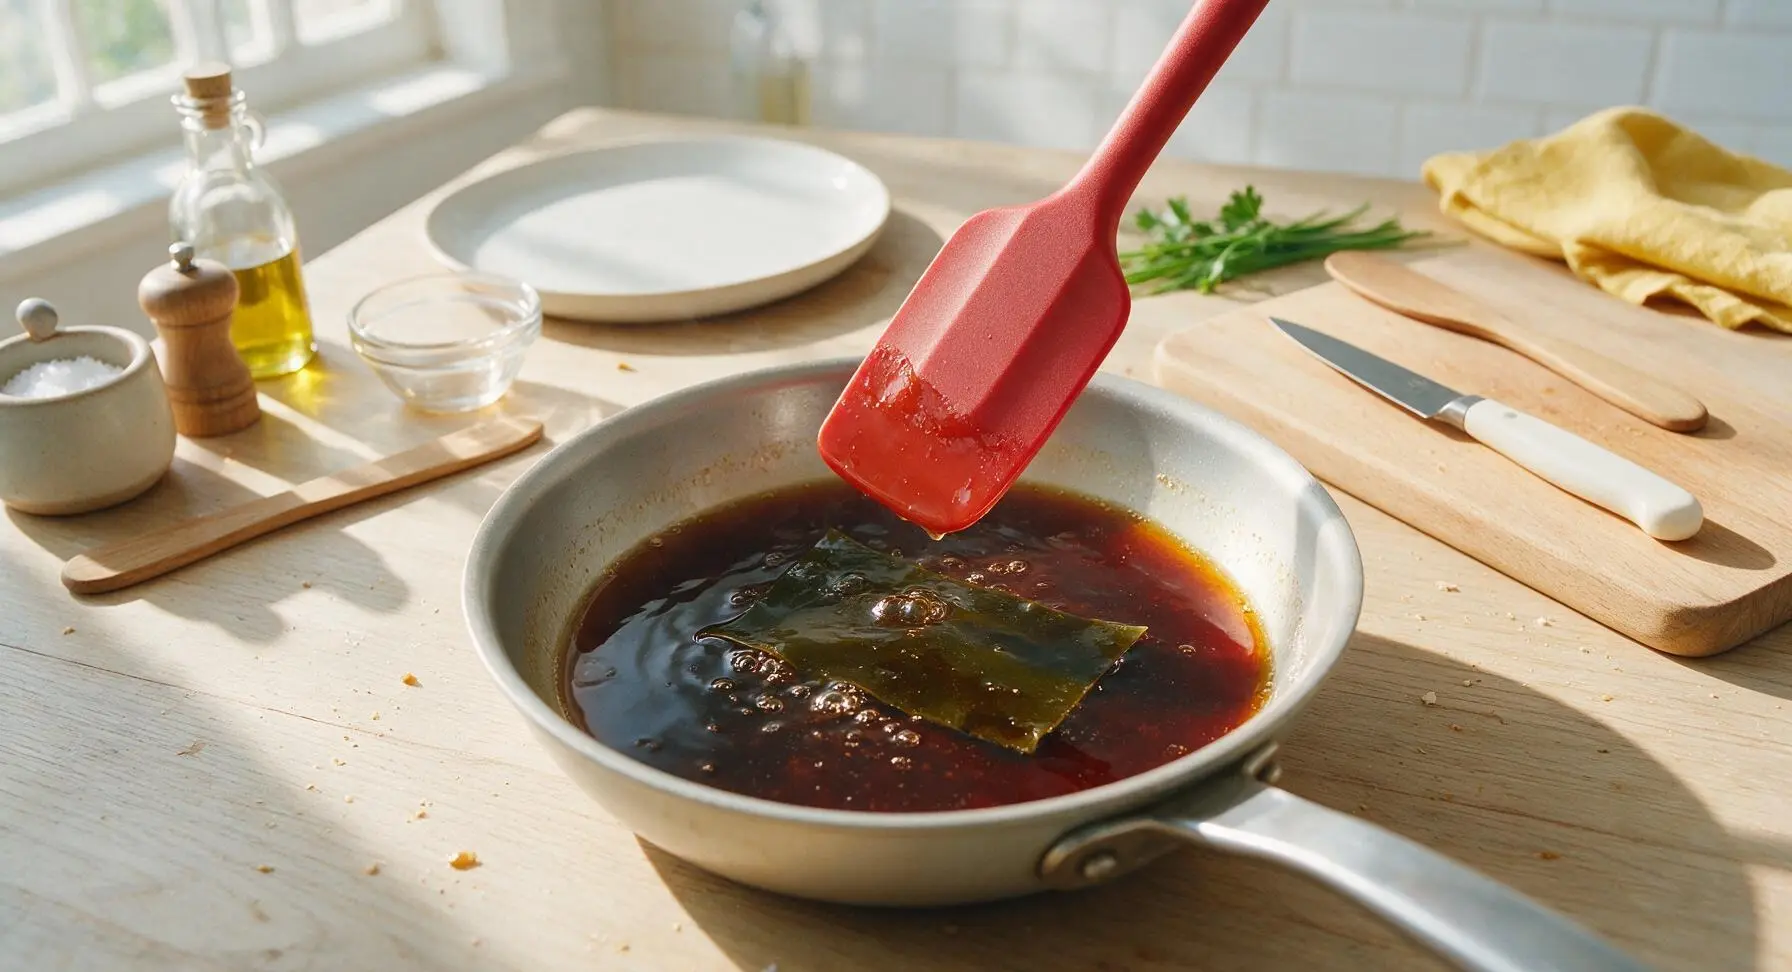
Once the gentle simmer is reached, reduce the heat to low to maintain the steady bubble rate. Let the sauce simmer uncovered for 8 minutes, stirring occasionally with the red silicone spatula to prevent sticking on the pan bottom. The sauce will reduce by roughly one-third, developing a glossy, slightly thickened consistency that lightly coats the back of a spoon when lifted.
Step 4
step4:Simmer to Reduce
5

Strain Finished Sauce

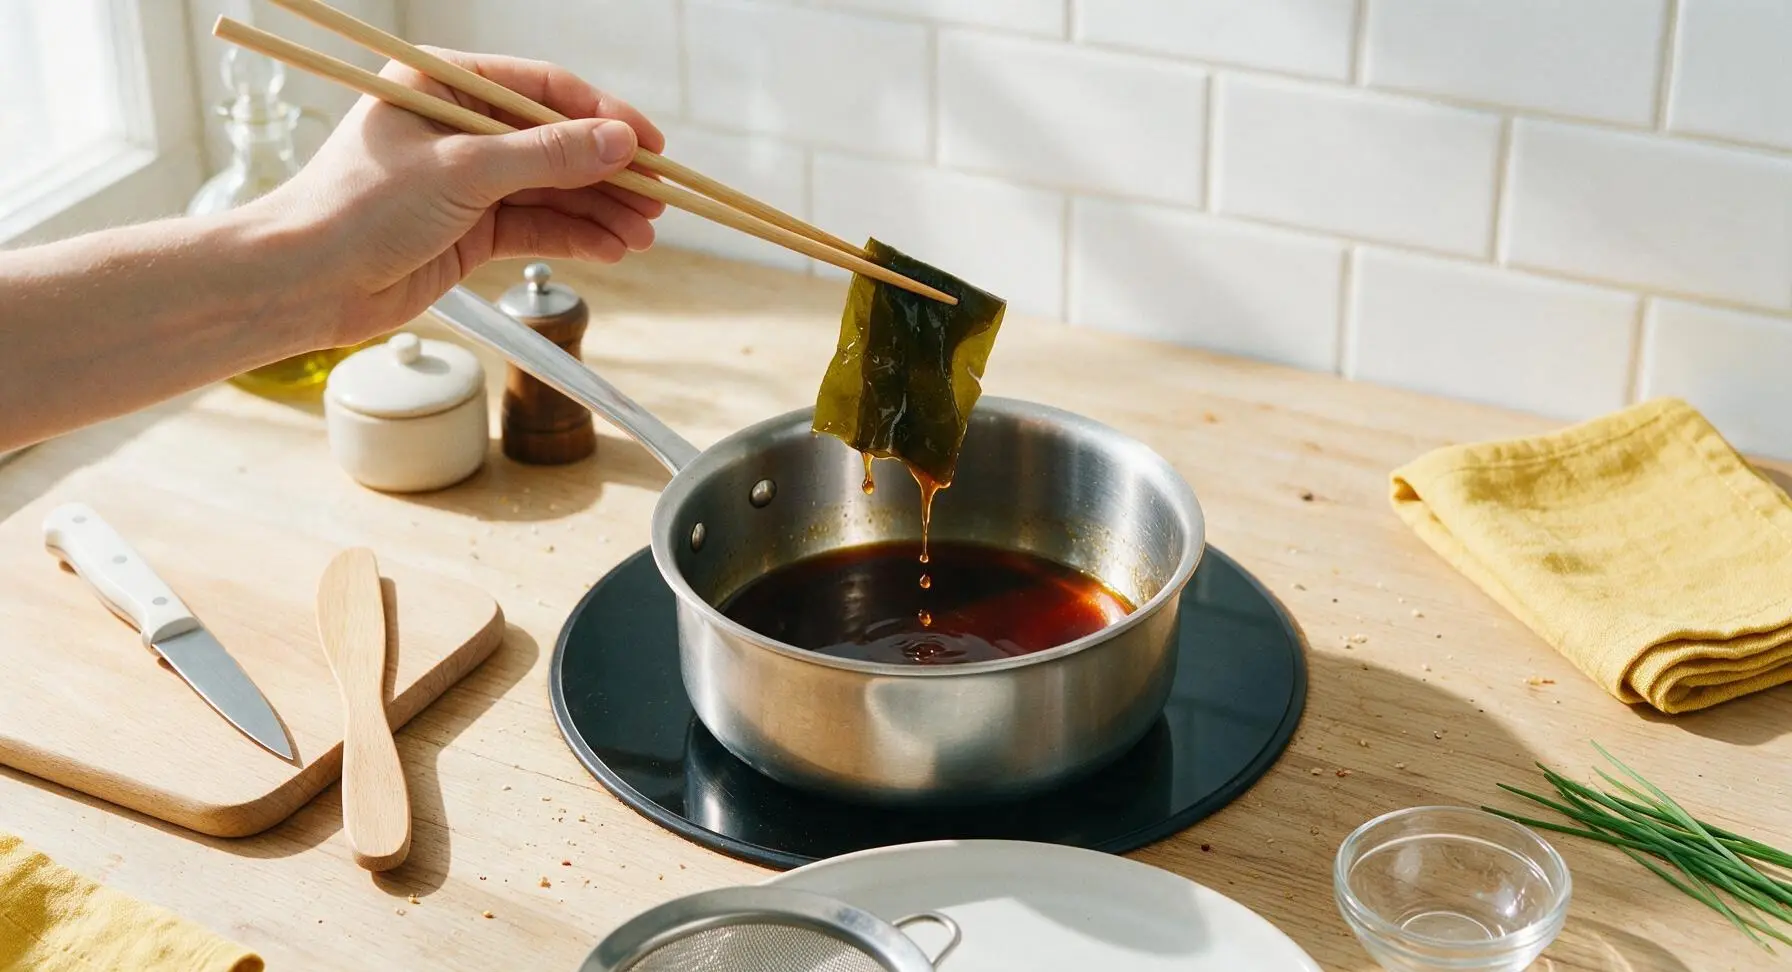
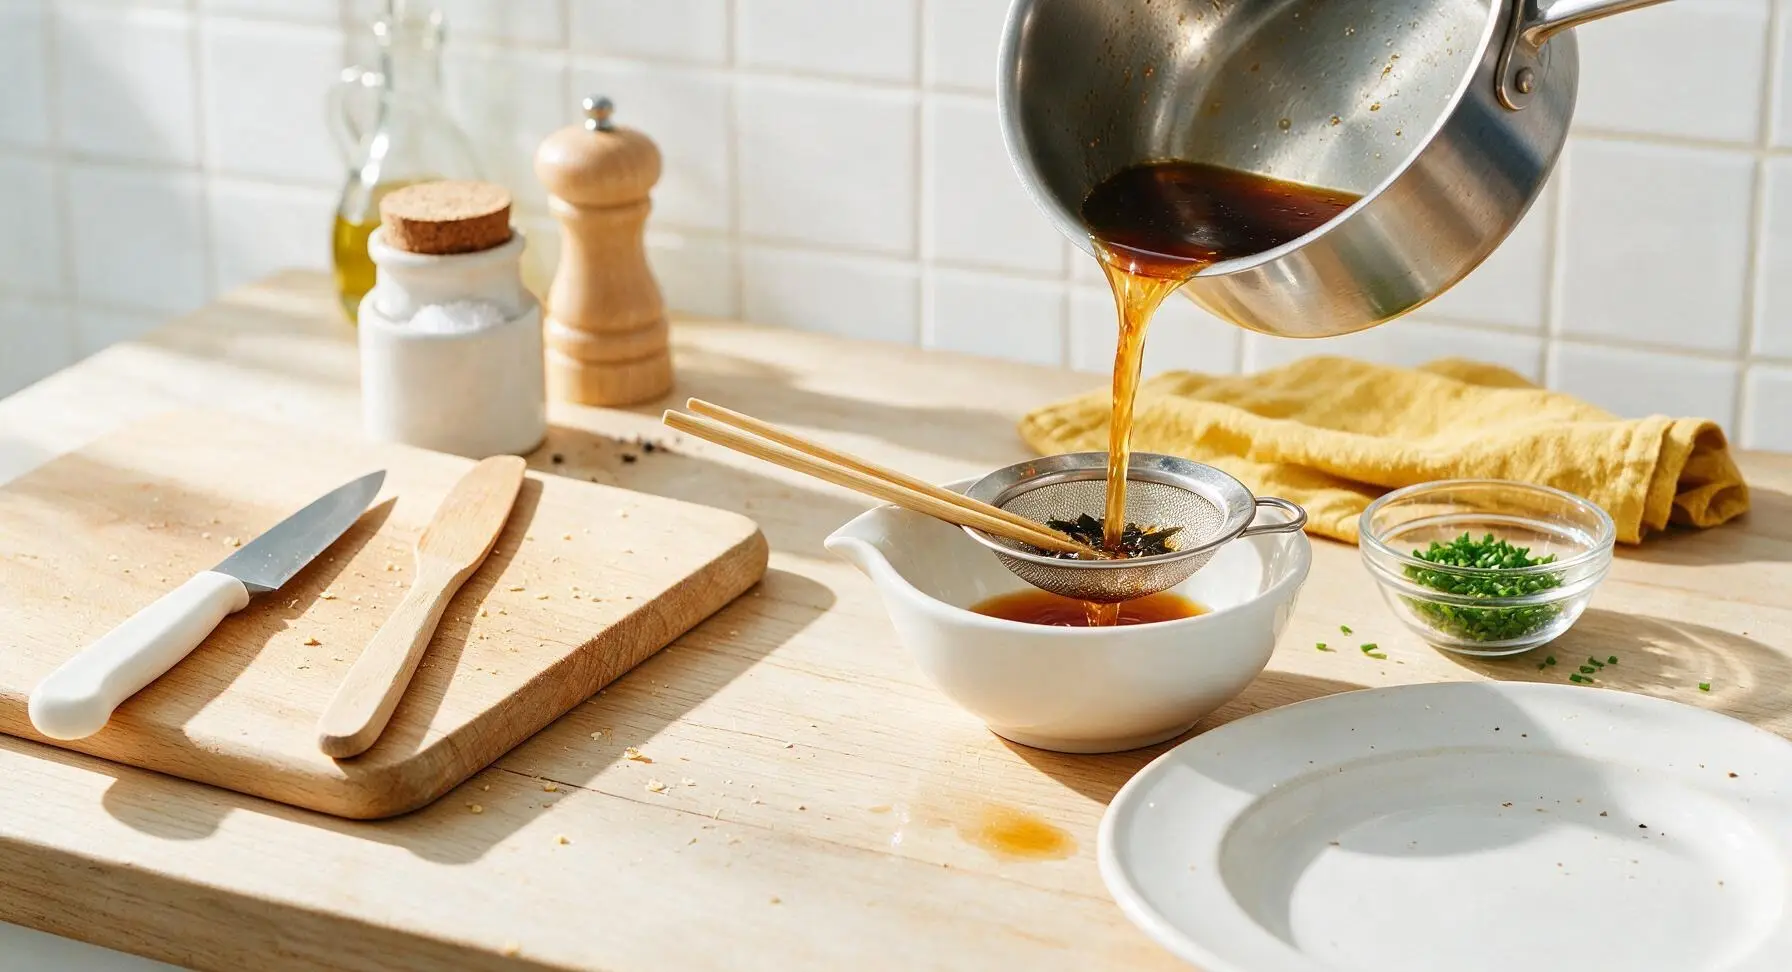
Turn off the induction burner. Use the pair of birch wood chopsticks to lift the softened kombu piece out of the hot sauce, setting it aside on the acacia cutting board. Position the fine-mesh stainless steel strainer directly over the glossy white ceramic sauce dish, then pour the hot reduced sauce slowly through the strainer to catch any tiny kombu fragments or undissolved sugar crystals, resulting in a perfectly smooth, clear sauce.
Step 5
step5:Strain Finished Sauce
Step 5
step5:Strain Finished Sauce
6

Cool to Serving Consistency

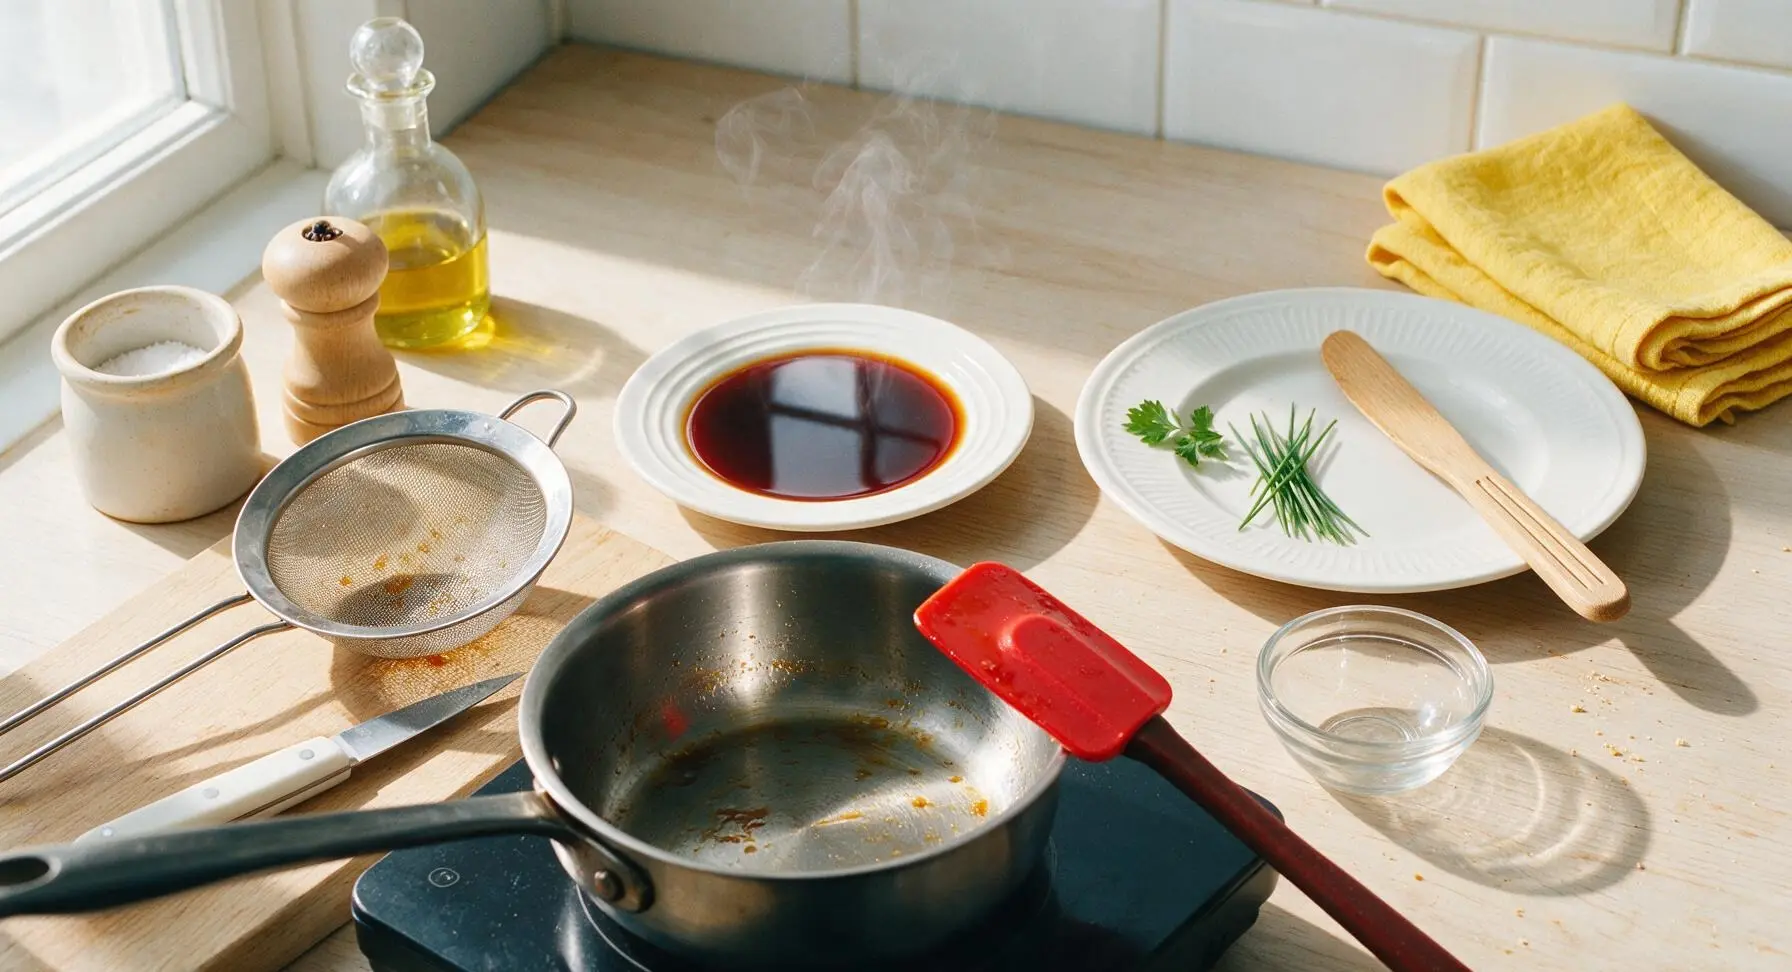
Let the strained sauce rest at room temperature for 5 minutes. As it cools, it will thicken slightly more to a light syrup consistency, perfect for brushing on nigiri, drizzling over maki rolls, or serving as a dipping sauce. Do not stir the sauce as it cools to preserve its glossy, smooth surface.
Step 6
step6:Cool to Serving Consistency

Tips

1.Avoid high-heat boiling: Rapid boiling will burn the sugar and turn the mirin and sake bitter, ruining the mellow, balanced sweet-savory profile of traditional nikiri sauce; a low, steady simmer is key for smooth flavor.
2.Do not wash the kombu: Wiping surface dust off with a dry towel preserves the white, umami-rich mannitol powder on the kelp surface; washing rinses these critical flavor compounds away, leading to a flat, less complex sauce.
3.Adjust consistency for your use: For a thicker drizzling sauce for dragon rolls or poke bowls, simmer for an extra 2 minutes to reduce further; for a lighter brushing sauce for nigiri, stick to the 8-minute simmer time for a thinner, spreadable consistency.


✨ You May Also Like

Side Dishes
🍜 India

Velvety, aromatic all-purpose curry sauce perfect for tossing with roasted veggies, grilled protein, or rice for fast, cozy, flavorful meals.

⏱️ 25 minuteSide Dishes ★ 4.8
Side Dishes
🍜 Spain

Tender, starchy boiled yuca tossed in bright, garlicky citrus mojo sauce—an iconic, zesty side that pairs beautifully with roasted pork, grilled meats, and rice and beans.

⏱️ 40 minuteSide Dishes ★ 5
Side Dishes
🍜 United States

Tender, paper-thin potato flatbread, a beloved Norwegian-American Minnesota Christmas staple, griddled until softly spotted and served warm with butter.

⏱️ 1 hour 30Side Dishes ★ 4.6
Side Dishes
🍜 United States

Rich, deeply savory cured salt pork, a long-lasting kitchen staple perfect for frying crispy as a side or adding umami to stews, beans, and chowders.

⏱️ 7 days (2Side Dishes ★ 4.9
Side Dishes
🍜 United States

Crispy, tangy classic Southern fried green tomatoes with a crunchy cornmeal crust, served hot for a nostalgic, comforting summery bite.

⏱️ 25 minuteSide Dishes ★ 4.9
Side Dishes
🍜 United States

Moist, golden-crusted savory muffins with sweet corn, zesty jalapeño, and melted cheddar, perfect for pairing with smoky summer grilled fare.

⏱️ 30 minuteSide Dishes ★ 4.9

sushi sauce:Frequently Asked Questions

1.What makes nikiri sushi sauce different from regular soy sauce? ▾
Unlike plain, salty table soy sauce, nikiri is a balanced, sweet-savory glossy glaze that’s gently cooked to mellow sharp alcohol notes and thin enough to coat sushi evenly. It layers umami from soy, mirin, and sake with a subtle rice vinegar tang, so it delivers rounded, restaurant-worthy flavor instead of one-note salt when brushed on nigiri or maki.
2.Do I have to use low-sodium soy sauce for this recipe, or is regular soy okay? ▾
You can absolutely use regular soy sauce if that’s what you have on hand, but low-sodium is preferred to keep the sauce from getting overly salty as it simmers and reduces. If you swap in regular soy, cut the total amount by 1 tablespoon and add 1 tablespoon of water to balance, so the sweet, tangy, and umami notes don’t get overpowered by brininess.
3.What can I use as a substitute if I don’t have mirin? ▾
If you don’t have traditional mirin (sweet rice wine), make a quick stand-in by mixing 3 tablespoons of dry sake with 1 tablespoon of extra granulated sugar for every ¼ cup of mirin the recipe calls for. Skip cheap sweetened cooking mirin (aji-mirin) with added corn syrup—it will make the sauce taste cloyingly sweet instead of having soft, fermented depth.
4.What’s a good swap for dry sake in this nikiri recipe? ▾
If you don’t have dry sake, swap it for an equal amount of dry white wine plus ¼ teaspoon of extra rice vinegar to brighten the flavor, or use additional mirin cut with a splash of water for a non-wine option. Avoid salted cooking sake, as it will throw off the sauce’s balanced sweet-savory profile and make it unpleasantly briny.
5.Do I have to cook the sauce, or can I just mix the ingredients cold? ▾
You do need to gently simmer nikiri for 8 to 10 minutes over low heat—this cooks off the harsh, burning alcohol taste from the sake and mirin, dissolves the sugar fully, and reduces the liquid just enough to create that signature light, coating consistency. Mixing it cold leaves a sharp, boozy aftertaste and runny texture that slides right off sushi.
6.How do I know when my nikiri sauce is the right consistency? ▾
Finished nikiri is thinner than teriyaki but thick enough to lightly coat the back of a spoon, about the consistency of warm maple syrup. It will thicken a little more as it cools, so err on the slightly runny side when you take it off the heat. If it gets too thick, stir in a teaspoon of warm water at a time to thin it to the ideal texture.
7.How long will homemade nikiri sauce stay good in the fridge? ▾
Stored in a clean, airtight glass jar, this nikiri will keep well in the fridge for up to 3 weeks. You don’t need to freeze it, since the high salt and acid content from the soy and vinegar acts as a natural preservative. Just give it a quick stir before each use, as a tiny bit of harmless sediment may settle to the jar’s bottom over time.
8.Can I use seasoned rice vinegar instead of unseasoned? ▾
I recommend sticking to unseasoned rice vinegar, because seasoned varieties already have added sugar and salt that will throw off the recipe’s carefully balanced ratio. If seasoned rice vinegar is all you have, cut the added granulated sugar by 1 teaspoon and reduce your soy sauce by ½ teaspoon to compensate for those extra pre-added seasonings.
9.Is nikiri sauce the same as unagi (eel) sauce? ▾
They look similar, but they’re not identical! Unagi sauce is thicker, much sweeter, and often made with extra sugar or dashi to coat rich grilled eel. Nikiri is lighter, thinner, and more balanced with a subtle vinegar tang, designed to complement delicate raw fish without overwhelming its fresh, briny, clean flavor.
10.How do I actually use nikiri when making sushi at home? ▾
The traditional method is to use a small pastry brush or clean basting brush to paint a thin, even coat of nikiri directly onto the fish side of nigiri, or lightly brush the top of cut maki rolls right before serving. You don’t need to serve it on the side for dipping—its job is to add a consistent layer of flavor to every bite.
11.My nikiri turned out too sweet—how do I fix it? ▾
Overly sweet nikiri usually happens when you use sweetened aji-mirin instead of traditional mirin, or simmer the sauce too long so water evaporates and concentrates the sugar. Fix it by stirring in an extra teaspoon of unseasoned rice vinegar and a splash of low-sodium soy sauce, ¼ teaspoon at a time, until the sweet-savory balance feels right.
12.Can I make a non-alcoholic version of this nikiri sauce? ▾
Absolutely! To make zero-alcohol nikiri, swap the mirin and sake for ½ cup of non-alcoholic white grape juice mixed with 1 tablespoon of rice vinegar, and reduce the sugar by 1 teaspoon to account for the juice’s natural sweetness. Simmer it the same way as the traditional version to meld flavors, and you’ll get a nearly identical taste profile.
13.Should I add dashi to make nikiri more authentic? ▾
Traditional Edomae-style nikiri is sometimes made with a tiny splash of light kombu dashi, but this 5-ingredient version is the standard home-style recipe used across Japan. If you want extra depth, stir in 1 tablespoon of cooled, strained kombu dashi after taking the sauce off heat, but skip bonito dashi if serving it with delicate white fish.
14.Why did my nikiri turn out cloudy instead of glossy and clear? ▾
Cloudy nikiri almost always comes from simmering the sauce too hard at a rolling boil, which agitates the ingredients and traps tiny air bubbles in the liquid, or from leaving fine sediment in the finished sauce. Fix this by keeping heat on low the whole time it simmers, and straining cooled sauce through a fine-mesh sieve for that shiny, clear restaurant finish.
15.Can I use nikiri sauce for foods other than sushi? ▾
Of course! Nikiri is incredibly versatile beyond sushi. Try brushing it on seared scallops, grilled salmon, roasted tofu, or drizzling it over steamed rice and veggie bowls. It makes a fantastic quick glaze for chicken skewers too—just remember its concentrated flavor goes a long way, so a thin coat is all you need to add big umami.
16.Do I need to warm nikiri up before brushing it on sushi? ▾
You can use it straight from the fridge, but I recommend letting it come to room temperature for 10 minutes first, or warming it for 5 seconds in the microwave, so it brushes on smoothly in a thin, even coat. Cold nikiri is slightly thicker, which can lead to gloppy, uneven coverage on delicate fish and ruin that light, restaurant-style texture.

Comments (5)

3 days ago

OMG this nikiri sauce is a total game changer! I’ve been grabbing pre-bottled sushi sauce from the grocery store for my weekly homemade sushi nights for literal years, and it never tastes half as good as what they serve at my local sushi spot. This took literally 10 minutes to throw together, so easy even someone like me who burns toast half the time can nail it. My kids even dipped their edamame in it at dinner and asked for seconds! 10/10 will be whipping this up every Sunday for meal prep from now on.

2 days ago

Quick question—did you use regular soy sauce, or did you swap for low sodium? My husband is on a low-salt kick right now and I’ve been nervous to try homemade sushi sauces because they’re usually packed with sodium.

2 days ago

So stoked you’re loving the sauce! If you’re looking to cut back on sodium, low-sodium soy sauce works perfectly as a 1:1 swap here—you won’t lose that classic umami nikiri flavor. Pro tip: add a tiny extra pinch of sugar to balance it out if you go that route!

1 week ago

Brought a batch of this sauce to our neighborhood block party potluck last weekend to go with the California roll platter I made, and literally everyone was hounding me for the recipe! It’s got that perfect subtle sweet-savory balance, not too thick, not too runny, just glossy enough to coat each bite. SO good, I even used the leftover sauce to glaze some salmon for family dinner last night and it was chef’s kiss.

30 minutes ago

This looks so good! Quick question before I make it—can I prep this ahead of time and store it in the fridge? I do my big Sunday meal prep for the whole week and want to have a jar ready to go for when I make sushi rolls for my work lunches. The 10 minute cook time is so short I’m not even mad if I have to make it fresh, but make-ahead would be a huge win.

5 minutes ago

Great question! This sauce stores perfectly in an airtight glass jar in the fridge for up to 2 weeks, so it’s ideal for meal prep. Just give it a quick stir before using, since the ingredients can separate a little as it chills. Happy meal prepping!

yesterday

Tried this for the first time last night for my at-home date night with my girlfriend, and she thought I ordered takeout from the fancy sushi place downtown! Total win, I didn’t even mess it up which is saying something because I’m a total beginner in the kitchen. Only heads up: I didn’t have mirin on hand so I used a little extra rice vinegar and a pinch more sugar, and it worked great, no weird flavor difference.

2 hours ago

Oh thank you so much for the mirin substitute tip! I’ve been putting off making this for weeks because I don’t keep mirin in my tiny apartment pantry, I’m definitely trying that swap this weekend!

5 days ago

This sauce is an absolute dream for gluten free sushi nights! I swapped the regular soy sauce for tamari and it came out exactly like the traditional nikiri I remember having before I went GF. No weird aftertaste, no weird gummy texture, just that perfect glossy, sweet-savory coat that makes nigiri taste like restaurant quality. Will be making this on repeat!

3 days ago

Did the tamari swap change the consistency at all? My oldest is GF too and I’m always nervous sauce swaps will turn out runny or way too thick, especially for something that’s supposed to coat the fish like nikiri does.

2 days ago

Tamari works beautifully as a 1:1 swap for soy sauce in this recipe, and it won’t change the consistency at all! It has a slightly deeper umami flavor than regular soy sauce, so you might find you like it even better than the original. So happy the recipe works for your GF needs!



