
sweet chilli sauce
intro
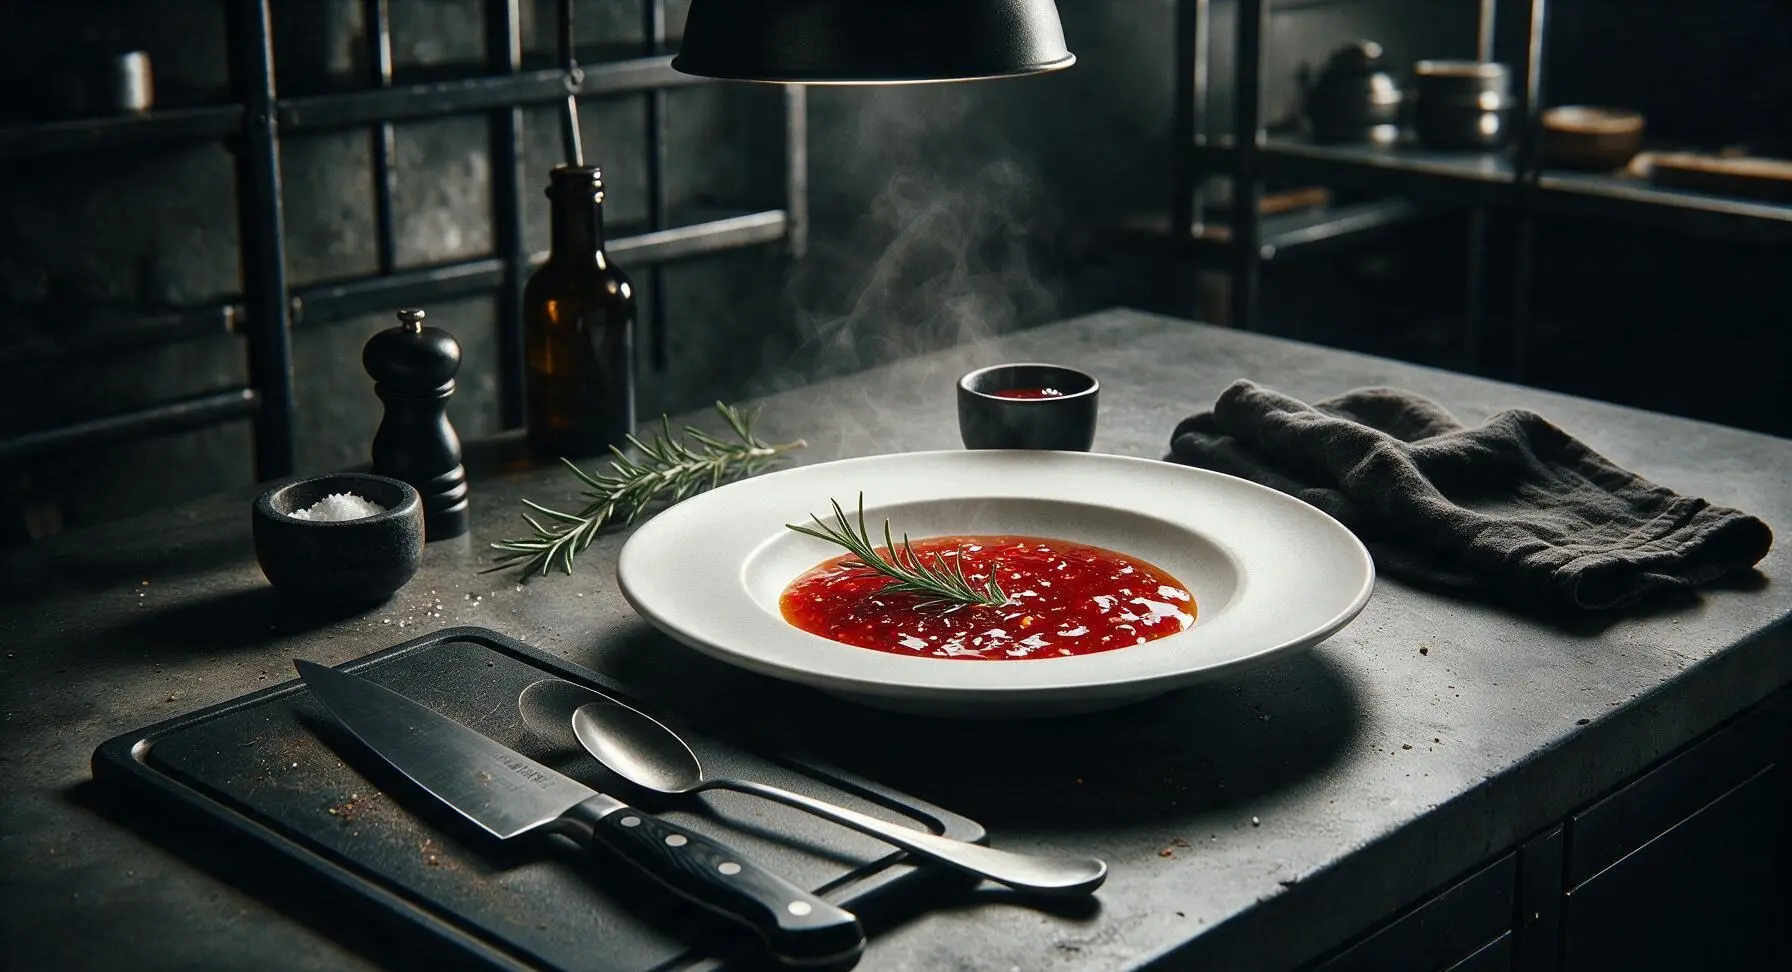
Sticky, glossy, perfectly balanced Thai sweet chilli sauce—bright, tangy, gently spicy, ideal for dipping grilled bites, spring rolls, and crispy fried snacks at summer gatherings.
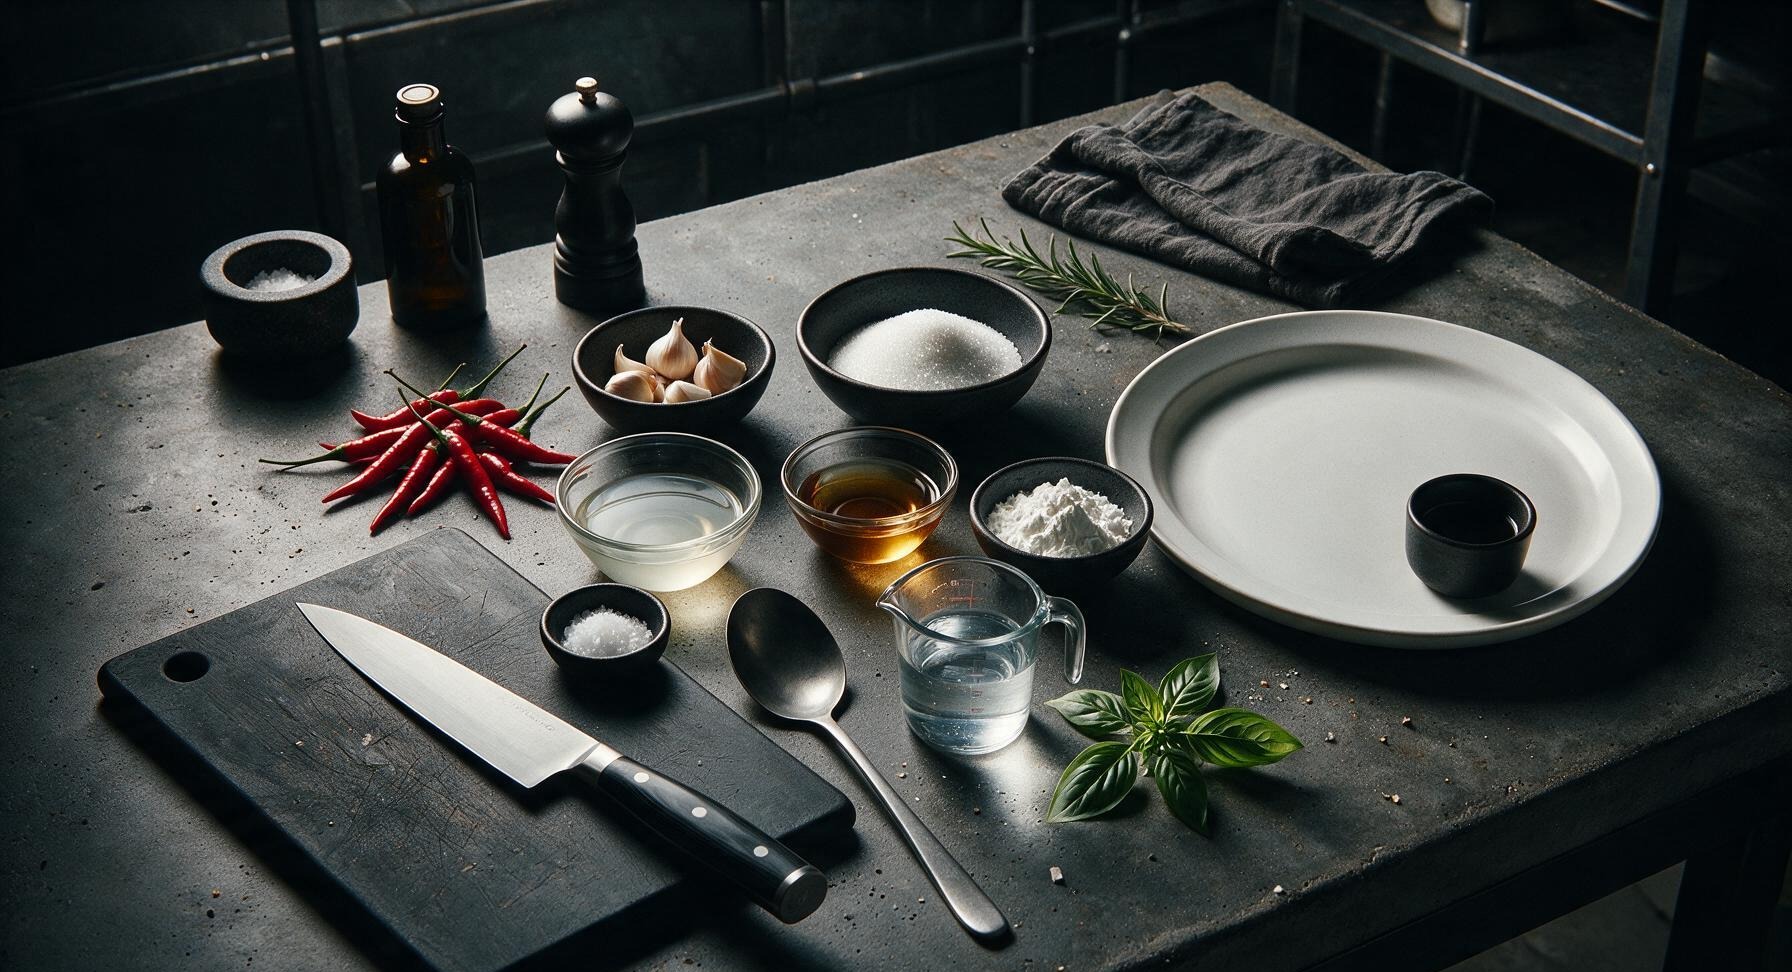
Ingredients
Steps
Finely Chop Aromatics
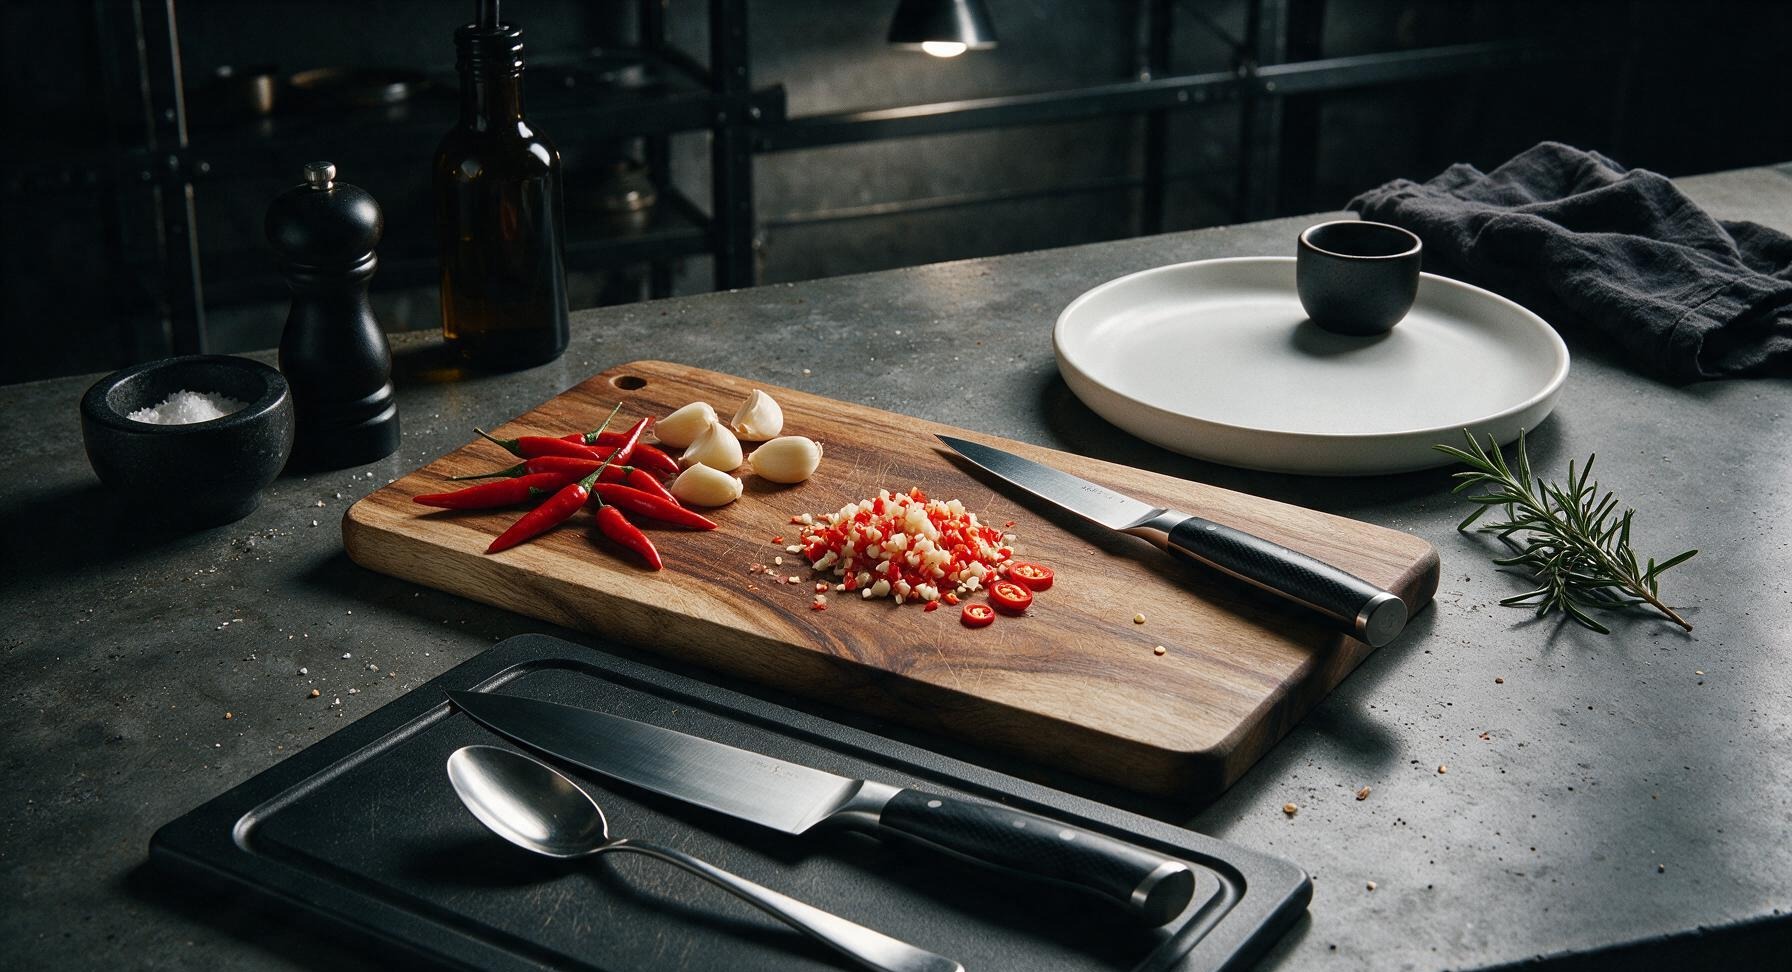
Place the 8 red Thai bird's eye chillies and 4 peeled garlic cloves on the acacia wood cutting board. Use the stainless steel paring knife to finely mince both, setting aside 2-3 thin chilli slices for garnish if desired. Wear disposable gloves when handling chillies if you have sensitive skin to avoid capsaicin irritation. Aim for uniform 2mm pieces so they distribute evenly through the finished sauce, rather than forming large, overwhelming chunks.
Combine Sauce Base
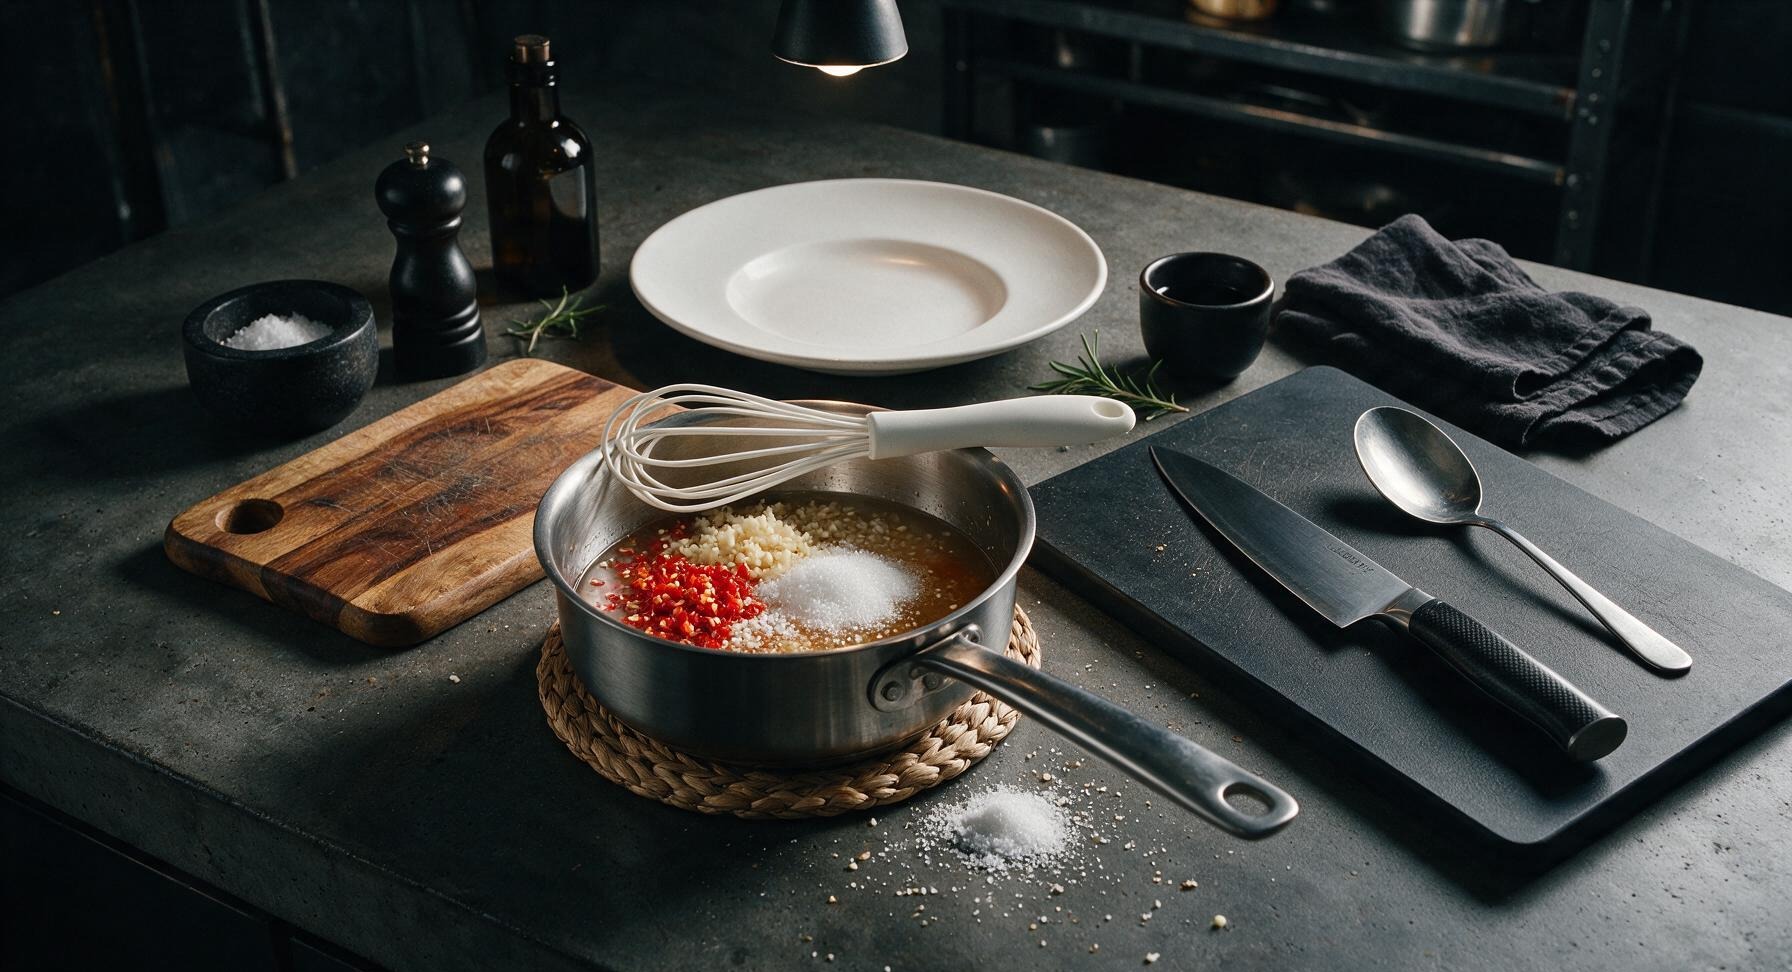
Transfer the minced chilli and garlic to the heavy-bottomed stainless steel saucepan. Add 150g granulated sugar, 120ml white rice vinegar, 30ml fish sauce, 180ml cold water, and 1/4 tsp fine sea salt to the pan. Stir briefly with the matte white silicone whisk to loosely combine all ingredients before applying heat.
Simmer Sauce Gently
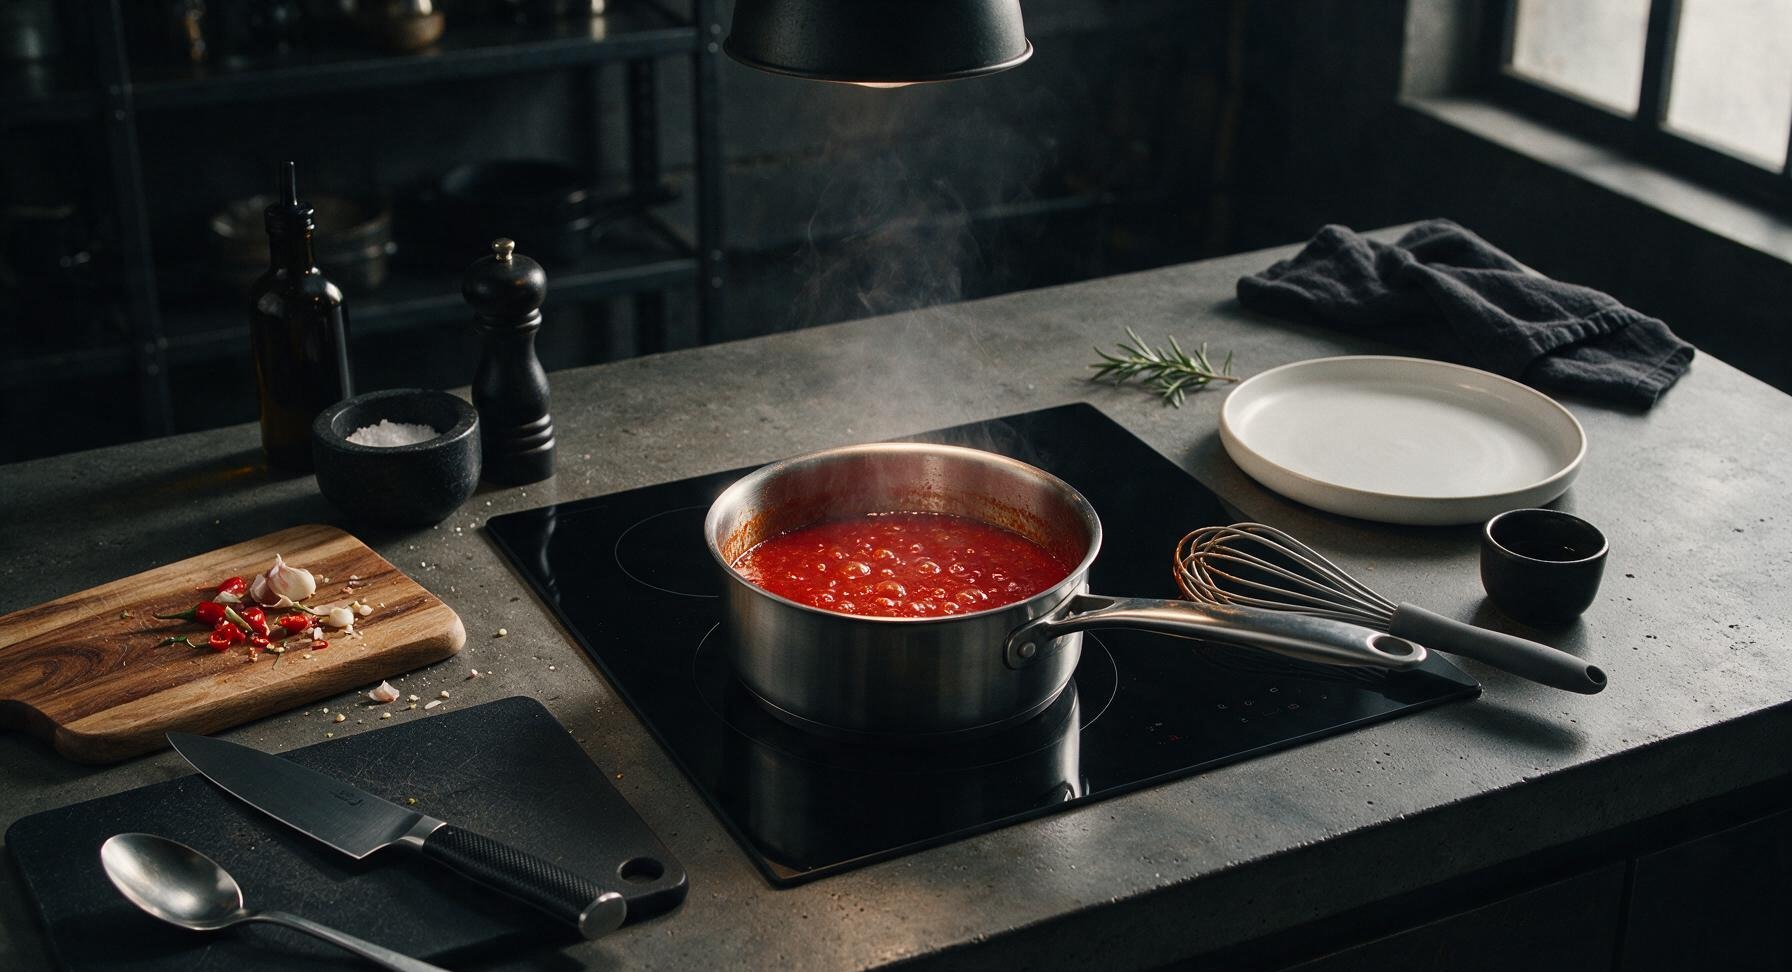
Move the saucepan to the flush-mounted black glass induction cooktop set to medium heat. Stir occasionally with the silicone whisk until the sugar fully dissolves, about 2 minutes. Once the mixture reaches a gentle rolling simmer (approximately 95°C/203°F, not a violent hard boil), reduce heat to medium-low to maintain soft, steady bubbles. Cook for 8 minutes, allowing the flavours to meld and the garlic and chilli to soften; the liquid will turn a bright, clear ruby red as it simmers.
Make Cornstarch Slurry
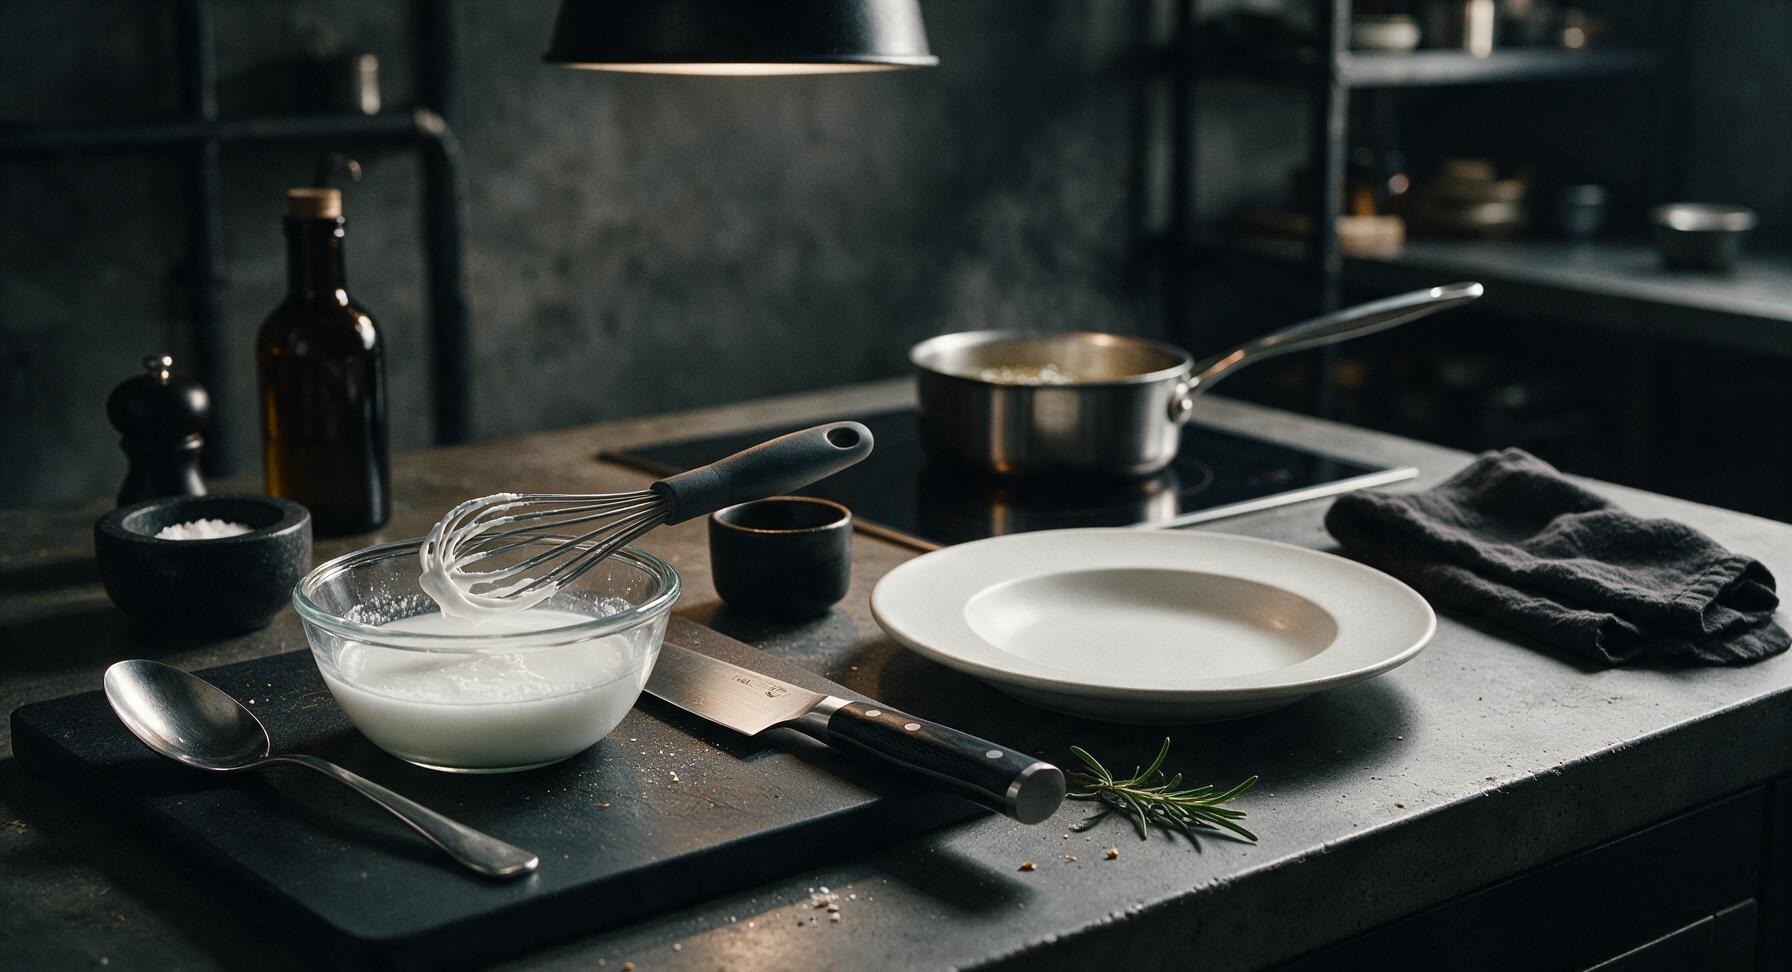
While the sauce simmers, mix 1 tablespoon cornstarch with 2 tablespoons cold water in one of the small clear glass prep bowls, stirring with the tip of the silicone whisk until completely smooth, with no dry lumps remaining. Never add dry cornstarch directly to hot sauce, as it will form hard, unappetizing clumps that cannot be stirred out.
Thicken Simmering Sauce
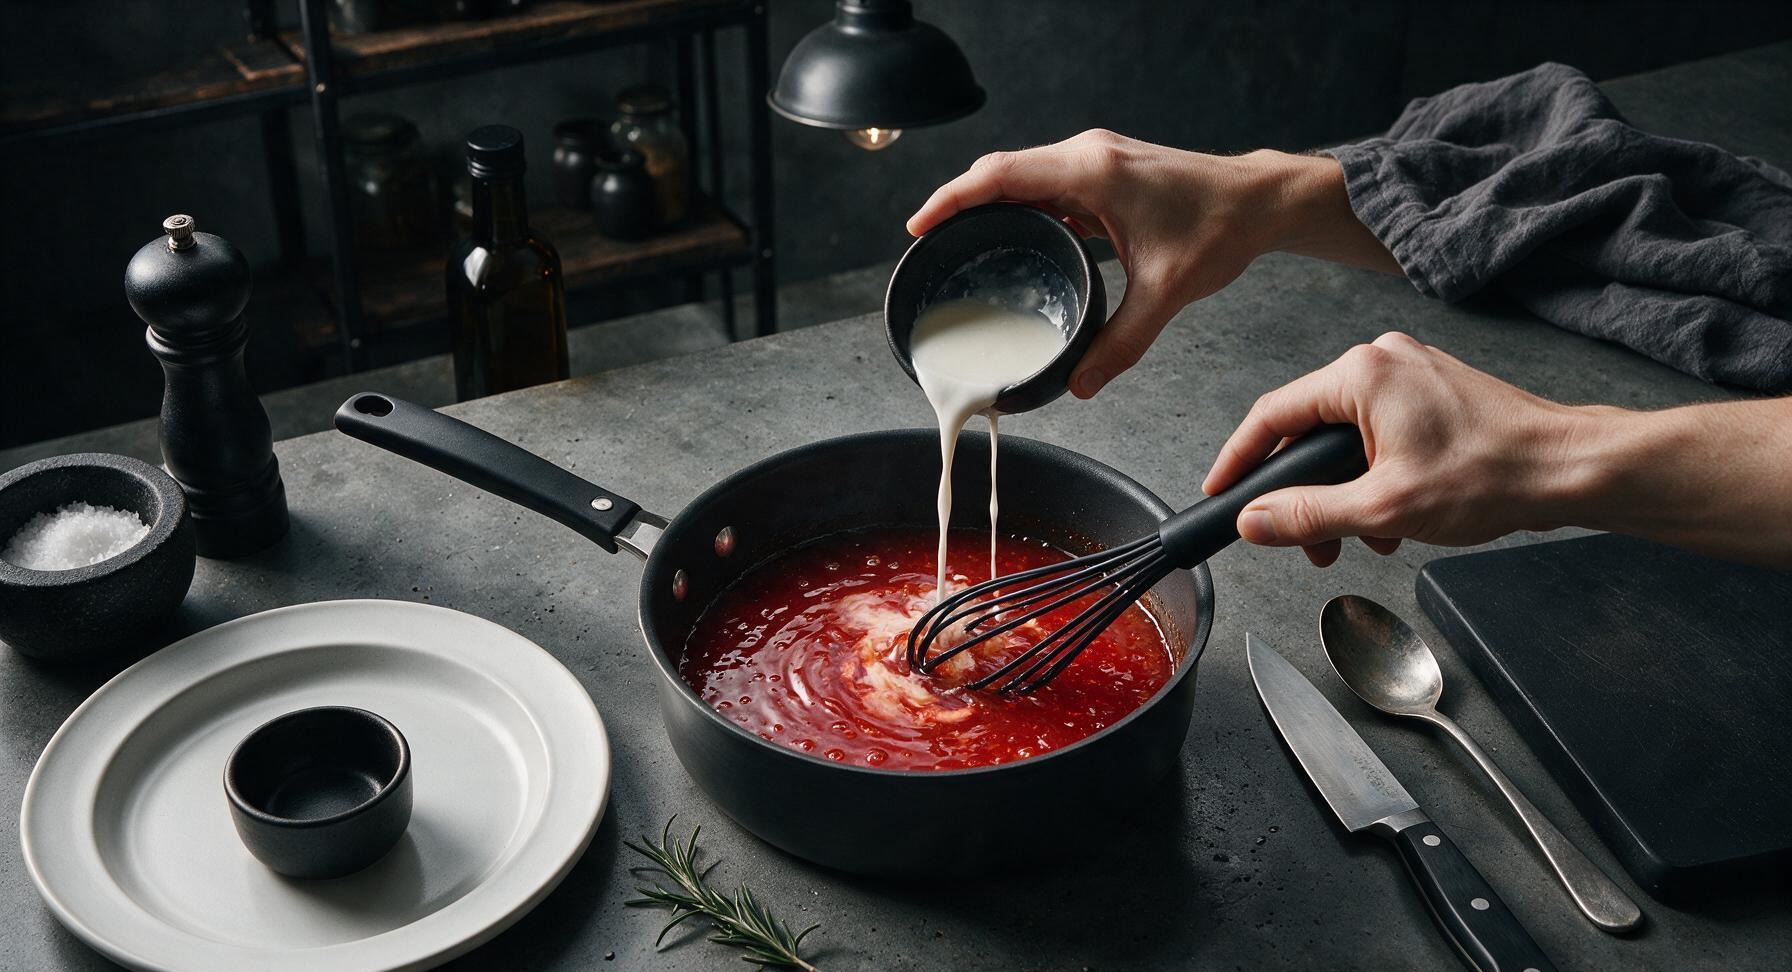
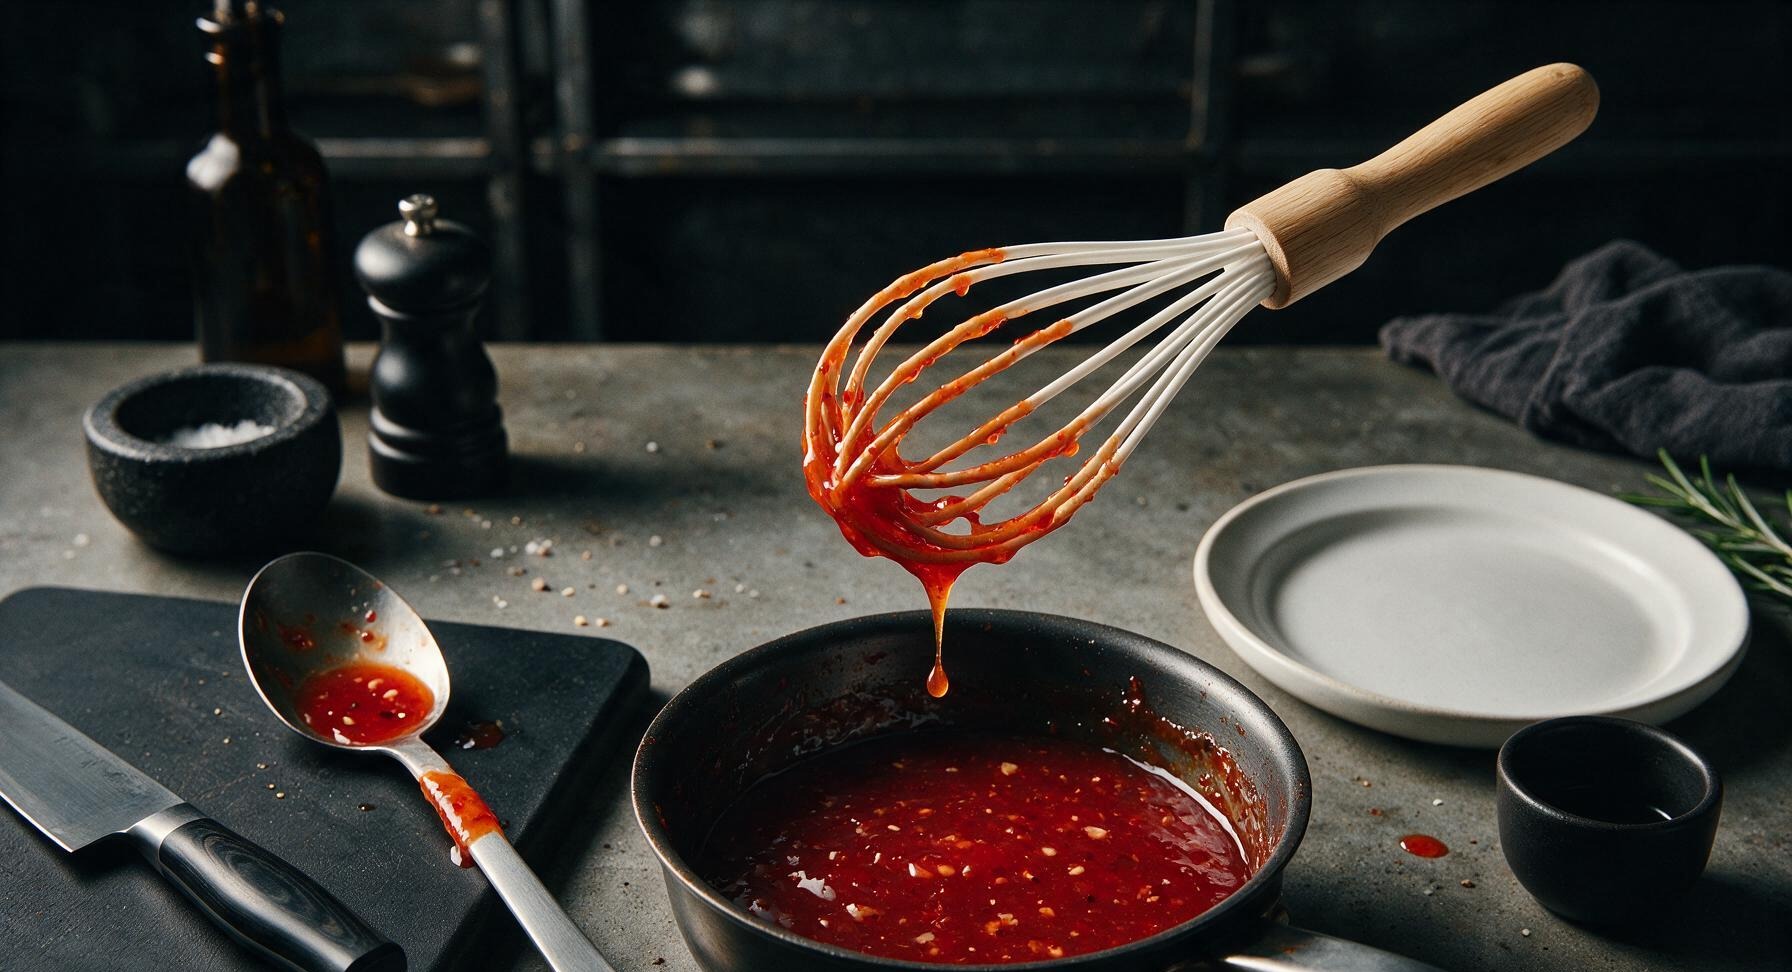
After the sauce has simmered for 8 minutes, give the cornstarch slurry a quick stir to re-combine any settled starch, then pour it slowly into the simmering sauce while whisking constantly. Continue to cook for 1-2 minutes, stirring nonstop, until the sauce turns glossy and thickens enough to evenly coat the back of a spoon. If you drag your finger across the coated spoon, the line should hold cleanly without running.
Cool and Season
Turn off the heat and move the saucepan back to the wicker trivet to cool for 10 minutes. Taste the warm sauce and adjust seasoning as needed: add an extra pinch of salt if it tastes cloyingly sweet, a splash more vinegar if it feels too heavy, or extra minced chilli if you prefer more heat. Note that the sauce will thicken slightly more as it cools, so avoid over-reducing it on the stovetop.
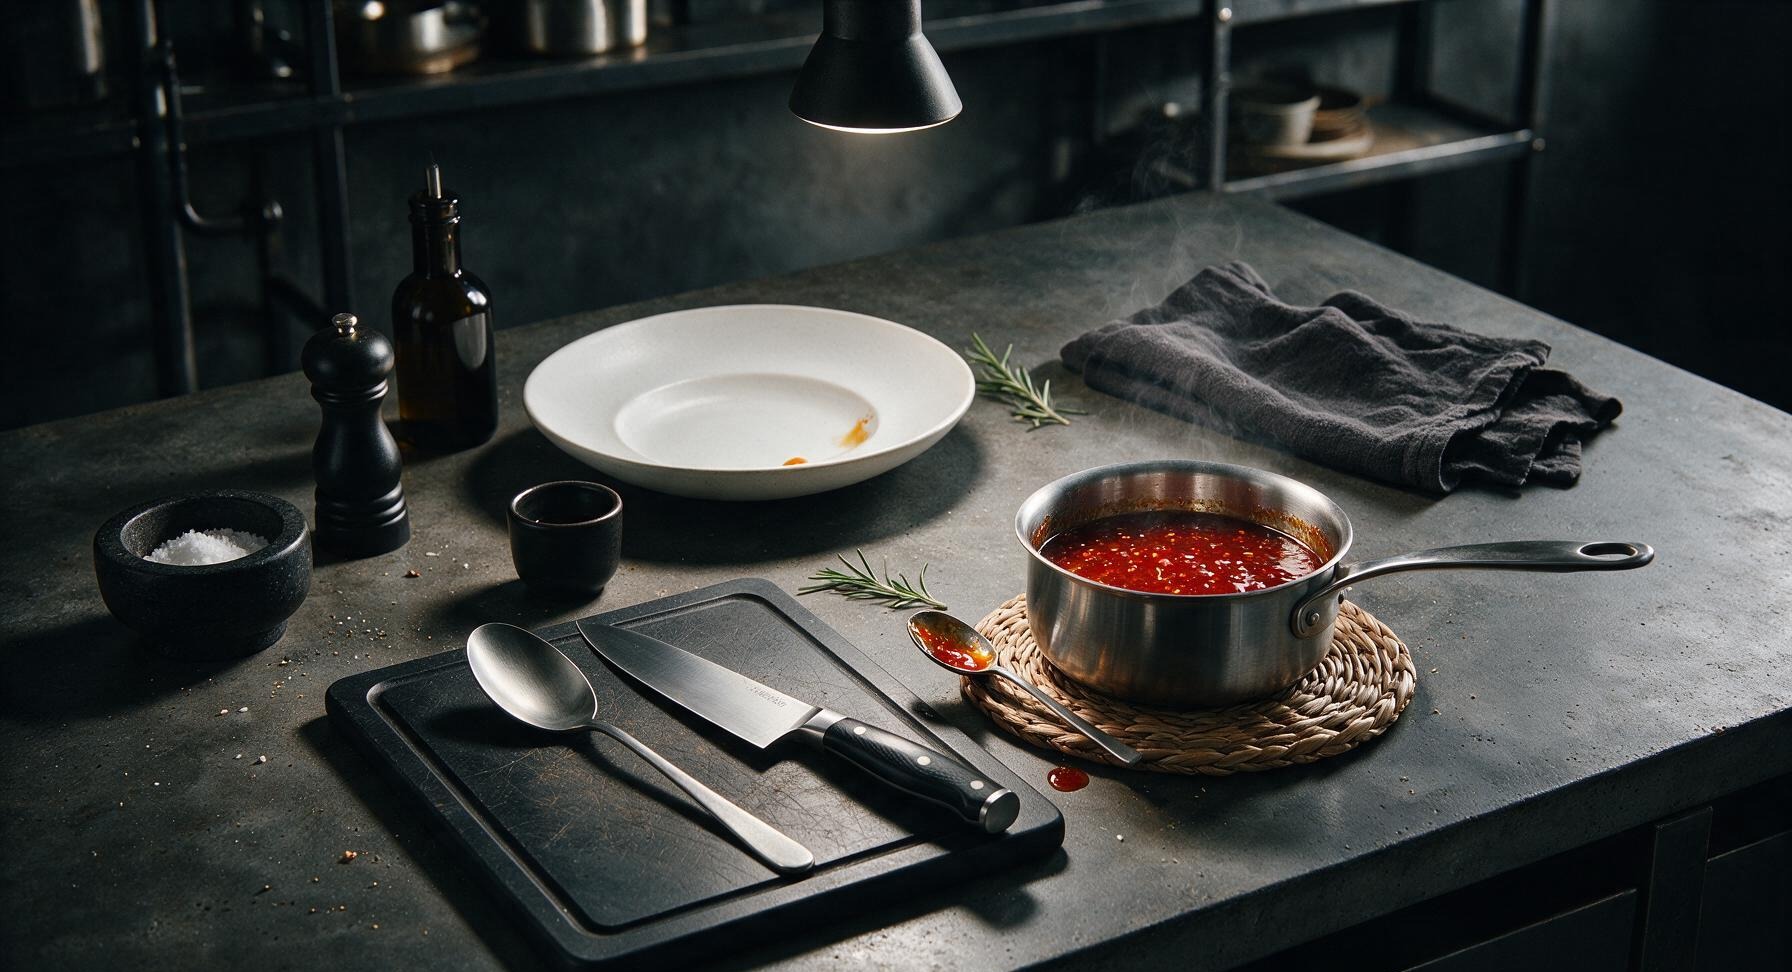
Plate for Serving
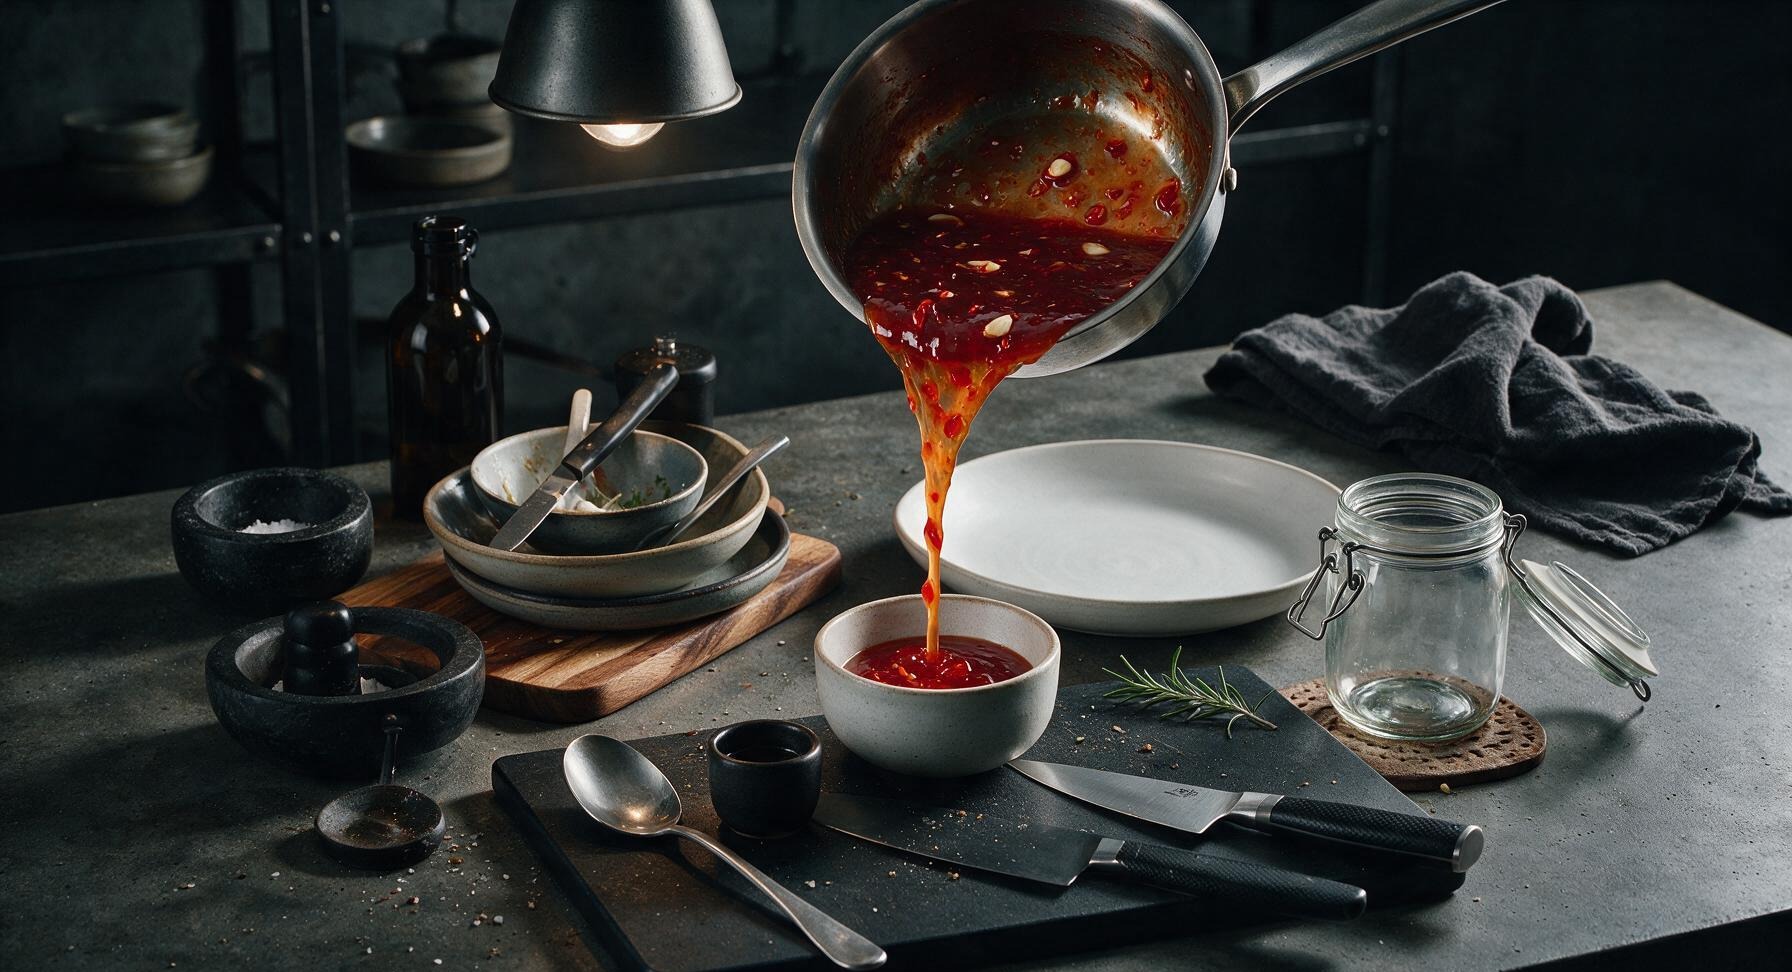
Once cooled to warm room temperature, pour the desired amount of sauce into the small matte white ceramic dipping bowl for immediate serving. Pour any remaining sauce into the clean 500ml glass swing-top jar, seal tightly, and refrigerate for up to 3 weeks. Garnish the serving bowl with the reserved thin chilli slices and the small sprig of Thai basil.
Tips
2.Never boil the sauce for more than 2 minutes after adding the cornstarch slurry: extended high heat breaks down the starch molecules, leaving your sauce thin and runny even after cooling, instead of the ideal sticky, dippable consistency.
3.Let the sauce rest for 24 hours in the refrigerator before serving if possible: the sharp, raw garlic and vinegar notes will mellow, and the flavours will meld into a smoother, more balanced taste than fresh-cooked sauce. Stir well before serving, as slight natural separation is normal.






OMG this is a total game changer! I stopped buying store-bought sweet chili sauce years ago because of all the weird preservatives, but this recipe is SO easy and tastes 100x better. My kids loved it dipped with our baked chicken tenders at family dinner earlier this week, even my picky 7-year-old asked for extra! 10 minute cook time? No way, it felt like I was done before I even prepped all the ingredients. Will be making a double batch for our neighborhood potluck this weekend!
Took this for a test run on my grilled shrimp skewers over the weekend and wow, total home run. I added a tiny extra pinch of red pepper flakes because I like a little more heat, and it was perfect. Way better than the $6 bottle I usually grab at the grocery store, and I got to control how much sugar went in which is a huge win for my partner who’s cutting back on added sugars. Difficulty level is definitely easy, no fancy equipment needed at all.
Made a big batch of this yesterday for my weekly meal prep and I’m already obsessed. Drizzled it on my tofu bowls for lunch today and my coworker begged me for the recipe! It’s perfectly balanced — not too sweet, not too vinegary, just the right amount of garlic kick. I was worried it’d be too complicated for a weeknight cook but 10 minutes is no time at all, will be a staple in my fridge from now on.
Wait, has anyone tried canning this to store long term? I make homemade sauces every summer to can and give out as holiday gifts and this flavor sounds like it’d be such a hit with my relatives! I followed the recipe exactly last week for a quick batch to test and it was chef’s kiss, just curious if the canning process messes with the flavor at all?
As someone who can barely boil pasta without messing it up, I was shocked how easy this was to make! Used it for my frozen dumpling night with my roommates and we all went back for seconds. Only thing I messed up was I didn’t have fresh ginger so I used a little ground ginger from my spice rack and it still turned out SO good. 10/10, way cheaper than takeout sauce.
Made this for our football watch party last Sunday to go with our crispy wings and it was gone in 20 minutes flat. People kept asking if I ordered it from our favorite local Thai spot! I added a tiny splash of fish sauce like my Thai grandma used to make and it gave it that perfect umami kick I was missing from every other sweet chili recipe I’ve tried over the years. Easy, fast, tastes totally authentic — can’t beat a 10 minute cook time for a sauce that’s this good.