
Taiwanese Popcorn Chicken (American Style)
intro
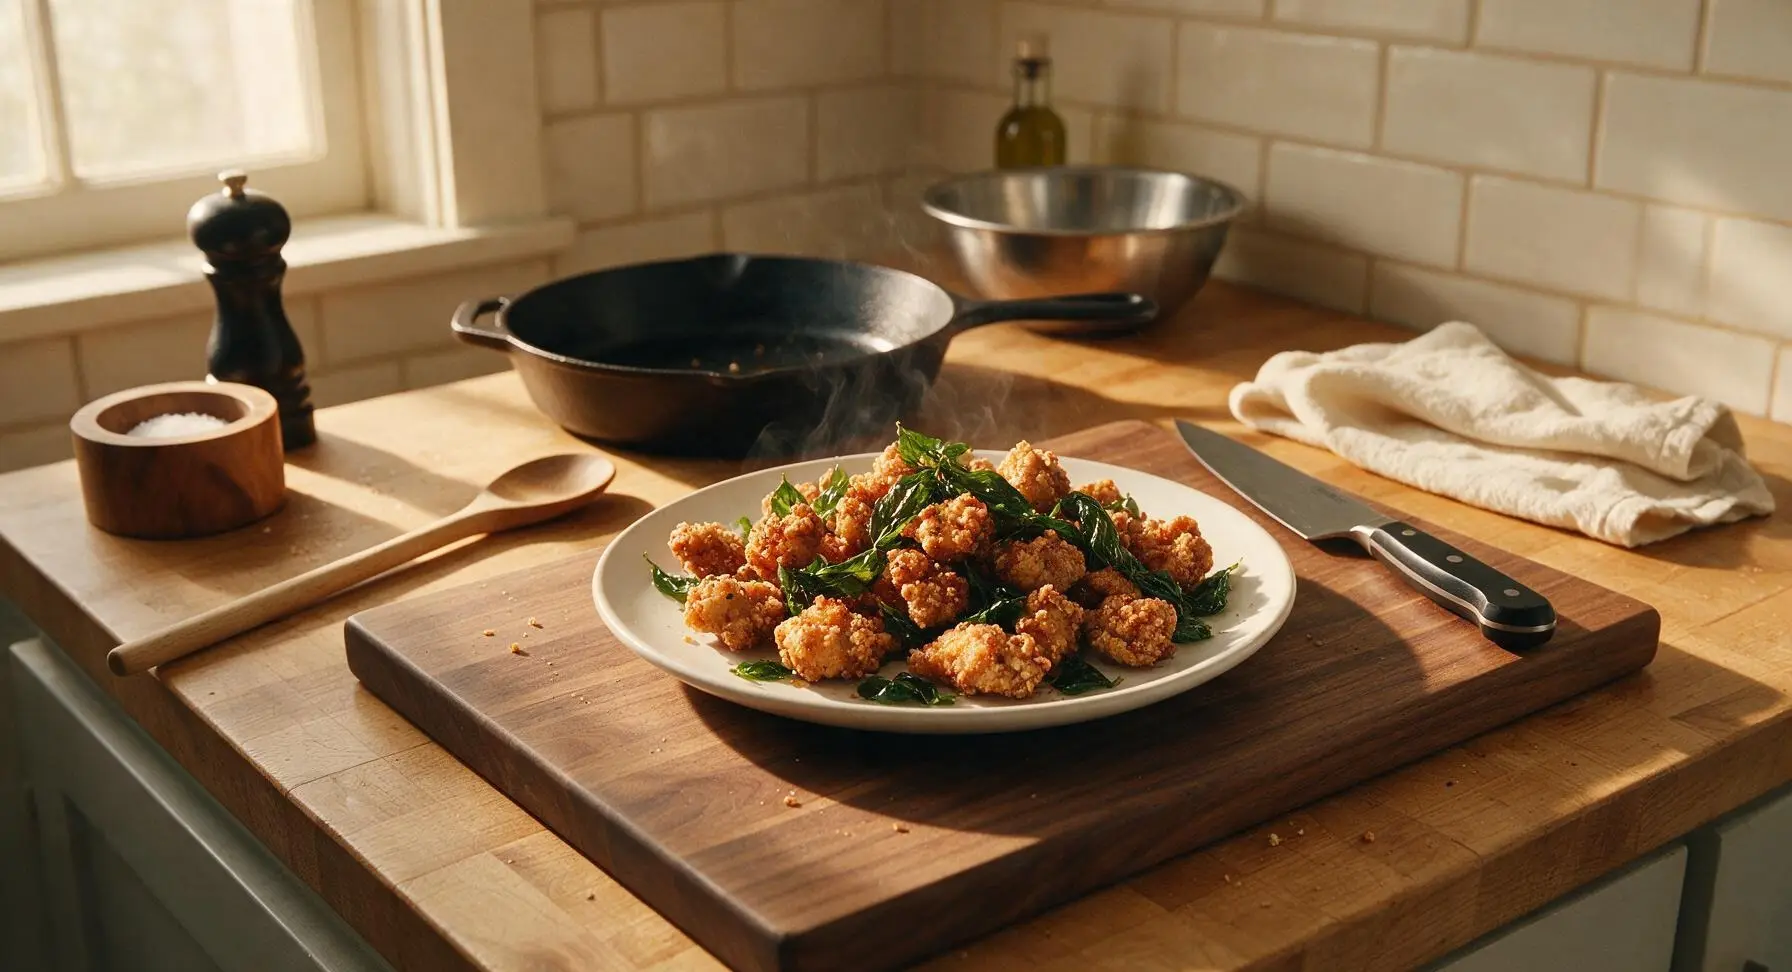
Shatteringly crisp, juicy bite-sized fried chicken infused with five-spice aroma and crispy basil, adapted for American home kitchens. Perfect for sharing, with craveable salty-umami crunch.
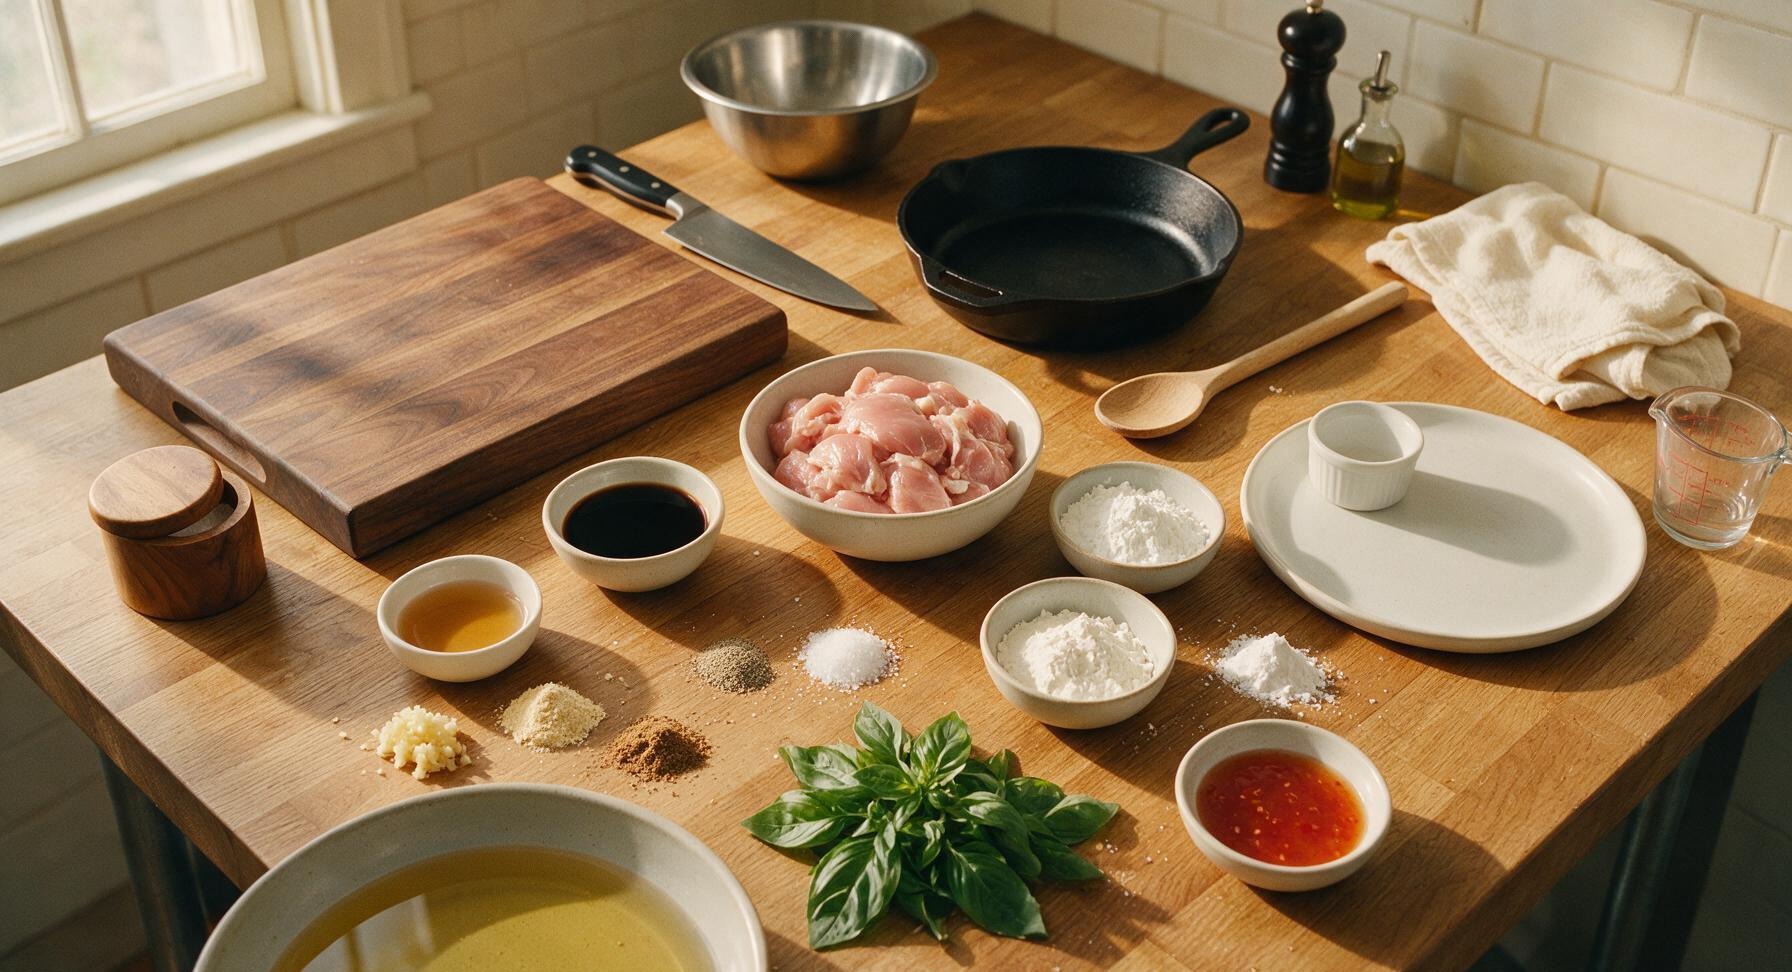
Ingredients
Steps
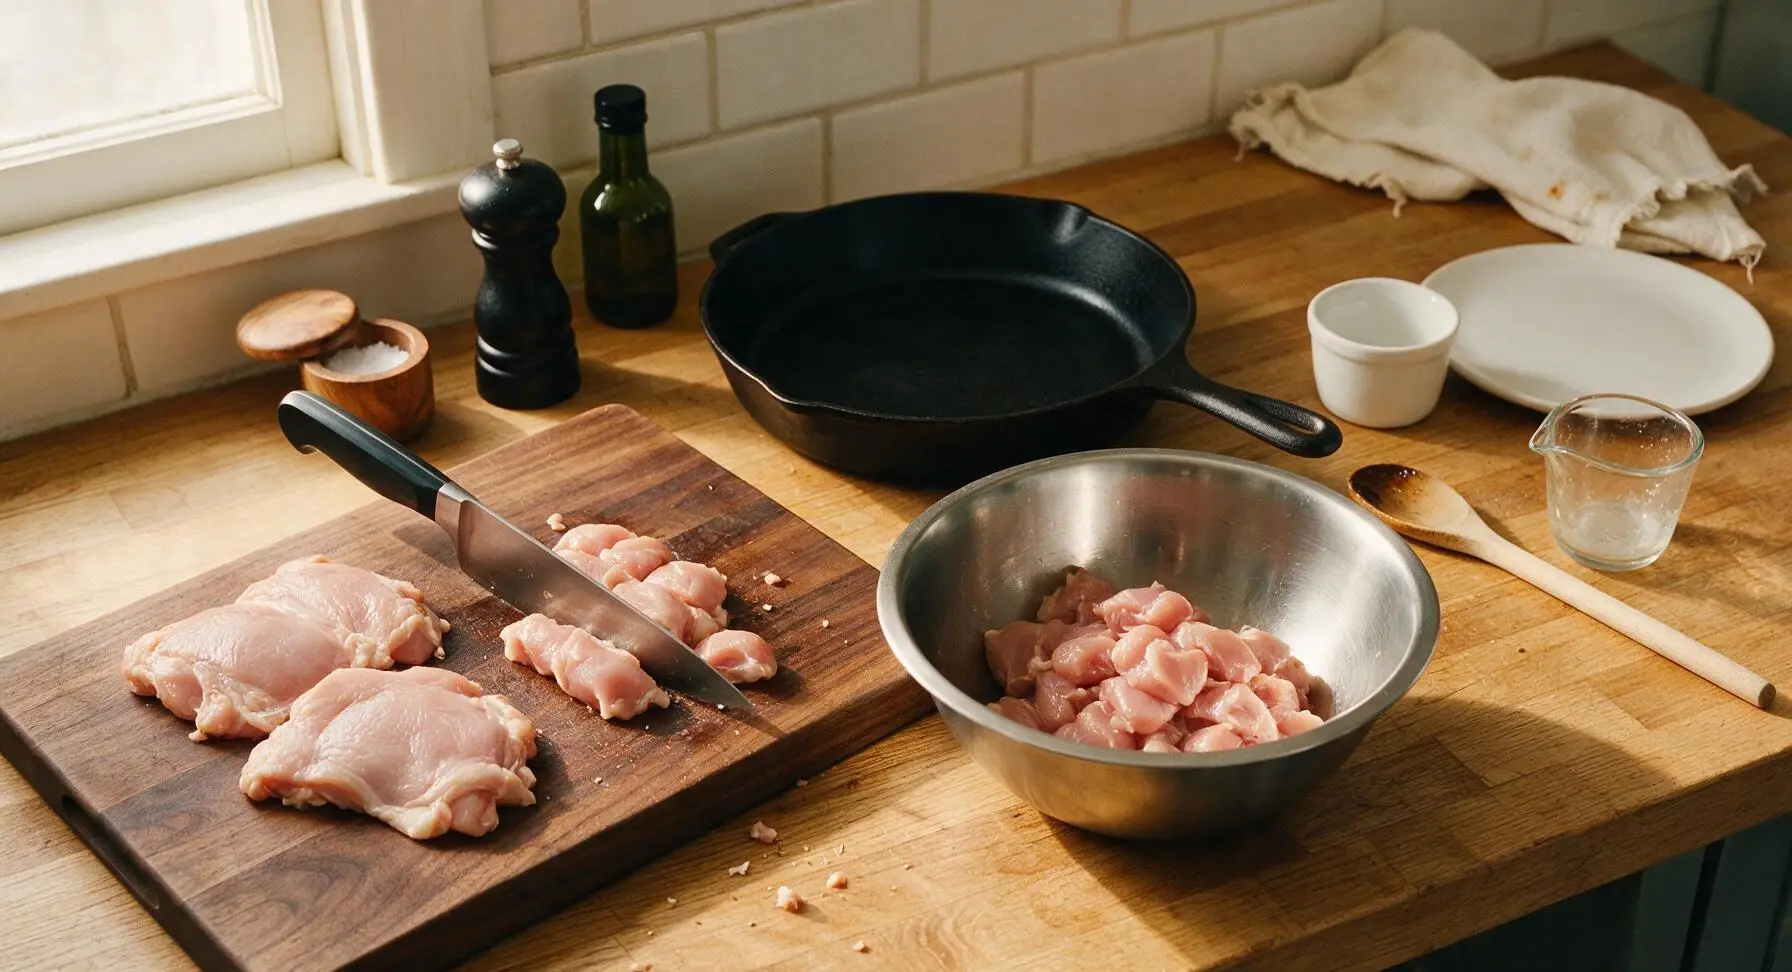
Cut Chicken to Size
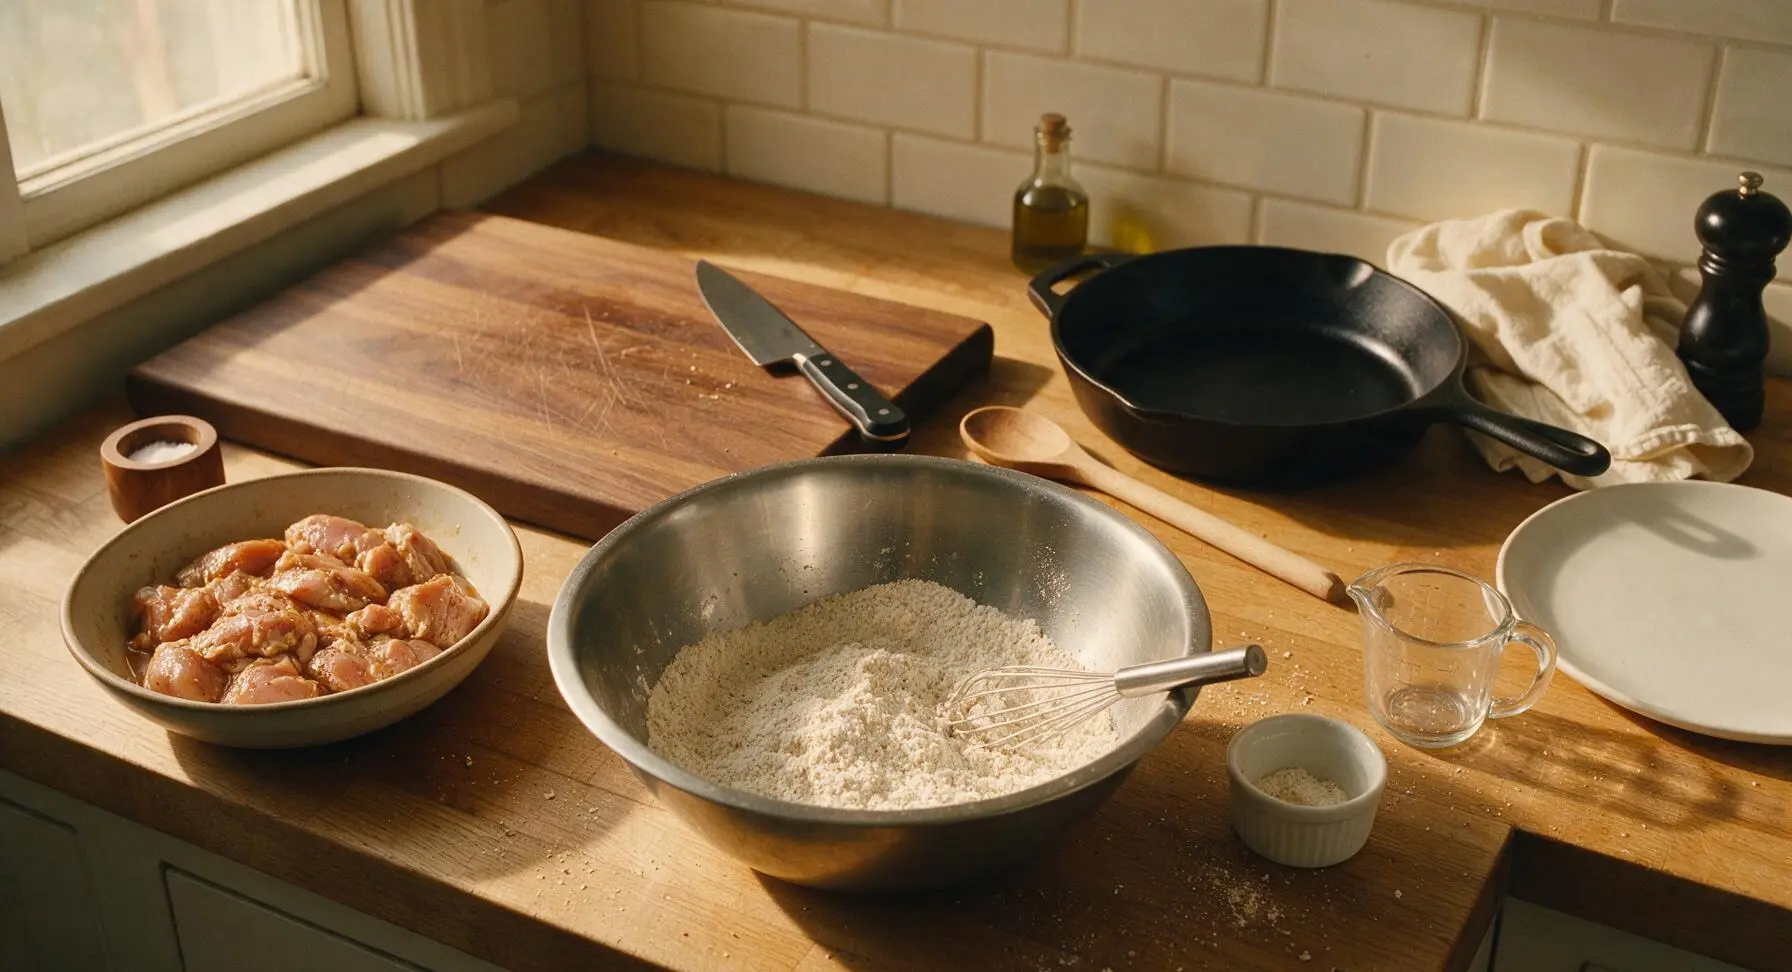
Place trimmed boneless chicken thighs on the acacia wood cutting board. Using the 8-inch chef knife, cut chicken into uniform 2.5cm (1-inch) bite-sized pieces, ensuring no piece is larger than 3cm to guarantee even cooking during frying. Transfer cut pieces to the medium stainless steel mixing bowl as you work, leaving no raw chicken scraps on the cutting board.
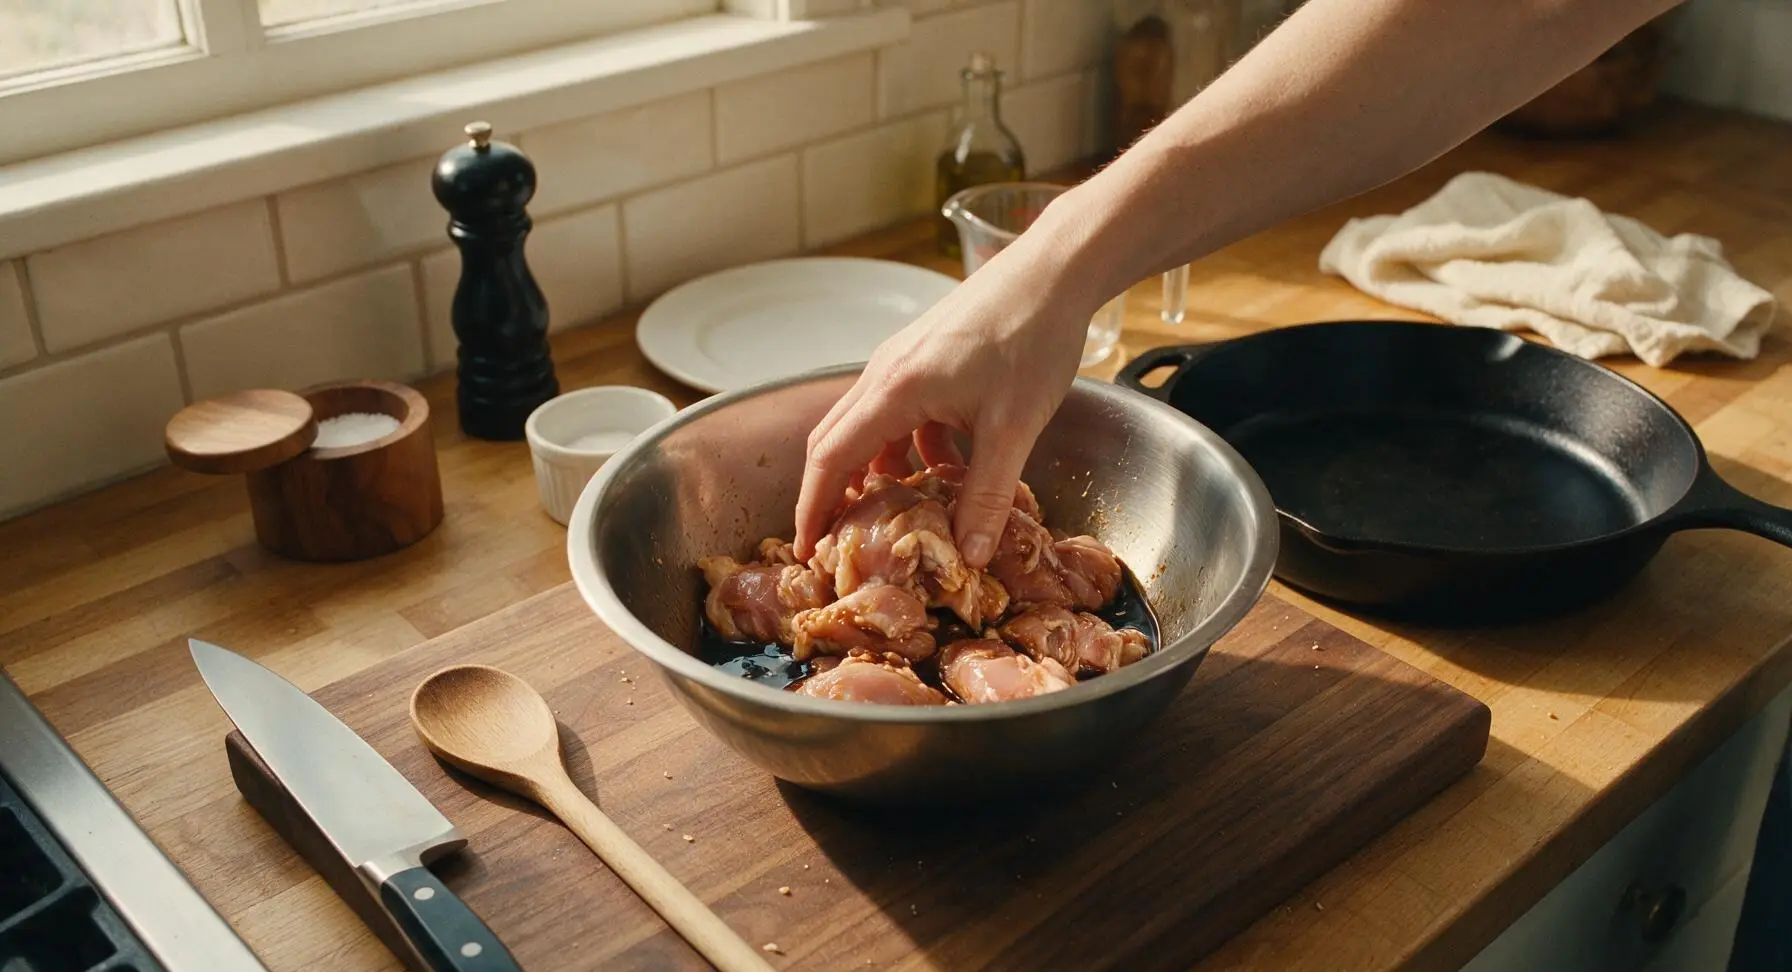
Marinate Chicken Bites
To the medium bowl holding cut chicken, add soy sauce, rice wine, minced garlic, 1/2 tsp five-spice powder, 1/4 tsp white pepper, and 1/2 tsp kosher salt. Toss thoroughly with clean hands to coat every piece evenly in the dark, fragrant marinade. Let rest at room temperature for 15 minutes to absorb flavors; do not marinate longer than 30 minutes, as excess soy sauce will make the chicken overly salty and cause the coating to slip during frying.
Mix Dry Coating
In the large stainless steel mixing bowl, combine cornstarch, potato starch, remaining 1/2 tsp five-spice powder, remaining 1/4 tsp white pepper, remaining 1/2 tsp kosher salt, garlic powder, and baking powder. Whisk thoroughly with the small stainless steel whisk until all spices and starches are fully combined into a uniform pale off-white mixture. The small amount of baking powder creates tiny air pockets in the coating during frying for an extra shatteringly crisp texture, a trick borrowed from classic American Southern fried chicken.
Coat Chicken Evenly
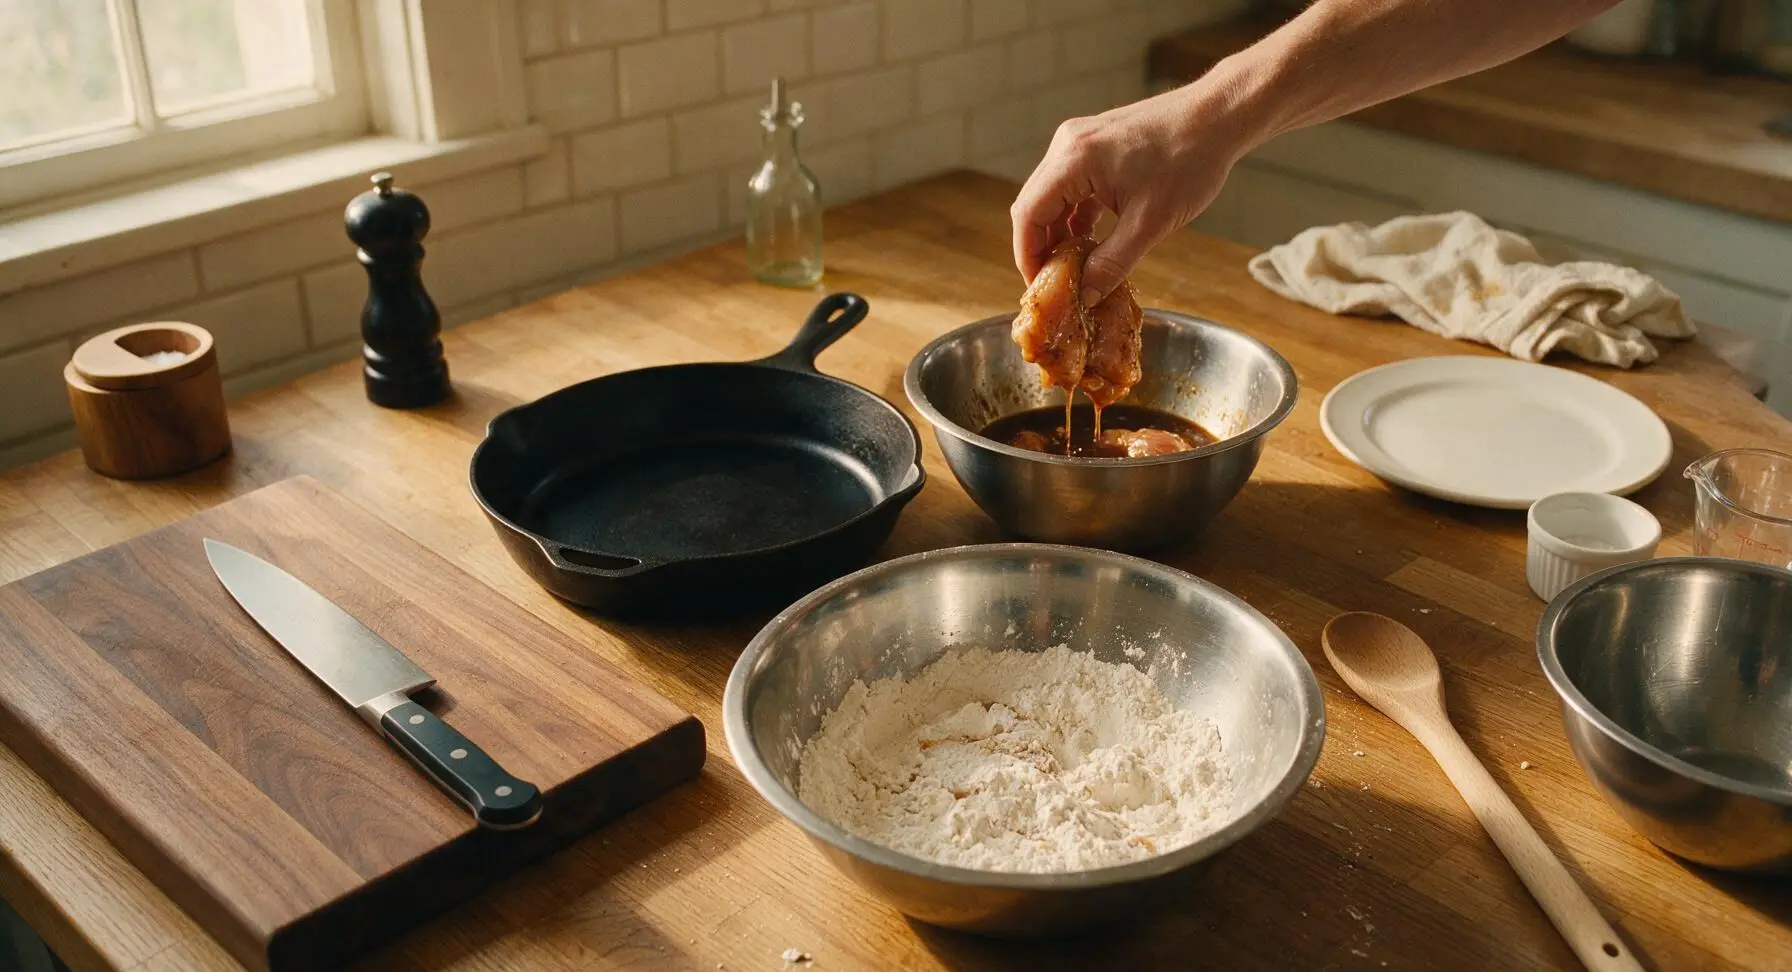
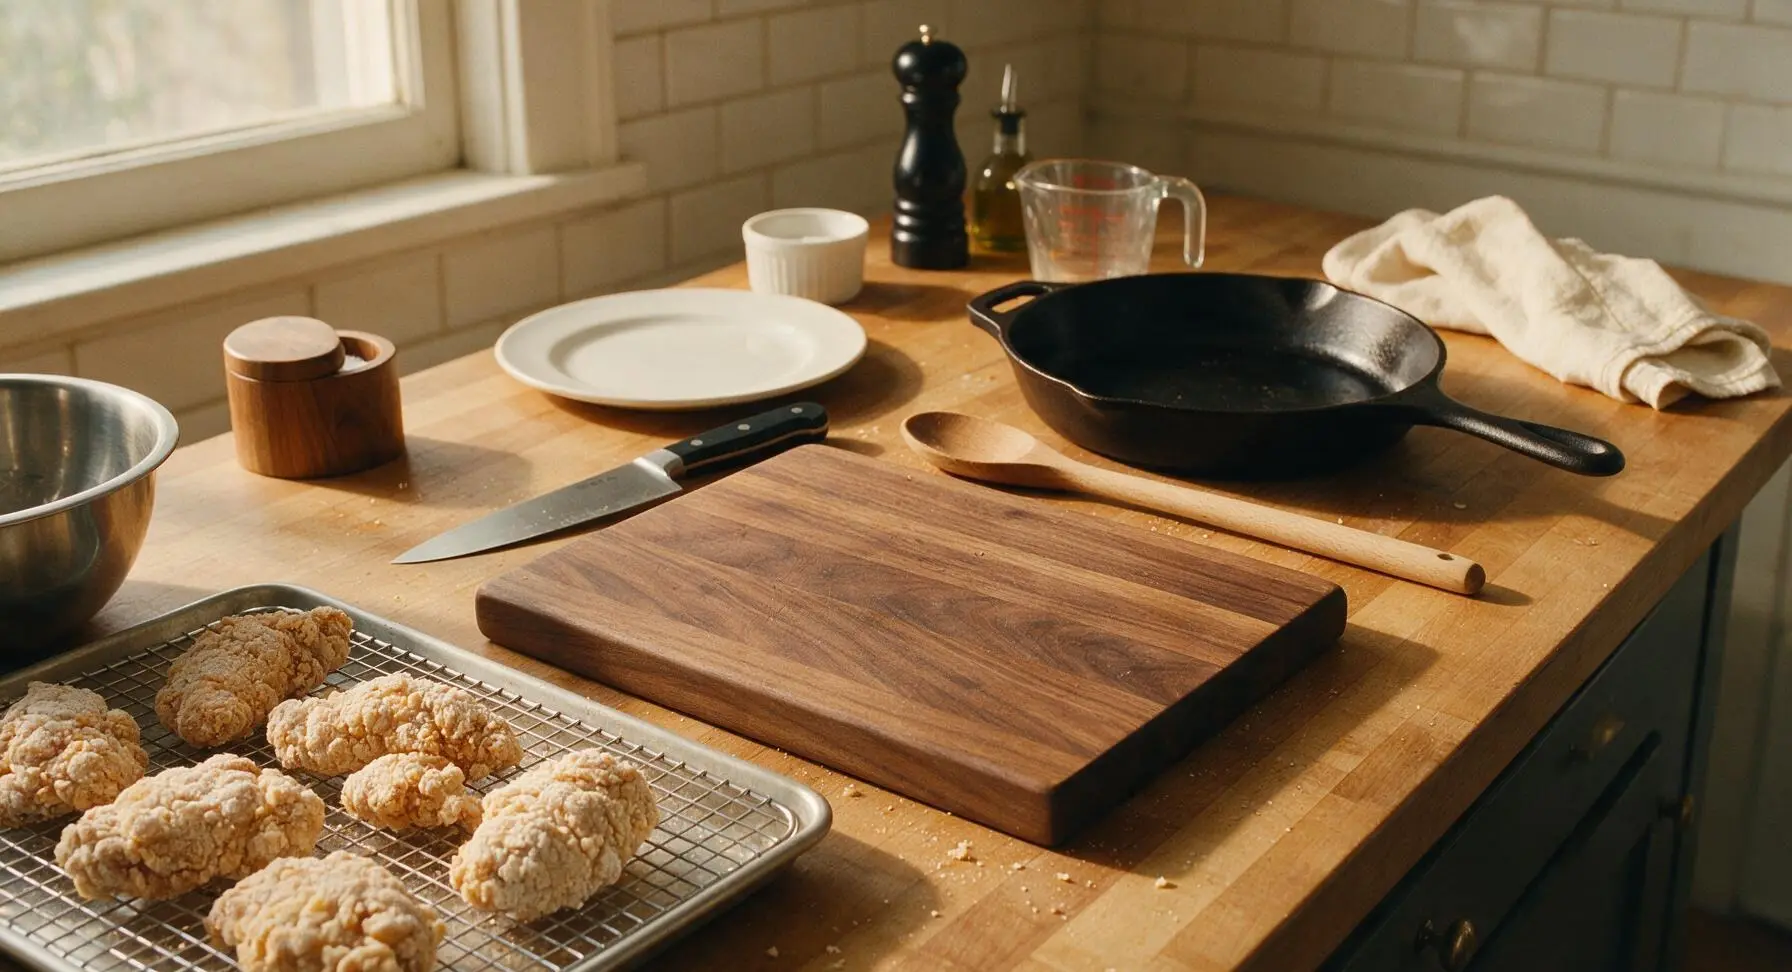
Working in 3 small batches, lift marinated chicken pieces out of the marinade, letting excess liquid drip off for 2 seconds, then drop into the dry coating mix. Toss vigorously to coat every piece fully, pressing the starch mix onto the chicken surface to create a textured, craggy coating. Transfer coated pieces to the chrome wire cooling rack, and let rest for 5 minutes to allow the coating to adhere firmly—this prevents breading from falling off during frying.
Heat Frying Oil
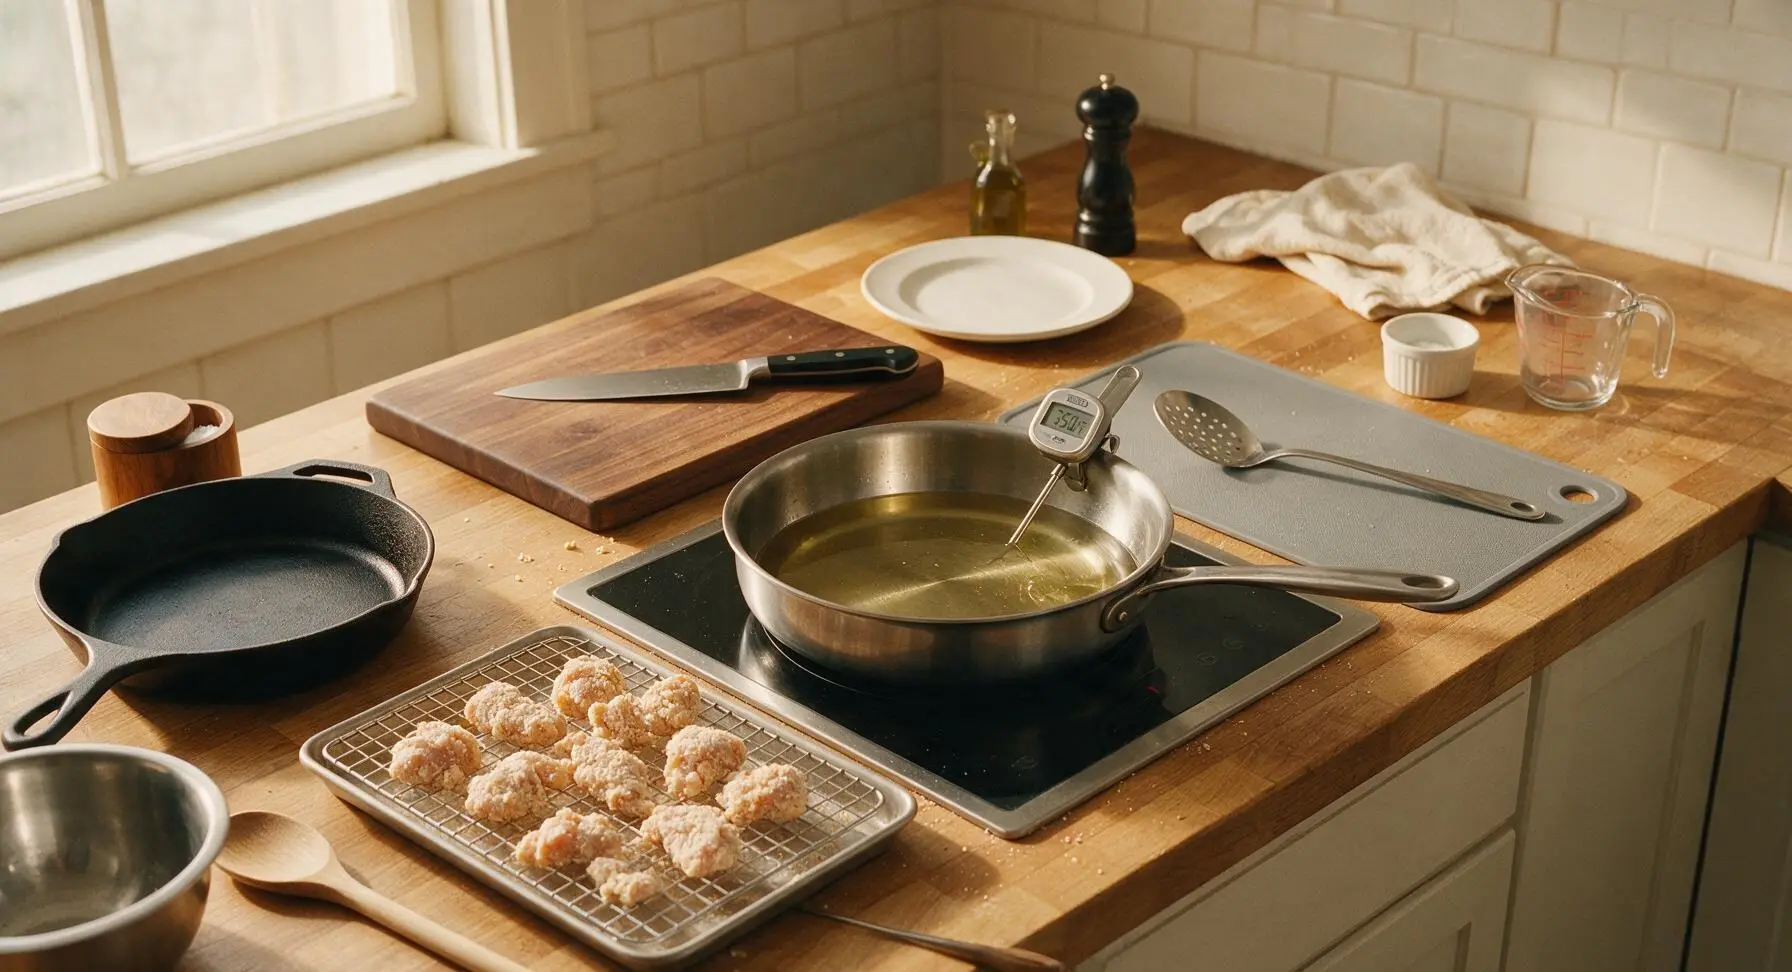
Pour 4 cups of neutral canola or peanut oil into the 10-inch deep stainless steel skillet, set on the central induction burner. Clip the digital kitchen thermometer to the skillet rim, and heat oil over medium-high heat to exactly 175°C (350°F). Adjust burner heat as needed to hold this temperature steadily throughout frying; oil that is too hot will burn the coating before chicken cooks, while oil that is too cool will produce greasy, soggy chicken.
Fry Chicken in Batches
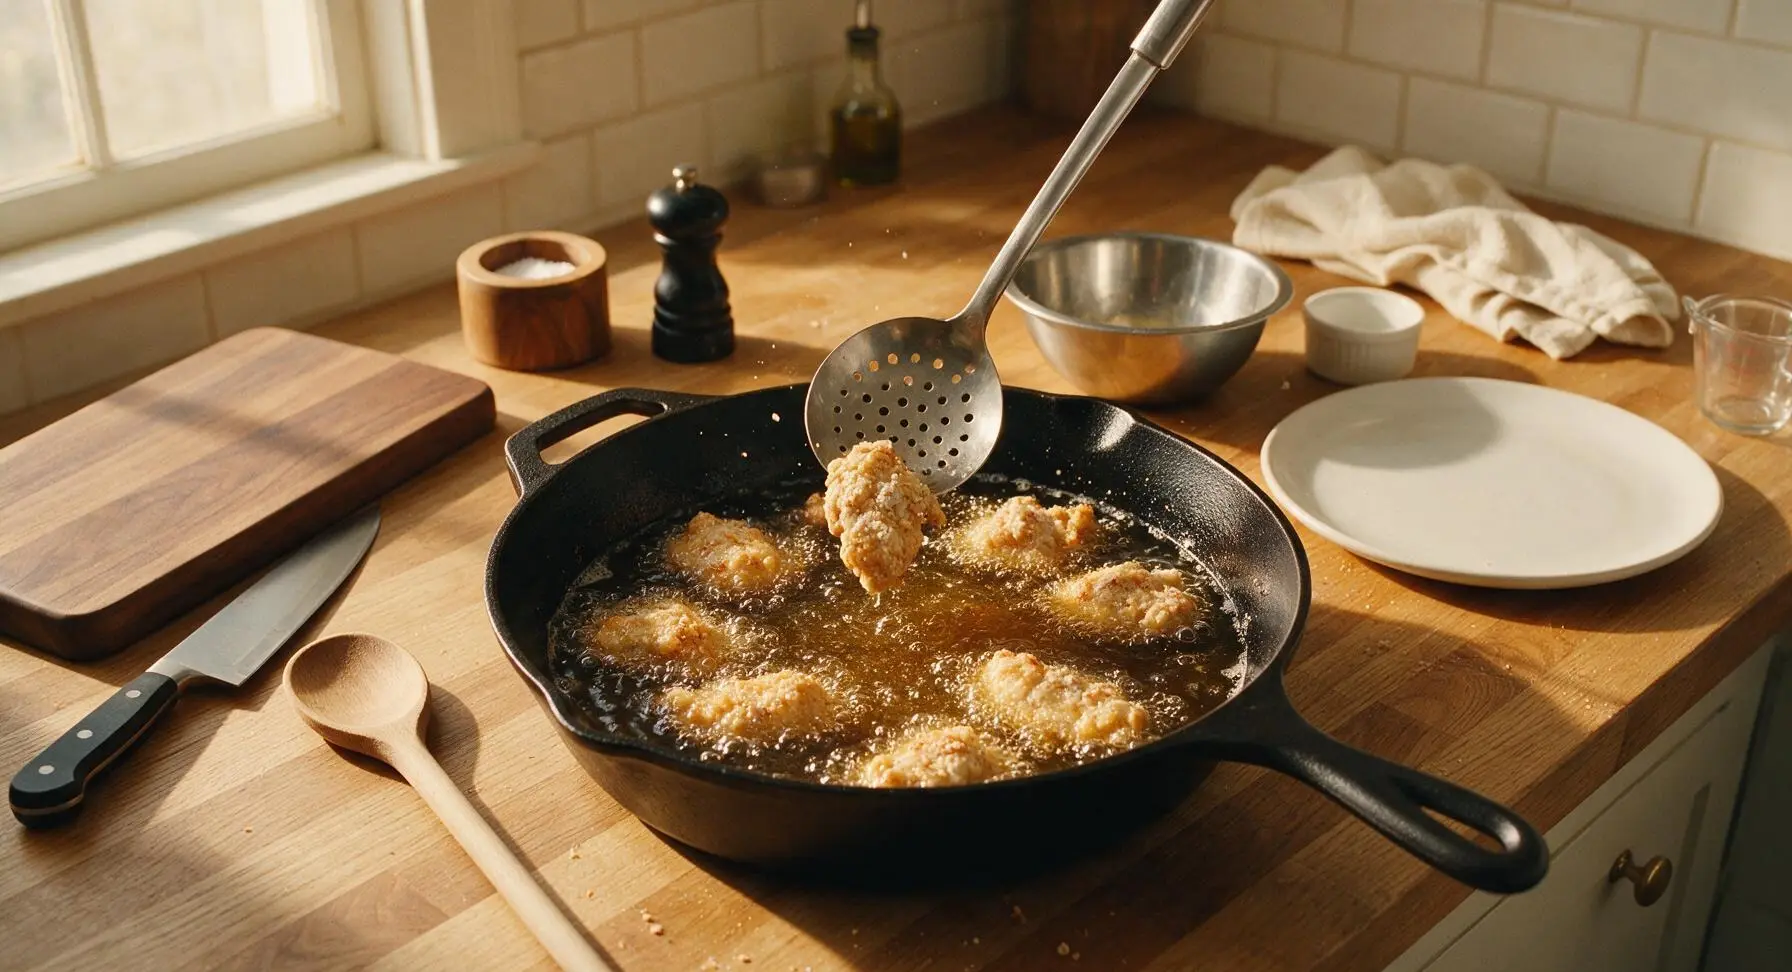
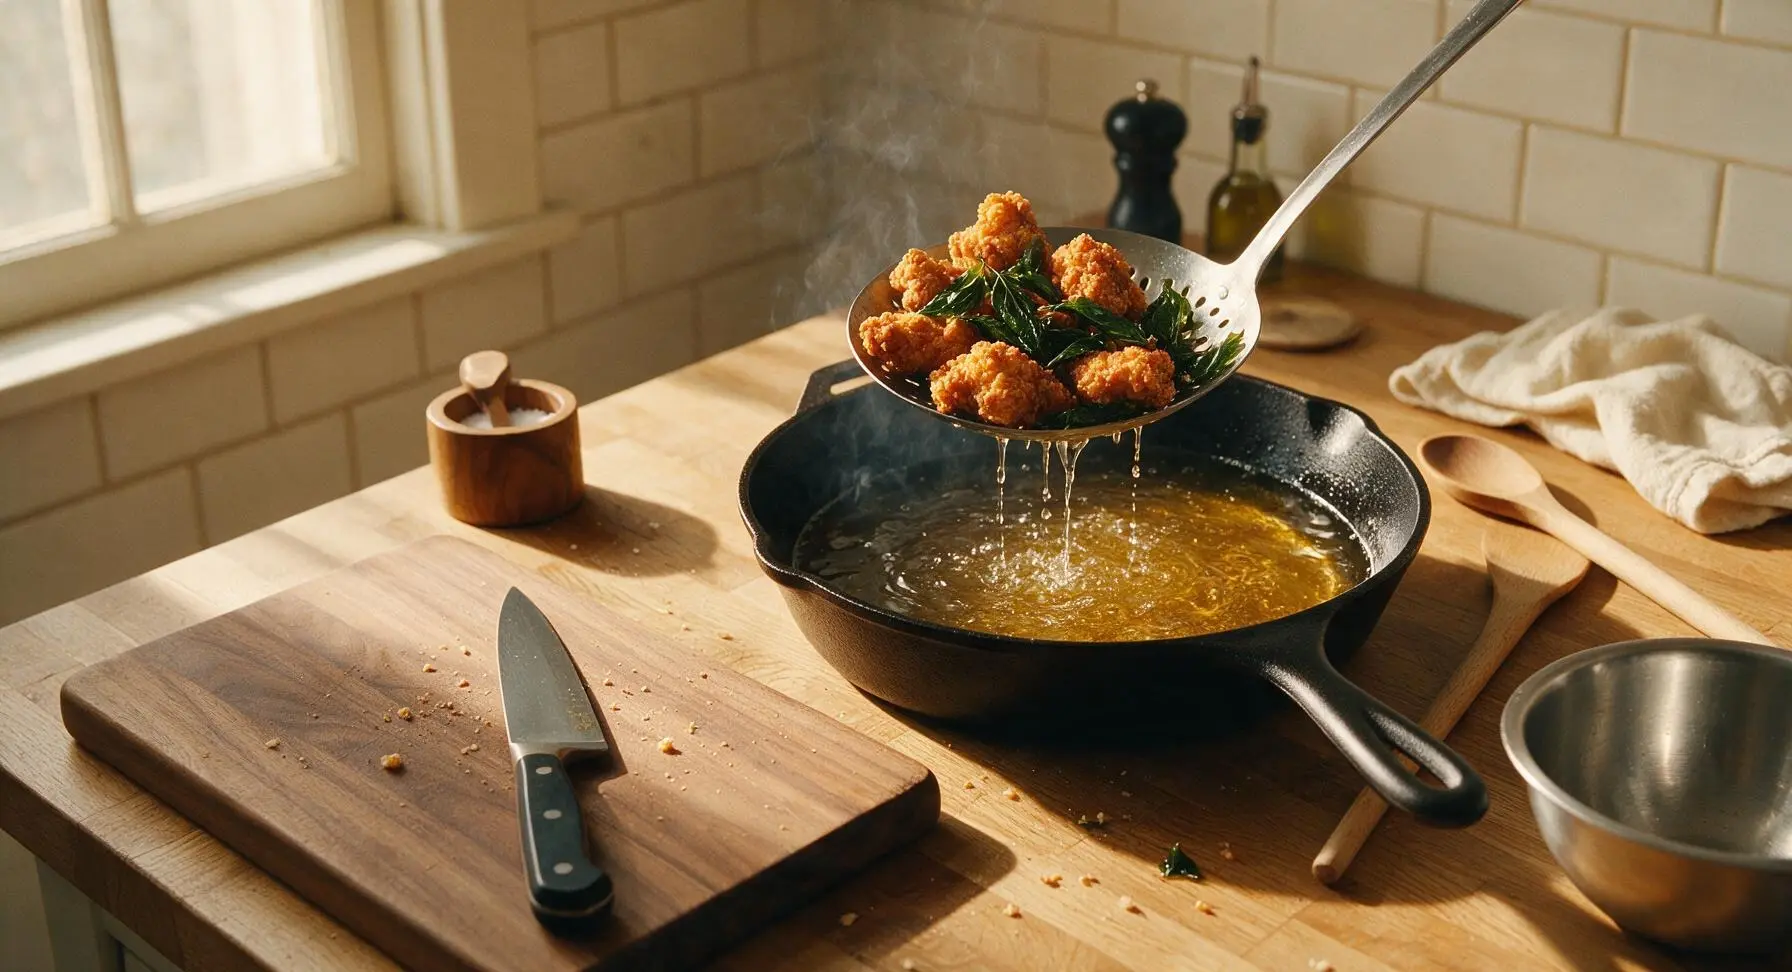
Carefully lower 1/3 of the coated chicken pieces into the hot oil one by one using the slotted spoon, taking care not to drop pieces from height to avoid hot oil splatters. Fry for 3 minutes until the coating is pale golden and chicken is almost cooked through, then temporarily lift pieces out with the slotted spoon to add 1/3 of the Thai basil leaves to the oil. Fry basil for 15 seconds until crisp, then return chicken to the oil for 1 final minute until deep golden brown and crisp, with an internal temperature of 75°C (165°F). Repeat for 3 total batches, never overcrowding the pan to keep oil temperature consistent.
Drain and Season Bites
Transfer fried chicken and basil directly from the slotted spoon to the paper-towel lined section of the wire cooling rack. Immediately sprinkle with a light pinch of extra five-spice powder and white pepper while the coating is still hot and glistening with residual oil—this helps the seasoning stick evenly instead of sliding off. Let drain for 1 minute before plating, and avoid stacking pieces while draining to keep the coating crisp.
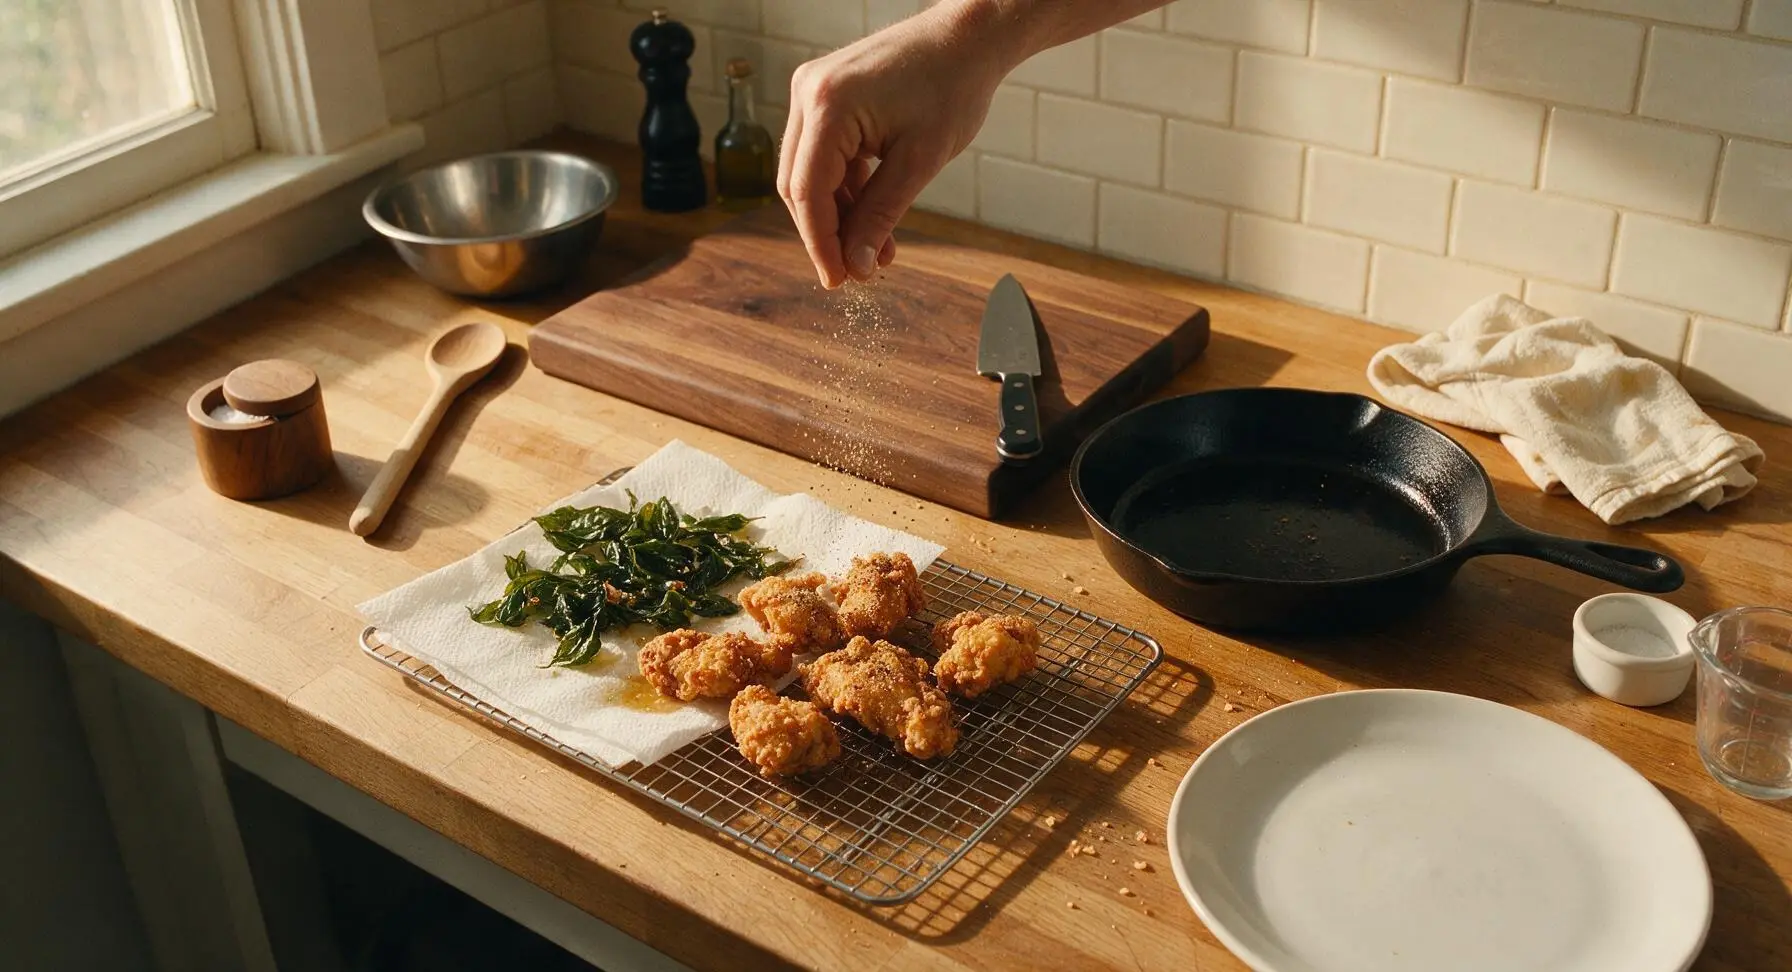
Plate and Serve
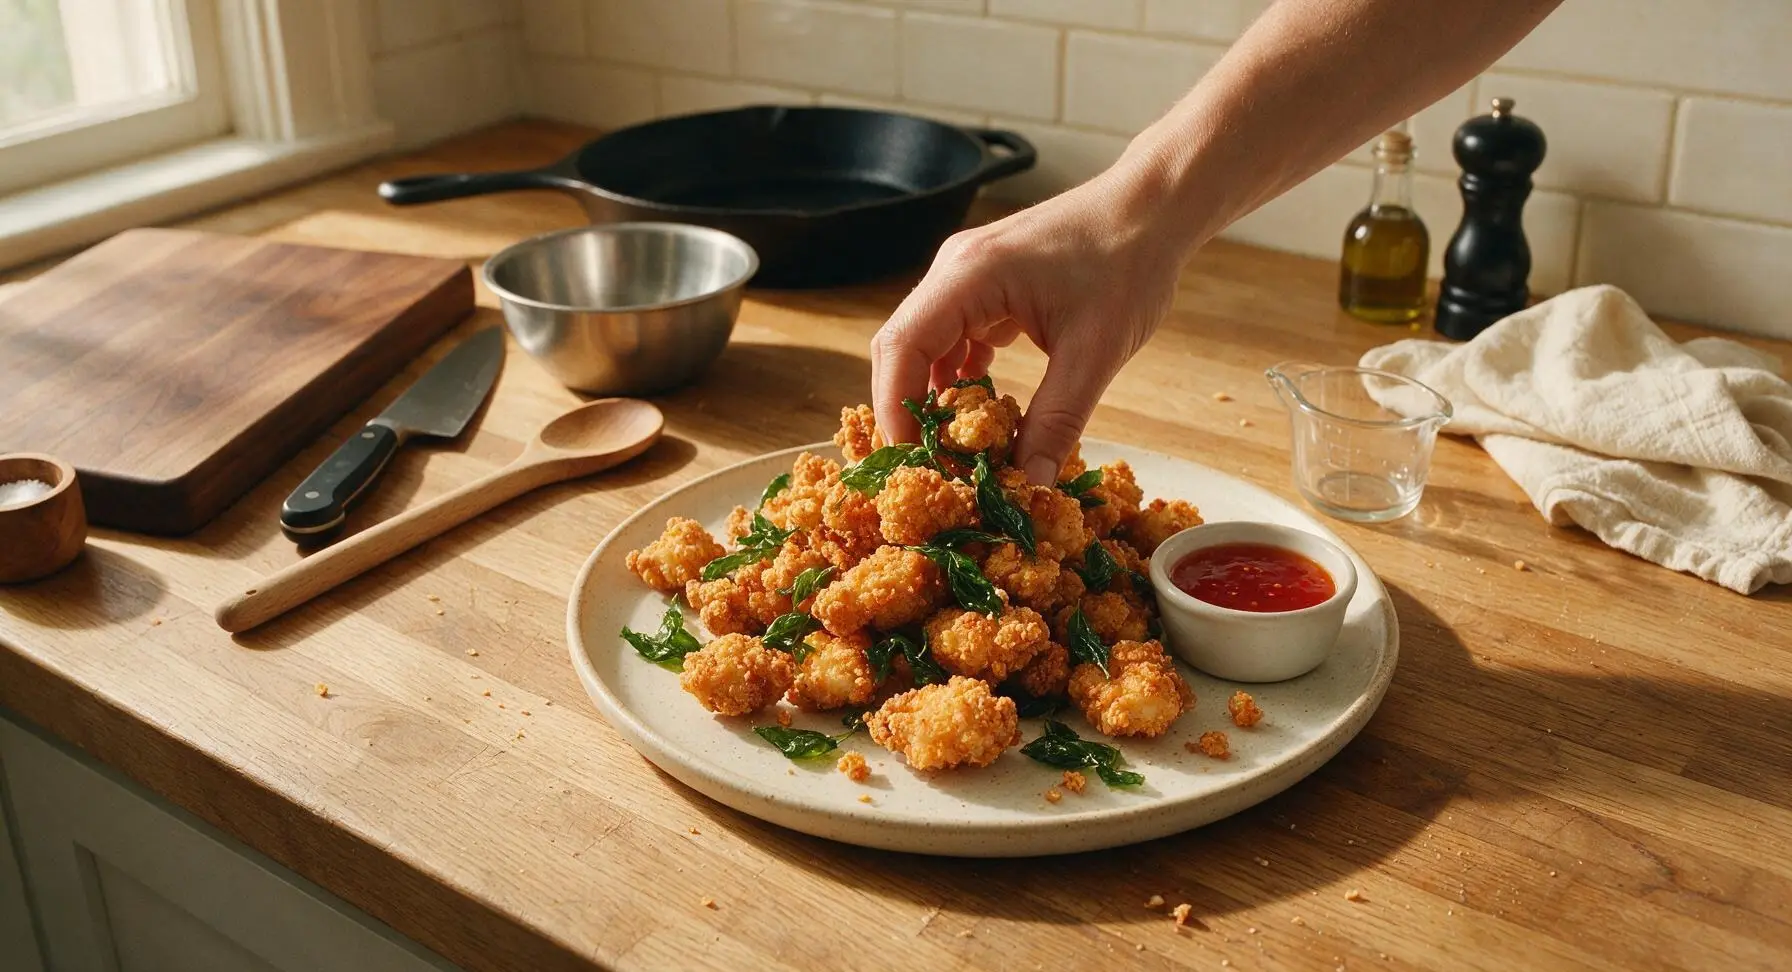
Pile drained, seasoned popcorn chicken and fried basil high in the center of the speckled matte cream ceramic serving plate. Fill one small matte white ramekin with sweet chili sauce for dipping, and set it on the plate edge. Serve immediately while hot and crisp, before the coating softens from trapped steam.
Tips
2.Let starch-coated chicken rest for 5 minutes before frying: This short rest allows the starch to absorb marinade moisture, creating a rough, craggy coating that adheres tightly to the chicken instead of sliding off during frying for maximum crunch.
3.Maintain a consistent 350°F (175°C) oil temperature: Oil that is too cool will make chicken greasy and soggy, while oil over 375°F will burn the outer coating before the chicken cooks through; adjust burner heat between batches to hold temperature steady.






OMG this was SO good! I made it for my kids’ after school snack yesterday and they devoured the whole batch in 10 minutes — my kids loved it, already asking when I’ll make it again. The crispy crust with that five spice kick is exactly what I’ve been craving from the night market stands I used to hit up in Seattle years ago. 12 minute cook time is no joke, perfect for busy weeknights!
Took this to my neighborhood potluck last weekend and people were begging for the recipe. I did a little extra spicy version with added chili flakes and it was a total hit. Way easier than I thought it would be, even for a guy who usually burns fried food.
Game changer for my weekly meal prep! I make a big batch on Sunday and toss it into salads and rice bowls all week. It stays crispy way longer than I expected, even when reheated in the air fryer for a couple minutes. 10/10 will make again.
Tried this last night for my roommate movie night and we both agreed it’s better than the takeout we get from our local Taiwanese spot down the block. Only thing I added was a little extra basil for that classic aroma, chef’s kiss.
Quick question — can I use chicken thighs instead of breast for this? My family prefers dark meat and I don’t want to mess up the texture!
Wait, is this the American style version that’s extra crispy and has that little sweet salty coating? I had something like this at a food truck in Phoenix once and I’ve been chasing the flavor ever since.
Is there a good gluten free swap for the flour coating? My son has celiac and I’d love to make this for our family dinner this weekend!
Bro I don’t even know how to cook boiled eggs and this came out perfect first try. No cap, I ate the whole plate standing up over the stove lmao.
How long should I fry these if I’m using a dutch oven instead of a deep fryer? I don’t have a thermometer to check oil temp, any tips?
Made this for our family Sunday dinner and even my super picky 7 year old asked for seconds. Served it with the garlic noodles from this site and it was a full on feast.
OMG I brought this to my office potluck today and it was gone in literally 2 minutes. People were hovering over the platter before I even set it down! Only note is I wish I made a double batch, I barely got one piece myself lmao.
Wait, I tried making this last night and my coating fell off half the chicken? Did I do something wrong? I followed the recipe exactly as written, super bummed because the bits that stayed on were amazing.
Has anyone tried making this in an air fryer instead of deep frying? I’m trying to cut back on oil but I’m craving this so bad after seeing all the photos.
Would this hold up if I make it ahead for a tailgate this weekend? I’m trying to plan all my food so I’m not cooking the morning of the game.
Game. Changer. I used to drive 40 minutes to the only Taiwanese restaurant in my area that makes popcorn chicken, and now I can make it better at home in 12 minutes? Are you kidding? My partner thought I ordered takeout when I set the plate down lmao.