
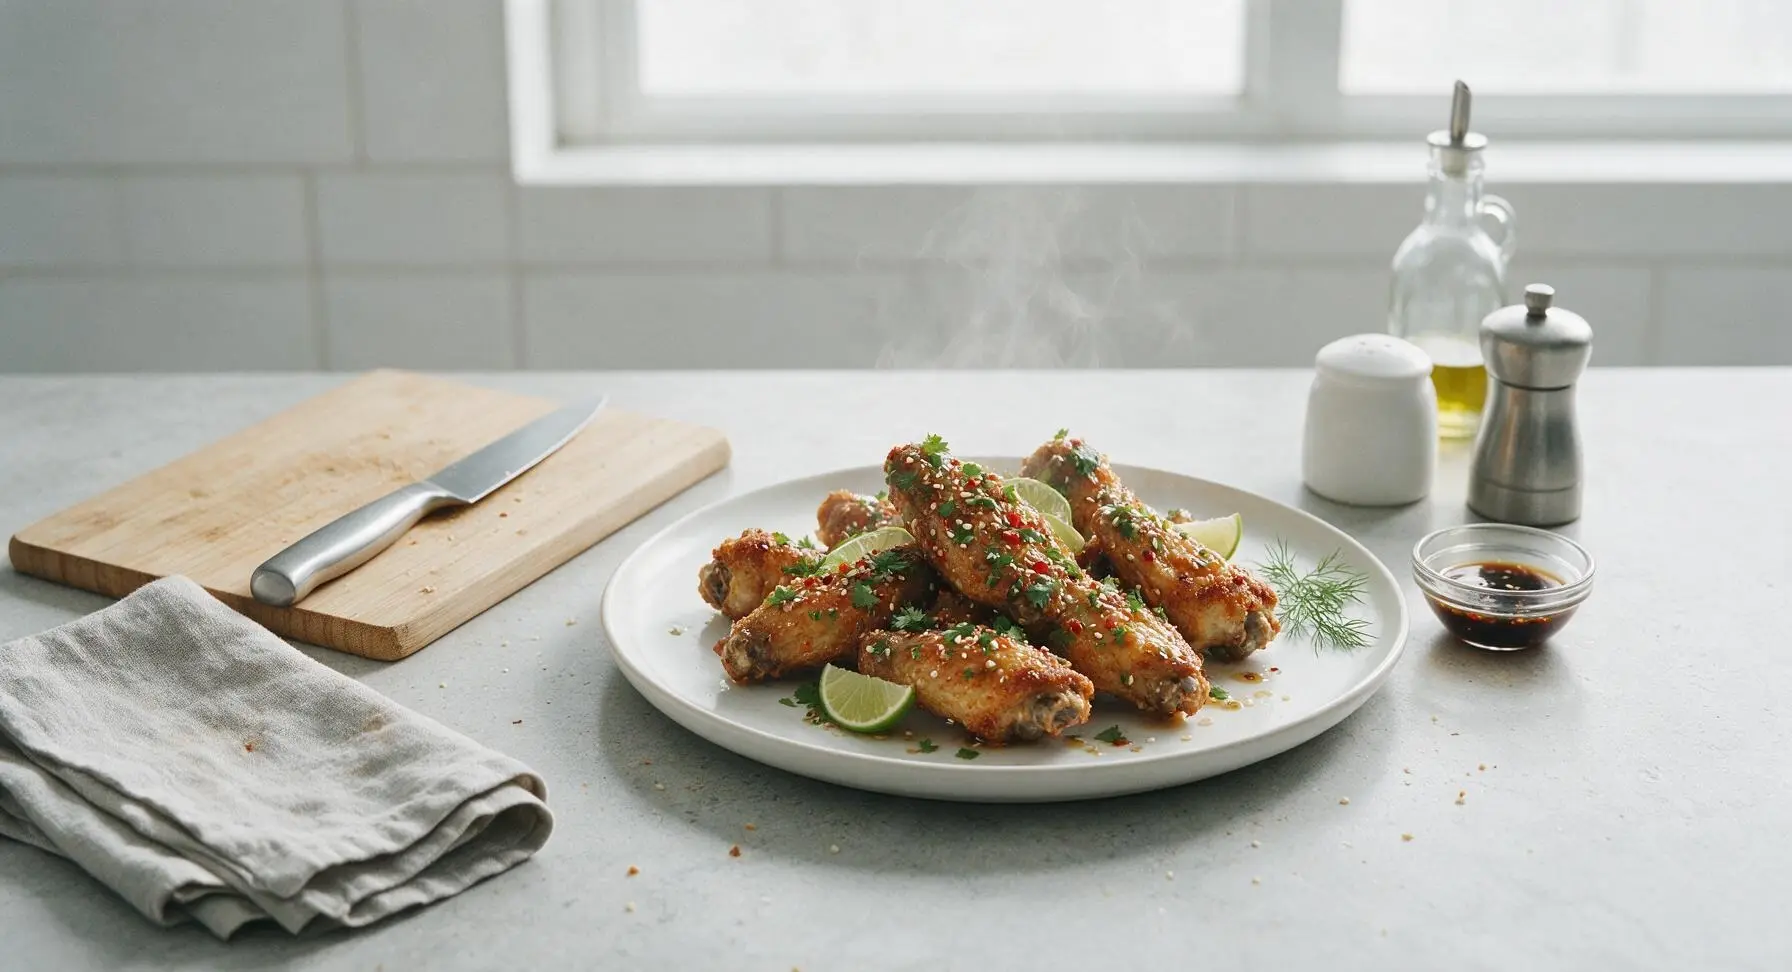
thai chicken wings

title 1
thai chicken wings
⏱️ cook time 45 minutes
🍽️ servings 4
⚡ Difficulty easy

intro

Crispy baked chicken wings tossed in a sticky, balanced Thai glaze of fish sauce, lime, chili, and brown sugar, finished with fresh herbs and sesame for bright, bold flavor.

Ingredients
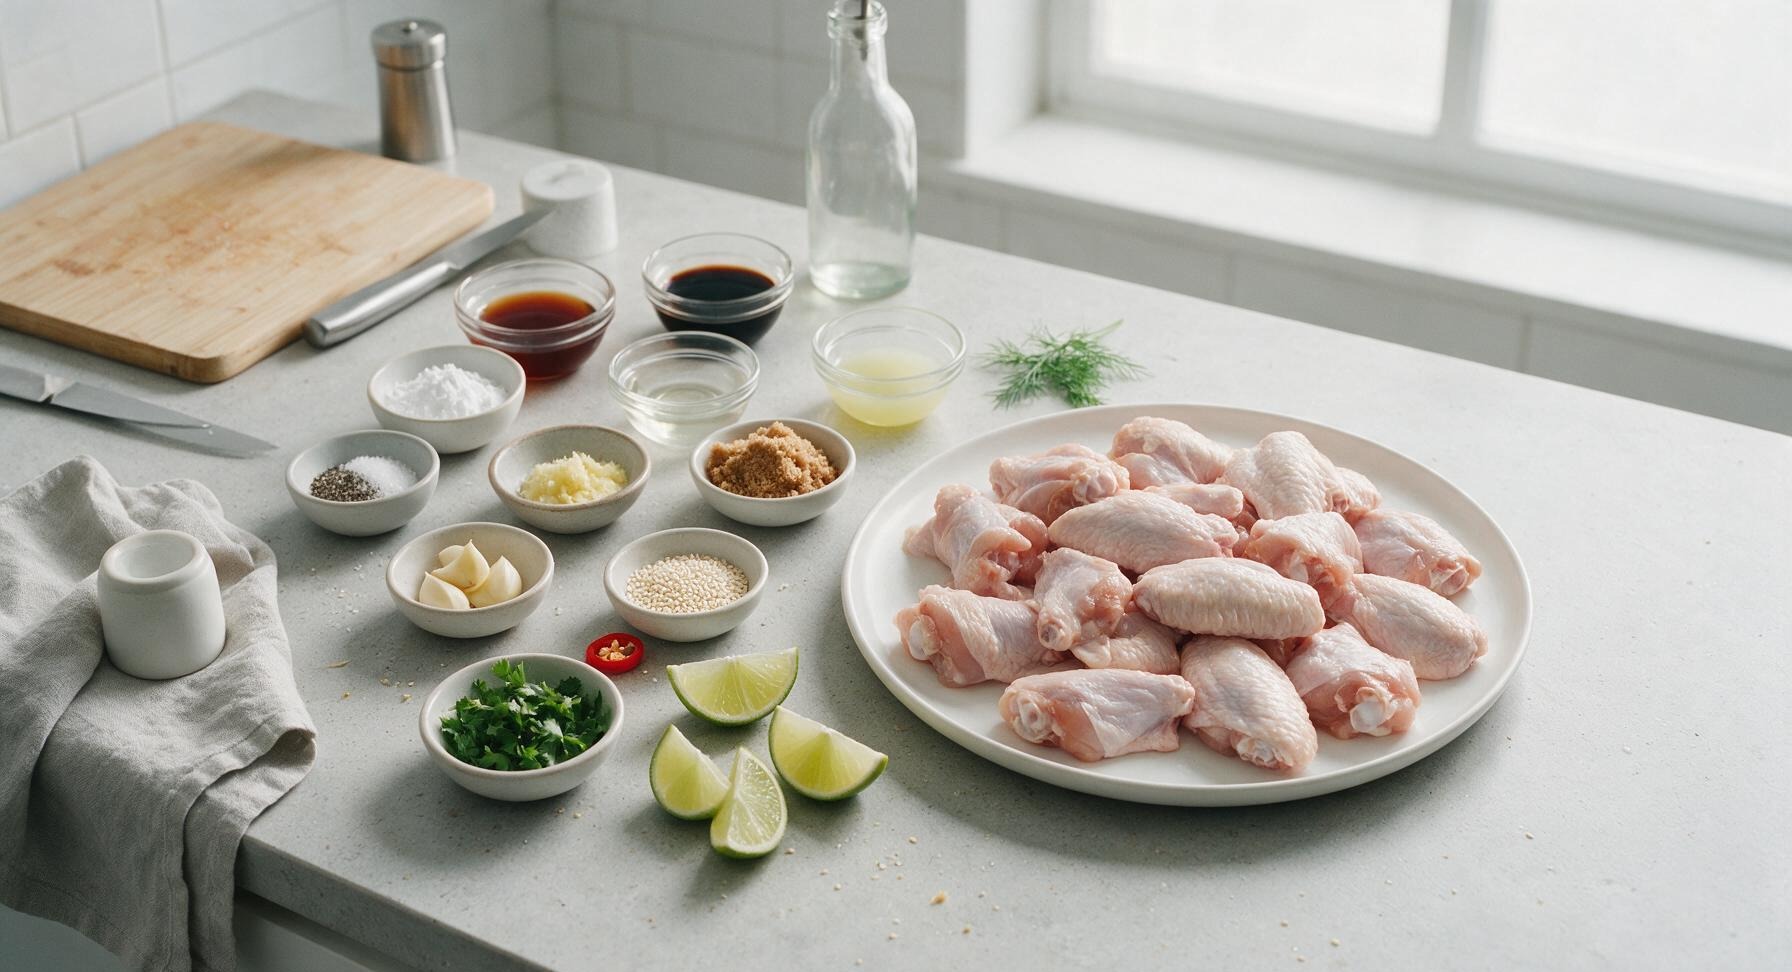
Chicken wings (split into drumettes and flats, tips removed) 1 kg (approx 20 pieces)
Aluminum-free baking powder 1 tbsp
Kosher salt 1 tsp
Freshly ground black pepper 1/2 tsp
Fish sauce 3 tbsp
Light brown sugar (packed) 1/4 cup
Fresh lime juice 2 tbsp
Low-sodium soy sauce 1 tbsp
Unseasoned rice vinegar 1 tbsp
Thai red chili (thinly sliced, seeds optional) 1 piece
Garlic cloves (minced) 3 pieces
Fresh ginger (grated) 1 tsp
Fresh cilantro (chopped) 2 tbsp
Toasted white sesame seeds 1 tsp
Lime wedges (for serving) 4 pieces

Steps

1

Prep and Pat Wings Dry

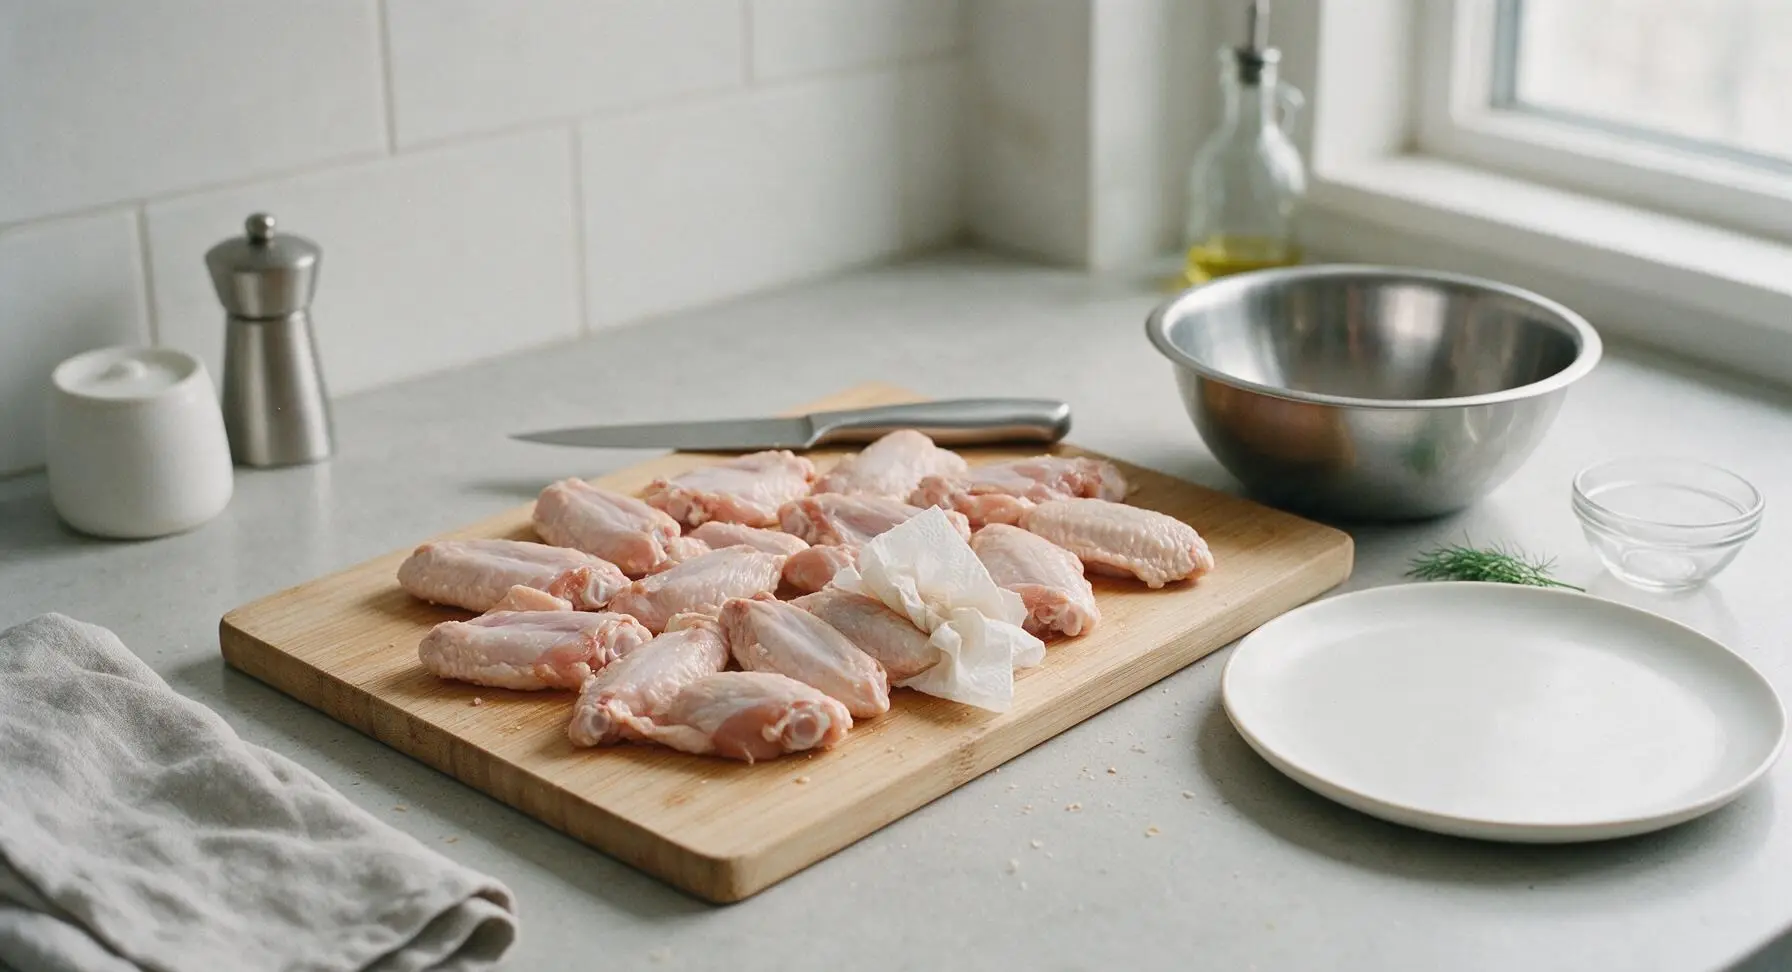
Place split chicken wings on the honey-toned bamboo cutting board. Tear a sheet from the mounted paper towel roll and pat wings completely dry on all sides, discarding used towels in the under-counter bin as you go — fully dry skin is non-negotiable for shatteringly crisp baked wings. Set the large stainless steel mixing bowl to the right of the cutting board to receive dried wings.
Step 1
step1:Prep and Pat Wings Dry
2

Season Wings for Baking

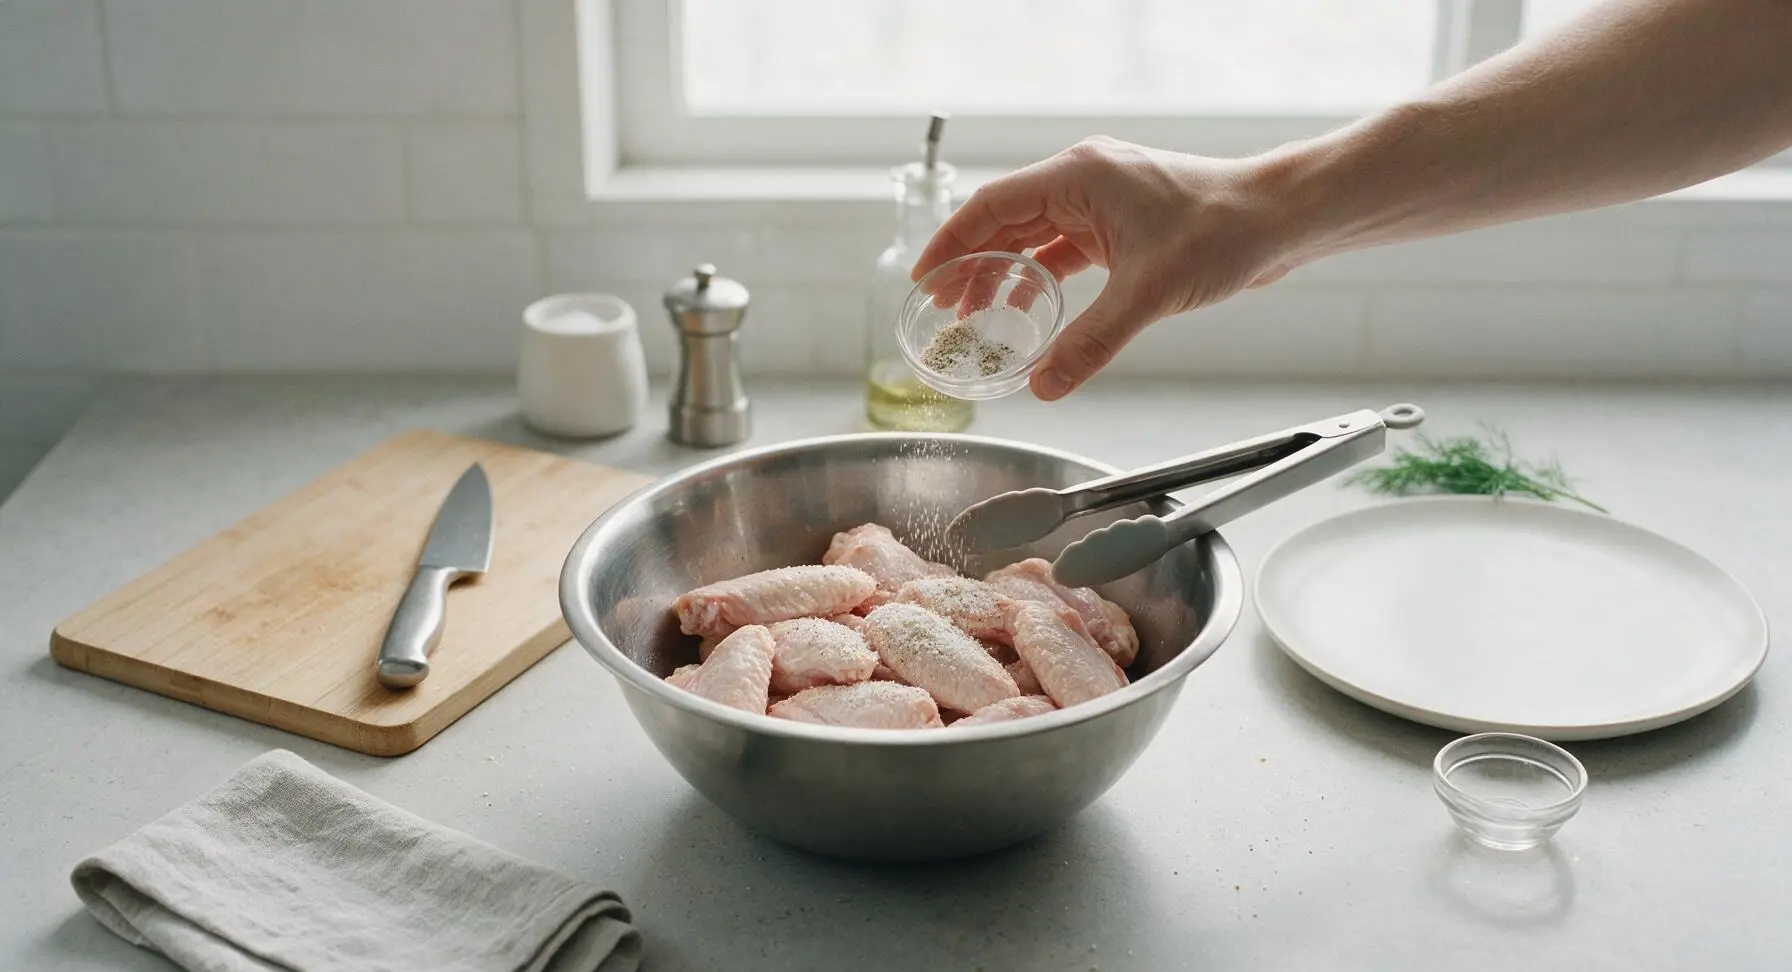
Add 1 tablespoon aluminum-free baking powder, 1 teaspoon kosher salt, and 1/2 teaspoon freshly ground black pepper to the bowl of dried wings. Toss thoroughly with the silicone-tipped tongs until every wing is lightly and evenly coated in the seasoning mixture. Brush off any large clumps of seasoning to avoid bitter spots on the finished skin.
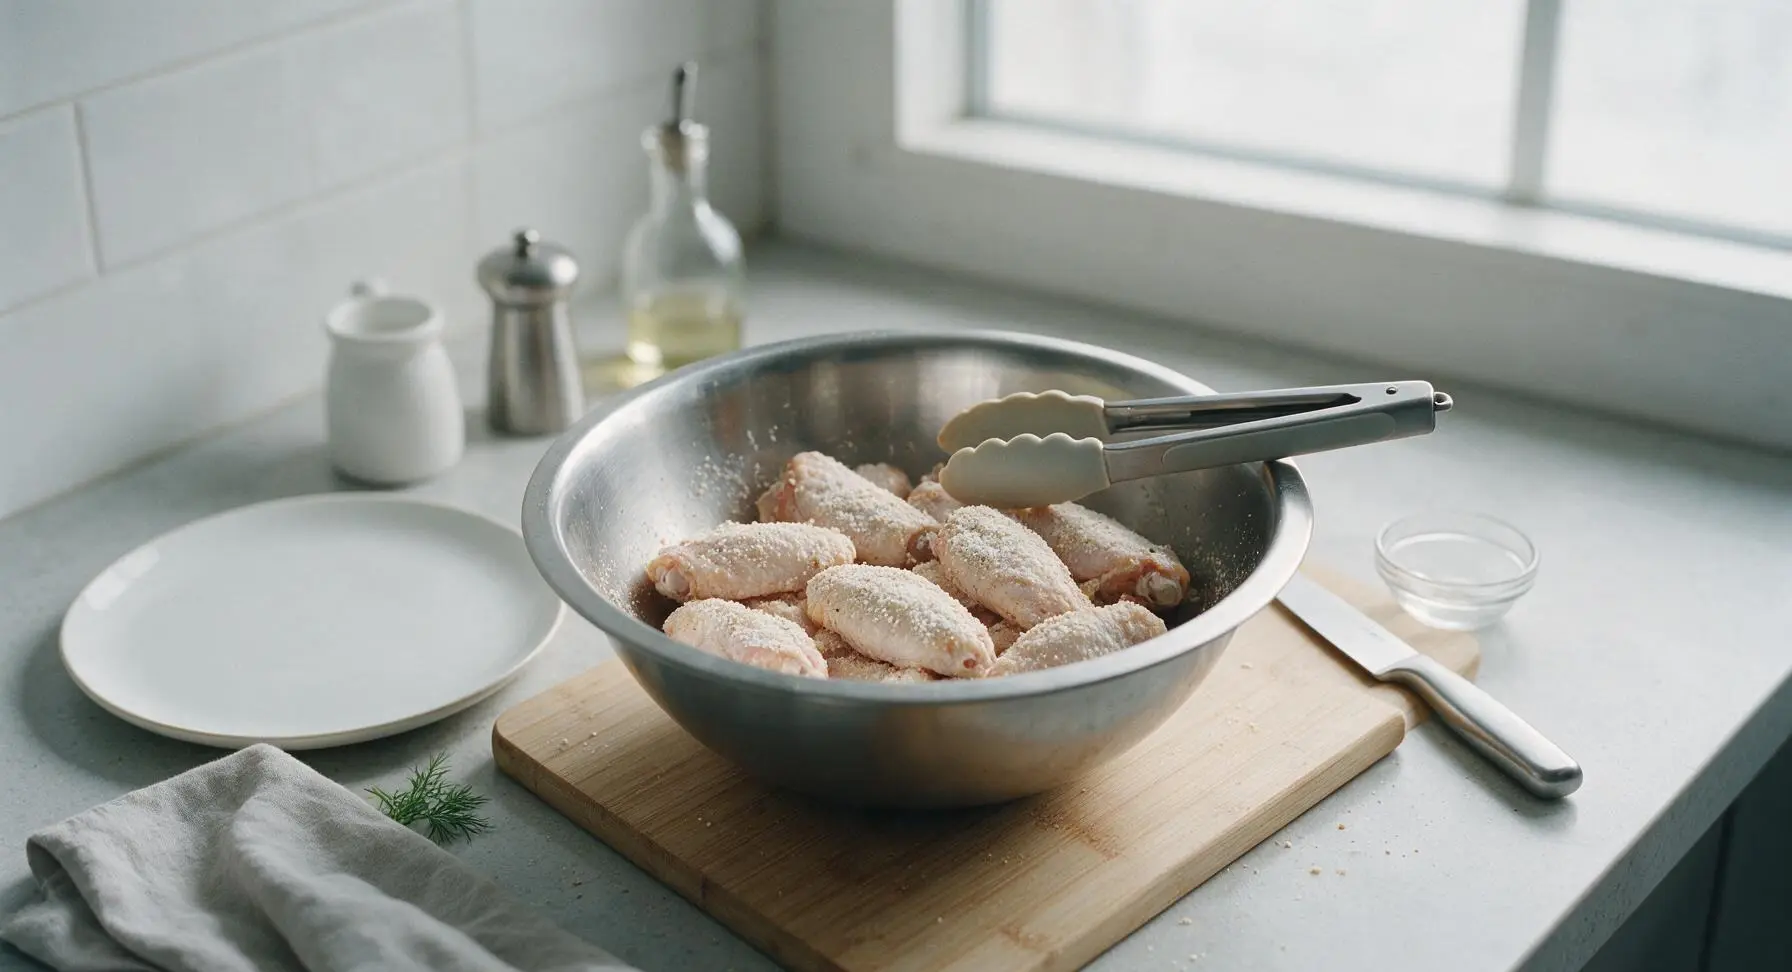
Step 2
step2:Season Wings for Baking
Step 2
step2:Season Wings for Baking
3

Arrange Wings on Rack

Set the chrome wire baking rack inside the rimmed aluminum baking sheet (line the sheet with parchment first for easy cleanup, if desired). Arrange seasoned wings in a single, evenly spaced layer on the rack, leaving 1cm of space between each piece to allow hot air to circulate around every surface.
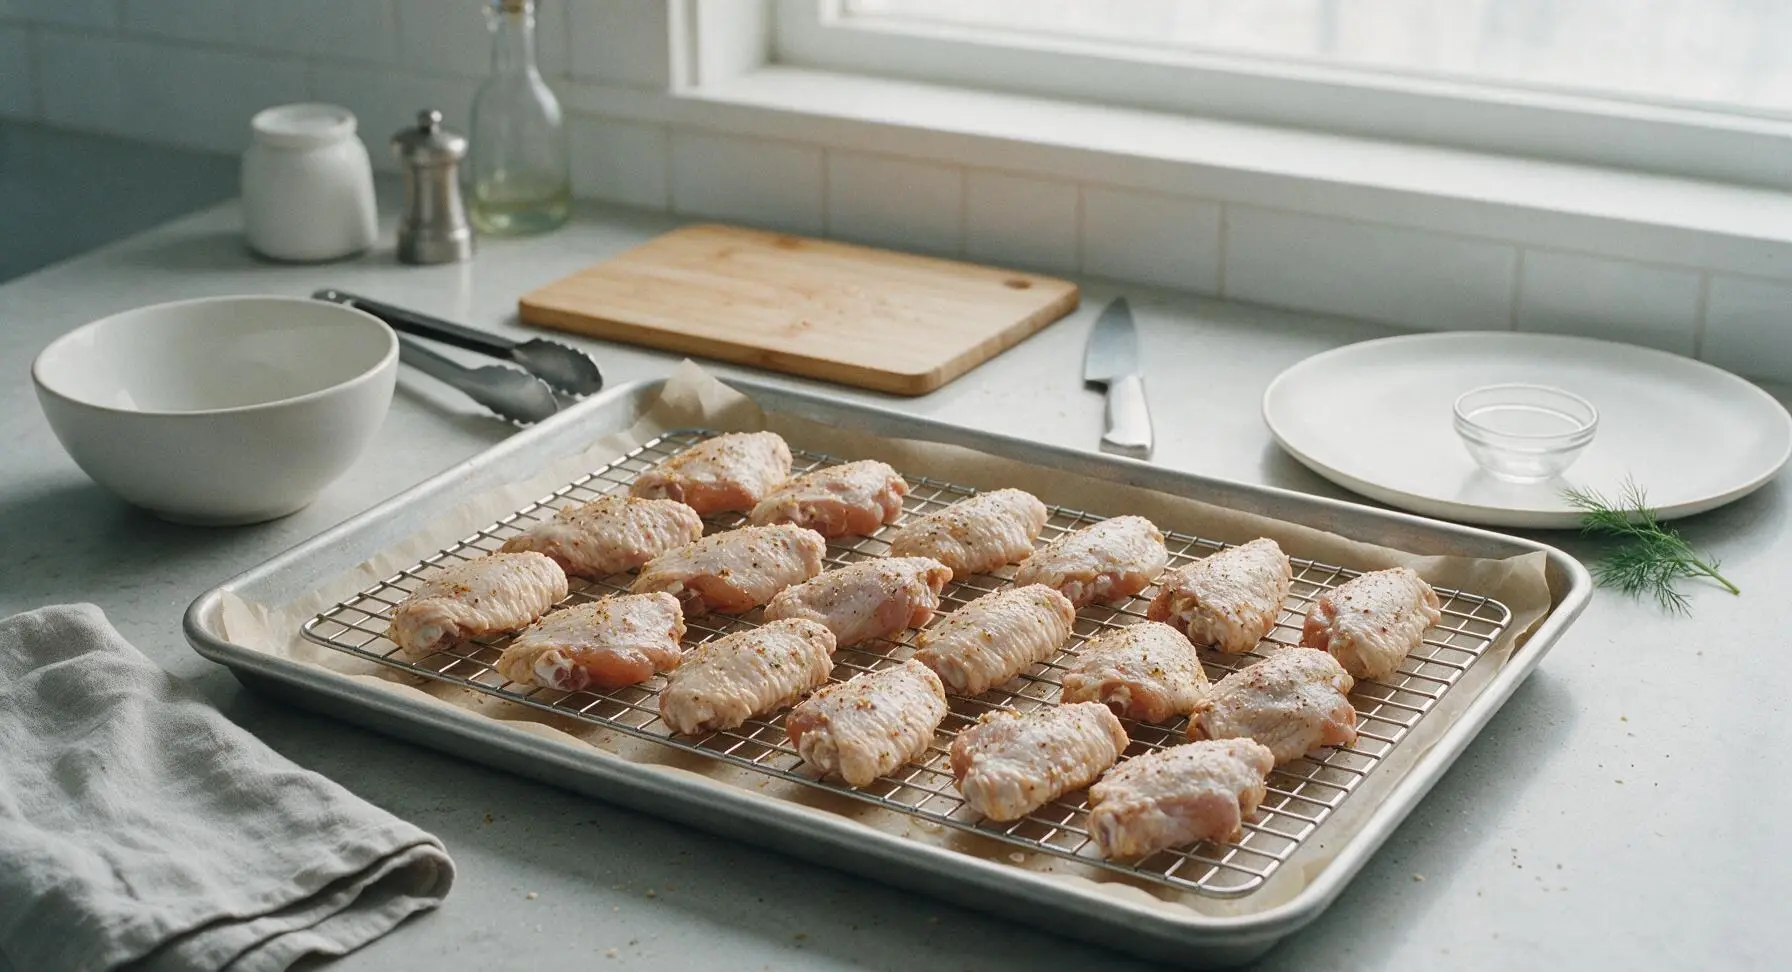
Step 3
step3:Arrange Wings on Rack
4

Bake Until Crispy

Carefully transfer the baking sheet to a preheated 220C (425F) oven. Bake for 40 minutes total, using tongs to flip each wing at the 20-minute mark to ensure even browning on all sides. Wings are done when skin is deep golden, shatteringly crisp, and internal temperature reaches 75C (165F). While wings bake, clear counter space to prepare the glaze.
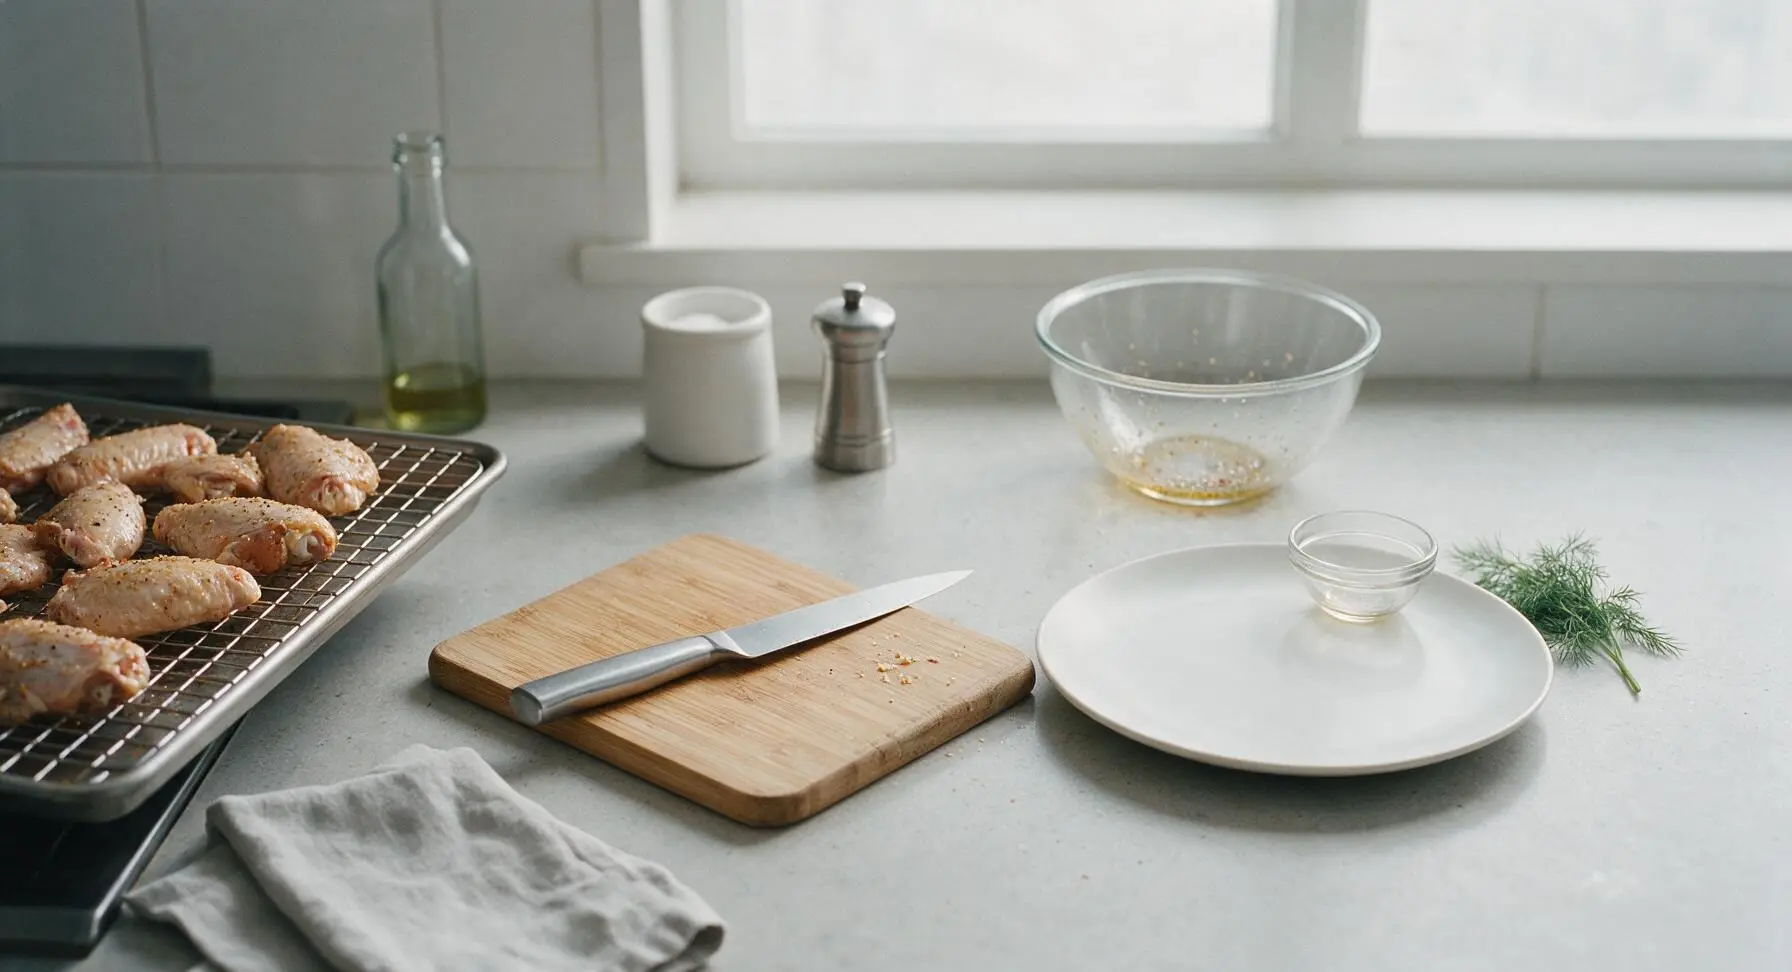
Step 4
step4:Bake Until Crispy
5

Simmer Sticky Thai Glaze

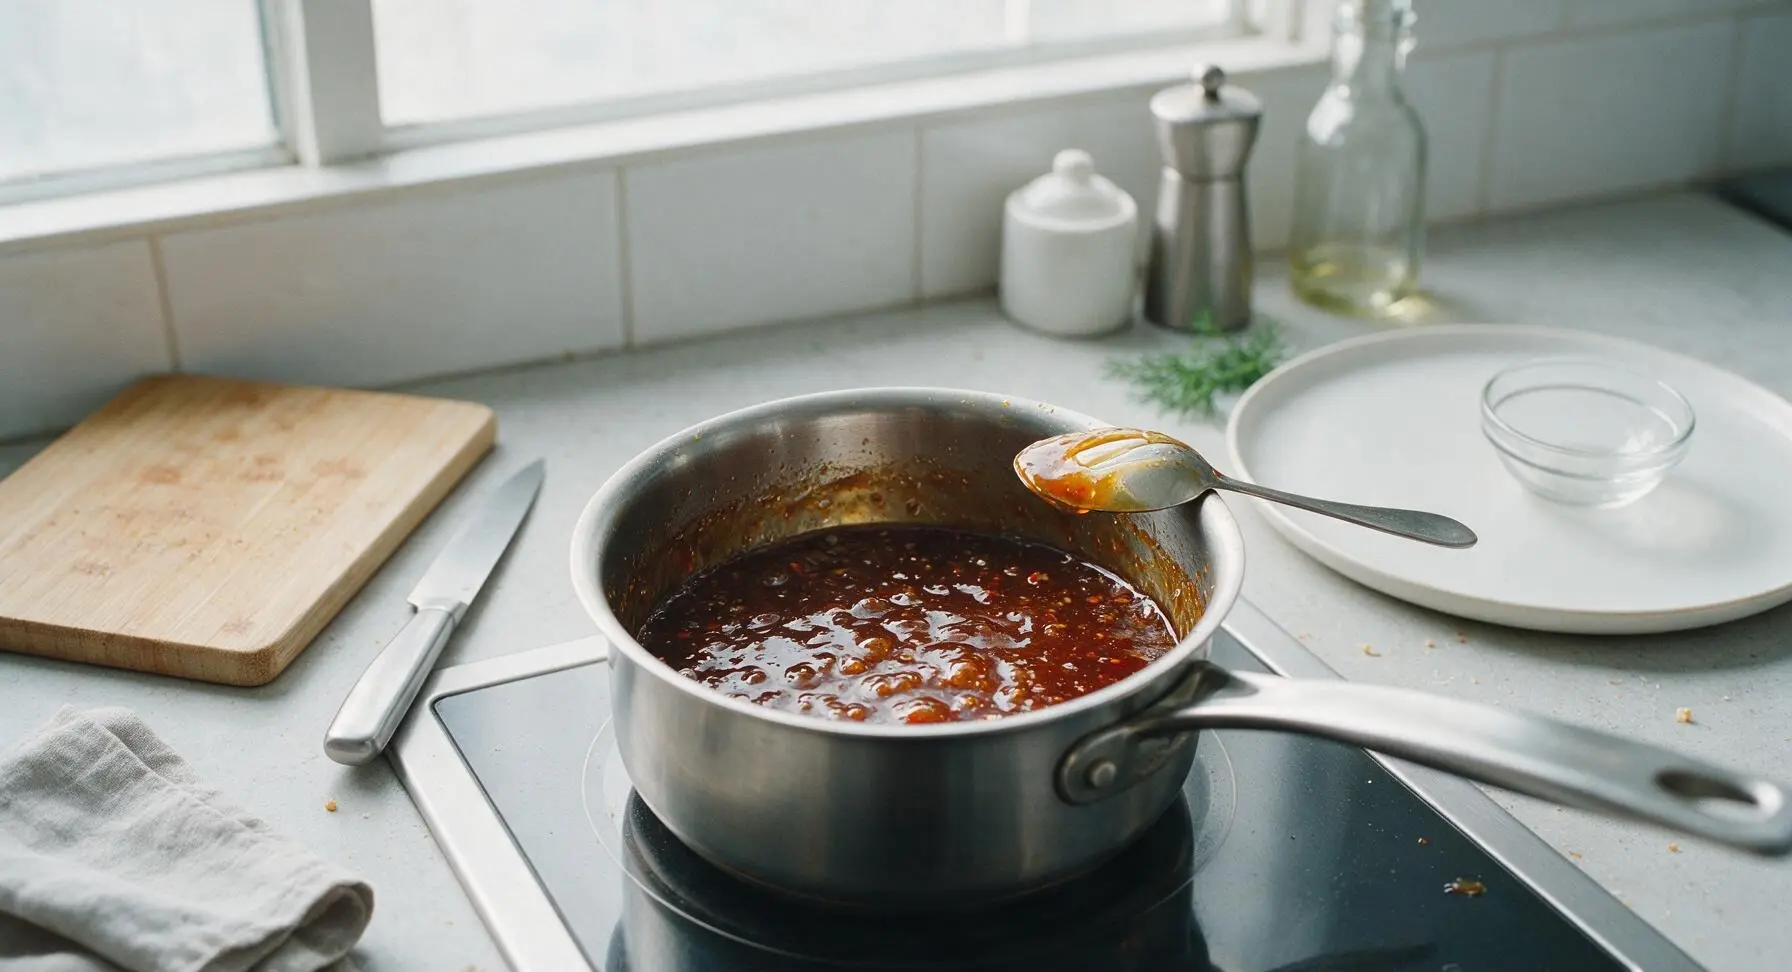
Place the small stainless steel saucepan on the induction cooktop set to medium-low heat. Add 3 tablespoons fish sauce, 1/4 cup packed light brown sugar, 2 tablespoons fresh lime juice, 1 tablespoon low-sodium soy sauce, 1 tablespoon unseasoned rice vinegar, 3 minced garlic cloves, 1 teaspoon grated fresh ginger, and half the thinly sliced Thai red chili (seeds removed for mild heat) to the pan. Stir constantly for 4-5 minutes, until sugar fully dissolves and the glaze reduces to a light syrup that coats the back of a spoon. Remove pan from heat and set on the ceramic spoon rest.
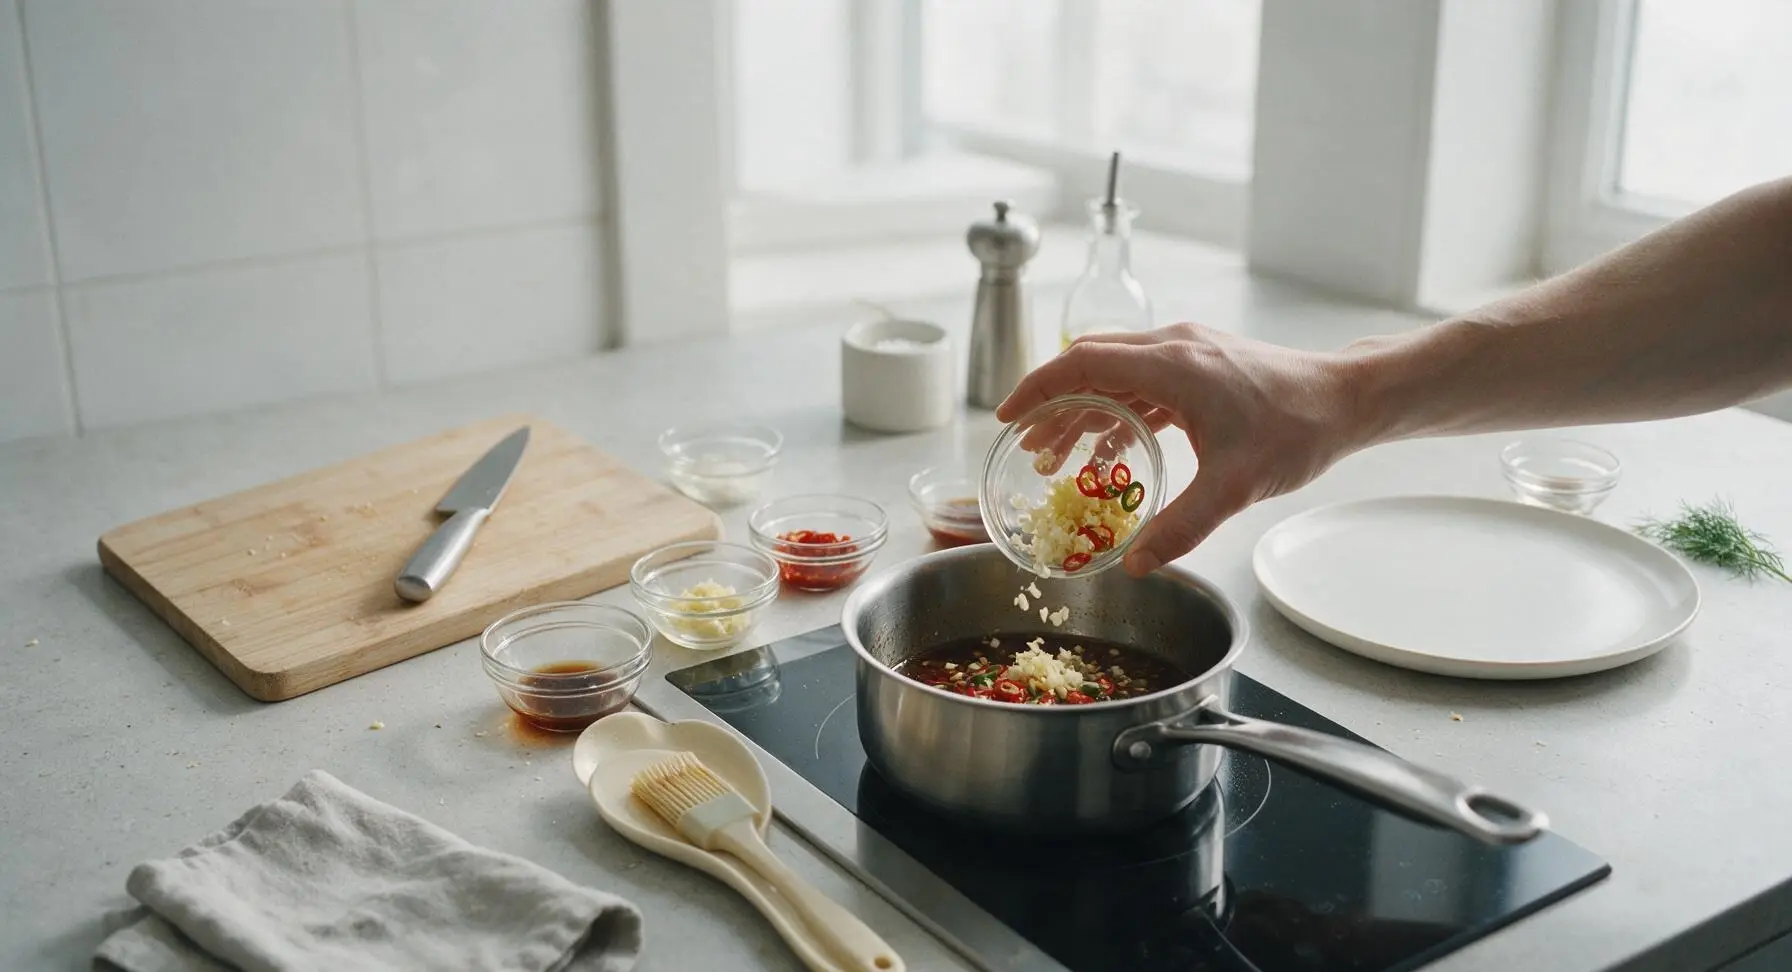
Step 5
step5:Simmer Sticky Thai Glaze
Step 5
step5:Simmer Sticky Thai Glaze
6

Toss Wings in Glaze

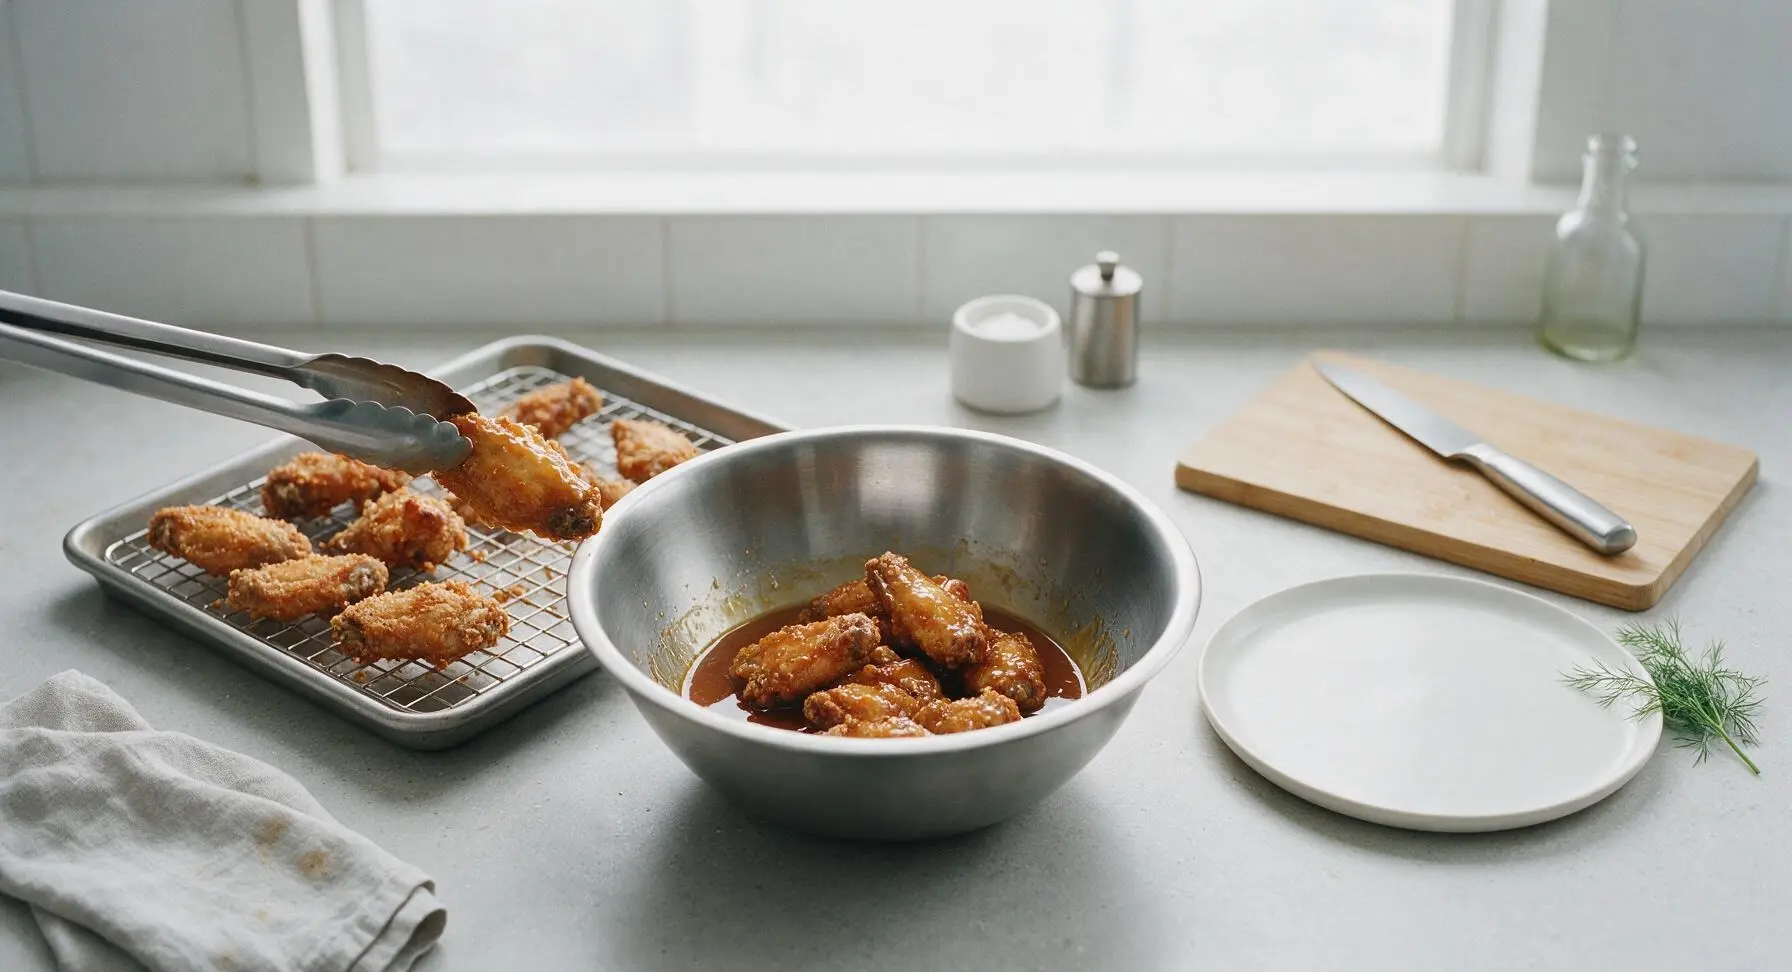
Once wings are fully baked and crispy, use tongs to transfer them directly from the wire rack back into the large stainless steel mixing bowl. Pour 3/4 of the warm glaze over the hot wings, then toss vigorously for 30 seconds until every wing is evenly coated in the sticky, shiny glaze. Reserve the remaining glaze for drizzling.
Step 6
step6:Toss Wings in Glaze
7

Plate Glazed Wings

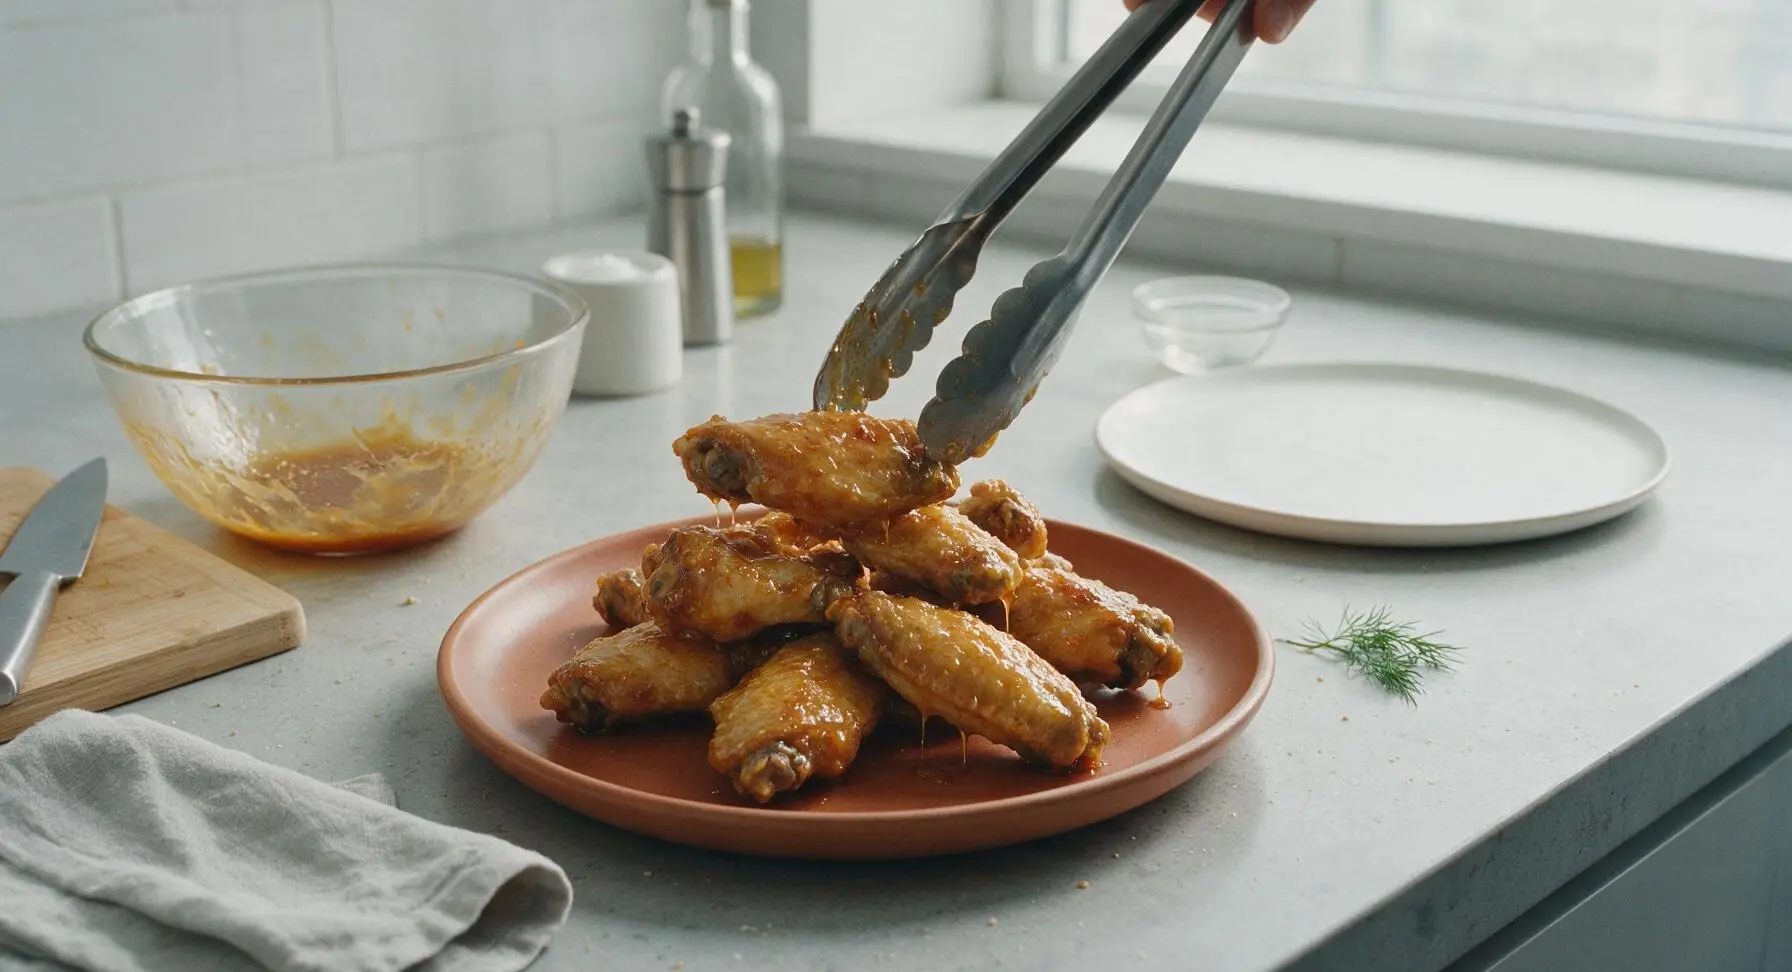
Use tongs to lift glaze-coated wings from the bowl, arranging them in a loose, casual piled stack on the warm terracotta serving plate positioned center counter. Drizzle the reserved remaining glaze over the top of the wing pile for extra shine and flavor.
Step 7
step7:Plate Glazed Wings
8

Add Final Garnishes

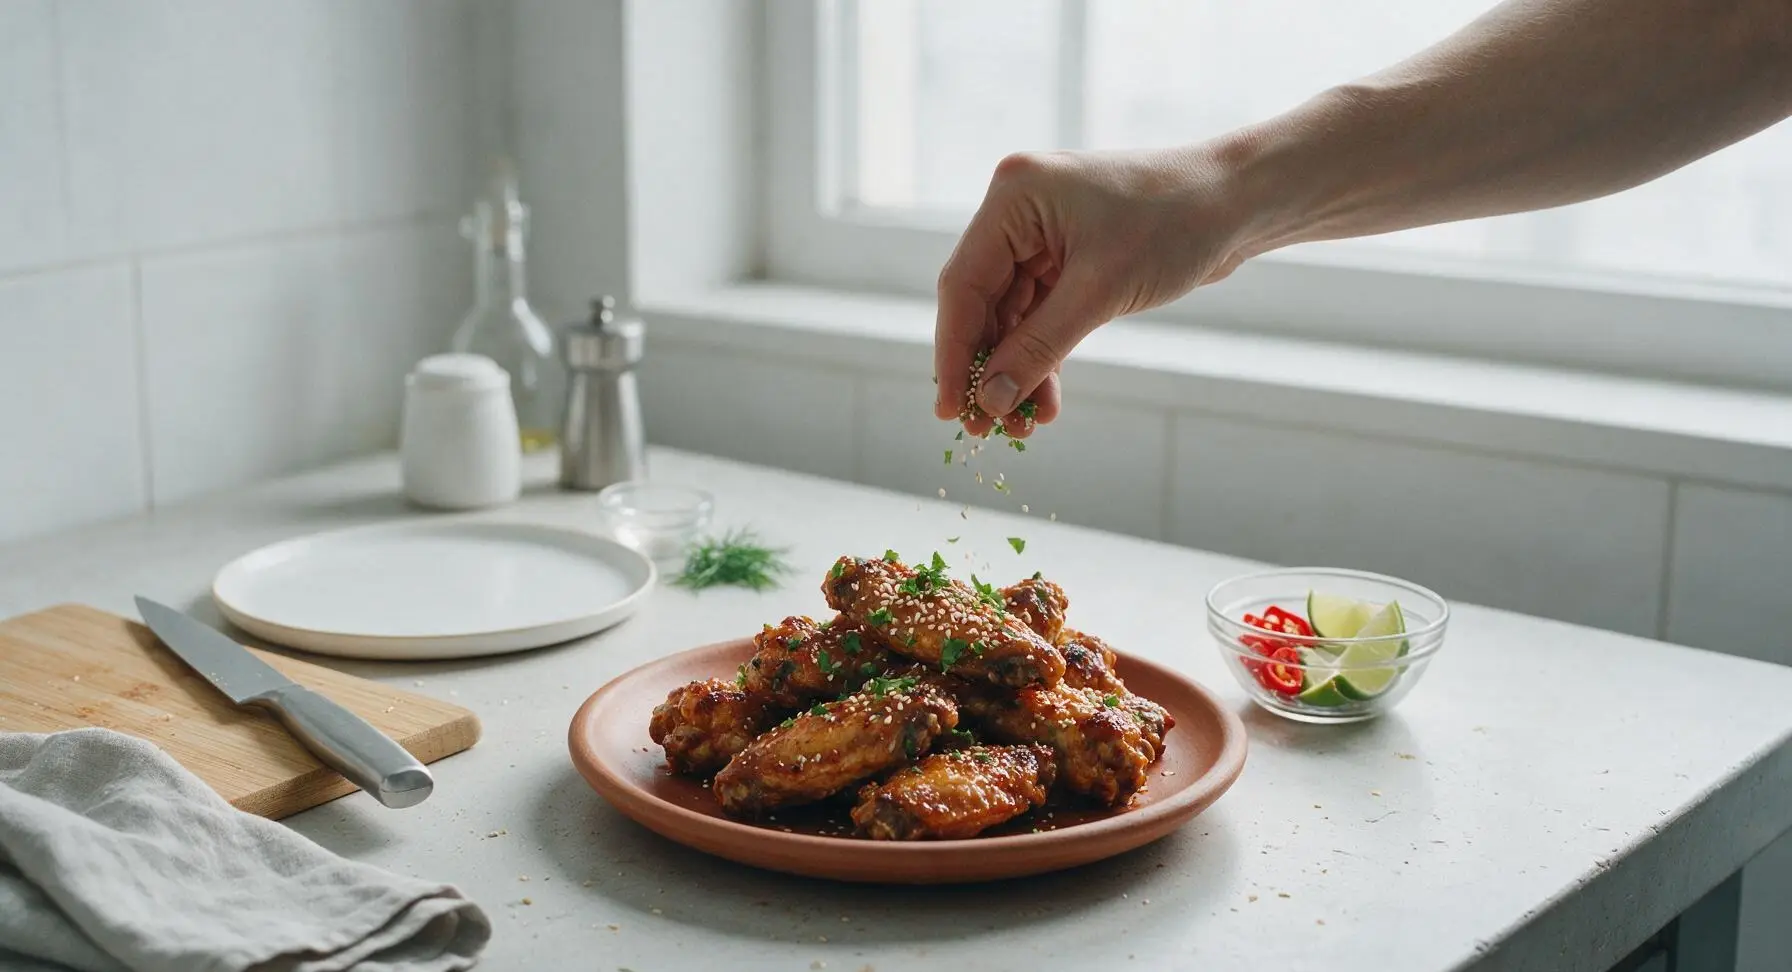
Sprinkle the piled wings with 1 teaspoon toasted white sesame seeds, the remaining sliced Thai red chili, and 2 tablespoons chopped fresh cilantro leaves. Tuck 4 lime wedges around the edge of the plate for guests to squeeze over wings just before eating. Serve immediately while wings are hot and crispy.
Step 8
step8:Add Final Garnishes

Tips

1.Use aluminum-free baking powder for crisping: Regular baking powder contains sodium aluminum sulfate, which leaves a distinct metallic aftertaste on baked chicken skin. The baking powder raises skin pH to speed browning and crisping without frying.
2.Always bake wings on an elevated wire rack: Placing wings directly on a baking sheet traps moisture against the skin, leading to soggy spots. The rack allows 360-degree air flow for evenly crisp skin on all sides.
3.Toss wings in warm glaze immediately before serving: Glaze is high in sugar and moisture, so letting coated wings sit for more than 5 minutes will soften the crispy skin. Wait to toss until guests are ready to eat for the best texture.


✨ You May Also Like

Snacks & Appetizers
🍜 Mexico

Crispy thick-cut tortilla chips piled high with seasoned beef, melted cheese, and bright fresh toppings for a shareable, crowd-favorite bite.

⏱️ 25 minuteSnacks & Appetizers ★ 4.8
Snacks & Appetizers
🍜 United States

Crisp, sweet-tangy spiced pickled watermelon rind is a zero-waste summer staple, perfect with grilled meats, charcuterie, or eaten straight from the jar as a bright snack.

⏱️ 30 minuteSnacks & Appetizers ★ 4.6
Snacks & Appetizers
🍜 Germany

A tangy, jellied pork cold cut slow-simmered with aromatic spices, set into a firm sliceable loaf, served cold with mustard and crusty bread.

⏱️ 3 hours 4Snacks & Appetizers ★ 4.8
Snacks & Appetizers
🍜 United States

Creamy, tangy, perfectly seasoned hard-boiled egg halves filled with a rich, smooth yolk mixture, a timeless, crowd-pleasing bite for holiday and casual gatherings alike.

⏱️ 40 minuteSnacks & Appetizers ★ 4.8
Snacks & Appetizers
🍜 Russia

Silky, dill-forward no-smoke cured salmon, a Scandinavian classic with bright salty-sweet flavor, ideal for holiday starter platters and open-faced rye sandwiches.

⏱️ 48 hours Snacks & Appetizers ★ 4.7
Snacks & Appetizers
🍜 Japan

Crisp golden bottoms, juicy savory pork and vegetable filling, and tangy dipping sauce make these pan-fried gyoza a beloved shareable bite.

⏱️ 45 minuteSnacks & Appetizers ★ 4.8

thai chicken wings:Frequently Asked Questions

1.Why do you use aluminum-free baking powder on the wings instead of flour? ▾
Aluminum-free baking powder raises the pH of chicken wing skin, breaks down surface proteins, and draws out excess moisture to deliver shatteringly crisp skin in the oven without a heavy, floury coating. Skip baking powder with aluminum, as it leaves a distinct bitter, metallic aftertaste that clashes with the bright Thai glaze. Toss wings with an even light coating for best results.
2.Can I fry these wings instead of baking them? ▾
Absolutely! If you prefer fried wings, heat 2 inches of neutral oil (like canola or peanut) to 375°F, fry wings in batches for 10-12 minutes until golden and cooked to 165°F internal temp, then drain briefly on wire racks before tossing in warm glaze. Frying delivers extra crunch, but the baked method cuts down on mess and active time for easy weeknight prep.
3.Do I really need to remove the wing tips? ▾
Removing wing tips is recommended for two key reasons: first, they have almost no edible meat and burn easily during high-heat baking, which can leave bitter, charred bits on your finished wings. Second, you can save frozen tips to make homemade chicken stock or Thai broth later so nothing goes to waste. If you leave them on, watch closely for burning during the last 10 minutes of bake time.
4.What can I substitute for fish sauce if I don’t have it? ▾
If you don’t have fish sauce, use a 1:1 mix of low-sodium soy sauce and 1/4 teaspoon of rice vinegar per tablespoon of fish sauce to mimic its salty, umami depth. For a vegan swap, use coconut aminos plus a tiny pinch of sea salt, though it will be slightly sweeter and less briny. Avoid plain soy sauce alone, as it lacks the bright, briny kick that defines the glaze.
5.How do I get the glaze to stick properly to the wings? ▾
For maximum glaze adhesion, always toss wings in warm glaze immediately after they come out of the oven (or fryer) while they’re still piping hot. Let tossed wings rest 2-3 minutes on a wire rack after coating—residual heat will thicken the glaze slightly so it clings instead of pooling at the bottom of your bowl, giving you that perfect sticky finish in every bite.
6.What internal temperature should chicken wings reach to be safe to eat? ▾
Chicken wings are safe to eat when they reach an internal temperature of 165°F, measured with an instant-read thermometer inserted into the thickest part of the drumette, away from bone. For extra crispiness, you can pull them when they hit 170°F, as the higher temp renders more excess fat under the skin without drying out the wings’ dark meat.
7.Can I make these wings in an air fryer? ▾
Absolutely! Air fryers work beautifully for these wings. Toss wings with the baking powder, kosher salt, and black pepper as directed, then air fry at 400°F for 22-25 minutes, flipping halfway through, until skin is crisp and meat hits 165°F internal temp. Toss in warm glaze right after cooking for extra-crispy wings in less time than oven baking.
8.How spicy is the glaze, and can I adjust the heat level? ▾
The base glaze has a mild, balanced heat from fresh chili that won’t overwhelm most palates, but it’s totally adjustable. For less heat, seed and devein your chili peppers before adding them to the glaze, or cut the amount in half. For extra fiery wings, add a pinch of red pepper flakes, a spoonful of chili garlic sauce, or a splash of sriracha while the glaze simmers.
9.Can I prep these wings ahead of time for a party? ▾
You can prep the wings a day ahead! Toss raw, split wings with baking powder, salt, and pepper, then arrange them on a wire rack set over a baking sheet and refrigerate uncovered overnight. This dries the skin out even more for extra crispness. Make the glaze up to 3 days ahead and store it in the fridge, warming it right before tossing with freshly baked wings.
10.Why do I need to bake wings on a wire rack instead of directly on a baking sheet? ▾
Baking wings on a wire rack set over a rimmed baking sheet lets hot air circulate fully around every side of the wings, so skin crisps up evenly instead of getting soggy on the side touching the sheet. If baked directly on the sheet, the bottom will steam in rendered fat instead of crisping. Line the sheet under the rack with foil for easy cleanup.
11.How do I balance the glaze so it’s not too sweet? ▾
The glaze relies on a classic Thai balance of salty, sweet, sour, and spicy, so always taste it before tossing with wings. If it tastes too sweet, add an extra squeeze of fresh lime juice or a tiny splash more fish sauce to cut the brown sugar. If it’s too salty or sour, stir in a pinch more brown sugar 1/4 teaspoon at a time until it hits that bright, balanced flavor.
12.Can I use frozen chicken wings for this recipe? ▾
Yes, you can use frozen wings, but thaw them completely first and pat them extremely dry with paper towels before tossing with baking powder and seasonings. Excess moisture from partially frozen wings will steam instead of crisp in the oven, leaving you with soggy skin that won’t hold the sticky glaze. For best results, thaw wings in the fridge overnight before prepping.
13.What fresh herbs and toppings work best for finishing the wings? ▾
Classic Thai fresh toppings work perfectly here: chopped fresh cilantro, thin slices of Thai basil, a sprinkle of thinly sliced green onion, and a pinch of toasted white sesame seeds add bright, nutty contrast to the rich, sticky glaze. If you don’t have Thai basil, regular sweet basil works as a substitute, though it has a milder, less anise-forward flavor. Skip dried herbs for finishing, as they taste dusty next to the bright glaze.
14.How long should I simmer the glaze to get the right sticky consistency? ▾
Simmer the glaze over medium-low heat for 5-7 minutes, stirring occasionally, until it reduces by about one-third and coats the back of a spoon thick enough that you can run your finger through it and leave a clear line. Don’t boil it on high heat, as the brown sugar can burn quickly and turn bitter. The glaze will thicken more as it cools, so err on the slightly thinner side while simmering.
15.Can I make these wings gluten-free? ▾
These wings are easily made gluten-free! First, confirm your baking powder is certified gluten-free, as some budget brands add wheat-based anti-caking agents. Use a gluten-free fish sauce—most premium Thai fish sauces are naturally gluten-free, but always check labels—and avoid cross-contaminated utensils, and the recipe will be fully gluten-free with no other swaps needed.
16.Why are my baked wings coming out soggy instead of crispy? ▾
Soggy wings almost always trace back to excess moisture. Make sure you pat wings completely dry with paper towels before tossing with baking powder, don’t skip the wire rack for air circulation, and don’t crowd the pan—use two baking sheets for big batches instead of piling wings on top of each other. Avoid a heavy baking powder coating, as too much can turn gummy instead of crisp.
17.What side dishes pair well with these sticky Thai wings? ▾
These bold, sticky wings pair perfectly with light, fresh sides that cut through their rich flavor. Try serving them with coconut rice, crunchy Thai cucumber salad, quick pickled vegetables, crispy jasmine rice, or simple buttered corn on the cob for a casual game day spread. For parties, set out extra lime wedges and a small bowl of extra glaze for dipping, if desired.
18.How do I store leftover wings, and how do I reheat them so they stay crispy? ▾
Store leftover wings in an airtight container in the fridge for up to 3 days. To reheat and bring back crispness, arrange wings on a wire rack over a baking sheet and bake at 375°F for 10-12 minutes until heated through and skin re-crisps. Avoid microwaving leftovers, as it turns skin rubbery and makes the glaze runny, leaving you with soggy, unappetizing wings.

Comments (5)

5 days ago

OMG these sticky Thai wings are an absolute game changer! I made them for our Sunday family dinner and my two boys (6 and 9, both the pickiest eaters on the planet) devoured them and begged for more. The glaze is perfectly balanced—sweet, a little tangy, just a tiny kick that wasn’t too much for the kids. I’m already making a double batch for our block party potluck next weekend! Total hit, 10/10.

3 days ago

Quick question—did you bake them on a wire rack like the recipe says? I always skip that and end up with soggy wing skin, wondering if it makes a difference here!

3 days ago

So stoked your family loved the recipe! Definitely don’t skip the wire rack if you can—it lets air circulate all around the wings so they get crispy on every side, which makes the glaze stick way better too. Enjoy the block party!

1 week ago

This recipe is so easy I was shocked how good it turned out! Cook time was exactly 45 minutes like the recipe said, no random fancy ingredients I had to run to the specialty store for—most of this stuff was already in my pantry. I made a big batch on Sunday for my weekly meal prep, and the wings reheated perfectly in the air fryer for lunches all week. Already added this to my permanent rotation.

5 days ago

Love hearing this works for meal prep! Quick pro tip: set aside a couple tablespoons of glaze before you toss the cooked wings, then drizzle a little on when you reheat for that fresh-made sticky flavor.

2 weeks ago

These are way better than the Thai takeout wings I order every Friday night, no cap. I upped the chili garlic paste by a teaspoon and added an extra squeeze of fresh lime at the end because I love that bright tang, and it was chef’s kiss. Perfect sticky texture, not soggy at all, and so much cheaper than ordering delivery. Will be making these every week from now on.

3 days ago

Brought these to my team’s potluck earlier this week and people were lining up for seconds before I even set the platter down! The glaze is sticky but not so messy that you can’t eat them standing up chatting, which is perfect for parties. I was worried the flavor would be too strong for people who don’t love Thai food, but everyone raved about them. Only regret is not making three batches instead of two—they were gone in 10 minutes!

2 days ago

Do these hold up okay if I make them an hour or so before serving? I’m in charge of snacks for our team happy hour next week and don’t want to be stuck cooking while everyone else is hanging out!

yesterday

Y’all I am terrible at cooking, like I burn frozen pizza half the time terrible, and these wings came out perfect on the first try?? The instructions were so straightforward, no weird complicated techniques, and the glaze came together in like 5 minutes. My roommate thought I ordered delivery from that fancy Thai place downtown lmao. So easy, so good, I feel like a real chef now.

2 hours ago

Oh thank god I’m not the only cooking disaster who was nervous to try these! I’m making them for my boyfriend’s birthday this weekend and was scared I’d mess them up, this gives me so much hope!

30 minutes ago

This makes our day! We designed this recipe to be totally approachable for new cooks—just make sure your oven is fully preheated before popping the wings in, and you’ll get that perfect crispy skin every time. Hope the birthday dinner goes great!



