
Tuna Roll
intro
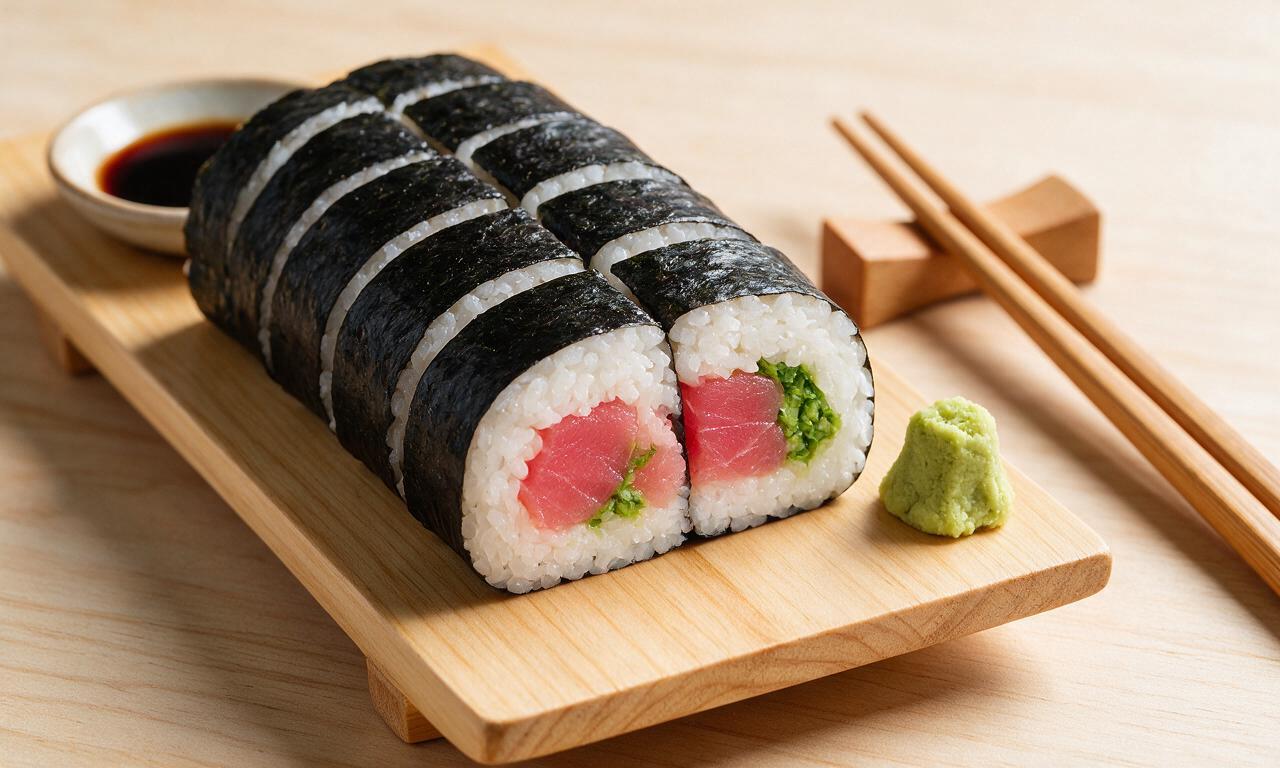
Light, savory classic tuna maki rolls made with perfectly seasoned sushi rice and fresh sashimi-grade tuna, portable and ideal for summer outings.
Ingredients
Steps
Cook and season rice
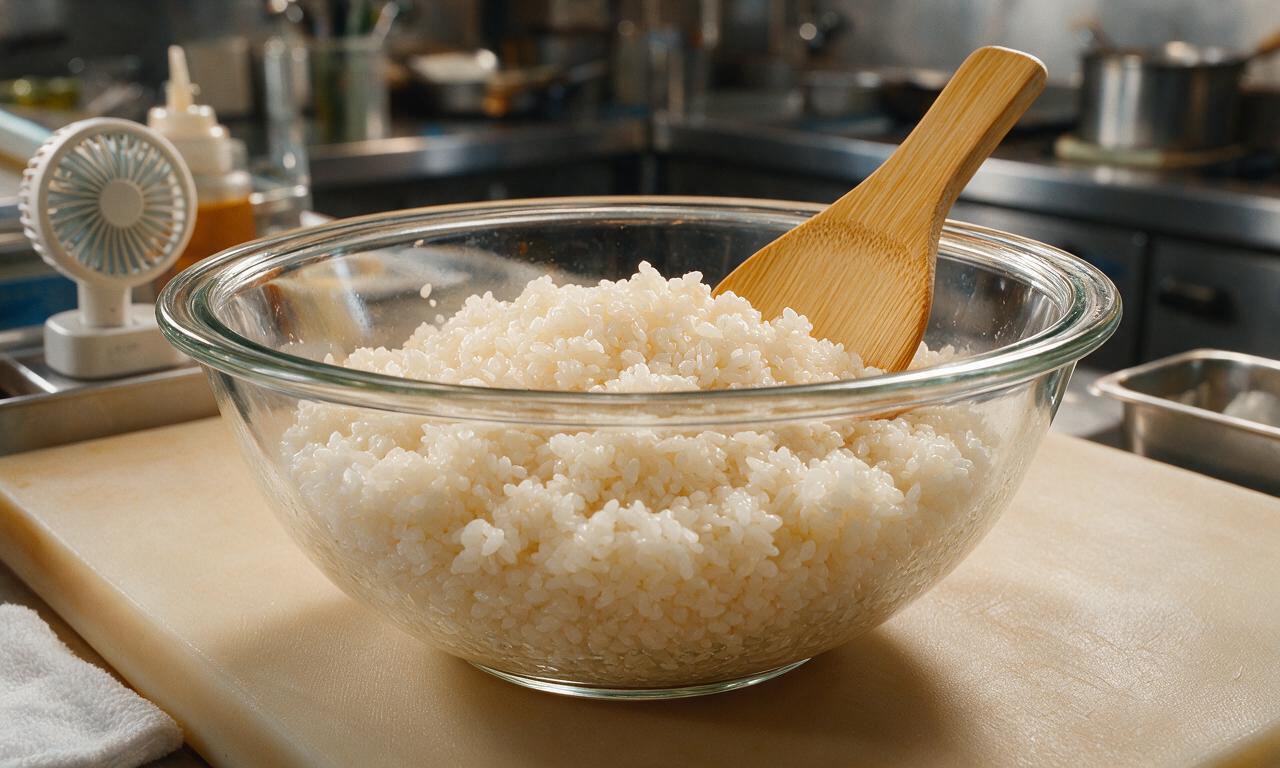
Rinse the 180g sushi rice under cold running water for 2 minutes until water runs almost clear, then drain completely for 10 minutes. Add rice and 220ml cold cooking water to a lidded pot, bring to a rolling boil over medium-high heat, then reduce heat to the lowest setting, cover, and simmer for 15 minutes without lifting the lid (or cook in a rice cooker on standard white rice mode for 18 minutes). Once cooked, turn off heat and let rice rest covered for 5 minutes, then transfer hot rice to a wide wooden or glass bowl, gently fold in 30ml seasoned rice vinegar with a rice paddle, then fan the rice for 3 minutes to cool it to room temperature (21C/70F) — do not mash the rice grains.
Prep tuna and station
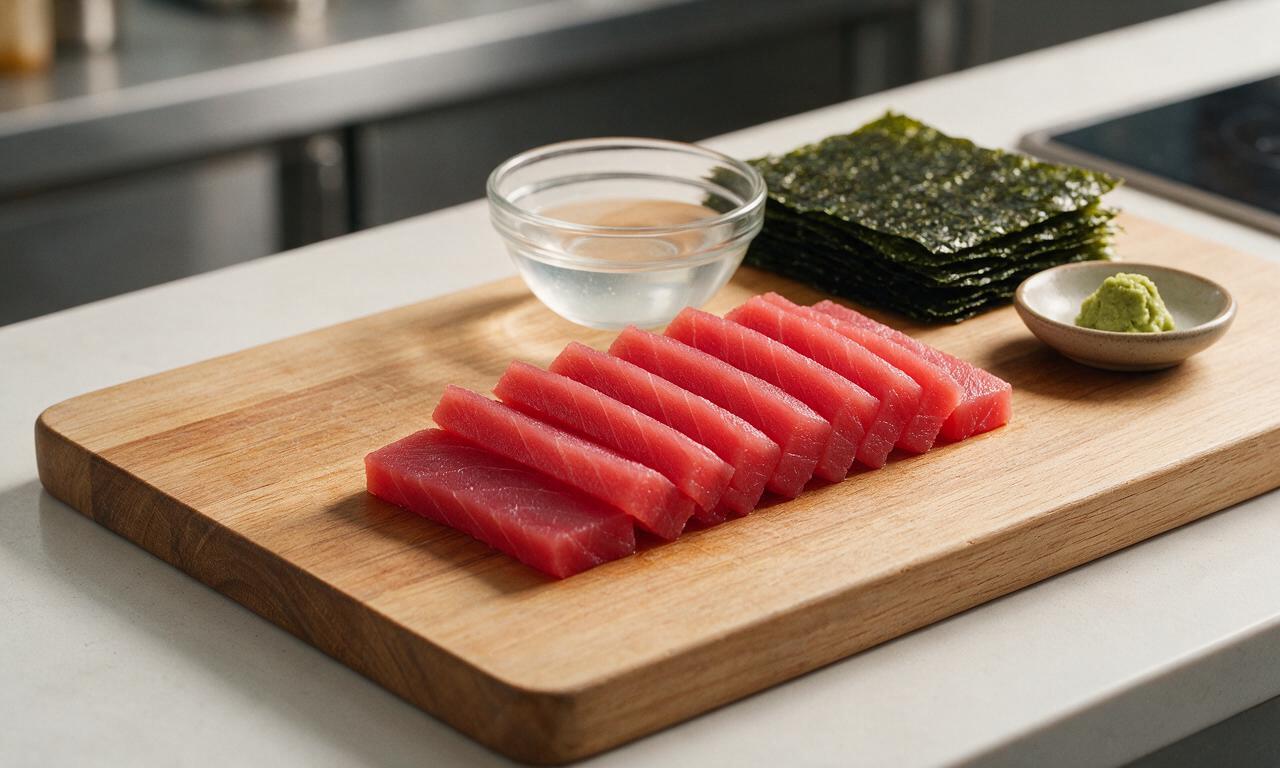
Pat the 225g sashimi-grade tuna completely dry with paper towels, then slice it lengthwise into 1cm (1/2 inch) thick uniform strips, removing any dark bloodline sections. Mix 120ml cold water and 15ml rice vinegar in a small bowl to create a hand-dipping bath to prevent rice from sticking to your fingers during rolling. Arrange nori sheets, wasabi, sesame seeds, and tuna strips within easy reach of your work surface.
Layer nori and rice
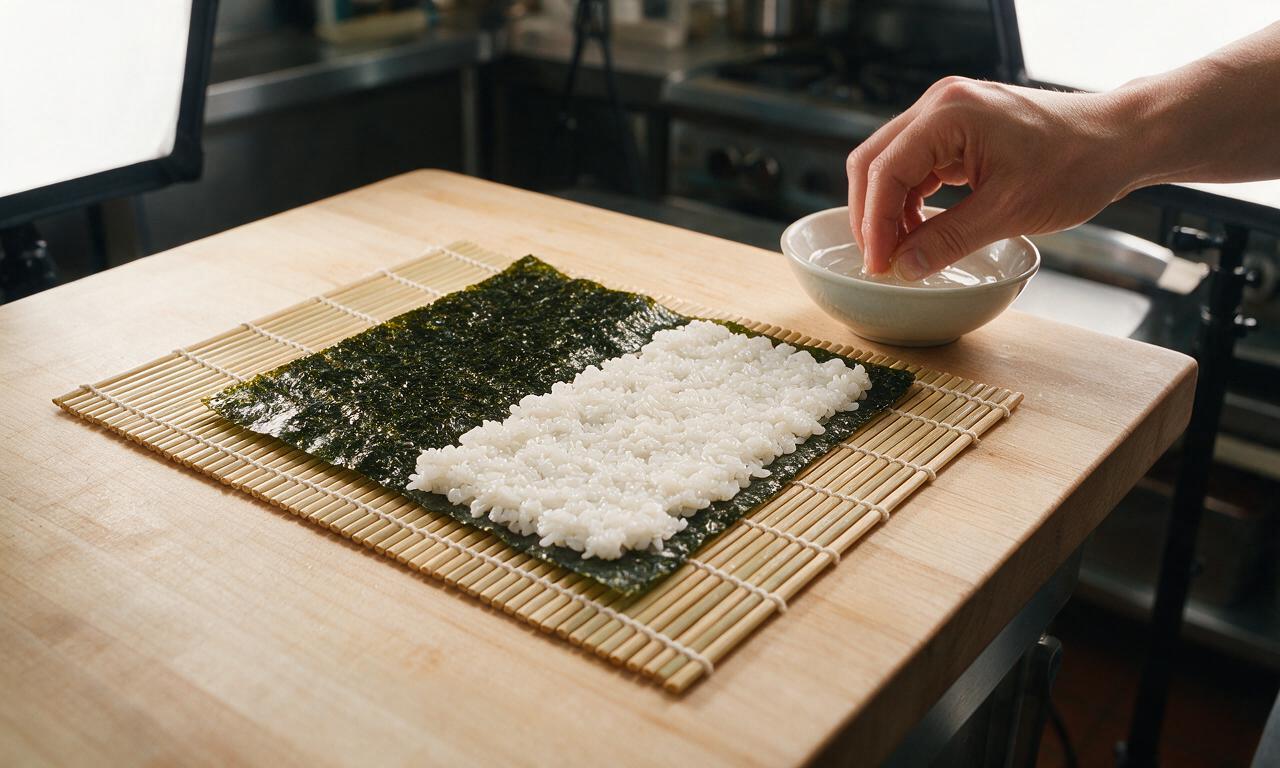
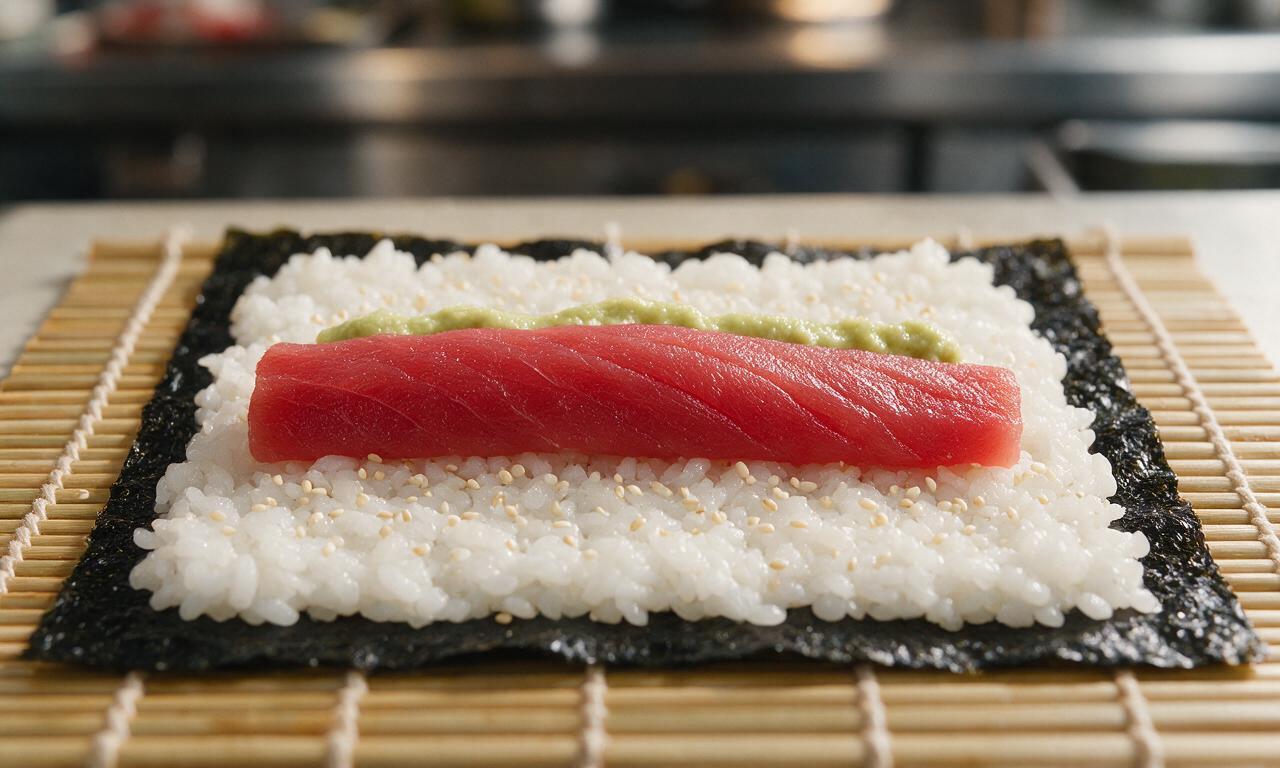
Place a bamboo sushi rolling mat (makisu) flat on your work surface, with the bamboo slats running horizontally. Lay one full nori sheet shiny-side down on the mat, then dip your fingers in the vinegared hand bath to prevent sticking. Spread 1/4 of the seasoned sushi rice (roughly 135g cooked rice) evenly over the bottom 2/3 of the nori sheet, leaving a 5cm (2 inch) bare strip of nori at the top edge to seal the roll. Press the rice gently into a thin, even 5mm (1/4 inch) layer — do not pack the rice tightly.
Add tuna filling
Smear a thin line of 1/4 teaspoon (1.25g) wasabi paste horizontally across the center of the rice layer, then place 1/4 of the sliced tuna strips (roughly 56g) in a single even line directly on top of the wasabi, running the full width of the nori sheet. Sprinkle 1/4 of the toasted sesame seeds (roughly 2.25g) over the rice layer for extra nuttiness, if desired.
Roll the maki tightly
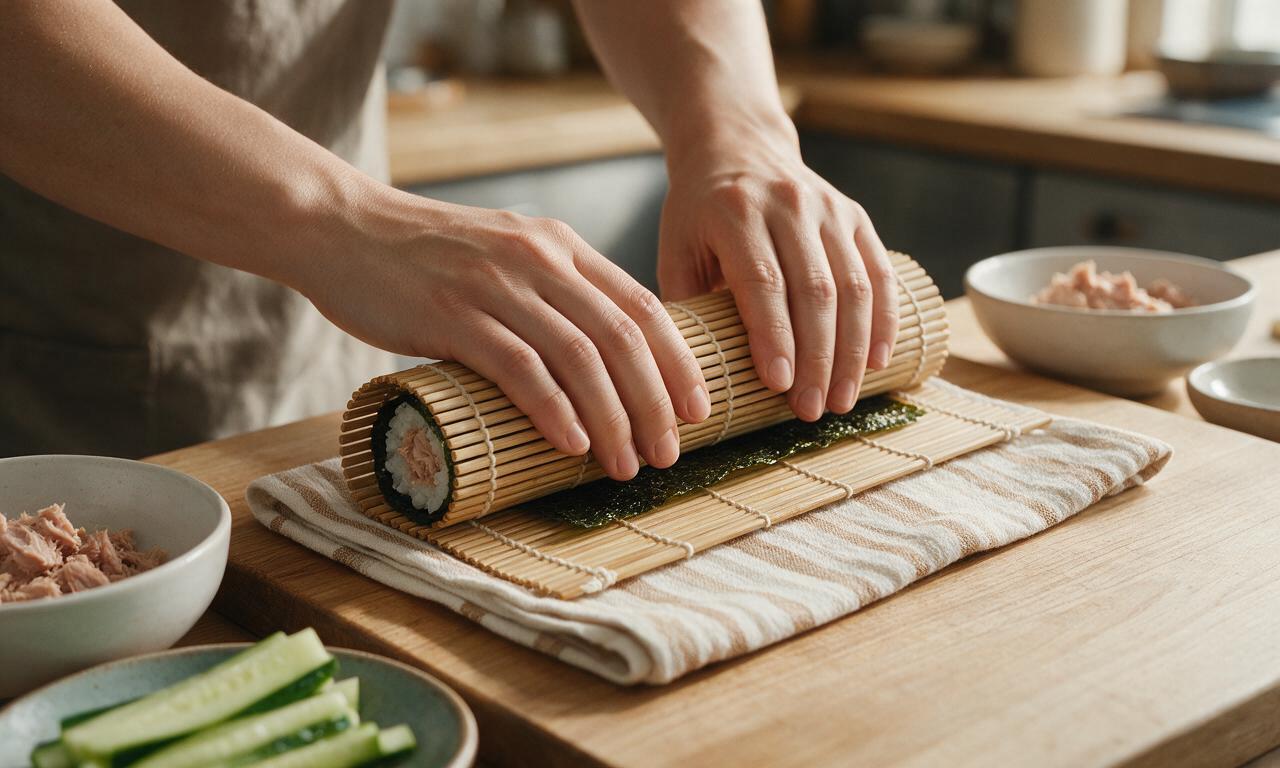
Lift the bottom edge of the bamboo mat closest to you, folding it up and over the tuna filling to meet the top edge of the rice layer. Gently squeeze the mat along the length of the roll to form a tight, even log, pulling the mat slightly toward you to compress the roll without squeezing filling out the sides. Continue rolling upward until the bare 5cm nori strip seals the roll, dabbing a tiny bit of cold water on the nori edge if it does not stick. Press the mat firmly around the full roll for 10 seconds to set its shape.
Slice and plate rolls
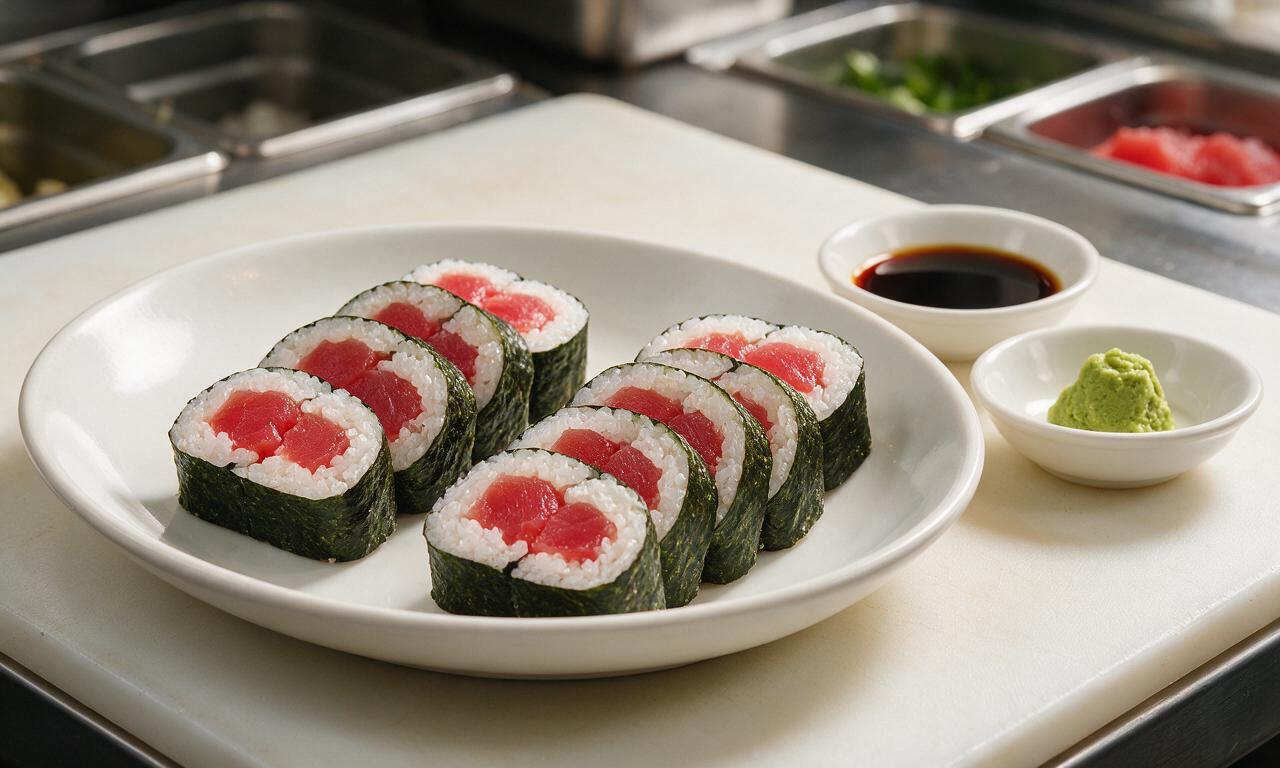
Unroll the bamboo mat and transfer the finished log to a clean cutting board. Dip a sharp, thin-bladed knife in the vinegared hand water between every cut to prevent sticking, then slice the roll into 8 even 2.5cm (1 inch) thick pieces. Repeat the layering, rolling, and slicing process with the remaining 3 nori sheets, rice, and filling. Arrange the sliced rolls cut-side up on a serving platter, and serve immediately with extra wasabi, pickled ginger, and low-sodium soy sauce if desired.
Tips
2.Resist the urge to over-pack rice on the nori: a thick, tightly packed rice layer will make rolls bulky, push filling out during rolling, and throw off the ideal rice-to-filling balance.
3.Keep your fingers consistently damp with the vinegared hand bath while assembling rolls: dry fingers will cause sticky sushi rice to cling to your skin and tear delicate nori sheets.


OMG I was so intimidated to make maki at home but this recipe was so straightforward! 35 minutes total was way faster than I thought, my kids devoured half the platter before I even got the soy sauce on the table. SO good, even brought a batch to our neighborhood potluck last weekend and everyone asked for the recipe! Only tiny hiccup was my rice was a little too sticky the first go round.
Total game changer for my weekly meal prep! I make a big batch of these on Sunday and they hold up great for 2 days in the fridge for quick work lunches. Used sashimi-grade tuna I picked up from the local Asian market, and it tastes exactly like the maki I pay $12 a roll for at my go-to spot. 10/10 will be making this on repeat.
Took me a couple tries to get the rolling tight enough so the filling didn’t fall out, but that’s on me — I’ve never rolled sushi before! The flavor was spot on though, even my super picky teen said it was better than the grocery store sushi we usually grab for quick nights. Will definitely keep practicing this one.
Made this for my partner’s at-home date night last night and we both agreed it was the highlight of the meal! Paired it with some miso soup and edamame, felt like we were at a fancy sushi restaurant without the $80 bill. Only note: I wish the recipe specified how much pressure to use when rolling, my first roll burst open when I cut it.
So happy this recipe works perfectly with gluten free soy sauce! I have celiac and it’s so hard to find takeout maki that doesn’t have cross-contamination risks, so making it at home means I can enjoy my favorite tuna rolls without the stress. I added a tiny sprinkle of toasted sesame seeds to the rice for extra nuttiness, chef’s kiss.
Was skeptical making sushi without a fancy bamboo mat at first, turns out a folded piece of parchment paper works totally fine in a pinch! The tuna to rice ratio was perfect, not overstuffed, not all rice no filling. Great base recipe to tweak with your favorite add-ins too.
Made these in my dorm kitchen with my roommate last night! We didn’t have a rice cooker so we made the sushi rice on the stovetop and it turned out great. Way cheaper than ordering sushi delivery every weekend, we’re already planning to make a spicy tuna version next time using this base recipe.