
Turkey Guanciale
intro
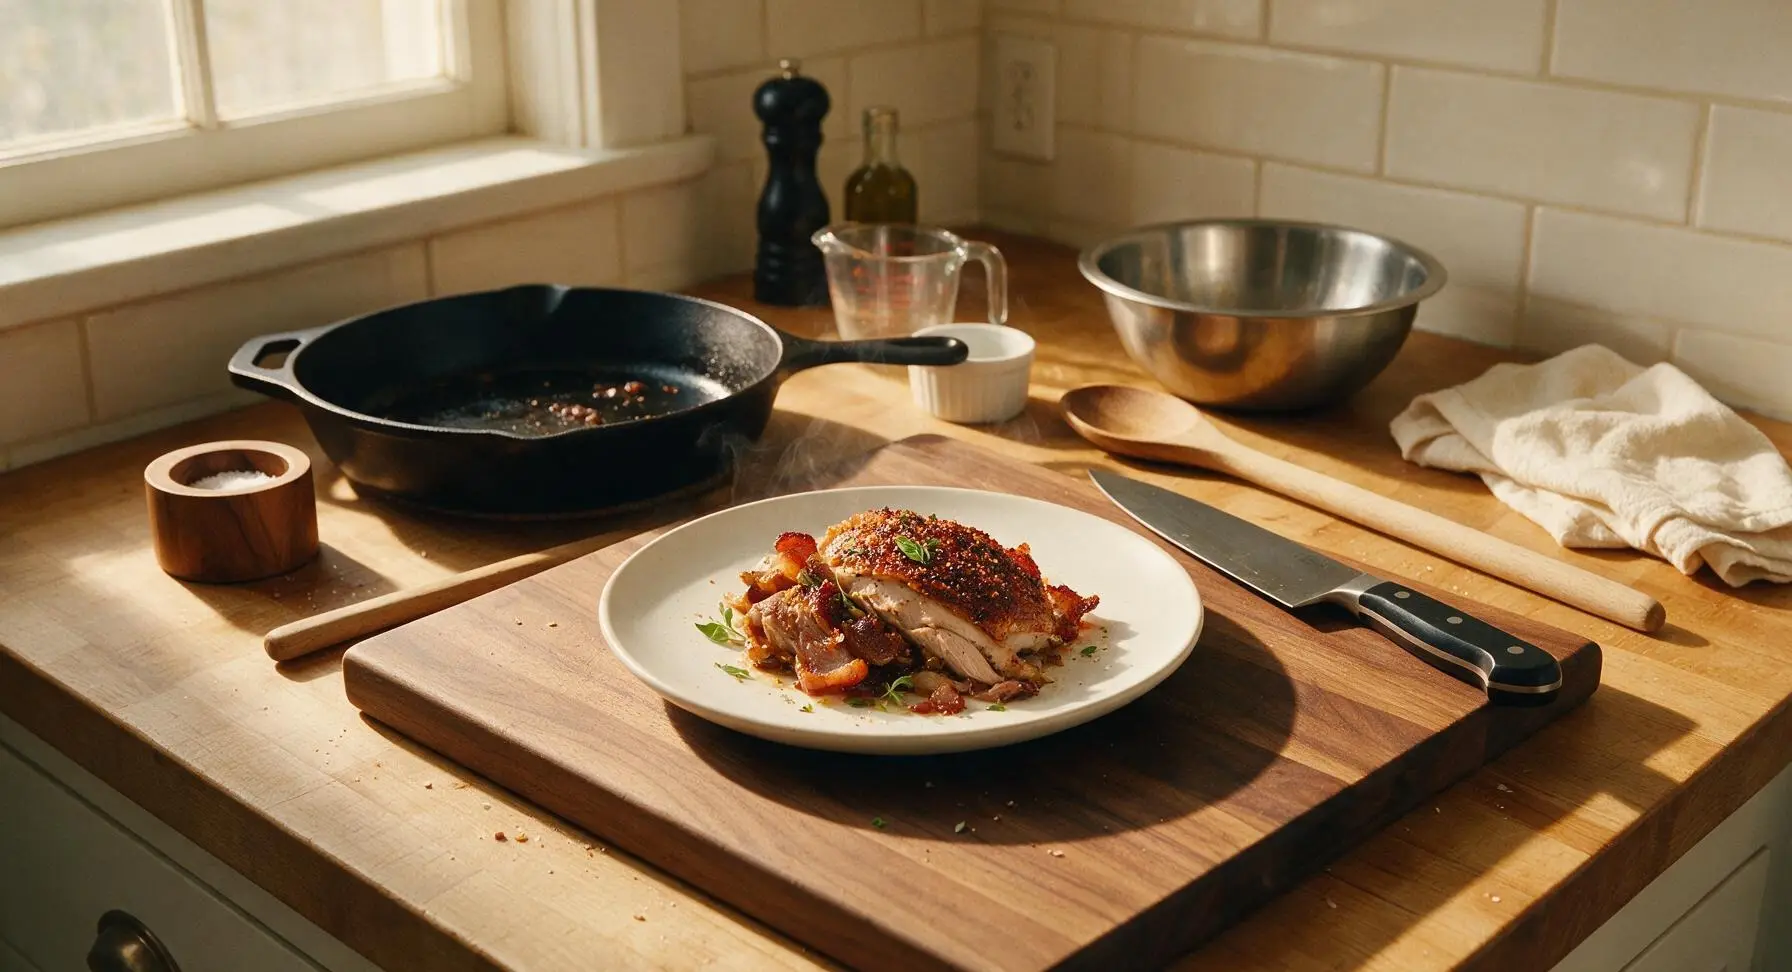
A lean, flavorful twist on classic Italian cured guanciale, this turkey version boasts crispy spiced skin, tender savory meat, and deep umami perfect for Thanksgiving appetizer spreads.
Ingredients
Steps
Trim Turkey Thigh
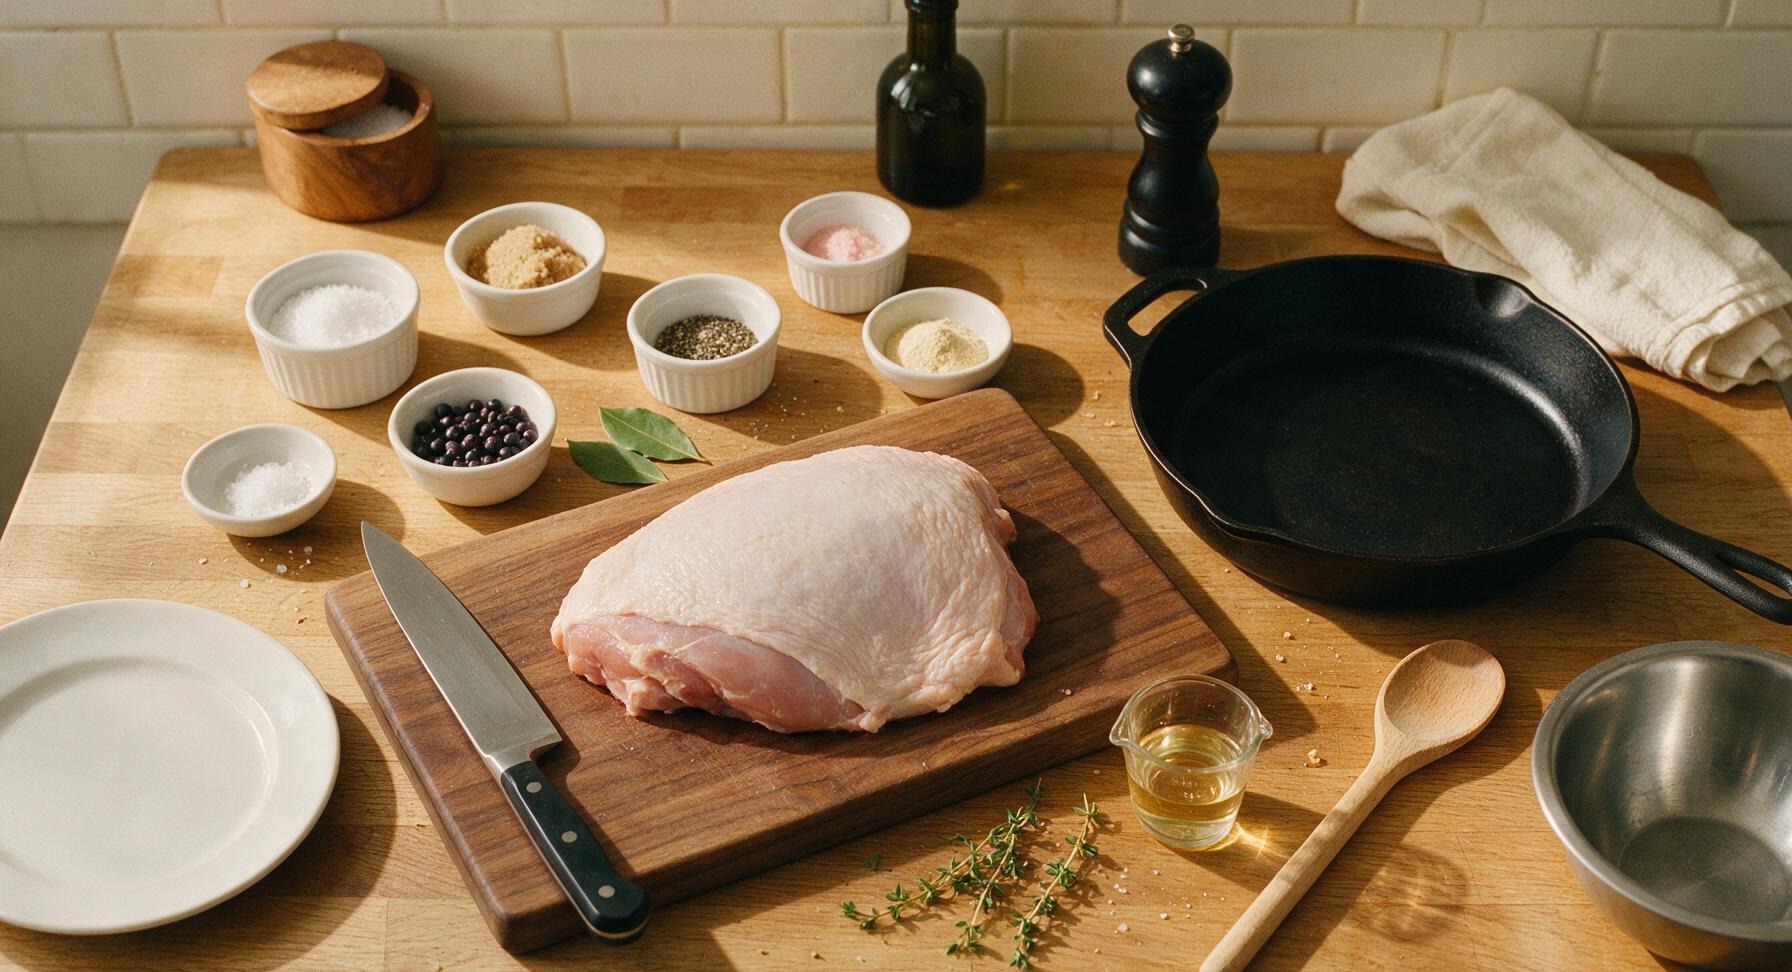
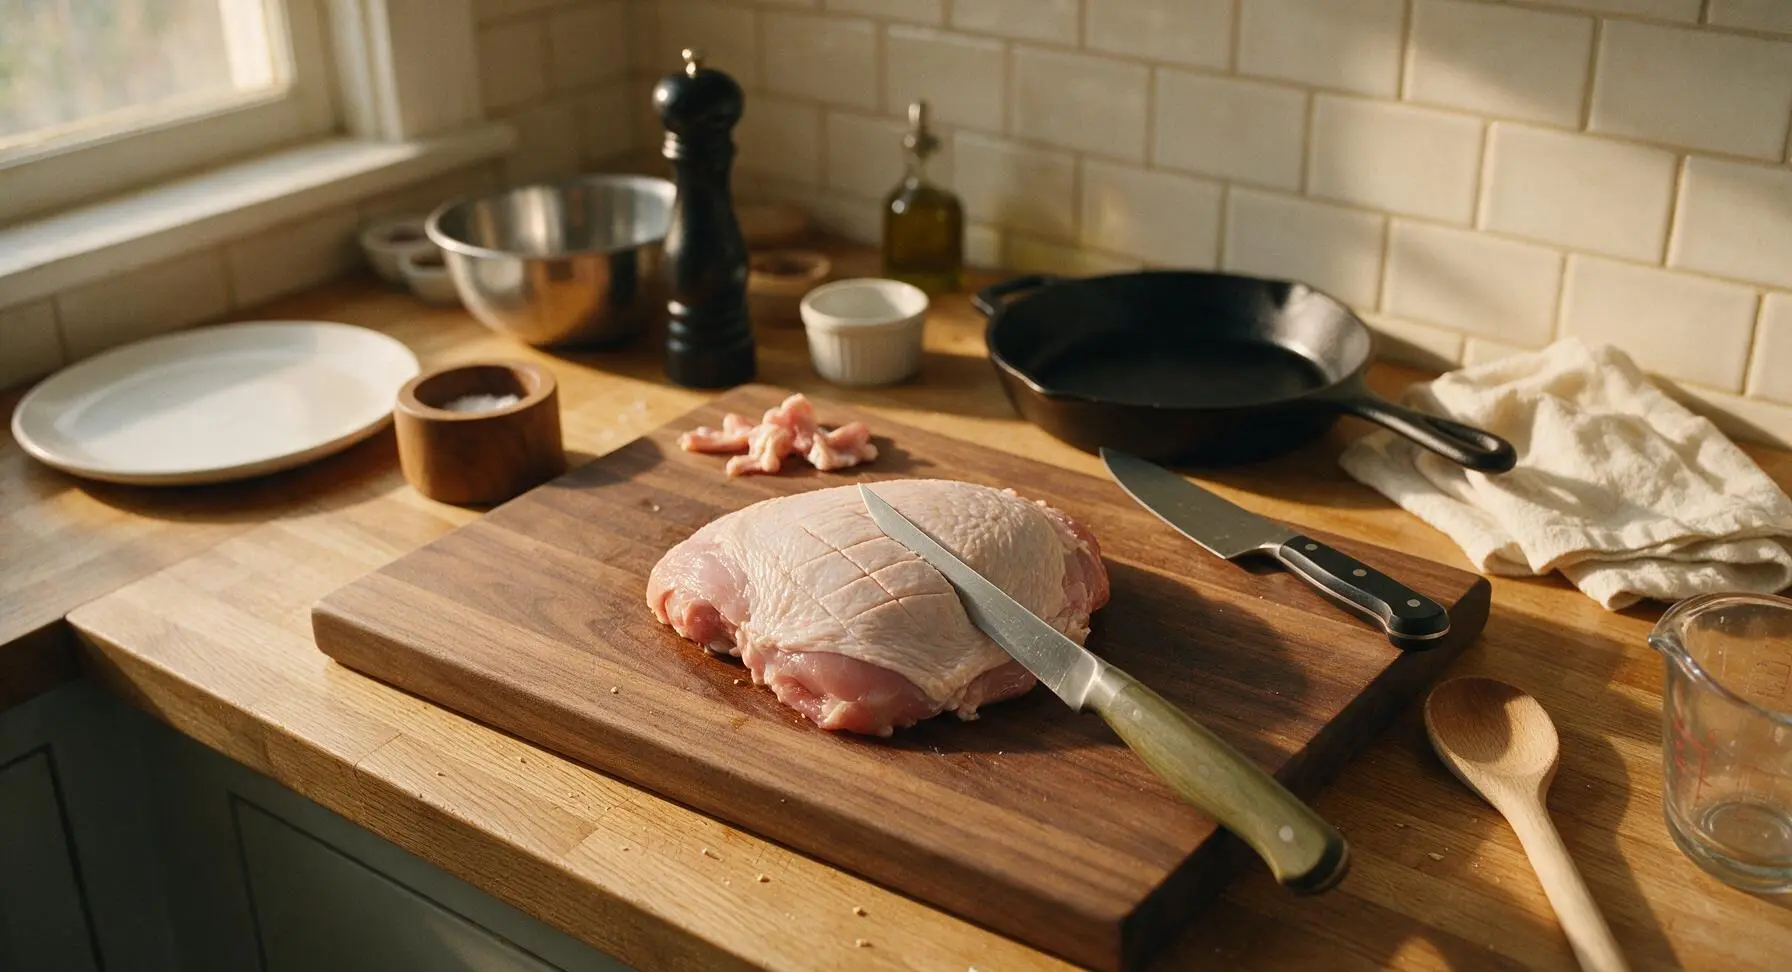
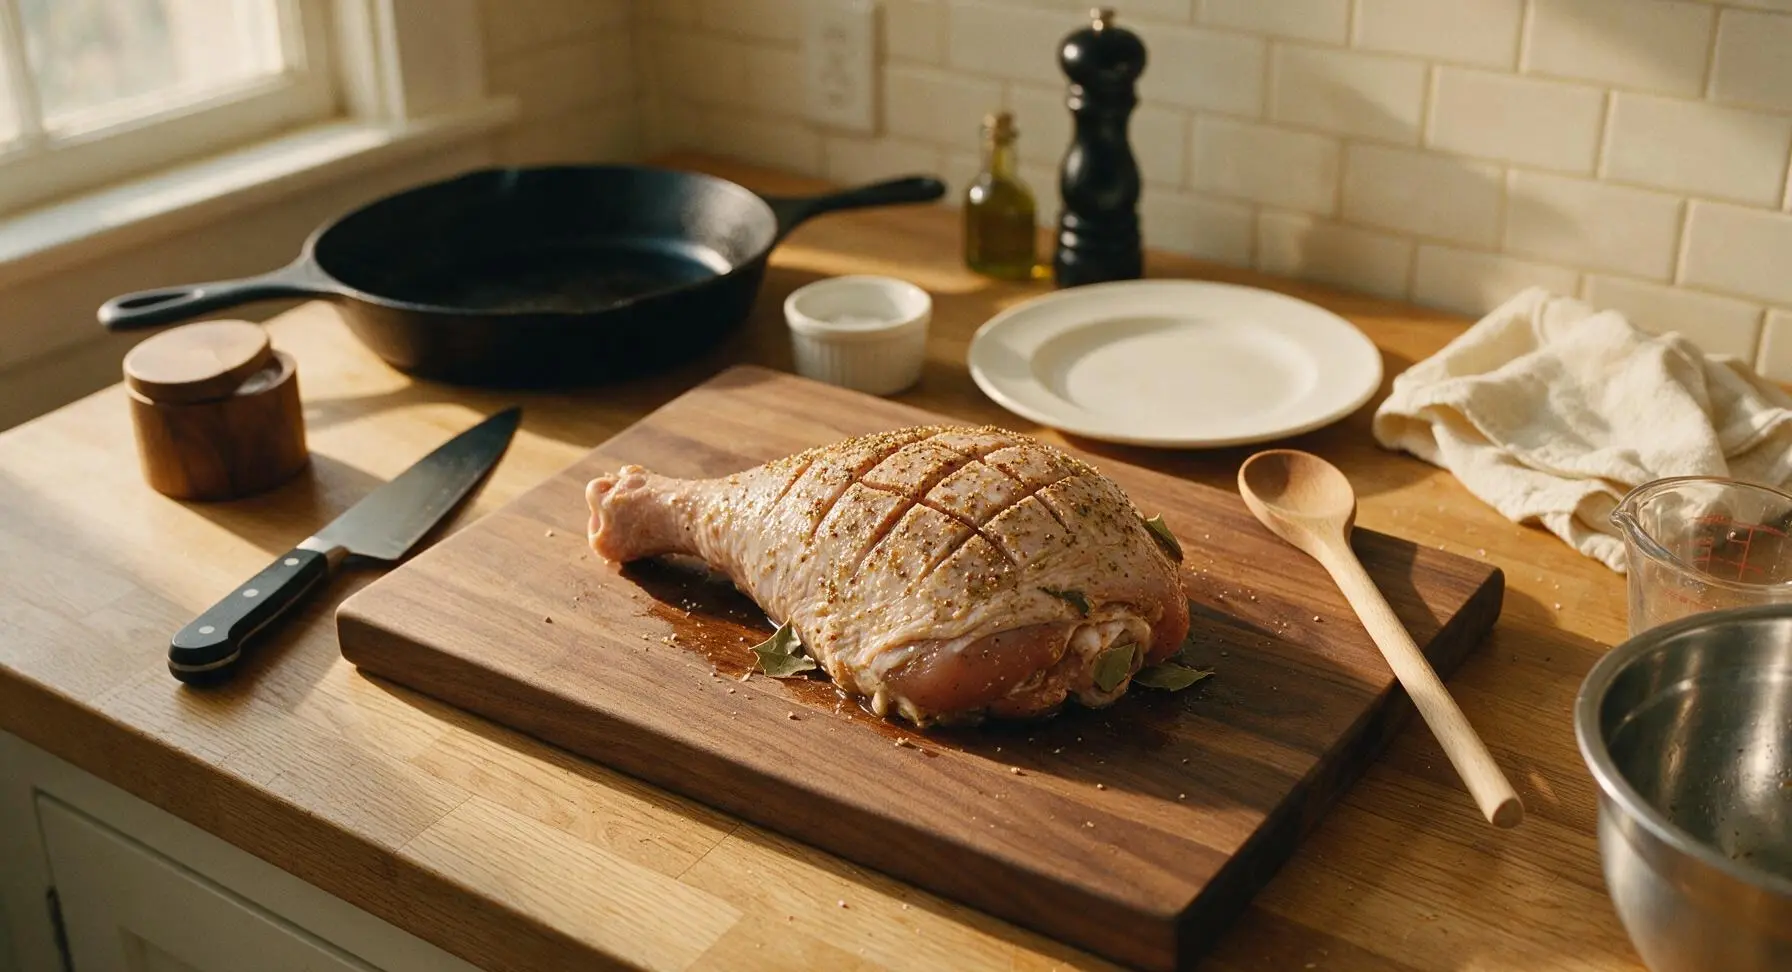
Place the 1.2kg skin-on boneless turkey thigh skin-side down on the acacia wood cutting board. Use the 6-inch boning knife with matte olive wood handle to trim away any loose sinew, excess hanging fat, or stray bone fragments from the meat side. Flip the thigh skin-side up, and gently score the skin in a 1-inch crosshatch pattern, cutting only through the skin and top fat layer, not into the meat below. Pat the entire surface completely dry with a corner of the cream linen towel.
Mix Curing Seasonings
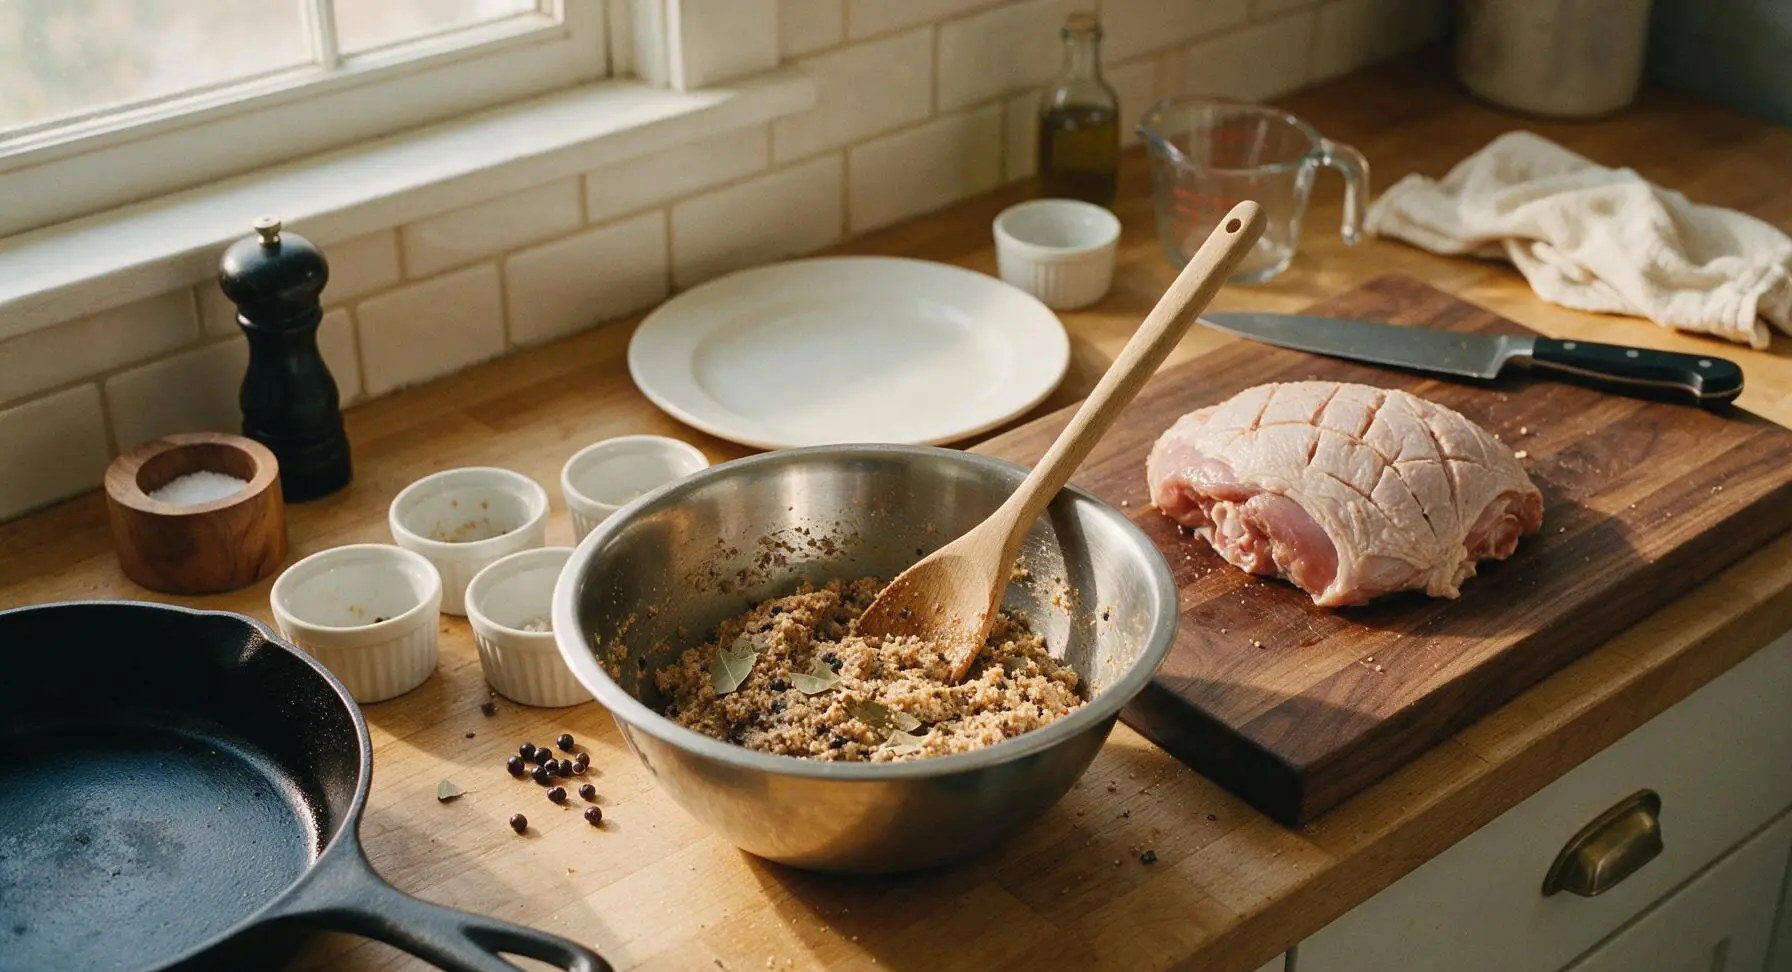
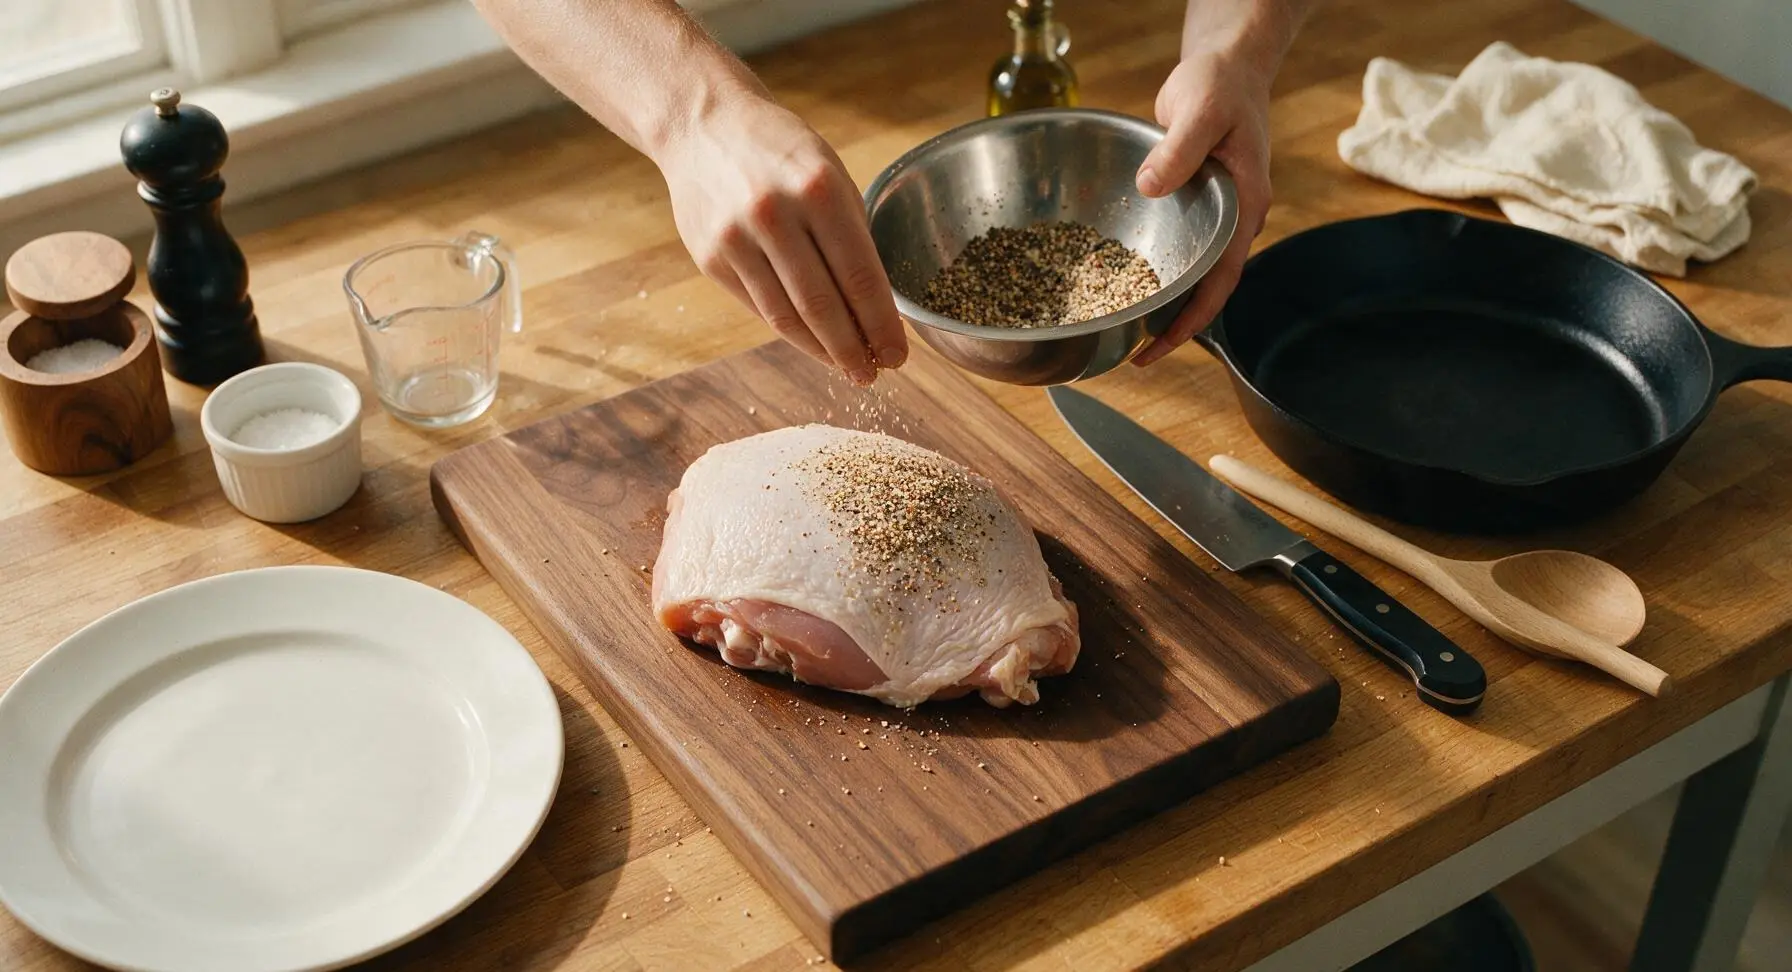
In the medium stainless steel mixing bowl, combine 2 tablespoons kosher salt, 1 tablespoon light brown sugar, 1/4 teaspoon pink curing salt #1, 1 teaspoon cracked black pepper, 2 teaspoons crushed juniper berries, and 1 teaspoon garlic powder. Stir with the small wooden spoon from the ash wood salt cellar until all ingredients are evenly distributed, with no clumps of brown sugar remaining. Crumble the 2 bay leaves into small pieces and stir into the blend.
Apply Curing Blend
Drizzle 2 tablespoons dry white wine over all surfaces of the trimmed turkey thigh, rubbing it in lightly with clean hands. Sprinkle half the curing blend evenly over the skin side of the thigh, pressing gently so the spices adhere to the skin and scored crevices. Flip the thigh, and rub the remaining curing blend thoroughly over the entire meat side, making sure to cover edges and any folded crevices. Tuck the crumbled bay leaves against the meat surface.
Cure Turkey Chilled
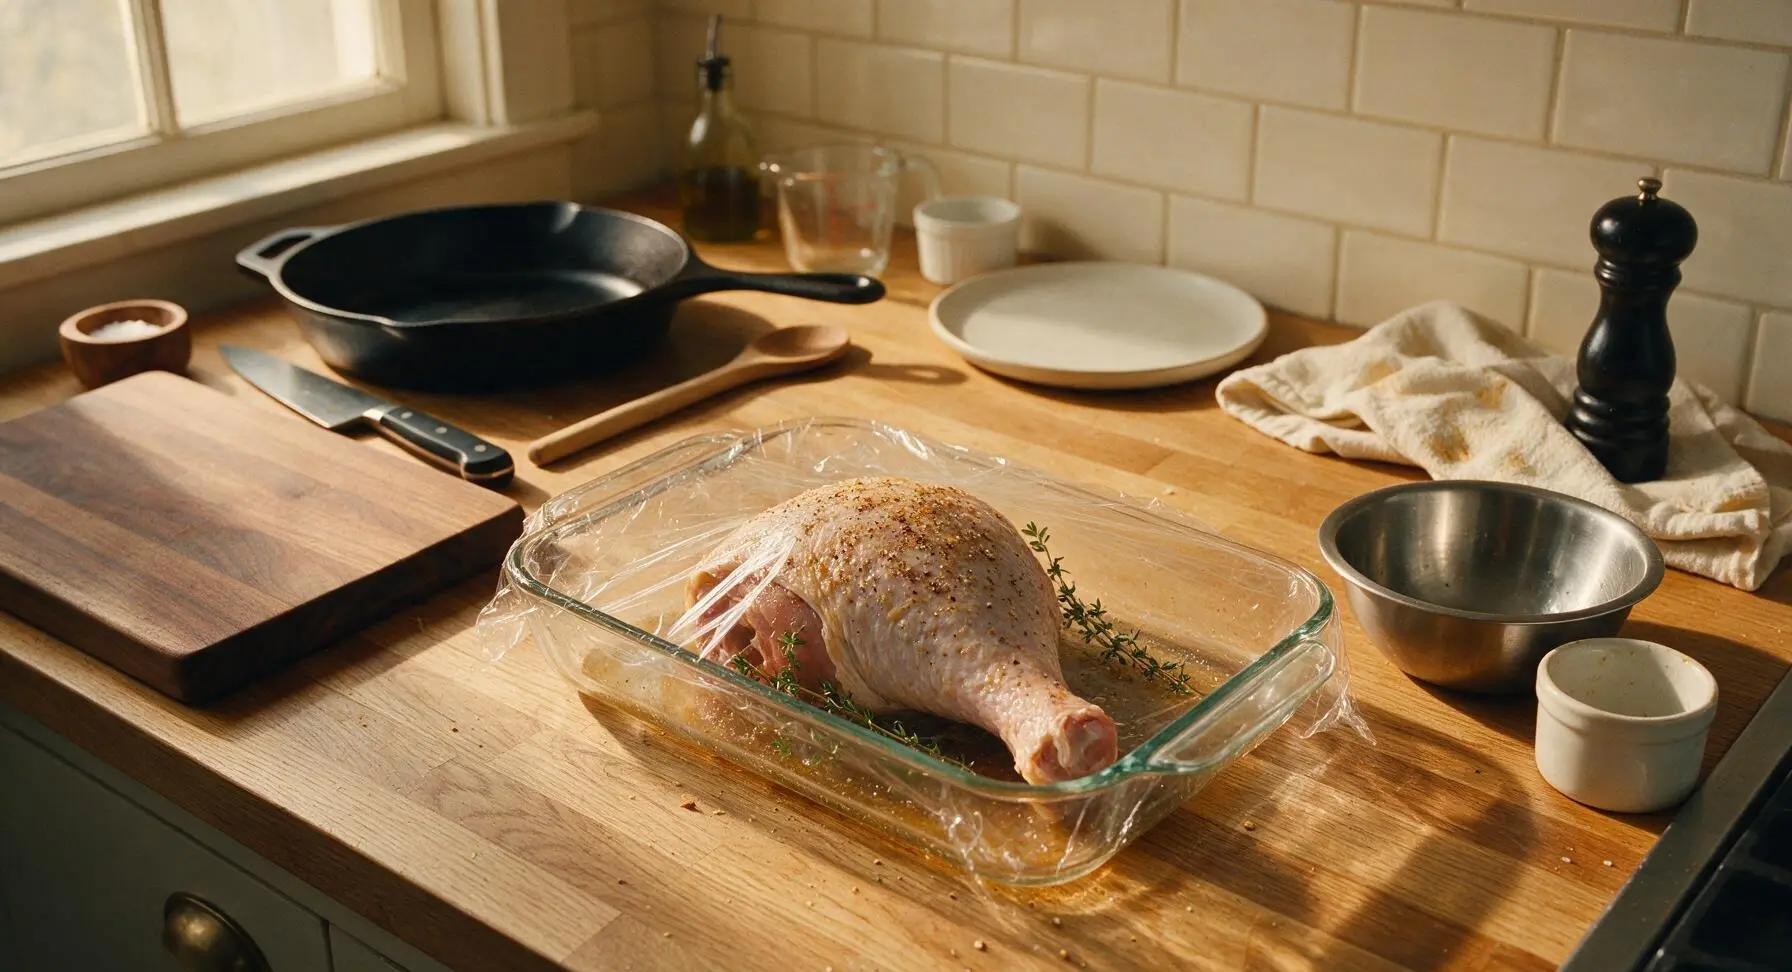
Transfer the fully seasoned turkey thigh skin-side up to the clear tempered glass baking dish. Tuck 3 sprigs of fresh thyme (taken from the fixed counter bunch) under the thigh. Cover the baking dish tightly with clear plastic wrap, pressing the wrap directly against the surface of the turkey to exclude air. Place the dish in the refrigerator for 24 hours, until the surface of the turkey feels firm to the touch and the spices have drawn out some moisture that pools slightly in the bottom of the dish.
Prep for Roasting
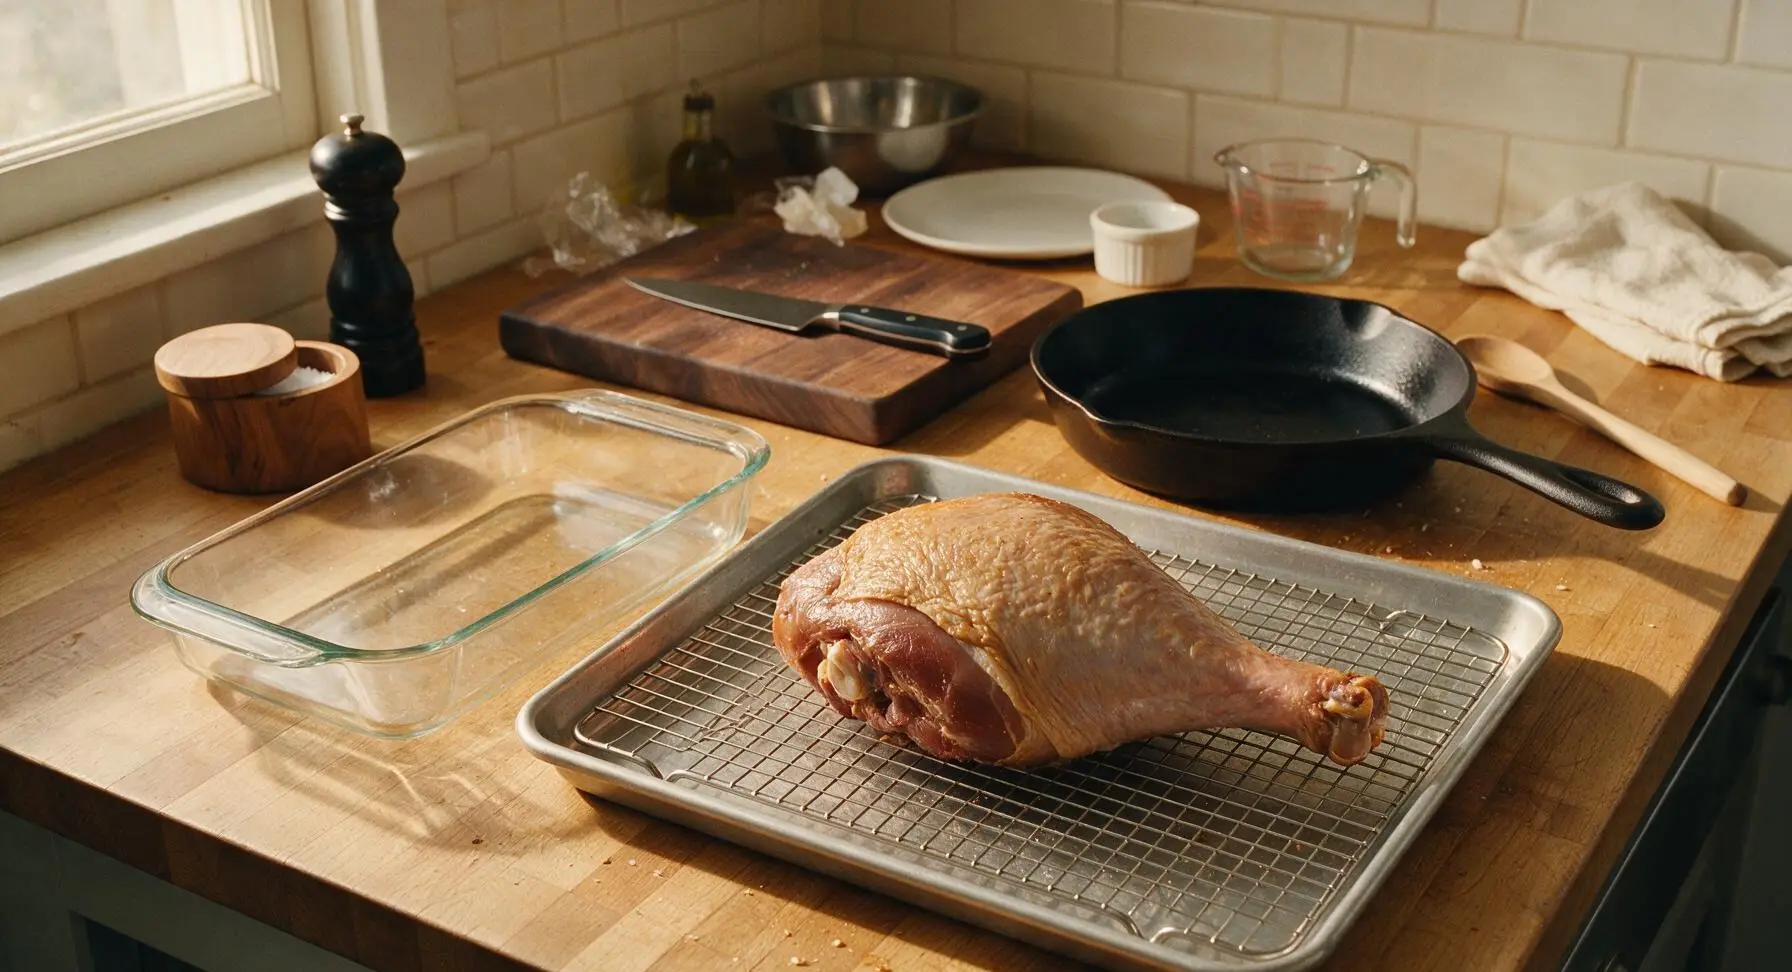
After 24 hours of curing, remove the turkey from the refrigerator, unwrap the plastic wrap, and discard the wilted thyme sprigs and pooled brine from the baking dish. Pat the turkey surface lightly with a sheet of paper towel from the fixed roll to remove excess surface moisture, but do not wipe off the spice coating. Place the stainless steel wire cooling rack inside the rimmed aluminum baking sheet, then set the turkey skin-side up on the rack, making sure it sits evenly with no parts hanging over the rack edge. Let the turkey rest at room temperature for 30 minutes before roasting to ensure even cooking.
Slow Roast Turkey
Preheat oven to 135C (275F). Place the baking sheet with the turkey on the middle oven rack, and roast for 2 hours to 2 hours 30 minutes, until the instant-read meat thermometer inserted into the thickest part of the thigh (not touching fat) reads 74C (165F), and the skin is deep golden and crisp around the edges. Remove from the oven, and let the turkey rest on the rack for 20 minutes to allow the juices to redistribute.
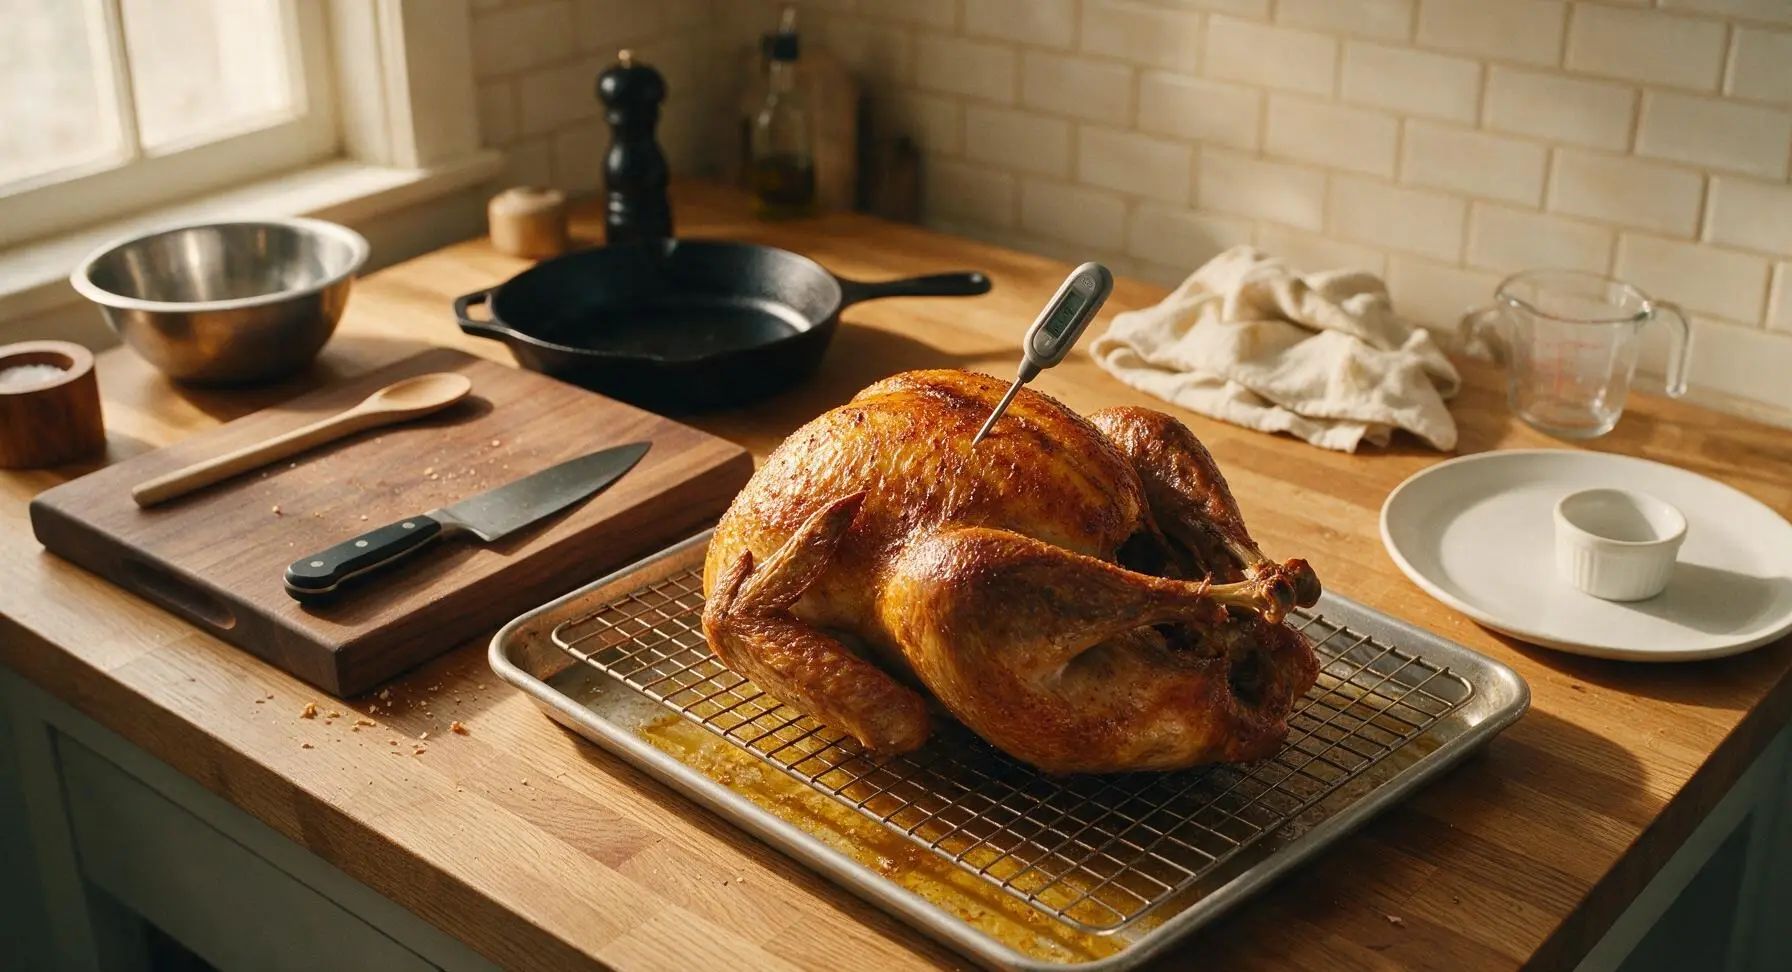
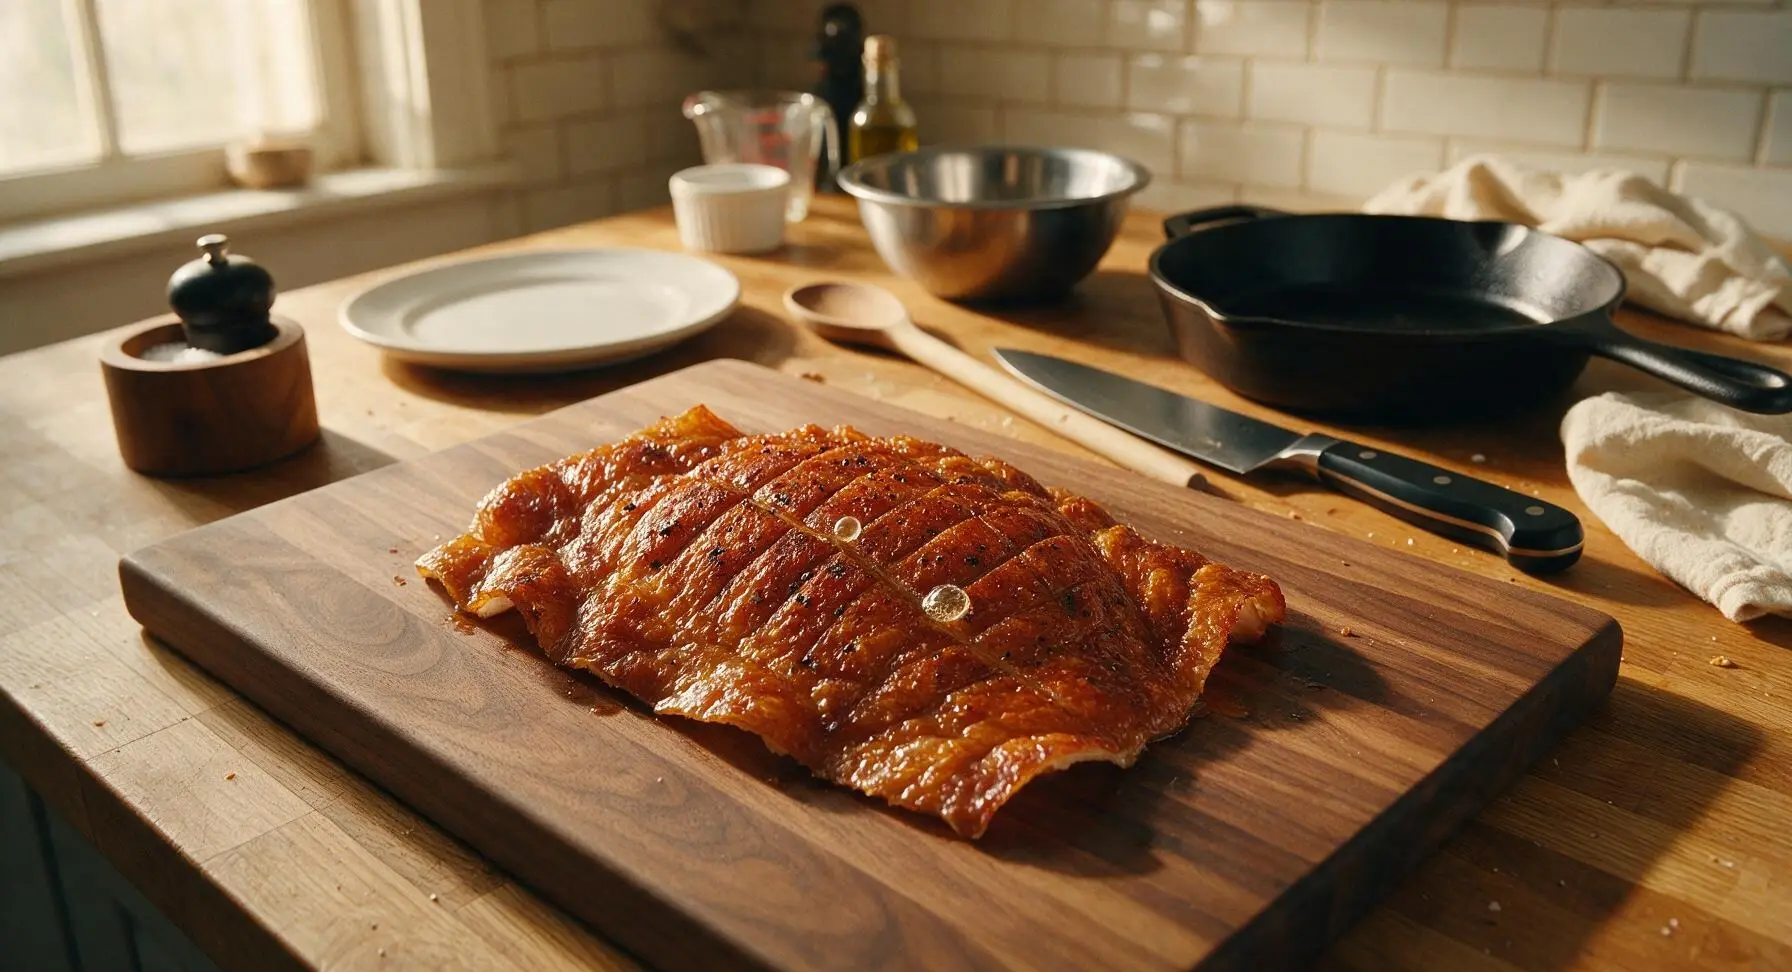
Slice Thinly to Serve
After resting, transfer the roasted turkey guanciale to the acacia wood cutting board. Use the 8-inch walnut-handled slicing knife to cut the guanciale against the grain into very thin (3mm thick) slices, letting the slices fall gently in a loose pile. Arrange the slices on the matte terracotta serving platter, and garnish with a light sprinkle of flaky sea salt and a few fresh thyme leaves.
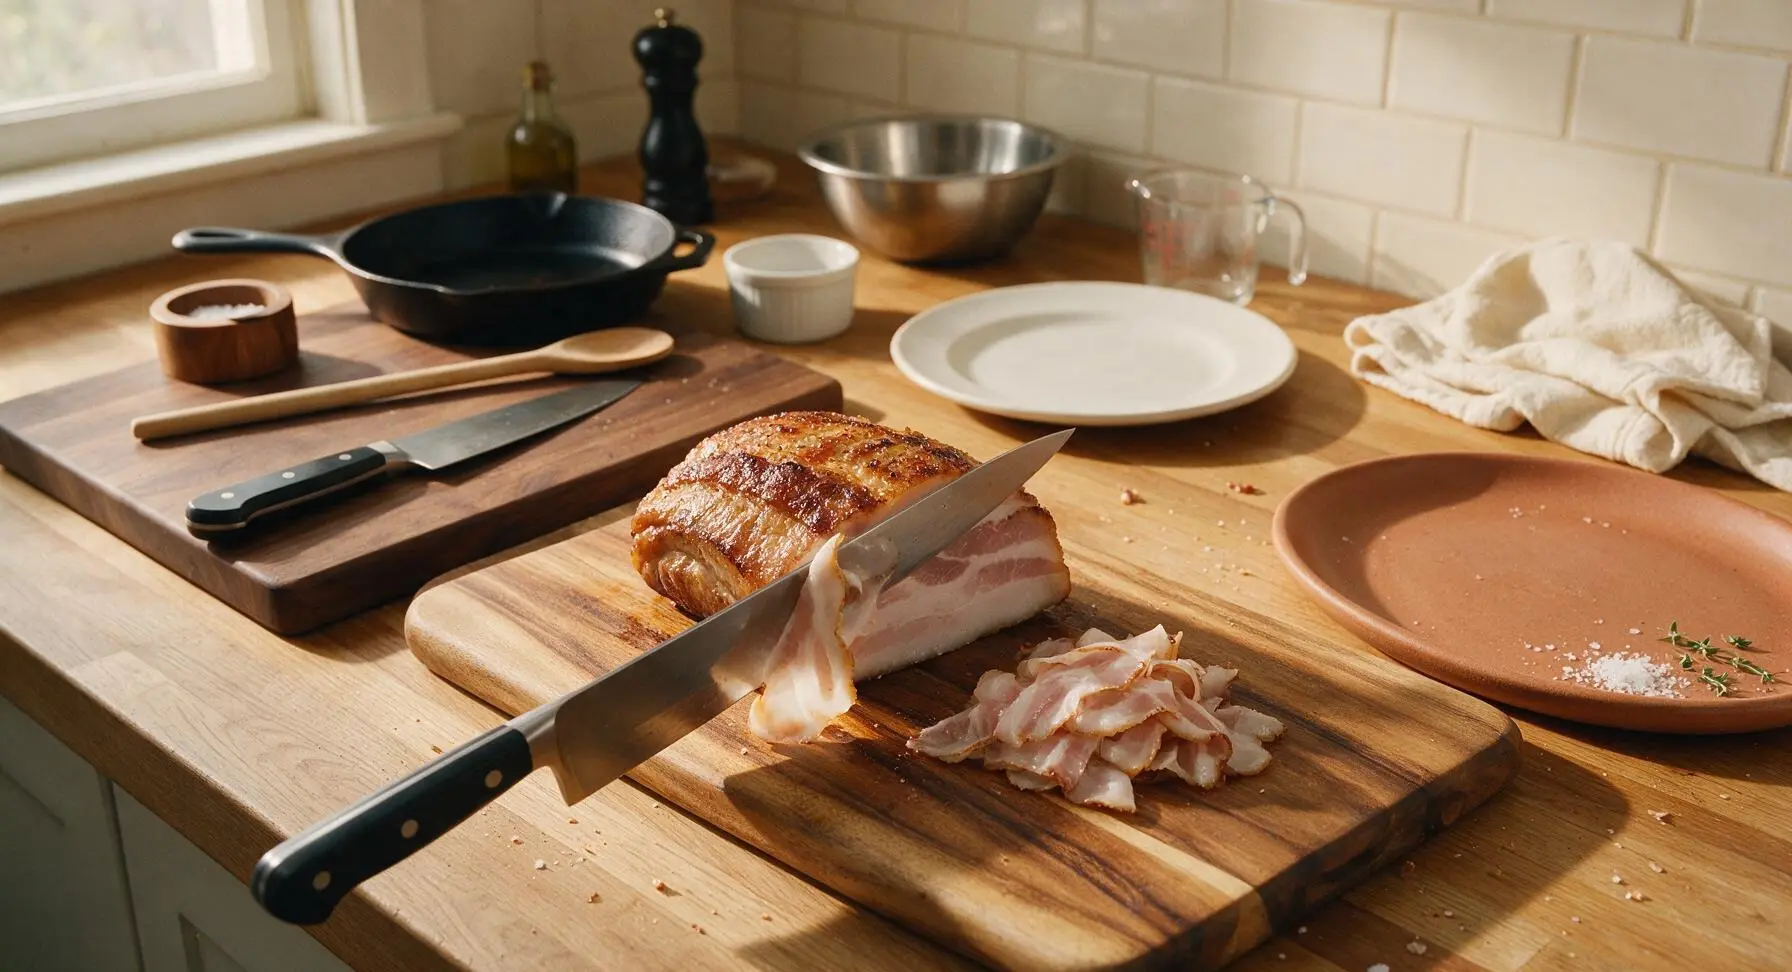
Tips
2.Score the skin only through the fat layer, not into the underlying meat: cutting too deep will cause valuable meat juices to leak out during roasting, leading to dry guanciale, while shallow cuts allow fat to render evenly for extra-crispy, golden skin.
3.For paper-thin, deli-style slices, chill the fully cooked, rested guanciale in the refrigerator for 2 hours before slicing: cold fat firms up significantly, making it easy to cut uniform thin slices that hold their shape on a charcuterie board, just like traditional pork guanciale.






OMG y’all, this turkey guanciale was a total game changer for our Sunday family dinner! I was nervous because I’ve only ever made pork guanciale before, but the turkey version came out so rich and savory, my husband asked if we could have it every weekend. Cook time was exactly as listed, no surprises. 10/10 will make again for our next potluck!
Took me a minute to get the hang of the curing step since I’m a total beginner, but man was this worth the 2.5 hours! Came out crispy on the edges, perfectly fatty (in the best way) even with turkey, sliced up perfect for carbonara last night. SO good.
Made a double batch of this for my weekly meal prep and it’s held up perfectly all week! Sliced thin to add to sandwiches, chopped up for breakfast scrambles, even tossed a few pieces in my salad for extra protein. Such a versatile recipe, way better than buying processed deli meat.
My kids loved this!!! I was worried the flavor would be too intense for my picky eaters, but they ate every bite and asked for seconds. I served it with roasted veggies and mashed potatoes for a weeknight dinner (pro tip: I pre-cured it the night before to cut down on day-of cook time!)
Tried this for a post-hike weekend brunch with friends, served it alongside eggs and sourdough toast, and everyone was asking for the recipe! Only note: I found the cook time ran about 10 minutes long in my convection oven, so I’d recommend checking it a little early if you have one.
As someone who makes traditional guanciale for amatriciana all the time, I was skeptical of a turkey version. Color me impressed! It’s not an exact 1:1 replacement obviously, but it’s lighter, still super flavorful, and perfect for when I’m cooking for friends who don’t eat pork. Will be keeping this in my rotation.
Okay so full transparency, I messed up the first batch because I forgot to trim the thick silver skin off the turkey cut, and it came out chewy. Second time I followed the prep steps exactly and it was perfect! Don’t skip the trimming step y’all, it matters.
Brought this to my neighborhood potluck last weekend and it was gone in 10 minutes! People kept guessing what it was, no one could believe it was turkey instead of pork. I served it cubed with a little honey mustard dipping sauce on the side, chef’s kiss.
I’ve been looking for higher protein, lower fat swaps for my favorite Italian dishes and this is perfect! Way less greasy than traditional pork guanciale, but still has that deep, cured flavor I crave. Used it in a white bean pasta last night and it hit every spot.
Eh, this was fine, but it felt like a lot of work for the end result for me. Maybe I’m just not used to medium-difficulty recipes with longer cook times? It was tasty, but I don’t know if I’d carve out 2.5 hours on a regular weeknight to make it again. Probably save it for a special occasion.
I added a little extra black pepper and red pepper flakes to the cure for a tiny kick, and it was *chef’s kiss*. The base recipe is so solid, it’s super easy to tweak to your own taste preferences without messing it up. 10/10, already planning my next batch.
Threw this on my smoker instead of roasting it in the oven like the recipe says, used apple wood chips for 2 of the cook hours, and it came out insane. If you have a smoker, give that method a shot, it adds such a nice depth of flavor that pairs so well with the cured turkey.
So happy this recipe is naturally gluten free! It’s so hard to find cured meat options that don’t have hidden gluten fillers, so making my own at home with this recipe was a total win. Tastes way better than the expensive GF deli meat I buy at the specialty grocery store too.
Who knew homemade turkey guanciale would be the best breakfast side ever? I chopped up a few pieces to crisp up in a pan this morning, tossed it with some scrambled eggs and avocado, and it made my whole morning. Way better than boring bacon.
Made this for our date night in last night, paired it with a homemade cacio e pepe and a bottle of red wine, and it felt like we were at a fancy little Italian restaurant without the $100 bill. The cook time felt totally worth it for how special the meal felt, even as a home cook.