
Turkey Strolghino
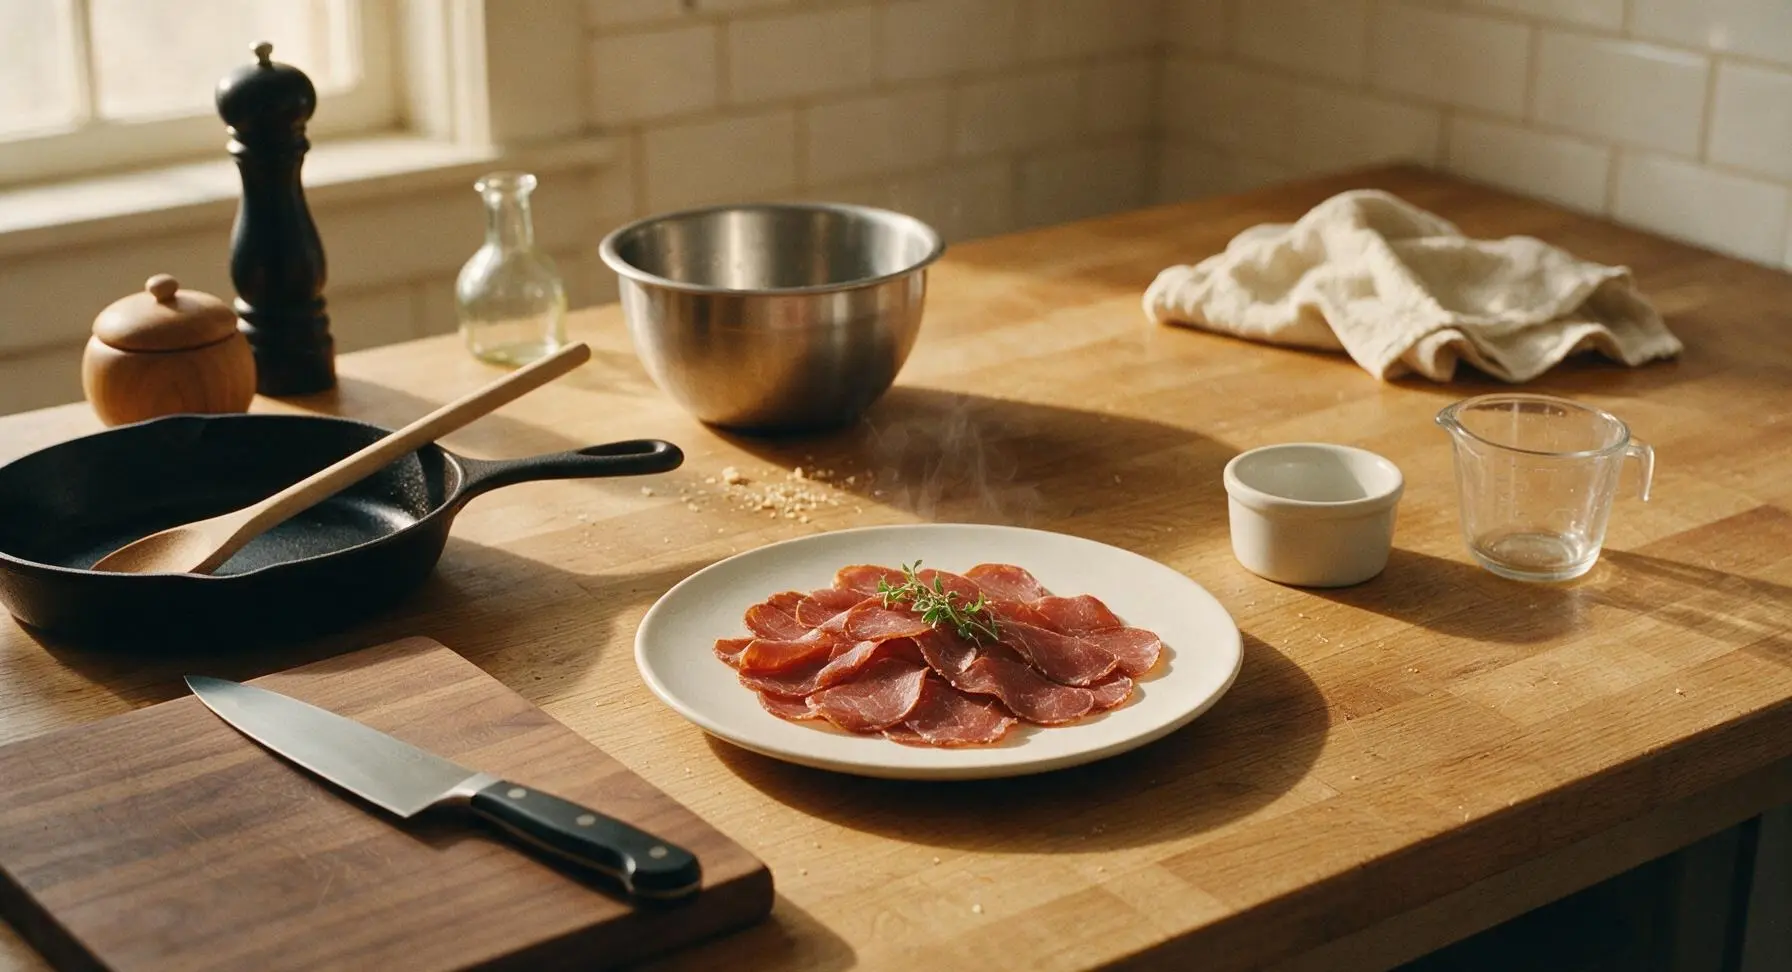
intro
A delicate, lean twist on traditional Emilian cured salami, Turkey Strolghino is tender, subtly spiced, and perfect sliced thin for antipasto platters and casual snacking.
Ingredients
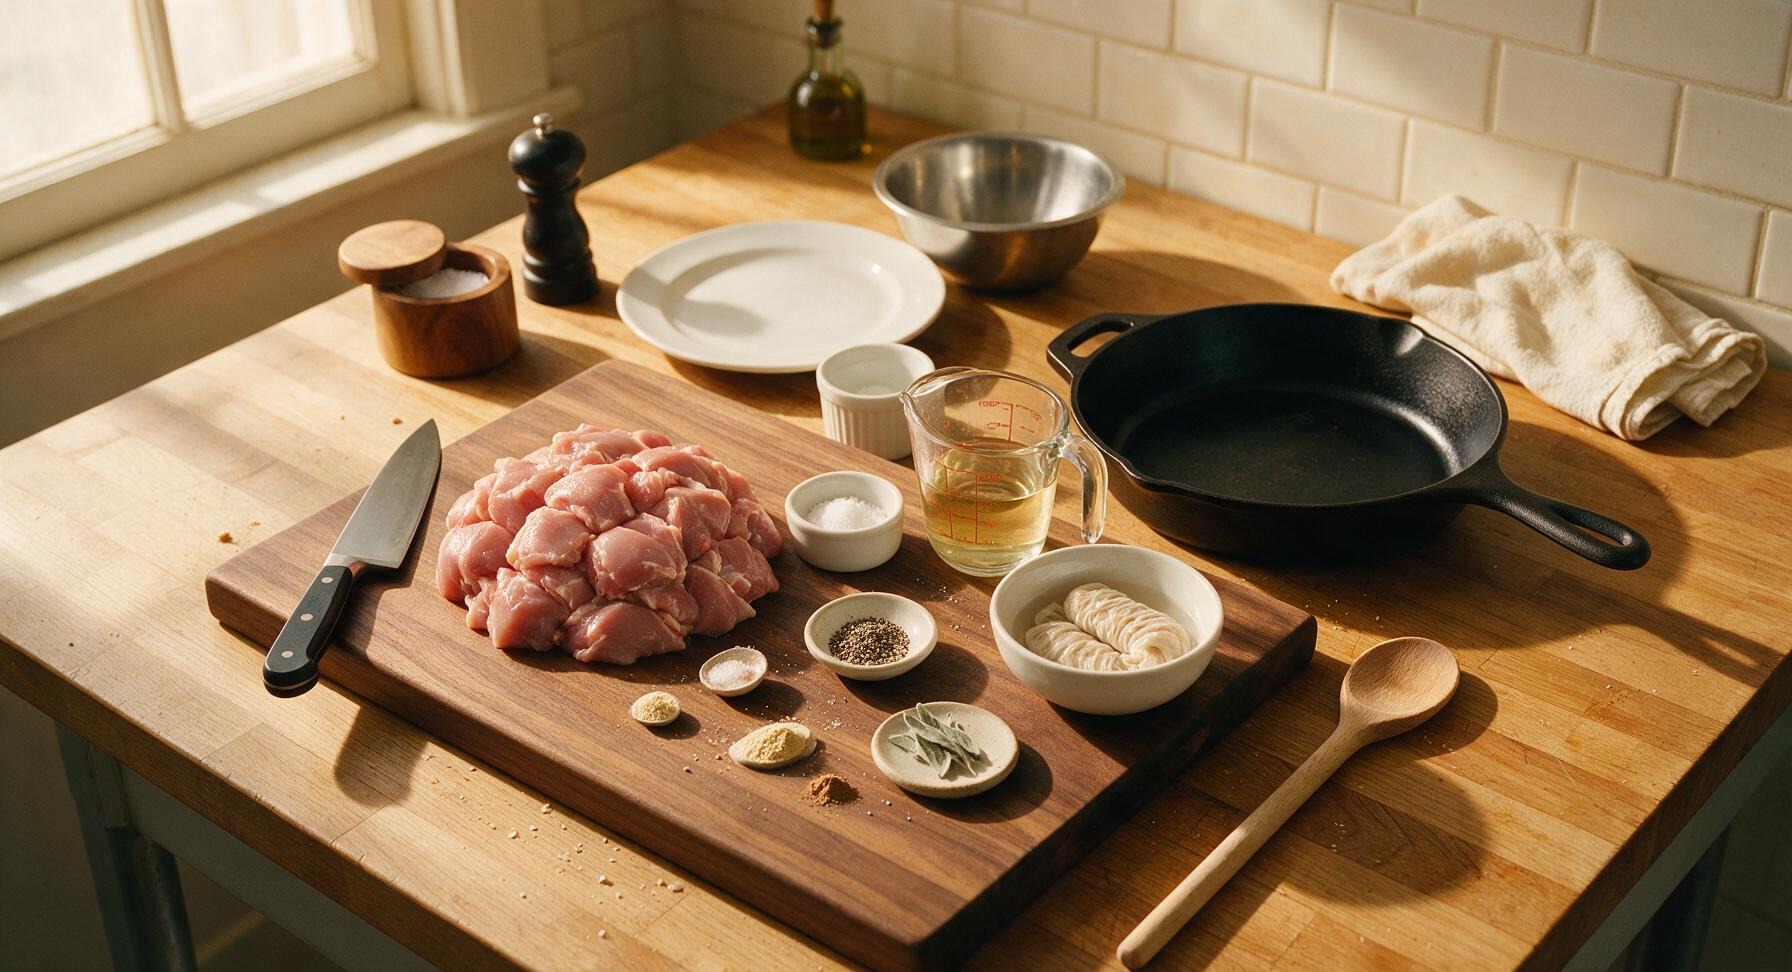
Steps
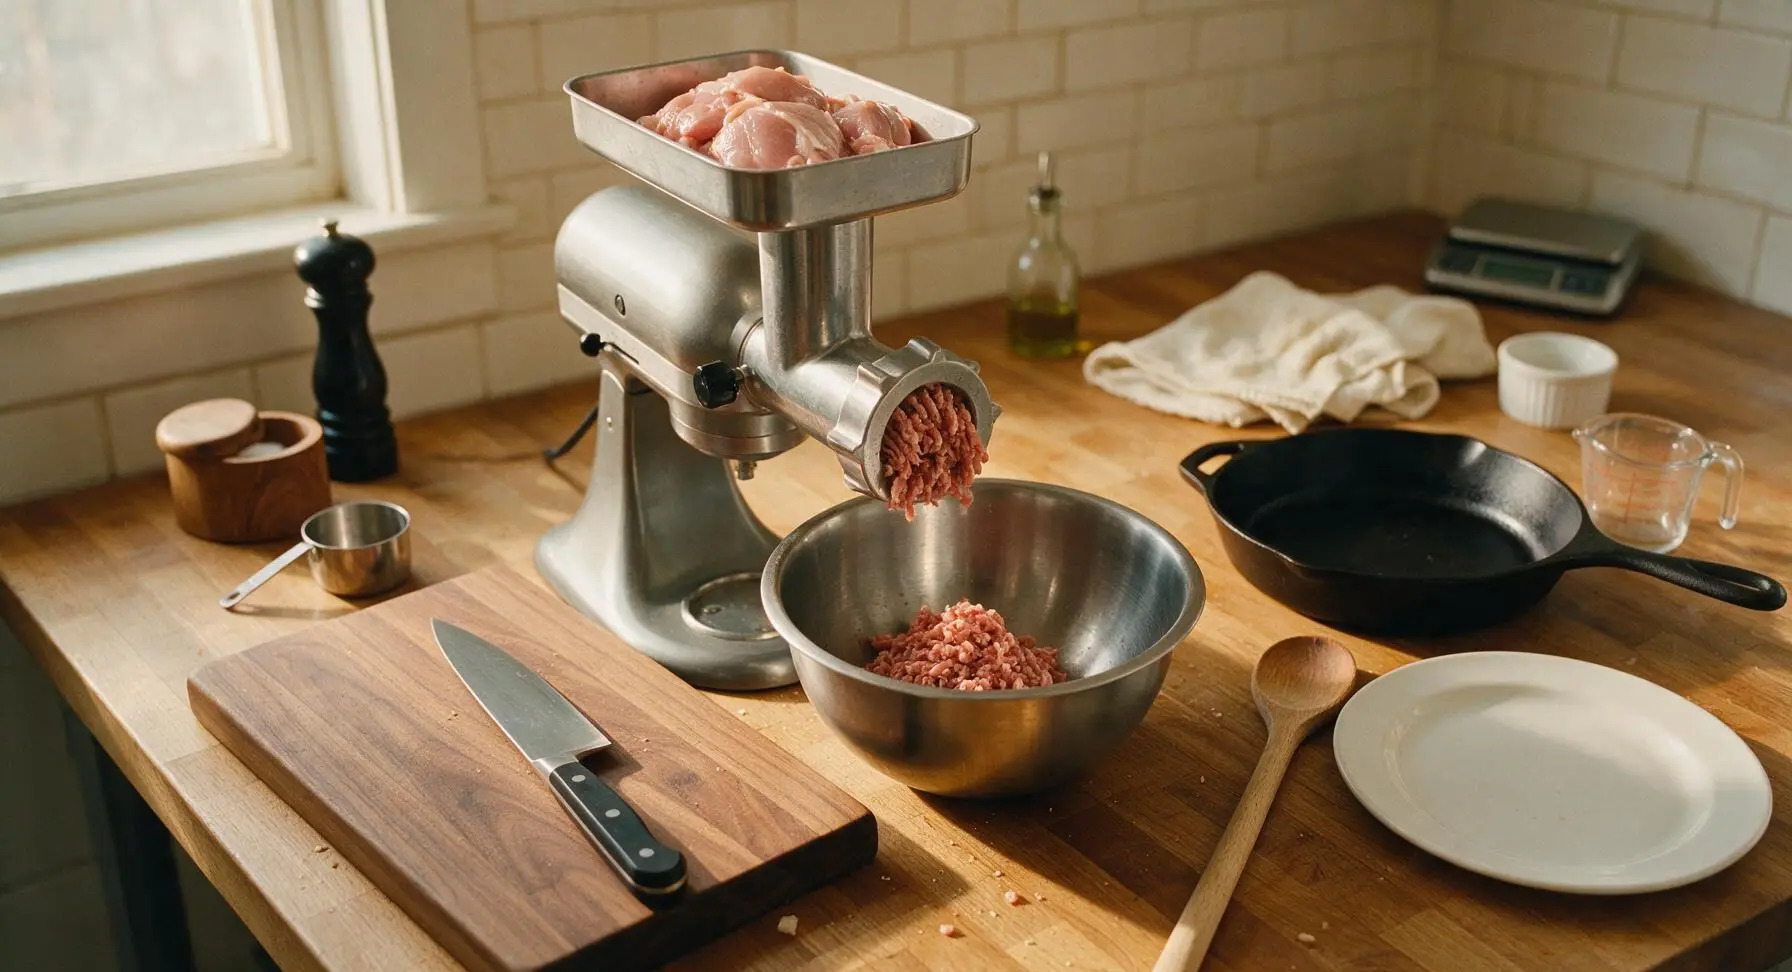
Grind Chilled Turkey
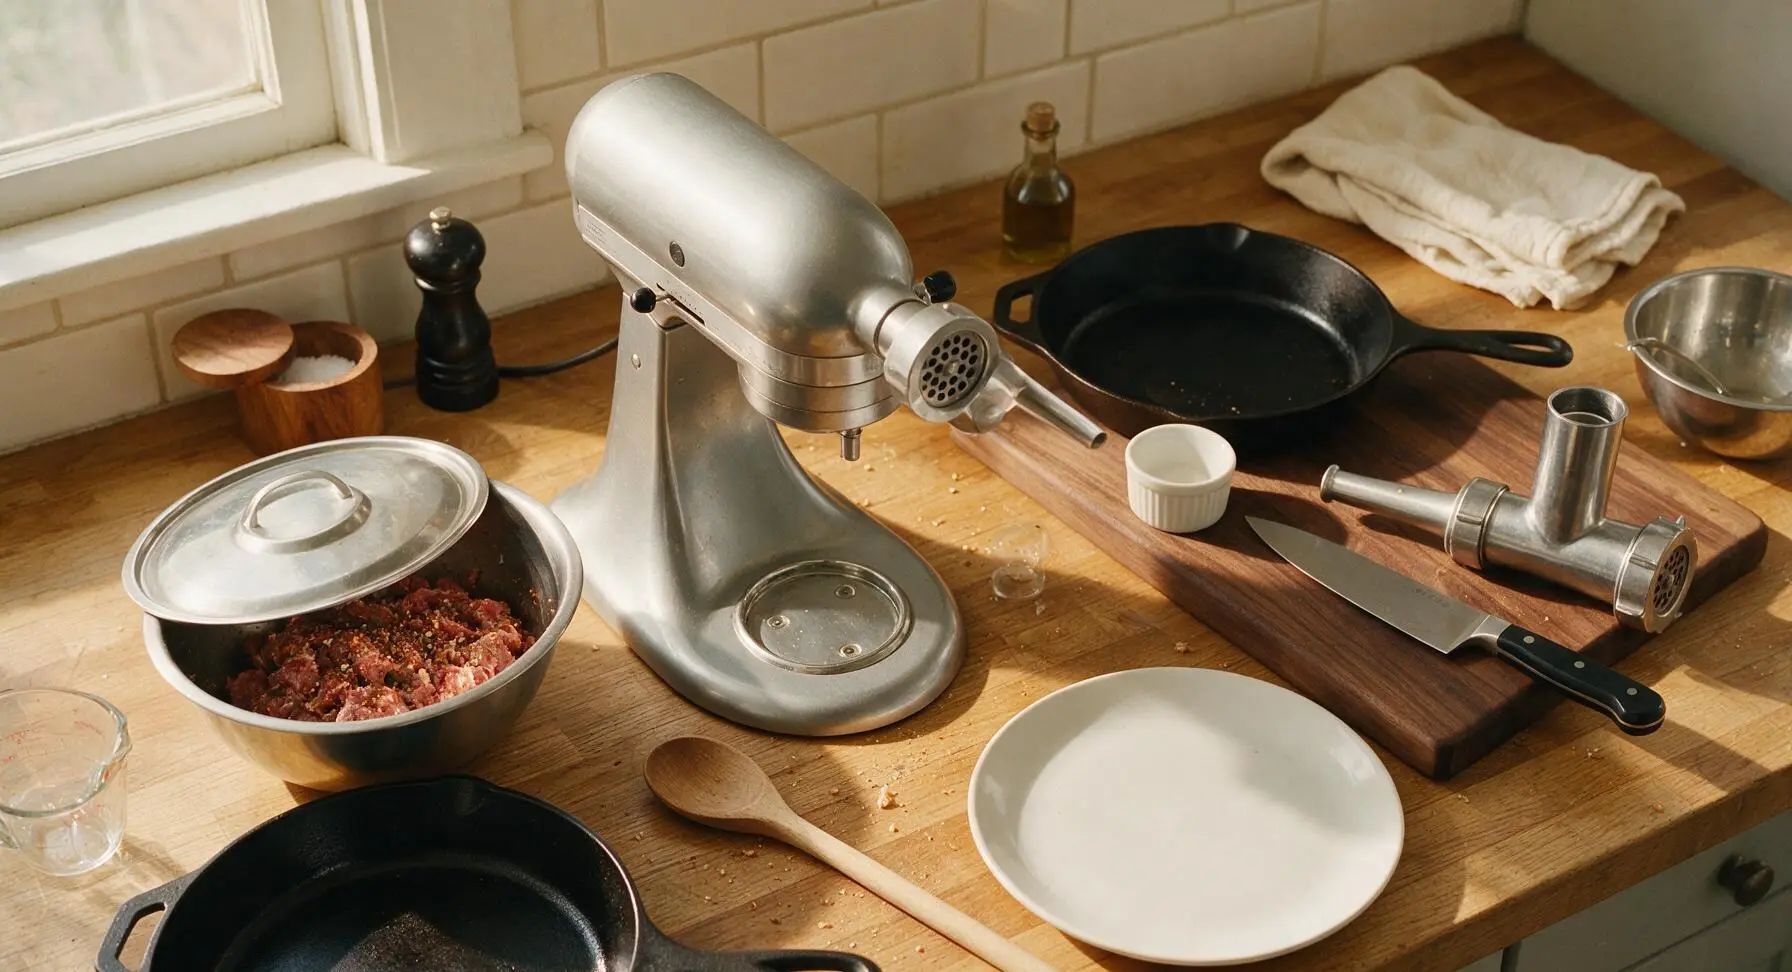
Set up the stand mixer with the brushed stainless steel meat grinder attachment fitted with the coarse 8mm plate. Feed the well-chilled 2cm turkey thigh chunks through the grinder into the medium stainless steel mixing bowl, working quickly to keep the meat temperature below 4°C (40°F) to prevent fat smearing. Once all meat is ground, cover the bowl and return it to the refrigerator for 10 minutes to stay cold.
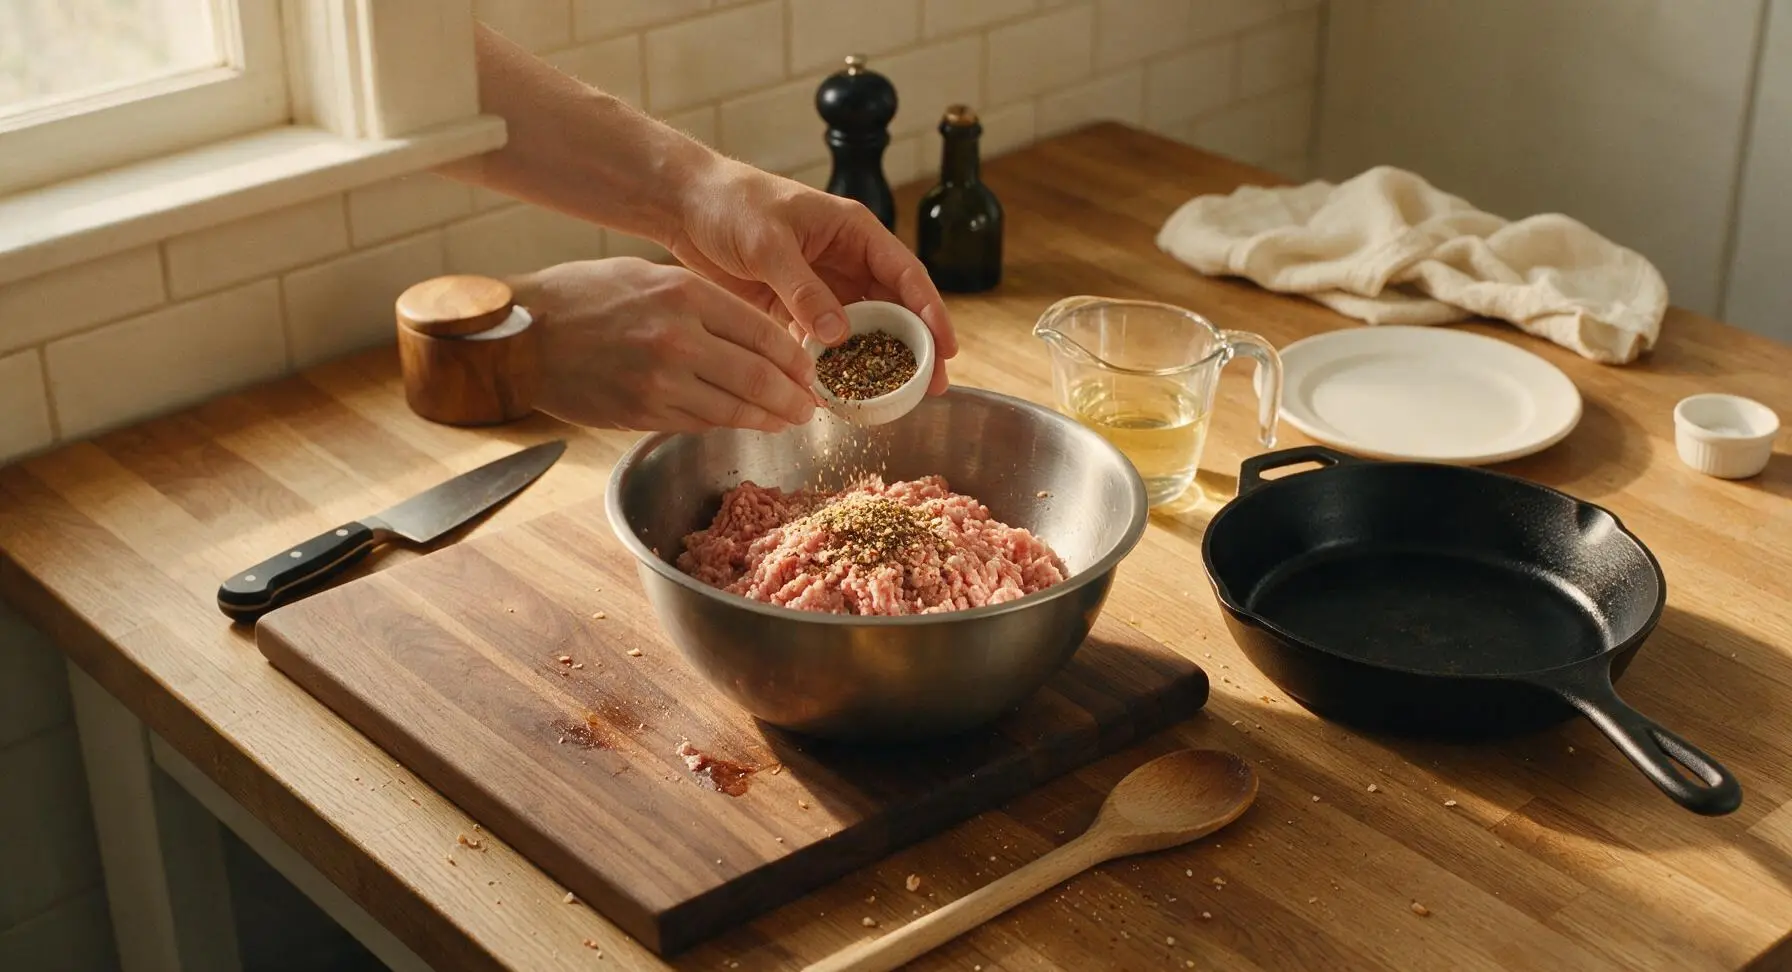
Blend Spices and Wine
Remove the bowl of ground meat from the refrigerator. Add the measured kosher salt, curing salt #1, cracked black pepper, garlic powder, nutmeg, dried sage, and cold white wine to the bowl. Mix vigorously by clean hand for 2 full minutes until spices are evenly distributed and the meat develops a slightly tacky, sticky texture that holds together when squeezed. Return the covered bowl to the refrigerator for 15 minutes to rest.
Prep Casings and Stuffer
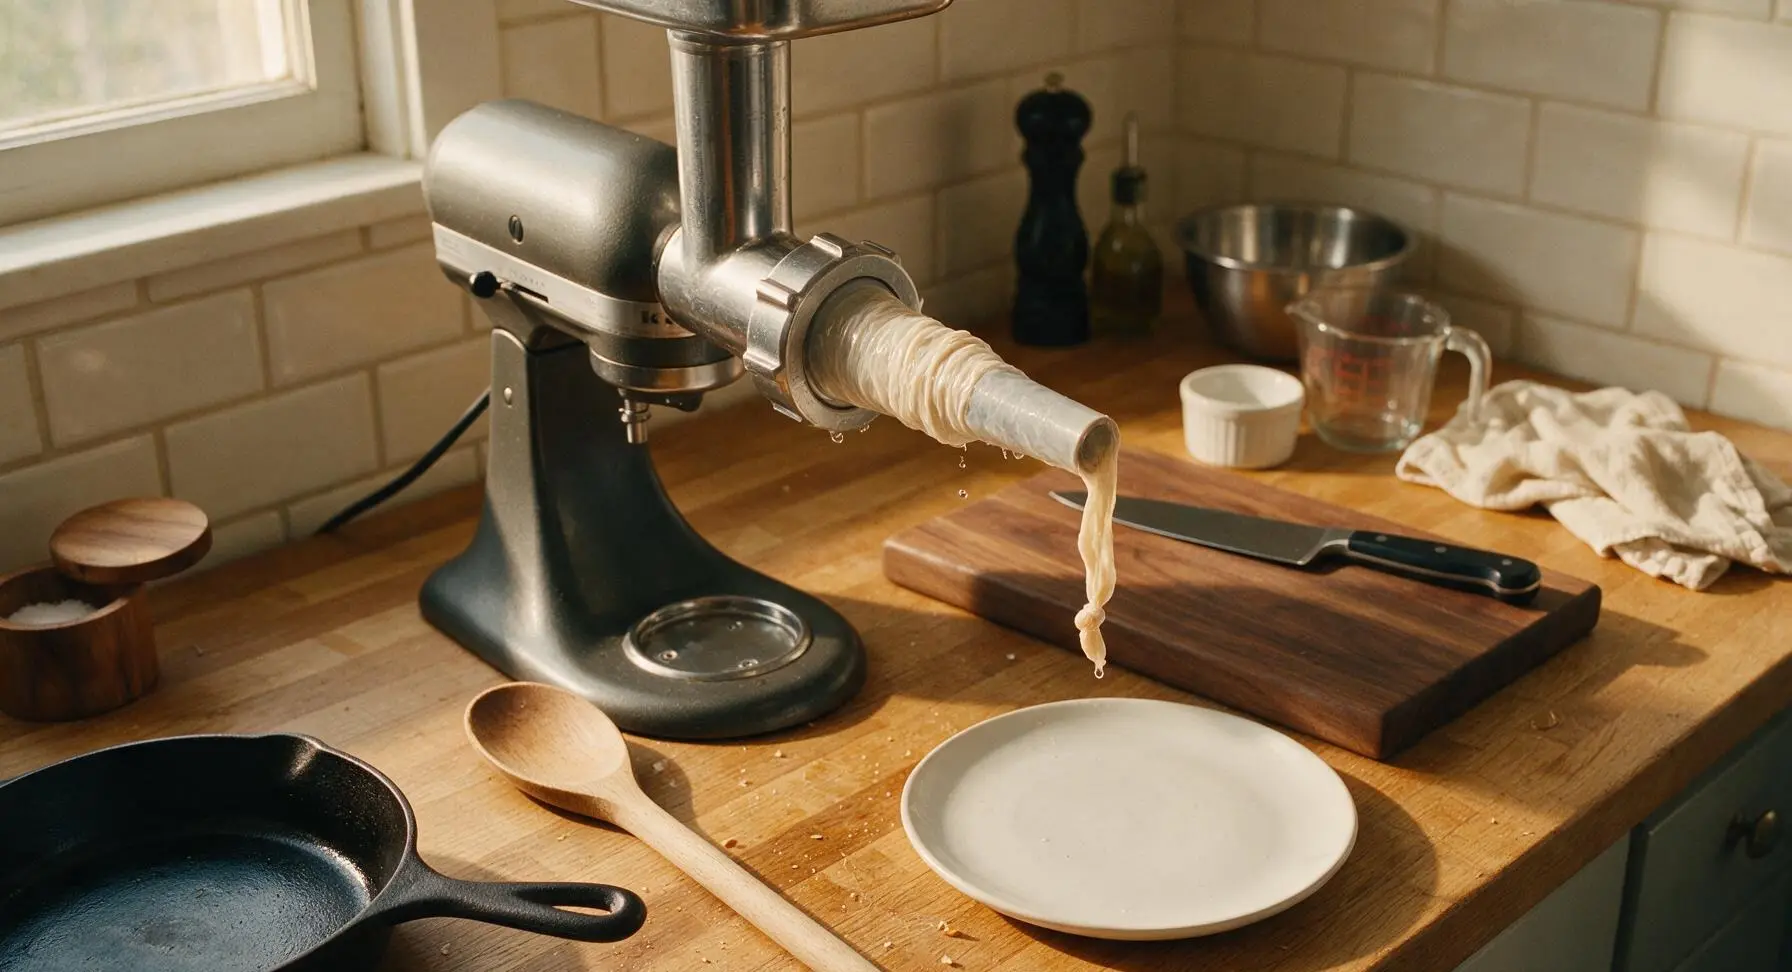
Swap the meat grinder attachment for the 12mm sausage stuffer attachment on the stand mixer. Drain the soaked hog casings, and slide the full length of one casing onto the stuffer nozzle, leaving a 5cm tail hanging off the end. Tie a tight overhand knot in the casing tail to prevent filling from leaking out during stuffing. Keep remaining casing moist with a splash of cold water while working.
Stuff Meat into Casings
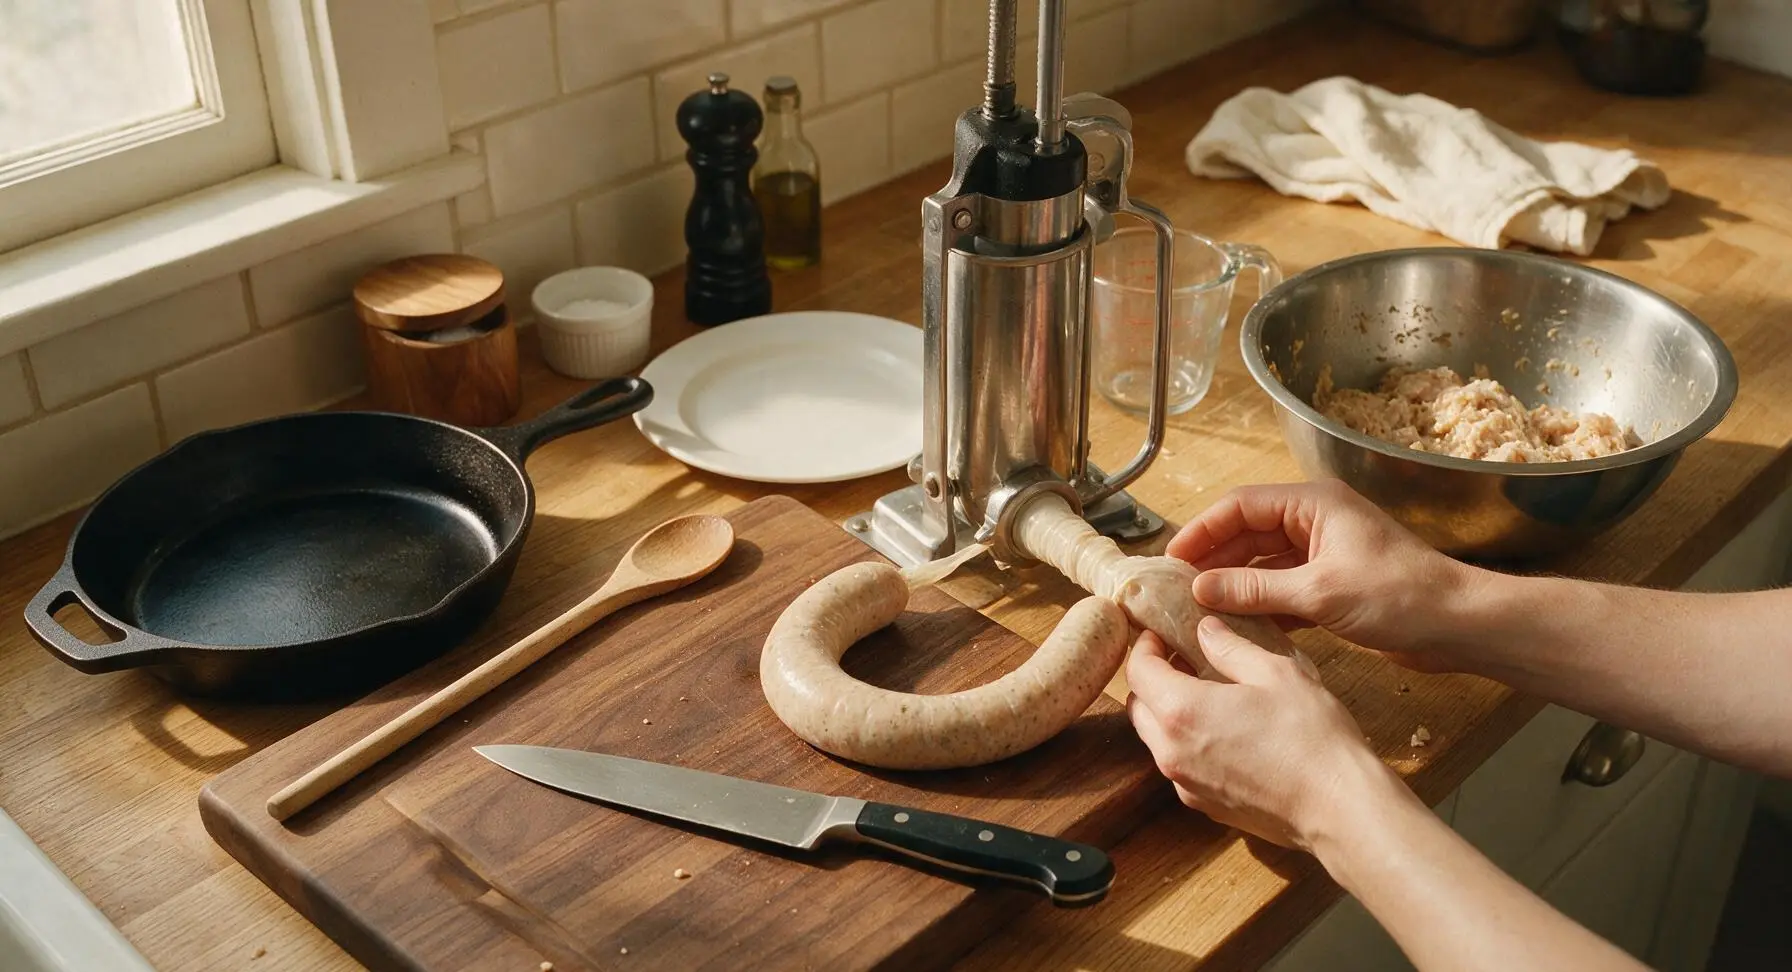
Feed the chilled spiced meat mixture through the stuffer at a slow, steady pace, guiding it to fill the casing evenly to a 2.5cm diameter. Take care not to overstuff, as tight casings will burst during poaching. Once all meat is used, twist the filled casing into two 30cm long links, tying the open end tightly with natural kitchen twine. Prick any visible air pockets with a sterile pin to prevent bursting.
Cure Stuffed Sausages
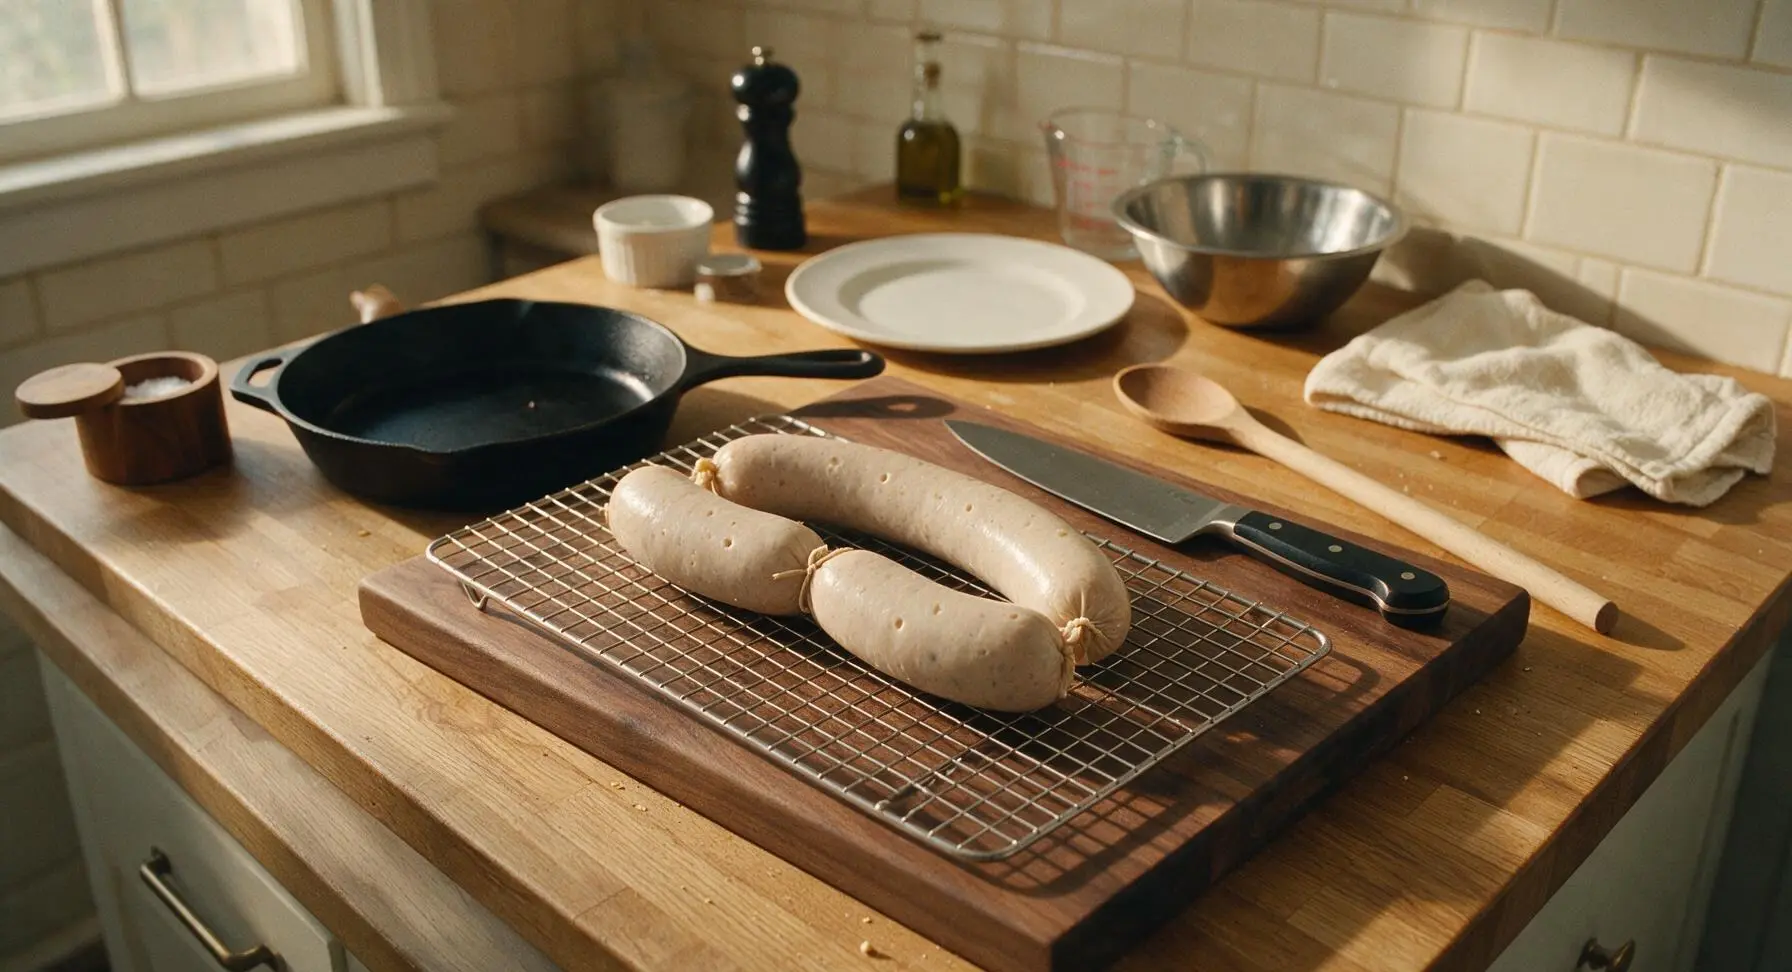
Pull the small stainless steel wire rack from under the cutting board, set it over a small rimmed tray, and place the tied sausage links on the rack. Leave them uncovered in the refrigerator for 24 hours to cure, which allows curing salt to distribute evenly, casings to dry slightly and form a tight seal, and spice flavors to meld. The sausage surface will feel slightly dry and firm to the touch after curing is complete.
Low-Temp Poach Sausages
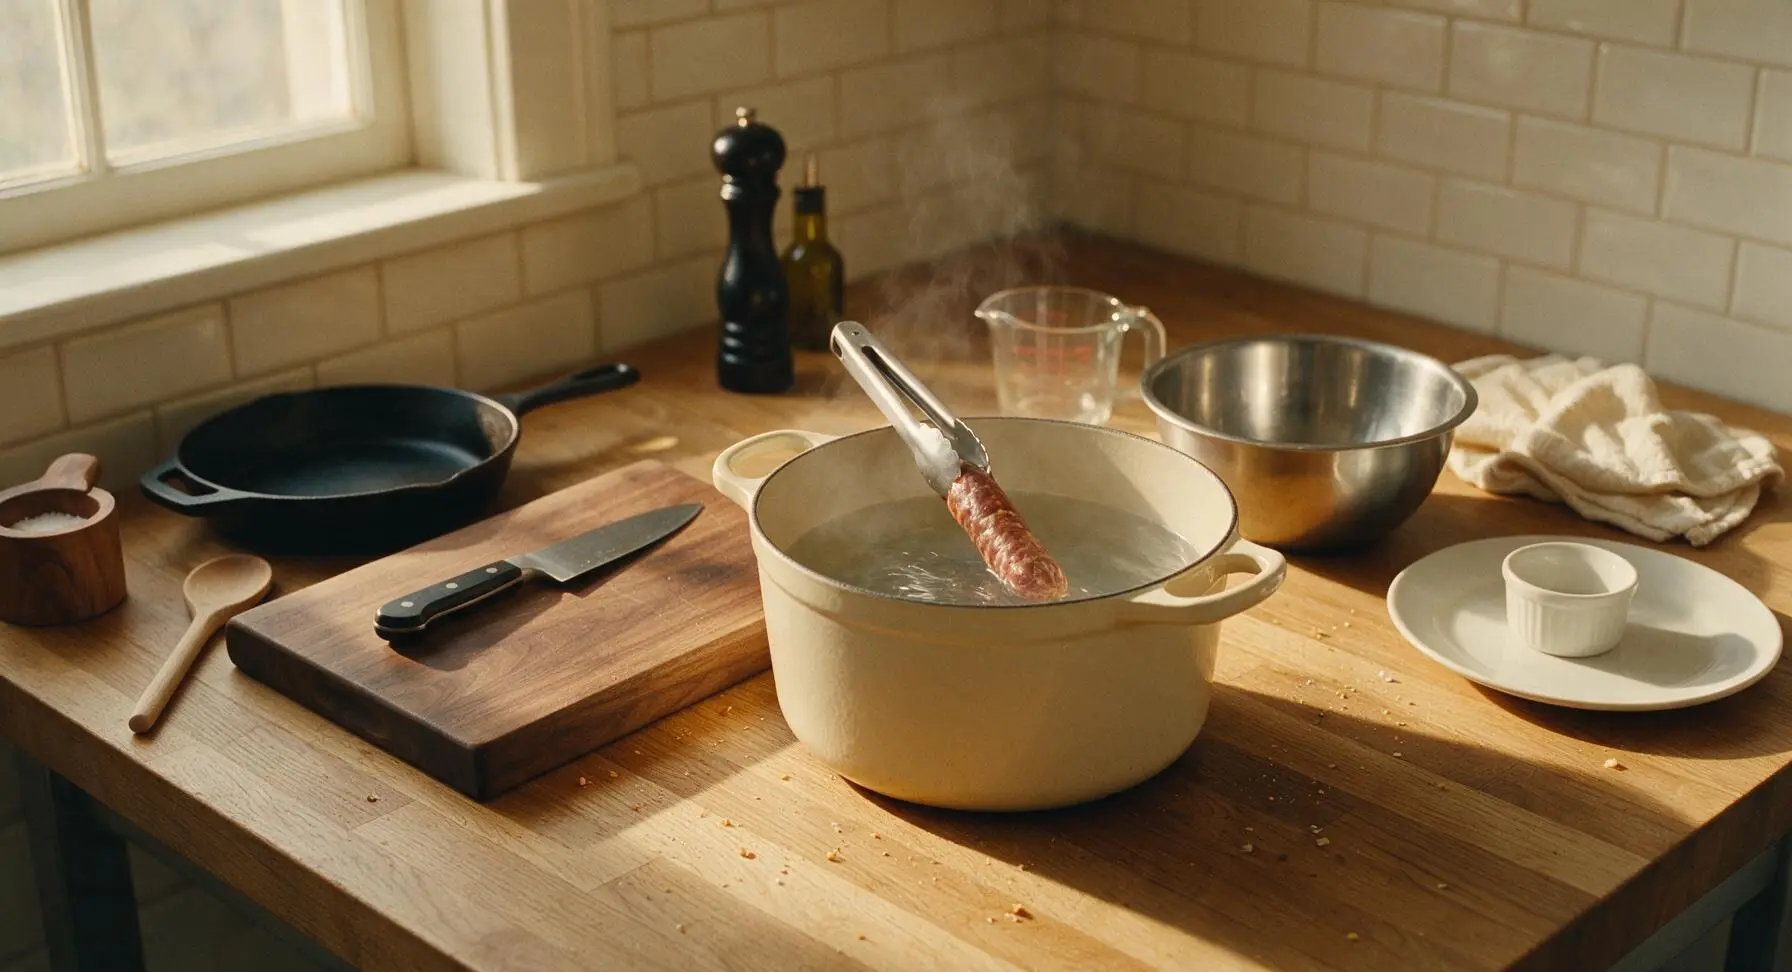
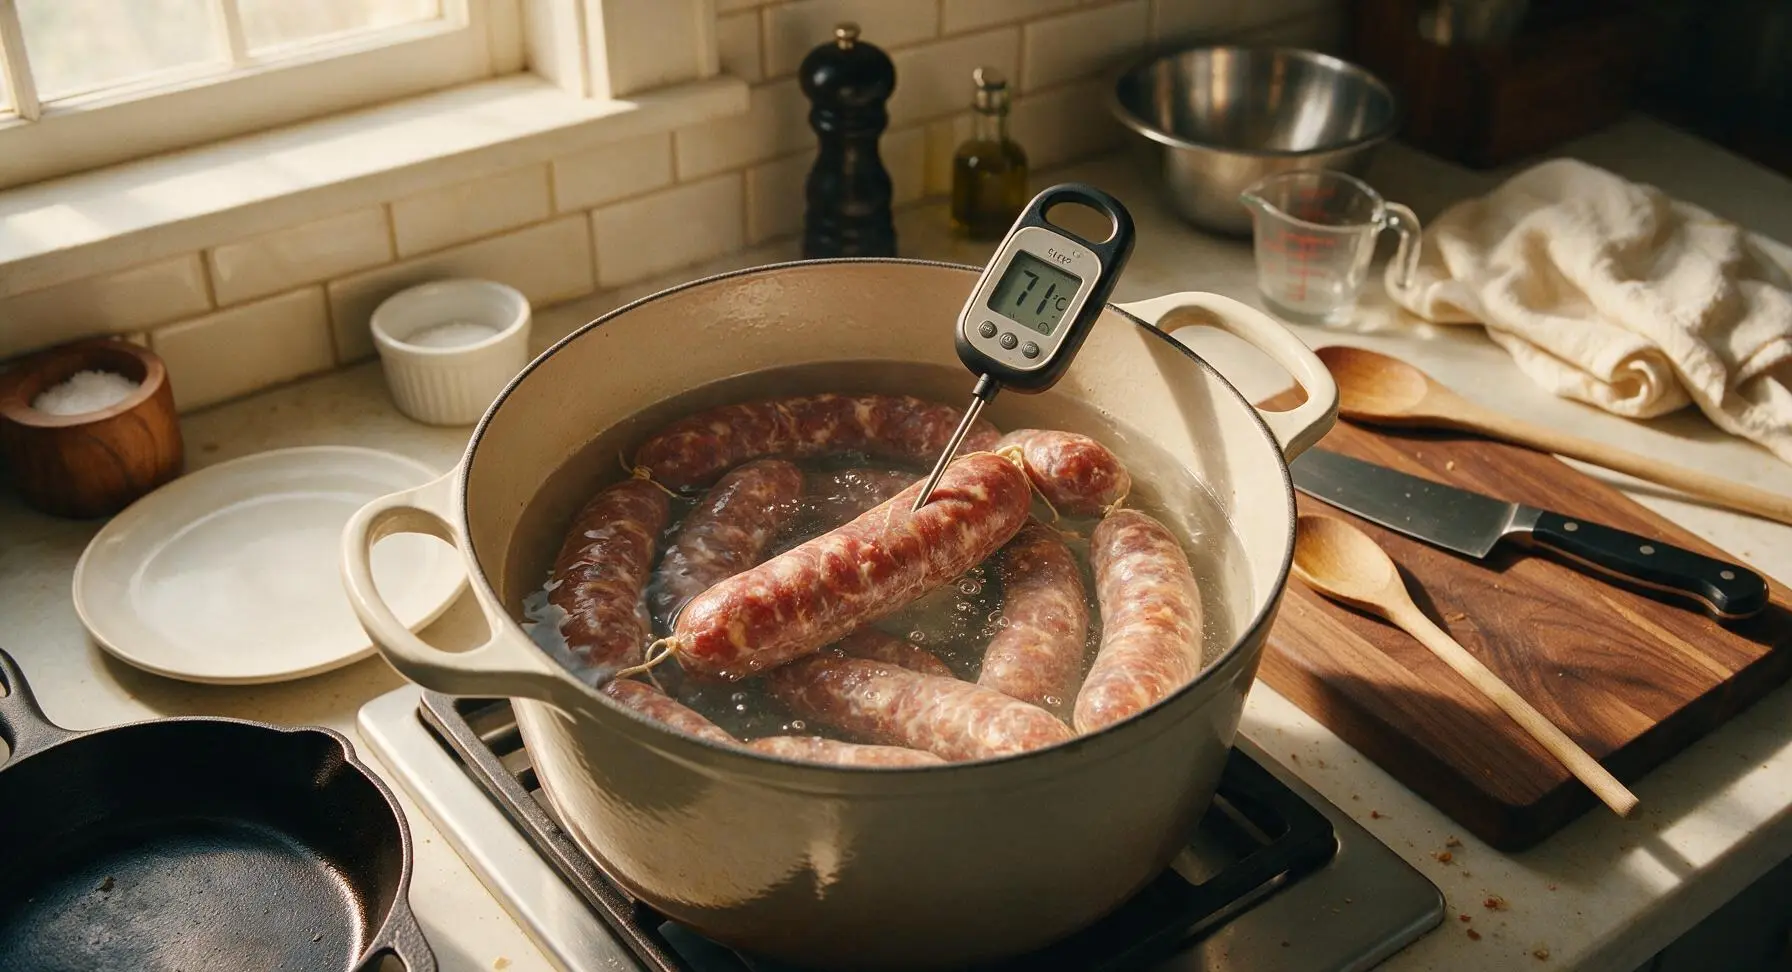
Fill the 6L enameled cast iron stock pot with 4L of water, and heat to a steady 75°C (167°F) — do not bring to a rolling boil, as high heat will burst casings and make meat tough. Gently lower the cured sausage links into the water using the stainless steel tongs, and maintain a constant water temperature for 1 hour, until the internal temperature of the sausage reaches 71°C (160°F) measured with the digital meat thermometer.
Cool Sausages Completely
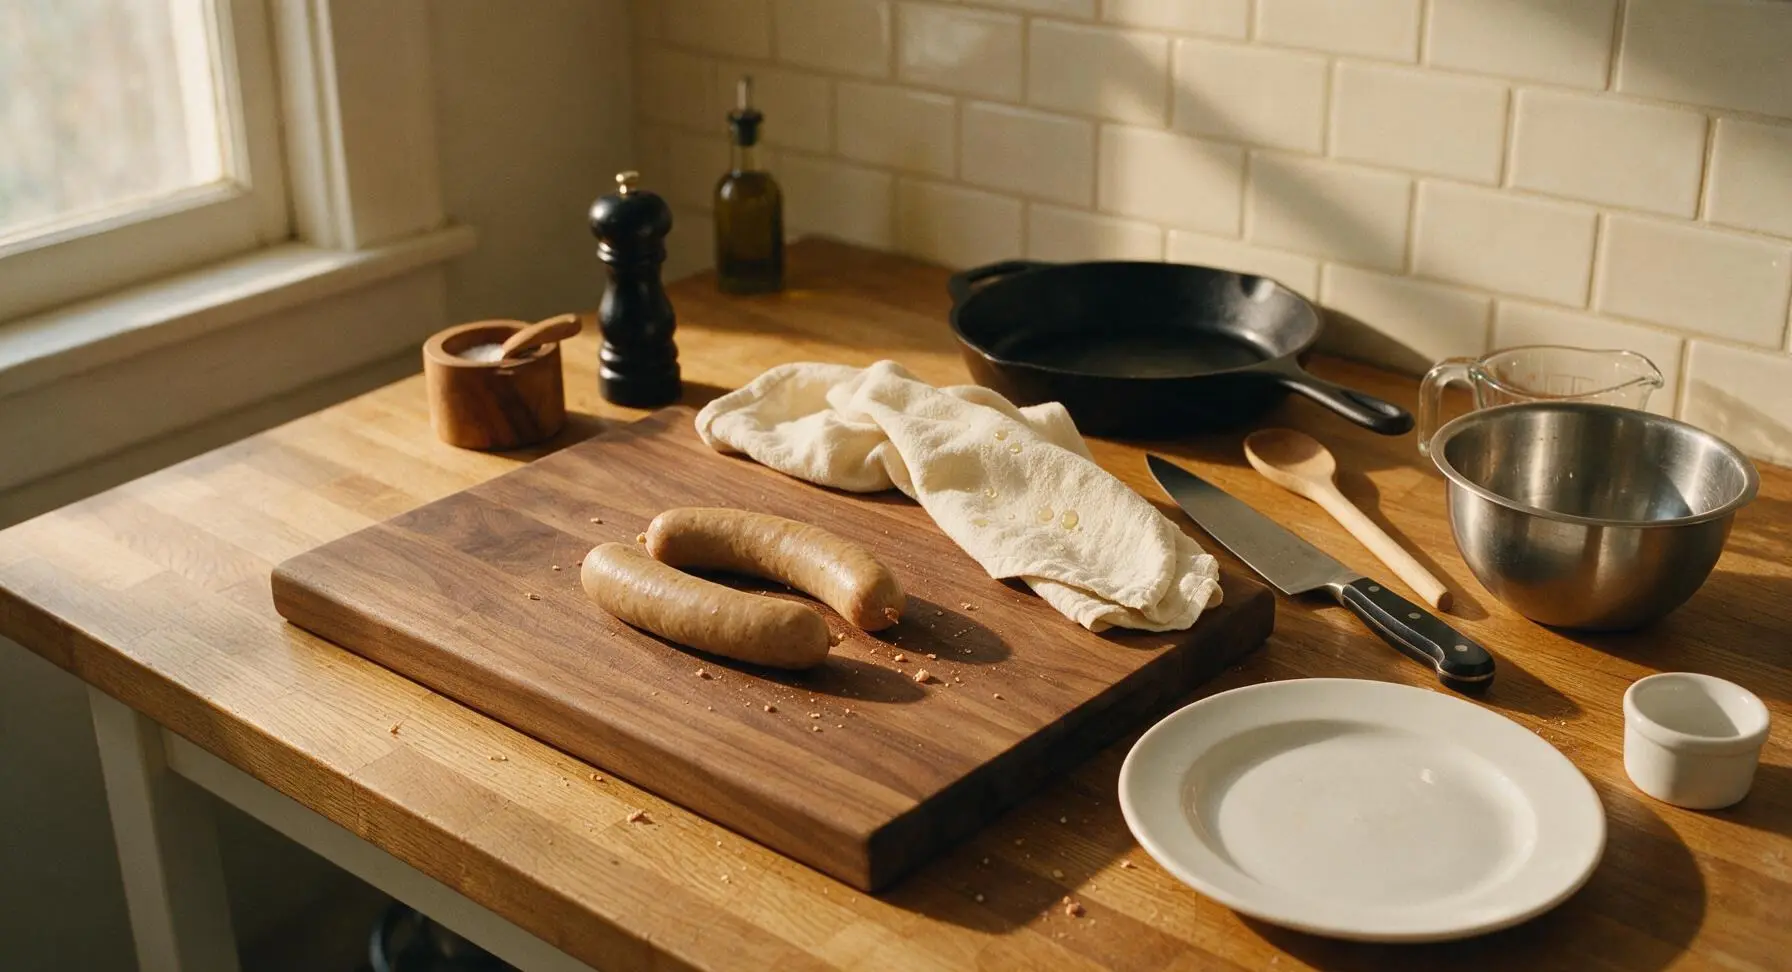
Once strolghino reaches the target internal temperature, use tongs to remove links from the water, and pat them dry gently with the terracotta linen towel. Hang the links in a cool, dry spot (15°C/60°F, 60% humidity) for 2 hours to cool completely and allow the meat to set, which enables clean, thin slicing without crumbling.
Slice Thin to Serve
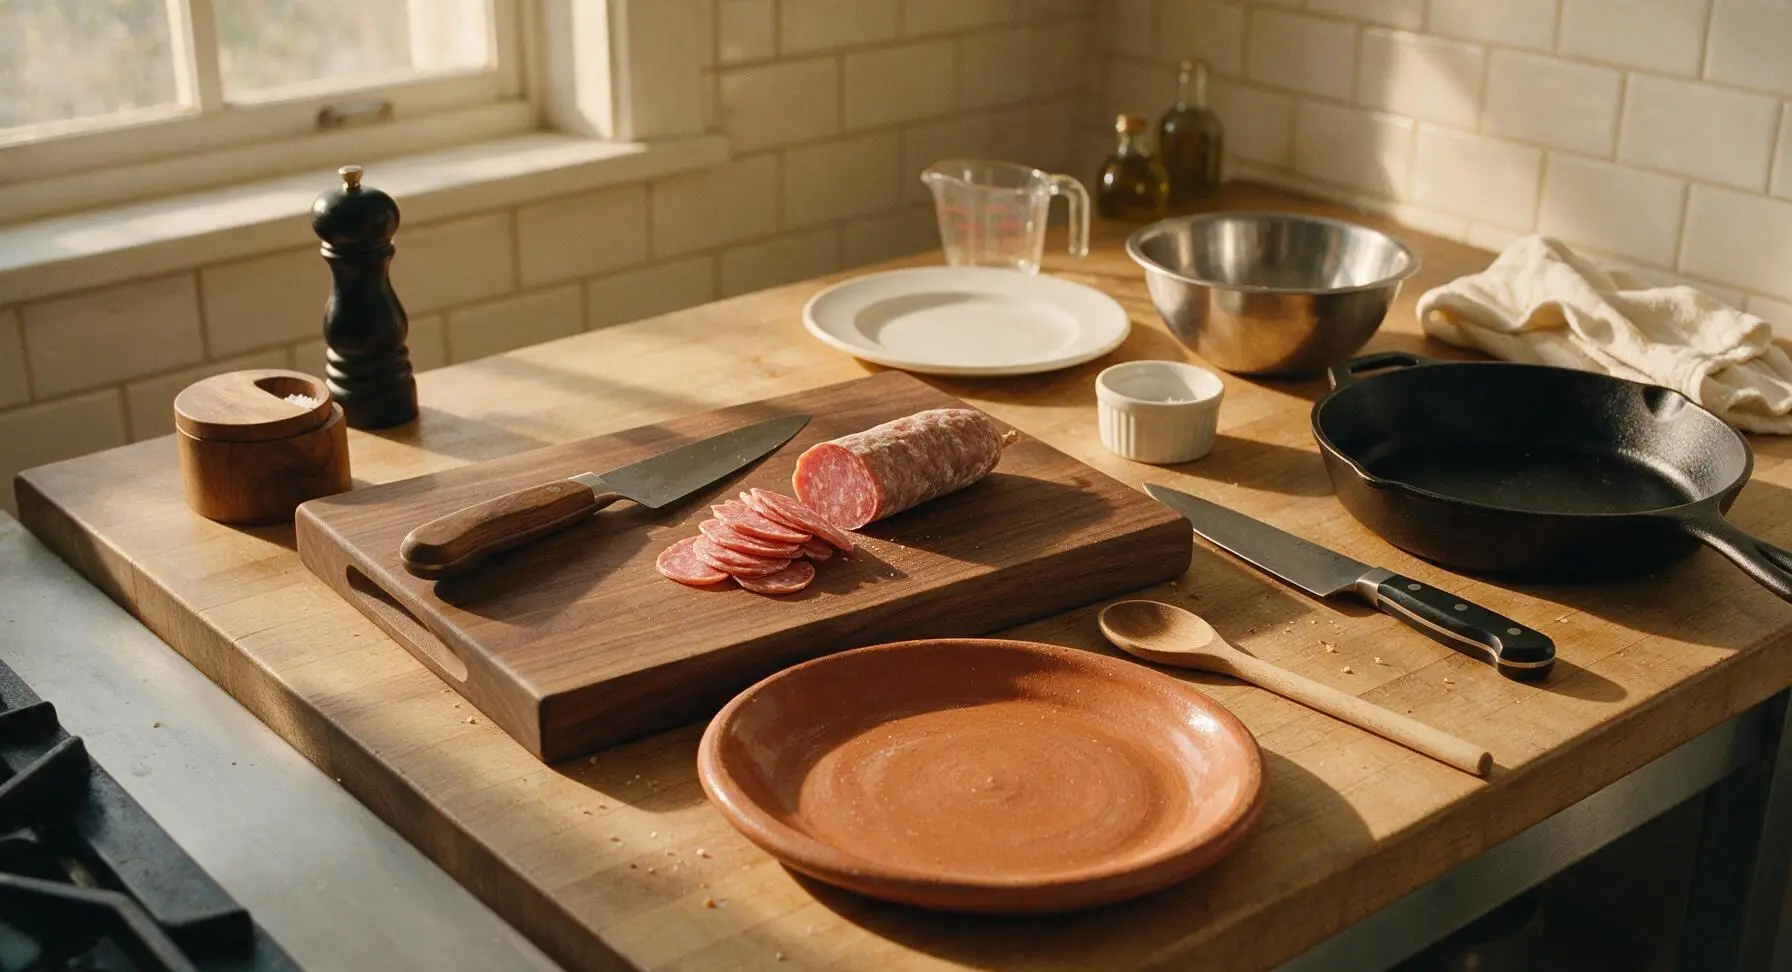
Once fully cooled, use the 20cm walnut-handled slicing knife to cut strolghino into paper-thin (2mm) slices on the maple cutting board. Arrange slices on the hand-thrown terracotta serving platter, and serve with crusty bread, brined olives, or whole-grain Dijon mustard as part of an antipasto spread.
Tips
2.Never let poaching water exceed 80°C (176°F): boiling water will cause casings to split, leach out flavorful meat juices, and leave strolghino with a dry, rubbery texture instead of its signature delicate, melt-in-your-mouth consistency. Use a clip-on pot thermometer to monitor water temp closely.
3.Resist the urge to slice strolghino warm: cutting sausage before it fully sets will cause natural juices to run out onto the cutting board, leaving slices dry and crumbly. For even deeper, more mellow flavor, wrap fully cooled strolghino in parchment paper and refrigerate for 3 days before serving to let spices meld.






OMG this turkey strolghino was an absolute game changer for our Sunday family dinner! I was worried the medium difficulty rating meant it’d be too fussy for a casual weekend meal, but the steps were so straightforward and the 1 hour 15 minute cook time flew by. My kids went back for seconds, even my picky 7 year old who turns his nose up at any turkey that isn’t a processed nugget. SO good, will absolutely be making this for our next neighborhood potluck too!
Solid recipe! I prepped all the components on Sunday for my weekly meal prep, and it held up perfectly all week for lunches. The only tweak I made was adding a little extra garlic because I’m a total garlic fiend. Only knock is I wish the instructions mentioned how long to let it rest before slicing, mine oozed a little juice the first time I cut into it.
Made this after a long day of hiking last weekend and it hit so hard. Used a wild turkey my partner harvested last hunting season and it was chef’s kiss. Way lighter than the traditional pork strolghino I’ve made in the past, will be a regular in our rotation for post-adventure meals.
Brought this to my office potluck yesterday and people were hounding me for the recipe before I even set the platter down! It looks so fancy but it’s actually totally doable even if you’re not a pro at rolled meat dishes, which I was worried about given the medium difficulty rating. 10/10, will be making this for every holiday gathering from now on.
Taste was great, but I struggled a little with the rolling step! My turkey kept splitting when I tried to wrap it around the filling, so my final strolghino looked a little lumpy and a bunch of filling oozed out while cooking. Did I do something wrong? I used thinly sliced turkey breast like the recipe said, and kept a close eye on it for the full 1 hour 15 minute cook time.
Made this in my tiny dorm oven for my roommates’ friend get-together and it went over so well! I didn’t have all the exact herbs the recipe called for so I used an Italian seasoning blend I had in my pantry and it still turned out amazing. Cook time was right on the dot too, which was a win because my oven runs super hot and usually requires tons of extra time checks.
So happy I found this recipe! I’ve been looking for a lighter alternative to the usual pork salumi I serve on charcuterie boards, and this turkey strolghino fits the bill perfectly. It’s gluten free (as long as you double check your seasonings!) so all my friends with dietary restrictions could enjoy it at my last game night. 10/10, no notes!