
air fryer wings crispy

title 1
air fryer wings crispy
⏱️ cook time 25 minutes
🍽️ servings 4
⚡ Difficulty easy

intro

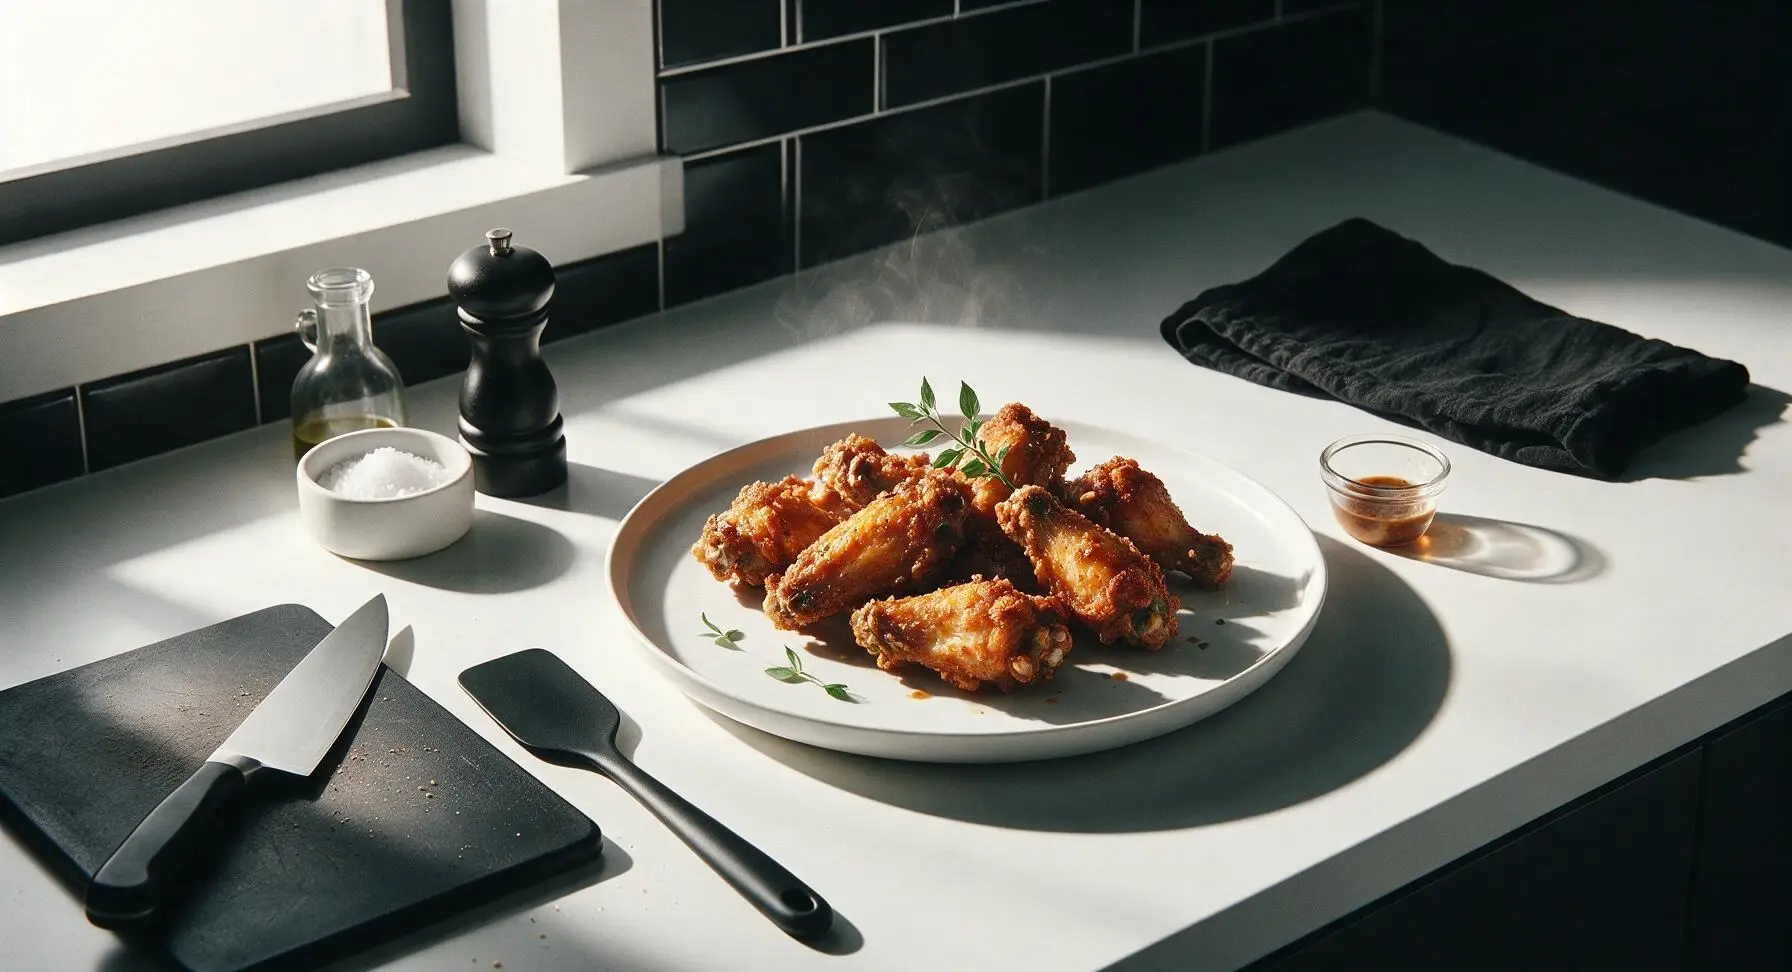
Shatteringly crisp, juicy air fryer chicken wings with no deep frying required. Lightly sauced, perfectly seasoned, and ideal for sharing with friends.

Ingredients
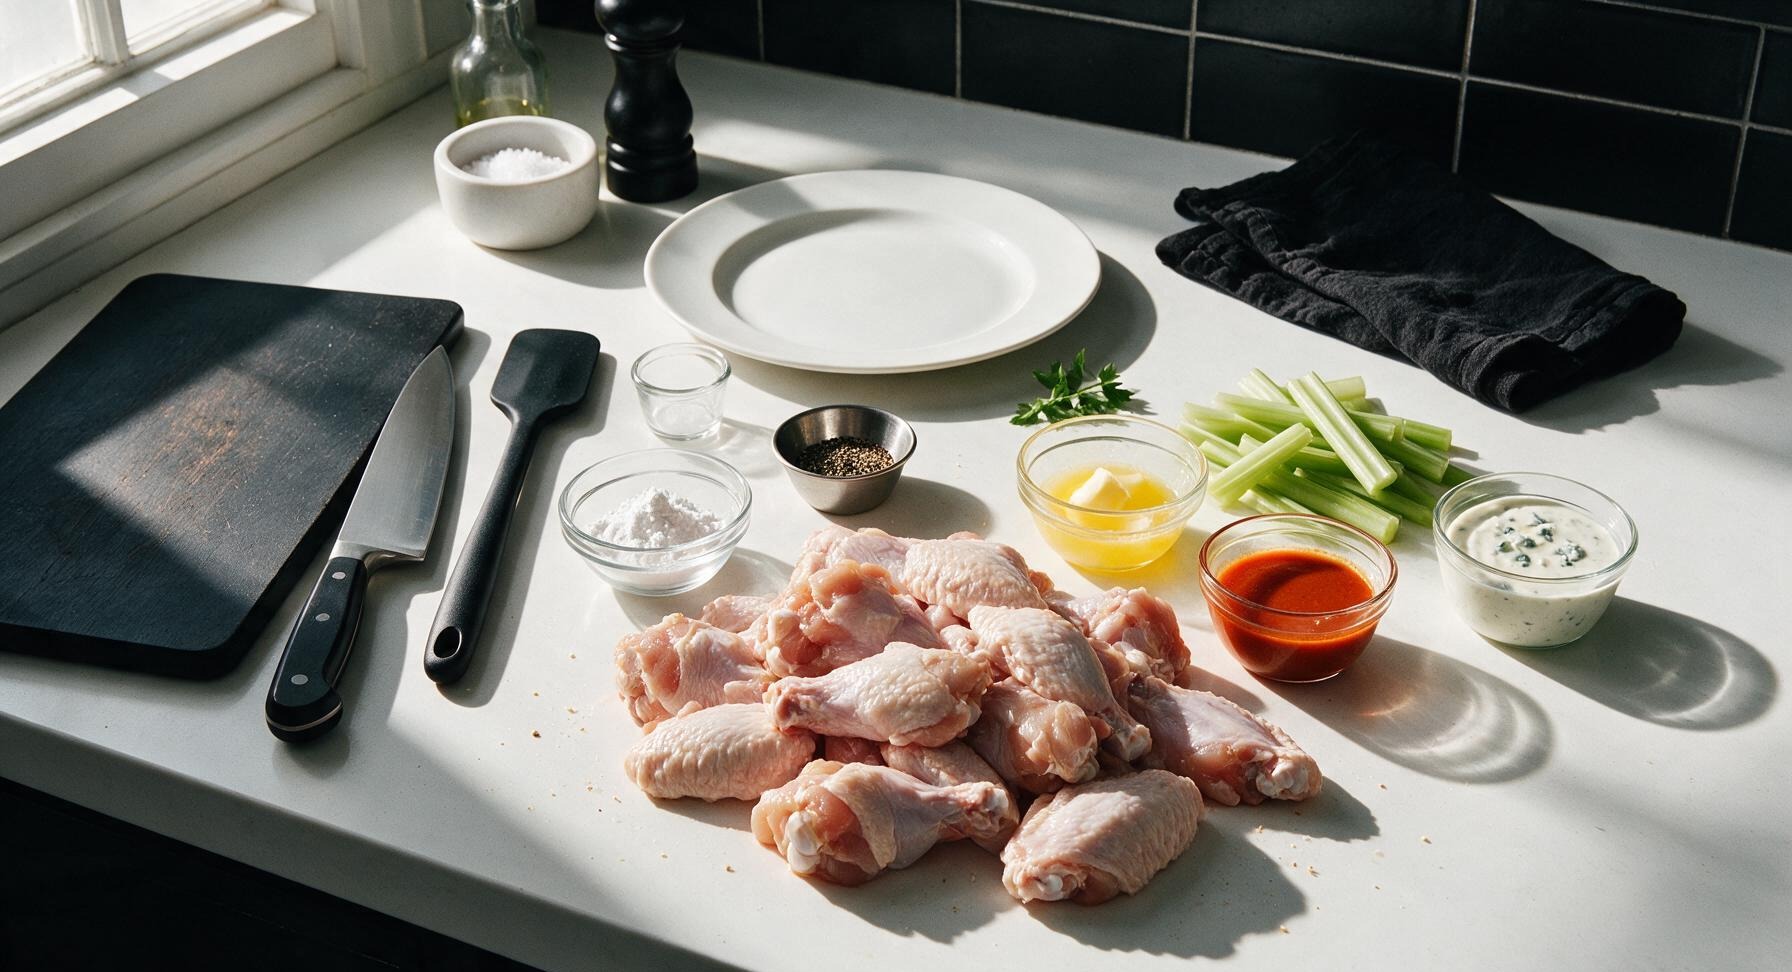
Bone-in skin-on split chicken wings (drumettes and flats) 2 lbs (900g)
Aluminum-free baking powder 1 tablespoon
Kosher salt 1 teaspoon
Freshly ground black pepper ½ teaspoon
Unsalted butter, melted 2 tablespoons
Buffalo-style hot sauce ¼ cup, plus extra for serving
Celery stalks, cut into sticks 1 cup
Blue cheese dressing ¼ cup, for dipping

Steps

1

Pat Wings Completely Dry

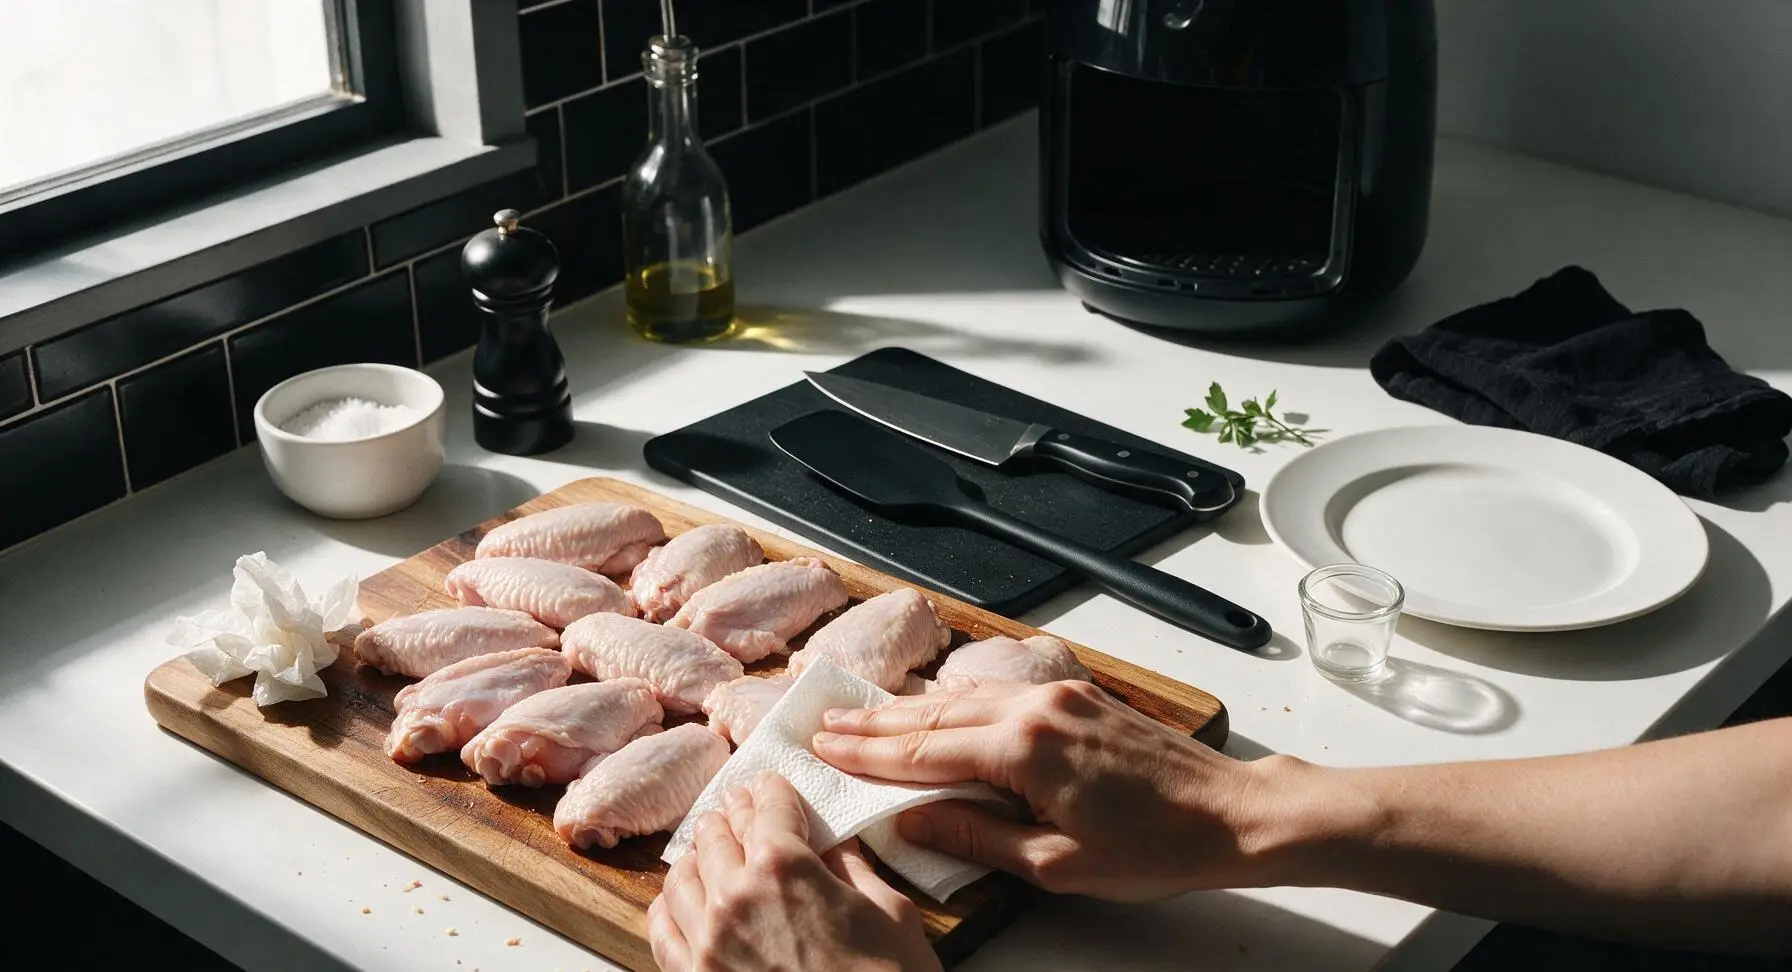
Place the raw split chicken wings on the acacia wood cutting board. Tear 3-4 sheets of unbleached paper towel from the roll on the oak holder, and firmly pat every surface of the wings completely dry, paying extra attention to skin crevices around joints and tucked skin edges. Discard crumpled used paper towels. Properly dried skin will feel matte and non-slippery to the touch, with no visible surface moisture; trapped moisture creates steam that causes soggy skin.
Step 1
step1:Pat Wings Completely Dry
2

Coat with Dry Seasoning

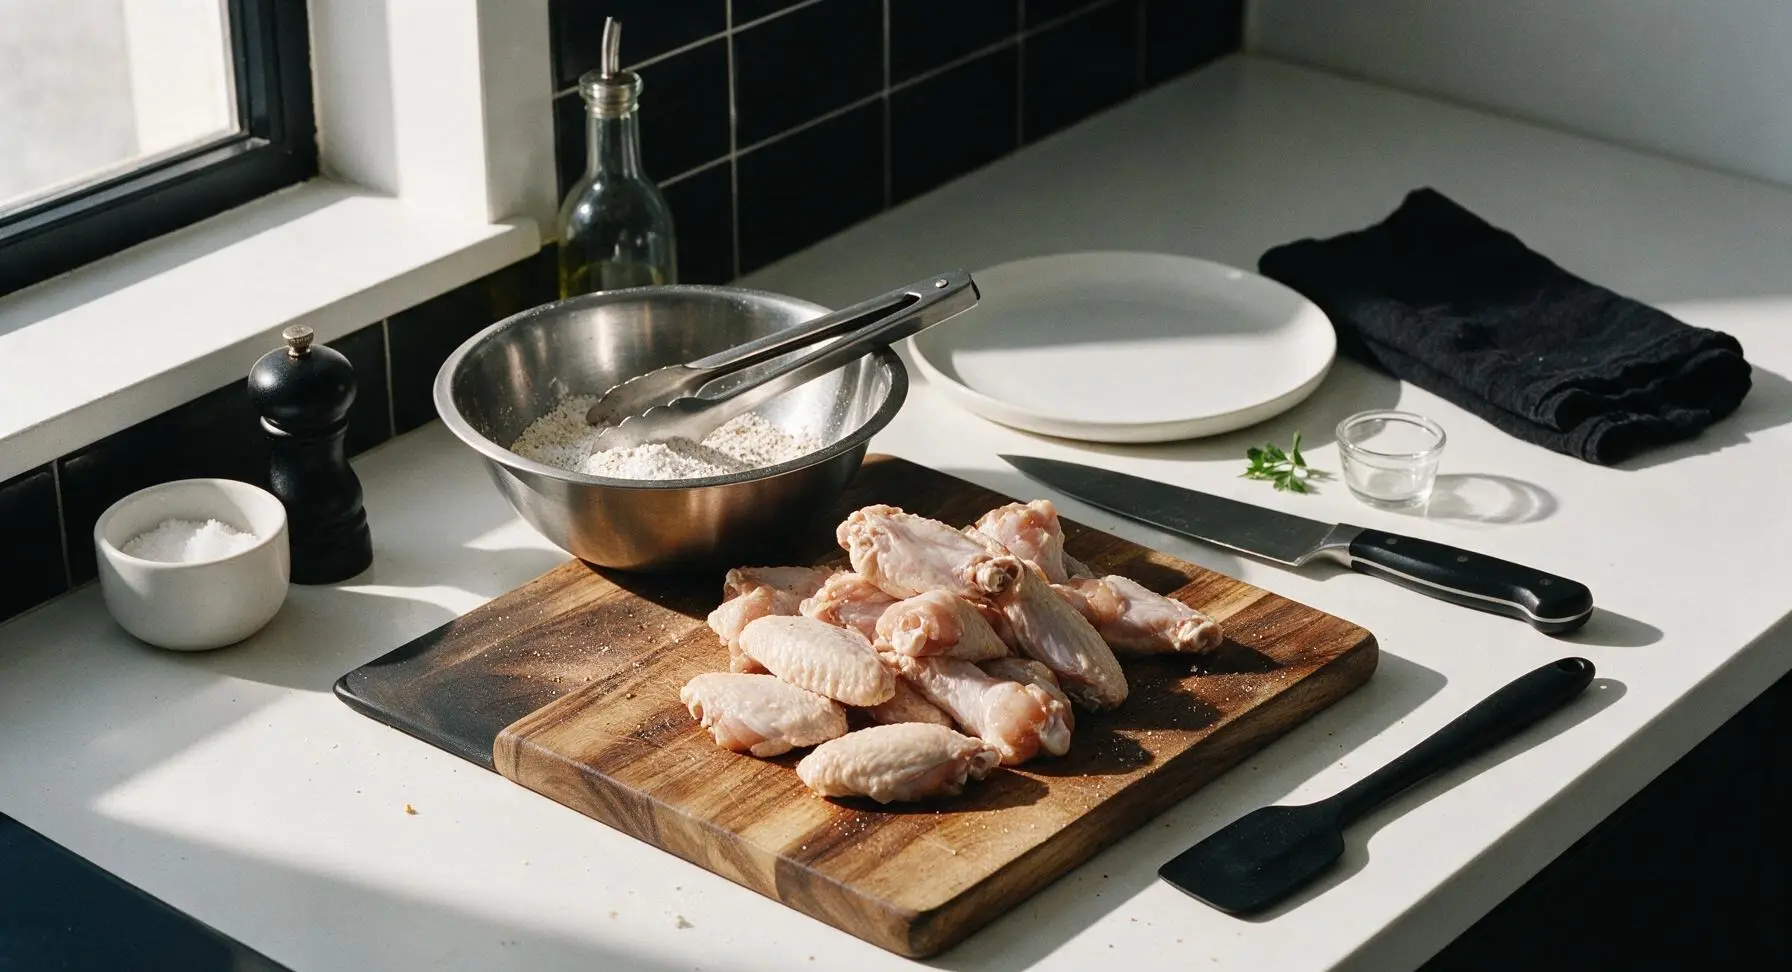
In the brushed stainless steel mixing bowl, combine 1 tablespoon aluminum-free baking powder, 1 teaspoon kosher salt, and ½ teaspoon freshly ground black pepper, stirring briefly with the tip of the stainless steel tongs to evenly mix. Add the fully dried wings to the bowl, tossing gently with the tongs until every wing is coated in a thin, uniform layer of the seasoning mix. Brush off any thick clumps of baking powder from the skin, as these will leave a bitter aftertaste when cooked.
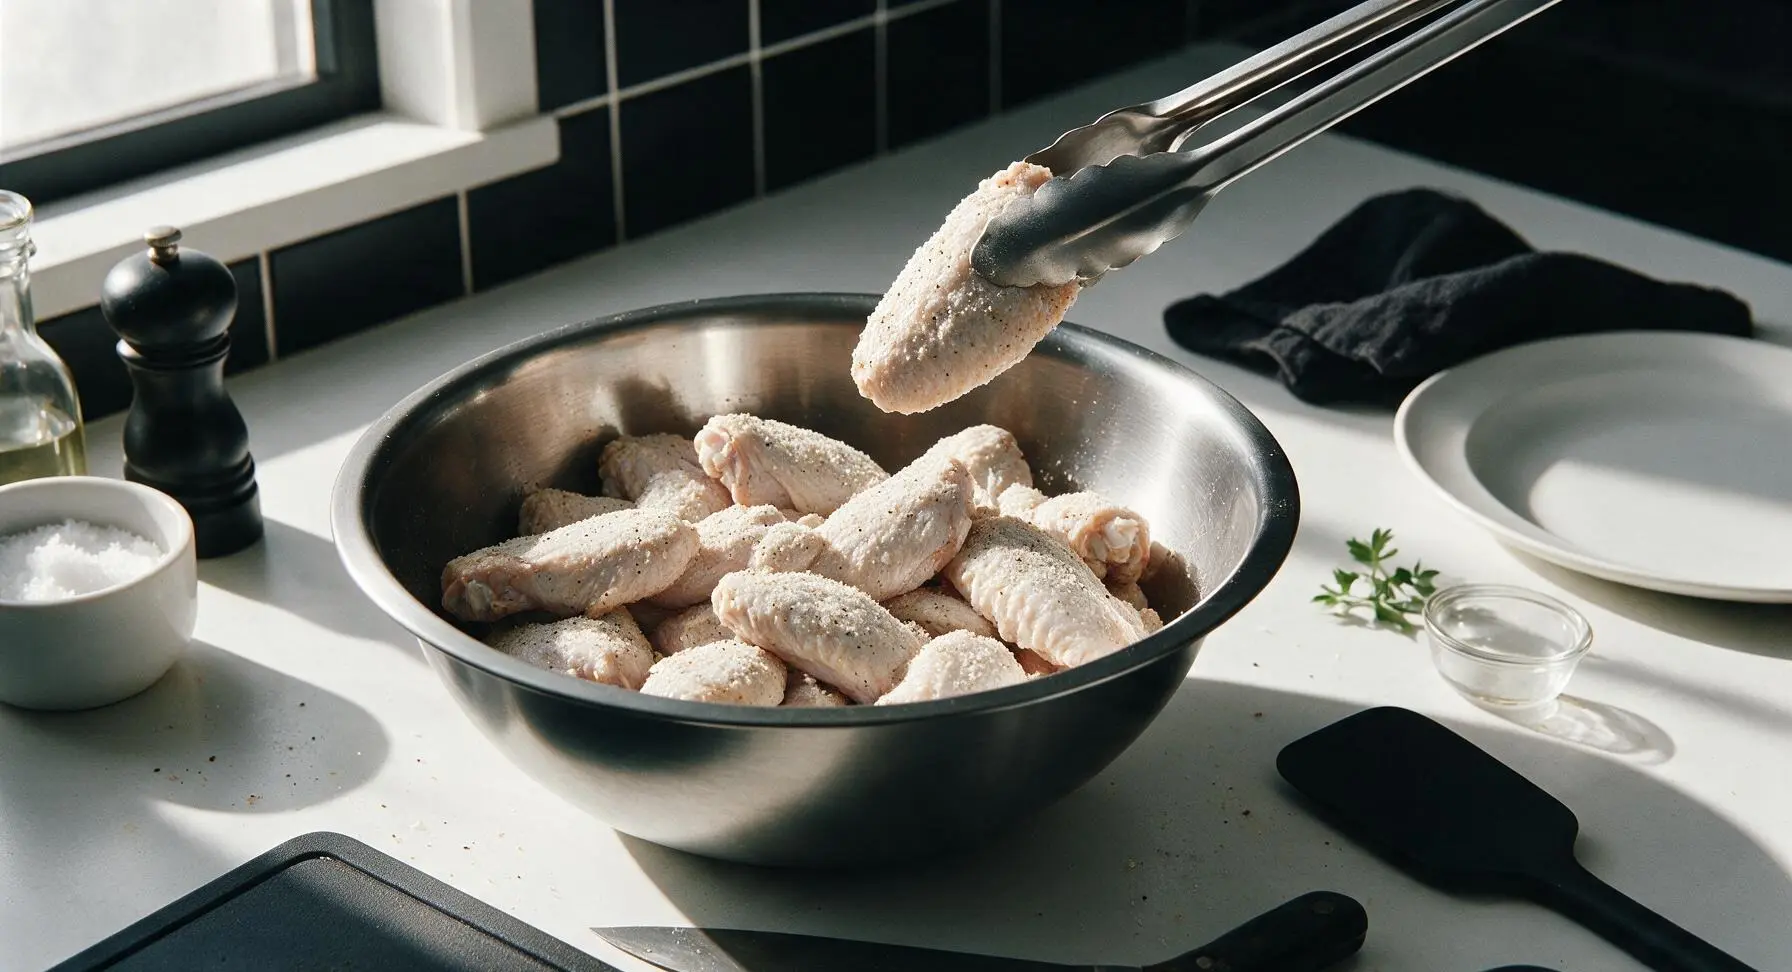
Step 2
step2:Coat with Dry Seasoning
Step 2
step2:Coat with Dry Seasoning
3

Arrange in Air Fryer Basket

Pull the wire basket out of the matte black air fryer. Arrange the seasoned wings in a single, evenly spaced layer in the basket, skin-side up, leaving 1cm gaps between each wing to allow hot air to circulate freely. Do not stack or overlap wings; cook in two separate batches if your air fryer basket is smaller than 5 quarts, as overcrowding leads to steamed, not crisp, skin.
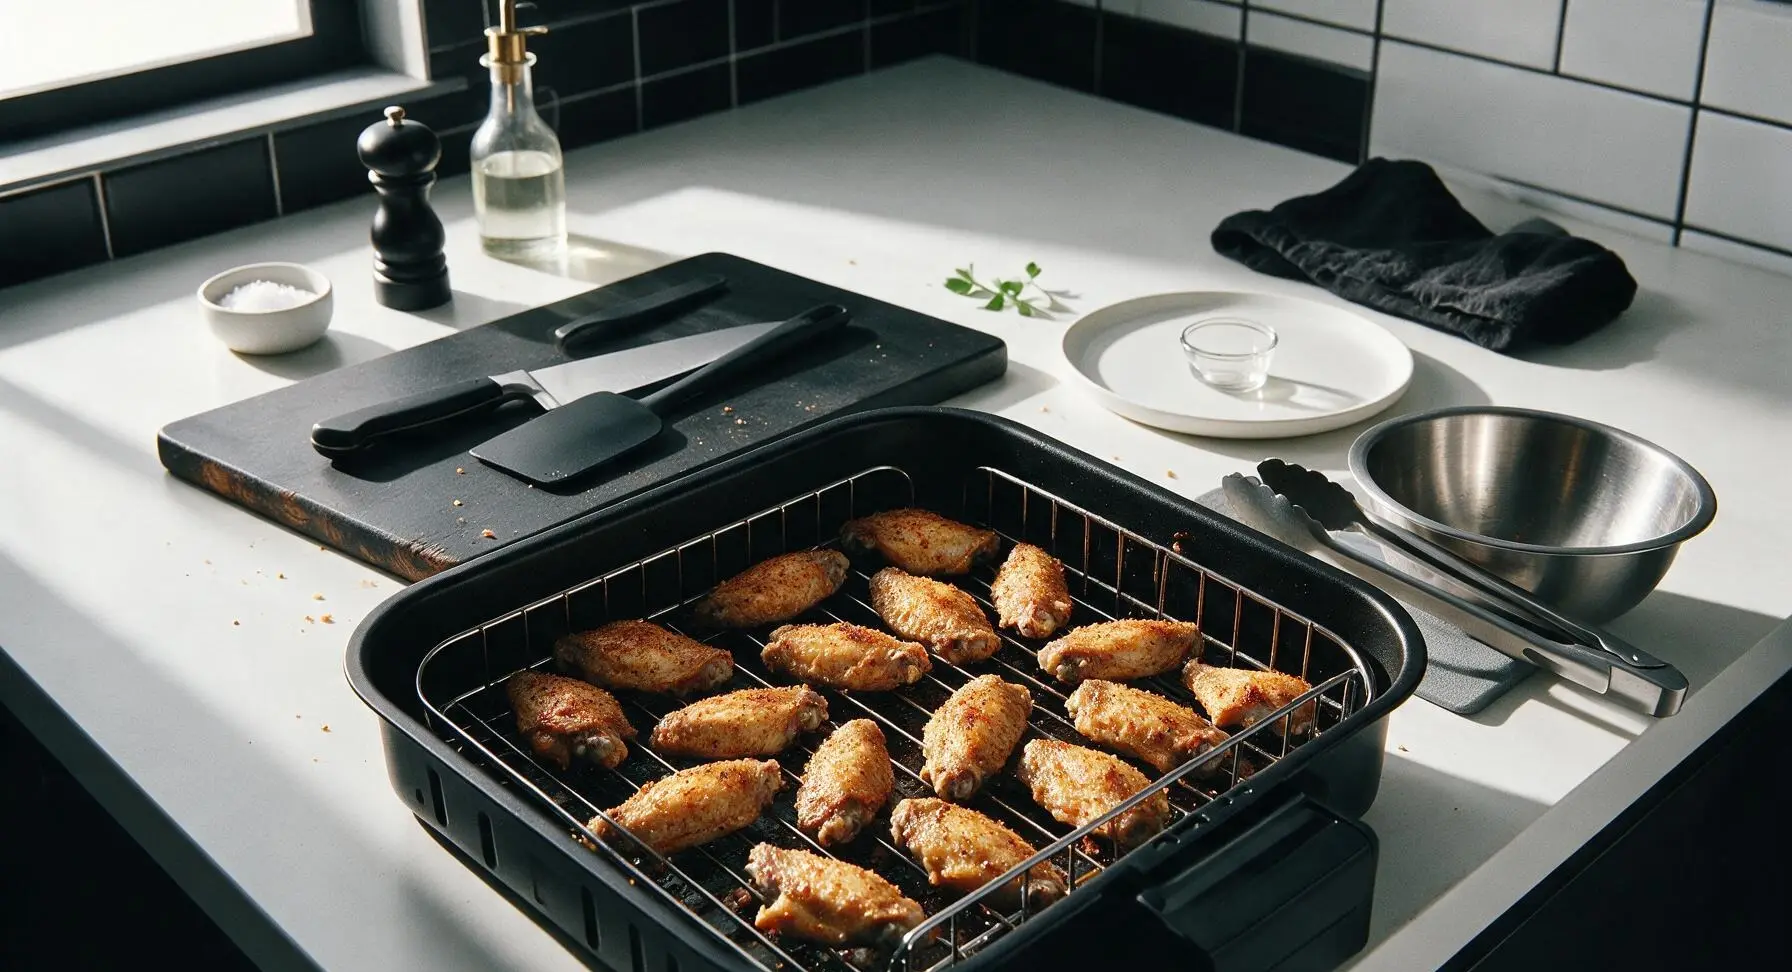
Step 3
step3:Arrange in Air Fryer Basket
4

Air Fry First Cooking Stage

Push the loaded air fryer basket fully back into the unit. Set the air fryer temperature to 400°F (200°C) and set a timer for 12 minutes. Do not open the air fryer drawer during this first cooking stage, as escaping heat will drop the internal temperature and slow skin crisping. Wings will render surface fat and turn pale golden on the contact side during this stage.
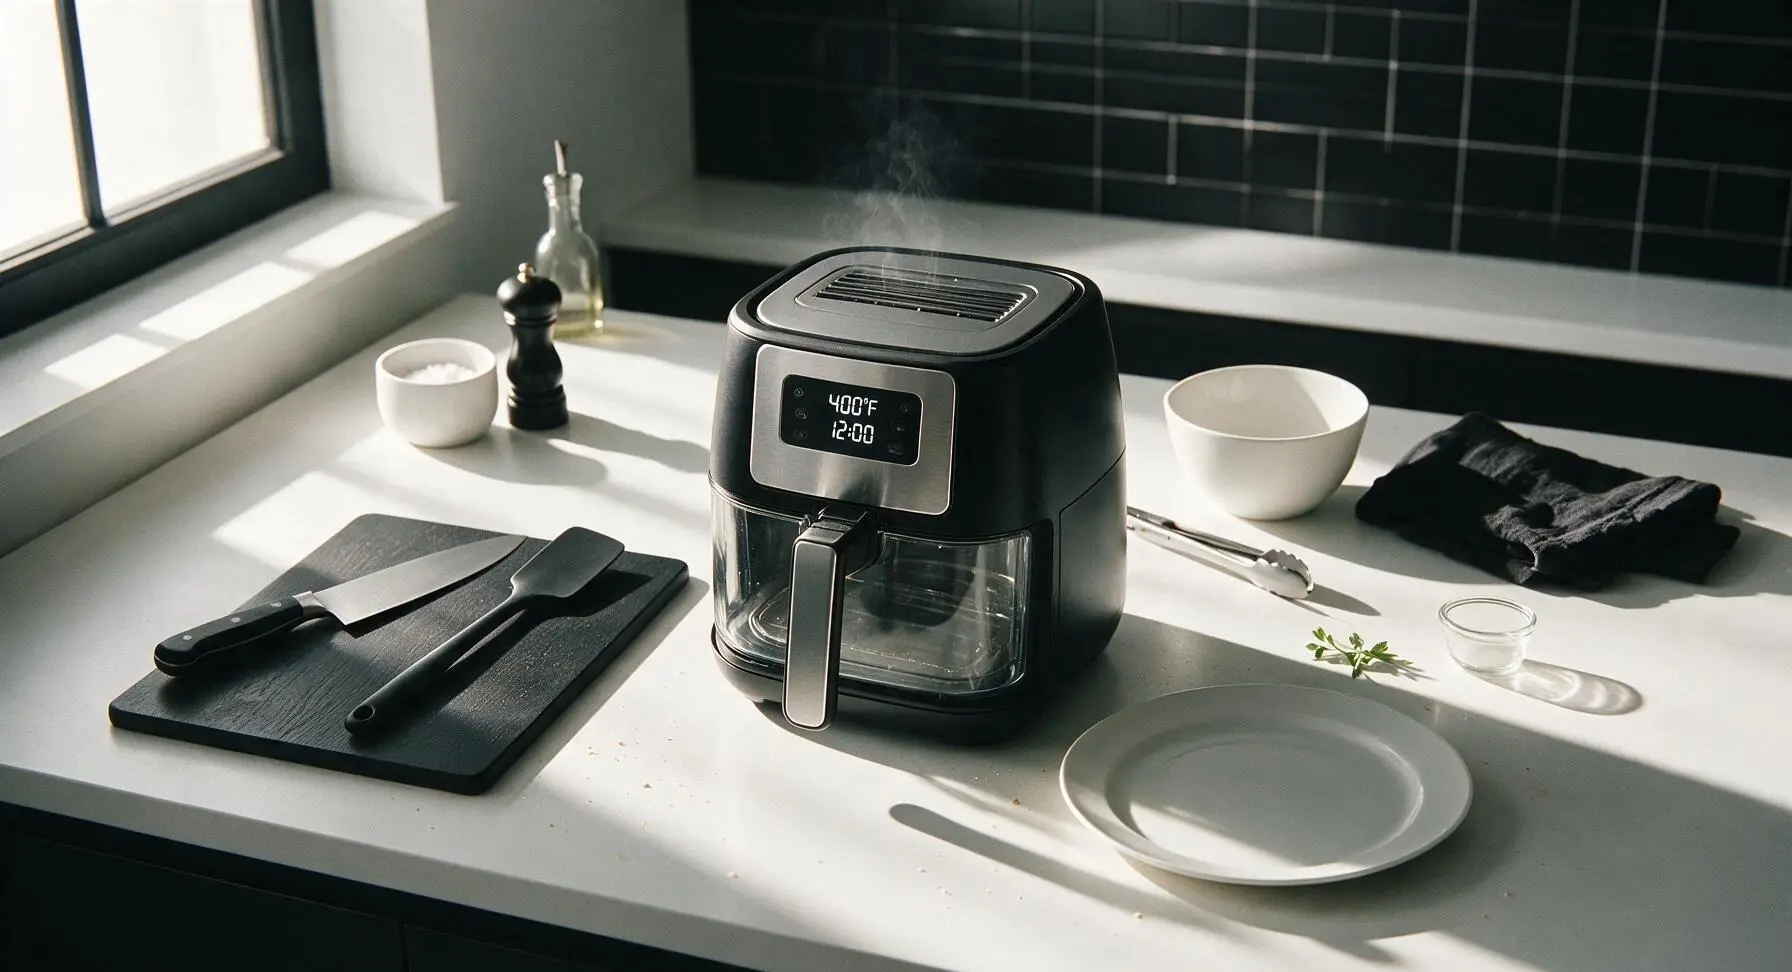
Step 4
step4:Air Fry First Cooking Stage
5

Flip Wings Halfway Through

When the 12-minute first stage timer goes off, carefully pull the air fryer basket out (it will be hot, so avoid touching the metal surfaces). Use the silicone-tipped stainless steel tongs to flip every wing over, so the previously skin-down, golden contact side is now facing up. Adjust wing positions to maintain even gaps between pieces, then push the basket back into the air fryer.
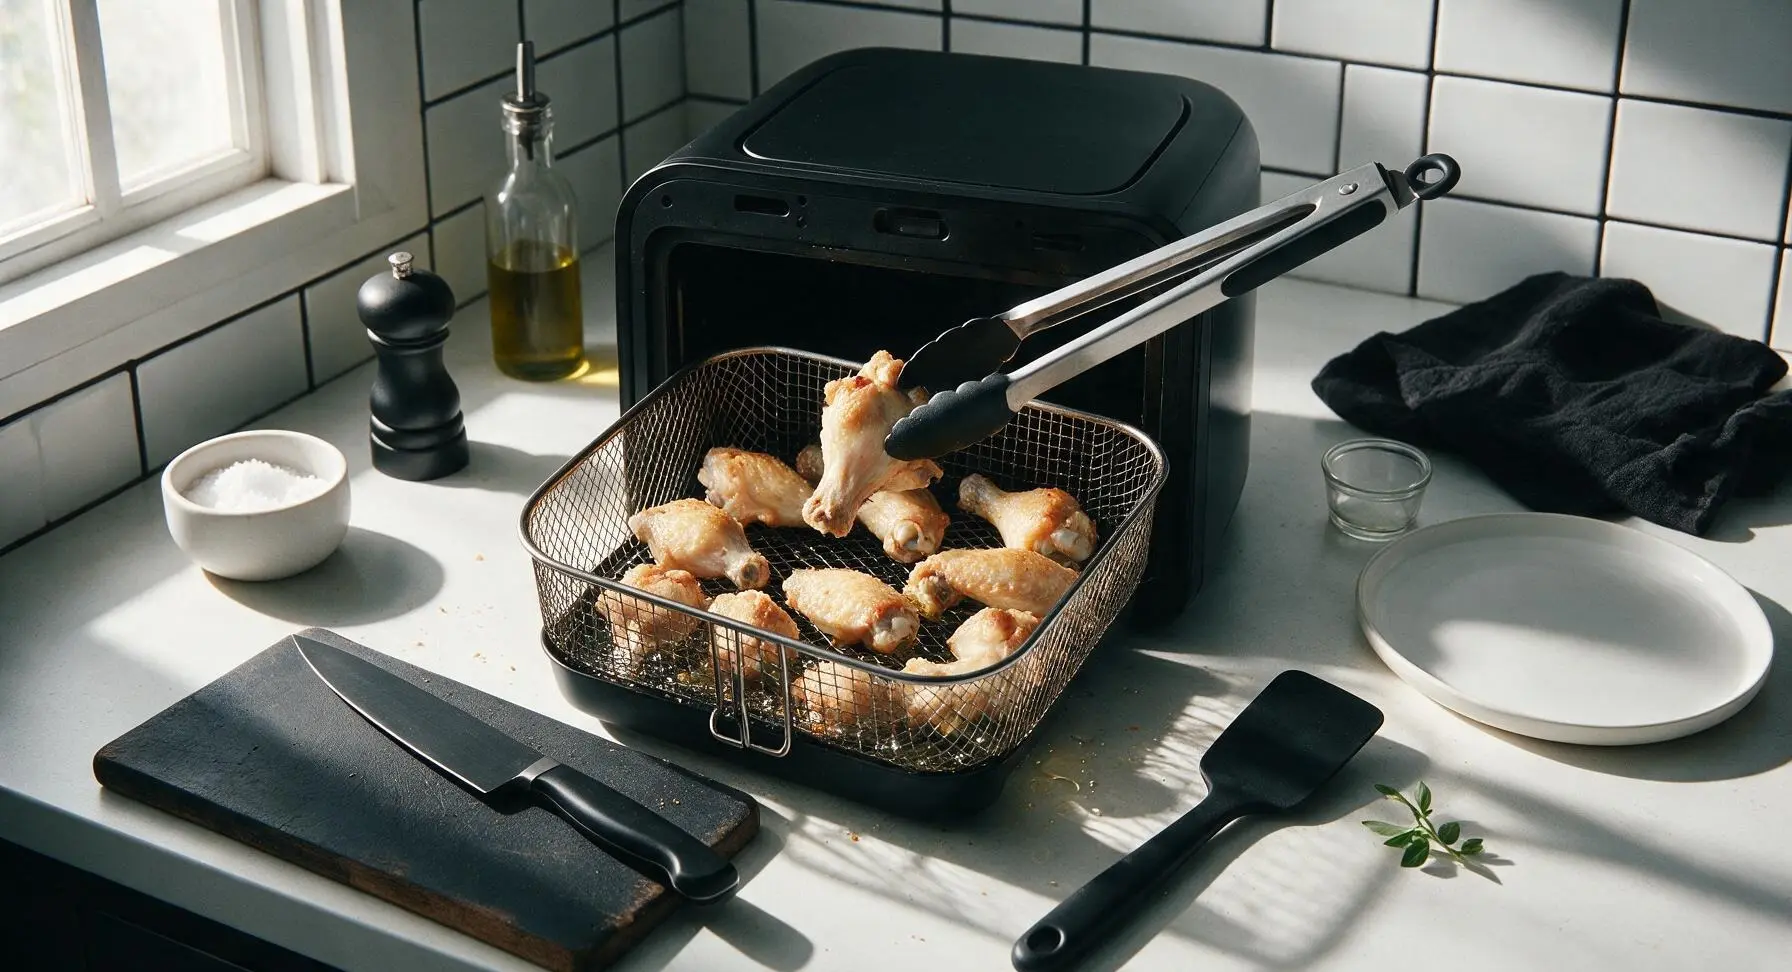
Step 5
step5:Flip Wings Halfway Through
6

Cook Until Skin is Crisp

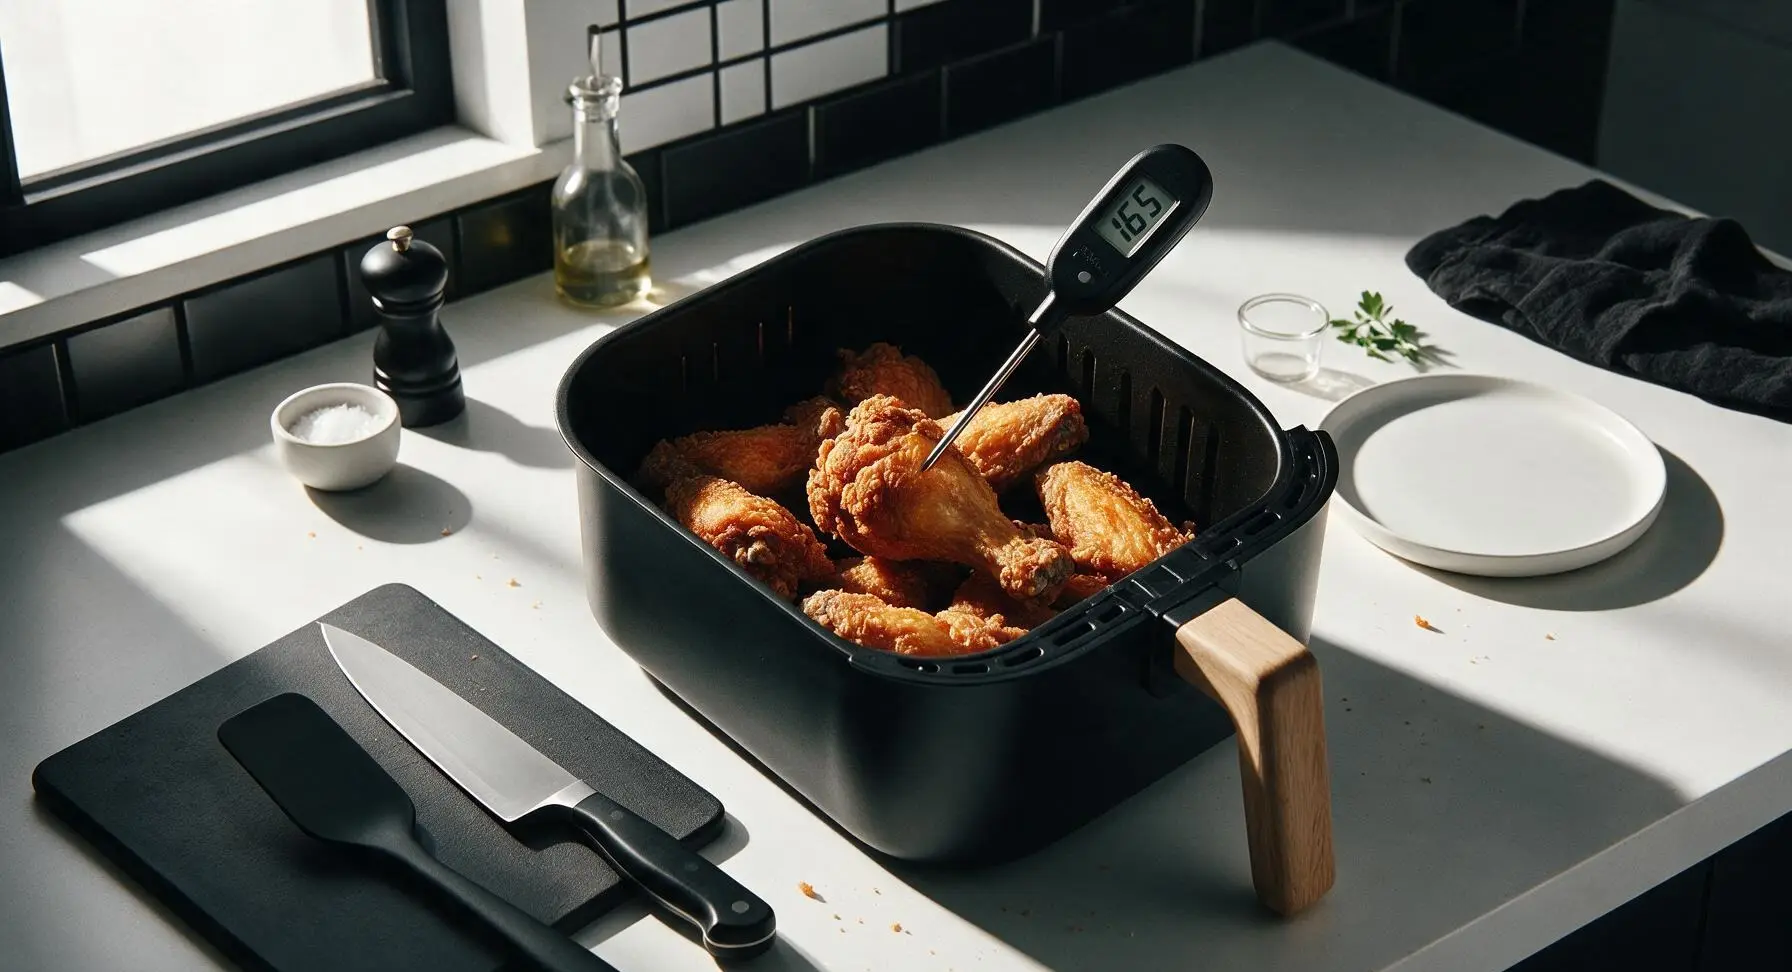
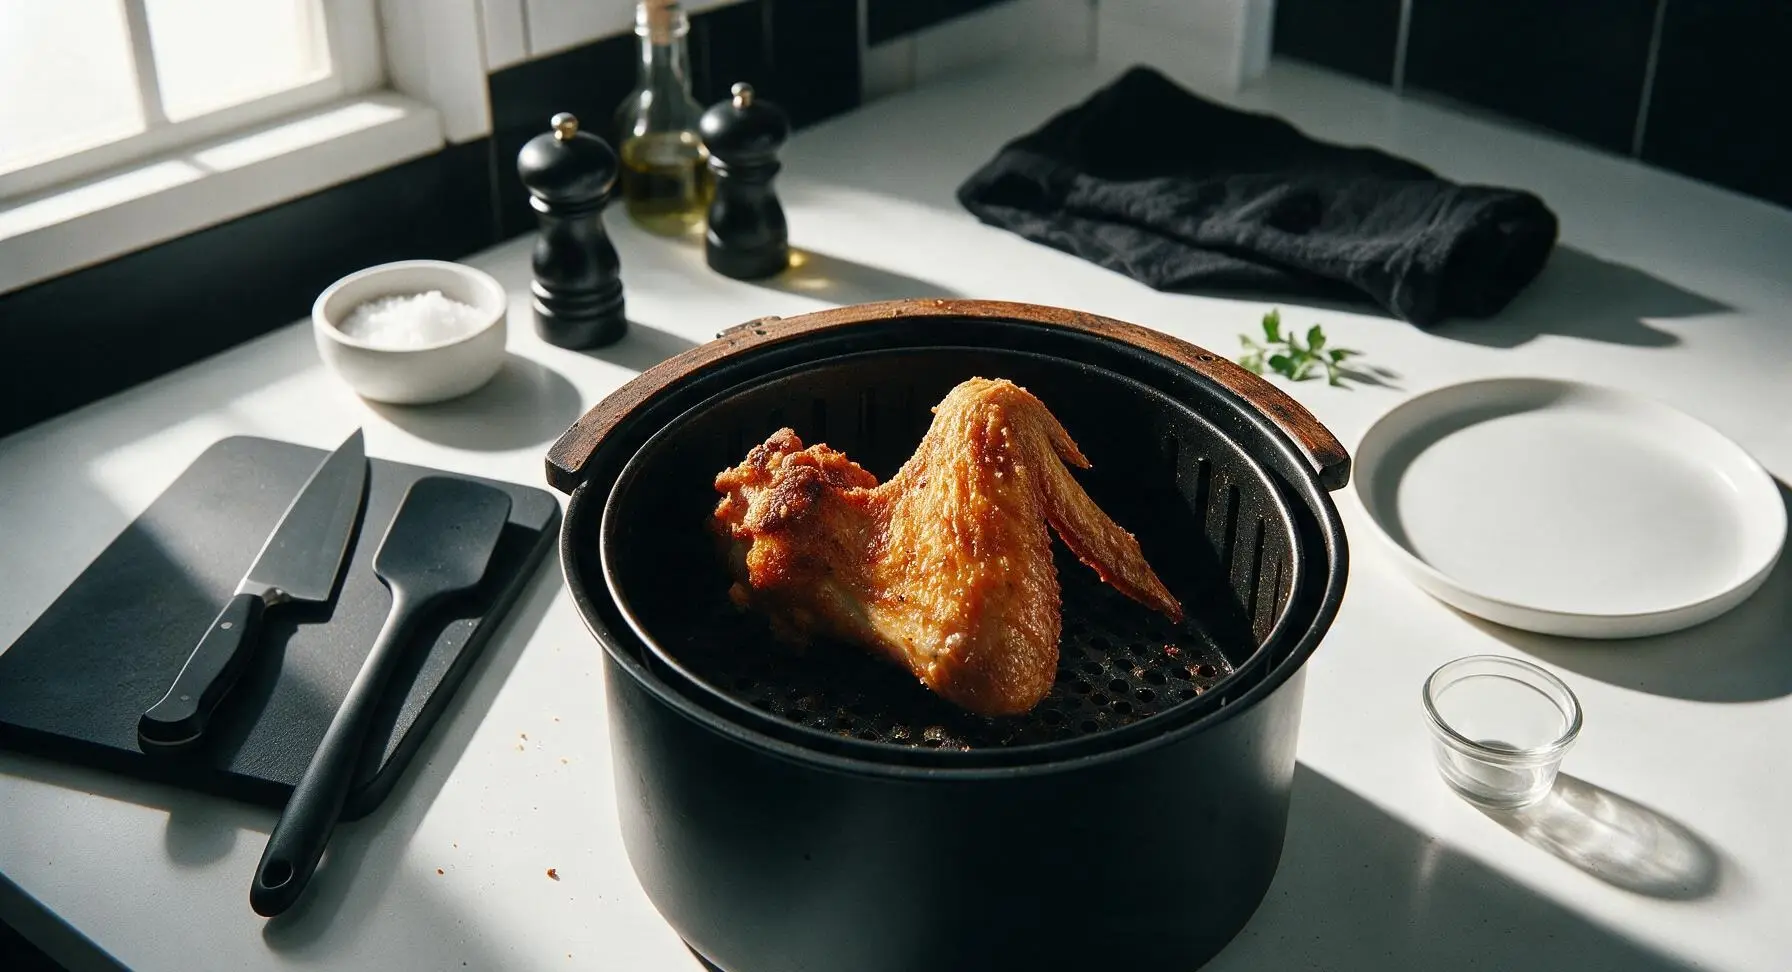
Cook the flipped wings for an additional 13 minutes at 400°F (200°C), for a total cook time of 25 minutes. When the timer goes off, insert the digital instant-read meat thermometer into the thickest part of a drumette (avoiding bone) to confirm an internal temperature of 165°F (74°C). The finished skin should be deep golden, crinkled, and rigid to the touch, with no pale soft patches. Add 2-3 minutes of extra cook time if needed to reach full crispness, checking every minute to avoid burning.
Step 6
step6:Cook Until Skin is Crisp
Step 6
step6:Cook Until Skin is Crisp
7

Toss Wings Lightly in Sauce

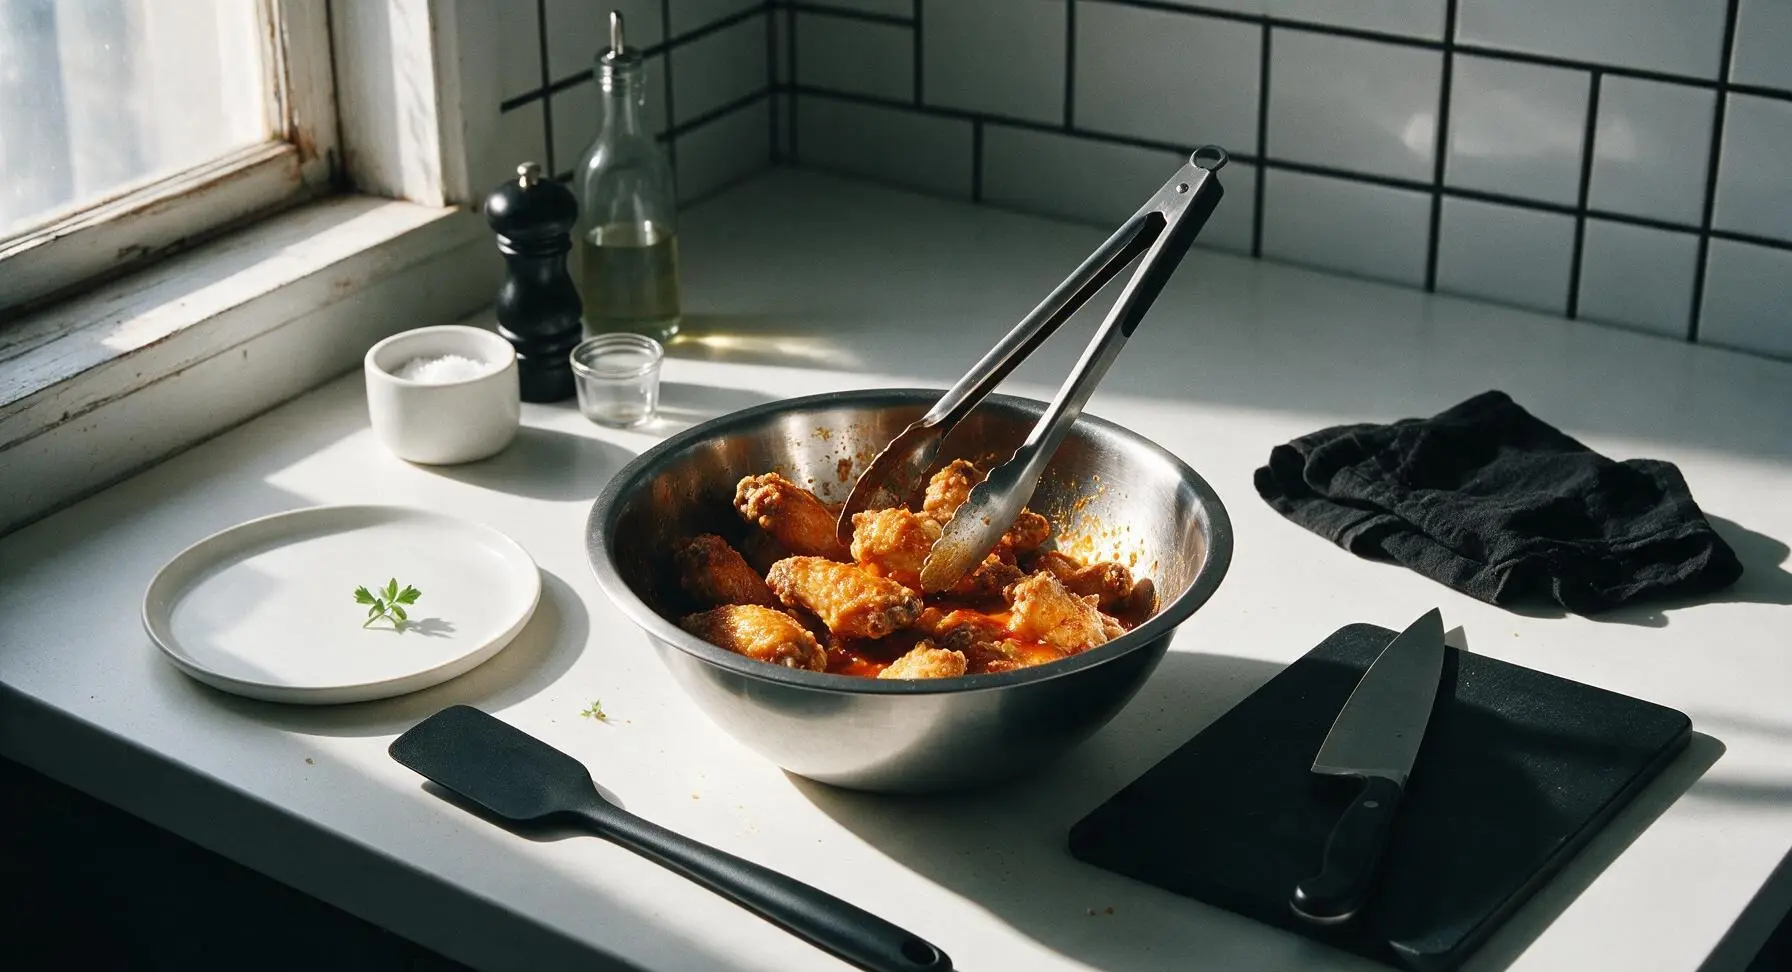
Transfer the fully cooked, crispy wings from the air fryer basket back into the clean stainless steel mixing bowl. Pour the melted unsalted butter and buffalo hot sauce over the hot wings, tossing gently with the tongs for 10-15 seconds until every wing is coated in a thin, even layer of sauce. Do not over-sauce: pools of excess sauce at the bottom of the bowl will quickly turn crisp skin soggy.
Step 7
step7:Toss Wings Lightly in Sauce
8

Plate and Serve Immediately

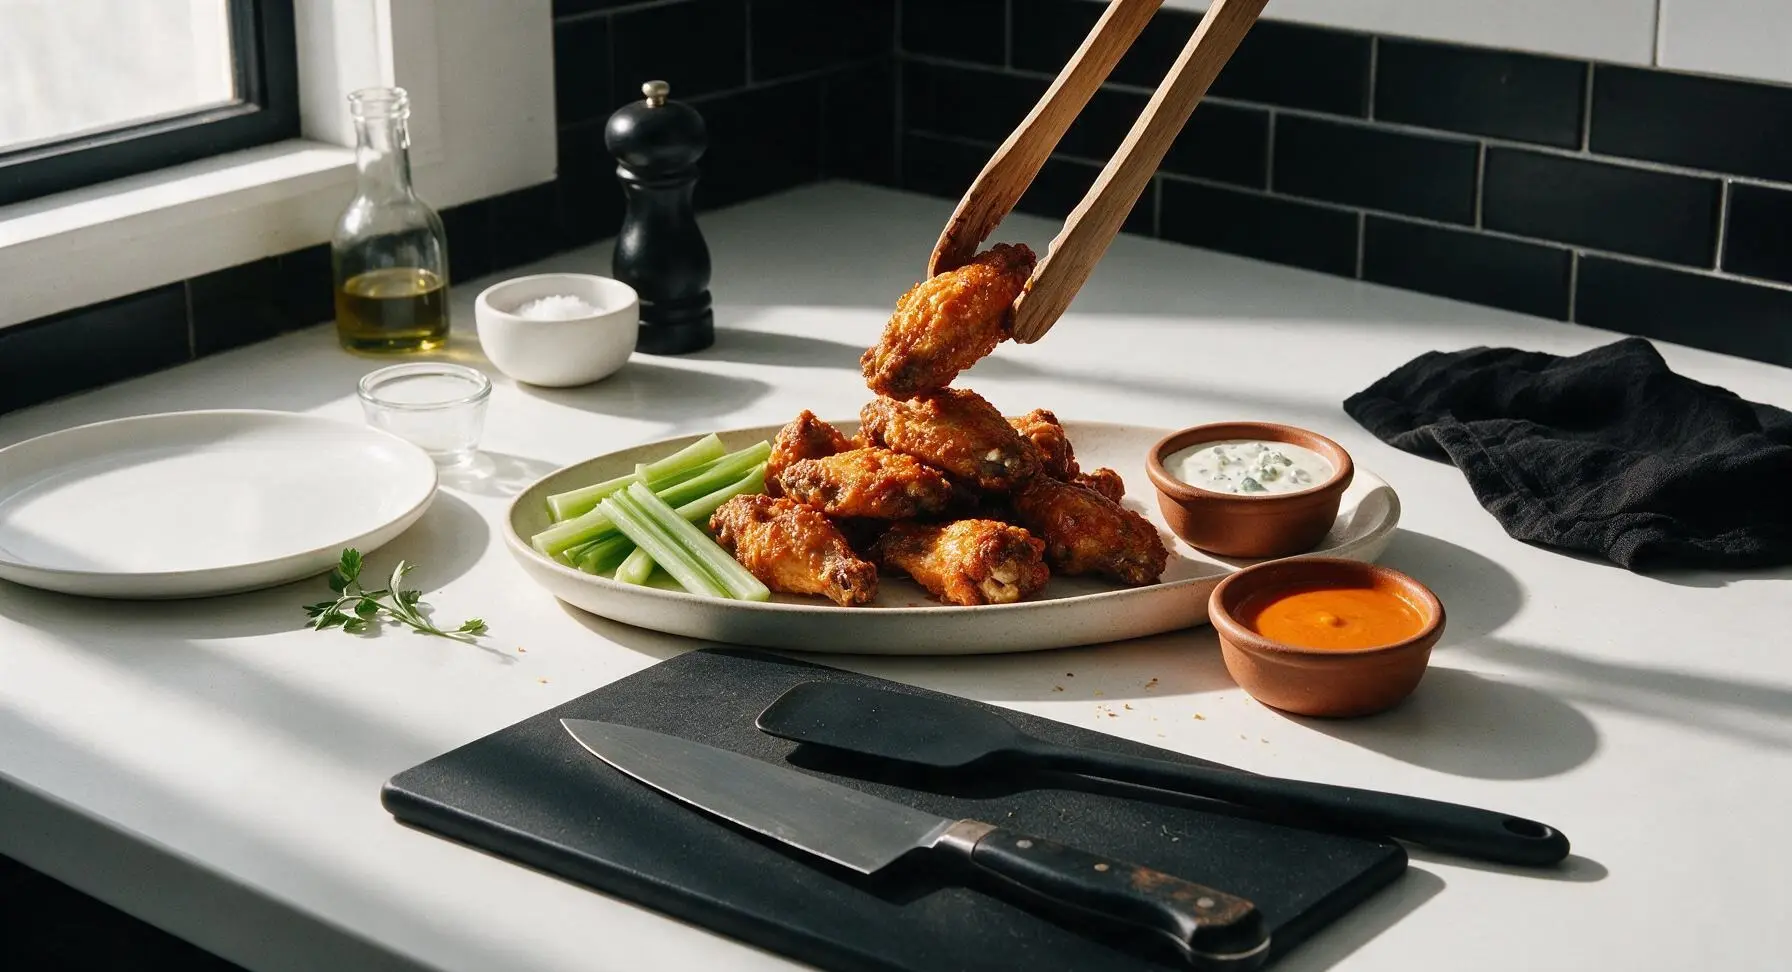
Use the tongs to transfer the sauced wings to the matte off-white oval ceramic serving platter, piling them in a casual, natural stack. Tuck celery sticks alongside the wings, and fill the empty terracotta ramekin with extra hot sauce to join the pre-portioned blue cheese dressing. Serve right away, as wing skin will begin to soften after 5 minutes at room temperature.
Step 8
step8:Plate and Serve Immediately

Tips

1.Use only aluminum-free baking powder for the dry coating: baking powder raises the skin’s pH to break down proteins and speed browning for extra crispness, but aluminum-containing baking powder leaves a distinct metallic, bitter aftertaste on cooked wings.
2.Skip the extra oil toss: the rendered fat from the chicken skin is more than enough to create crispness in the circulating air fryer heat, and adding extra oil will make wings greasy rather than shatteringly crisp.
3.Keep wings un-sauced if serving a crowd: hold plain crispy wings in a 200°F oven on a wire rack set over a baking sheet for up to 30 minutes, then toss in sauce right before guests are ready to eat to preserve crisp texture.


✨ You May Also Like

Snacks & Appetizers
🍜 Mexico

Crispy thick-cut tortilla chips piled high with seasoned beef, melted cheese, and bright fresh toppings for a shareable, crowd-favorite bite.

⏱️ 25 minuteSnacks & Appetizers ★ 4.8
Snacks & Appetizers
🍜 United States

Crisp, sweet-tangy spiced pickled watermelon rind is a zero-waste summer staple, perfect with grilled meats, charcuterie, or eaten straight from the jar as a bright snack.

⏱️ 30 minuteSnacks & Appetizers ★ 4.6
Snacks & Appetizers
🍜 Germany

A tangy, jellied pork cold cut slow-simmered with aromatic spices, set into a firm sliceable loaf, served cold with mustard and crusty bread.

⏱️ 3 hours 4Snacks & Appetizers ★ 4.8
Snacks & Appetizers
🍜 United States

Creamy, tangy, perfectly seasoned hard-boiled egg halves filled with a rich, smooth yolk mixture, a timeless, crowd-pleasing bite for holiday and casual gatherings alike.

⏱️ 40 minuteSnacks & Appetizers ★ 4.8
Snacks & Appetizers
🍜 Russia

Silky, dill-forward no-smoke cured salmon, a Scandinavian classic with bright salty-sweet flavor, ideal for holiday starter platters and open-faced rye sandwiches.

⏱️ 48 hours Snacks & Appetizers ★ 4.7
Snacks & Appetizers
🍜 Japan

Crisp golden bottoms, juicy savory pork and vegetable filling, and tangy dipping sauce make these pan-fried gyoza a beloved shareable bite.

⏱️ 45 minuteSnacks & Appetizers ★ 4.8

air fryer wings crispy:Frequently Asked Questions

1.Why do you use baking powder instead of flour to get these wings crispy? ▾
Aluminum-free baking powder works far better than flour for crispiness because it raises the pH of chicken skin, breaks down surface proteins, and encourages fast, even browning as hot air circulates. Flour tends to turn gummy or powdery on wings without deep frying, and aluminum-free blends prevent off-putting metallic aftertaste. Never swap in straight baking soda, as it leaves a harsh, bitter flavor on finished wings.
2.Do I need to pat the chicken wings dry before cooking them? ▾
Absolutely—this step is non-negotiable for shatteringly crisp skin. Any excess moisture on the wing surface will steam instead of crisp as the air fryer runs, leaving you with soggy, rubbery skin. Pat every drumette and flat thoroughly with paper towels right before seasoning, even if wings look dry out of the package, to lock in that perfect, crave-worthy crunch.
3.Can I use frozen chicken wings for this recipe, or do they have to be fresh? ▾
You can use frozen wings, but you’ll need to fully thaw them first and pat them completely dry to remove all excess melted ice moisture before seasoning. Cooking straight from frozen causes excess steam, prevents crisping, and leads to uneven cooking where skin burns before the interior hits a safe 165°F. Fresh, fully defrosted wings give the most consistent crisp results.
4.Why does this recipe call for bone-in, skin-on split wings specifically? ▾
Bone-in, skin-on split wings (drumettes and flats) deliver the ideal juicy, crisp texture this recipe is designed for. The bone insulates meat as it cooks, keeping it tender and juicy instead of drying out, while the attached skin renders fat in the air fryer to create that signature shatteringly crisp outer layer. Boneless, skinless wings will turn dry and won’t develop that crunch.
5.What temperature should I set my air fryer to for the crispiest wings? ▾
Set your air fryer to 400°F for the best, most consistent results. This temperature is hot enough to quickly render fat under the chicken skin and crisp the outer layer without burning seasoning, while cooking interior meat through to juicy perfection. Avoid lower temps that leave skin chewy, and don’t go above 425°F, as that can burn delicate wing tips before the meat cooks through.
6.Do I need to flip the wings halfway through cooking? ▾
Yes, flip all drumettes and flats halfway through your cook time, usually around the 12-minute mark for a standard 24-minute total cook. Flipping ensures every side of the wing gets equal exposure to circulating hot air, so you get even crispness all around instead of soggy spots where wings sat against the basket or each other during cooking.
7.Can I stack wings in the air fryer basket to cook more at once? ▾
Avoid stacking wings if you want consistent crispness—crowding or stacking traps steam between wings and stops hot air from circulating evenly around every piece. Cook wings in a single layer with a little space between each piece, working in batches if you have a smaller air fryer. Keep finished batches warm in a 200°F oven while you cook the rest.
8.How do I know when the wings are fully cooked and safe to eat? ▾
The most reliable way to check doneness is to insert an instant-read thermometer into the thickest part of the wing, away from bone, to confirm it reaches an internal temperature of 165°F. When done, skin will be deep golden and crisp, juices will run clear, and meat will pull easily away from the bone without any pink remaining near the bone.
9.When should I toss the wings in the melted unsalted butter for the best results? ▾
Toss hot, fully cooked wings in melted unsalted butter immediately after you pull them out of the air fryer, right before serving. Tossing while wings are still piping hot helps the butter coat evenly without making crisp skin soggy, and it adds a rich, luxurious flavor that pairs perfectly with the simple salt and pepper seasoning base.
10.Can I add sauce to these wings, or will that make them soggy? ▾
You can absolutely add your favorite wing sauce, but toss them in sauce right before eating to keep crunch intact. Letting sauced wings sit for even 10 minutes will make crisp skin turn soft and soggy. If you prefer lightly sauced wings as noted in the recipe intro, mix sauce with a little melted butter to help it coat evenly without weighing down skin.
11.Why do you specify aluminum-free baking powder for this recipe? ▾
Regular baking powder that contains sodium aluminum sulfate can leave a distinct, metallic, slightly bitter aftertaste on wings as they cook at high heat, which distracts from the clean, savory seasoning of salt, pepper, and butter. Aluminum-free baking powder delivers the same pH-raising, browning benefits for crisp skin without that unpleasant off-flavor, making it well worth seeking out.
12.How much kosher salt and seasoning should I use per pound of wings? ▾
A good rule of thumb is 1 teaspoon of kosher salt per pound of split chicken wings, paired with ¼ teaspoon of freshly ground black pepper and 1 teaspoon of aluminum-free baking powder per pound. Toss the dry seasoning evenly over fully dried wings before cooking to make sure every piece is well seasoned, rather than sprinkling salt only on the top basket layer.
13.My wings came out chewy instead of crisp—what did I do wrong? ▾
Chewy skin almost always traces back to excess moisture: you likely didn’t pat wings dry enough, crowded the basket so they steamed instead of crisped, cooked at too low a temperature, or used too much baking powder. For your next batch, make sure wings are bone-dry, cooked in a single layer at 400°F, and use no more than 1 teaspoon of baking powder per pound of wings.
14.Do I need to spray the air fryer basket with oil before adding the wings? ▾
You don’t need to spray the basket with extra oil for this recipe! As wings cook, fat from the chicken skin renders out naturally, which is more than enough to keep them from sticking to the basket. Adding extra cooking spray can actually make wings greasy and build up a sticky, hard-to-clean residue on your air fryer basket over time.
15.Can I make these wings ahead of time for a party or game day gathering? ▾
You can prep wings up to a day ahead by patting them dry, tossing with baking powder, salt, and pepper, and storing them uncovered on a wire rack in the fridge. Cook them right before guests arrive for the best crispness, and hold finished wings in a 200°F oven on a wire rack for up to 30 minutes before serving—skip covered containers, which trap steam and cause sogginess.
16.How is cooking wings in an air fryer different from baking them in a conventional oven? ▾
Air fryers circulate high-speed hot air much more efficiently than most conventional ovens, which cuts cook time by about 20 minutes and creates crispier skin without large amounts of oil. If you use an oven, you’ll need to cook wings on a wire rack over a baking sheet at 425°F for 45-50 minutes, flipping halfway, to get a similar level of crispness.
17.Can I use table salt instead of kosher salt for seasoning the wings? ▾
You can, but you’ll need to cut the measurement in half—table salt is much finer and denser than kosher salt, so using the same amount will make your wings overly salty. For example, if the recipe calls for 1 teaspoon of kosher salt per pound of wings, use only ½ teaspoon of fine table salt to get the same balanced seasoning without overpowering the chicken flavor.
18.Should I trim any excess skin or fat off the wings before cooking? ▾
You can trim any loose, hanging bits of excess skin or fat that might drip and cause excess smoke in your air fryer, but don’t trim off all the attached skin—that’s what creates the crisp outer layer! If you see tiny feather remnants left on the skin, pluck those off before patting wings dry and seasoning for the cleanest final result.
19.How do I reheat leftover wings so they stay crisp instead of getting soggy? ▾
Skip the microwave, which will turn wings rubbery and soggy. Reheat leftover wings in your air fryer at 375°F for 5-7 minutes, flipping halfway, until they’re heated through to 165°F and the skin is crisp again. You can also reheat them on a wire rack in a 400°F oven for 10 minutes if you don’t have an air fryer handy for leftovers.

Comments (5)

2 hours ago

OMG these are SO good! I’ve tried so many air fryer wing recipes that came out soggy no matter what I did, but these got perfectly crispy even without dousing them in a ton of oil. Made a batch for my son’s birthday watch party with his friends and they all asked for seconds. Total game changer for weeknight dinners too.

30 minutes ago

Wait did you pat the wings dry like the recipe says? I skipped that step once and mine were still a little soggy, curious if you did that!

5 minutes ago

Great question! Patting the wings completely dry with paper towels before seasoning is the #1 trick to get that shatteringly crisp skin in the air fryer — no extra flour or baking powder needed if you nail that step. So glad you loved the recipe, BBQdad1987!

yesterday

I make a big batch of these every Sunday for meal prep and they hold up perfectly all week! I toss half in buffalo sauce and half in lemon pepper for variety, and even my picky toddler devours them. 25 minutes cook time is so doable on busy weeknights when I don’t feel like firing up the oven.

yesterday

Love that meal prep hack! Tossing them in different sauces is such a smart way to keep things interesting — lemon pepper wings are one of my all-time favorite variations too. So happy the whole family enjoys them!

3 days ago

These were a huge hit at my neighborhood potluck last weekend! Only reason I’m not giving 5 stars is that my air fryer runs a little hot, so the first batch got a touch too dark on the edges after 25 minutes. I dropped the temp 25 degrees for the rest and they came out perfect, everyone was asking for the recipe.

2 days ago

Oh thanks for the heads up! My air fryer is also super hot, I would’ve burned mine for sure if I didn’t see this. Did you still cook them the full 25 at the lower temp?

2 days ago

Great tip! All air fryers run a little differently, so checking for doneness a few minutes early is always a good idea. If your model runs hot, reducing the temp by 25 degrees and adding a minute or two if needed works perfectly. So glad they were a potluck hit!

1 week ago

Total game changer. I used to think you needed a deep fryer to get crispy wings, but these taste just like the ones from my favorite sports bar for a fraction of the calories. Tossed them in garlic parmesan sauce and my roommate ate half the tray before I even got a plate.

5 days ago

Garlic parmesan sounds insane! I’ve only done buffalo so far, I need to try that variation next. Did you melt butter with the garlic and parm to toss?

just now

Made these for my roommates last night after seeing the recipe pop up on my feed and we all agreed this is better than the wing place down the street that charges $18 for a dozen. So easy too, I’m literally a beginner who burns toast half the time and these came out perfectly crispy first try. 10/10 will be making these every game day from now on.



