
apple sandwich
intro
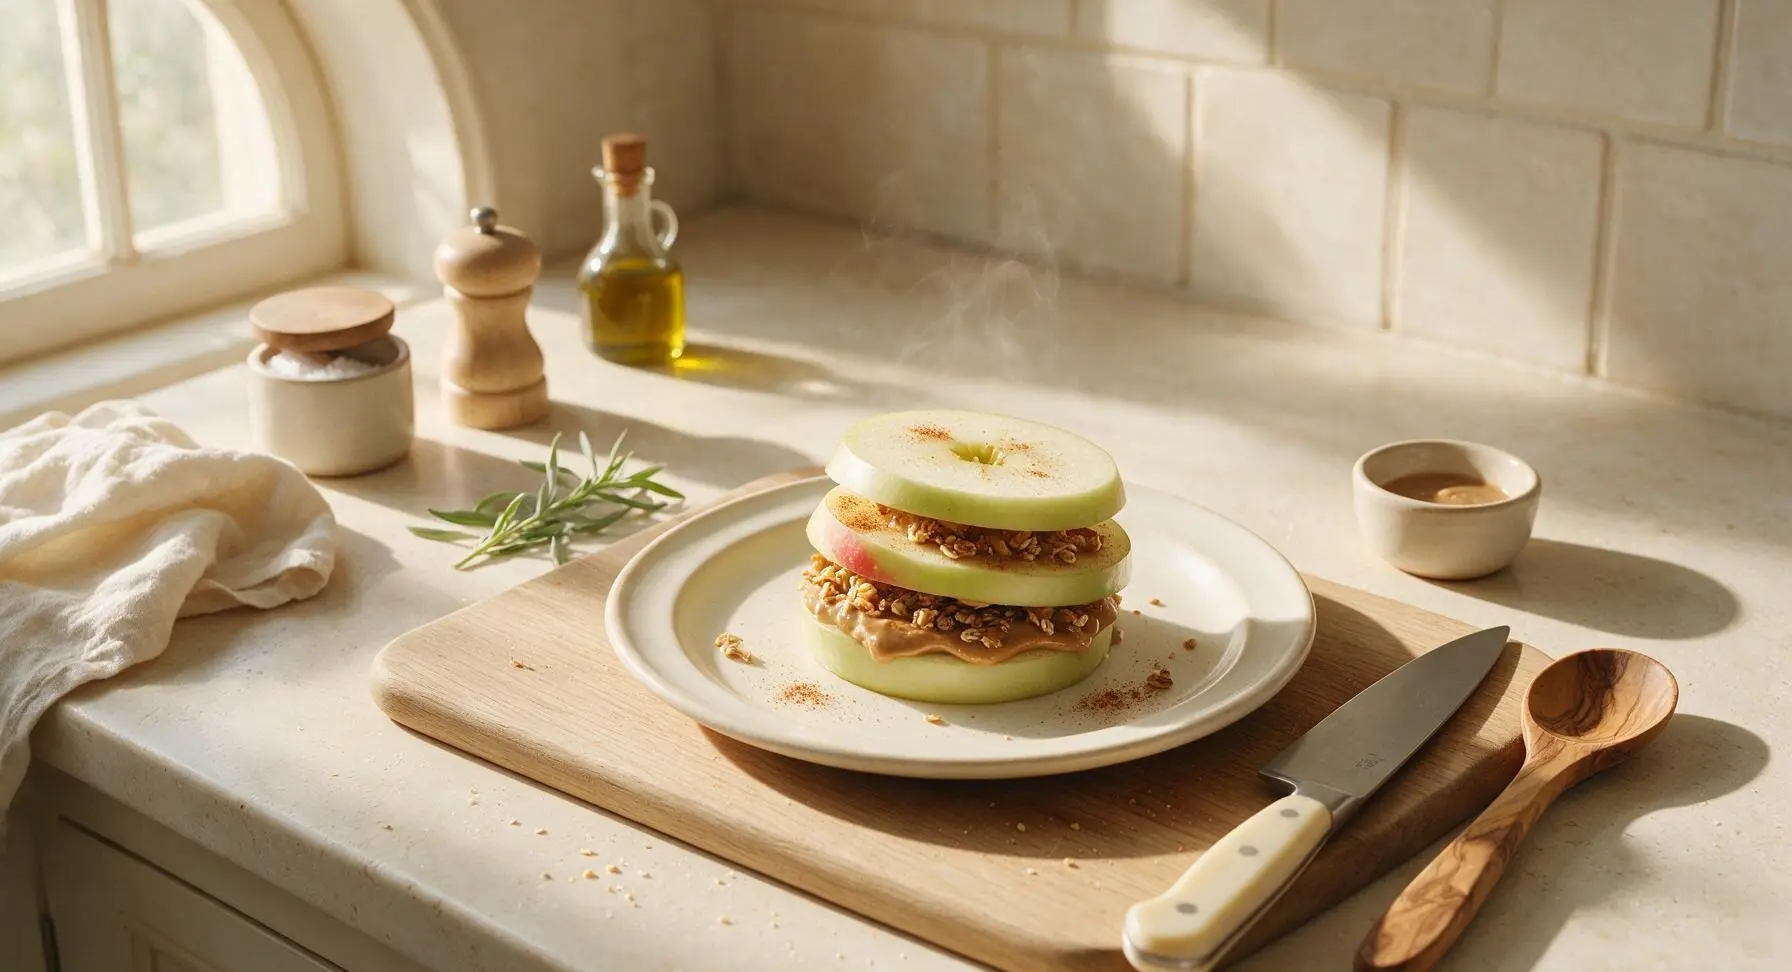
Crisp fresh apple rounds replace bread in this crunchy, sweet-savory no-cook snack, layered with nut butter, granola, and warm cinnamon for a satisfying, portable bite.
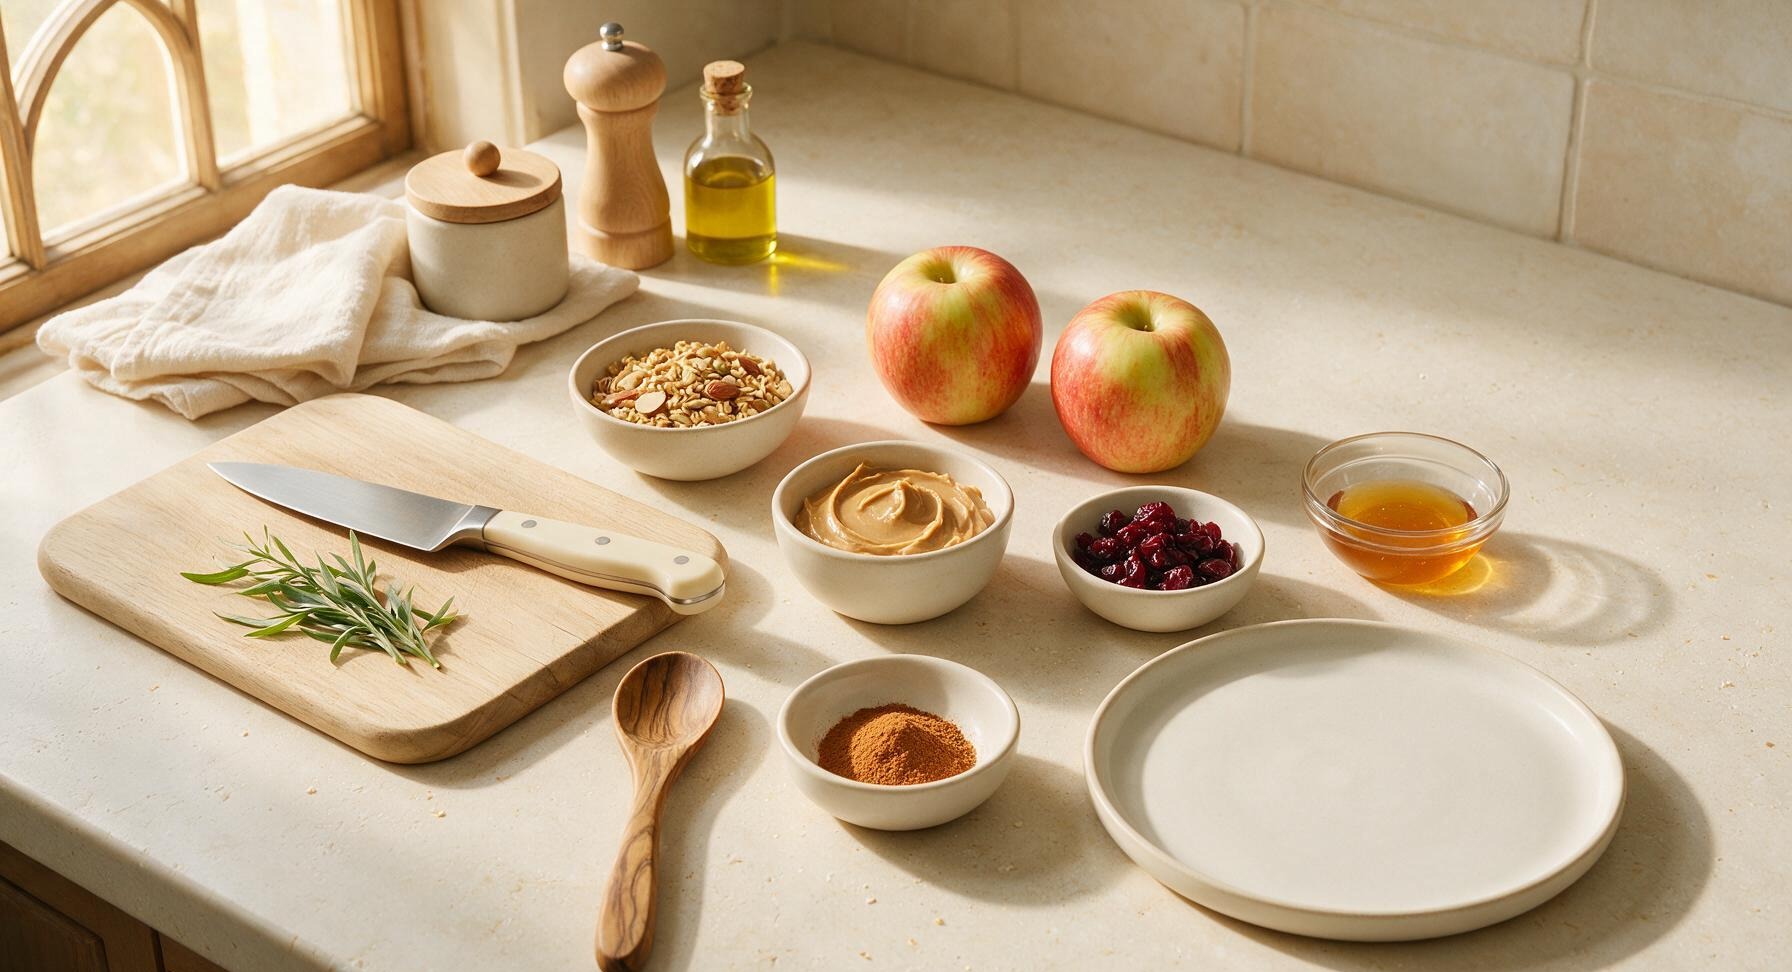
Ingredients
Steps
Prep Fresh Apples
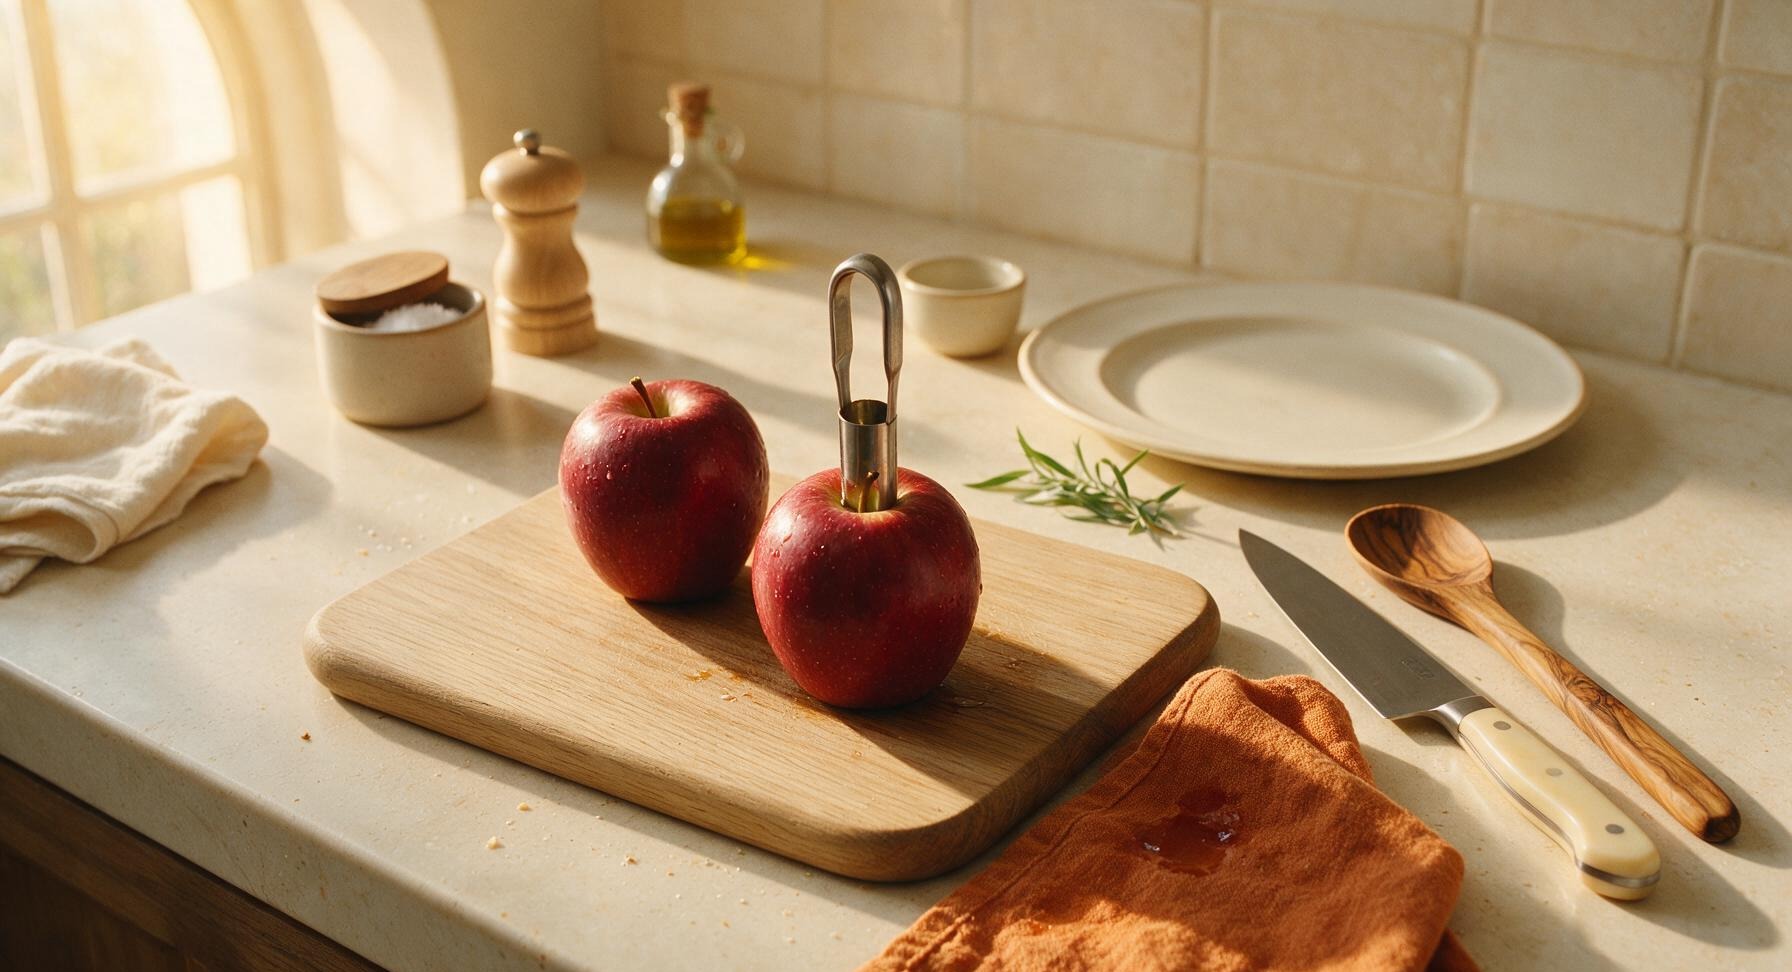
Rinse the 2 medium Honeycrisp apples under cool running water, pat dry gently with the edge of the burnt orange linen towel. Stand each apple upright on the center of the maple cutting board, align the stainless steel apple corer over the stem end, and press straight down through the center to remove the core and seeds completely, twisting slightly as you pull the corer out to leave a clean hollow center. Set the removed core pieces at the far top edge of the cutting board for disposal later. Avoid coring at an angle, as this will create uneven slices that do not stack neatly.
Slice Even Apple Rounds
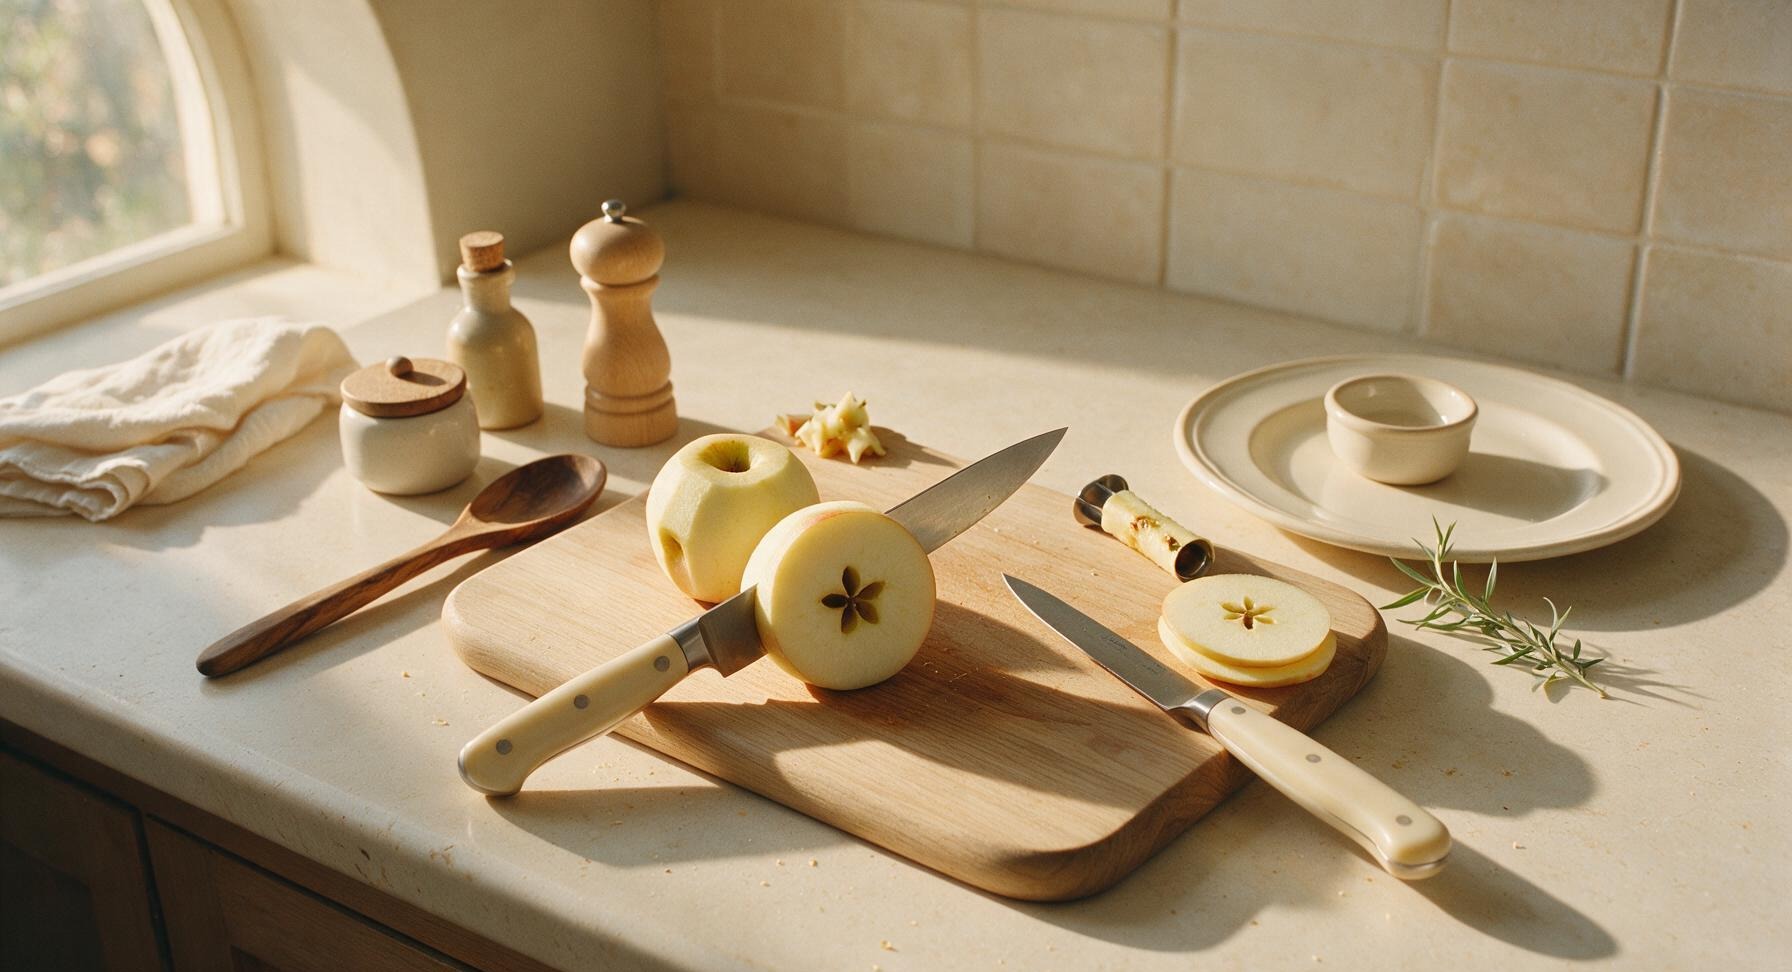
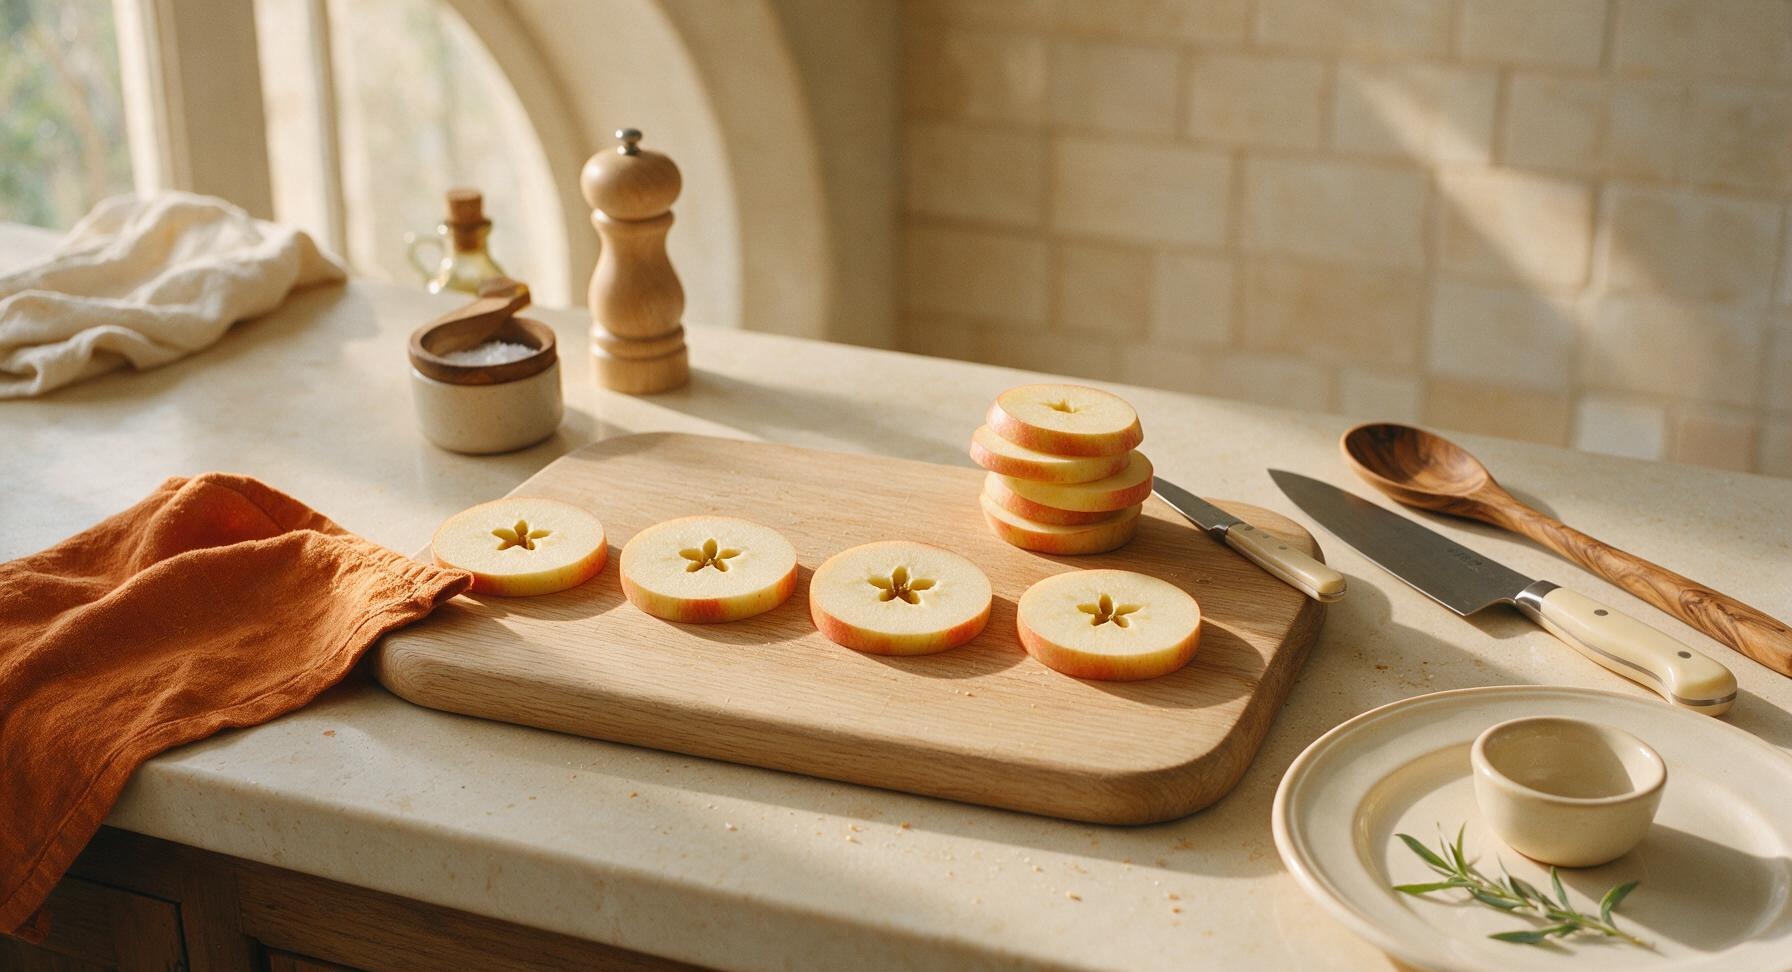
Using the 8-inch stainless steel paring knife, slice each cored apple crosswise into 1cm-thick even rounds, yielding 8 total rounds (4 per apple). Inspect each round to remove any remaining seed fragments, and set slices in a single loose stack on the right edge of the cutting board. Avoid slicing rounds thinner than 1cm, as they will bend and break when spread with filling.
Arrange Sandwich Bases
Lay 4 of the sturdiest, most evenly cut apple rounds in a single row across the center of the maple cutting board, flat cut side facing up. These will be the bottom layers of your sandwiches; set the remaining 4 rounds aside to use as top layers. Pat the surface of each base slice lightly with a corner of the linen towel to remove any excess surface moisture that would make filling slide off.
Spread Creamy Nut Butter
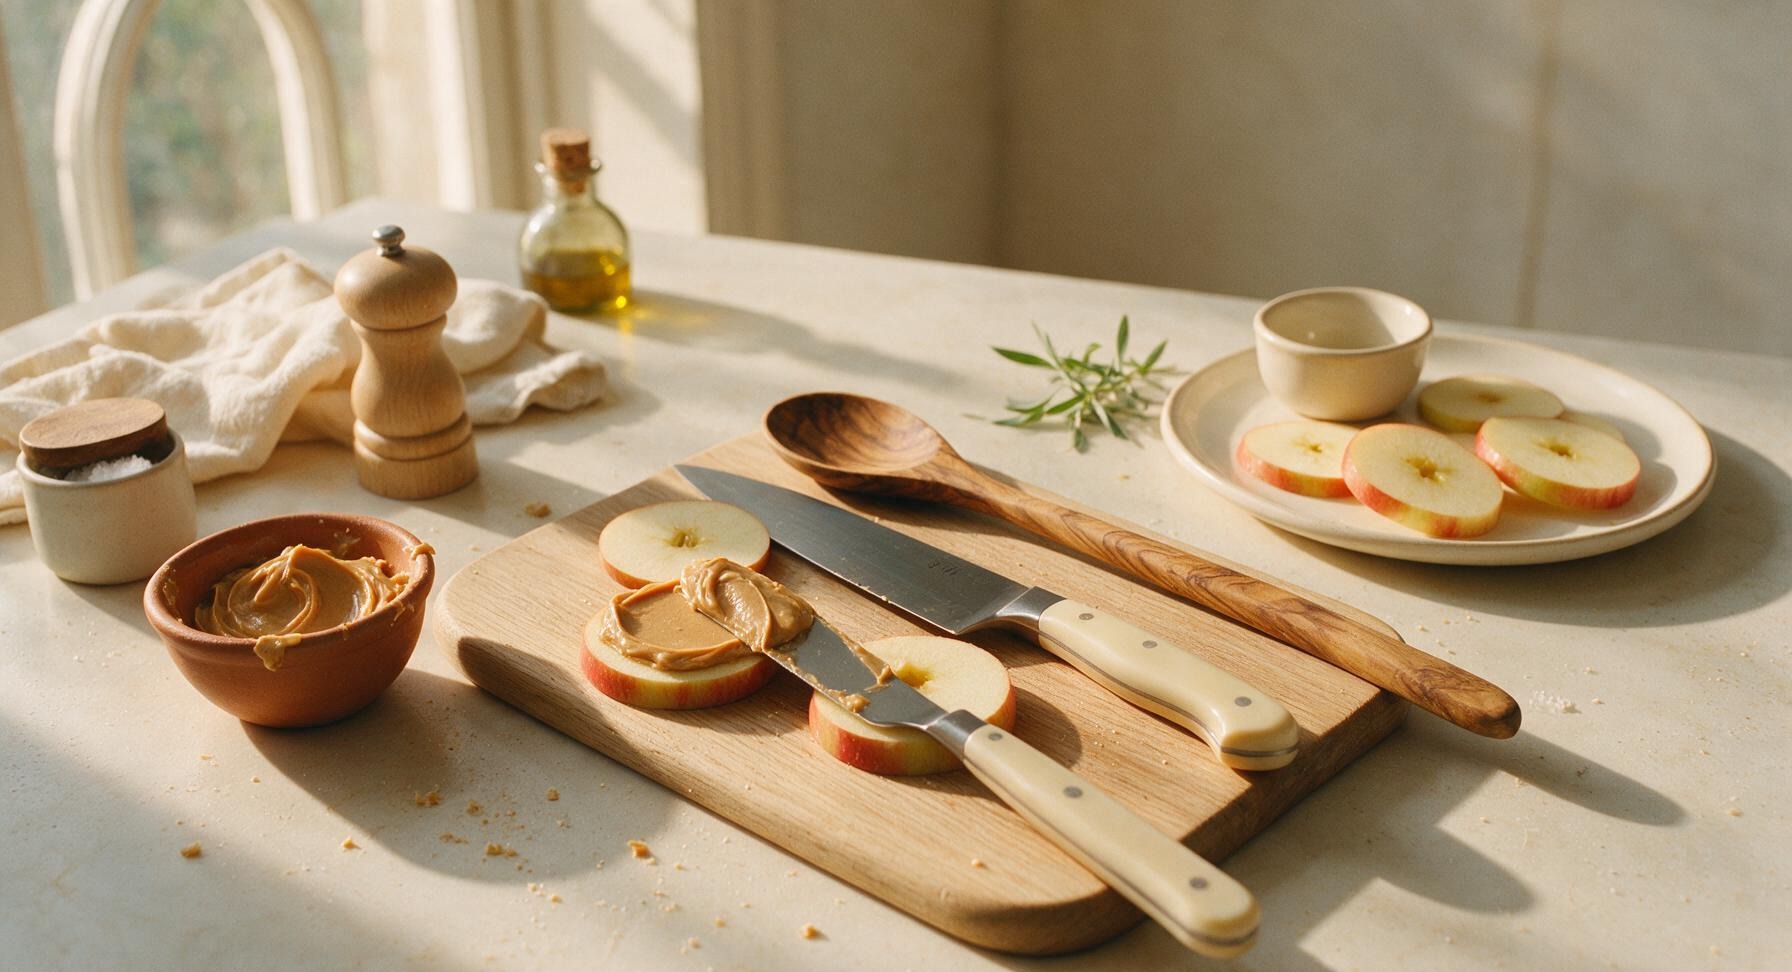
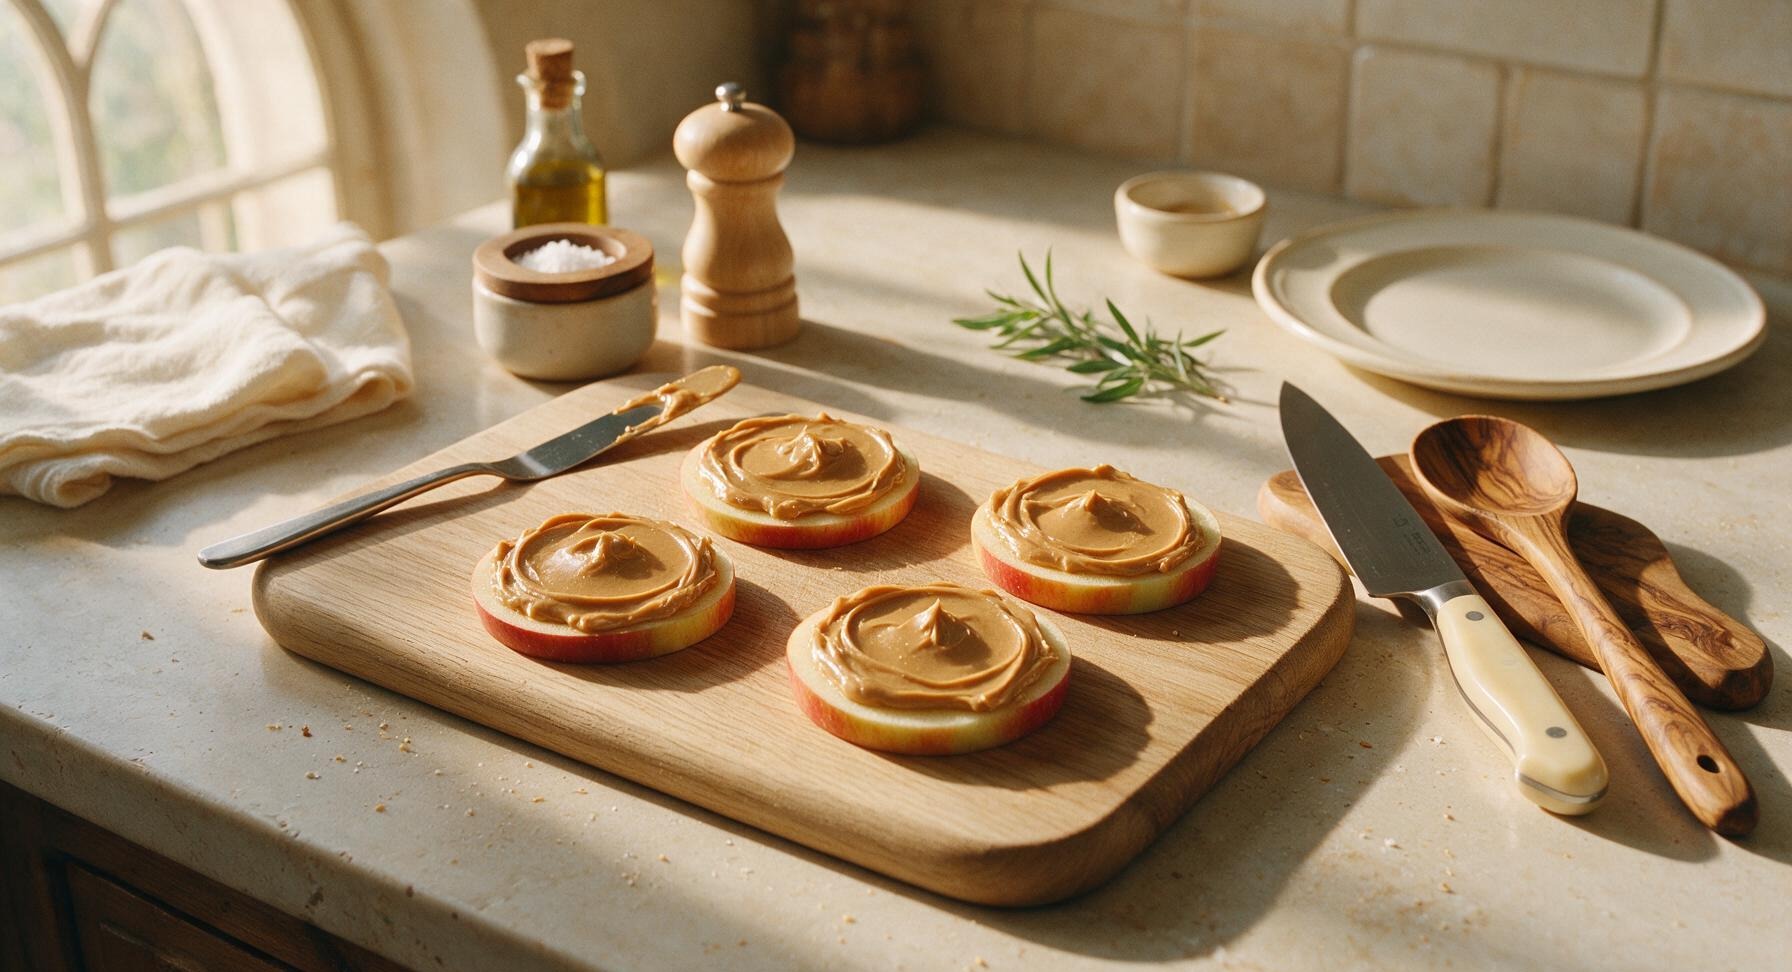
Scoop the creamy unsweetened peanut butter from its terracotta pinch bowl using the small offset metal spatula. Spread 1.5 tablespoons of peanut butter evenly across the top surface of each base apple round, spreading all the way to the edge of the slice to ensure every bite has filling. The peanut butter should form a smooth, thick 3mm layer that does not drip over the slice edges.
Add Crunchy Toppings
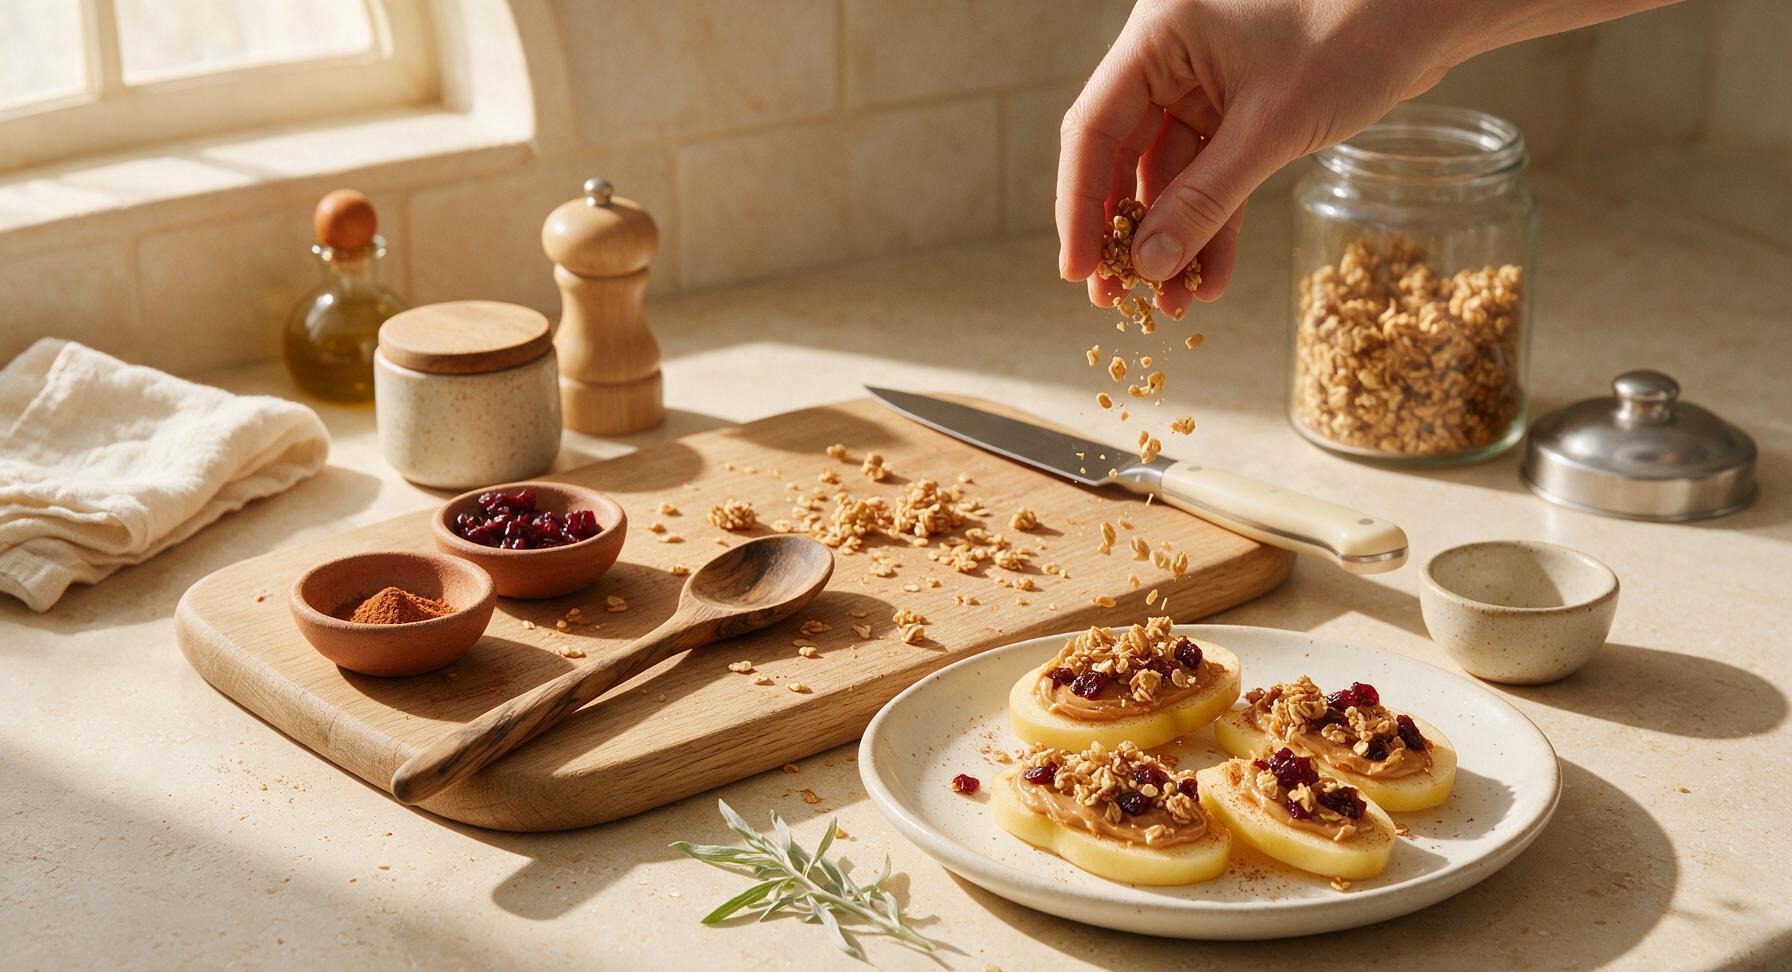
Sprinkle the crunchy granola evenly across the peanut butter-topped base slices, dividing the 1/2 cup of granola equally between the four sandwiches. Top granola with the dried cranberries, placing 4-5 cranberries per sandwich. Sprinkle a light pinch of ground cinnamon over the toppings on each slice, taking care not to over-season as cinnamon can quickly overpower the sweet apple flavor.
Drizzle Sweet Honey
Remove the wooden dipper from the stoneware honey pot, hold it 5cm above the topped apple slices, and drizzle a thin zig-zag of raw honey across the toppings on each sandwich, using approximately 1/4 tablespoon of honey per slice. Allow the honey to settle for 10 seconds so it seeps slightly into the granola layer, preventing it from running out when the sandwich is closed.
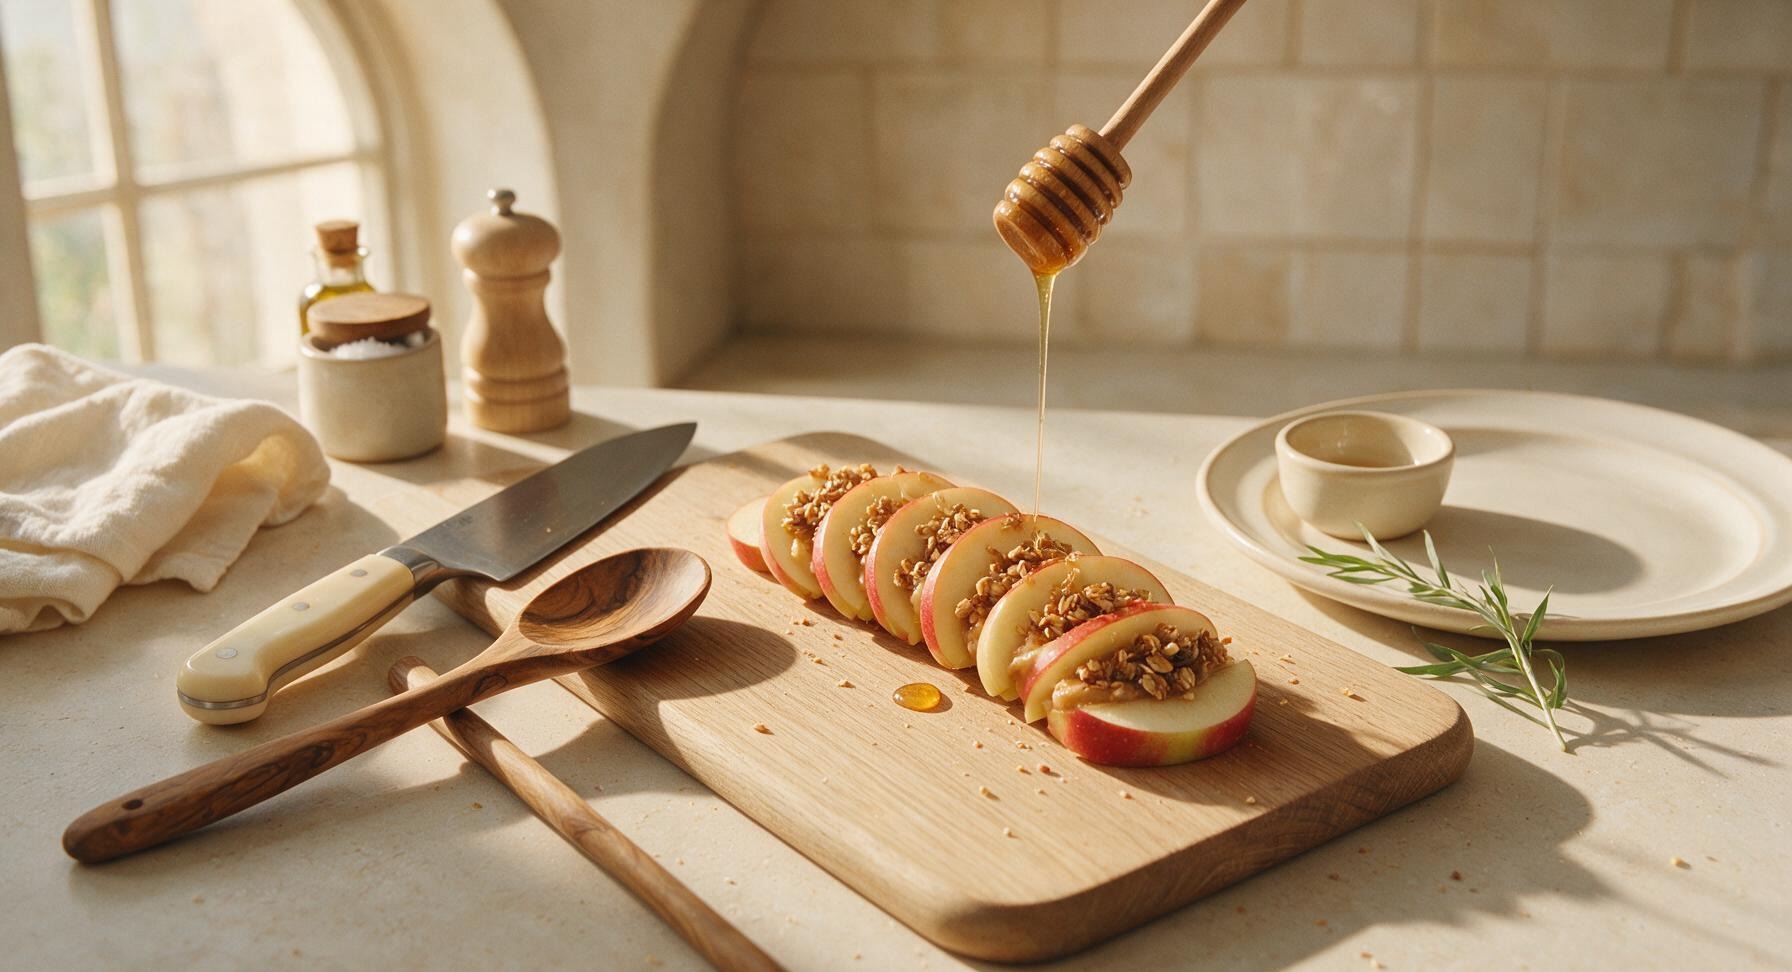
Assemble and Plate Sandwiches
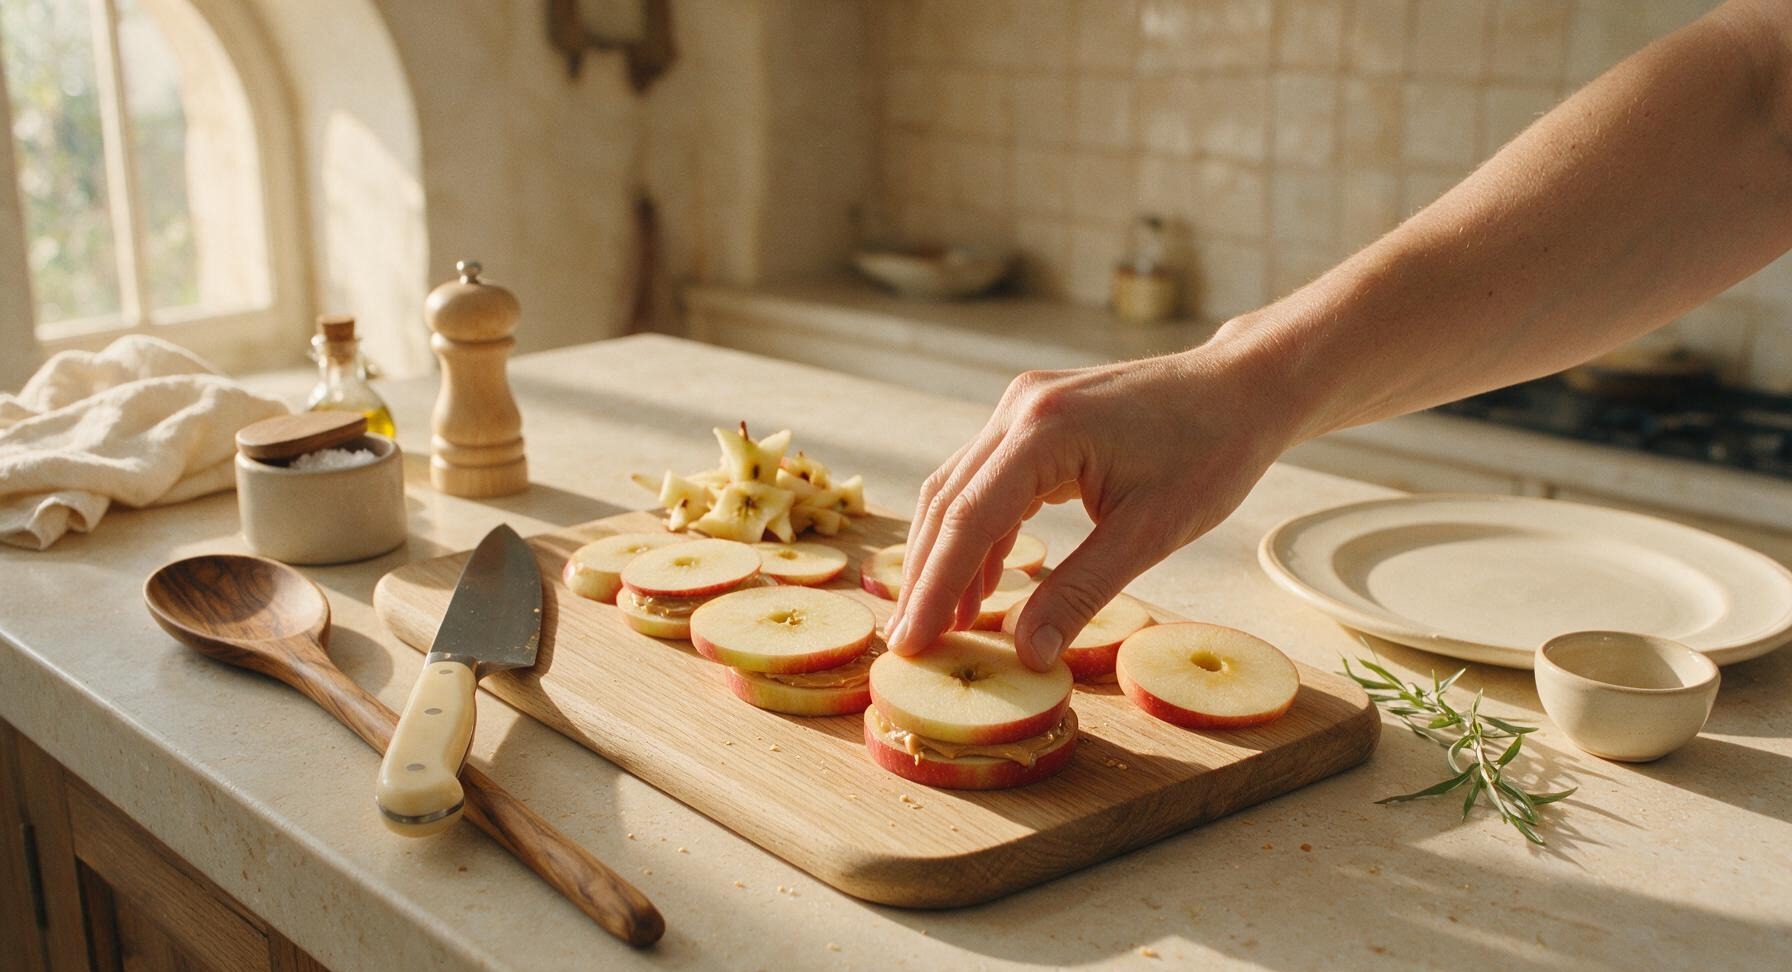
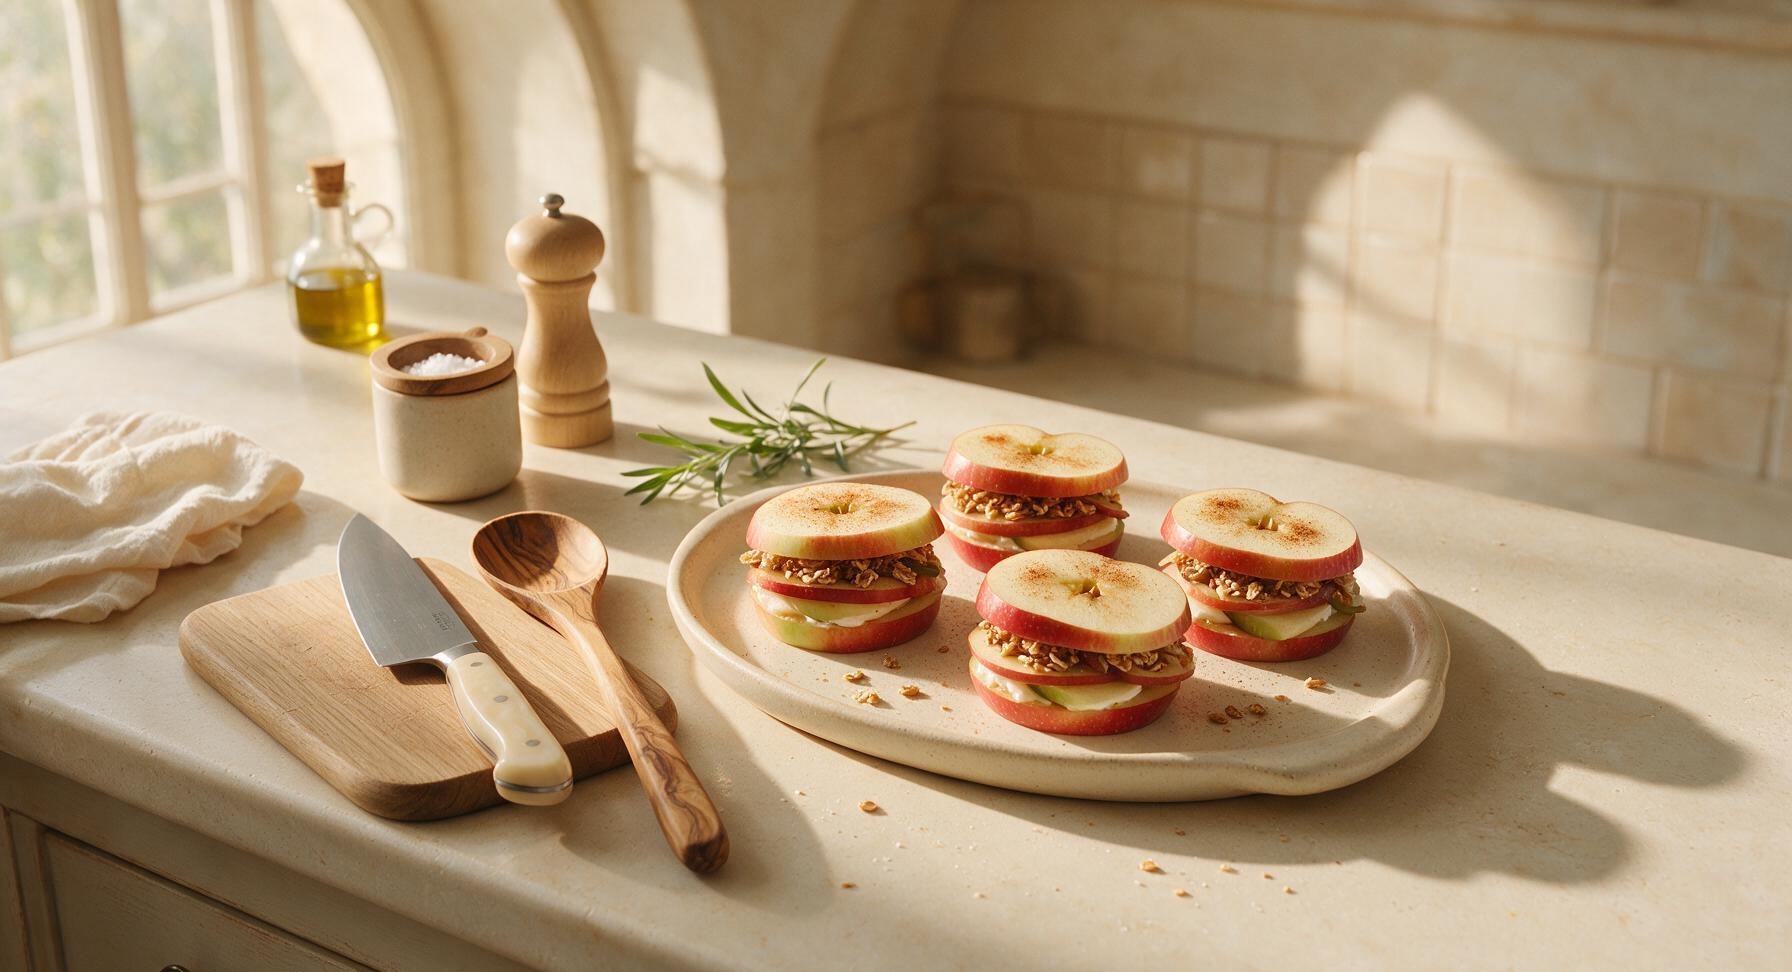
Take the reserved 4 top apple rounds and place one directly on top of each filled base slice, pressing down very gently with the palm of your hand to adhere the layers together, taking care not to press so hard that filling oozes out the sides. Transfer each finished apple sandwich to the matte cream stoneware serving platter, arranging them in a loose casual stack, and give the top of the stack a final light dusting of cinnamon for garnish.
Tips
2.Pat apple slices dry lightly before adding fillings: excess surface moisture from washing will make nut butter slide off and create a slippery sandwich that won’t hold together when picked up, even if pressed firmly.
3.Prevent browning for make-ahead prep: if making these sandwiches 1-2 hours ahead for a picnic or event, lightly brush the cut edges of the apple slices with a thin layer of lemon juice to slow oxidation, without adding a strong tart flavor.






OMG these are a total game changer for after school snacks! My 3 kids devoured them in 10 minutes flat, I didn’t even have time to put the peanut butter away. I used honey crisp apples and a little granola for extra crunch, will 100% be adding these to our weekly meal prep rotation.
Brought these to our neighborhood block party potluck last weekend and people were asking me for the recipe all night! I swapped the almond butter for sunflower seed butter to accommodate a nut allergy at the party, and it worked perfectly. SO good, even the picky teens were grabbing seconds.
As someone with literally zero cooking skills and only a mini fridge in my dorm, this recipe is a lifesaver. No stove, no microwave, no fancy tools needed? I’m eating this for breakfast, lunch, and snacks all semester fr. Already made it twice this week.
Took these on a day hike last weekend and they held up way better than I expected! Only knocked a star off because I added too much cinnamon at first and it overpowered the apple flavor, but that was totally my bad. Will definitely make them again for our next trail day.
I added a tiny drizzle of caramel and a sprinkle of mini chocolate chips to mine and it tasted like a healthy caramel apple without all the sticky mess! My roommate thought I spent forever making a fancy dessert, nope – 5 minutes tops. Obsessed.
These have replaced my usual mid-afternoon vending machine run at work. I keep a jar of almond butter and a bag of granola at my desk, and just grab an apple from the office fruit bowl when I need a pick-me-up. Saves me so much money and I don’t crash an hour later like I do with candy bars.
My kid refused to eat these because he said the peanut butter “squished out the sides” when he picked them up. Tasted fine to me, but definitely messier than I expected for a kid-friendly snack. Maybe I spread the peanut butter too thick?
Made these vegan by using cashew butter and dairy-free chocolate granola, and they’re chef’s kiss. So refreshing on these hot summer days when I don’t want to turn the oven on at all. Already shared the recipe with my whole plant-based eaters group chat!
Made these with my 7 year old this rainy weekend when we were stuck inside, and he had a blast adding the granola sprinkles himself. It’s so easy even a little kid can help make it, no hot stove to worry about, no complicated steps. 10/10 family activity and snack.
Just made these after my leg day and wow, the perfect mix of carbs from the apple and granola plus protein from the peanut butter to refuel. Way better than chugging a boring protein shake when I’m ravenous post-workout. Will be making this every gym day from now on.
I remember making something similar for my kids when they were little back in the 70s! It’s so nice to see this simple, no-fuss snack making a comeback. I added a dash of nutmeg like I used to, and it tasted just like I remembered. Wonderful easy recipe.
Wanted to love these, but the granola got all soggy after I assembled them and waited 10 minutes to eat? Did I do something wrong? I used the crunchy honey oat granola from the grocery store, I thought that would stay crisp.
Packed a whole batch of these for our cross-country road trip this week and they’re the perfect road snack! No crumbs all over the car, no sticky fingers (okay, a little sticky from the almond butter, but worth it), no need to keep them super cold if we eat them within a few hours. Way better than fast food stops.