
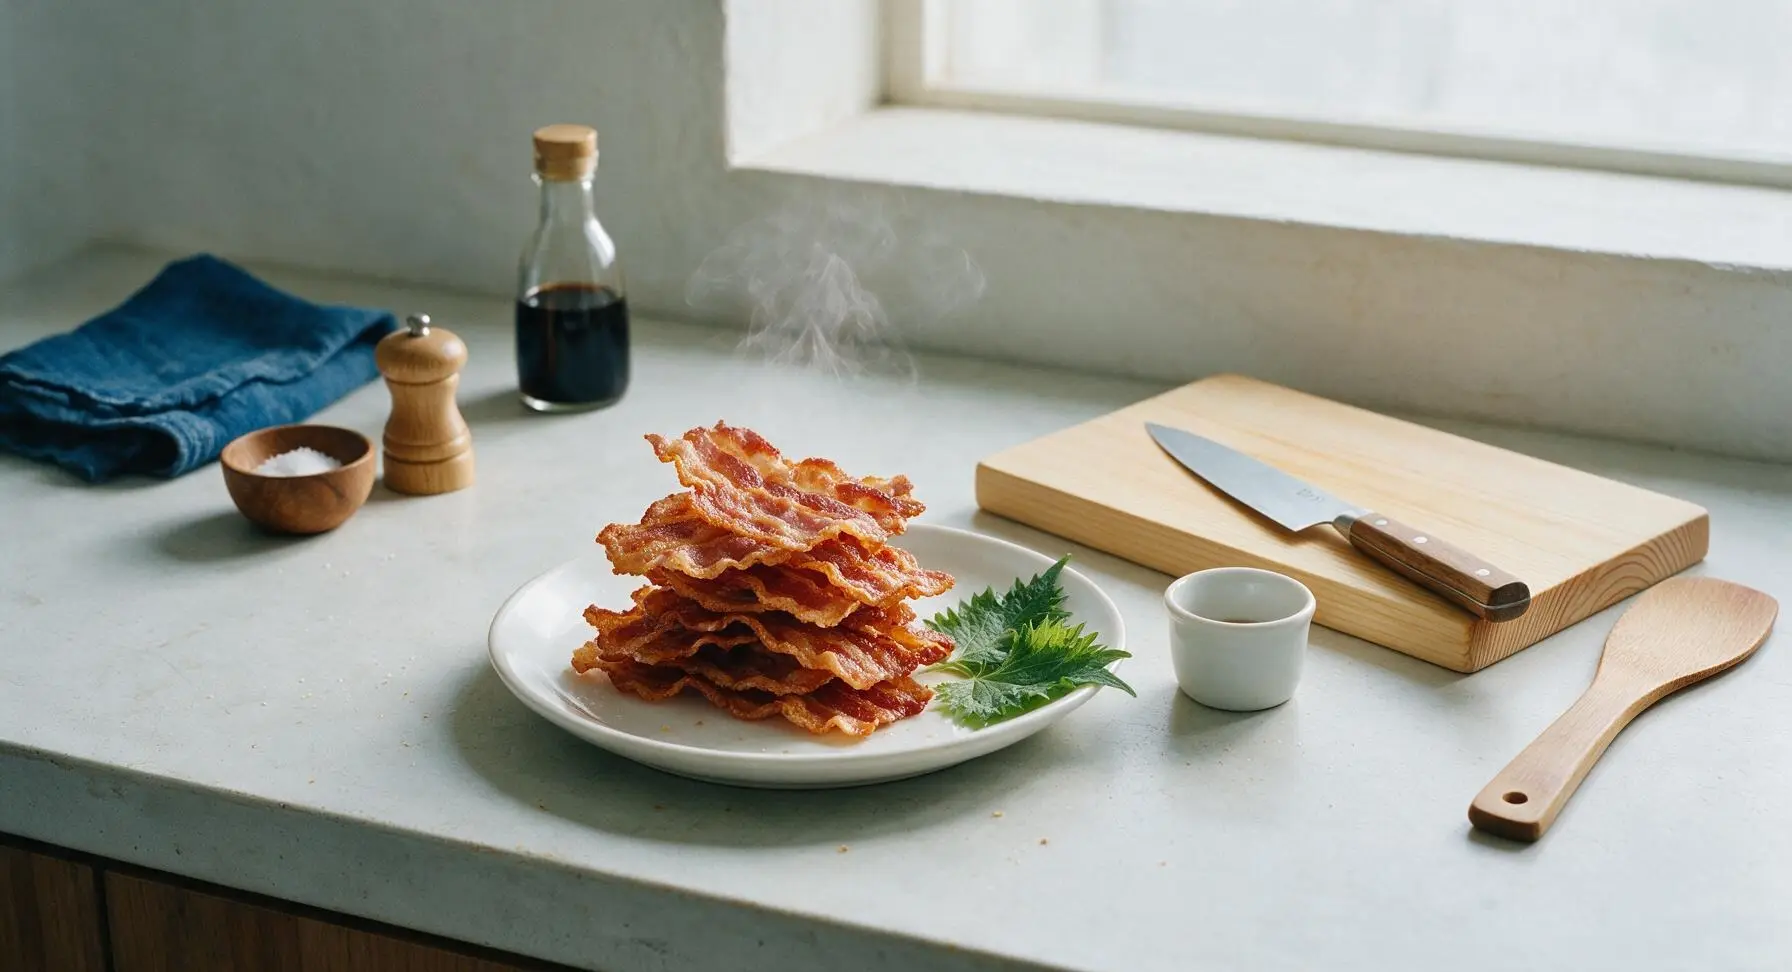
bacon crisp

title 1
bacon crisp
⏱️ cook time 20 minutes
🍽️ servings 4
⚡ Difficulty easy

intro

Shatteringly crisp, evenly rendered thick-cut bacon with zero greasy sogginess, perfect for game day snacking, salad toppings, or breakfast sandwiches.

Ingredients
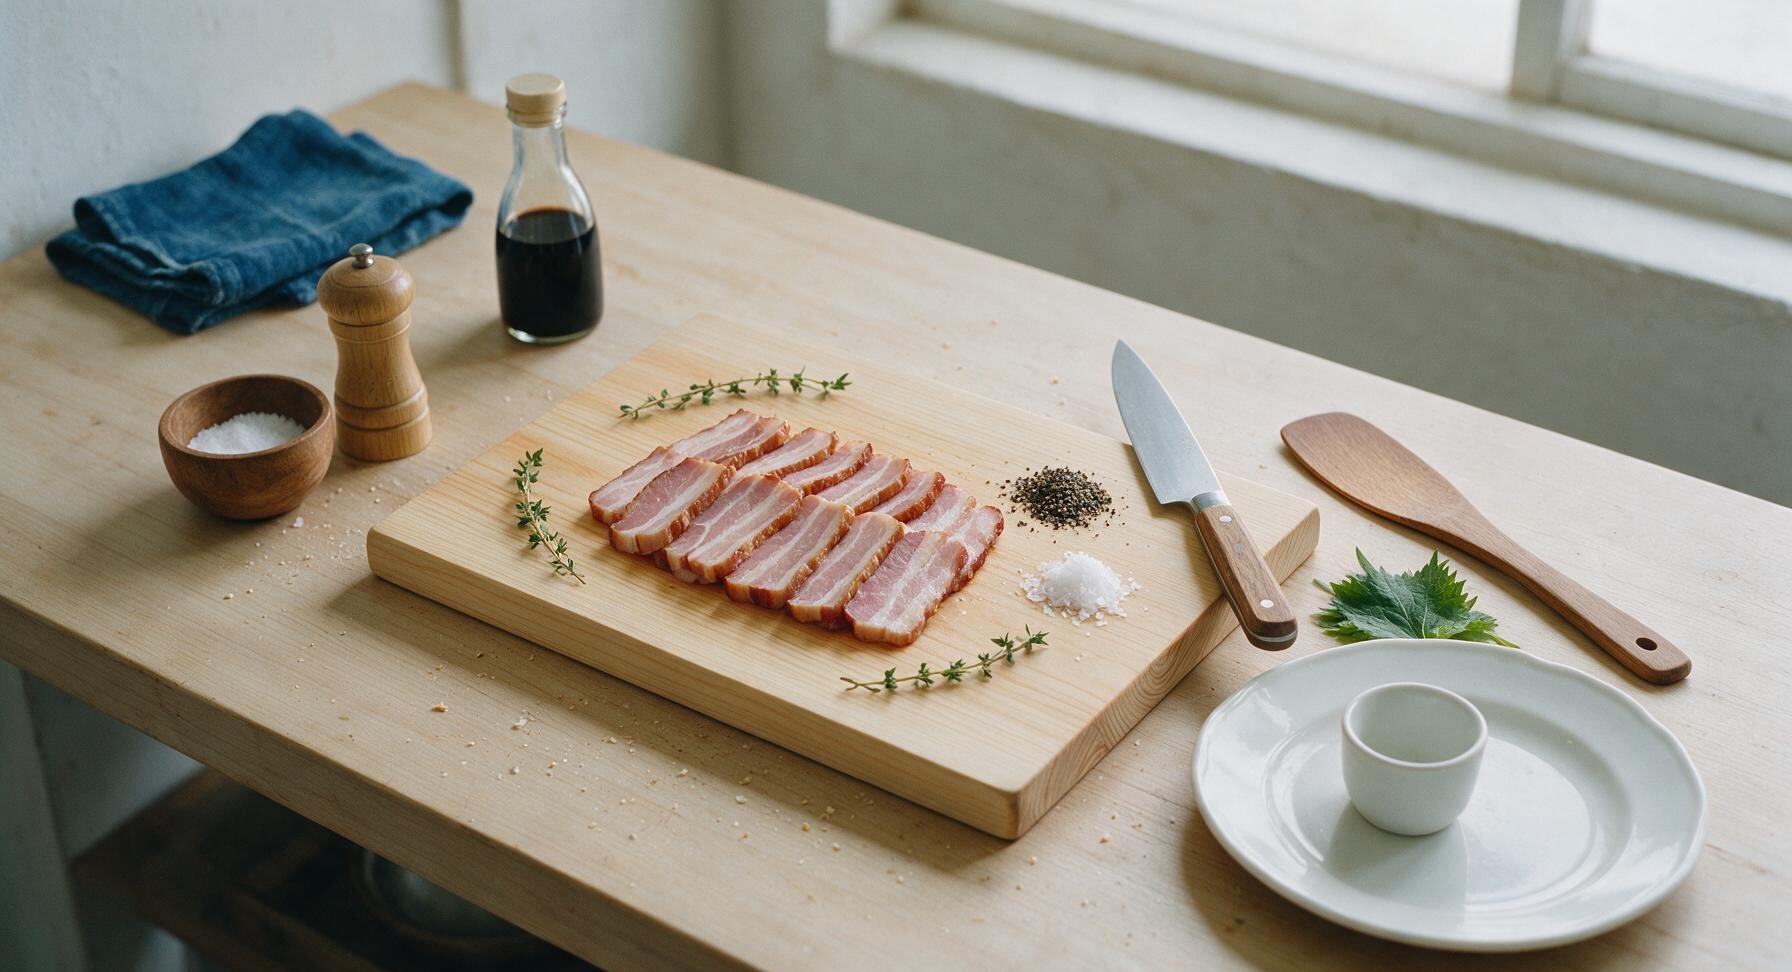
Thick-cut smoked bacon 12 slices (340g / 12oz)
Coarse black pepper 1 tsp
Flaky sea salt 1/2 tsp
Fresh thyme sprigs 4 sprigs

Steps

1

Prep Oven and Pan

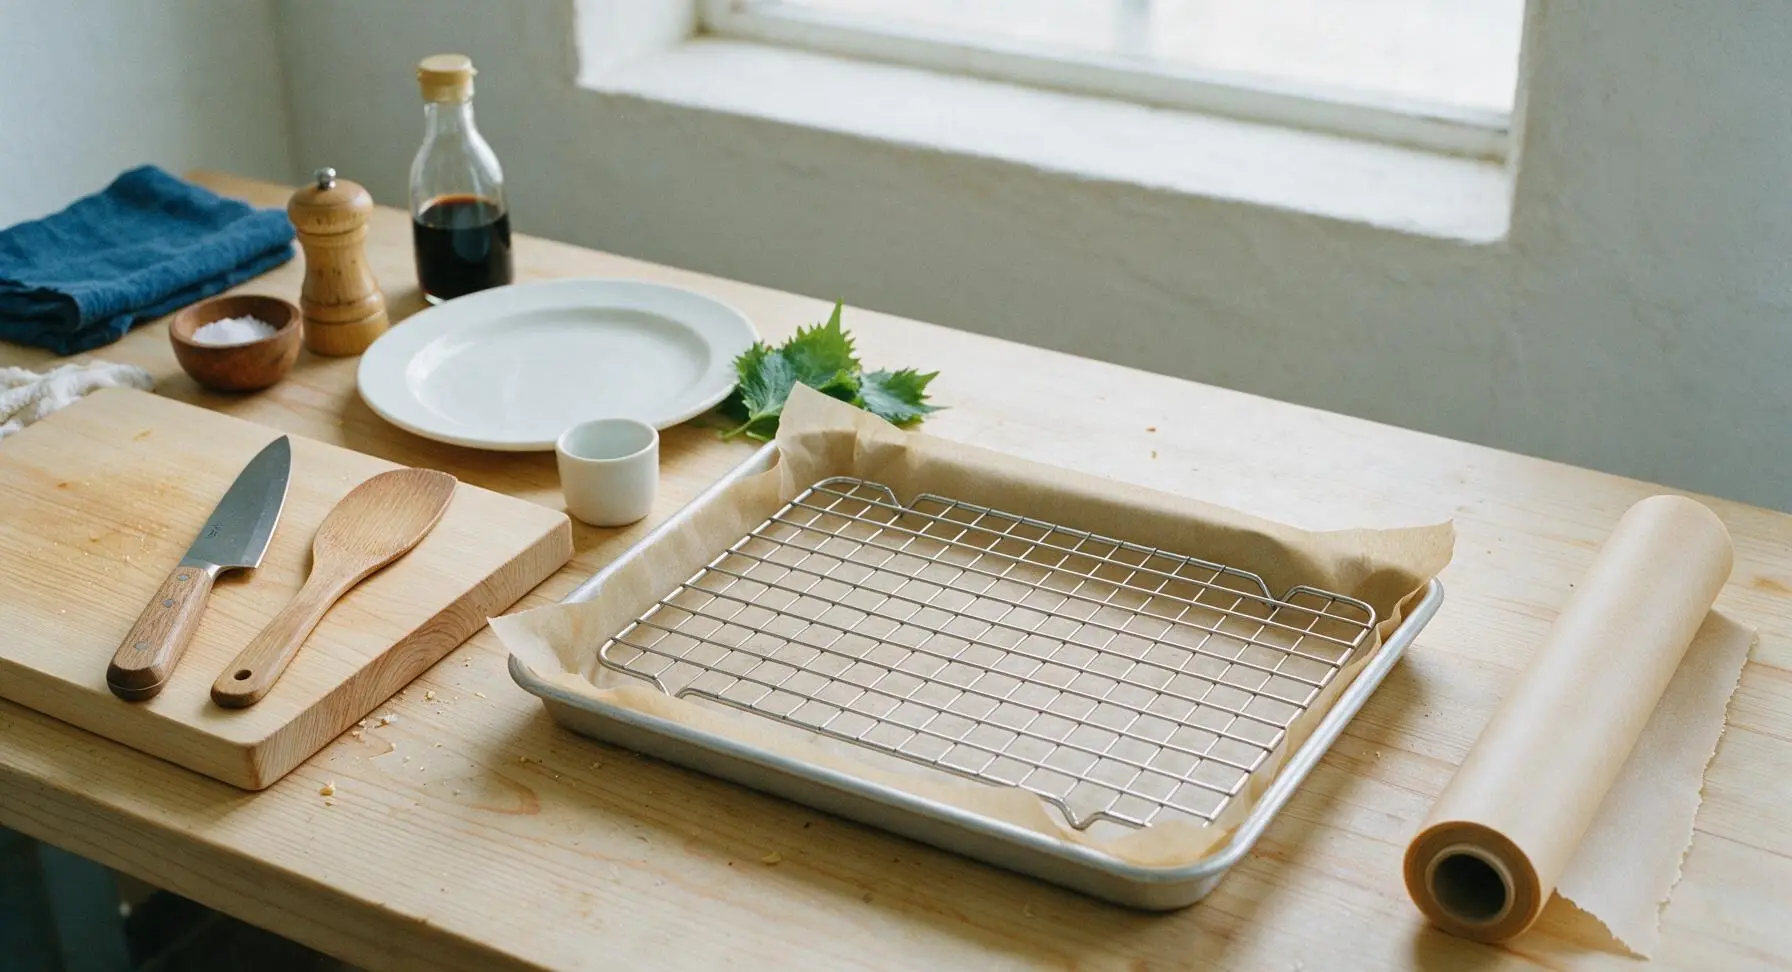
Adjust oven rack to the middle position, preheat oven to 400°F (200°C). Retrieve the rimmed aluminum baking sheet from the lower right shelf, tear a 19-inch sheet of unbleached parchment paper from the fixed roll, and line the pan bottom to catch rendered grease for easy cleanup. Set the chrome wire cooling rack inside the lined pan, ensuring it sits perfectly level.
Step 1
step1:Prep Oven and Pan
2

Arrange Bacon Strips

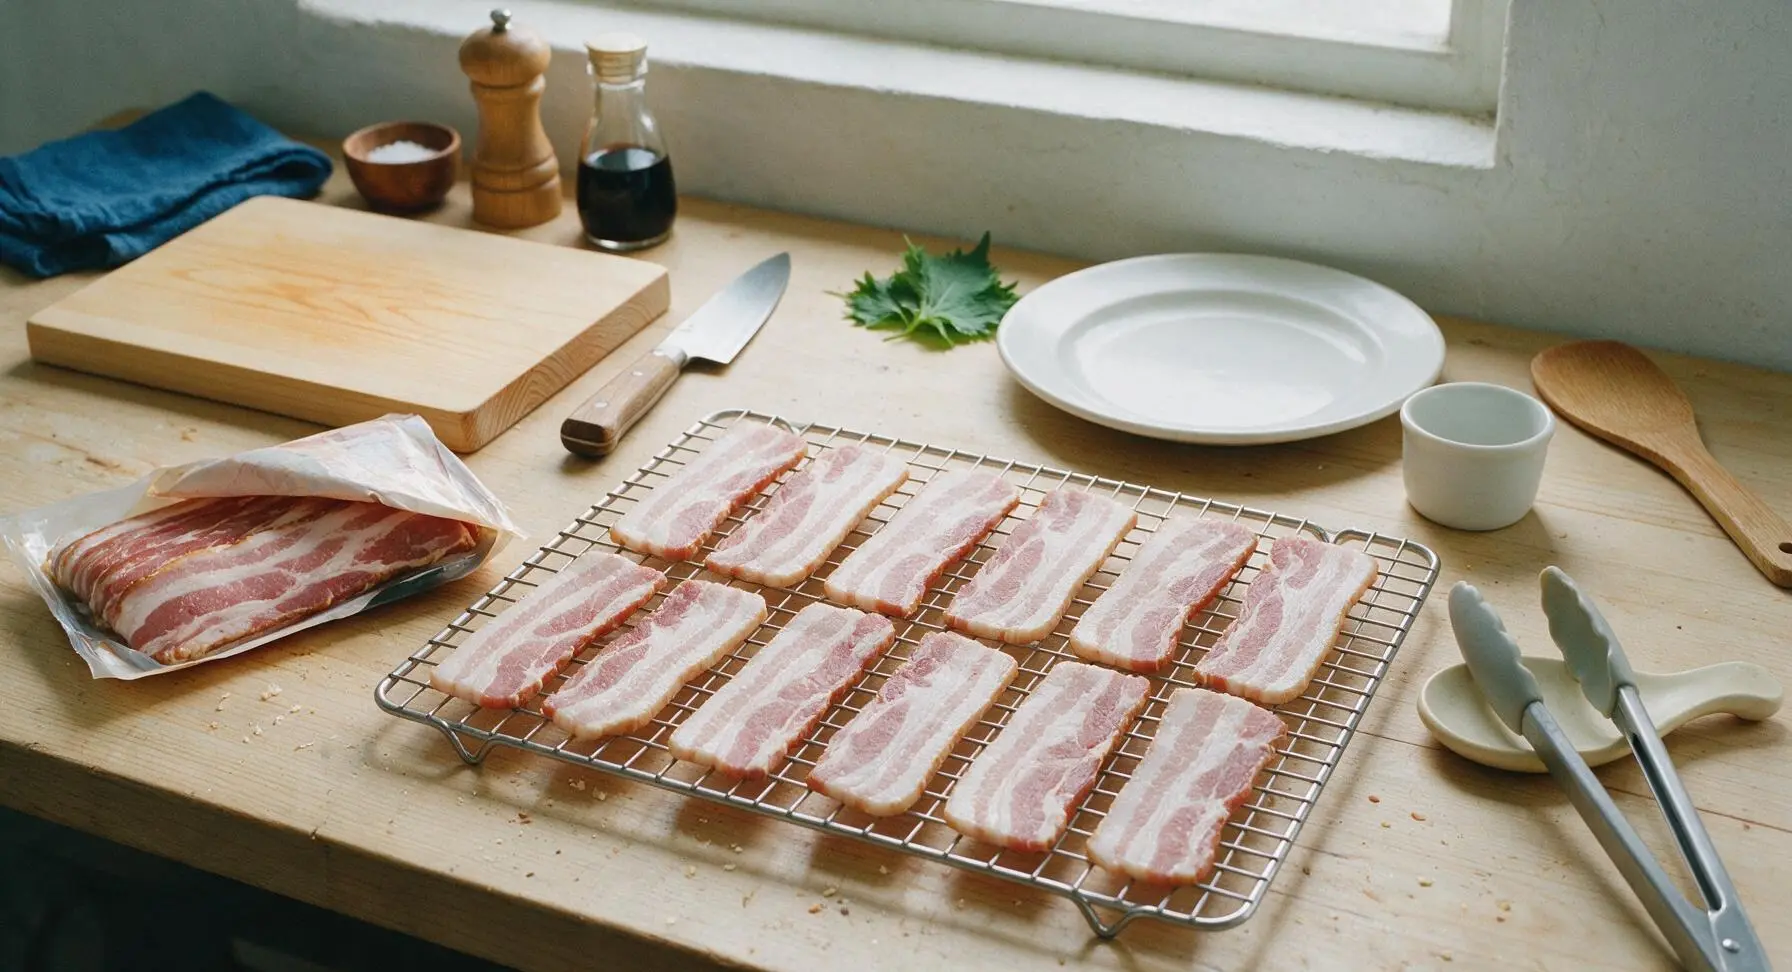
Open the package of thick-cut smoked bacon, separating each strip carefully to avoid tearing the meat. Lay strips in a single flat layer across the wire rack, leaving 1/4 inch of space between each piece to allow hot air to circulate fully. Never overlap strips, as trapped steam will create soft, soggy spots instead of crisp texture. 12 thick-cut strips will fit evenly across the standard rack size.
Step 2
step2:Arrange Bacon Strips
3

Add Pepper Seasoning

Hold the matte black pepper mill 6 inches above the arranged bacon, grinding 1 teaspoon of coarse black pepper evenly across all strip surfaces. Do not add salt at this stage: cured bacon already contains significant sodium, and early salting will draw out surface moisture that prevents crisping. Flaky finishing salt will be added after cooking.
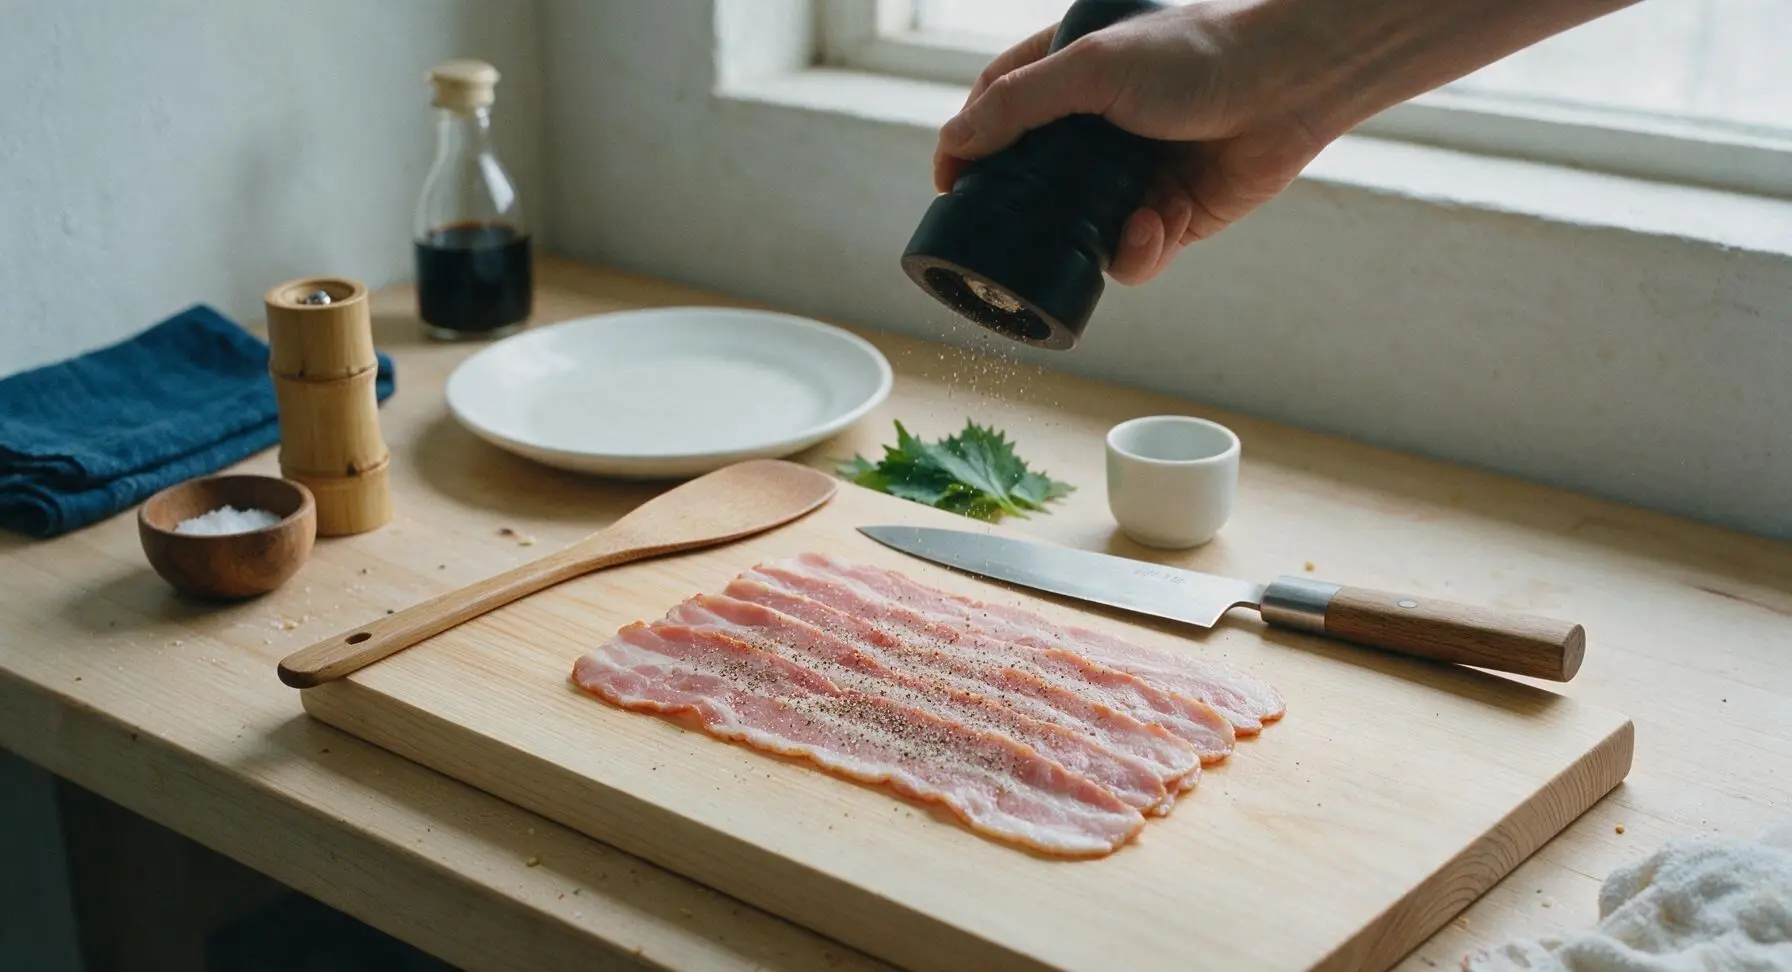
Step 3
step3:Add Pepper Seasoning
4

Bake Until Crisp

Use the beige canvas oven mitts to carefully transfer the loaded pan to the preheated middle oven rack. Bake for 18-22 minutes without flipping, until bacon is deep golden brown, fat is fully translucent and rendered, and edges are slightly caramelized. Check at the 15 minute mark for thinner bacon cuts to prevent burning; extra-thick cuts may need the full 22 minutes.

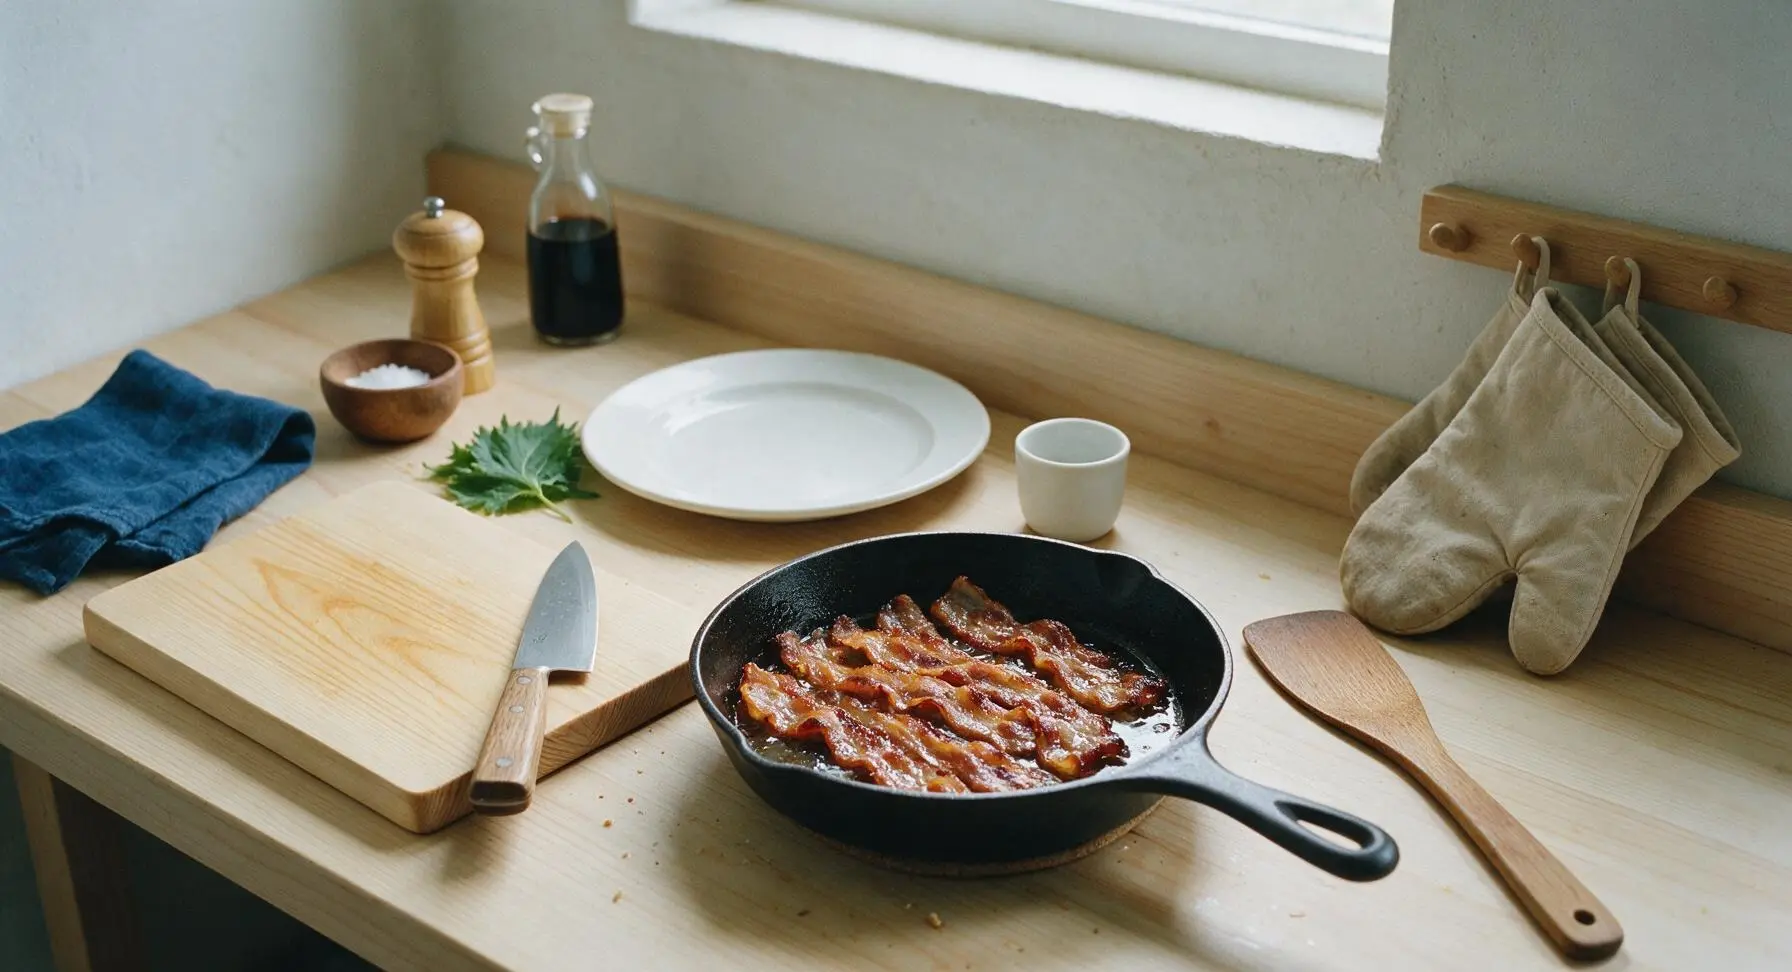
Step 4
step4:Bake Until Crisp
Step 4
step4:Bake Until Crisp
5

Drain Excess Grease

Immediately after removing the pan from the oven, use the stainless steel tongs to lift each bacon strip from the rack, transferring pieces to a double layer of unbleached paper towels laid on the counter adjacent to the serving platter. Work quickly, as bacon will stick to the metal rack as it cools and sets.
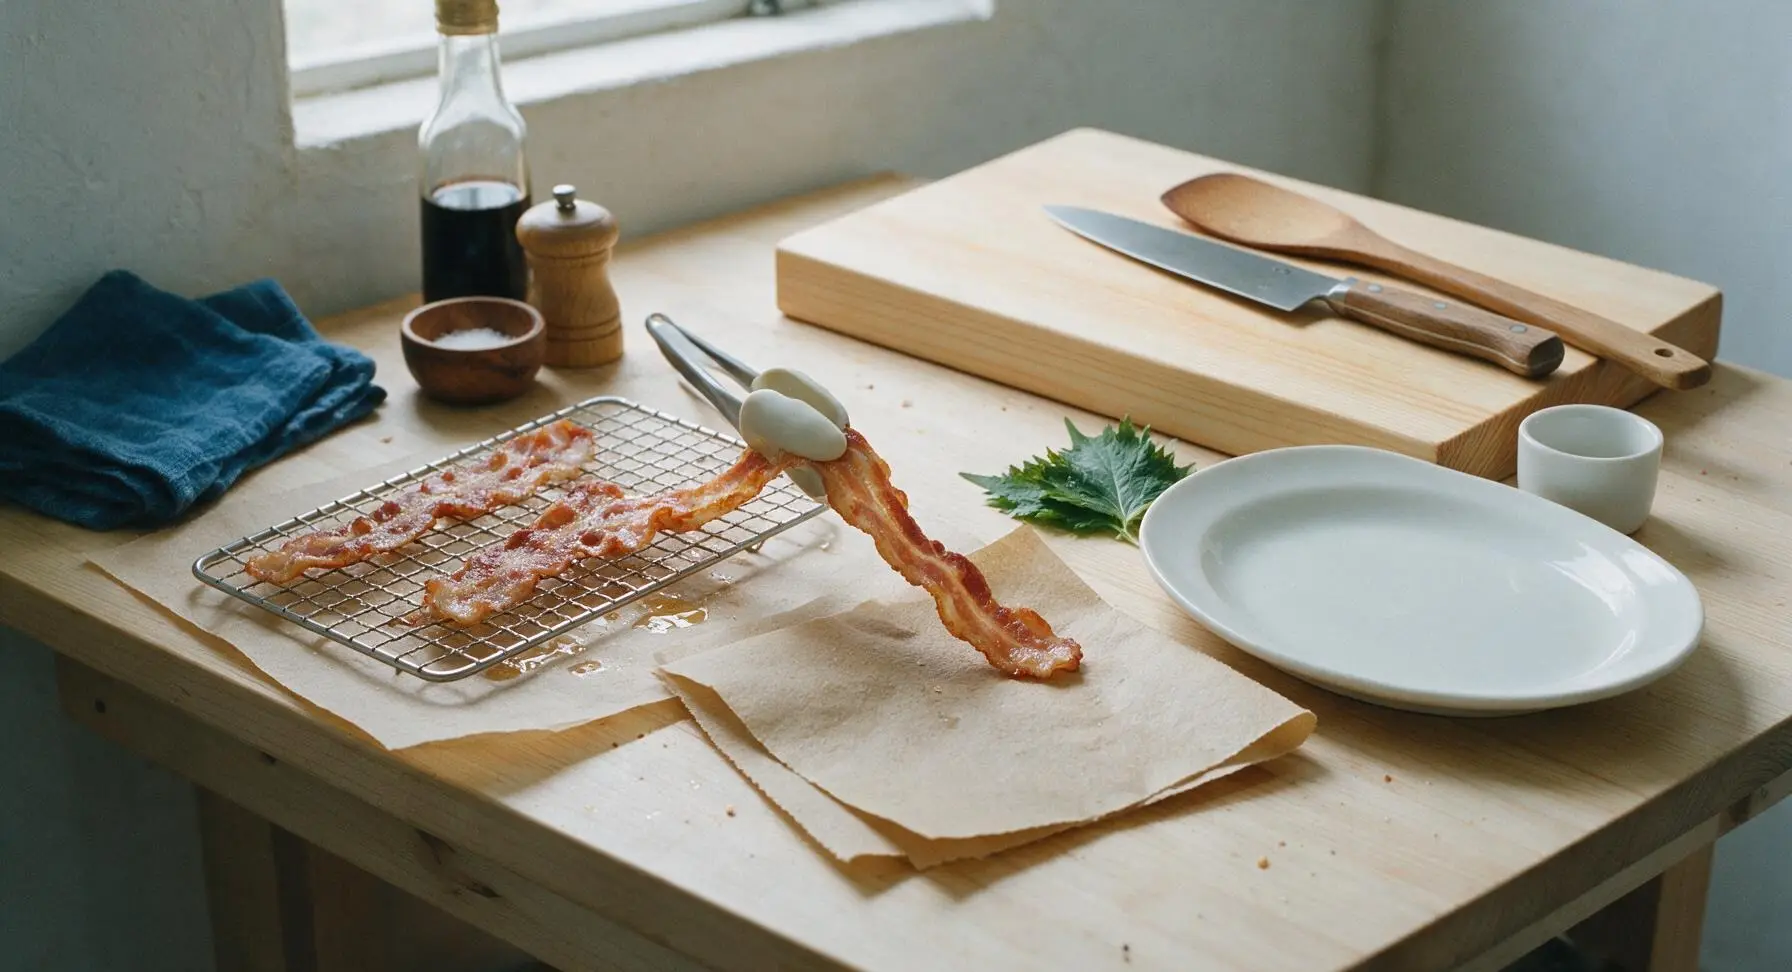
Step 5
step5:Drain Excess Grease
6

Rest to Set Crunch

Let the bacon rest on the paper towels for exactly 60 seconds. This short rest allows excess surface grease to absorb into the paper, while the residual heat continues to crisp the bacon as it cools slightly. Do not pat the top of the bacon with paper towels, as this will remove flavorful rendered fat and cracked pepper seasoning.
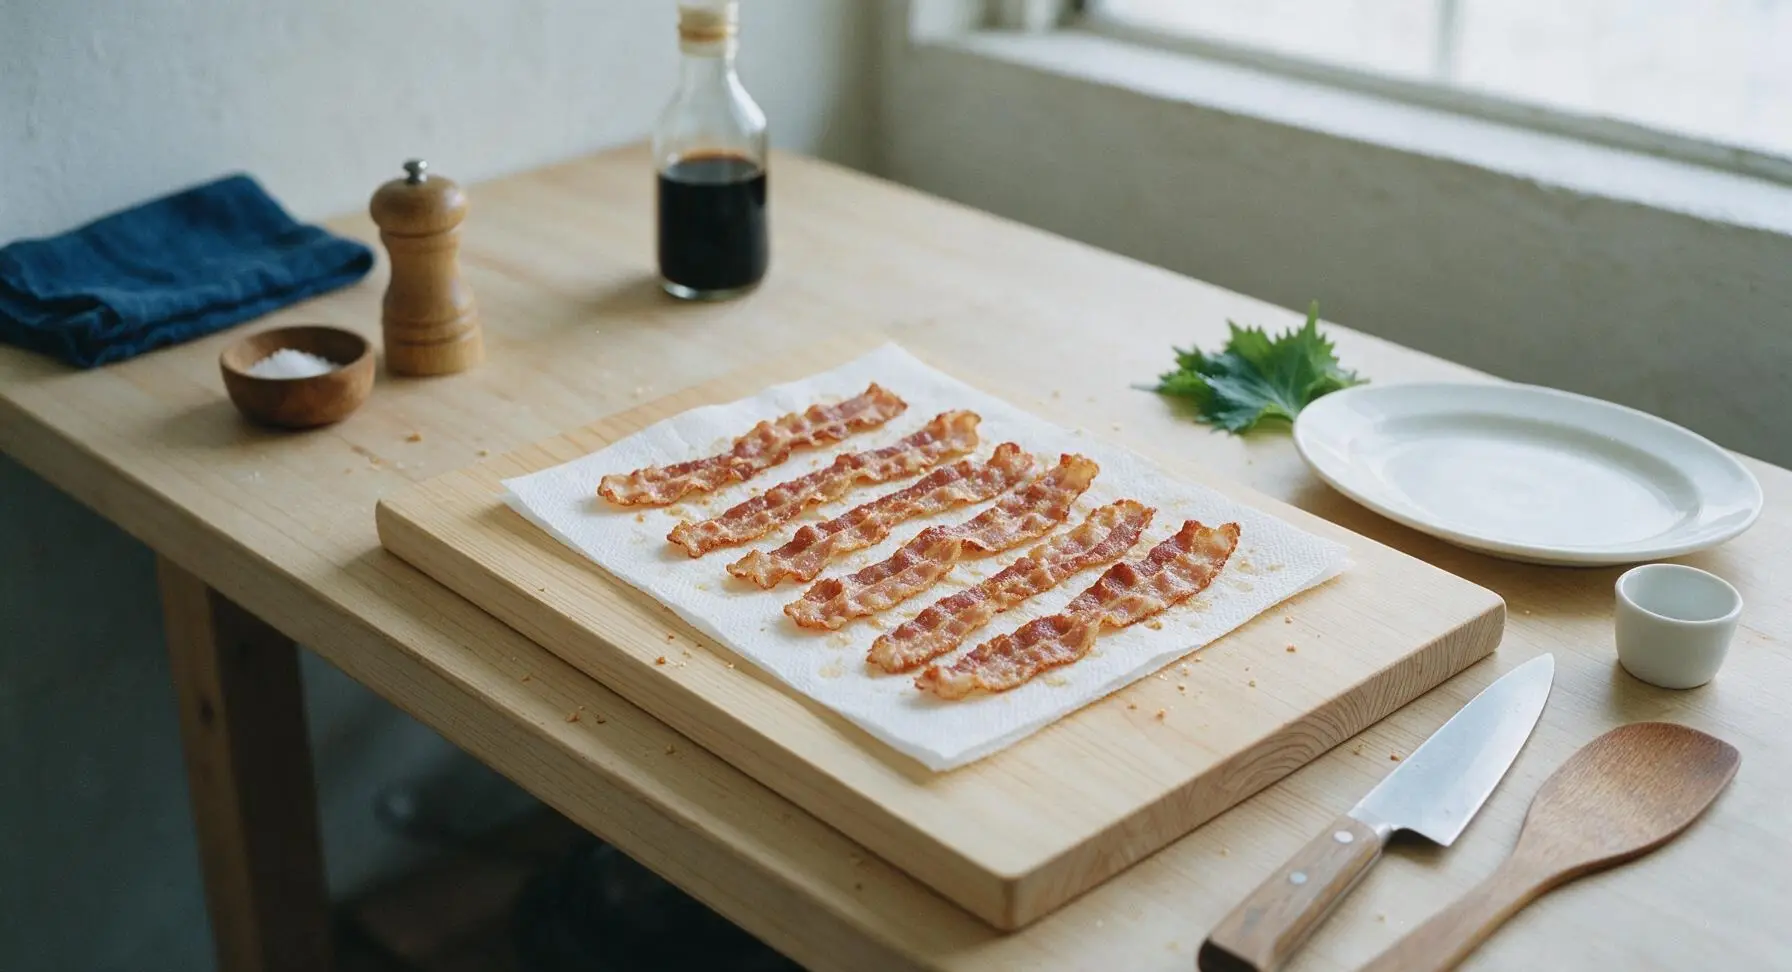
Step 6
step6:Rest to Set Crunch
7

Plate and Finish

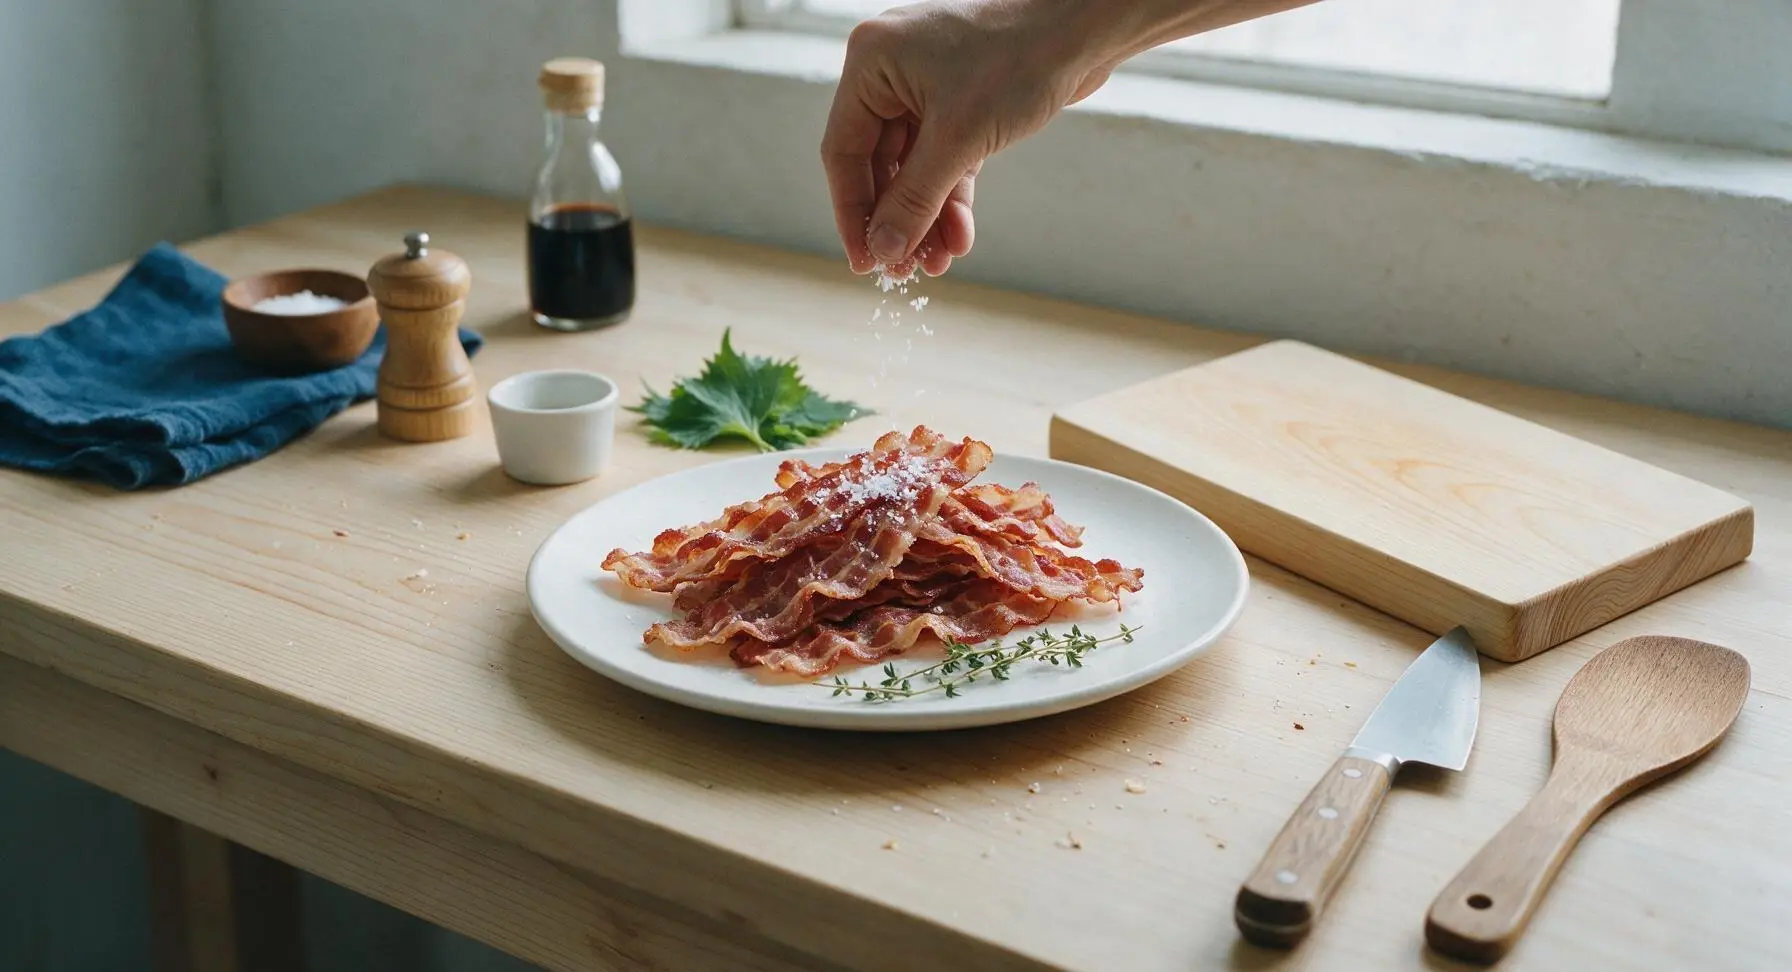
Transfer the drained bacon strips to the white matte ceramic serving platter, arranging them in a loose, slightly overlapping stack. Sprinkle 1/2 teaspoon of flaky sea salt lightly across the warm bacon, and tuck 2-3 fresh thyme sprigs at the platter edge for a bright, herbaceous accent. Serve immediately while warm for the best shatteringly crisp texture.
Step 7
step7:Plate and Finish

Tips

1.Always cook bacon on an elevated wire rack instead of directly on the pan surface: elevating strips allows 360-degree hot air circulation, cooking bacon evenly on all sides without steaming in pooled grease, which eliminates the soggy, chewy spots common to pan-laid bacon.
2.Never overlap bacon strips on the rack: overlapping traps moisture between strips, leading to uneven rendering and chewy, under-crisped sections even after full cook time. For batches larger than 12 strips, use a second rack and baking sheet rather than overcrowding.
3.Avoid adding salt before baking: cured bacon already contains 300-400mg of sodium per slice, and early salt application draws moisture to the bacon surface, which slows rendering and prevents a perfect shatteringly crisp crust. Save flaky salt for a light finish after cooking.


✨ You May Also Like

Snacks & Appetizers
🍜 Mexico

Crispy thick-cut tortilla chips piled high with seasoned beef, melted cheese, and bright fresh toppings for a shareable, crowd-favorite bite.

⏱️ 25 minuteSnacks & Appetizers ★ 4.8
Snacks & Appetizers
🍜 United States

Crisp, sweet-tangy spiced pickled watermelon rind is a zero-waste summer staple, perfect with grilled meats, charcuterie, or eaten straight from the jar as a bright snack.

⏱️ 30 minuteSnacks & Appetizers ★ 4.6
Snacks & Appetizers
🍜 Germany

A tangy, jellied pork cold cut slow-simmered with aromatic spices, set into a firm sliceable loaf, served cold with mustard and crusty bread.

⏱️ 3 hours 4Snacks & Appetizers ★ 4.8
Snacks & Appetizers
🍜 United States

Creamy, tangy, perfectly seasoned hard-boiled egg halves filled with a rich, smooth yolk mixture, a timeless, crowd-pleasing bite for holiday and casual gatherings alike.

⏱️ 40 minuteSnacks & Appetizers ★ 4.8
Snacks & Appetizers
🍜 Russia

Silky, dill-forward no-smoke cured salmon, a Scandinavian classic with bright salty-sweet flavor, ideal for holiday starter platters and open-faced rye sandwiches.

⏱️ 48 hours Snacks & Appetizers ★ 4.7
Snacks & Appetizers
🍜 Japan

Crisp golden bottoms, juicy savory pork and vegetable filling, and tangy dipping sauce make these pan-fried gyoza a beloved shareable bite.

⏱️ 45 minuteSnacks & Appetizers ★ 4.8

bacon crisp:Frequently Asked Questions

1.What oven temperature should I use to get shatteringly crisp bacon crisps without burning them? ▾
Aim for 400°F (drop to 375°F if using a convection setting) for even, consistent fat rendering. This temperature is hot enough to melt excess grease slowly without scorching edges before the center crisps, eliminating the sad soggy spots you get from overly low heat that steams bacon or high heat that burns the outside before it renders.
2.Do I have to use thick-cut smoked bacon for this recipe, or will regular thin-cut work? ▾
Thick-cut smoked bacon is ideal here because it holds its shape as fat renders, creating that satisfying, substantial shatteringly crisp bite without turning crumbly. Thin-cut will work if that’s all you have, but cut your bake time by 3-4 minutes to avoid burning, and expect a more delicate, less hearty crisp perfect for topping salads.
3.Should I place the bacon directly on the oven rack or on a baking sheet? ▾
Always line a rimmed baking sheet with parchment paper first, then set a wire cooling rack inside it to lay the bacon on. This setup lets hot air circulate fully around every slice, so fat drips away instead of pooling around the bacon, which is the number one secret to achieving zero greasy sogginess on every slice.
4.When do I add the coarse black pepper, flaky sea salt, and fresh thyme? ▾
Add coarse black pepper and stripped fresh thyme leaves right before you put the tray in the oven, so the seasonings stick to the raw bacon’s surface as it cooks. Wait to sprinkle flaky sea salt until the crisps come straight out of the oven, so the salt doesn’t draw out excess moisture early and create uneven soggy spots.
5.How long do these bacon crisps need to bake to be perfectly crisp? ▾
For standard thick-cut bacon, plan for 18-22 minutes at 400°F, but start checking at 16 minutes since home oven temperatures vary widely. The crisps are done when they’re deep golden brown, fat is fully translucent, and edges lift easily off the rack without flopping. They’ll crisp a touch more as they cool, so don’t overbake to bitter char.
6.Why do my oven-baked bacon strips always come out soggy instead of crisp? ▾
Sogginess almost always traces back to one of three missteps: baking bacon directly on the sheet pan in pooled fat, overcrowding the pan so slices overlap and steam instead of crisp, or using an oven temperature that’s too low to render fat quickly. The elevated wire rack, spaced slices, and 400°F heat fix this every time.
7.Can I make these bacon crisps ahead of time for game day snacking? ▾
Absolutely! These are ideal for make-ahead game day spreads. Bake the crisps fully, let them cool completely to room temperature, then store them in an airtight container lined with a paper towel in the fridge for up to 4 days. Reheat for 2 minutes on a wire rack in a 350°F oven to bring back that signature shatter crisp right before serving.
8.Do I need to flip the bacon halfway through baking? ▾
If you’re using a wire rack to elevate slices off the baking sheet, you don’t need to flip them at all! The circulating hot air hits every side of the bacon evenly as it cooks, so you’ll get uniform crispness top and bottom without the hassle of maneuvering hot, greasy strips mid-bake with a pair of tongs.
9.What’s the best way to use these bacon crisps besides eating them as a standalone snack? ▾
These versatile crisps work for so many meals! Crumble them over green salads or loaded baked potatoes, tuck them into breakfast sandwiches for a salty crunch, chop them to mix into mac and cheese, or serve them alongside weekend pancake spreads. They hold their crisp far better than pan-fried bacon for all these uses.
10.Can I add other seasonings besides pepper, salt, and thyme? ▾
Of course! The base recipe is a perfect blank slate for custom flavors. Toss on a pinch of smoked paprika, a light sprinkle of brown sugar for a sweet-savory candied twist, garlic powder, cayenne for heat, or even a light dusting of parmesan the last 2 minutes of baking. Just avoid heavy, wet seasonings that cause sogginess.
11.How do I keep bacon grease from making a messy splatter in my oven? ▾
The key to zero oven splatter is using a high-sided rimmed baking sheet, not a flat, lipless cookie sheet, to catch every drip of rendered fat. Lining the sheet with parchment paper makes cleanup trivial, and elevating bacon on a rack keeps grease from bubbling up and splattering over pan edges as it cooks.
12.Is it better to start the bacon in a cold oven or a fully preheated oven? ▾
I recommend starting in a fully preheated 400°F oven for the most consistent, even crispness. Starting in a cold oven leads to slower fat rendering that can make bacon greasy, and it makes bake times far less predictable since every home oven heats at a different rate. Preheating guarantees every batch turns out the same.
13.Why are some of my bacon strips chewy even after baking for the full recommended time? ▾
Chewy, under-rendered spots usually happen if slices are overlapping on the rack, if your oven runs cooler than its dial reads, or if you’re using extra-thick artisanal bacon that needs a few extra minutes. Use an inexpensive oven thermometer to confirm temperature, space slices so they don’t touch, and add 2-3 minutes of bake time as needed.
14.Can I make these bacon crisps in a toaster oven if I don’t have a full-size oven? ▾
Totally! Toaster ovens work great for small batches of these crisps. Use the same wire rack insert for your toaster oven tray, set the temperature to 400°F, and cut bake time by 4-6 minutes since toaster ovens are smaller and heat more intensely. Keep a close eye after the 12-minute mark to avoid burning edges.
15.What should I do with the rendered bacon fat left on the baking sheet? ▾
Don’t pour that liquid gold down the drain! Let it cool slightly, then strain it through a fine mesh sieve into a glass jar and store it in the fridge for up to 3 months. Use it to fry eggs, roast vegetables, whisk into salad dressings, or sauté greens for an incredible smoky, savory depth of flavor.
16.How thick should bacon slices be to get the perfect crisp texture? ▾
Look for thick-cut bacon sliced to about ⅛ of an inch thick for the ideal shatteringly crisp bite. Bacon cut too thin (under 1/16 inch) will turn brittle and crumble easily, while extra-thick ¼-inch slices take much longer to render and can end up chewy in the center even when edges are burnt.
17.Do I need to pat the bacon dry with paper towels before baking it? ▾
If your bacon is sitting in a lot of excess liquid brine in the package, a quick pat with paper towels before seasoning will help it crisp more evenly. You don’t need to scrub every bit of moisture off, but removing surface brine prevents steaming, cuts down on splatter, and helps pepper and thyme stick better to each slice.
18.How long do these bacon crisps stay crisp after they come out of the oven? ▾
If you let them drain for 2 minutes on the wire rack after baking, they’ll stay shatteringly crisp for up to 2 hours at room temperature, which makes them perfect for party spreads. If they start to soften a little, a quick 2-minute reheat on a rack in a 400°F oven will bring them right back to their original crisp texture.

Comments (3)

3 days ago

OMG this is such a game changer! I used to stand over my spattering frying pan forever making bacon for weekend brunch, and my whole kitchen would smell like grease for days. Tried this 20 minute oven method yesterday and the crisps came out perfectly even, no burnt edges, zero mess! My kids loved it, ate half the tray before I even got the eggs on the table. 10/10 will be making this every Sunday from now on.

2 days ago

Wait do you put the bacon on a wire rack or straight on the baking sheet? I tried oven bacon once and it came out super soggy, I must have done something wrong!

yesterday

Great question! For maximum crispness, we recommend arranging the bacon slices on a wire rack set inside a rimmed baking sheet—this lets hot air circulate all around so every slice gets evenly crispy instead of sitting in pooled grease. No soggy bits promise!

5 days ago

SO good! I batch made a big tray of these bacon crisps on Sunday to chop up and add to salads, breakfast burritos, and even loaded baked potatoes for my work lunches all week. They held up way better than I thought they would in the fridge, and the cook time was so short I didn't even have to rearrange my whole meal prep schedule. Super easy, zero fancy skills needed.

3 days ago

Love that meal prep hack! Chopping these up to add to dishes all week is such a smart move—pro tip: store the cooled crisps in an airtight container lined with a paper towel to soak up any extra grease and keep them crisp for even longer!

1 week ago

Brought these to my neighborhood potluck last weekend and people were asking me for the recipe before I even set the platter down! I sprinkled a tiny bit of brown sugar and cracked black pepper on half the tray for a sweet-savory twist, and that batch disappeared first. Way easier than pan-frying when you need to make a big batch for a crowd, no constant flipping or grease splatters to deal with.



