
baked chicken wings crispy

title 1
baked chicken wings crispy
⏱️ cook time 50 minutes
🍽️ servings 4
⚡ Difficulty easy

intro

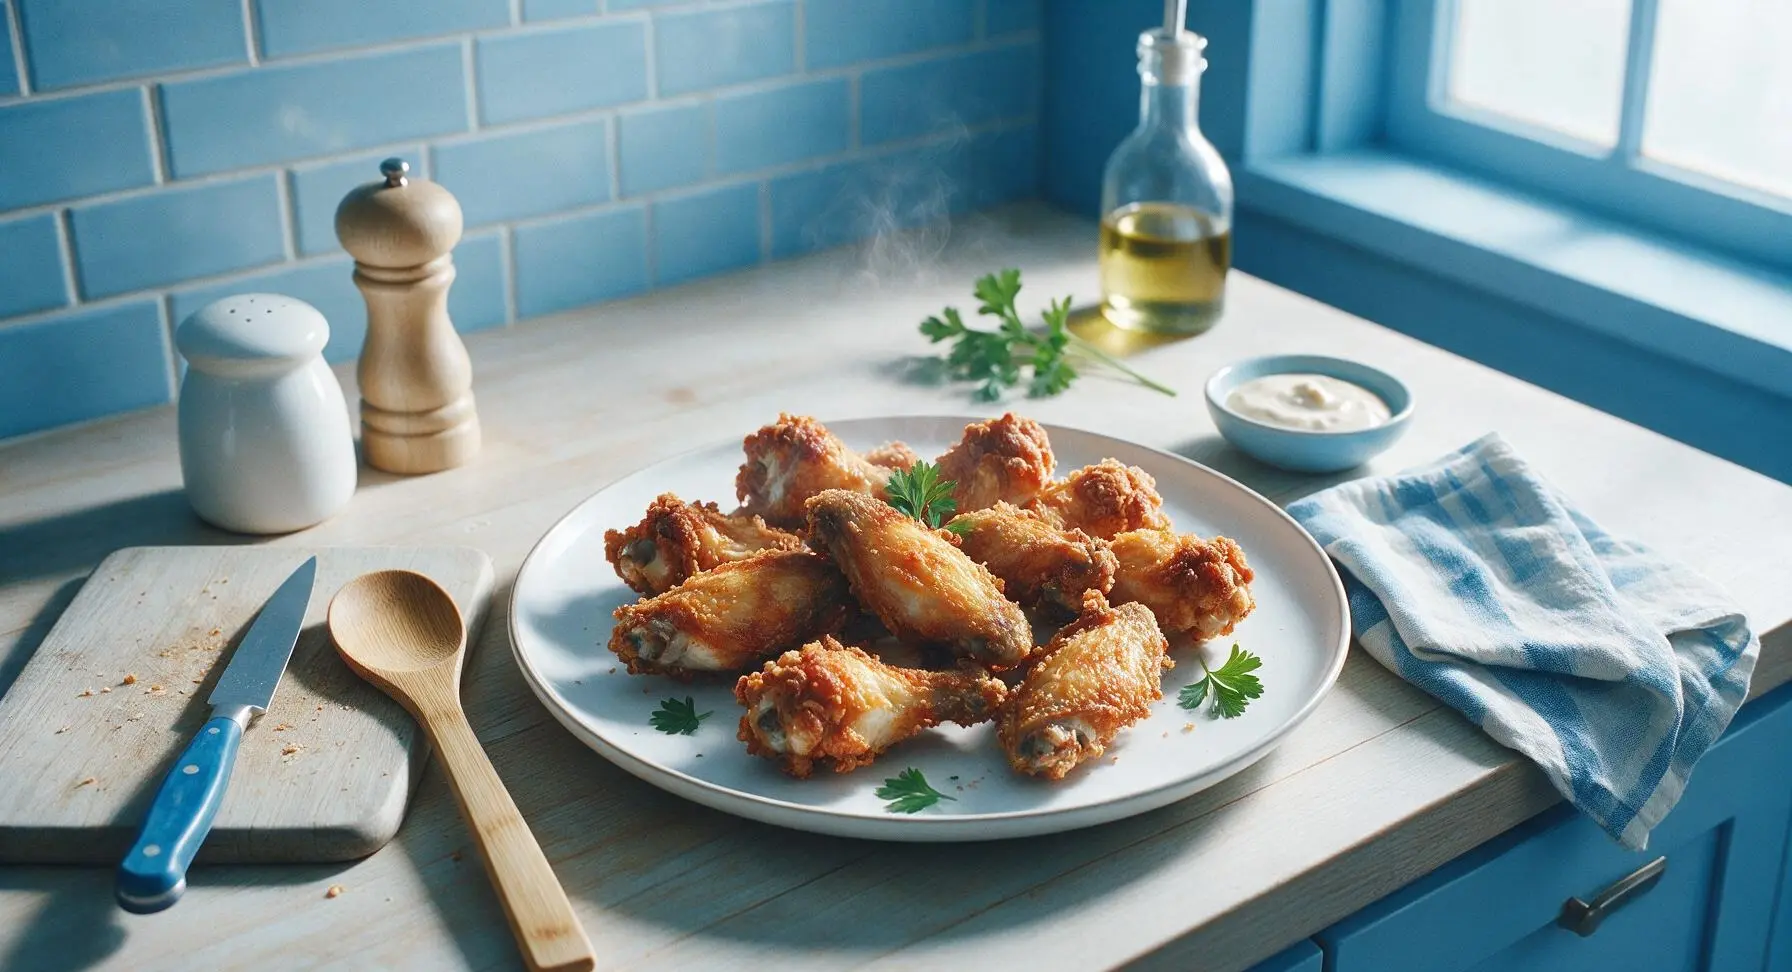
Shatteringly crisp baked chicken wings (no deep frying needed!) with juicy, tender meat inside, perfect for sharing with cool, creamy dipping sauce on game night.

Ingredients
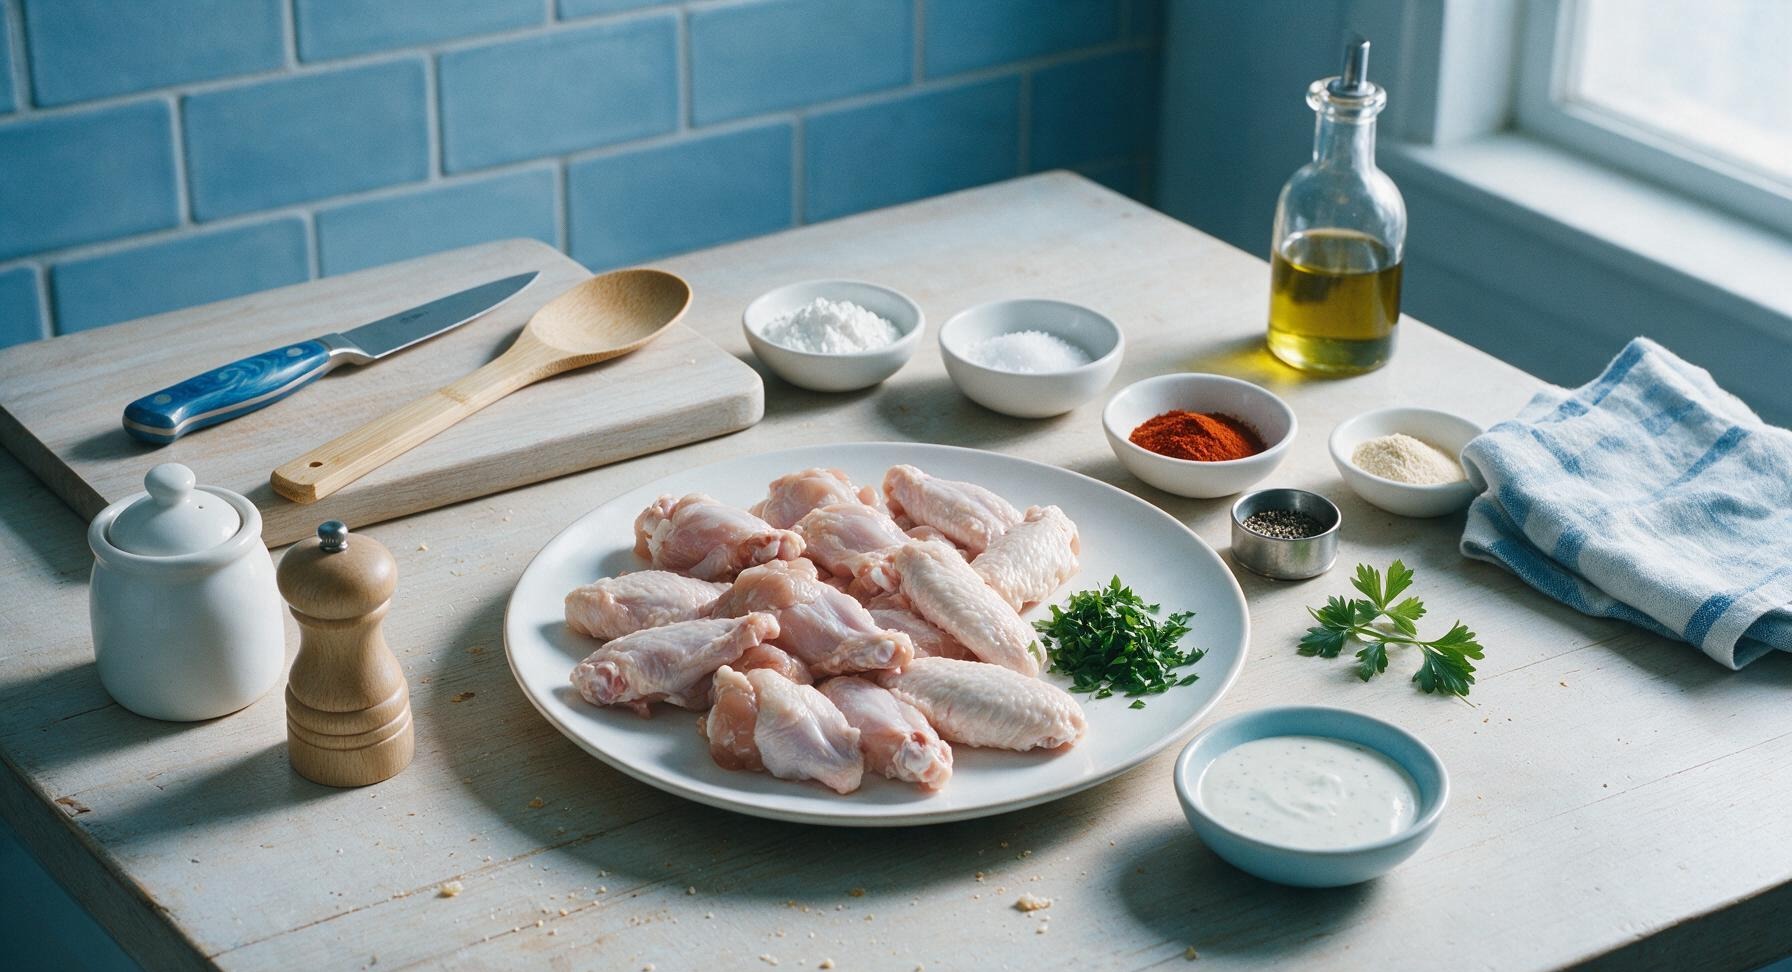
Split chicken wings (drumettes and flats, tips removed) 2 lbs (900g)
Aluminum-free baking powder 1 tbsp
Kosher salt 1 tsp
Garlic powder 1 tsp
Smoked paprika 1/2 tsp
Freshly ground black pepper 1/4 tsp
Fresh flat-leaf parsley (chopped, for garnish) 2 tbsp
Ranch dressing (for dipping) 1/2 cup

Steps

1

Pat Wings Completely Dry

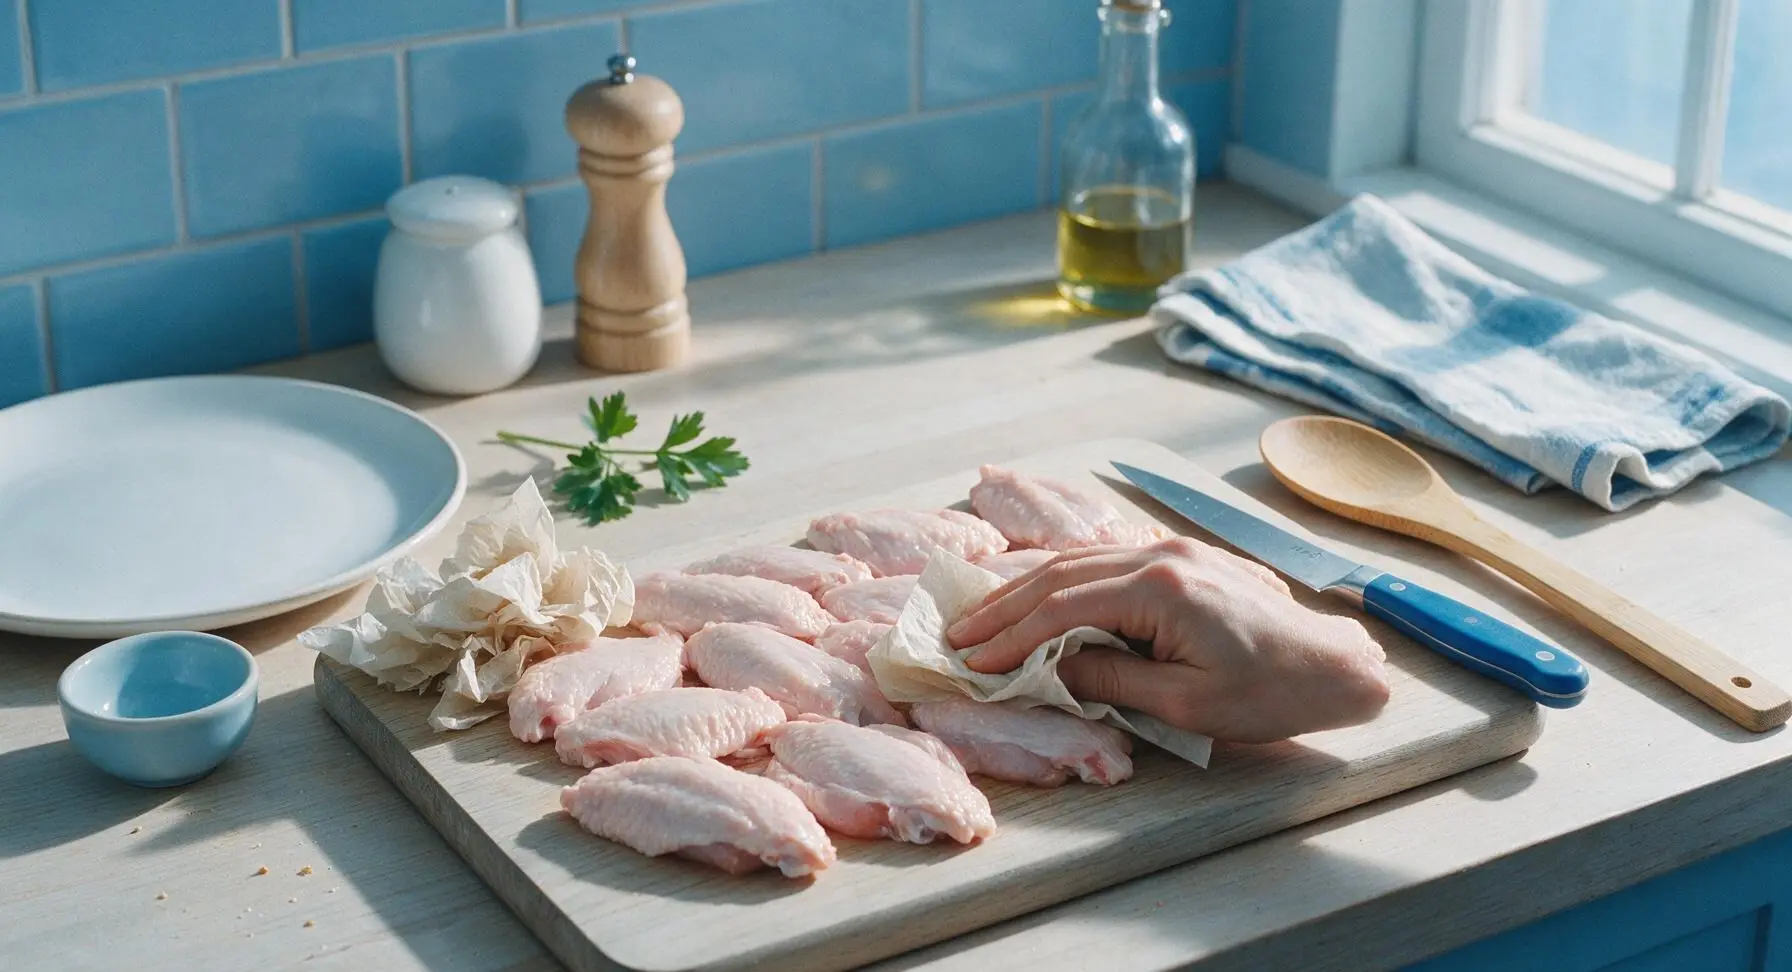
Place the split raw chicken wings on the light birch cutting board. Use sheets of unbleached paper towel to firmly pat every surface of each wing completely dry, removing all visible surface moisture. Pay extra attention to the creases between skin and meat—any remaining moisture will steam the skin instead of crisping it. The skin should feel matte and dry to the touch, not damp or slimy, when finished.
Step 1
step1:Pat Wings Completely Dry
2

Mix Dry Seasoning Blend

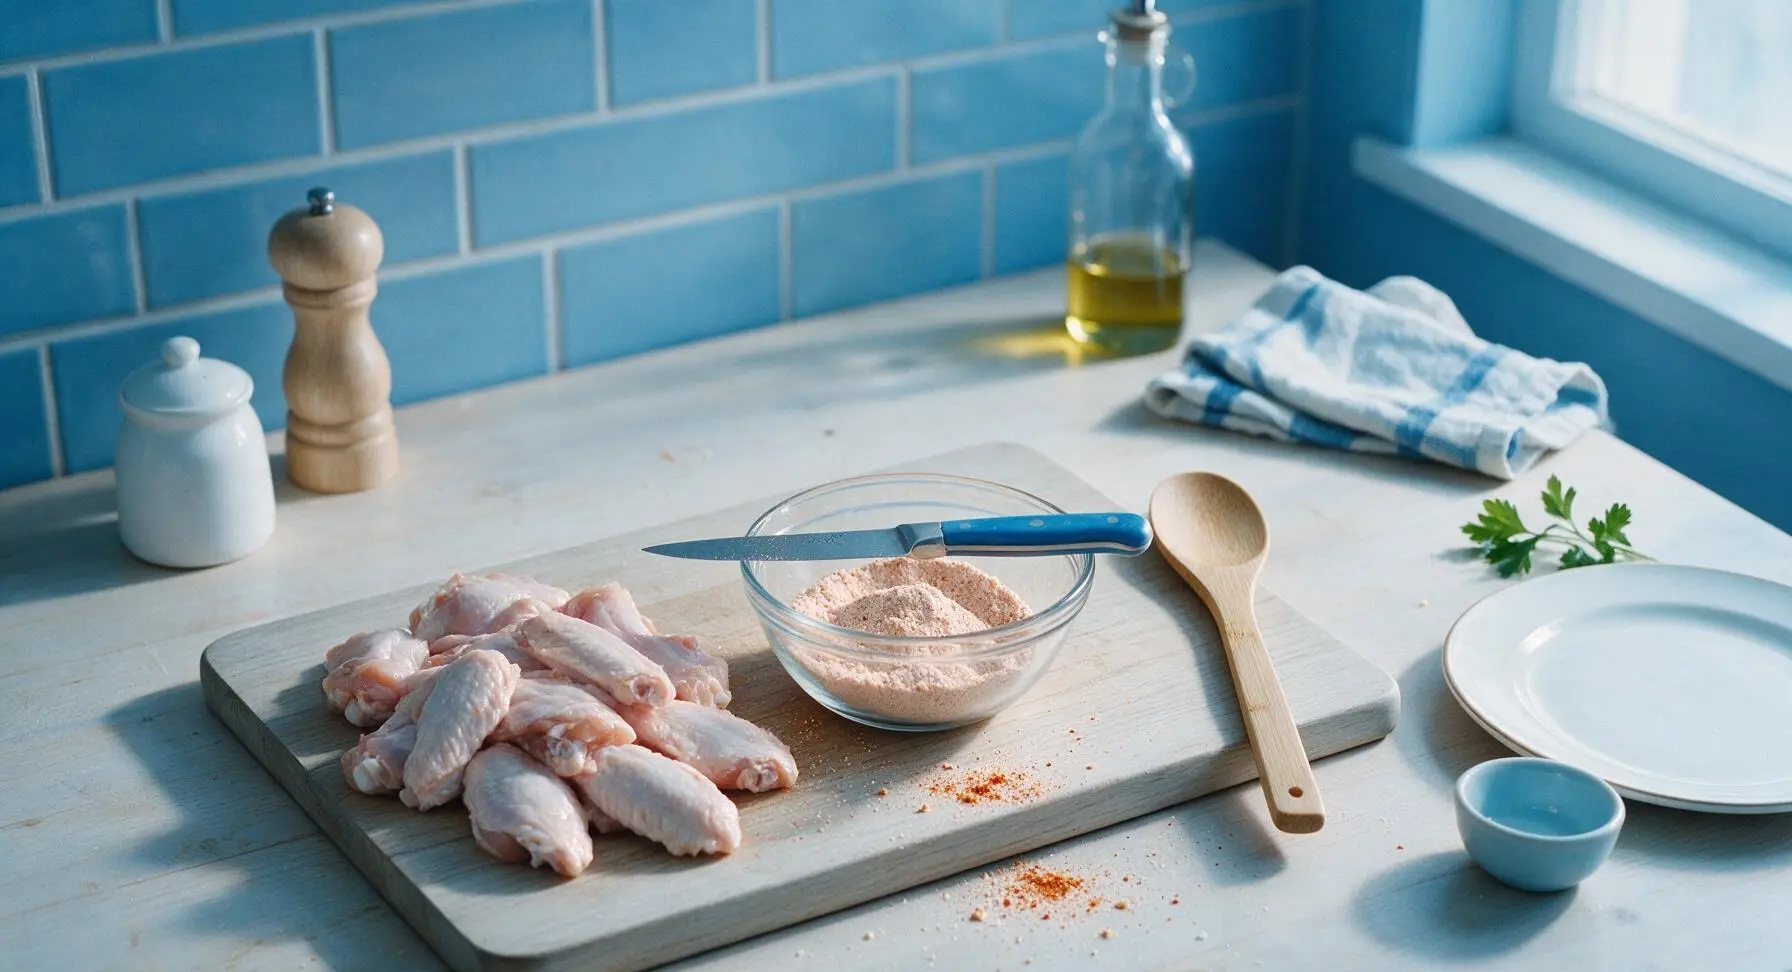
In the small clear glass mixing bowl, combine 1 tablespoon aluminum-free baking powder, 1 teaspoon kosher salt, 1 teaspoon garlic powder, 1/2 teaspoon smoked paprika, and 1/4 teaspoon freshly ground black pepper. Stir with the tip of the paring knife until the spices are evenly mixed, with no clumps of baking powder remaining. The blend will be a pale dusty pink-brown color from the paprika.
Step 2
step2:Mix Dry Seasoning Blend
3

Toss Wings in Seasoning

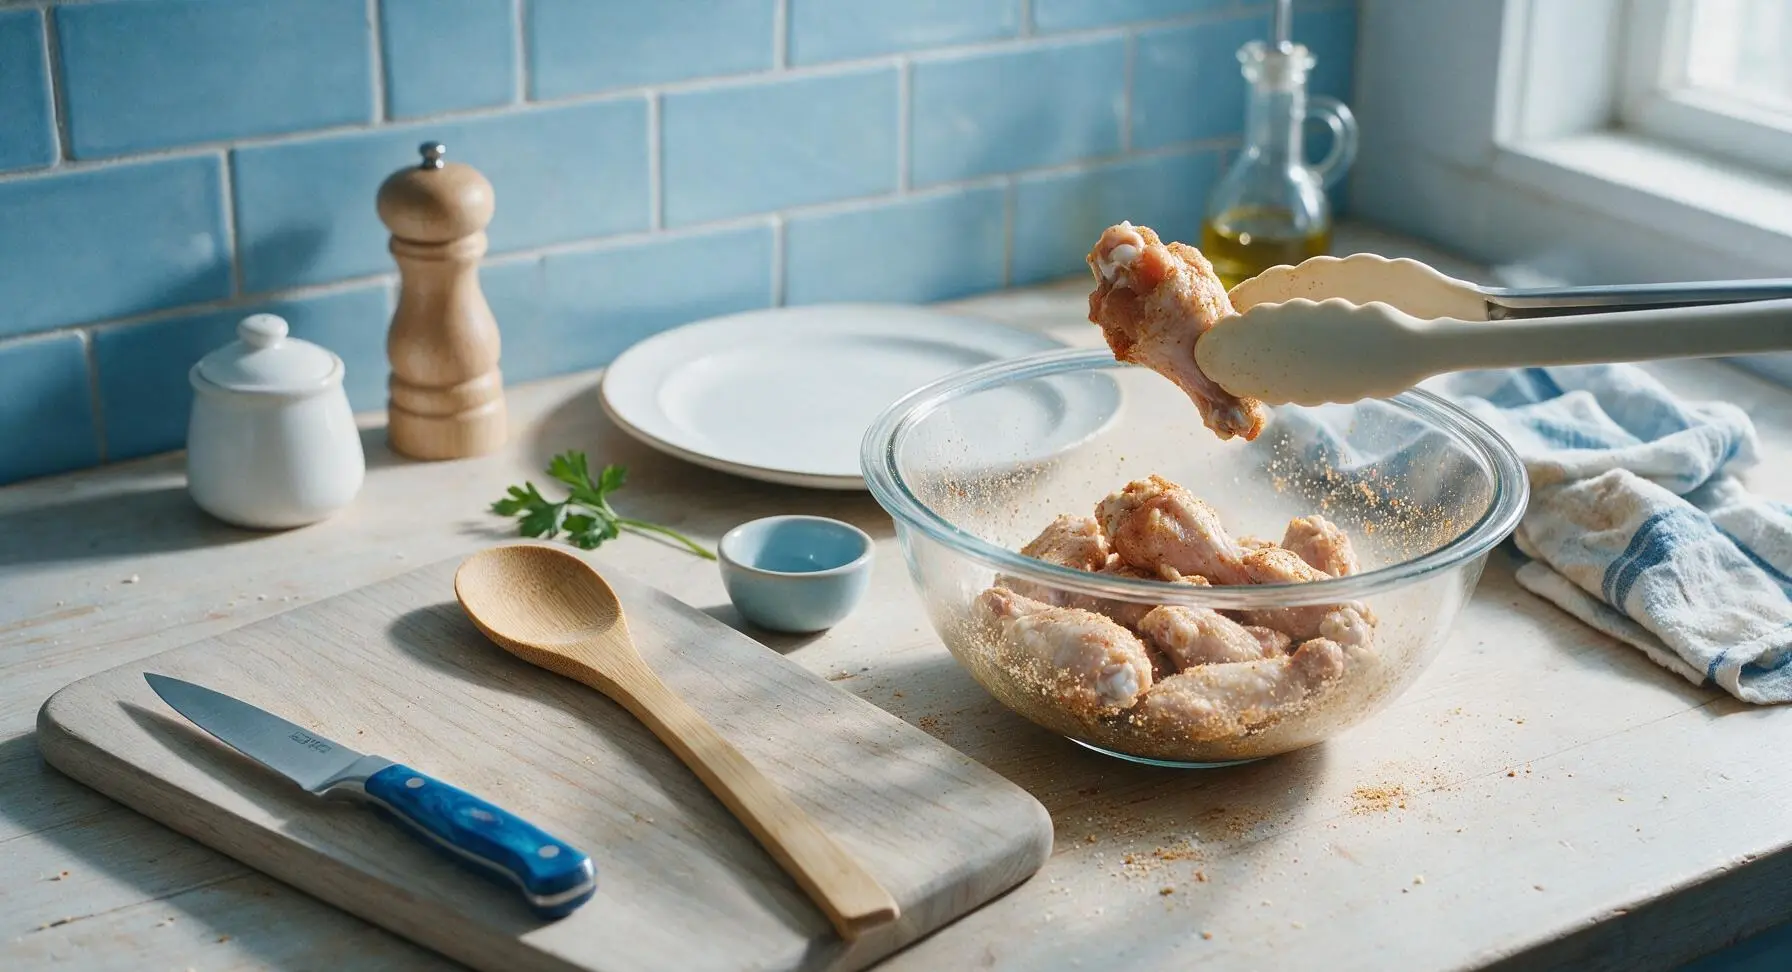
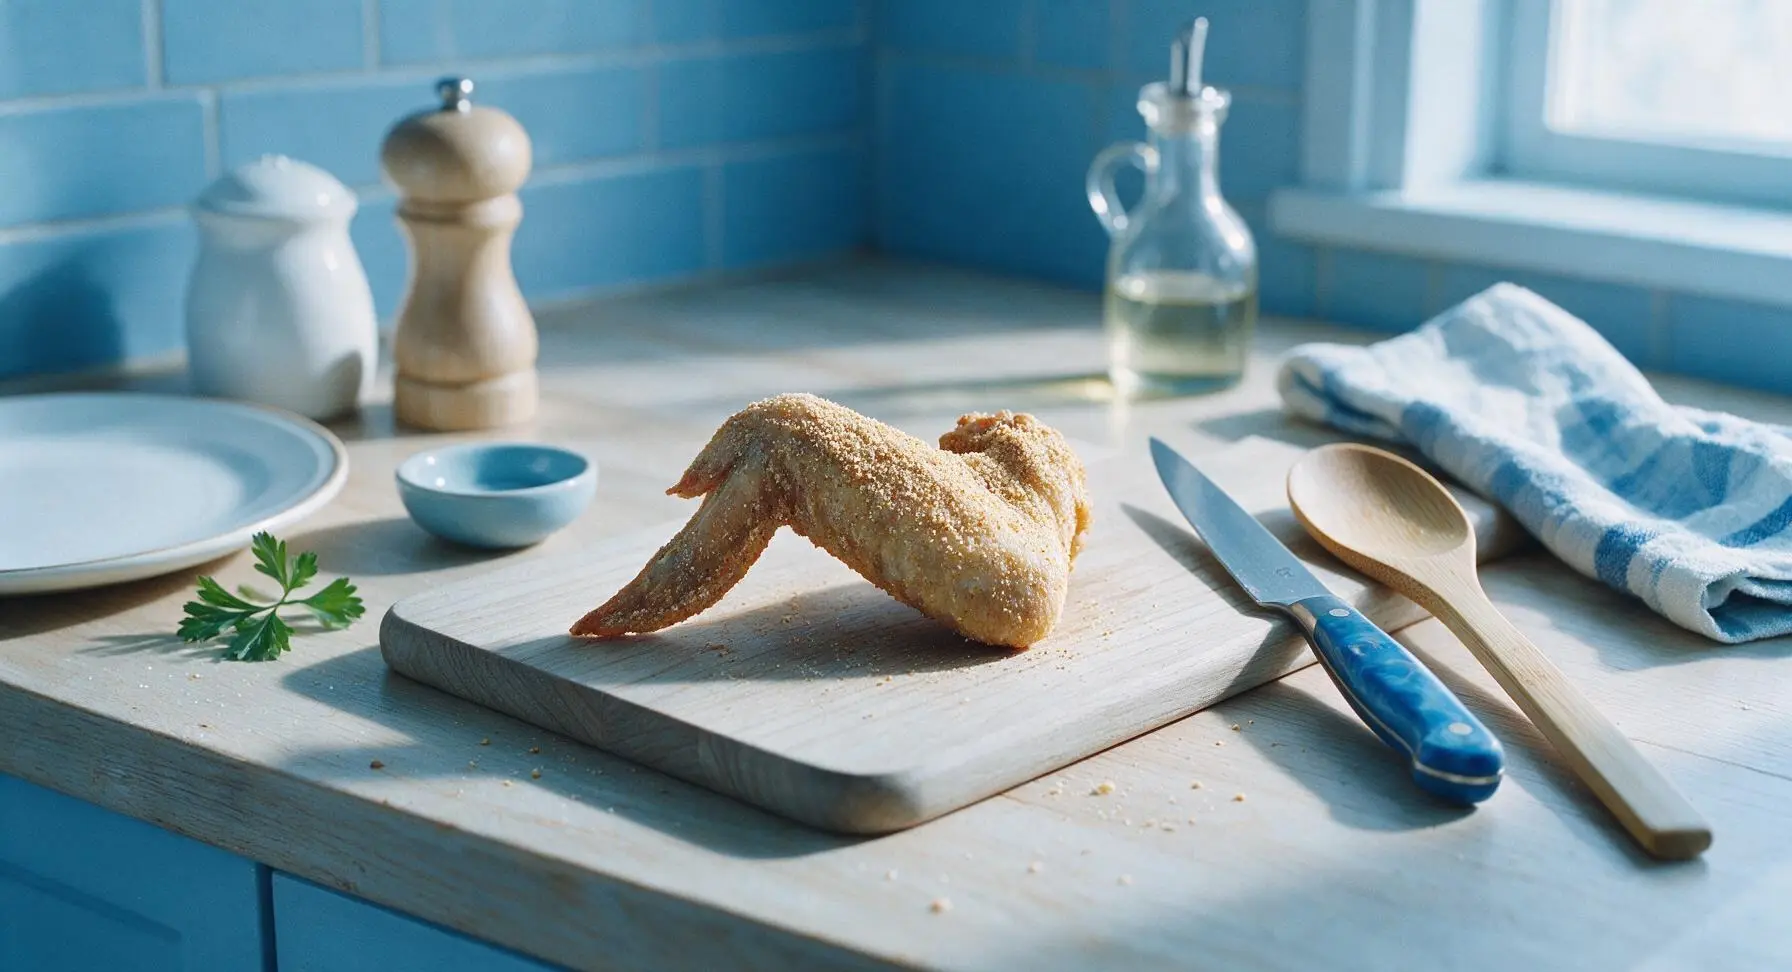
Add all the dried chicken wings to the glass mixing bowl with the seasoning blend. Use the off-white silicone tongs to toss the wings thoroughly for 1-2 minutes, until every wing is evenly coated in a thin, uniform layer of the spice mix. Do not leave thick clumps of seasoning on any wing surface, as these will burn during baking.
Step 3
step3:Toss Wings in Seasoning
Step 3
step3:Toss Wings in Seasoning
4

Arrange Wings on Rack

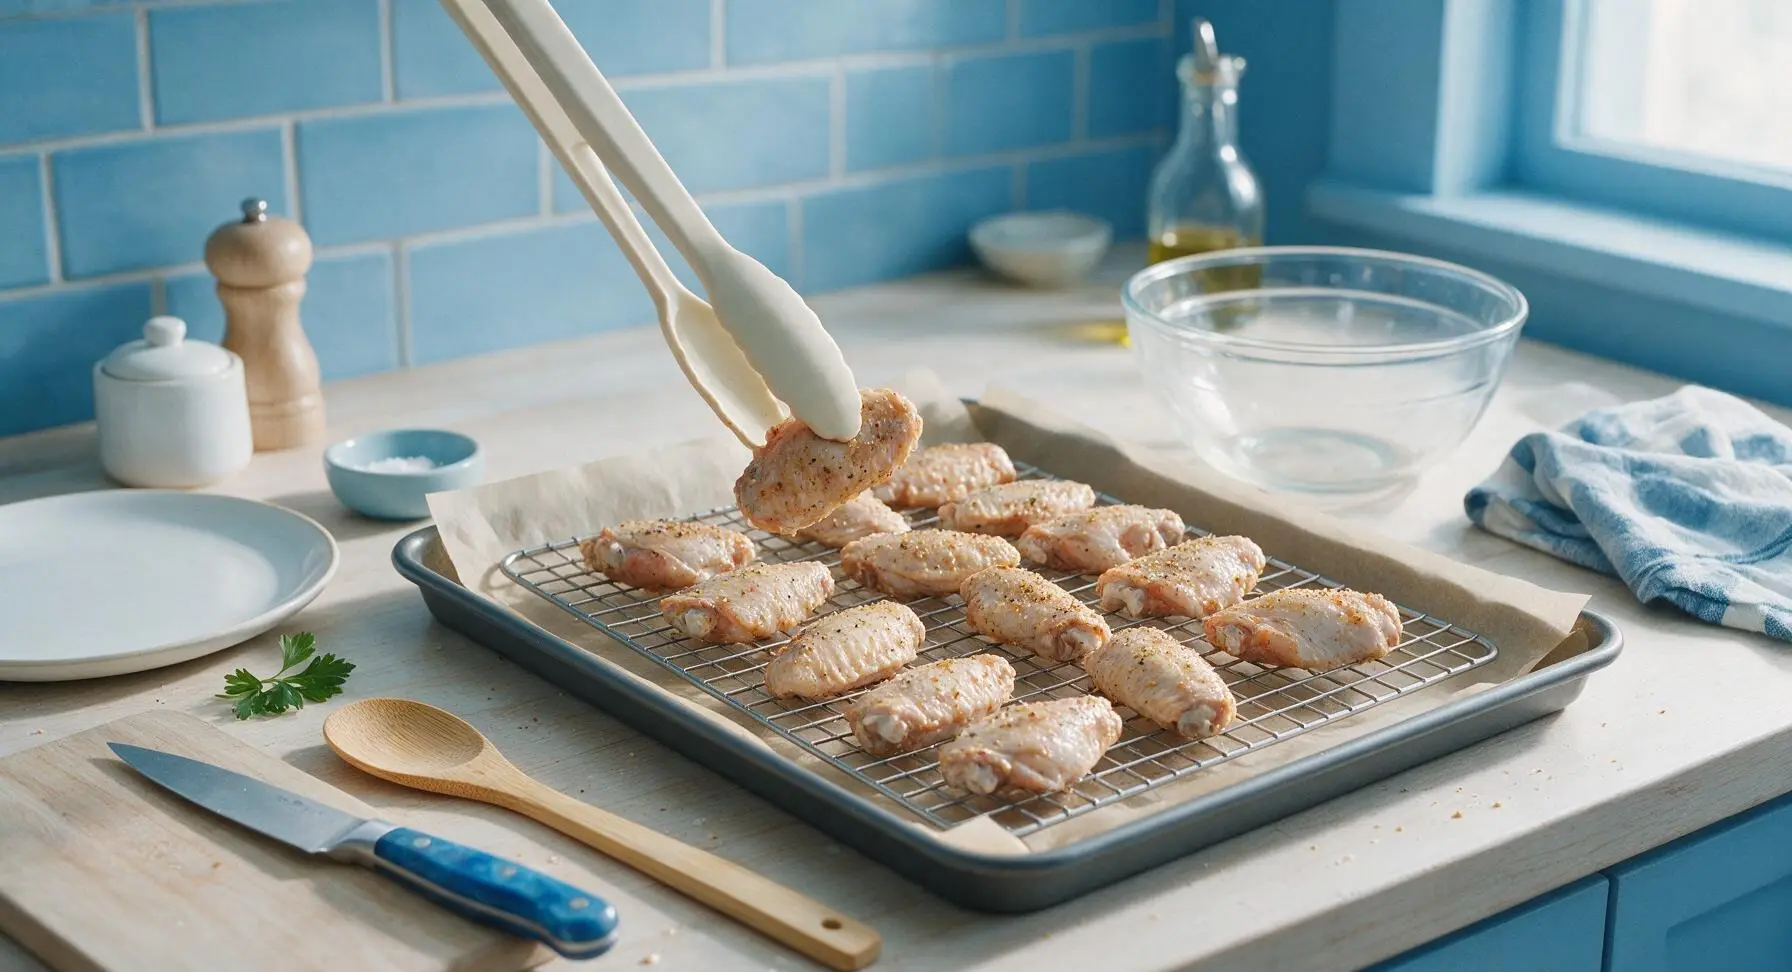
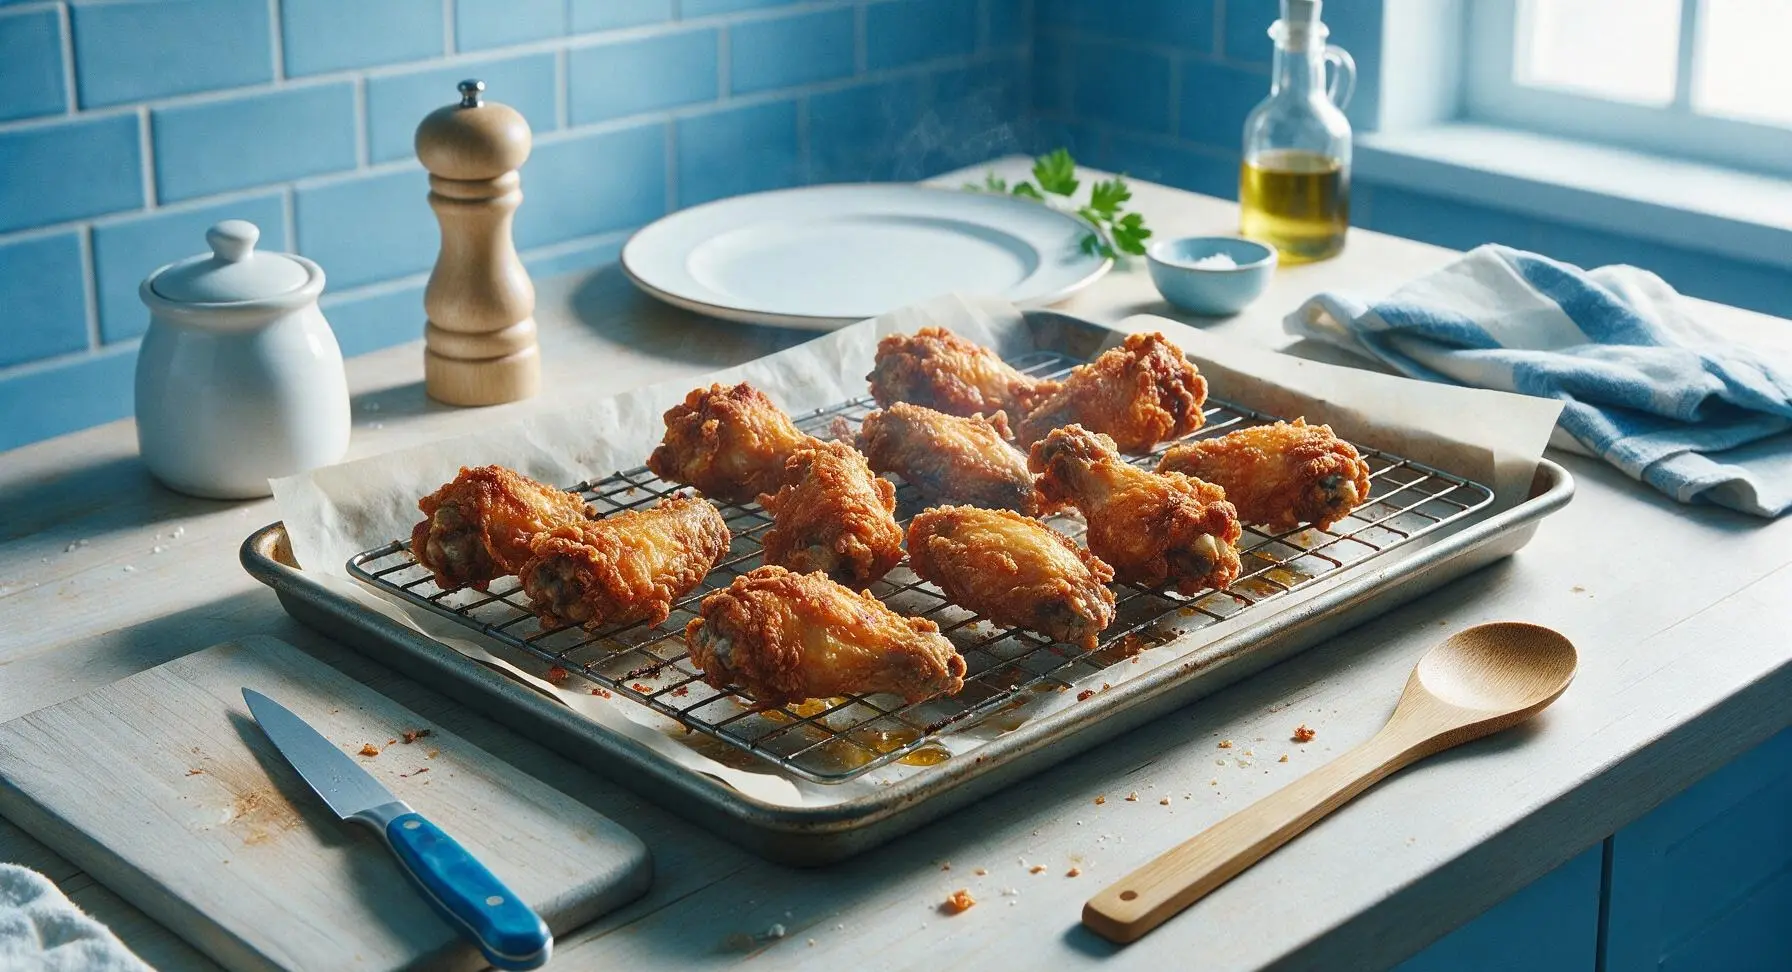
Line the matte dark grey rimmed baking sheet with a sheet of unbleached parchment paper for easy cleanup, then set the matte stainless steel wire baking rack inside the baking sheet. Arrange the seasoned wings in a single even layer on the wire rack, leaving 1cm of space between each wing to allow air circulation. Do not stack wings or let them touch, as this will cause steaming instead of crisping.
Step 4
step4:Arrange Wings on Rack
5

Bake Until Golden Crisp

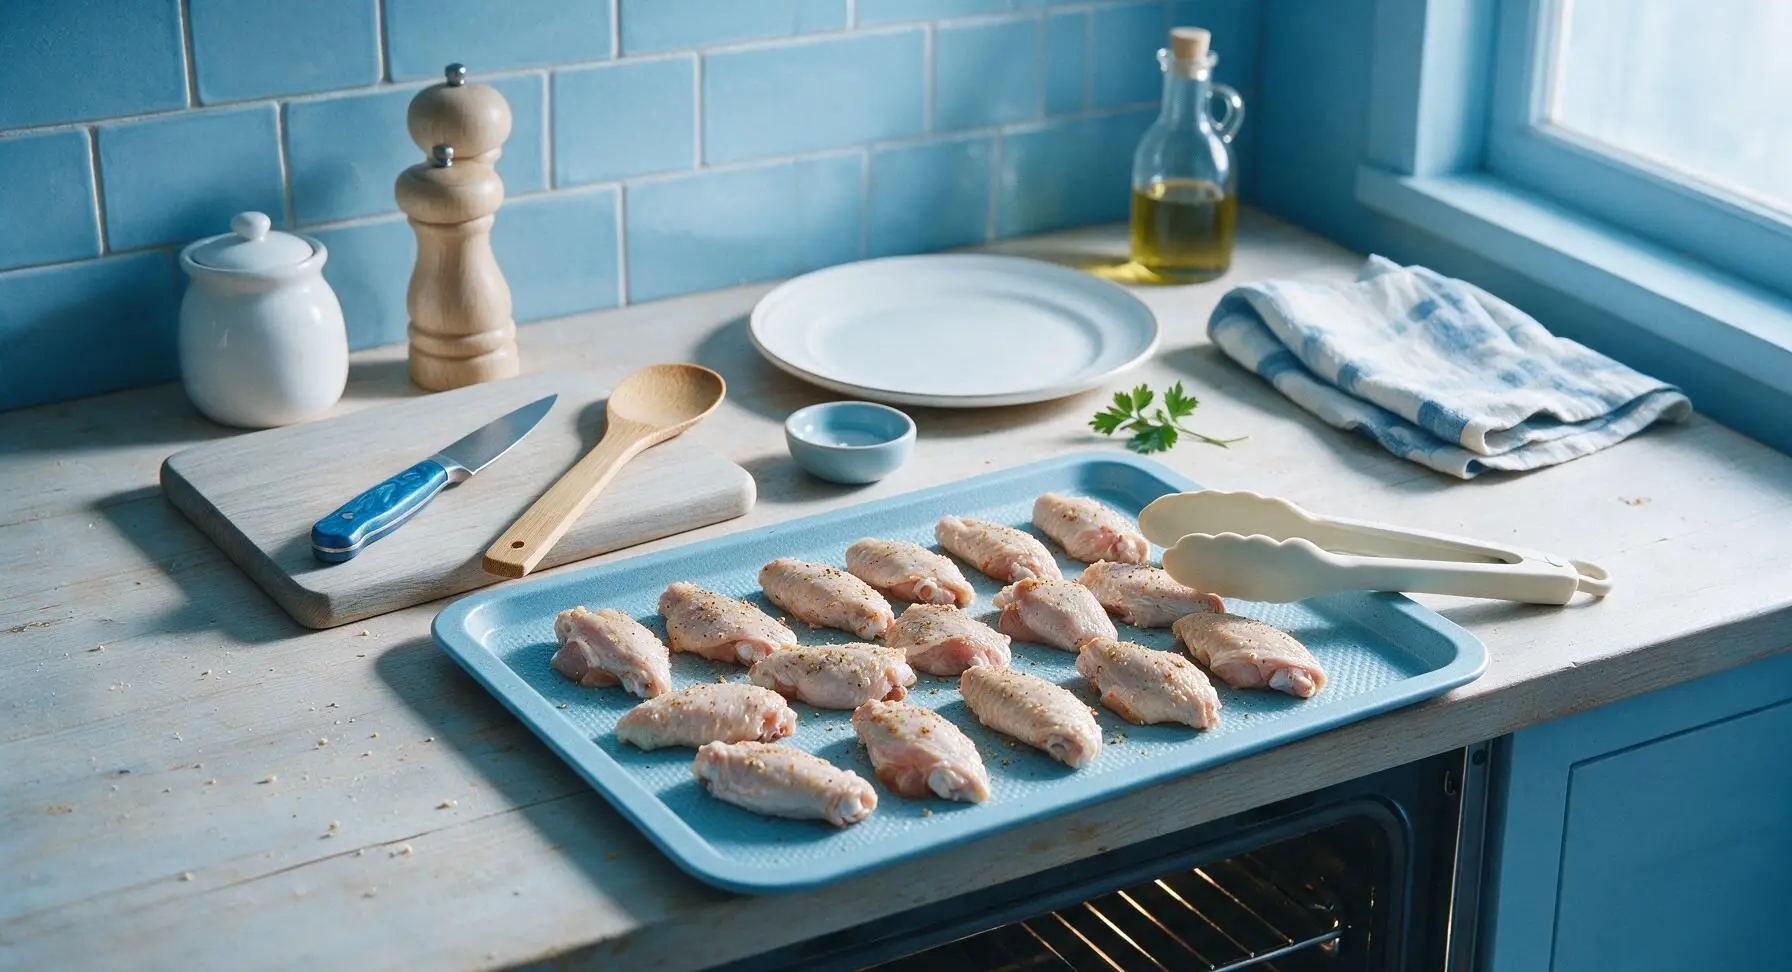
Place the baking sheet with the rack of wings into a preheated 425°F (220°C) oven, positioned on the middle rack for even air flow. Bake for 25 minutes, then carefully pull the sheet out, use the off-white silicone tongs to flip every wing to the opposite side, and return the sheet to the oven. Bake for an additional 25 minutes (50 minutes total) until the skin is deep golden brown, crinkled, and shatteringly crisp, with all visible rendered fat dripped onto the parchment below. The internal temperature of the thickest part of each drumette should read 165°F (74°C) on an instant-read thermometer.
Step 5
step5:Bake Until Golden Crisp
Step 5
step5:Bake Until Golden Crisp
6

Rest and Garnish Wings

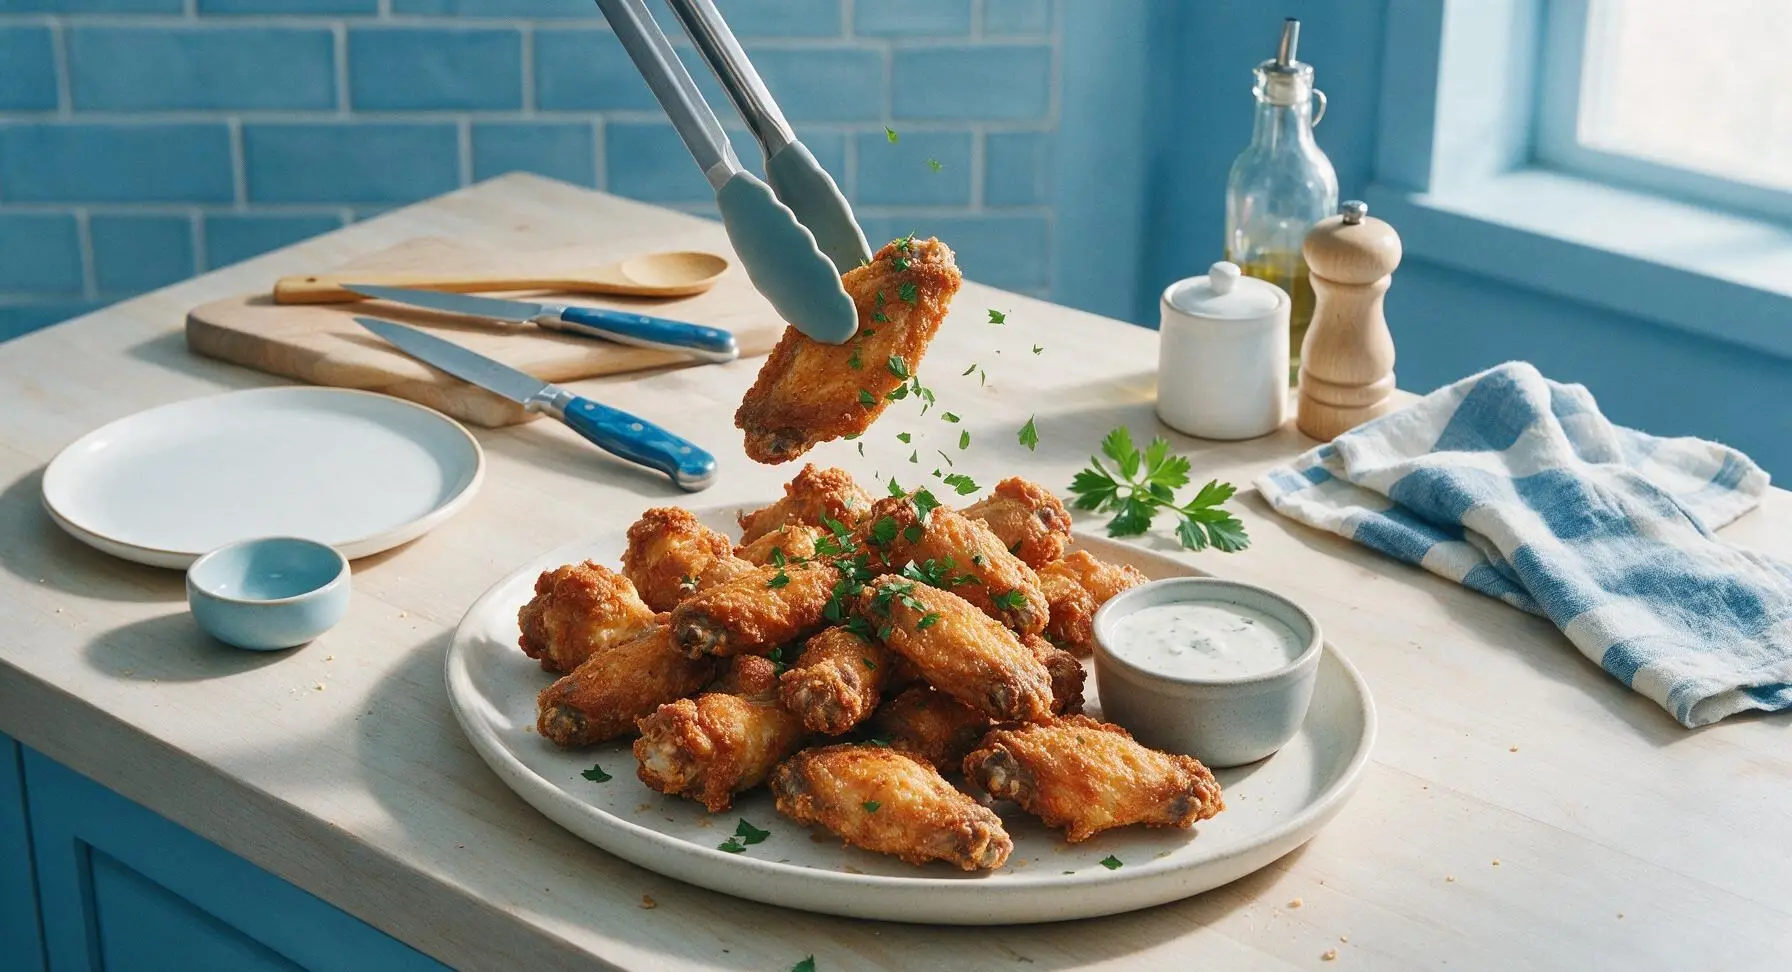
Once removed from the oven, let the wings rest on the wire rack for 3 minutes to allow the skin to set and excess fat to drip off. Use the silicone tongs to transfer the wings to the off-white matte ceramic serving platter. Sprinkle lightly with the chopped fresh flat-leaf parsley for garnish, and serve alongside ranch dressing in the small grey ramekin.
Step 6
step6:Rest and Garnish Wings

Tips

1.Always use aluminum-free baking powder for this recipe. Standard baking powder containing sodium aluminum sulfate will leave a faint metallic aftertaste on cooked wings; baking powder’s mild alkalinity breaks down skin proteins to accelerate browning and crisping without deep frying (do not substitute baking soda, which is too harsh and will create a soapy flavor).
2.Never place seasoned wings directly on the baking sheet without an elevated wire rack. Wings resting flat on the sheet will steam in pools of their own rendered fat, leaving the bottom skin soft and soggy; the raised wire rack allows hot oven air to circulate fully around every wing surface for all-around shatteringly crisp skin.
3.Skip rinsing raw chicken wings before patting them dry. Rinsing raw poultry spreads harmful bacteria across kitchen surfaces via water splashes, and the added surface moisture will extend drying time and prevent crisping; simply pat wings dry directly from the package for better food safety and ideal texture.


✨ You May Also Like

Snacks & Appetizers
🍜 Mexico

Crispy thick-cut tortilla chips piled high with seasoned beef, melted cheese, and bright fresh toppings for a shareable, crowd-favorite bite.

⏱️ 25 minuteSnacks & Appetizers ★ 4.8
Snacks & Appetizers
🍜 United States

Crisp, sweet-tangy spiced pickled watermelon rind is a zero-waste summer staple, perfect with grilled meats, charcuterie, or eaten straight from the jar as a bright snack.

⏱️ 30 minuteSnacks & Appetizers ★ 4.6
Snacks & Appetizers
🍜 Germany

A tangy, jellied pork cold cut slow-simmered with aromatic spices, set into a firm sliceable loaf, served cold with mustard and crusty bread.

⏱️ 3 hours 4Snacks & Appetizers ★ 4.8
Snacks & Appetizers
🍜 United States

Creamy, tangy, perfectly seasoned hard-boiled egg halves filled with a rich, smooth yolk mixture, a timeless, crowd-pleasing bite for holiday and casual gatherings alike.

⏱️ 40 minuteSnacks & Appetizers ★ 4.8
Snacks & Appetizers
🍜 Russia

Silky, dill-forward no-smoke cured salmon, a Scandinavian classic with bright salty-sweet flavor, ideal for holiday starter platters and open-faced rye sandwiches.

⏱️ 48 hours Snacks & Appetizers ★ 4.7
Snacks & Appetizers
🍜 Japan

Crisp golden bottoms, juicy savory pork and vegetable filling, and tangy dipping sauce make these pan-fried gyoza a beloved shareable bite.

⏱️ 45 minuteSnacks & Appetizers ★ 4.8

baked chicken wings crispy:Frequently Asked Questions

1.Do these wings really get shatteringly crisp without deep frying? ▾
They absolutely do! The secret is a light, even coating of aluminum-free baking powder (don’t swap this for baking soda!) mixed with your seasonings. It raises the pH of the wing skin, speeds up protein breakdown, and encourages even golden browning as excess fat renders out in the hot oven, creating that signature crisp texture without frying oil.
2.Why does the recipe call for aluminum-free baking powder specifically? ▾
Baking powder formulated with aluminum can leave a distinct, bitter metallic aftertaste on wing skin, especially when baked at high heat for an extended cook time. Aluminum-free blends skip that unpleasant off-flavor entirely while still delivering the gentle pH shift needed to build perfectly crisp, evenly browned skin every time.
3.Is it really necessary to pat the chicken wings dry before seasoning? ▾
This is a non-negotiable step for ultra-crisp skin. Any excess surface moisture from the packaging will create steam instead of dry roast heat in the oven, leading to rubbery, soggy skin. Pat every drumette and flat thoroughly with paper towels until they feel completely dry to the touch before tossing with your spice mix.
4.Can I leave the wing tips attached instead of removing them? ▾
You technically can, but wing tips have almost no edible meat, burn very easily at the high oven heat needed for crisp skin, and don’t have the same satisfying bite as drumettes and flats. I recommend saving removed tips in a freezer bag to make homemade chicken stock later for zero food waste.
5.What oven temperature and setup works best for crispy wings? ▾
Preheat your oven to 425°F, and arrange seasoned wings on a wire rack set inside a rimmed baking sheet. This high, dry heat renders fat quickly without overcooking the tender meat inside, and the rack lets hot air circulate fully around every wing to eliminate soggy spots where wings touch the pan.
6.How long do I need to bake these wings to get the perfect texture? ▾
Bake for 45 to 50 minutes total, flipping the wings halfway through cooking to make sure both sides crisp evenly. The skin should be deep golden and crackly to the touch, and the internal temperature of the thickest part of each wing should hit 165°F on an instant-read thermometer for food safety.
7.Can I toss these wings in sauce after baking, or will that ruin the crispness? ▾
Definitely add sauce if you’d like! The base seasoning blend of kosher salt, garlic powder, and smoked paprika is a delicious neutral baseline, but wait to toss wings in buffalo, honey garlic, lemon pepper, or BBQ sauce until right after they come out of the oven—saucing before baking adds moisture that ruins crisp skin.
8.Why did my last batch of baked wings turn out soggy instead of crisp? ▾
Soggy wings almost always trace back to one of three common missteps: you didn’t pat wings fully dry before seasoning, you used too thick a coating of baking powder that created a pasty layer, or you baked wings directly on a sheet pan without a wire rack to let air circulate and fat drip away.
9.Can I prep these wings ahead of time for game night? ▾
These wings are crispest straight out of the oven, but you can prep them fully a day ahead for easy game day serving: pat dry, toss with seasoning, arrange on the wire rack over a baking sheet, and chill uncovered in the fridge until bake time. Chilling actually dries skin out further for extra crispness.
10.What dipping sauces pair best with these crispy baked wings? ▾
The shatteringly crisp skin and juicy, lightly smoky meat pairs beautifully with cool, creamy dips to cut through the rich, savory flavor. Stick to classic blue cheese or ranch for traditional game day vibes, or mix it up with spicy aioli, honey mustard, or creamy cilantro lime dip.
11.Can I use frozen chicken wings for this recipe? ▾
You can, but you must thaw them completely and pat them extremely dry first. Frozen wings release a huge amount of excess moisture as they thaw, which will steam skin and ruin crispness if you don’t remove every bit of surface water before seasoning and baking. Never bake fully frozen wings directly for this recipe.
12.How much baking powder should I use per pound of wings? ▾
Use exactly 1 teaspoon of aluminum-free baking powder per pound of split chicken wings, mixed evenly with your kosher salt, garlic powder, and smoked paprika. Any more will leave a powdery, bitter aftertaste on the skin; any less and you won’t get the pH reaction needed for that evenly crisp, golden crust.
13.Do I really need to flip the wings halfway through baking? ▾
Yes, flipping wings once at the 22 to 25 minute mark ensures both sides get equal exposure to hot circulating air, so you don’t end up with one soft, soggy side pressed against the rack and one overly dark, crisp side. Use tongs to flip gently to avoid tearing the delicate rendered skin.
14.Can I make these wings in an air fryer instead of a conventional oven? ▾
Absolutely! Toss seasoned wings in your air fryer basket in a single, uncrowded layer (work in batches if needed) and cook at 400°F for 22 to 25 minutes, flipping halfway, until skin is crisp and meat hits 165°F internally. You’ll get the same shatteringly crisp texture with slightly faster cook time.

Comments (3)

2 days ago

OMG these are a total game changer!!! I’ve tried so many baked wing recipes that came out soggy no matter what I did, but these were shatteringly crisp right out of the oven. Tossed them in buffalo sauce for our Sunday football watch party and my husband and kids devoured two full pounds before halftime. So easy too, I didn’t even have to pull out the deep fryer which means way less mess to clean up after everyone leaves. 10/10 will be making these every game day from now on!

yesterday

So glad I’m not the only one who’s dealt with a million soggy baked wing fails! Did you toss them in sauce right after taking them out of the oven, or let them cool a minute first? I’m making these for our neighborhood block party next weekend and don’t want to mess them up for the crowd!

2 hours ago

Great question! For maximum crispness, toss the wings in sauce immediately after pulling them out of the oven—they’ll hold that perfect crunch way better than you think, even coated. Just don’t douse them in too much sauce at once; a light, even toss is ideal for serving a crowd. Hope the block party is a hit!

1 week ago

SO good. I made a big batch of these on Sunday for my weekly meal prep, tossed half in lemon pepper and half in honey garlic, and they held up way better than I expected even when I reheated them in the air fryer for a couple minutes at lunch. Only knock is I wish I made a double batch—my roommate stole three off my tray before I could even portion them out for the week lmao. Super straightforward recipe, no fancy weird ingredients needed which is perfect for someone like me who can barely cook without burning toast. 10/10.

5 days ago

So happy these worked out for your meal prep! Pro tip for your next batch: if you’re making them ahead to reheat, wait to toss them in sauce until right after you reheat for an even crispier bite. Hope your roommate leaves you more wings next time!

30 minutes ago

Followed this recipe exactly last night for family dinner and my picky 7 year old asked for seconds! That’s basically a Michelin star in my book. I was worried 50 minutes was too long for a busy weeknight but it was totally hands off while I roasted broccoli on the lower oven rack, so dinner came together with zero stress. The crunch was perfect even when I tossed a batch in teriyaki sauce for the kids, zero sogginess like every other baked wing recipe I’ve tried. Will absolutely be adding this to our regular dinner rotation.



