
baked tater tot
intro
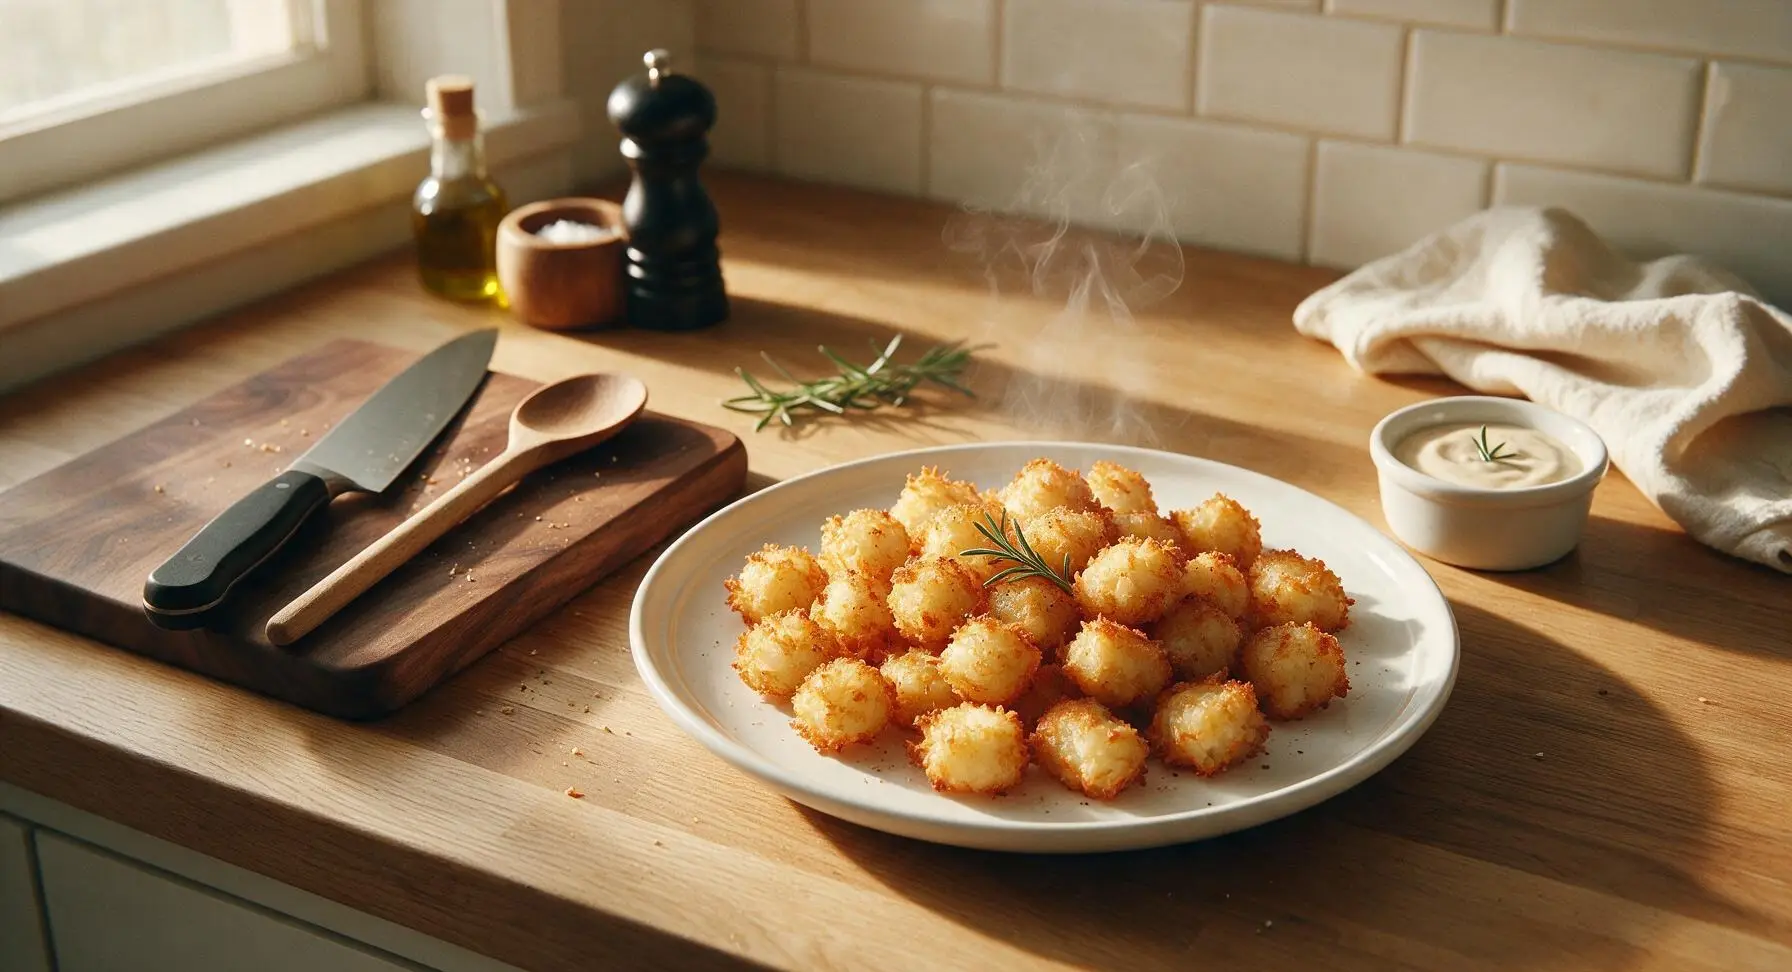
Ultra-crispy homemade baked tater tots with shaggy crunchy exteriors and fluffy tender centers, made without deep frying for a lighter, perfectly dippable game night favorite.
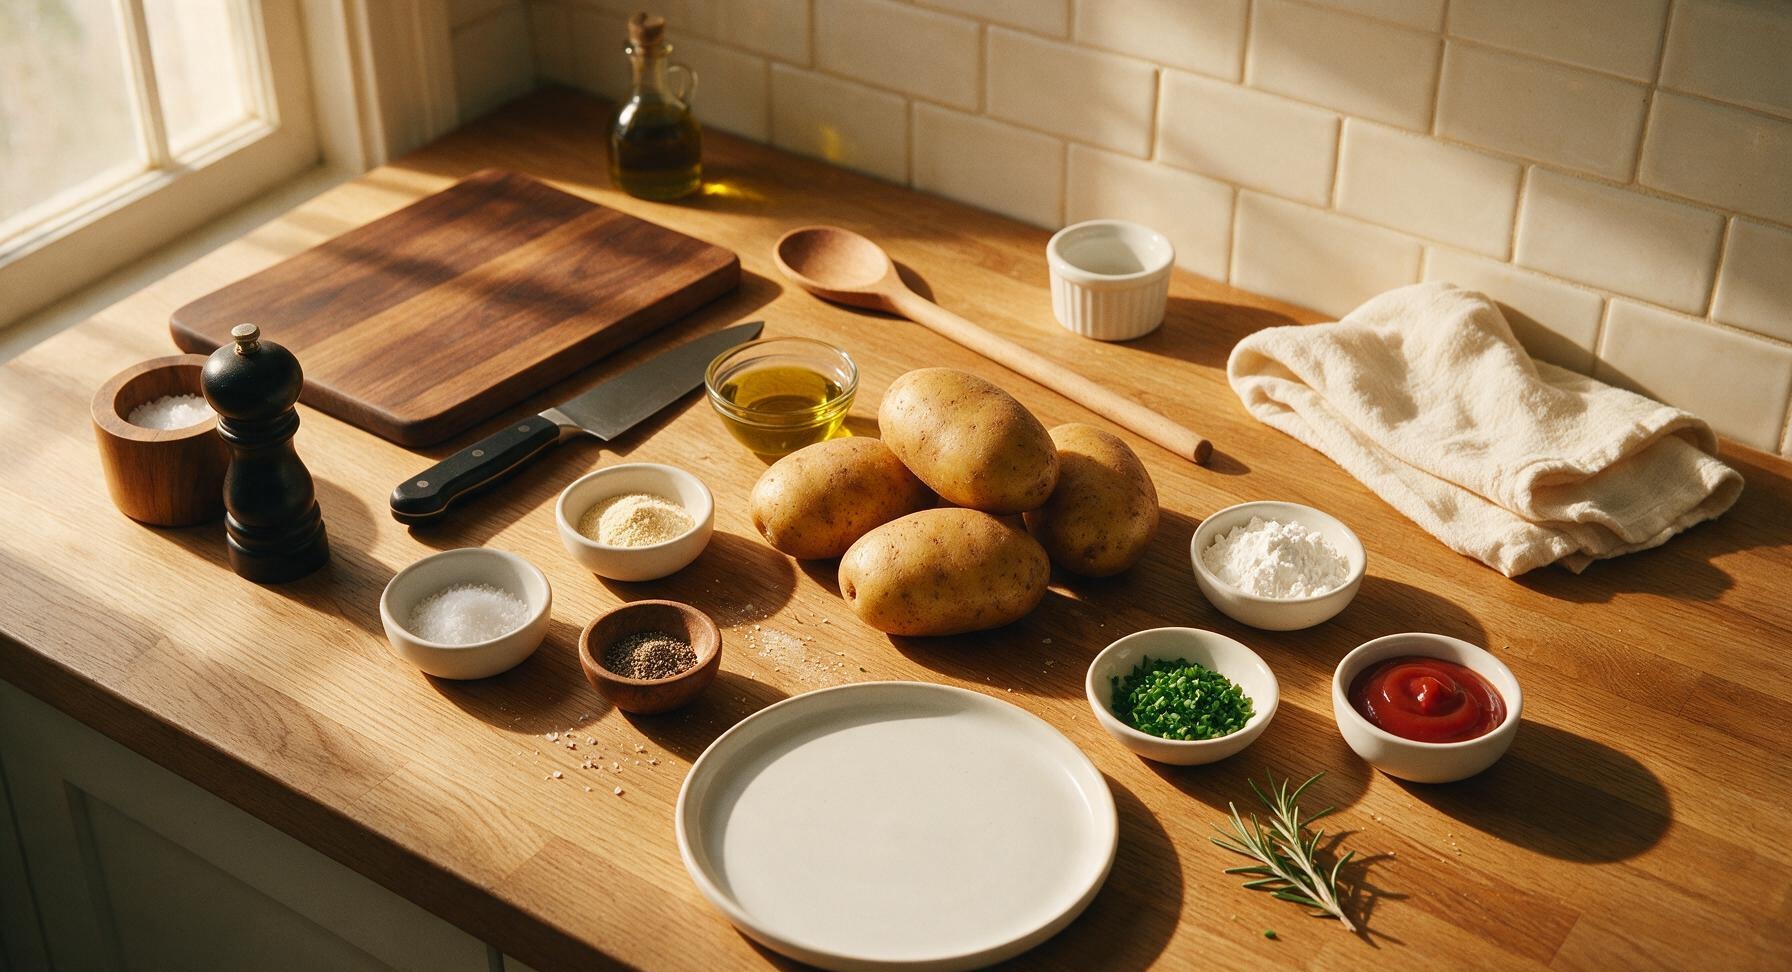
Ingredients
Steps
Preheat and Prep Pan
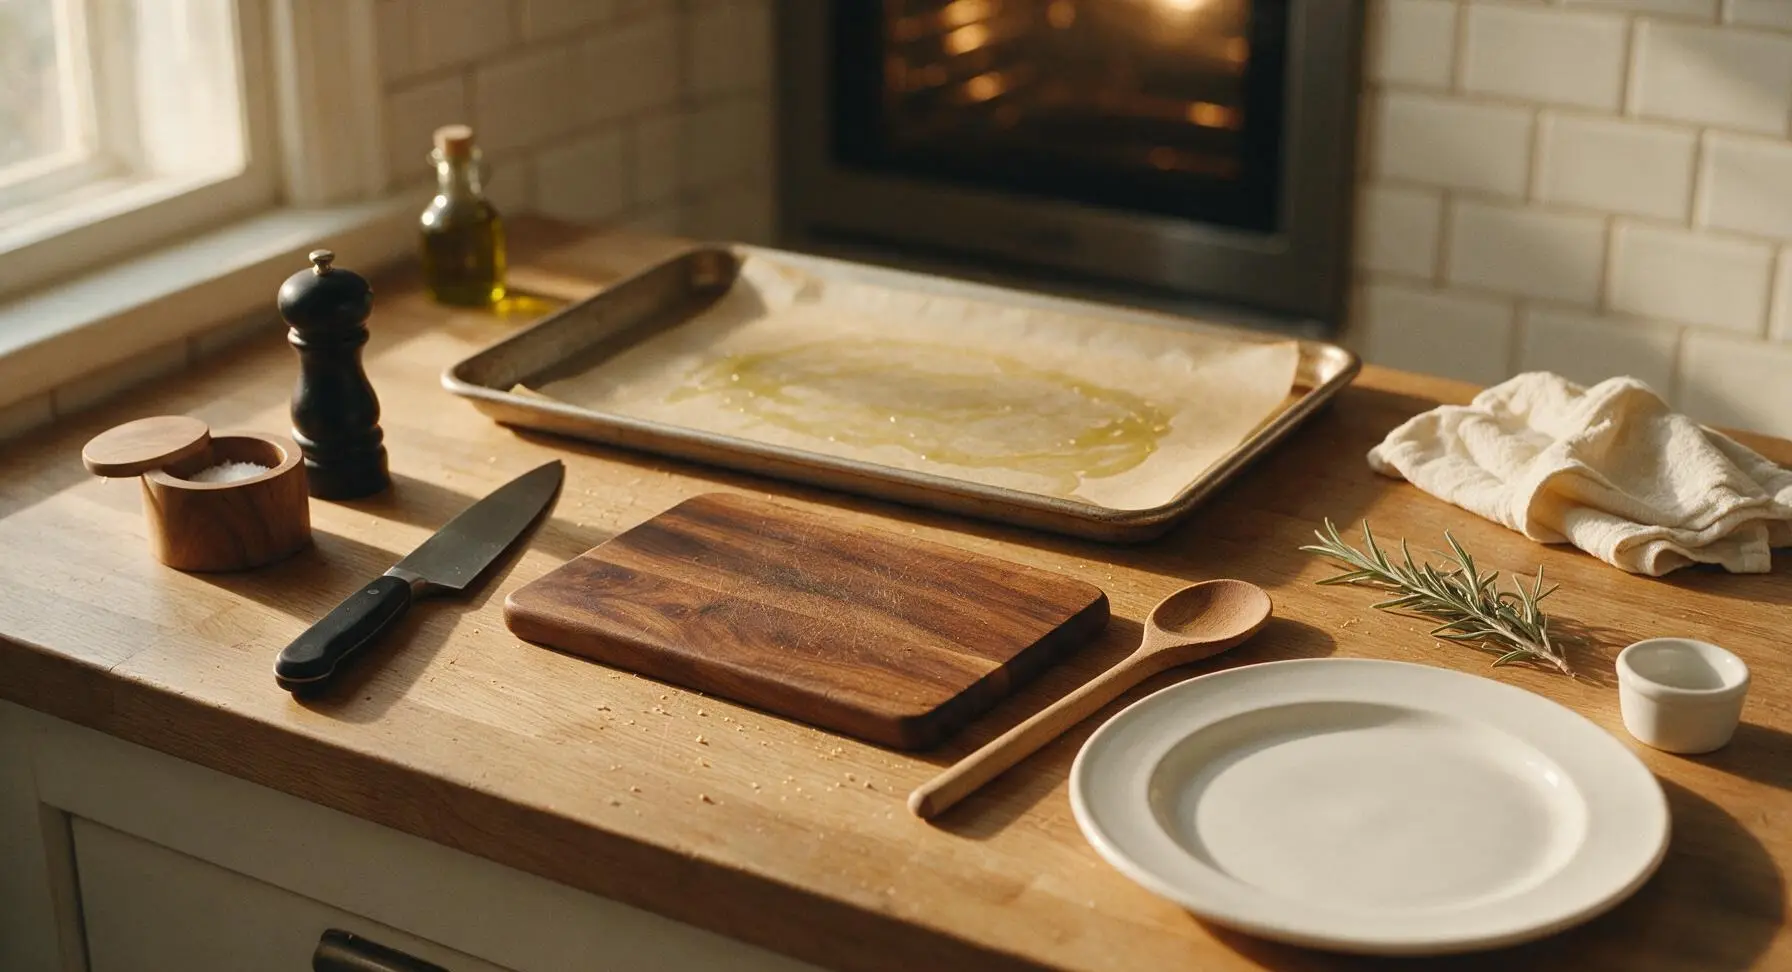
Adjust oven rack to the middle position, preheat oven to 425°F (220°C). Line the 13x18 inch heavy gauge baking sheet with unbleached parchment paper, then drizzle 1 tablespoon of olive oil across the parchment, spreading it in a thin even layer with a paper towel to prevent sticking. Set the prepared pan aside.
Grate Russet Potatoes
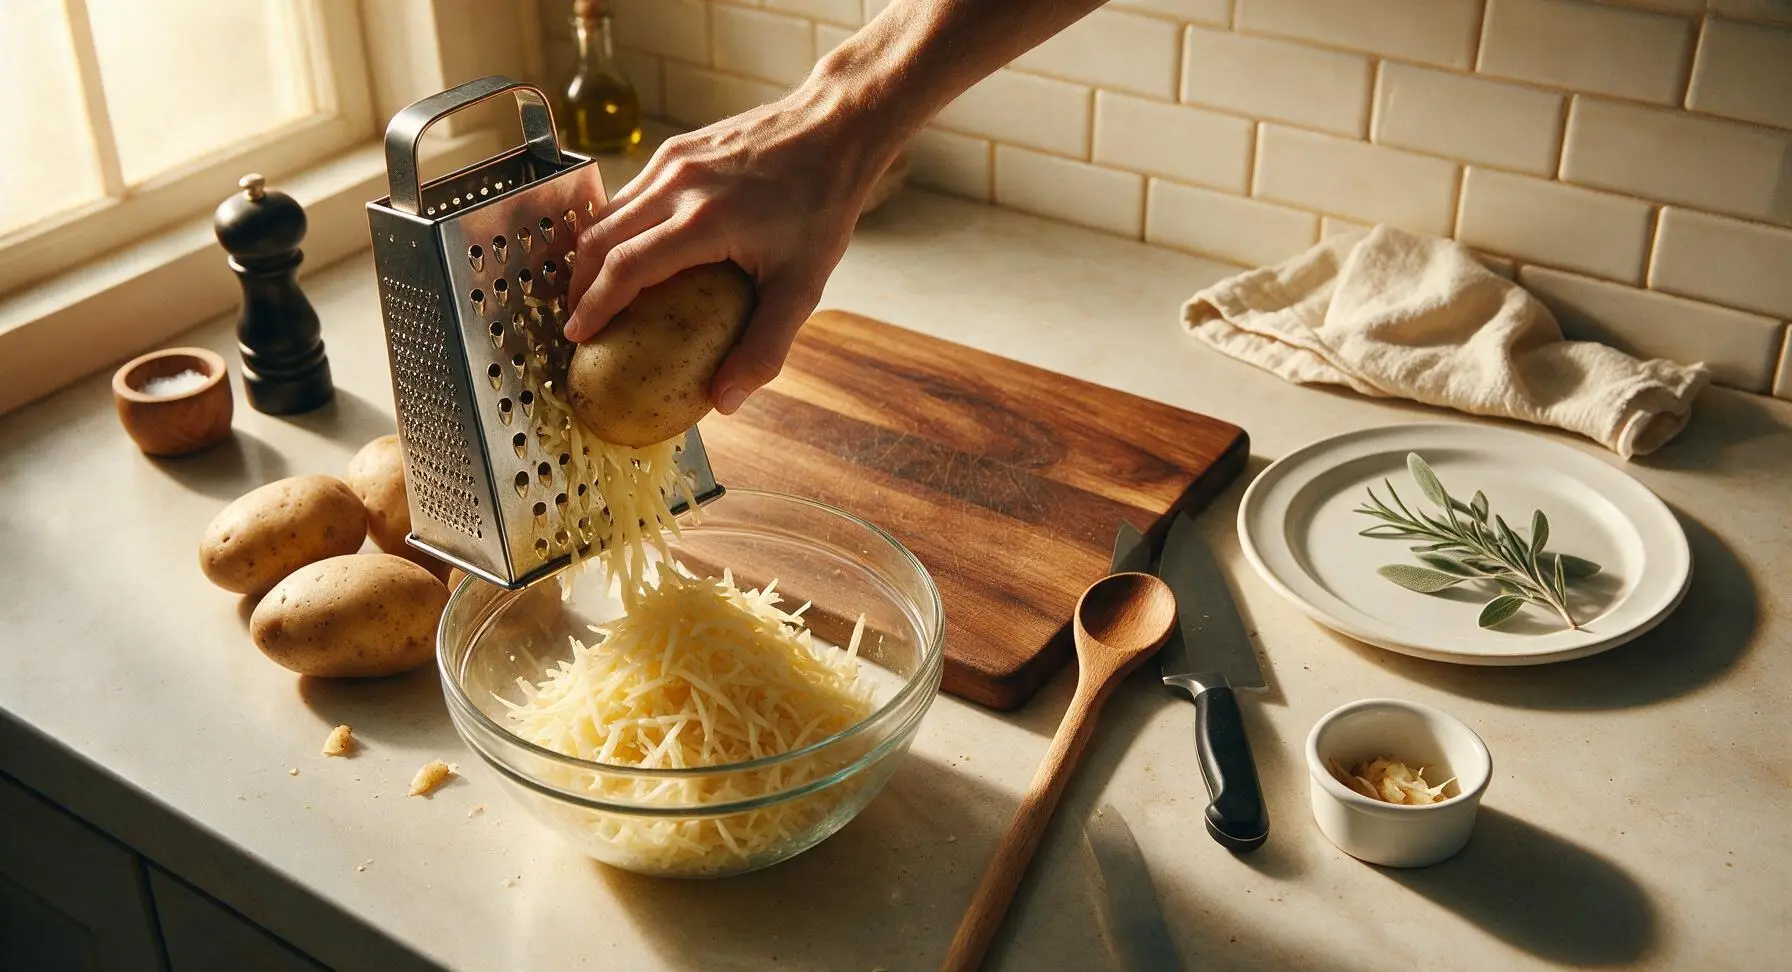
Scrub the russet potatoes clean under cool running water, pat dry with the linen towel. Leaving the skins on for extra texture, use the large holes of the box grater to shred all potatoes into coarse, uniform shreds directly into the large glass mixing bowl. Avoid grating down to the potato eyes or any green patches, discarding those sections as you work.
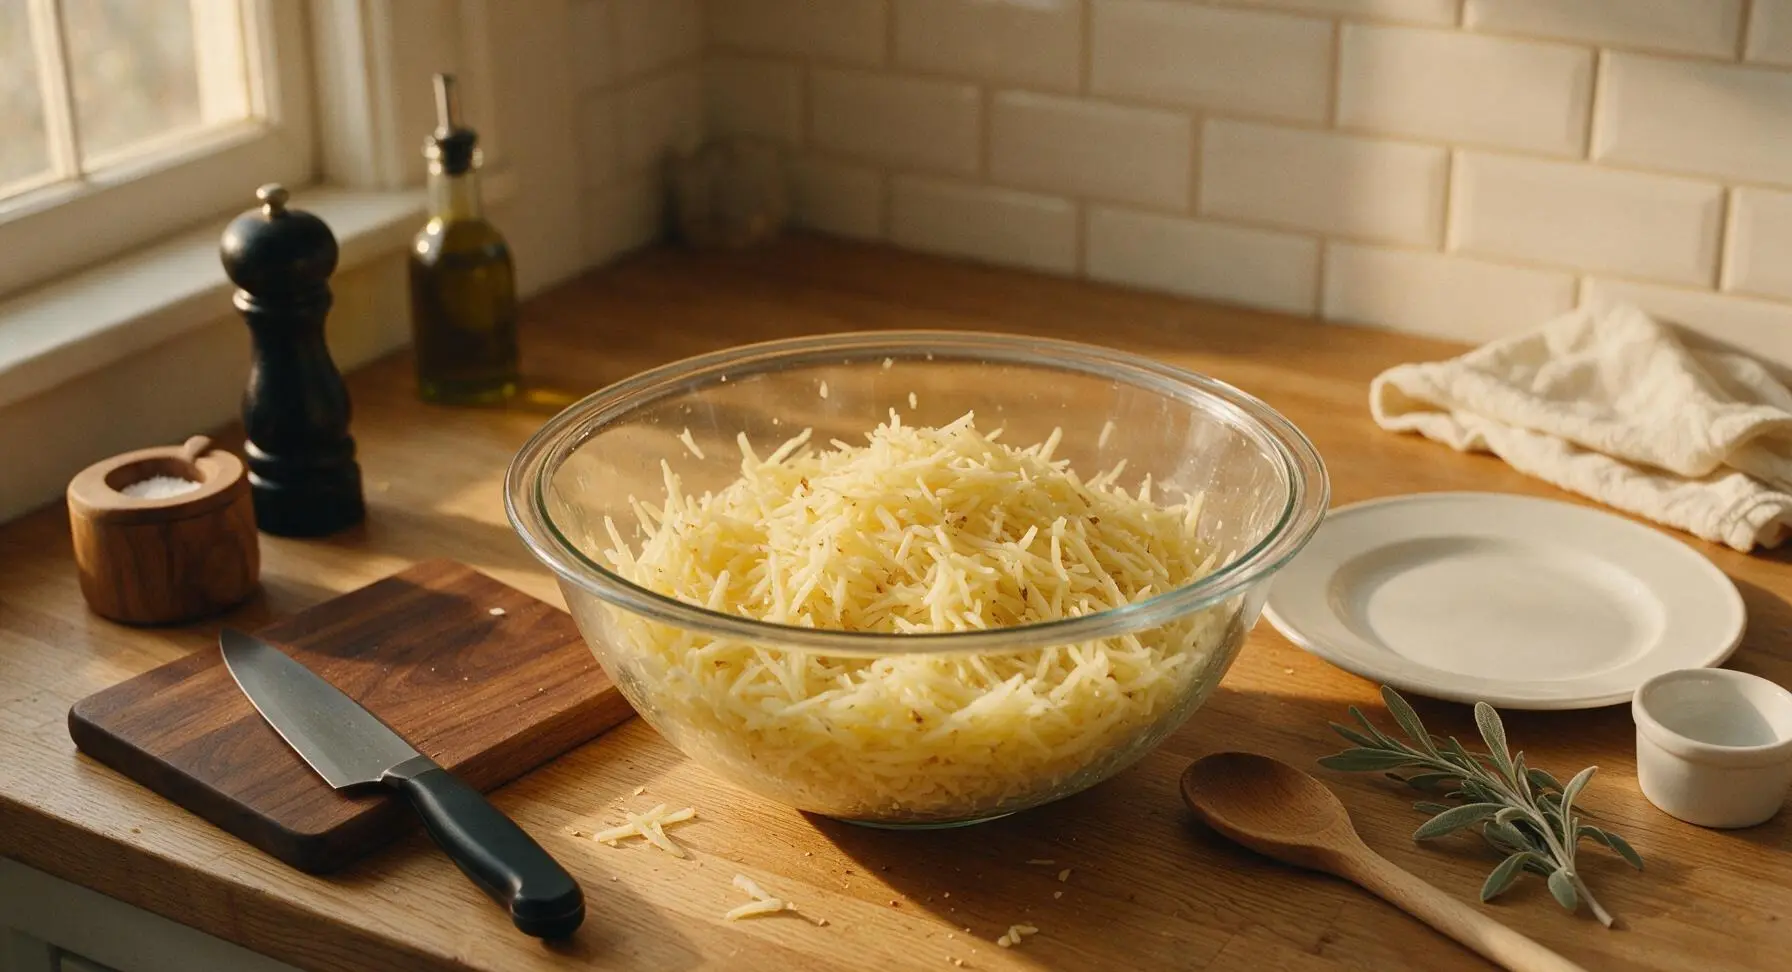
Squeeze Potato Moisture
Transfer the shredded potatoes to the center of the cheesecloth. Gather the edges of the cheesecloth tightly to form a pouch, then squeeze firmly over the small stainless steel bowl to remove as much excess starch and moisture as possible. Continue squeezing for 2-3 minutes until no more liquid drips out, and the potato shreds feel dry and crumbly to the touch—this is the most critical step for extra crispy tots. Return the dried shreds to the large mixing bowl.
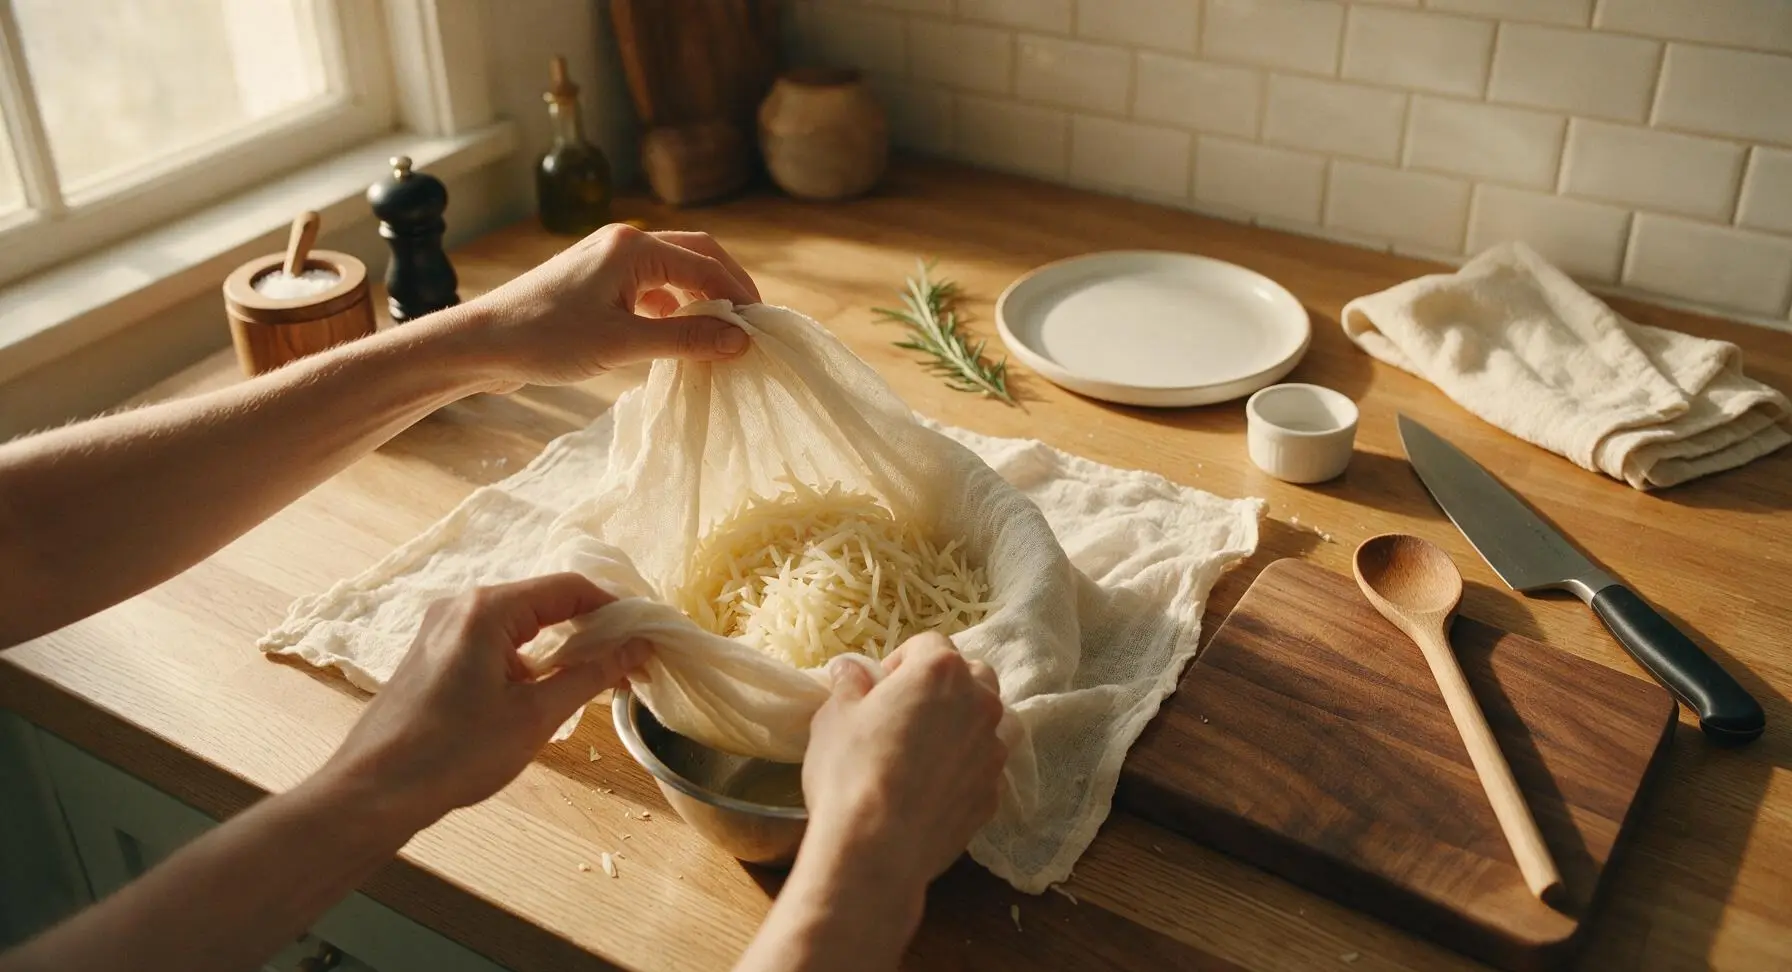
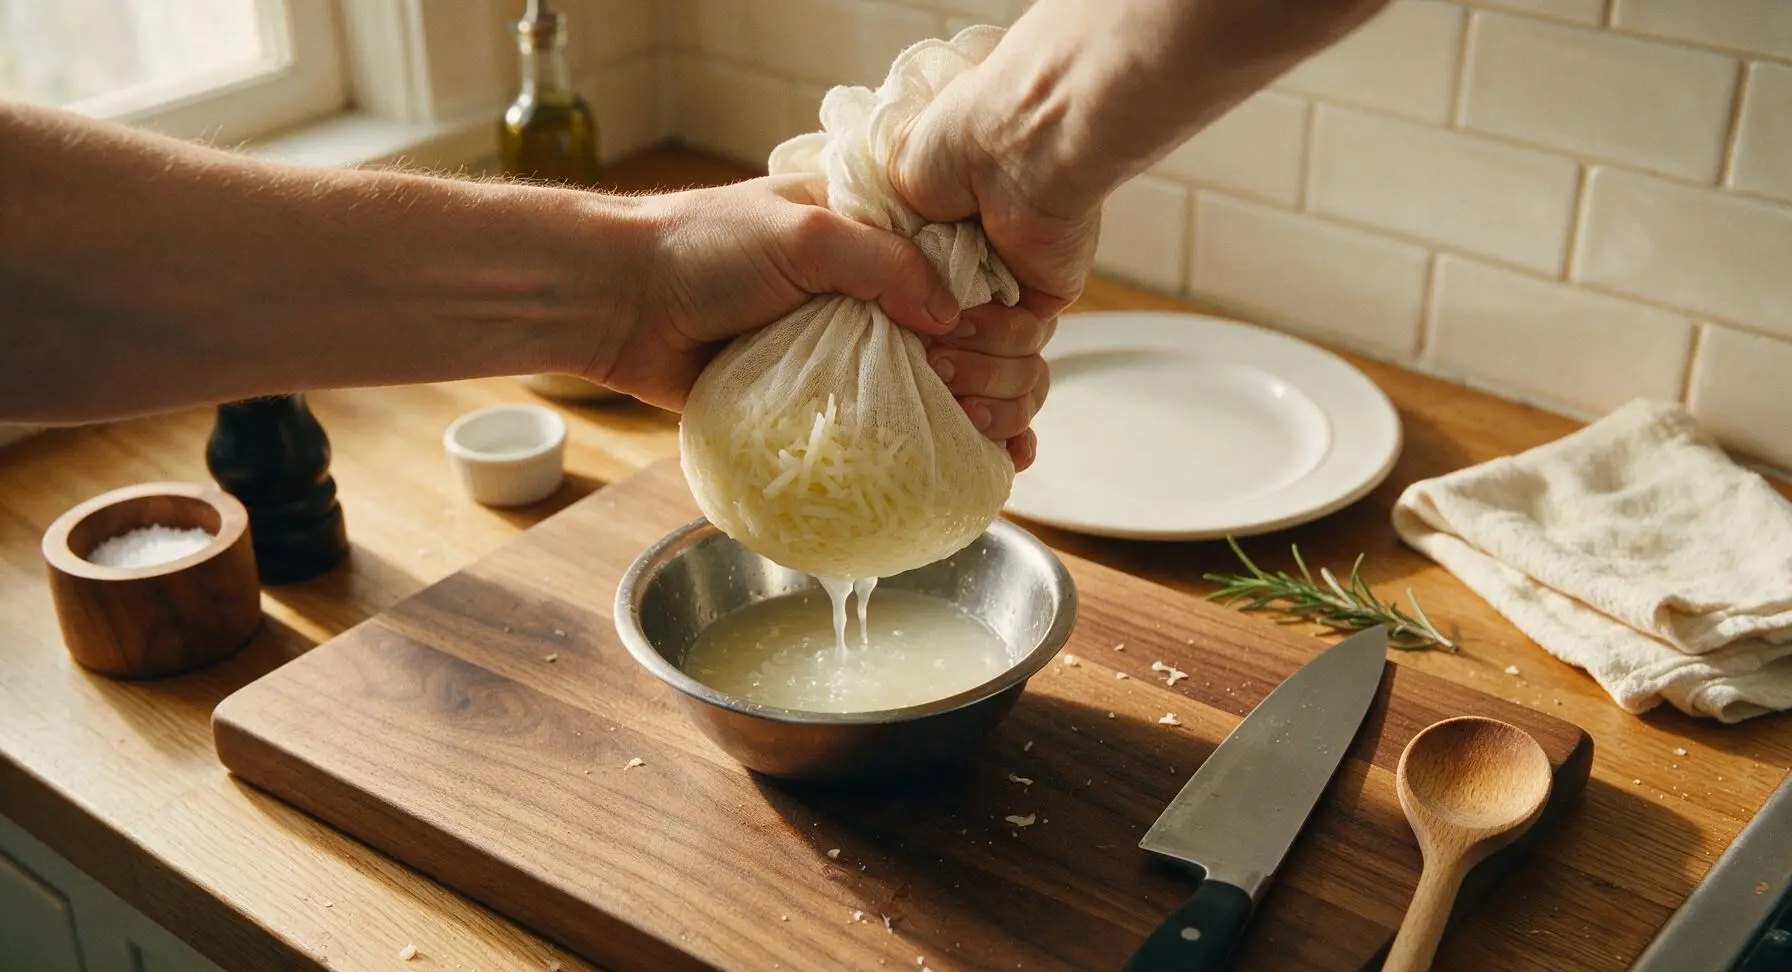
Season the Mixture
Add the cornstarch, remaining 1 tablespoon olive oil, kosher salt, garlic powder, onion powder, and black pepper to the dried potato shreds in the large bowl. Toss thoroughly with clean hands until every shred is evenly coated in the starch and seasoning mixture, with no dry clumps of cornstarch remaining.
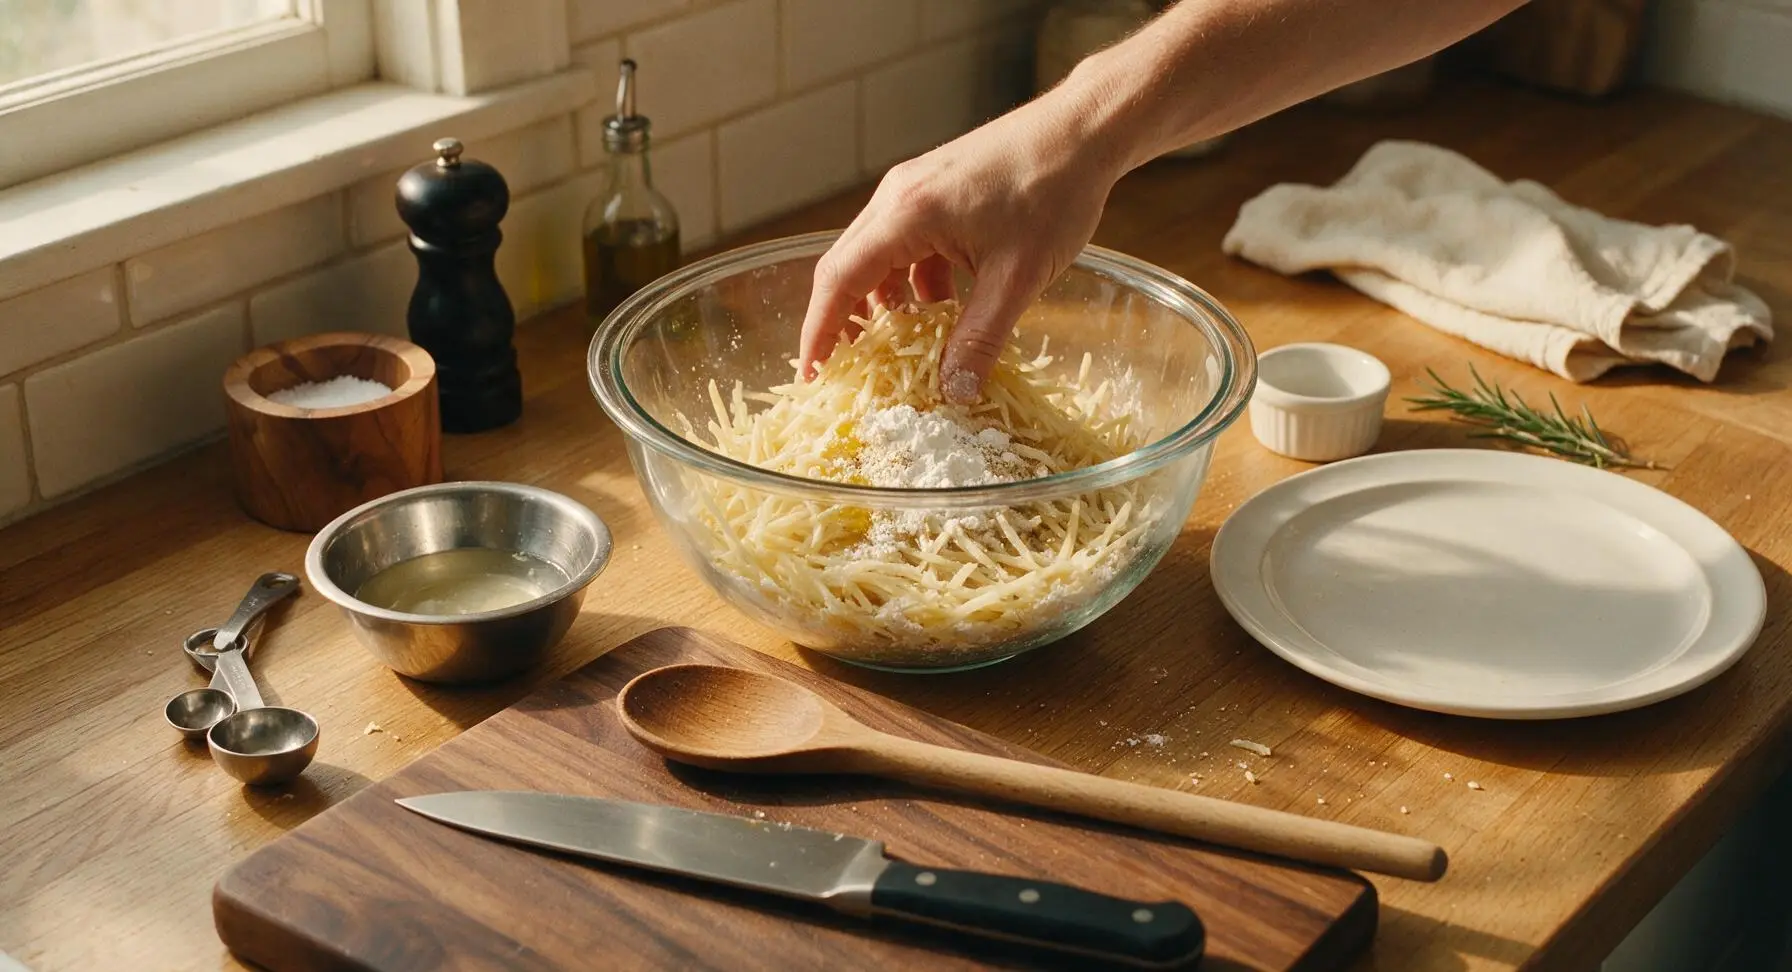
Shape Individual Tots
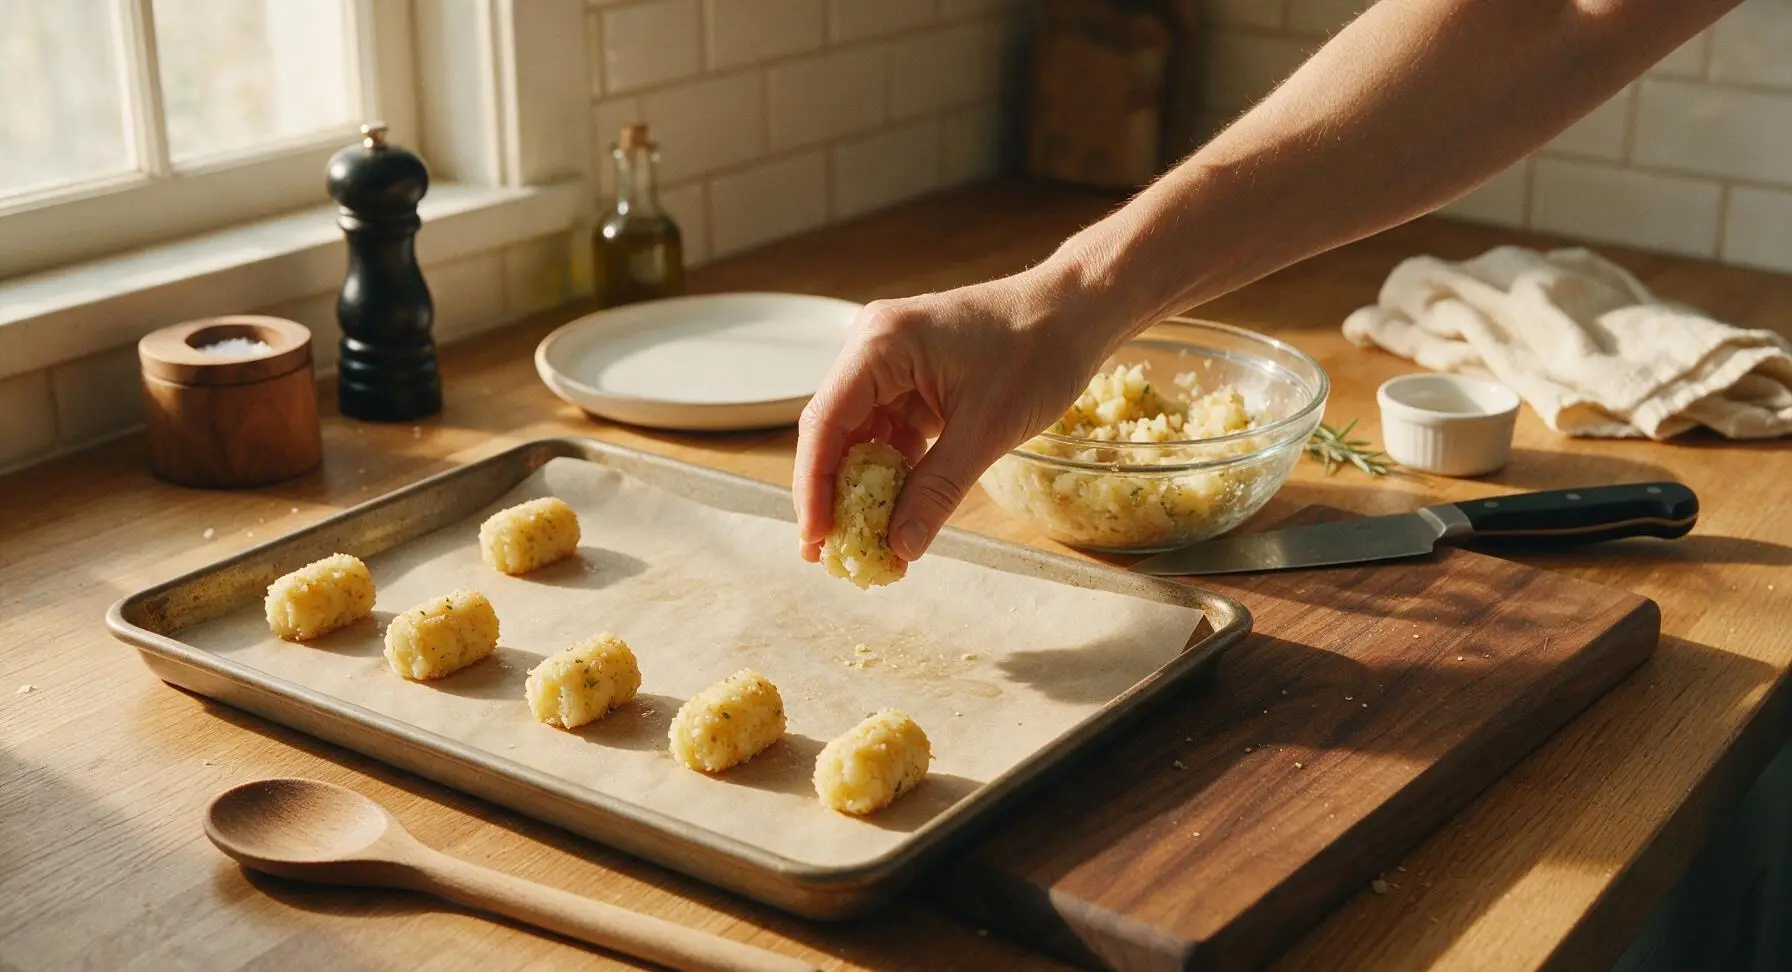
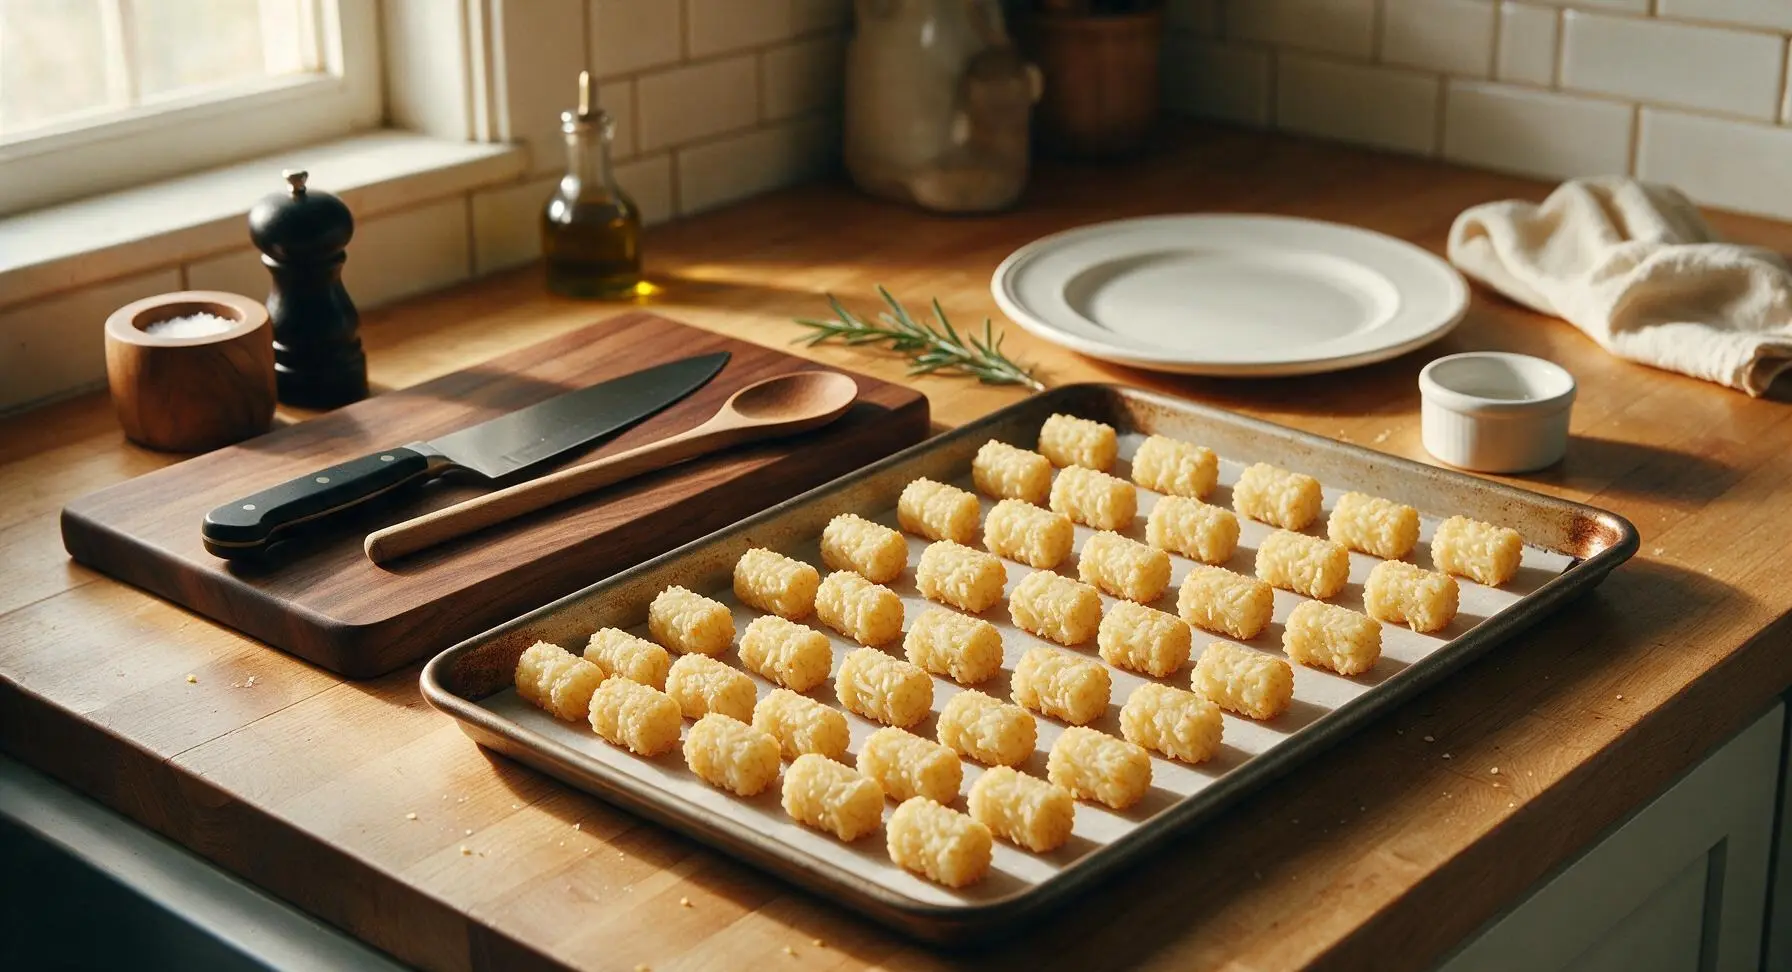
Scoop 1-tablespoon portions of the seasoned potato mixture, squeezing firmly in your palm to form compact, 1-inch long cylindrical tater tot shapes. Place each shaped tot onto the prepared oiled baking sheet, spacing them 1/2 inch apart to allow air circulation for even crisping. You should end up with approximately 40 tots total.
Bake First Side
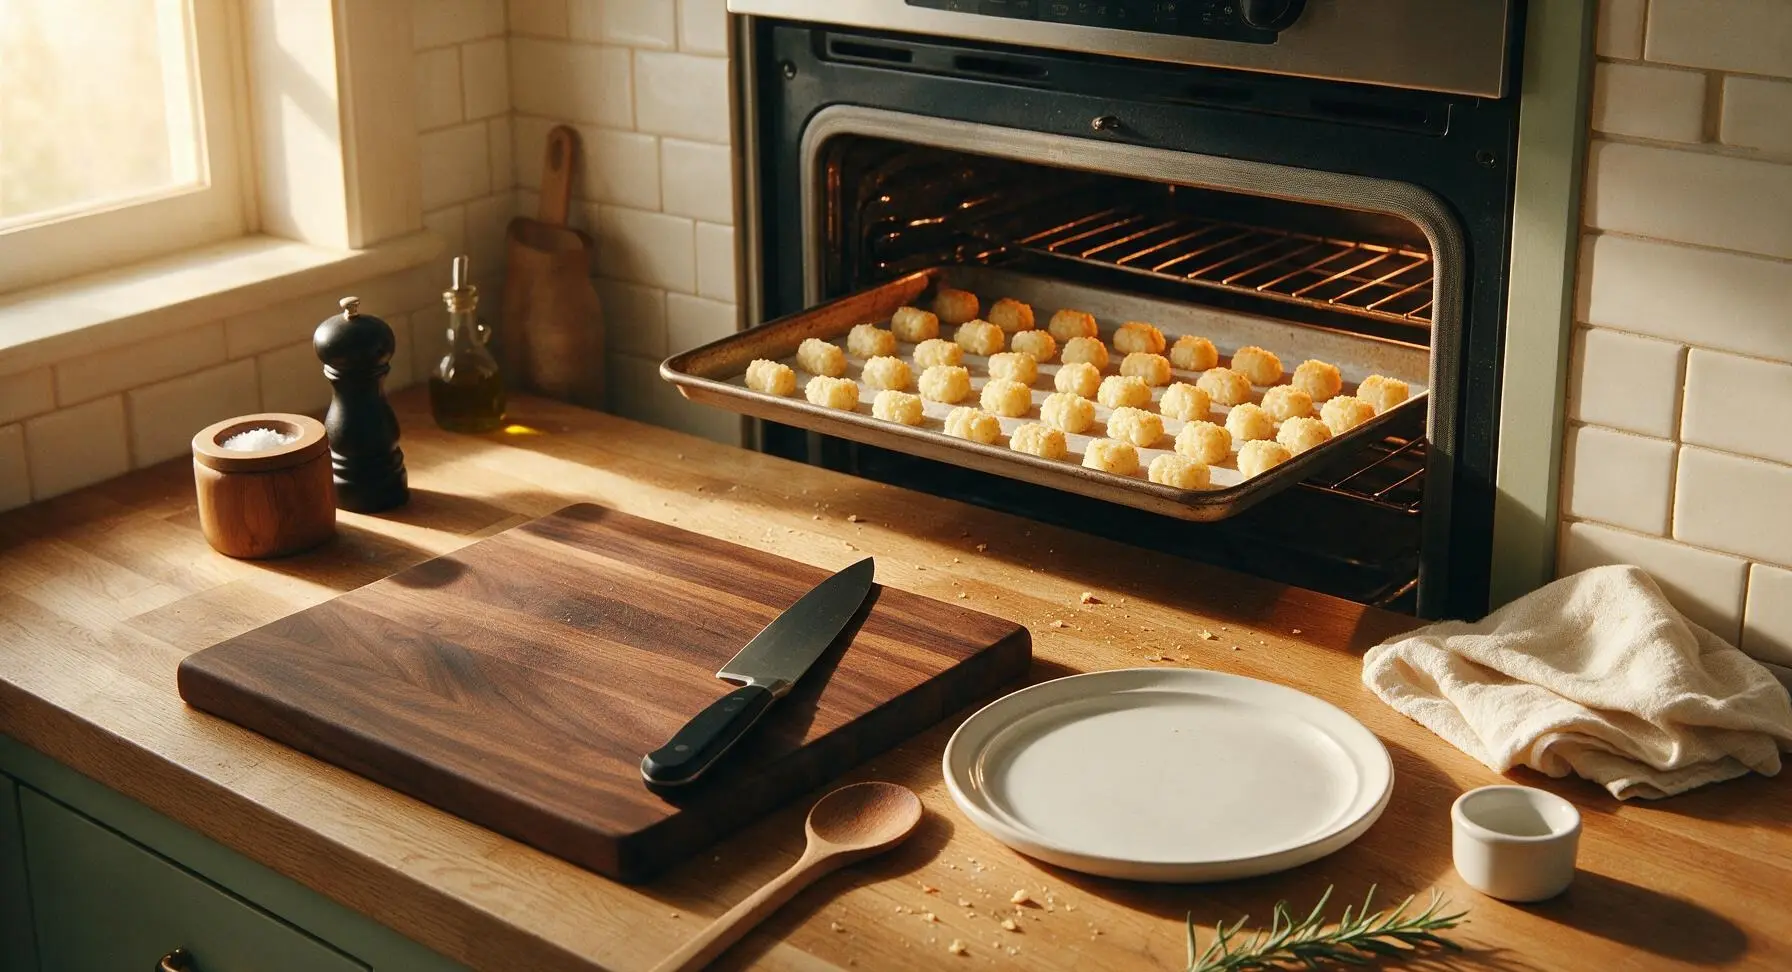
Carefully transfer the baking sheet to the preheated middle oven rack. Bake for 25 minutes, undisturbed, until the bottoms of the tots are deep golden brown and crispy to the touch. Do not open the oven door during this first bake time, as dropping the oven temperature will prevent crisping.
Flip Tots, Finish Baking
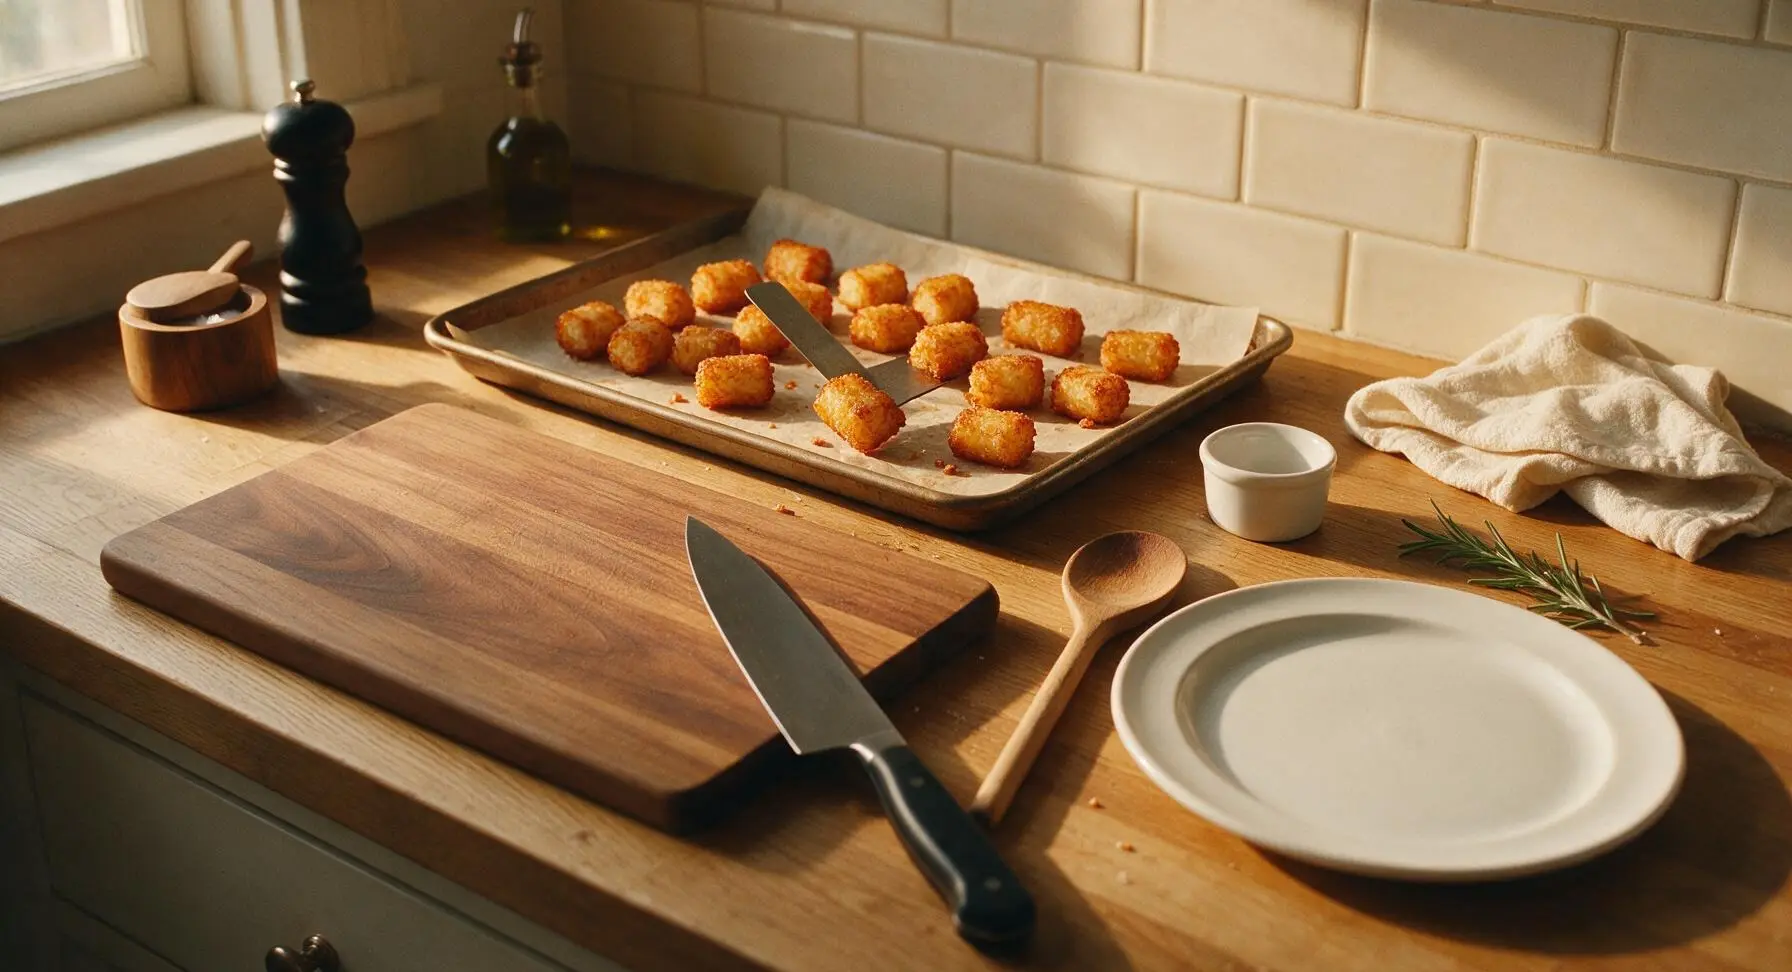
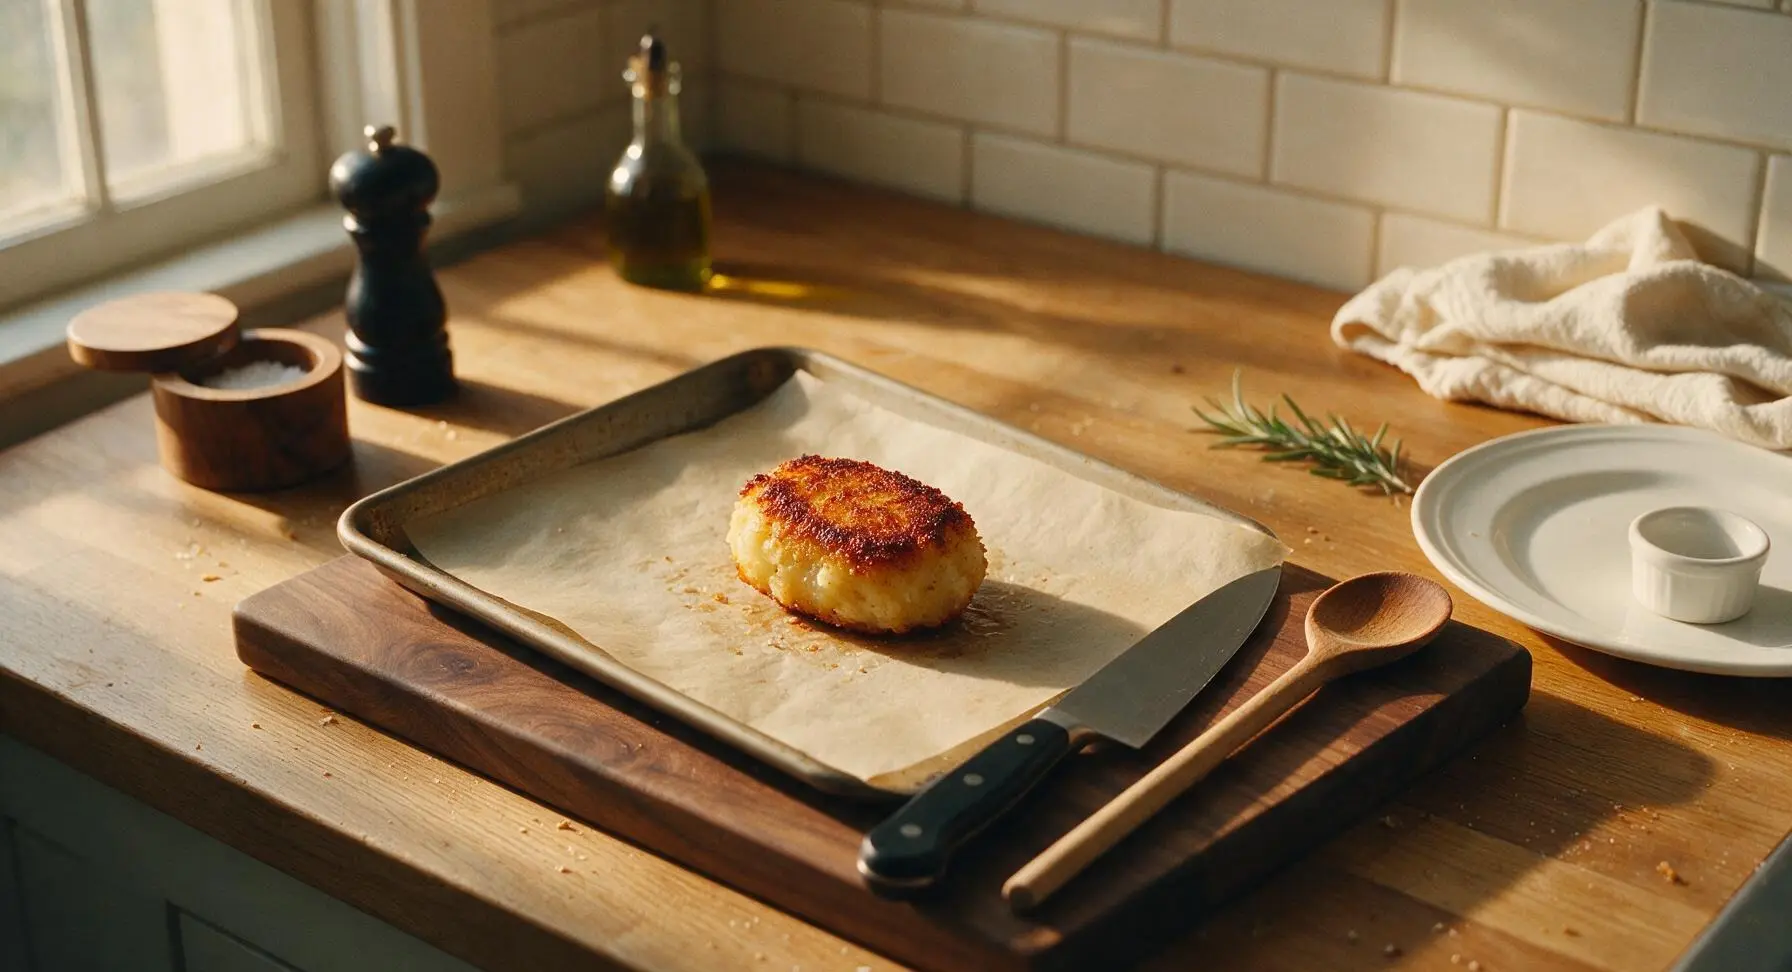
After 25 minutes, carefully pull the baking sheet from the oven. Use the thin metal spatula to gently flip each tater tot, taking care not to break the crispy browned bottom crust. Return the pan to the oven and bake for an additional 12-15 minutes, until all sides are deep golden, crispy, and crunchy across the entire surface.
Garnish and Serve
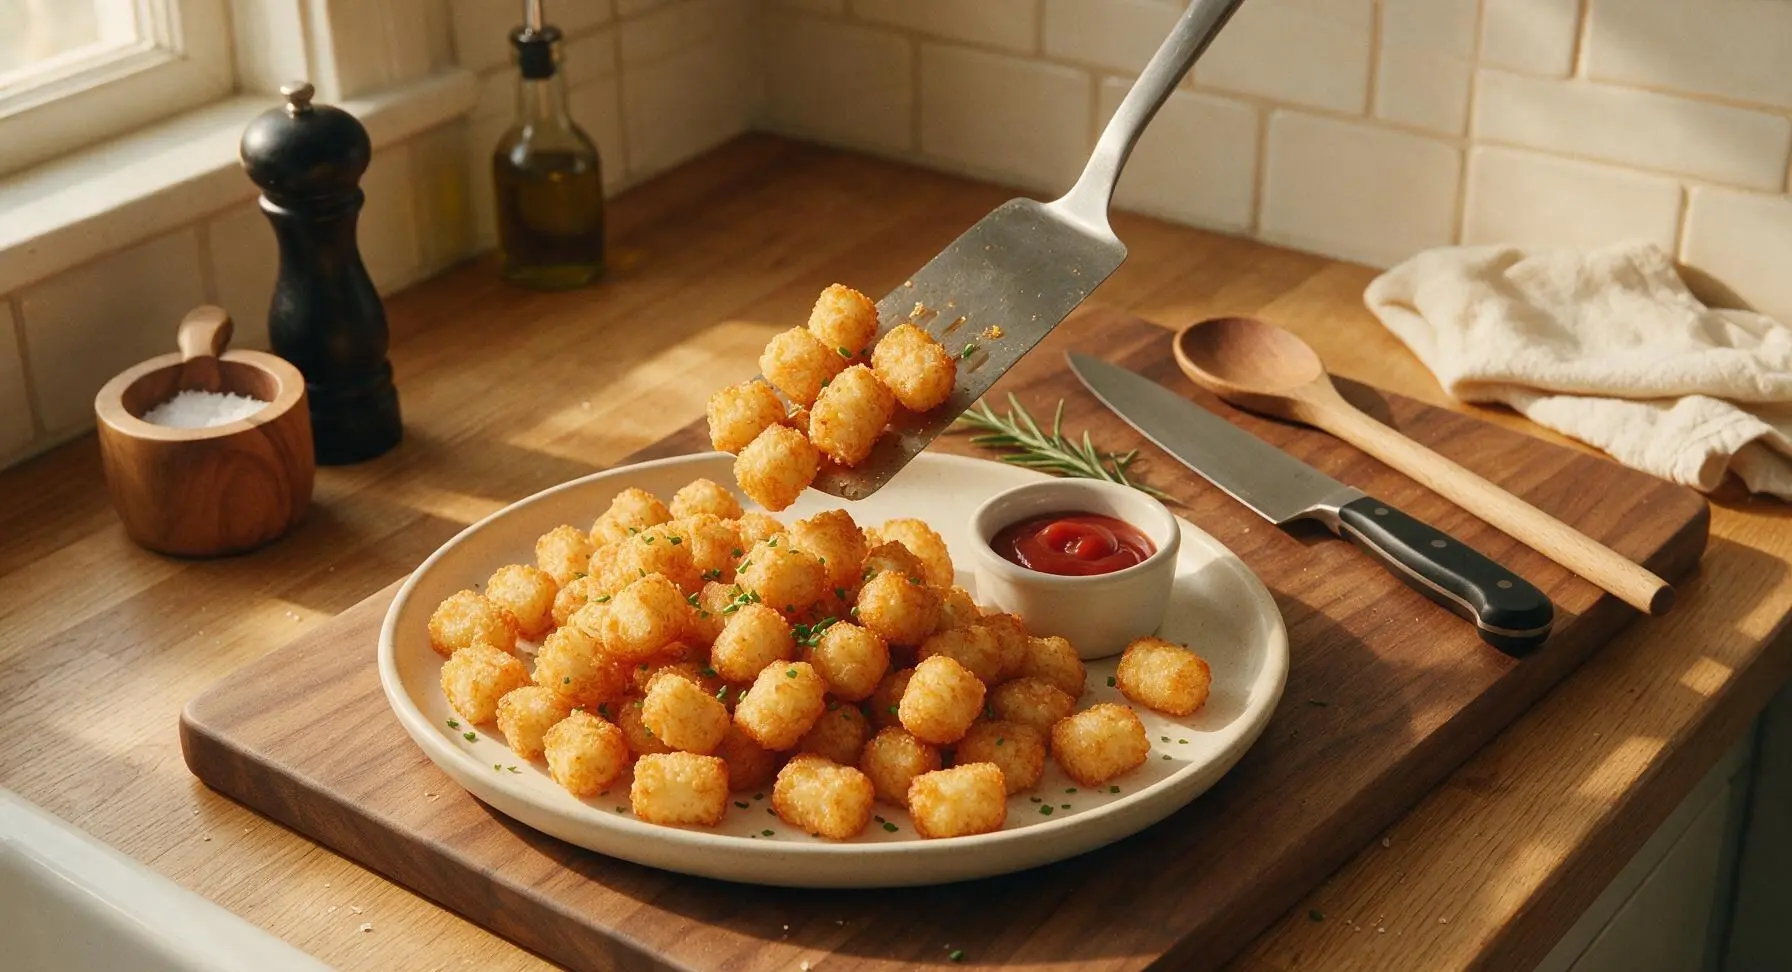
Remove the finished tater tots from the oven, immediately sprinkle with a tiny pinch of extra kosher salt while they are still hot. Transfer the tots to the matte cream ceramic serving platter, sprinkle with finely chopped fresh chives, and serve hot alongside the ramekin of ketchup for dipping.
Tips
2.Never crowd the baking sheet: tots placed less than 1/2 inch apart will steam each other instead of crisping evenly. If you have a small oven, bake the tots in two separate batches rather than cramming them onto a single pan.
3.Avoid opening the oven door during the first 25 minutes of baking: sudden temperature drops interrupt the Maillard browning reaction that creates the crispy golden crust, leading to pale, unevenly cooked tots.






OMG these were SO good! I made them for our family taco night last night and even my super picky 7 year old asked for seconds. Way crispier than the frozen bag kind, I can’t believe they’re baked not fried!
Brought these to my neighborhood block party potluck over the weekend and they were gone in 10 minutes flat. Everyone was asking for the recipe, zero leftovers. Dusted them with a little extra parmesan right when they came out of the oven, chef’s kiss.
Added these to my Sunday meal prep rotation! They hold up really well reheated in the air fryer for 3 minutes, perfect for quick side dishes with lunch all week. So easy to throw together even when I’m half asleep on prep day. My only tiny note is I wish they got a little crispier on the edges when reheated, but that’s such a minor thing!
Wait, mine turned out a little soggy? I followed the recipe exactly but maybe I shredded the potatoes too fine? Squeezed out as much water as I thought I needed to, guess I missed some? Still tasted great just not as crispy as the photos look, so I’ll definitely give it another shot!
Total game changer for Sunday football snacks. I dipped mine in spicy ranch and my roommate ate half the pan before the first quarter even started. Way less greasy than the fast food tater tots we usually order for game days.
I swapped regular russet potatoes for sweet potatoes to make these and they turned out insanely good! The crispy outside with the soft sweet inside is *chef’s kiss*, still got that perfect crunch even with the swap. 10/10 will make again.
My kids kept saying these are “better than the school lunch tots” which is the highest possible praise in our house. I didn’t even tell them they were homemade until after they ate two servings each, total parent win.
Wait a second—are these actually gluten free? I have celiac so I have to be super careful, I don’t see any flour or breading in the ingredient list but wanted to double check before I make them for my daughter’s birthday party!
How did no one tell me shredded frozen hash browns work for this too? I didn’t feel like shredding my own potatoes so I thawed a bag of frozen hash browns, squeezed all the water out, and followed the rest of the recipe. Turned out perfectly crispy, zero extra work. Game. Changer.
Pro tip from me: don’t line your baking sheet with parchment paper! I tried it the first time and the bottoms didn’t crisp up at all. Second time I put them straight on a well-greased baking sheet, flipped them halfway through cook time, and they were crunchy on every single side. So worth the tiny bit of extra cleanup!