
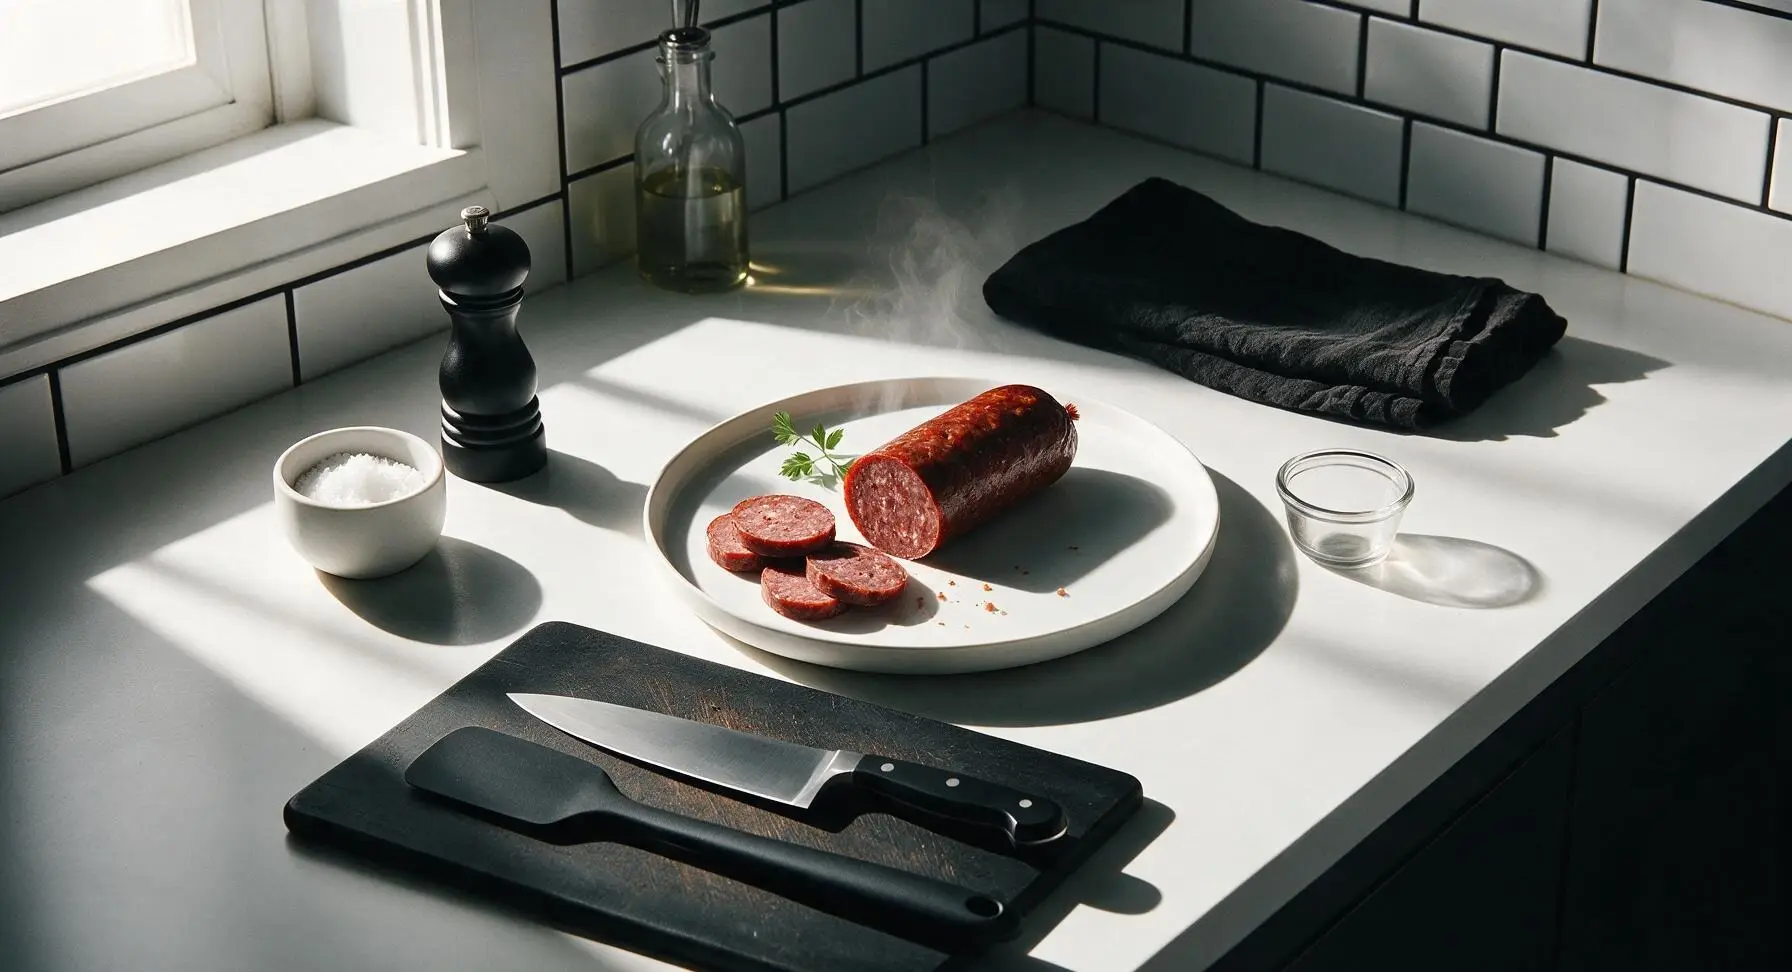
beef summer sausage

title 1
beef summer sausage
⏱️ cook time 3 hours
🍽️ servings 12
⚡ Difficulty medium

intro

Firm, smoky, tangy all-beef summer sausage, sliceable and snackable, perfect for pairing with crackers and pickles at warm-weather picnics and gatherings.

Ingredients
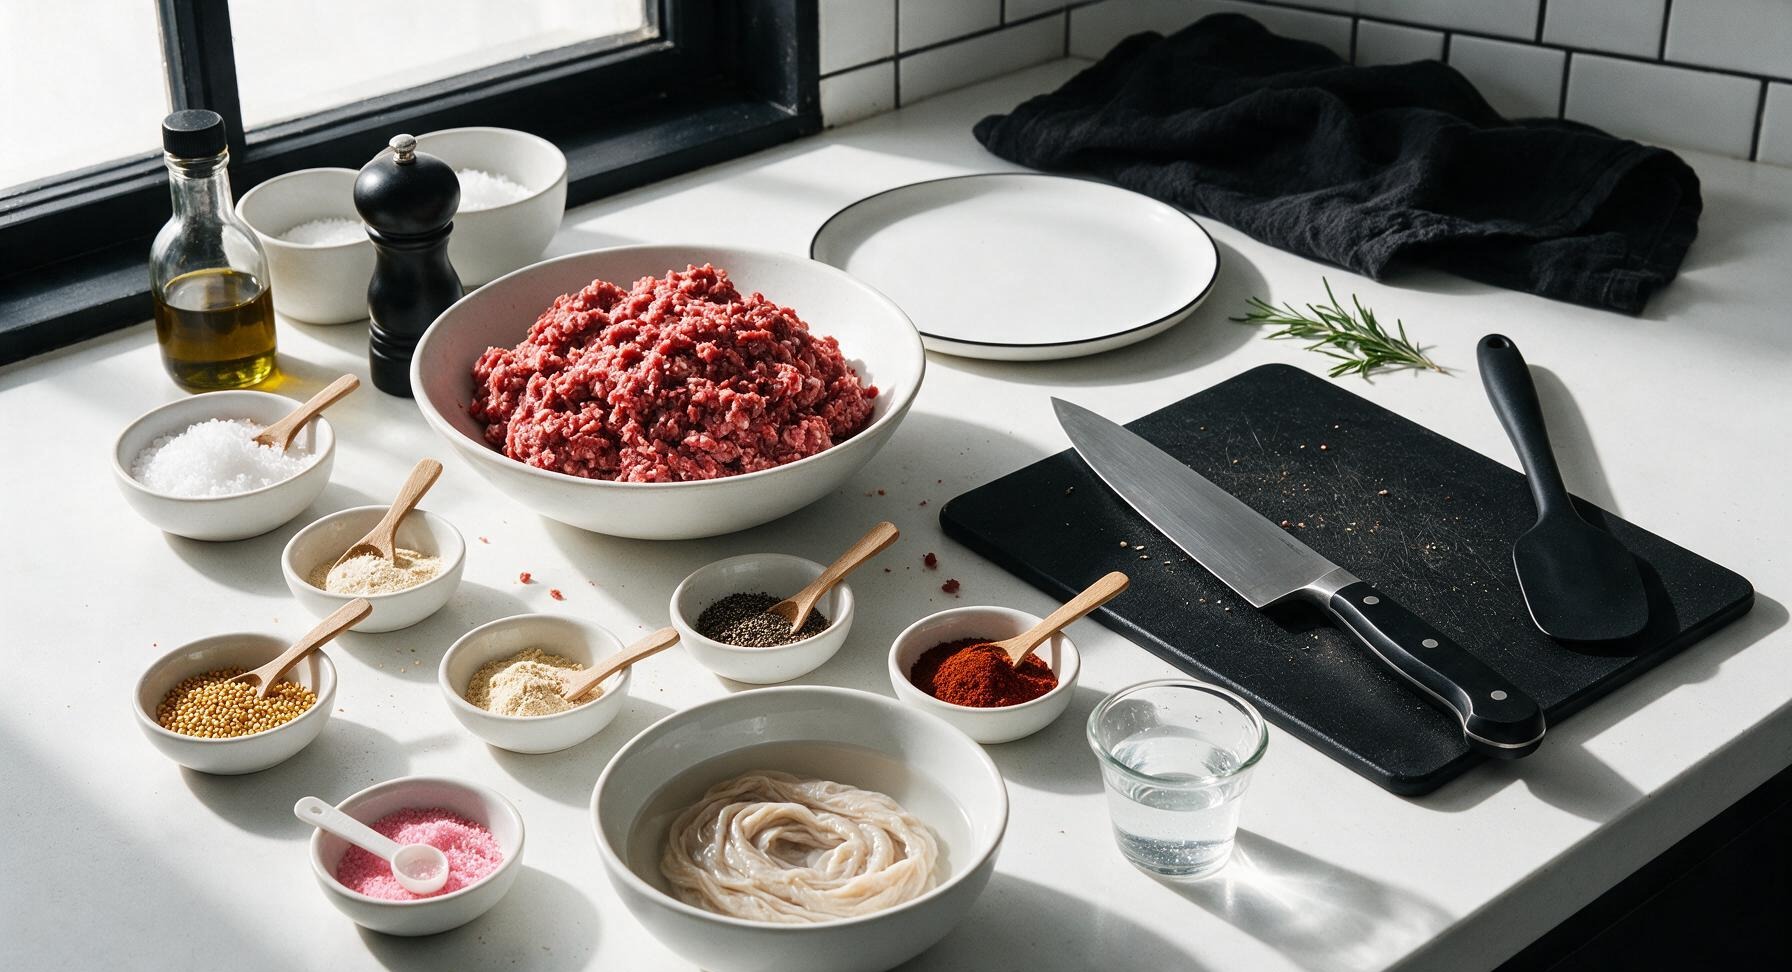
Coarse ground beef (80/20 lean-to-fat ratio) 900g (2 lbs)
Kosher salt 1 tbsp
Coarse ground black pepper 2 tsp
Garlic powder 1 tsp
Yellow mustard seeds 1 tsp
Smoked paprika 1 tsp
Pink curing salt #1 1 tsp
Ice cold water 60ml (1/4 cup)
Natural hog casings (32-35mm diameter) 1m (3ft), rinsed

Steps

1

Chill Beef and Equipment

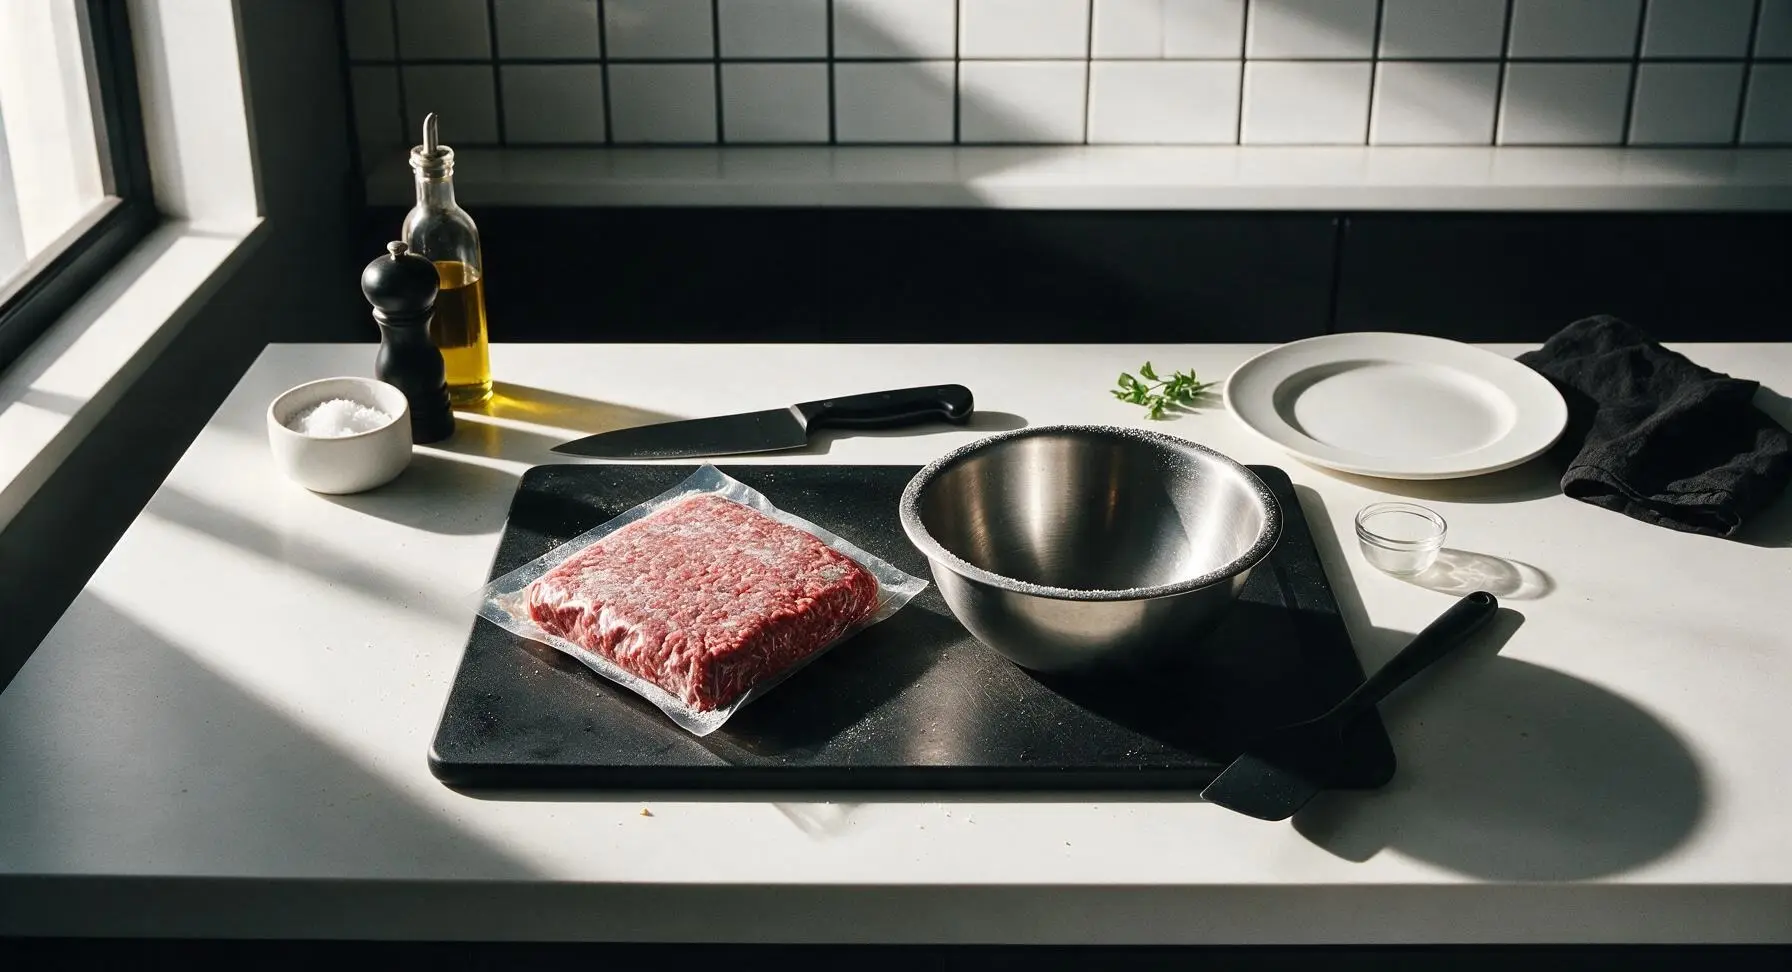
Place the coarse ground beef, 5-quart stainless steel mixing bowl, and sausage stuffer attachment in the freezer for 30 minutes until very cold (32-34°F / 0-1°C). Cold fat prevents smearing during mixing and stuffing, which creates the signature firm, even sliceable texture of summer sausage. Do not let the beef freeze solid, as this will make mixing difficult.
Step 1
step1:Chill Beef and Equipment
2

Blend Spice Mixture

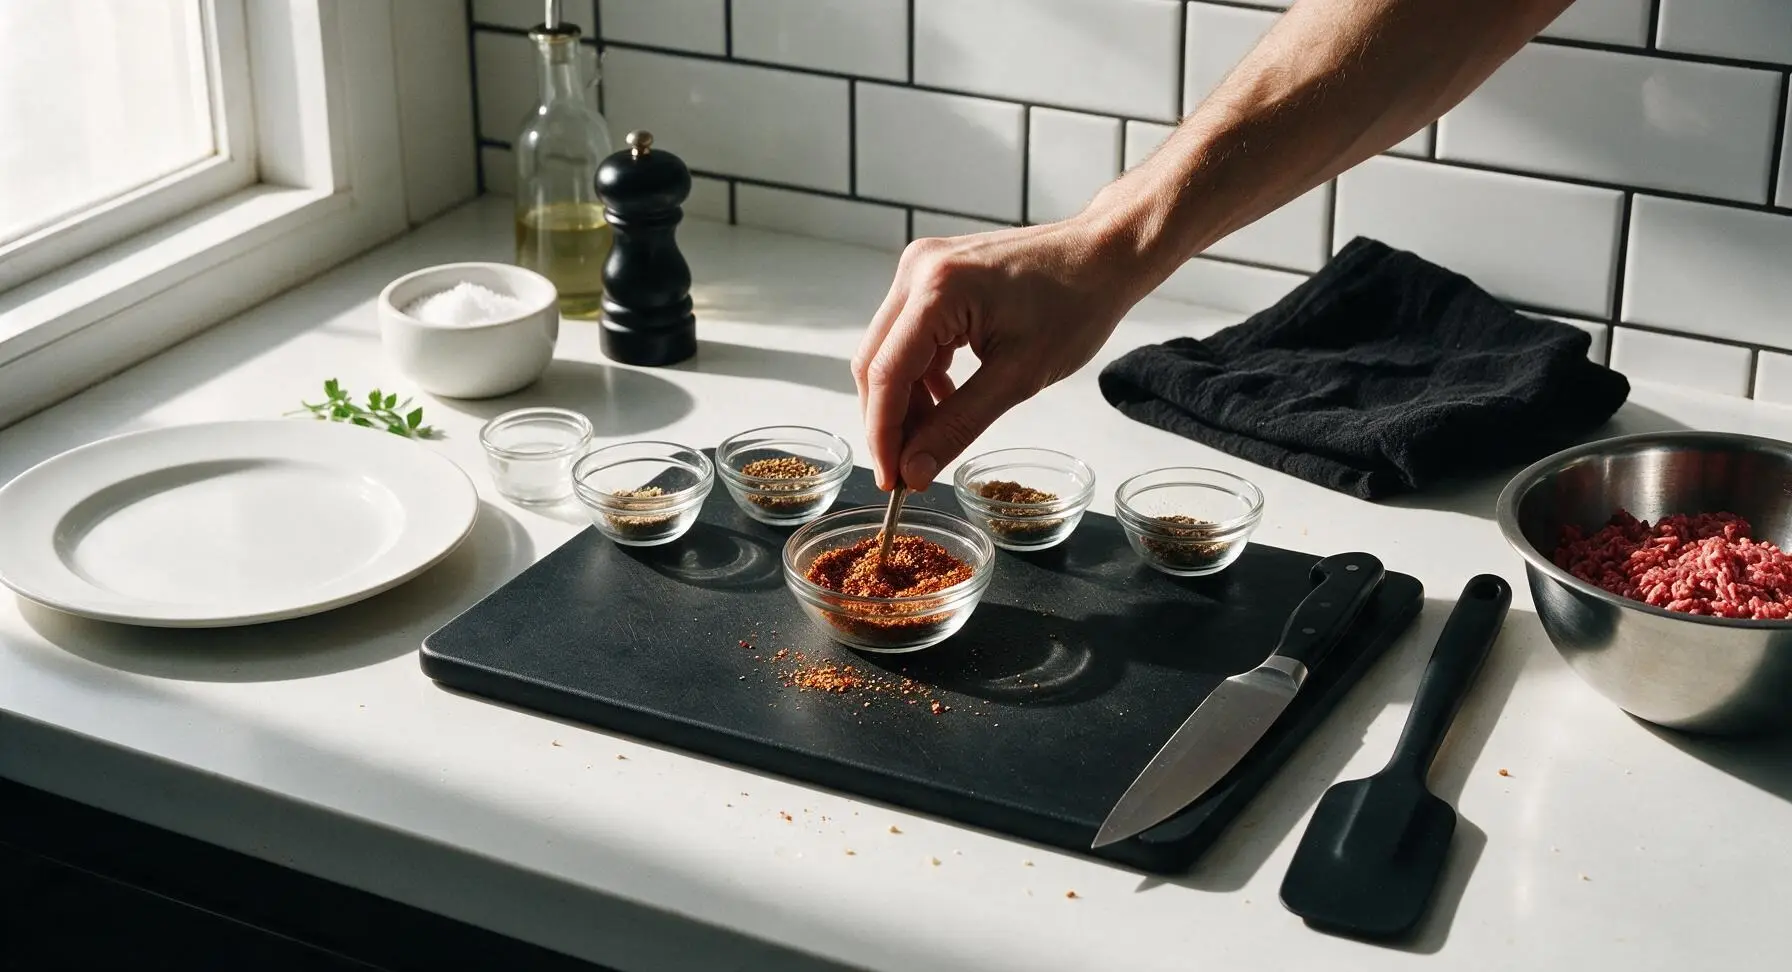
Remove the cold beef and equipment from the freezer. In one small clear glass ramekin, combine the kosher salt, coarse black pepper, garlic powder, yellow mustard seeds, smoked paprika, and pink curing salt, stirring with a small wooden pick until evenly blended. Set the spice mix aside for 2 minutes while you transfer the beef to the mixing bowl.
Step 2
step2:Blend Spice Mixture
3

Mix Meat and Seasonings

Pour the ice cold water over the cold ground beef in the mixing bowl, then sprinkle the entire spice blend evenly across the meat surface. Using clean, cold hands, mix vigorously for 2-3 minutes until the spices are fully distributed and the meat becomes tacky, pulling slightly away from the bowl sides. Stop mixing as soon as spices are evenly incorporated to avoid tough, dense sausage.
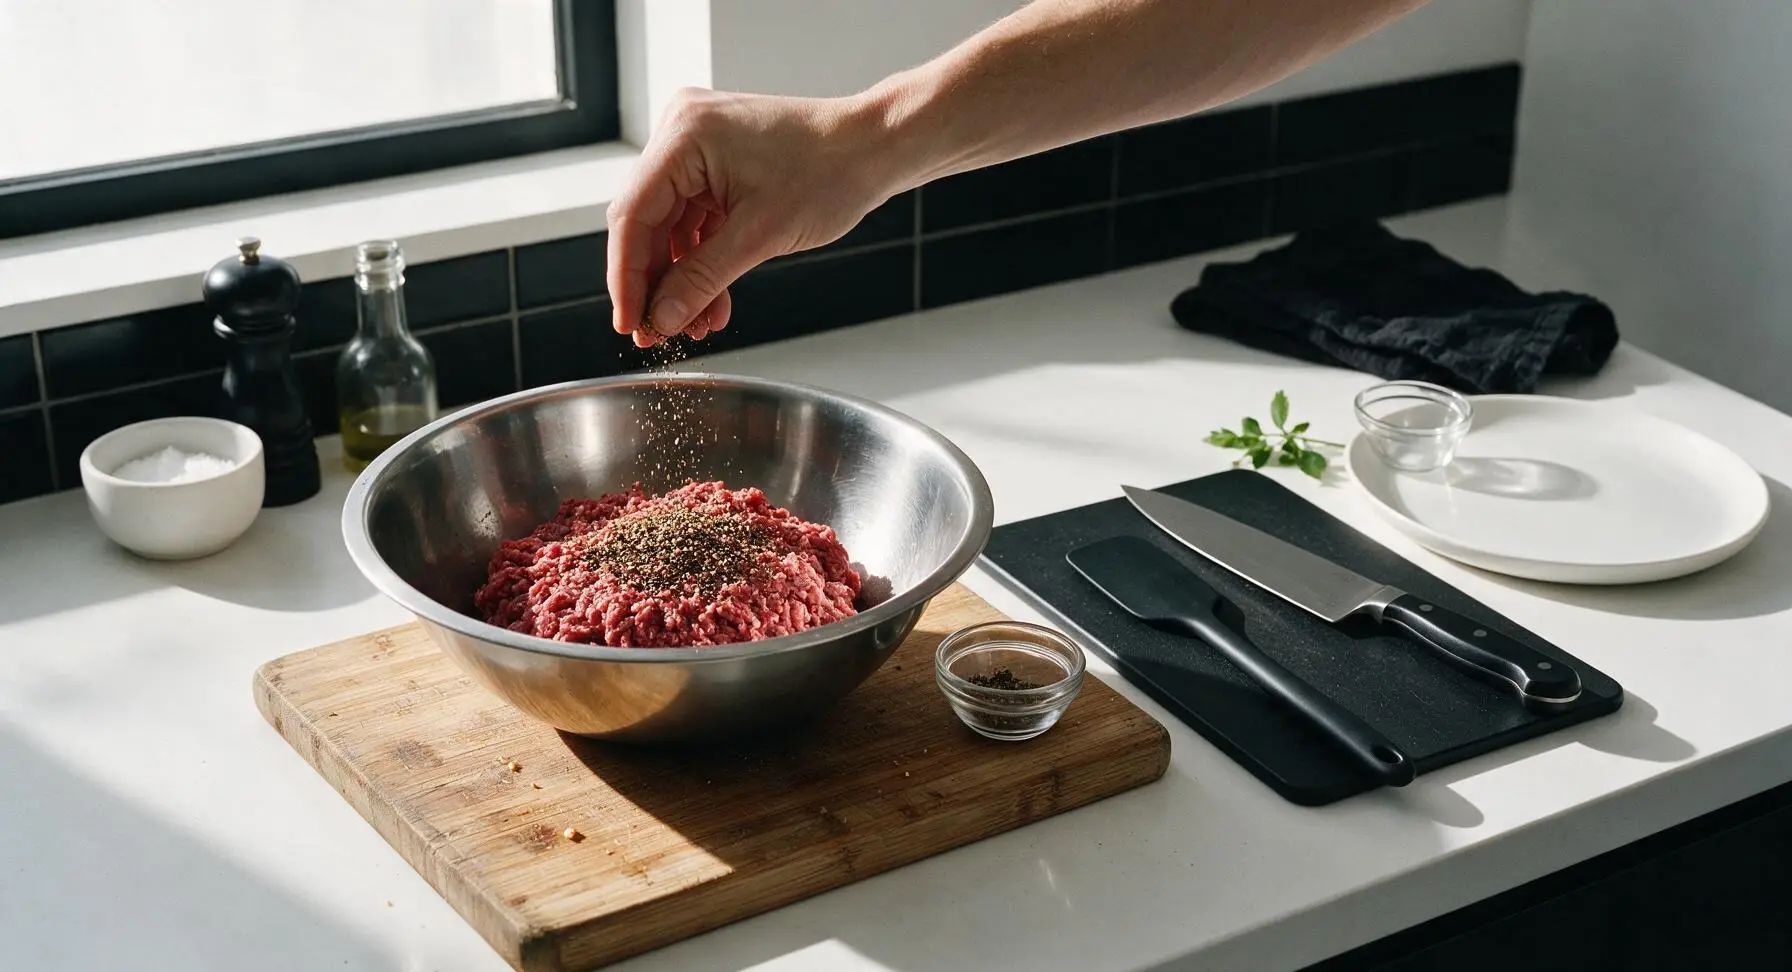
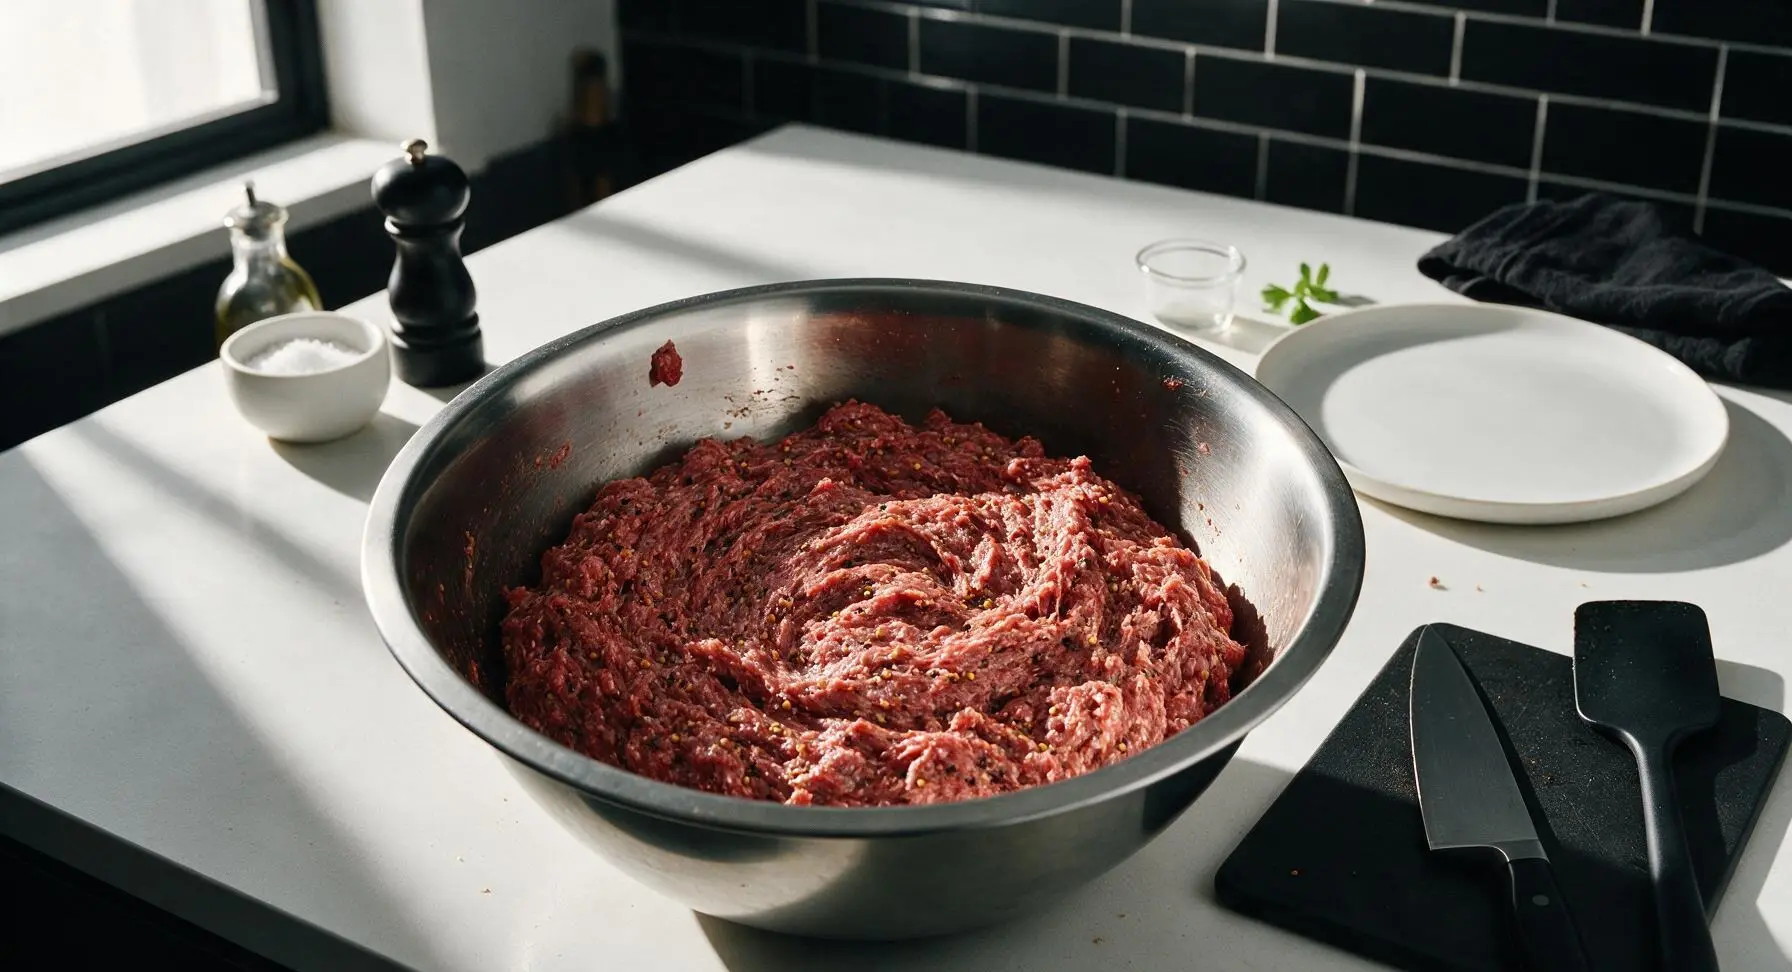
Step 3
step3:Mix Meat and Seasonings
Step 3
step3:Mix Meat and Seasonings
4

Stuff Sausage Casings

Slide one end of a rinsed hog casing onto the nozzle of the sausage stuffer attachment, tying a tight knot in the opposite end of the casing. Feed the seasoned meat mixture through the stuffer, filling the casing evenly to create a continuous log, taking care not to overstuff (which causes casings to burst during cooking). Twist the casing every 12 inches to form separate logs, tying open ends with cotton kitchen twine. Poke 4-5 small air holes per log with the sterile stainless steel pin to release trapped air bubbles.
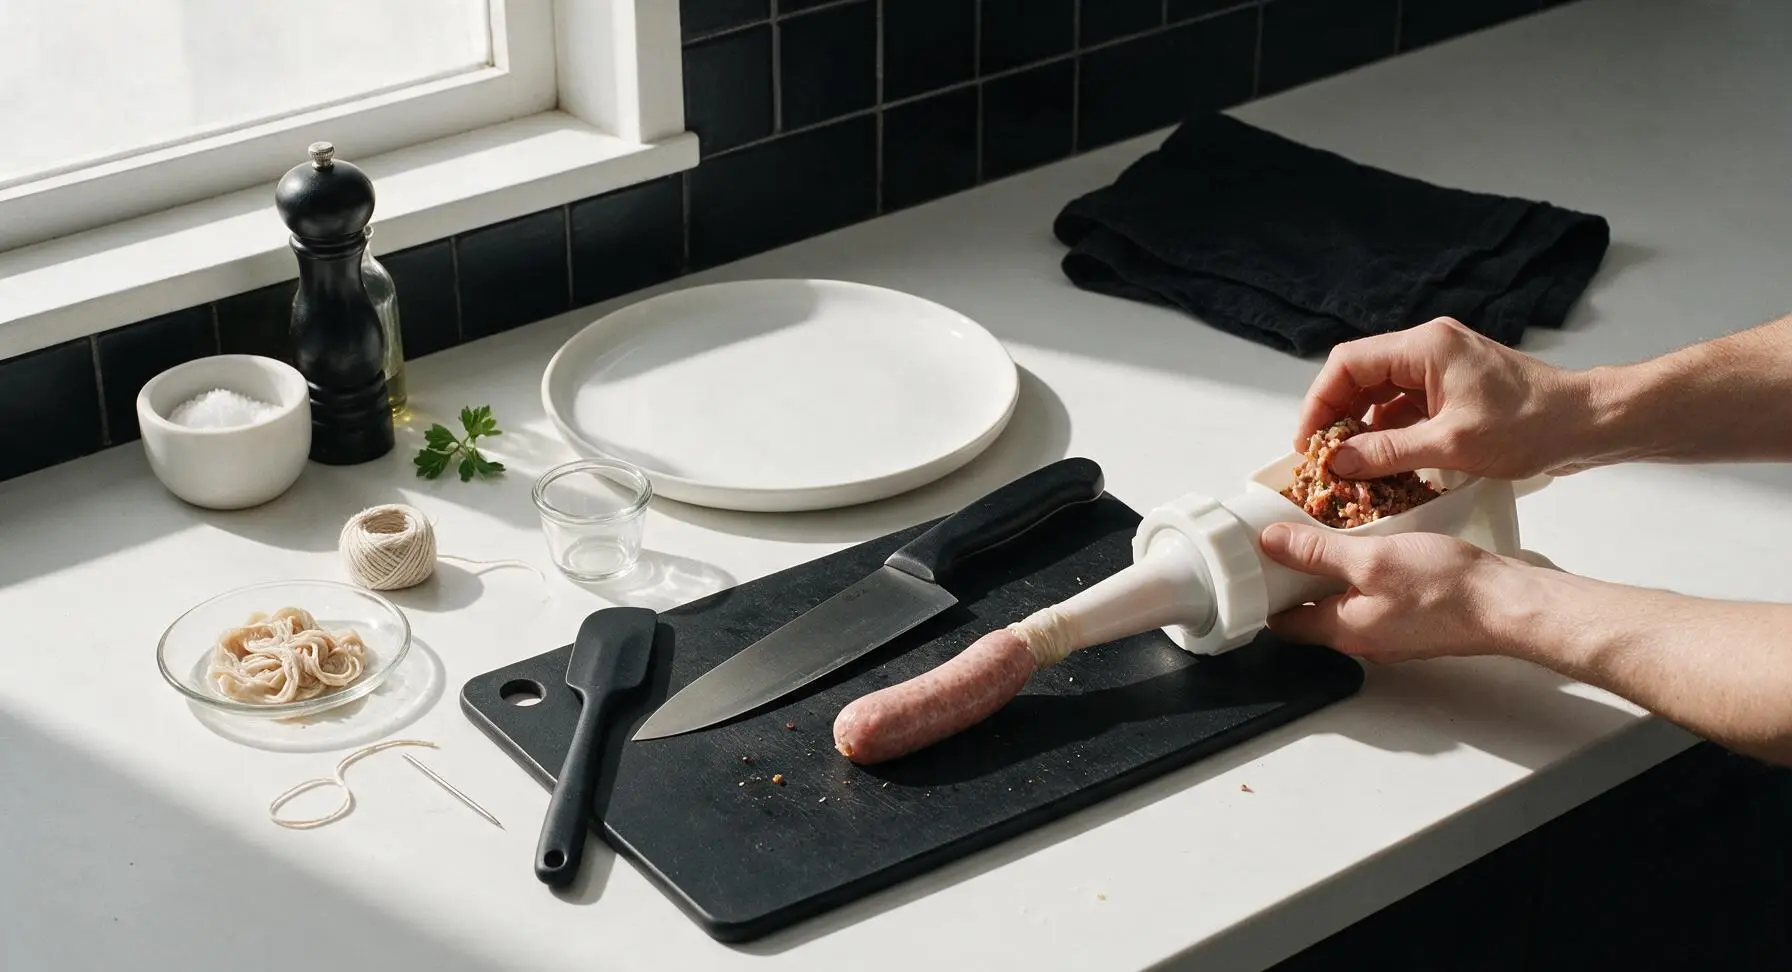
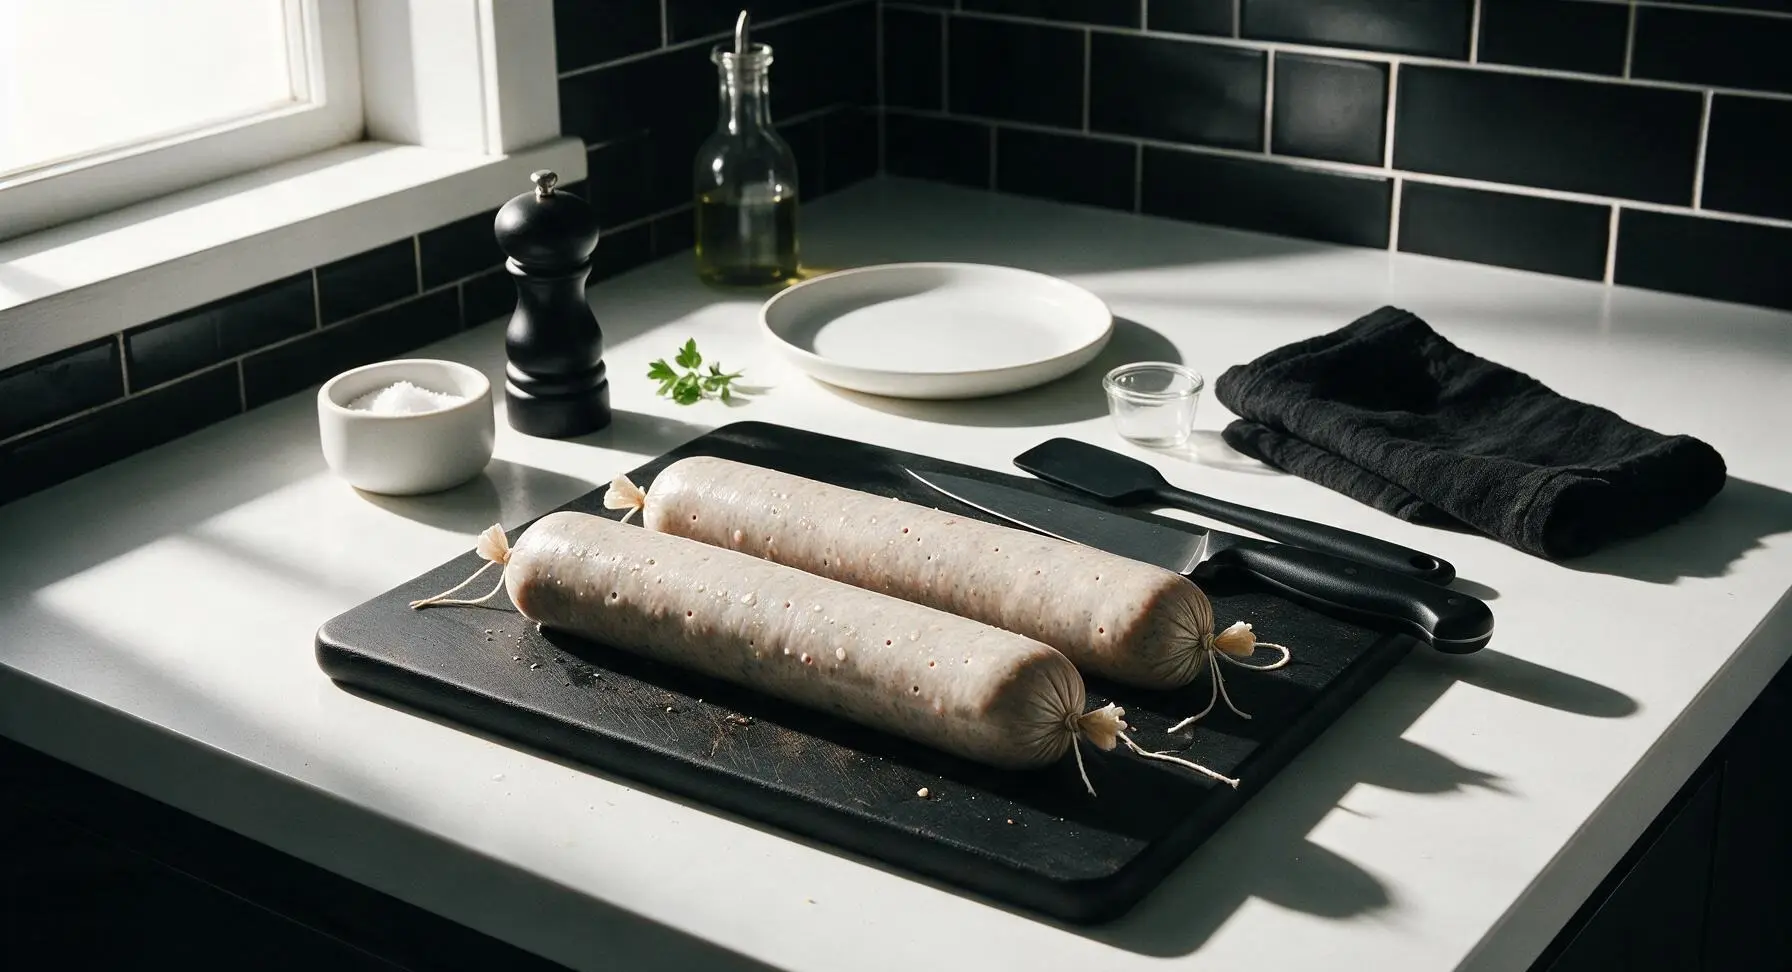
Step 4
step4:Stuff Sausage Casings
Step 4
step4:Stuff Sausage Casings
5

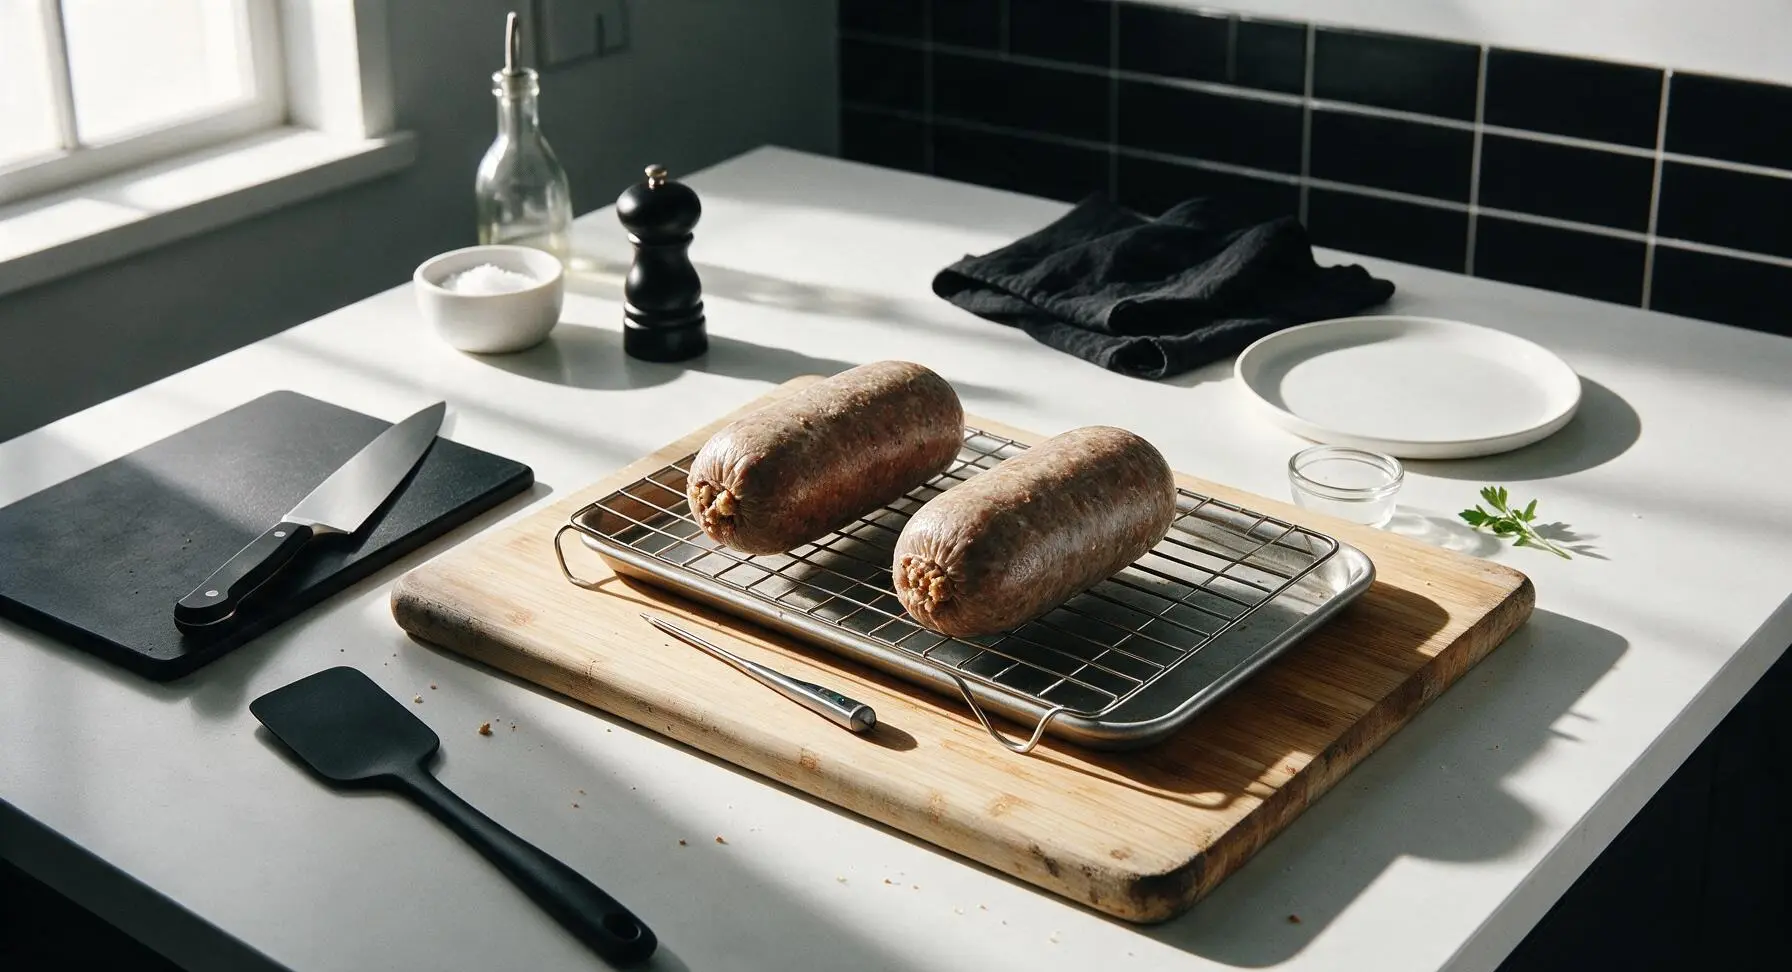
Chill Logs Overnight

Place the stuffed sausage logs on the thin chrome wire rack set over the small rimmed aluminum baking sheet, then refrigerate uncovered for 12 hours (overnight). This drying period forms a tacky surface layer called a pellicle, which helps create a snappy casing and allows smoke flavor to adhere during cooking. The casing will feel slightly dry and matte to the touch when ready.
Step 5
step5:Chill Logs Overnight
6

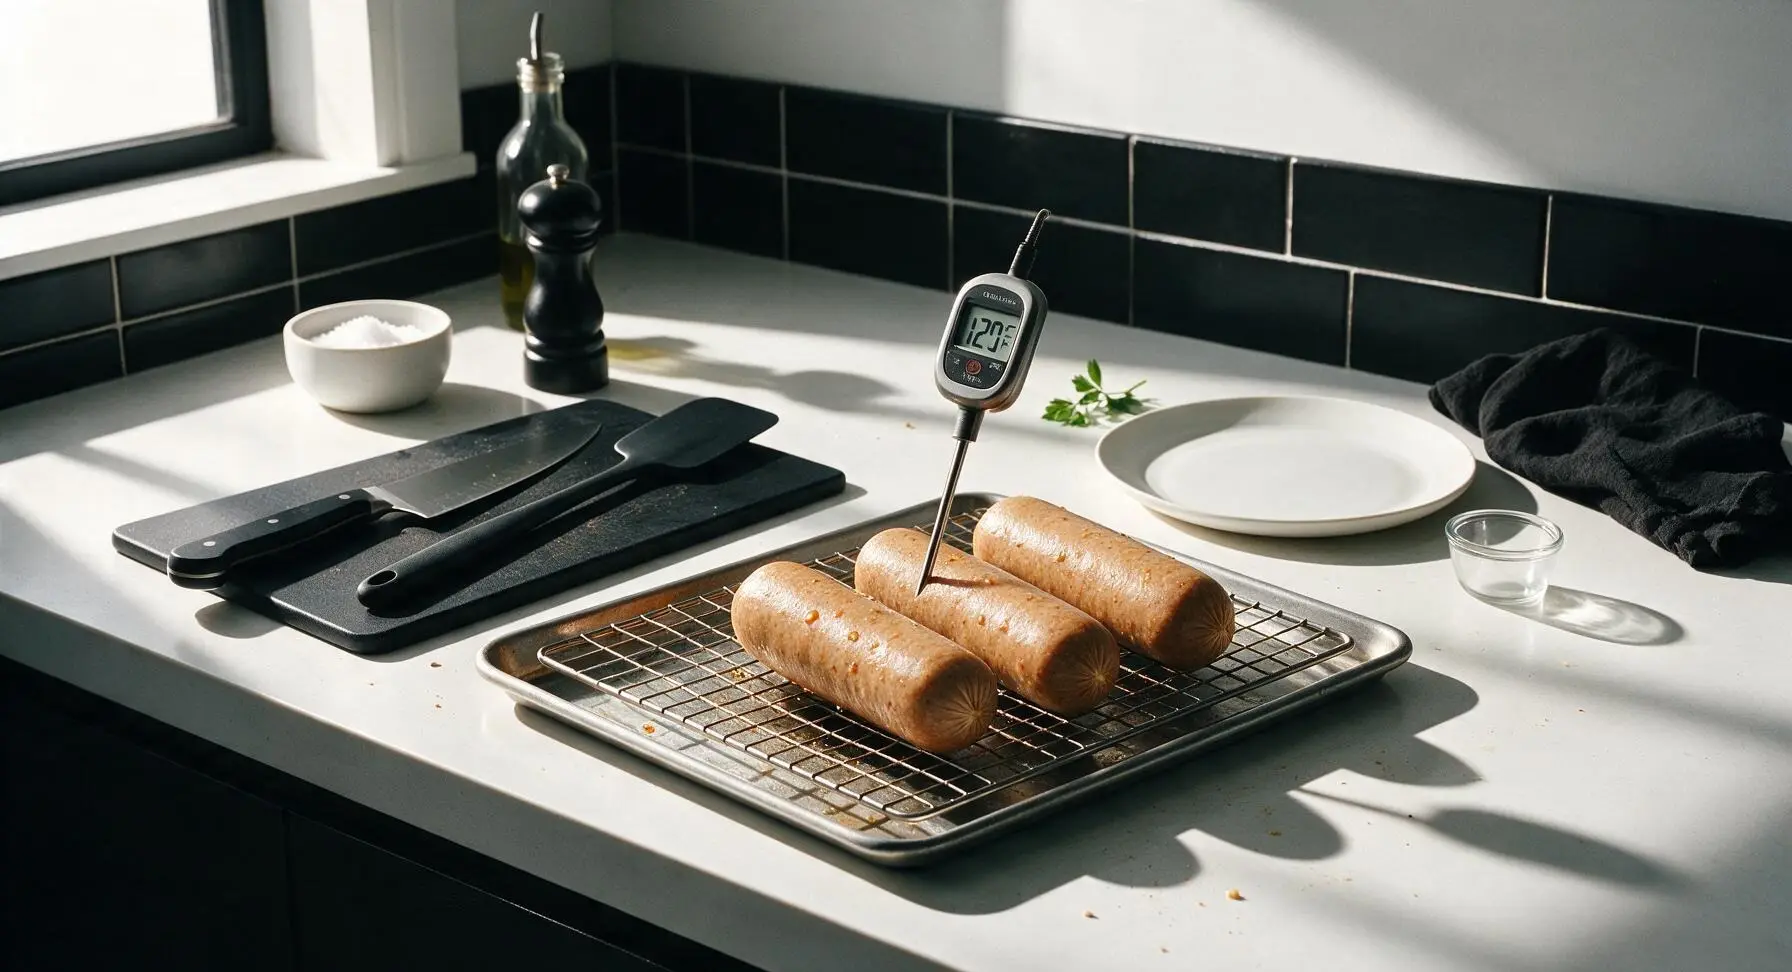
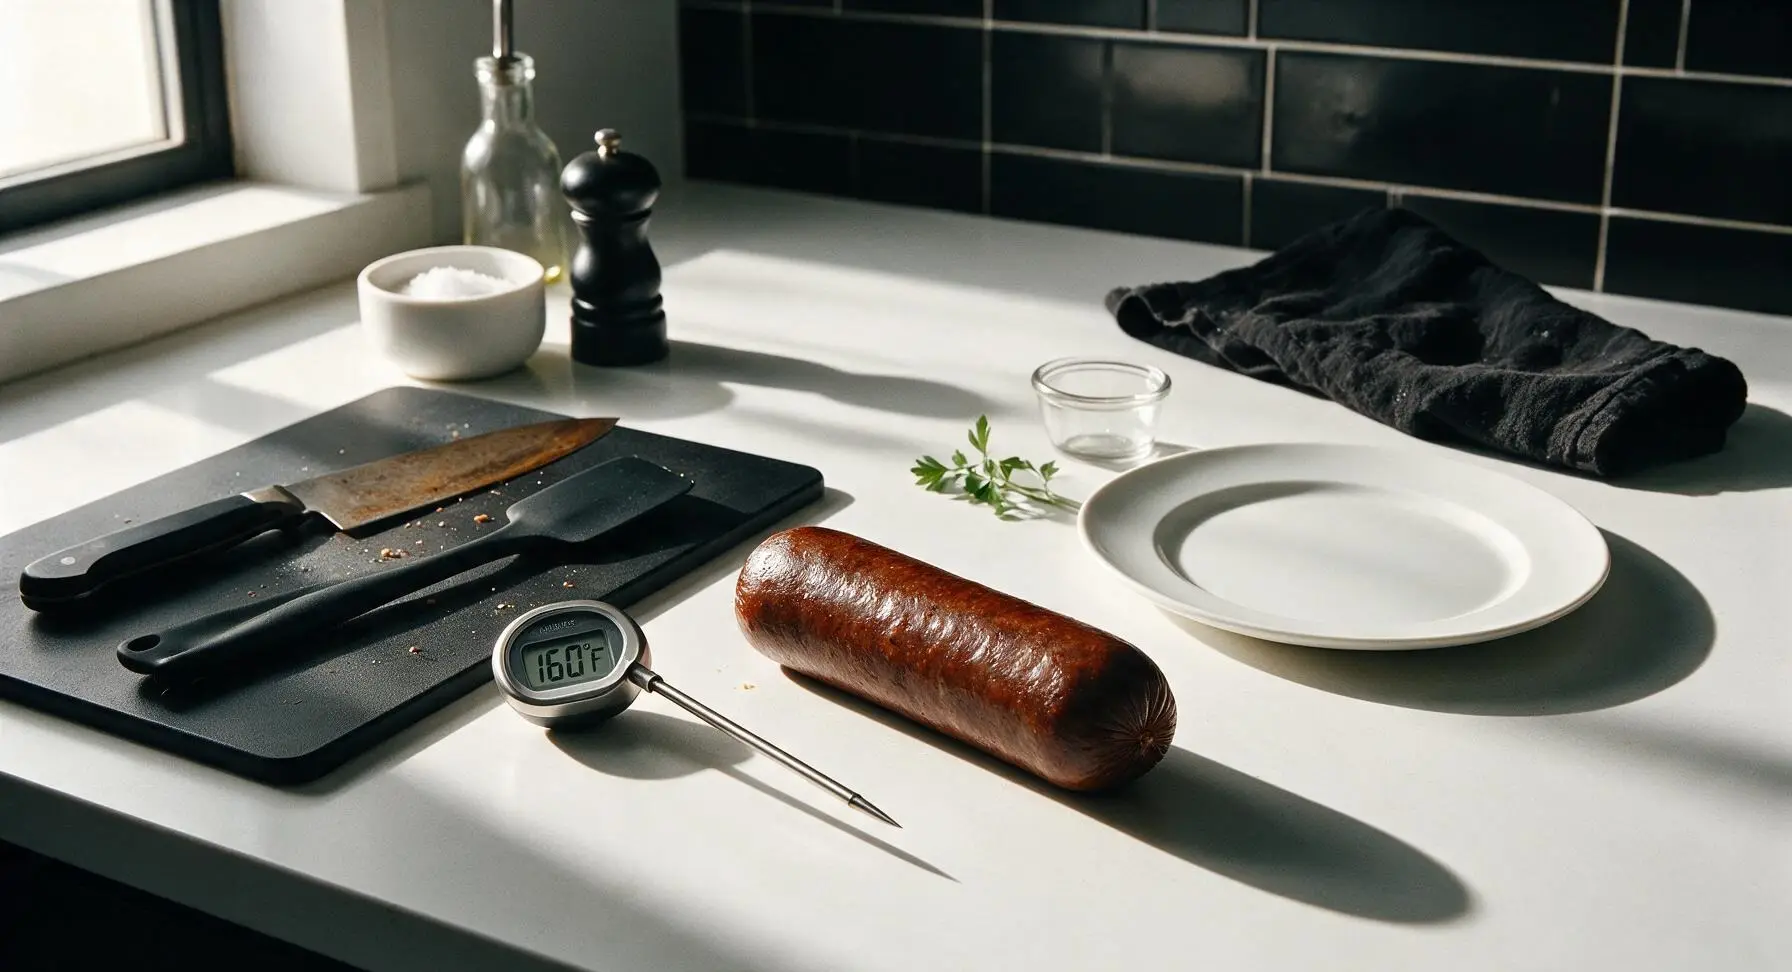
Cook Low and Slow

Preheat your oven or smoker to 225°F (107°C). Place the sausage logs on the middle oven rack (or smoker grate) with the baking sheet underneath to catch drips. Cook for 2.5-3 hours, inserting the digital meat thermometer into the thickest part of a log periodically until the internal temperature reaches exactly 160°F (71°C). Do not cook at higher temperatures, as this will render fat out too quickly and leave sausage dry and crumbly.
Step 6
step6:Cook Low and Slow
Step 6
step6:Cook Low and Slow
7

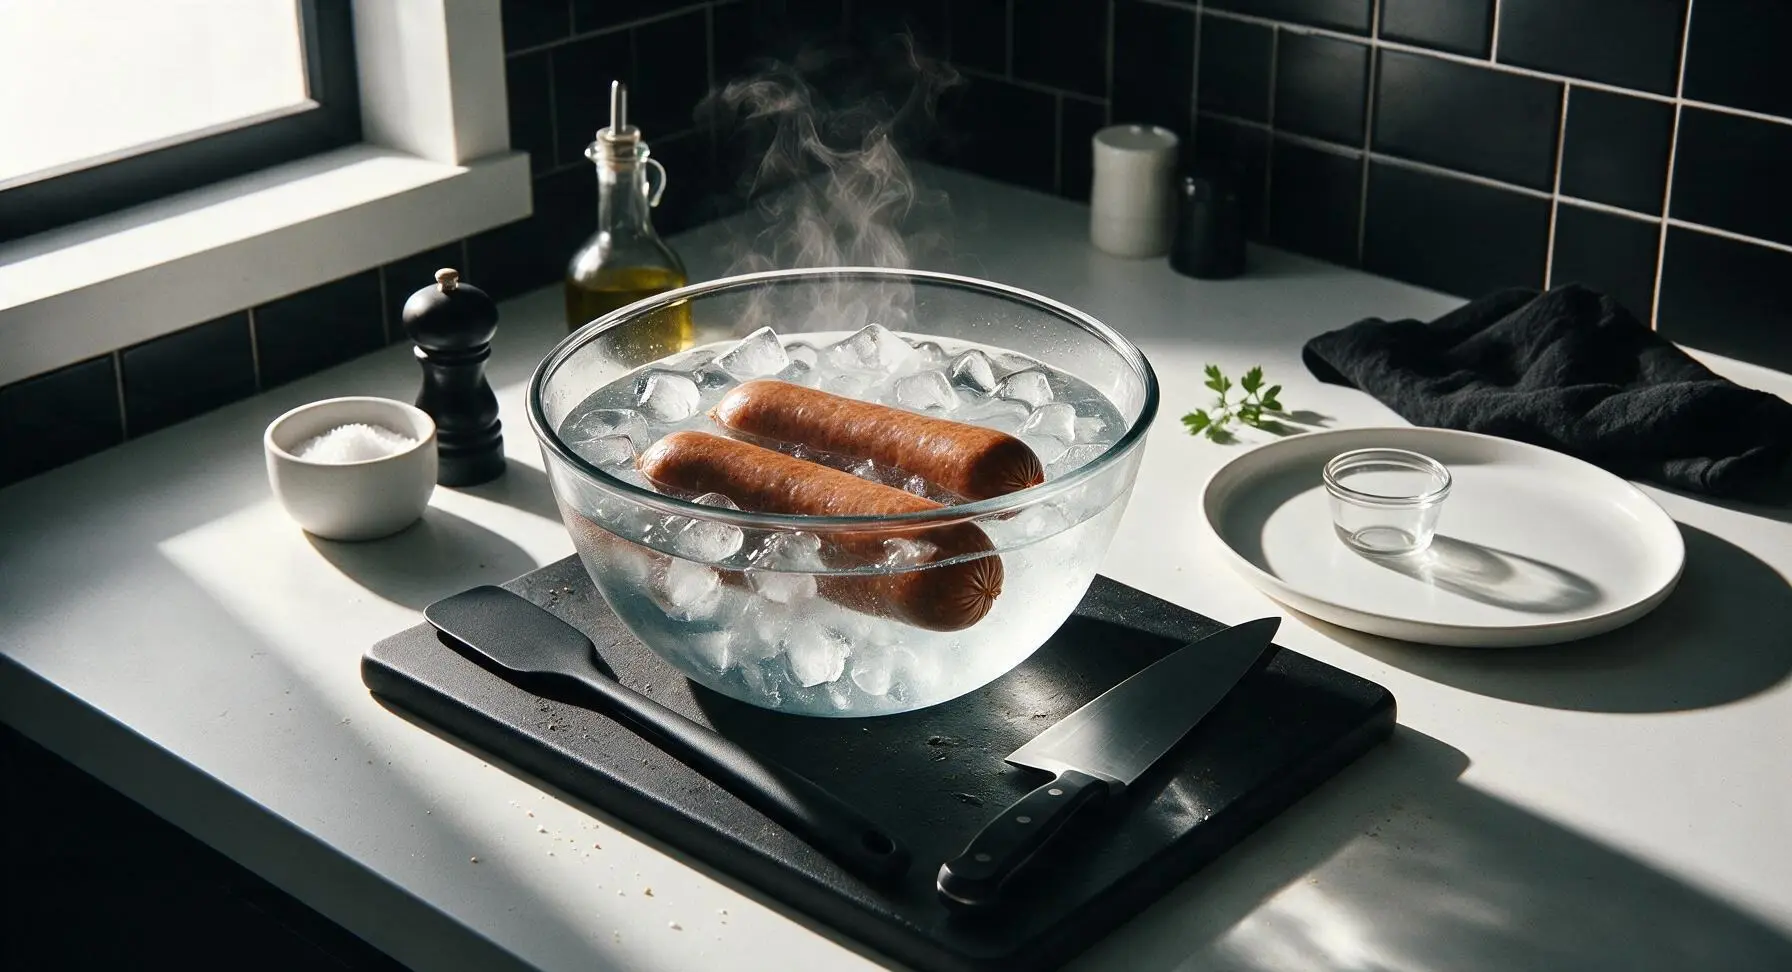
Shock in Ice Bath

As soon as the sausage reaches 160°F internal temperature, immediately transfer the logs to the large clear glass bowl filled with ice water, submerging them fully for 10 minutes to stop the cooking process, lock in moisture, and help the sausage firm up for clean slicing.
Step 7
step7:Shock in Ice Bath
8

Rest and Slice to Serve

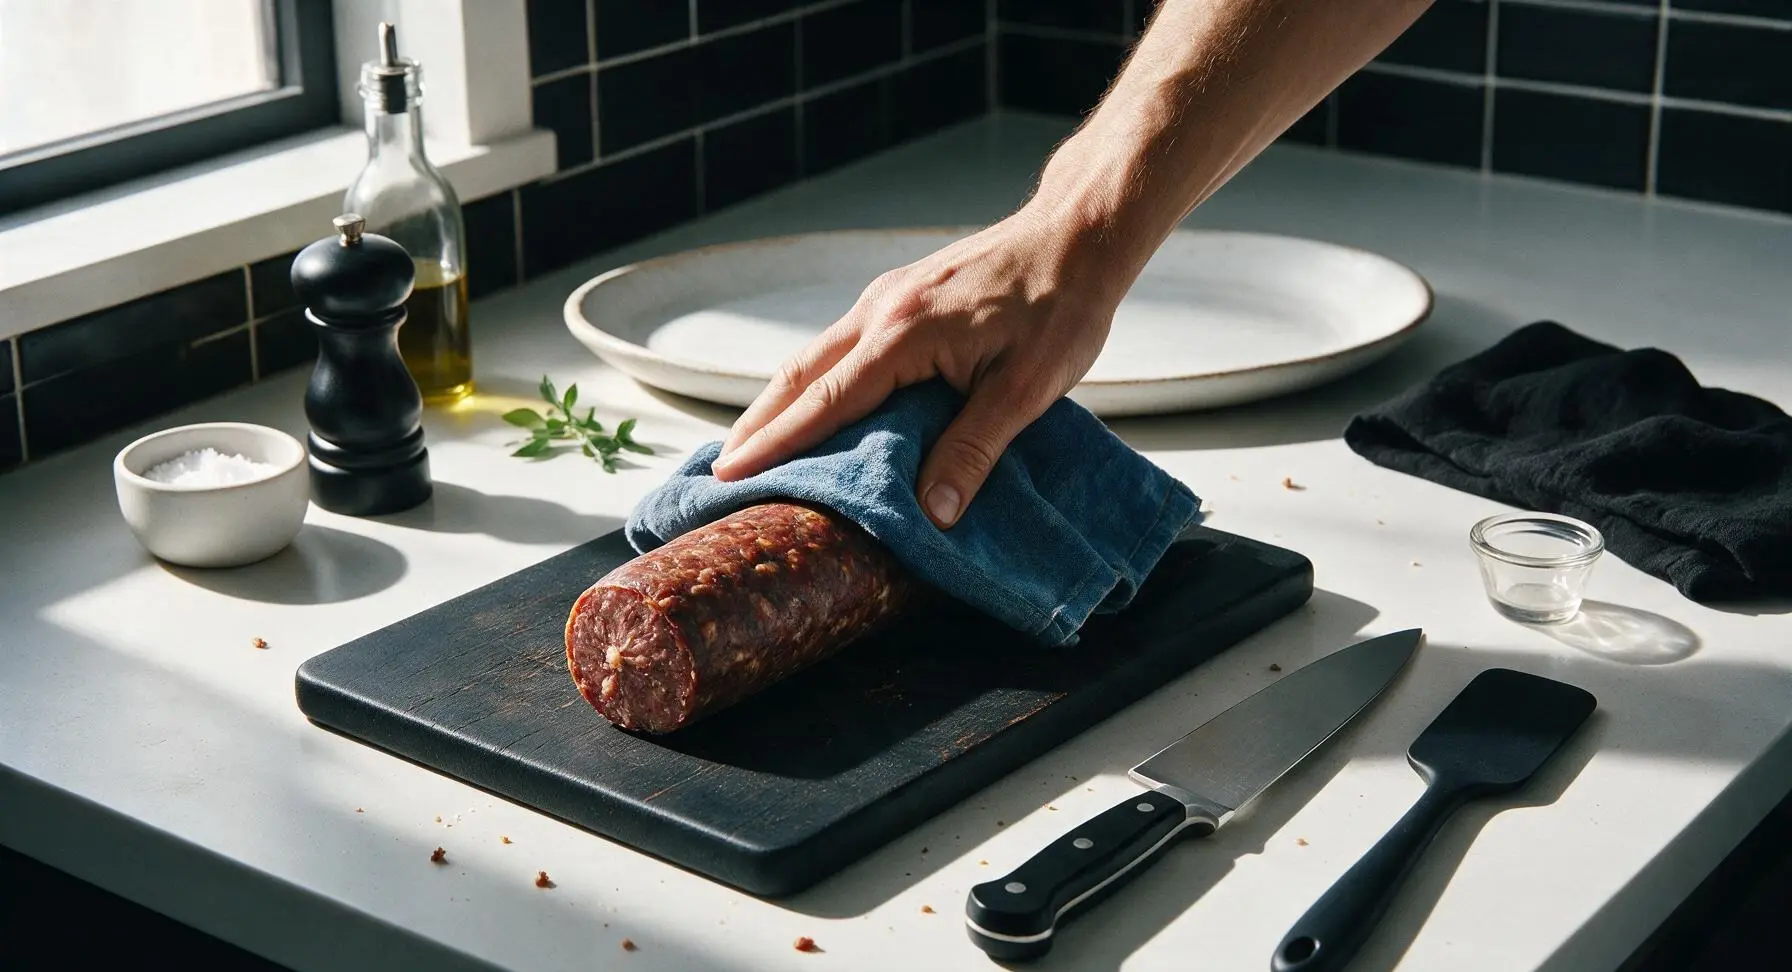
Remove the sausage from the ice bath, pat fully dry with the indigo cotton kitchen towel, and let rest at room temperature for 1 hour before slicing. For clean, even slices, cut against the casing into 1/4-inch thick rounds, and serve with crackers, pickles, and cheese. Refrigerate leftover sausage for up to 2 weeks, or freeze for up to 3 months.
Step 8
step8:Rest and Slice to Serve

Tips

1.Keep all meat and equipment below 40°F (4°C) during mixing and stuffing to prevent fat from smearing into the meat, which causes crumbly, grainy sausage instead of the desired smooth, firm, sliceable texture.
2.Do not skip the 12-hour chill step after stuffing: the dry, tacky pellicle that forms on the casing creates the signature snappy bite and prevents the casing from shrinking away from the meat during cooking.
3.For home cooks without a smoker, add 1 teaspoon of hickory liquid smoke to the meat mixture during mixing, or bake the sausage over a pan of soaked hickory wood chips on the lower oven rack for the first hour of cooking to get classic smoky summer sausage flavor.


✨ You May Also Like

Snacks & Appetizers
🍜 Mexico

Crispy thick-cut tortilla chips piled high with seasoned beef, melted cheese, and bright fresh toppings for a shareable, crowd-favorite bite.

⏱️ 25 minuteSnacks & Appetizers ★ 4.8
Snacks & Appetizers
🍜 United States

Crisp, sweet-tangy spiced pickled watermelon rind is a zero-waste summer staple, perfect with grilled meats, charcuterie, or eaten straight from the jar as a bright snack.

⏱️ 30 minuteSnacks & Appetizers ★ 4.6
Snacks & Appetizers
🍜 Germany

A tangy, jellied pork cold cut slow-simmered with aromatic spices, set into a firm sliceable loaf, served cold with mustard and crusty bread.

⏱️ 3 hours 4Snacks & Appetizers ★ 4.8
Snacks & Appetizers
🍜 United States

Creamy, tangy, perfectly seasoned hard-boiled egg halves filled with a rich, smooth yolk mixture, a timeless, crowd-pleasing bite for holiday and casual gatherings alike.

⏱️ 40 minuteSnacks & Appetizers ★ 4.8
Snacks & Appetizers
🍜 Russia

Silky, dill-forward no-smoke cured salmon, a Scandinavian classic with bright salty-sweet flavor, ideal for holiday starter platters and open-faced rye sandwiches.

⏱️ 48 hours Snacks & Appetizers ★ 4.7
Snacks & Appetizers
🍜 Japan

Crisp golden bottoms, juicy savory pork and vegetable filling, and tangy dipping sauce make these pan-fried gyoza a beloved shareable bite.

⏱️ 45 minuteSnacks & Appetizers ★ 4.8

beef summer sausage:Frequently Asked Questions

1.Why do you recommend 80/20 lean-to-fat ground beef for this summer sausage? ▾
That 20% fat ratio is non-negotiable for that classic juicy, firm, sliceable texture summer sausage is known for. Leaner beef will turn out dry, crumbly, and won’t hold that signature satisfying bite after cooking, even if you nail every other recipe step. Skip extra-lean ground beef here for the best results.
2.Do I need special curing salt to make this summer sausage safe to eat? ▾
If you plan to cold-smoke or store this sausage long-term at room temperature, you’ll need pink curing salt #1 to prevent dangerous bacteria growth. If you’re making it to eat within two weeks stored in the fridge, and cooking it to 160°F internal temp right after mixing, you can stick to the listed kosher salt for short-term use.
3.Can I use store-bought pre-ground beef instead of grinding my own? ▾
Absolutely, pre-ground 80/20 beef from the grocery store works perfectly here—just pick the coarsest grind available if you have the option. Finely ground beef will make a denser, bologna-like texture instead of the rustic, coarse bite that pairs so well with crackers and pickles for picnics.
4.Can I leave out the yellow mustard seeds if I don’t have them? ▾
Yellow mustard seeds add that subtle tangy, earthy pop that defines classic summer sausage flavor, rather than it just tasting like plain seasoned ground beef. If you absolutely don’t have them, swap in 1 teaspoon of prepared yellow mustard per pound of beef, though whole seeds deliver that perfect little texture burst in every slice.
5.What internal temperature do I need to cook this to for food safety? ▾
Cook your summer sausage to a steady 160°F internal temperature, measured with an instant-read thermometer inserted into the thickest part of each log. Don’t rely on cook time alone—oven temperatures vary wildly, and hitting that exact temp ensures it’s safe to eat without being overcooked, dry, or crumbly.
6.How do I get that classic smoky flavor without a dedicated smoker? ▾
You don’t need fancy smoking equipment for that signature smoky note! Add 1 tablespoon of smoked paprika to the spice mix, or bake logs on a wire rack over a tray of soaked hickory chips covered tightly in vented foil in your regular oven to get that authentic, campfire-style smoke taste at home.
7.How long should I let the seasoned meat rest before cooking? ▾
Let the seasoned ground beef rest covered in the fridge for at least 12 hours, and up to 24 hours, before forming logs. This rest lets the salt and spices penetrate evenly, helps the meat bind so it doesn’t crumble when sliced, and mellows sharp raw garlic powder for a more balanced, smooth flavor.
8.Why does my summer sausage turn out crumbly instead of sliceable? ▾
Crumbly summer sausage almost always stems from one of three common missteps: using beef that’s too lean, skipping the 12-hour seasoned rest period so the meat doesn’t bind, or overcooking it past 165°F internal temp. Stick to 80/20 beef, rest it properly, and pull it at 160°F for clean, perfect slices every time.
9.Can I add mix-ins like cheese or jalapeños to the base recipe? ▾
Absolutely, this base recipe is super customizable! Fold in up to ½ cup of cubed high-temp cheddar, drained diced pickled jalapeños, or crumbled cooked bacon per pound of beef right before forming logs. Just make sure any add-ins are well-drained so extra moisture doesn’t turn the sausage mushy.
10.How long will homemade beef summer sausage stay fresh after cooking? ▾
Once fully cooked and cooled completely, wrap the summer sausage logs tightly in plastic wrap or butcher paper and store them in the fridge for up to 2 weeks. You can also freeze sliced or whole logs for up to 3 months; just thaw them in the fridge overnight before serving to preserve the best texture.
11.Do I need special sausage casings to make this recipe? ▾
Nope, you don’t need edible or fibrous casings if you don’t have them on hand! Form the seasoned meat tightly into 2-inch diameter logs, wrap them tight in two layers of plastic, twist the ends to seal, and chill 12 hours before unwrapping and baking on a wire rack for firm, sliceable logs.
12.What’s the best way to serve this for picnics and gatherings? ▾
Let cooked logs chill fully in the fridge for at least 4 hours before slicing into ¼-inch thick rounds—warm sausage will tear when you cut it. Pile slices on a snack board with buttery crackers, dill pickle spears, sharp cheddar chunks, and a little stone-ground mustard for a classic, crowd-pleasing warm-weather spread.
13.Can I cut back on the black pepper if I don’t like spicy food? ▾
Of course! The coarse ground black pepper adds that warm, sharp base note to the sausage, but you can cut the amount in half for a milder batch that works for kids or guests who don’t love bold spice. Just don’t omit it entirely—you’ll lose that deep, savory balance that makes summer sausage taste right.
14.Why does the garlic powder sometimes taste bitter in finished sausage? ▾
Bitter garlic flavor usually comes from using too much garlic powder, or cooking the sausage right after mixing without letting the spices rest. Garlic powder tastes harsh and sharp when it first hits raw meat, but that 12-hour fridge rest lets it mellow and integrate for a smooth, savory garlic note instead of a bitter bite.
15.Can I grill this summer sausage instead of baking or smoking it? ▾
You can absolutely grill it for extra wood-fired flavor! Set your grill for indirect medium heat (around 325°F), place the logs on the cool side of the grates, and cook with the lid closed until they hit 160°F internal temp, which usually takes 45 to 55 minutes, turning once halfway through for even cooking.
16.Why is it called summer sausage if it’s served at warm-weather events? ▾
The name dates back to pre-refrigeration days, when this style of sausage was cured and smoked to be shelf-stable enough to keep through hot summer months without spoiling. Our homemade version stays firm and safe at room temp for a few hours during picnics, which is why it’s such a classic warm-weather party food.

Comments (15)

2 days ago

OMG this homemade beef summer sausage is a total game changer! I made it for our weekend backyard cookout and everyone was begging for the recipe. The 3 hour cook time felt long at first but the flavor is so much better than the grocery store stuff, 100% worth it. I added a little extra smoked paprika for my taste and it was chef’s kiss. Already planning to make a double batch for our next camping trip!

yesterday

Second the extra paprika tip! I did that last batch too and it gave it that perfect smoky kick that pairs so good with cheese and crackers on the trail.

yesterday

So stoked you loved it! Extra smoked paprika is such a great call – we love customizing the spice blend to match personal taste. A double batch for camping is such a smart move, it holds up really well in a cooler!

1 week ago

Made this for my kids’ school potluck last week and even the picky eaters went back for seconds! I was nervous about the curing step since I’ve never made sausage at home before, but the instructions were super straightforward. Only thing I’ll do differently next time is make two loaves because the first one was gone in 10 minutes flat. SO good with sharp cheddar and apple slices for an after school snack too!

5 days ago

That makes our day to hear! It’s always a win when the picky eaters approve, right? The curing step does feel intimidating the first time, but once you get the hang of it it’s totally second nature. Making two loaves is definitely the move for potlucks!

3 days ago

Added this to my weekly meal prep rotation! I slice it up and portion it with cheese sticks and whole grain crackers for quick work lunches all week, and it saves me so much money compared to buying pre-packaged summer sausage. It freezes really well too, which is a huge bonus. Texture is perfect, not too dry, not too greasy.

5 days ago

First time ever making any kind of sausage from scratch and I was shocked how well this turned out! I was worried the medium difficulty rating meant I’d mess it up, but I followed the steps exactly and it came out perfectly. The only hiccup was my oven ran a little hot so I had to turn the temp down 25 degrees halfway through, but even that didn’t ruin it. Super proud of myself!

3 days ago

Same! My oven runs hot too, I always keep an oven thermometer in there for sausage recipes because you don’t want to overcook it and dry it out. Great job on your first batch, it only gets easier from here!

2 weeks ago

Made this for our Super Bowl watch party and it was the star of the charcuterie board! Everyone thought I bought it from a fancy butcher shop until I told them I made it from scratch. 3 hours cook time is nothing when you’re prepping other dips and snacks anyway, it just hangs out in the oven. I paired it with stone ground mustard, pickles, and a variety of cheeses – chef’s kiss.

1 week ago

I did this for our fantasy football draft party too! People were losing their minds over it. I even saved a little to chop up and add to breakfast hash the next morning and it was insane.

5 days ago

We love hearing it’s a charcuterie board hit! Chopping up leftovers for breakfast hash is such a creative use, I’m definitely going to try that next time I make a batch. Pro tip: it also makes amazing homemade pizza toppings!

yesterday

Flavor is great, but I found it a little saltier than I expected, even when I followed the recipe exactly. I might cut the curing salt by 1/4 teaspoon next time to fit my low-sodium preference. That said, the texture was spot on and my partner loved it, so it’s definitely a solid base recipe, just needs a tiny tweak for my tastes.

2 hours ago

I had the same thought the first time I made it! I use a low-sodium curing salt now and it works perfectly without losing that classic summer sausage tang. Don’t skip the pink salt entirely though, it’s important for food safety!

30 minutes ago

Thanks so much for the honest feedback! Sodium levels in curing salts can vary a little by brand, so cutting it slightly to match your taste is a great idea, and like Amy mentioned, just be sure you’re still using the recommended amount of cure for food safety if you adjust. So glad you and your partner enjoyed the flavor overall!

1 week ago

I’ve been making summer sausage for over 40 years and this recipe is one of the better home versions I’ve tried. It has the right balance of garlic, black pepper, and mustard seed, and the cook temp is low enough to prevent the fat from rendering out too much which keeps it juicy. I’ll be adding this to my annual holiday sausage making list for sure.

5 days ago

Tried this in my tiny apartment oven because I was missing the summer sausage my grandpa makes back home. I had to run out and buy a meat thermometer because I didn’t have one, but it was totally worth the $10 investment. Turned out so much better than the slimy stuff they sell at the campus grocery store. My roommates ate half of it before I could even slice it all up!

2 days ago

Love that you gave this a go in your apartment kitchen! A good meat thermometer is 100% worth the investment for any meat recipe, so glad you picked one up. Roommates stealing half the batch is the highest compliment you can get on a cook, right?

30 minutes ago

This looks amazing! I want to make it for my granddaughter’s graduation party next month, but she eats half beef half venison from her dad’s hunting trips. Would I be able to swap half the ground beef for ground venison without messing up the texture or cook time?

5 minutes ago

I do half venison half beef with this recipe all the time! It turns out amazing, you might want to add a tablespoon of extra pork fat if your venison is super lean, but otherwise the cook time stays exactly the same. My whole family prefers the venison version now!

just now

Great question! The half venison swap works perfectly, just like the commenter above said. If your venison is extra lean, adding a little bit of ground pork fat will help keep it moist, but otherwise you can follow the recipe exactly with the same cook time. Hope it’s a hit at the graduation party!

2 hours ago

Brought this to our neighborhood block party last weekend and I had three people track me down before I even left to ask for the recipe. I used a mix of ground chuck and a little bit of ground pork for extra fat and it was so juicy. Next time I’m going to add some diced jalapeños for a little spicy kick, I think that would be chef’s kiss.

30 minutes ago

Jalapeño version sounds insane! I added a little bit of cheddar powder to my last batch for that cheesy sausage vibe and it was a huge hit with my friends. You have to report back how the jalapeño one turns out!

1 week ago

We raise our own beef so I’m always looking for new ways to use up our ground beef stash, and this recipe is going into regular rotation. I made three batches last weekend to give out as neighbor gifts for the end of summer, and everyone who stopped by said it was the best homemade sausage they’d ever had. The mustard seeds give it that perfect classic summer sausage pop, I wouldn’t change a thing.

2 days ago

I was intimidated by the medium difficulty rating since I’ve only ever made fresh breakfast sausage before, but this was so manageable! The steps are broken down really clearly, and there’s no fancy equipment required – I just used my stand mixer with the paddle attachment to mix the meat and spices, no sausage stuffer needed. Perfect for home cooks who don’t have a bunch of specialty gear.

yesterday

So glad the instructions felt clear! We intentionally wrote this recipe to work without fancy sausage making equipment because we think everyone should be able to make great summer sausage at home without dropping a bunch of money on gear. The stand mixer trick is exactly what we do too!

yesterday

Made this yesterday and while the flavor was incredible, my first batch had a little bit of a crumbly texture instead of that tight sliceable texture I was hoping for. Did I overmix the meat, or maybe not cook it long enough? I pulled it when the internal temp hit 155 like the recipe said, but I’m wondering if I packed the loaves too loosely.

2 hours ago

9 times out of 10 crumbly summer sausage is from packing the loaves too loosely when you form them! You really want to press the meat super tight into the loaf pan to get rid of any air pockets, that helps it bind together so it slices clean. I press mine down with the back of a measuring cup to get it really compact.

30 minutes ago

Don is exactly right! Loosely packed meat is the most common culprit for crumbly texture. Next time, really press the meat firmly into your loaves to eliminate air gaps, and make sure you’re mixing the meat until it gets a little sticky (that means the myosin is released, which helps it bind). You’re already nailing the flavor, so the texture will be perfect next batch!

5 minutes ago

Obsessed! I grew up eating summer sausage on family camping trips in the Adirondacks, and this tastes exactly like the stuff my dad used to buy from the old German deli upstate. I didn’t change a single thing to the spice blend and it’s perfect – that hint of coriander and garlic is exactly what I remember. Made two loaves and already gave one to my dad, he was so impressed.

1 week ago

Made a batch before our week long backpacking trip last week and it held up perfectly in our packs, no refrigeration needed for the first couple days which was ideal. It’s so protein dense, it was the perfect trail snack to keep us going on long hikes. We sliced it thin and ate it with hard cheese and dried cranberries, 10/10 will be a staple for all our future backcountry trips.

5 days ago

That’s such a perfect use for it! Summer sausage was originally made to be shelf stable for long trips, so it makes us so happy to hear it worked out for your backpacking adventure. The hard cheese and dried cranberry pairing sounds like the perfect trail lunch!



