
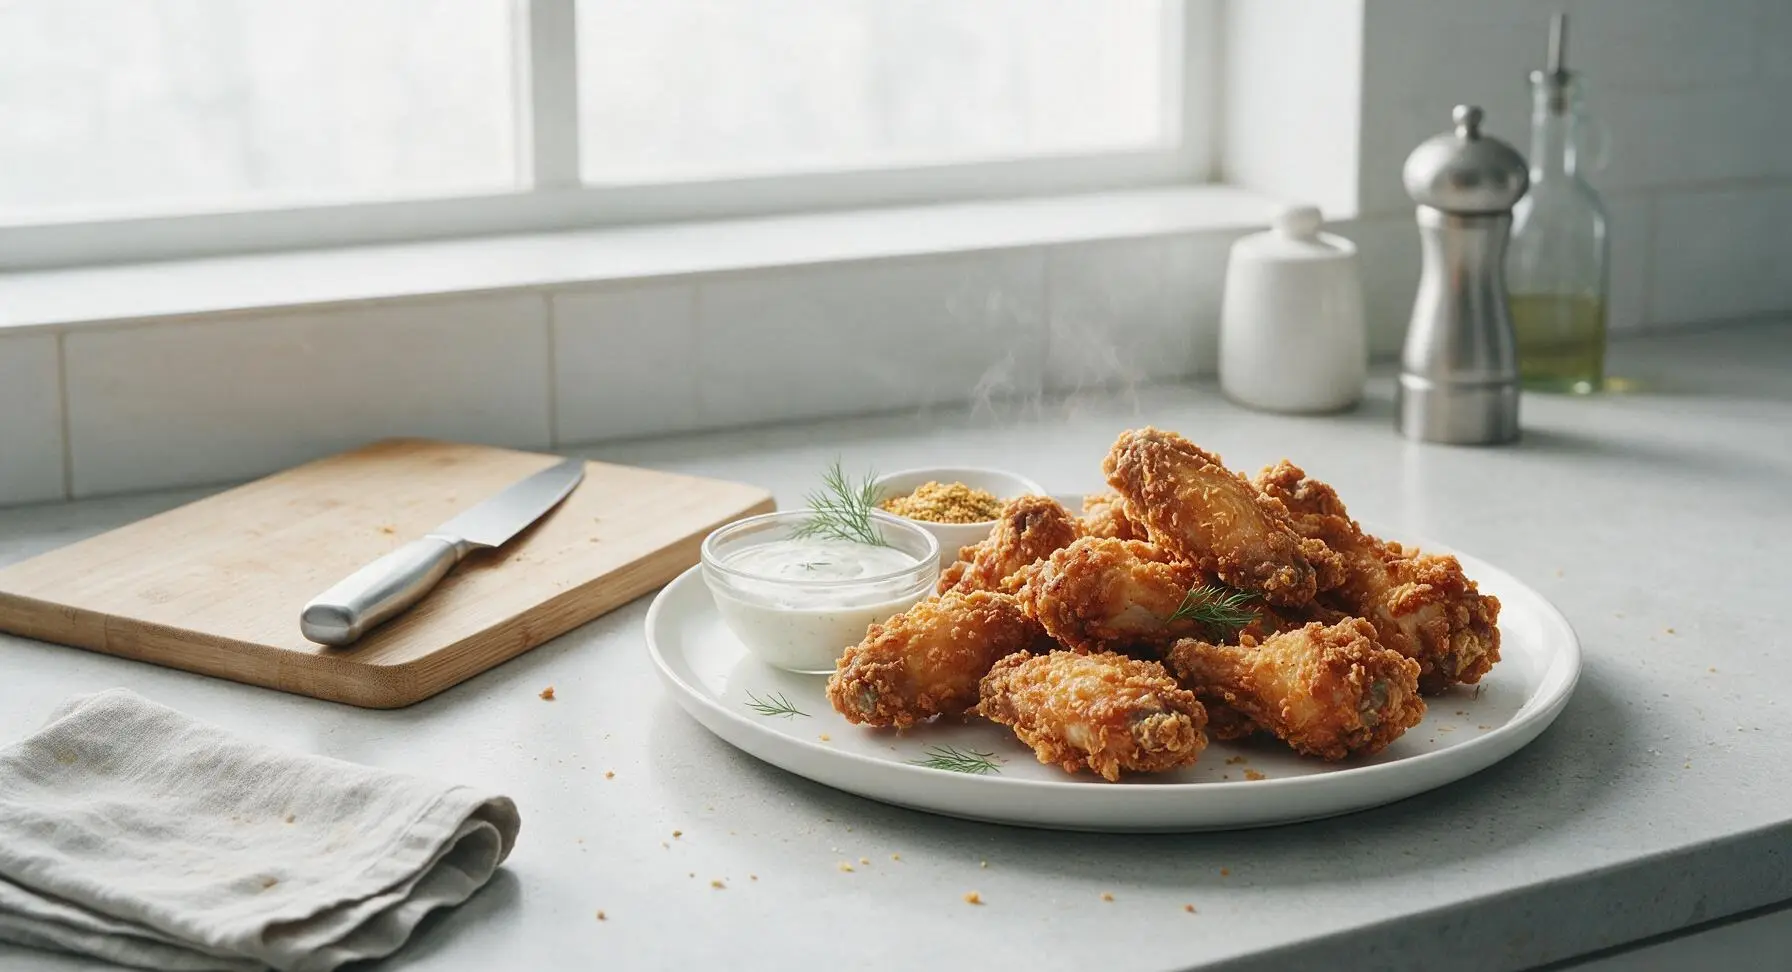
best fried wings

title 1
best fried wings
⏱️ cook time 35 minutes
🍽️ servings 4
⚡ Difficulty medium

intro

Ultra-crispy shatteringly crunchy crust, juicy tender meat, and perfectly seasoned bite — these restaurant-worthy fried wings beat takeout every time.

Ingredients
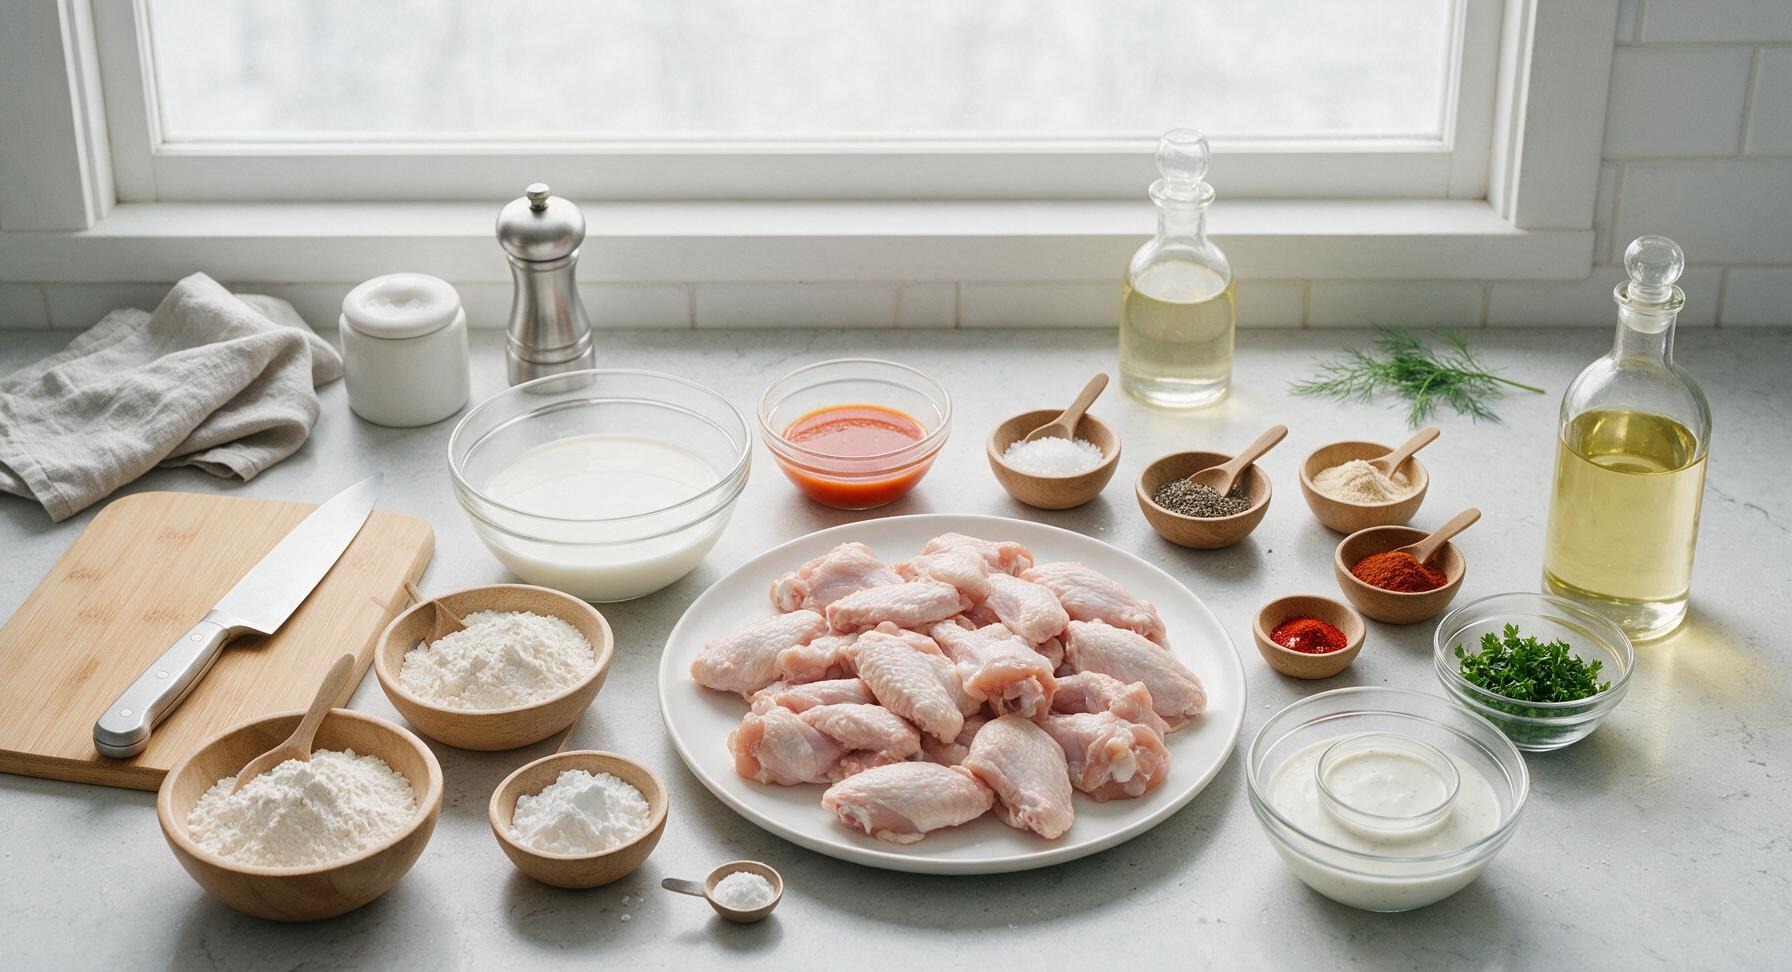
Split chicken wings (drumettes and flats, tips reserved for stock) 2 lbs (approx 20 pieces)
Buttermilk 1.5 cups
Hot sauce 2 tbsp
Kosher salt 1 tbsp + 2 tsp, divided
Freshly ground black pepper 2 tsp, divided
Garlic powder 1 tbsp
Smoked paprika 1 tsp
Cayenne pepper 1/4 tsp
All-purpose flour 1.5 cups
Cornstarch 1/2 cup
Baking powder 1 tsp
Neutral canola oil (for frying) 6 cups
Fresh curly parsley (chopped, for garnish) 2 tbsp
Ranch dressing (for dipping) 1/2 cup

Steps

1

Trim and Prep Wings

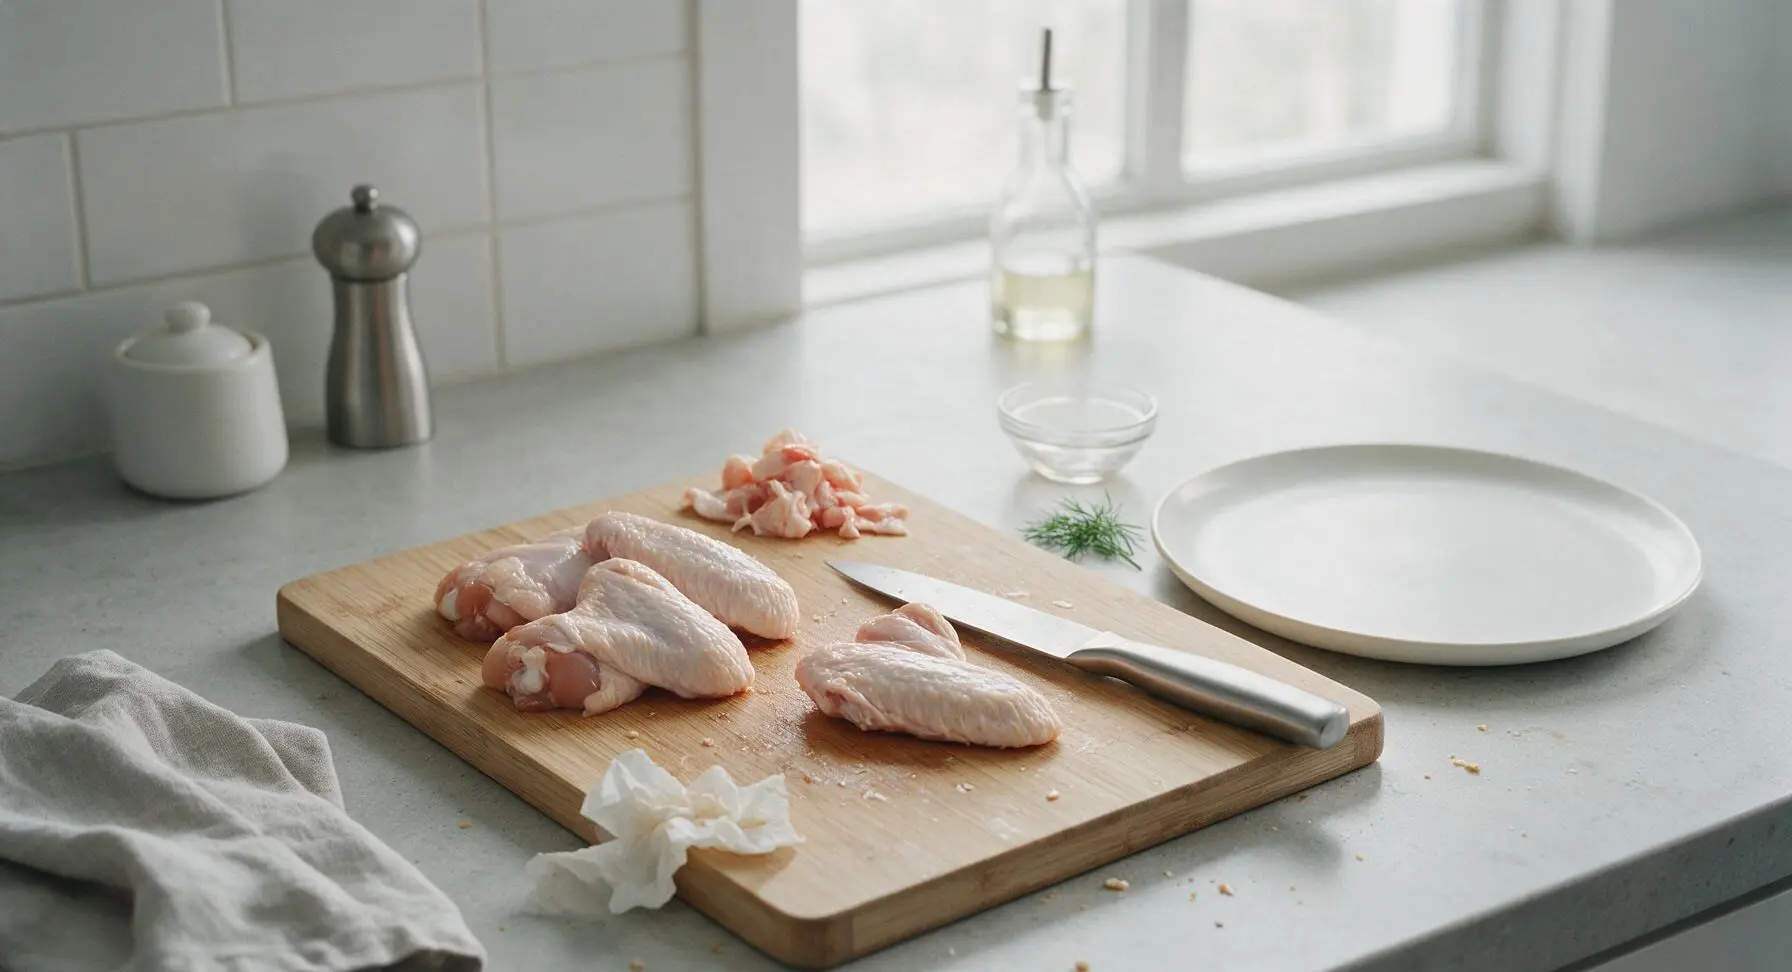
Place raw split chicken wings on the center of the light brown wooden cutting board. Use the walnut-handled chef knife to trim any excess loose skin or hard fat deposits from the wings, confirming all drumettes and flats are fully separated (reserve wing tips for homemade stock if desired). Pat wings completely dry on all sides with paper towels; dry skin is critical for crispiness. The finished prepped wings should have a matte, dry surface, no damp or slimy spots remaining.
Step 1
step1:Trim and Prep Wings
2

Brine in Buttermilk

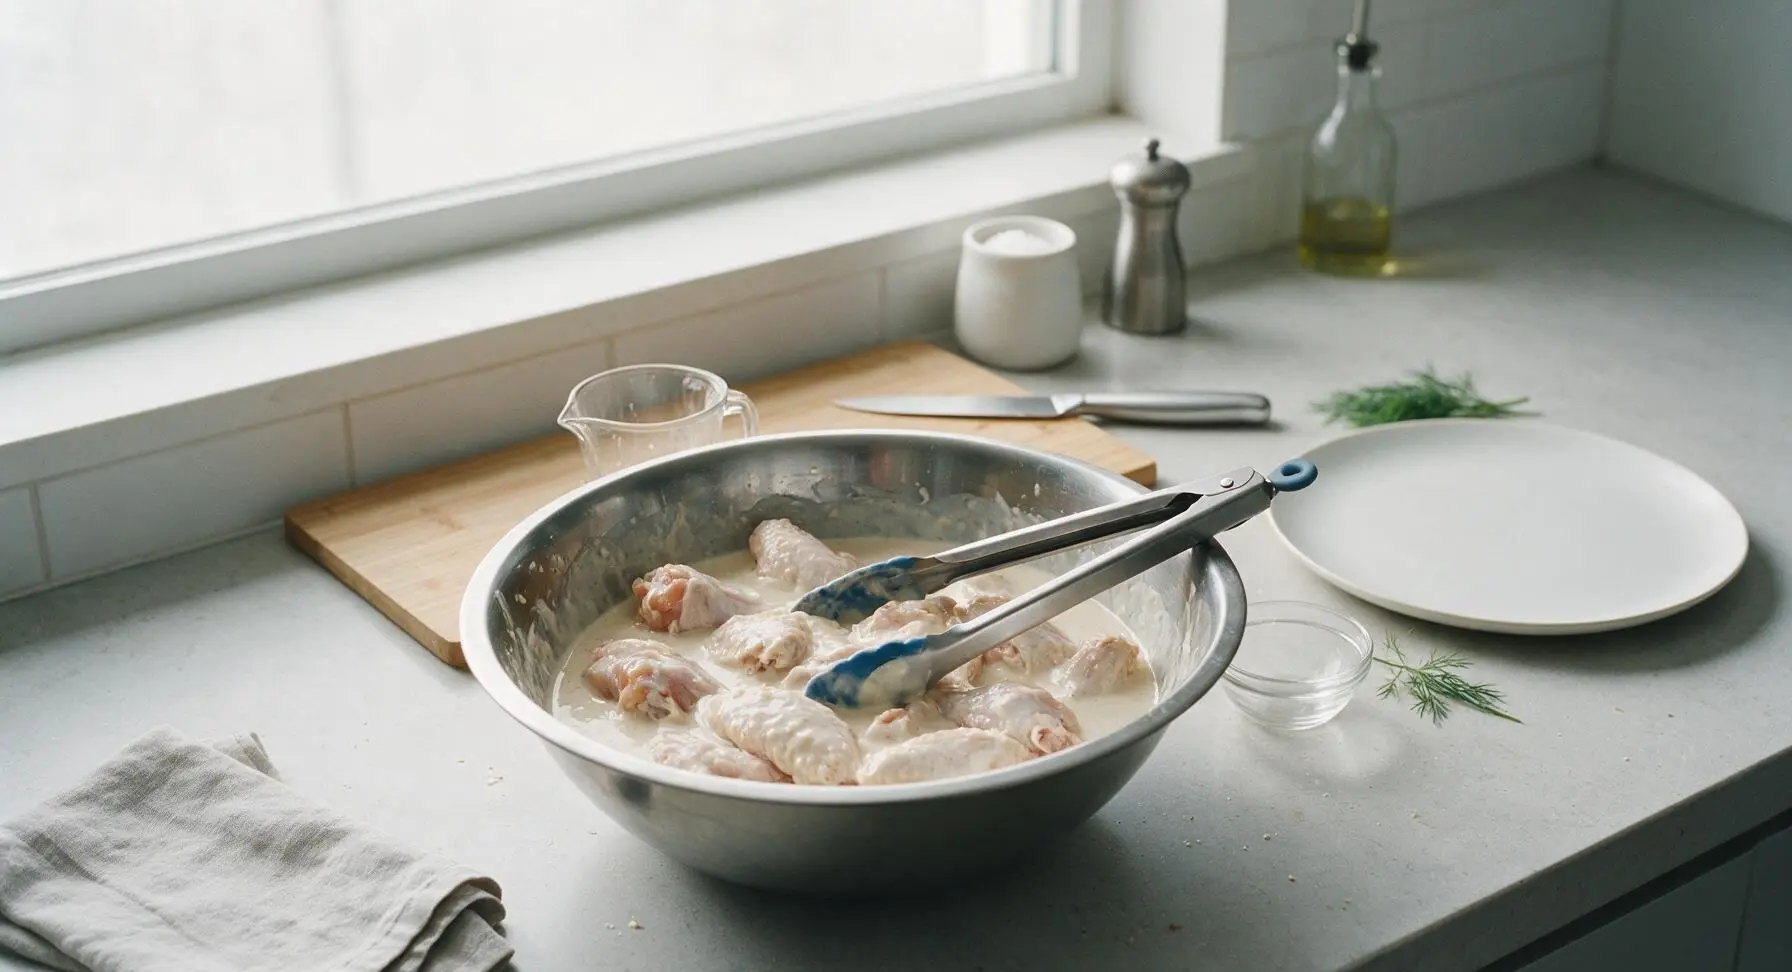
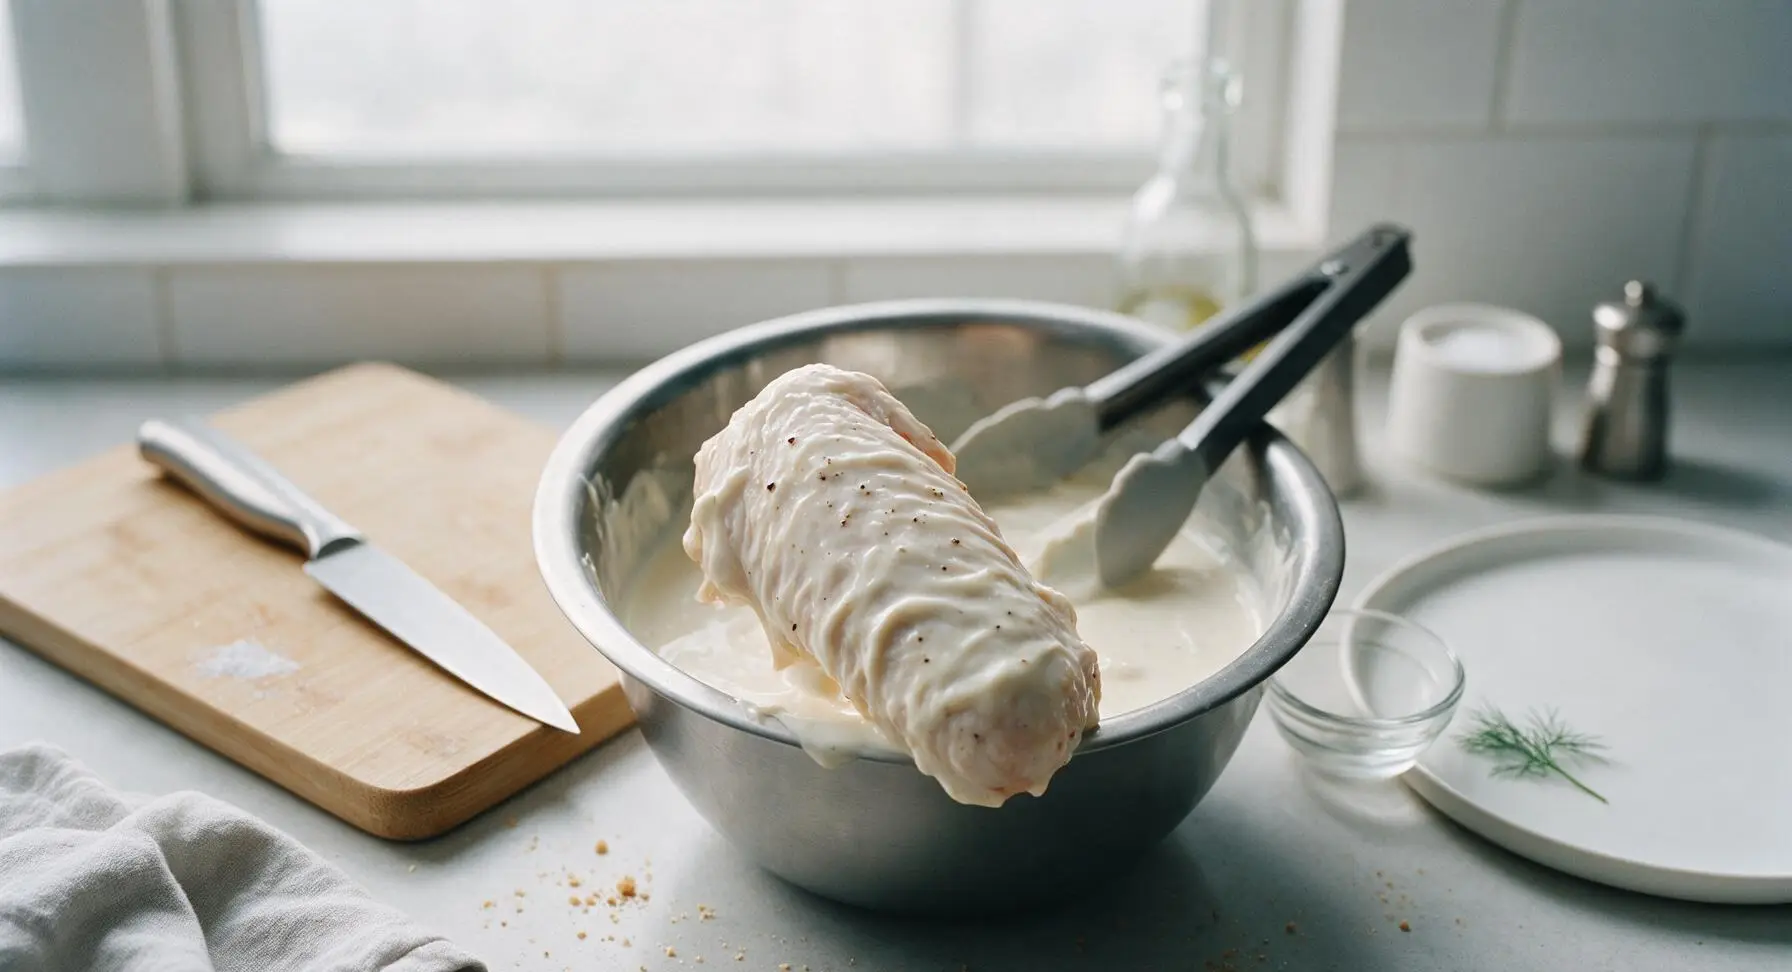
Transfer trimmed, dried wings to the large 6-quart stainless steel mixing bowl. Pour in 1.5 cups buttermilk, 2 tbsp hot sauce, 1 tbsp kosher salt, and 1 tsp black pepper. Toss thoroughly with the silicone-tipped tongs to ensure every wing is fully coated in brine. Cover the bowl and refrigerate for a minimum of 2 hours (up to 12 hours for extra tenderness and tang). Remove from the fridge 15 minutes before frying to let wings come slightly closer to room temperature for even cooking.
Step 2
step2:Brine in Buttermilk
Step 2
step2:Brine in Buttermilk
3

Mix Crispy Dredge

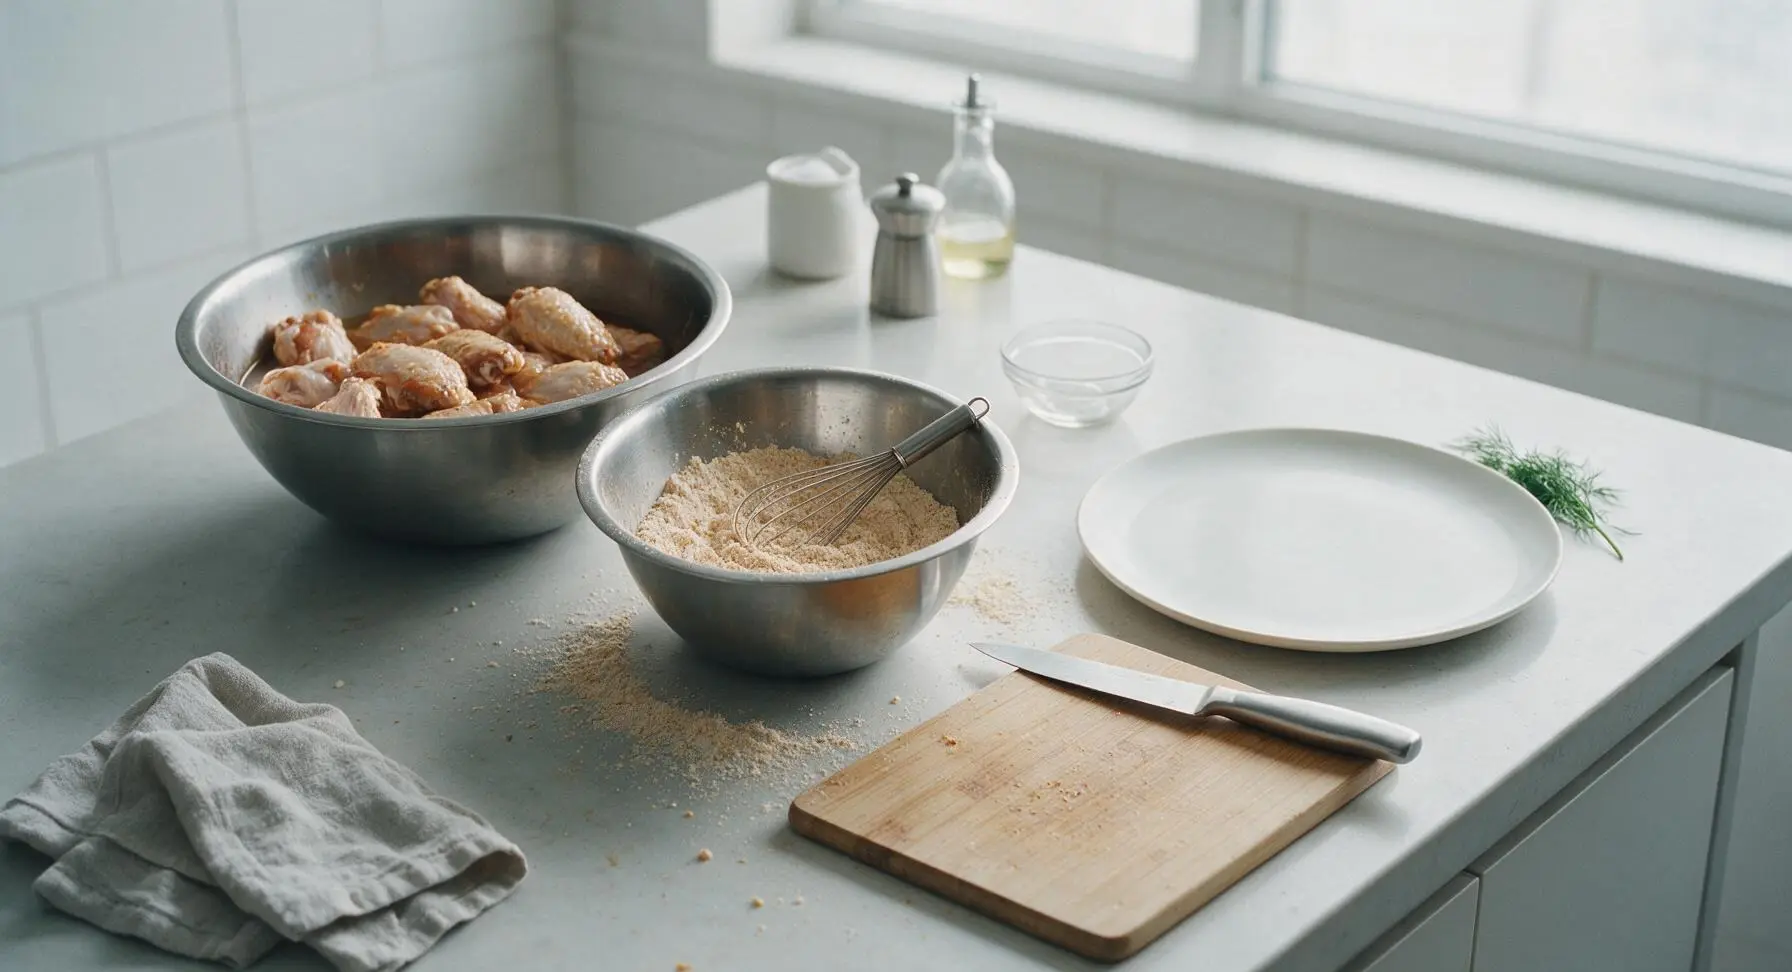
Add 1.5 cups all-purpose flour, 1/2 cup cornstarch, 1 tsp baking powder, remaining 2 tsp kosher salt, remaining 1 tsp black pepper, 1 tbsp garlic powder, 1 tsp smoked paprika, and 1/4 tsp cayenne pepper to the medium 3-quart stainless steel mixing bowl. Whisk thoroughly for 30 seconds to fully combine all ingredients, breaking up any clumps of spice. The finished dredge should be a uniform pale tan color with no visible streaks of separate spices.
Step 3
step3:Mix Crispy Dredge
4

Heat Frying Oil

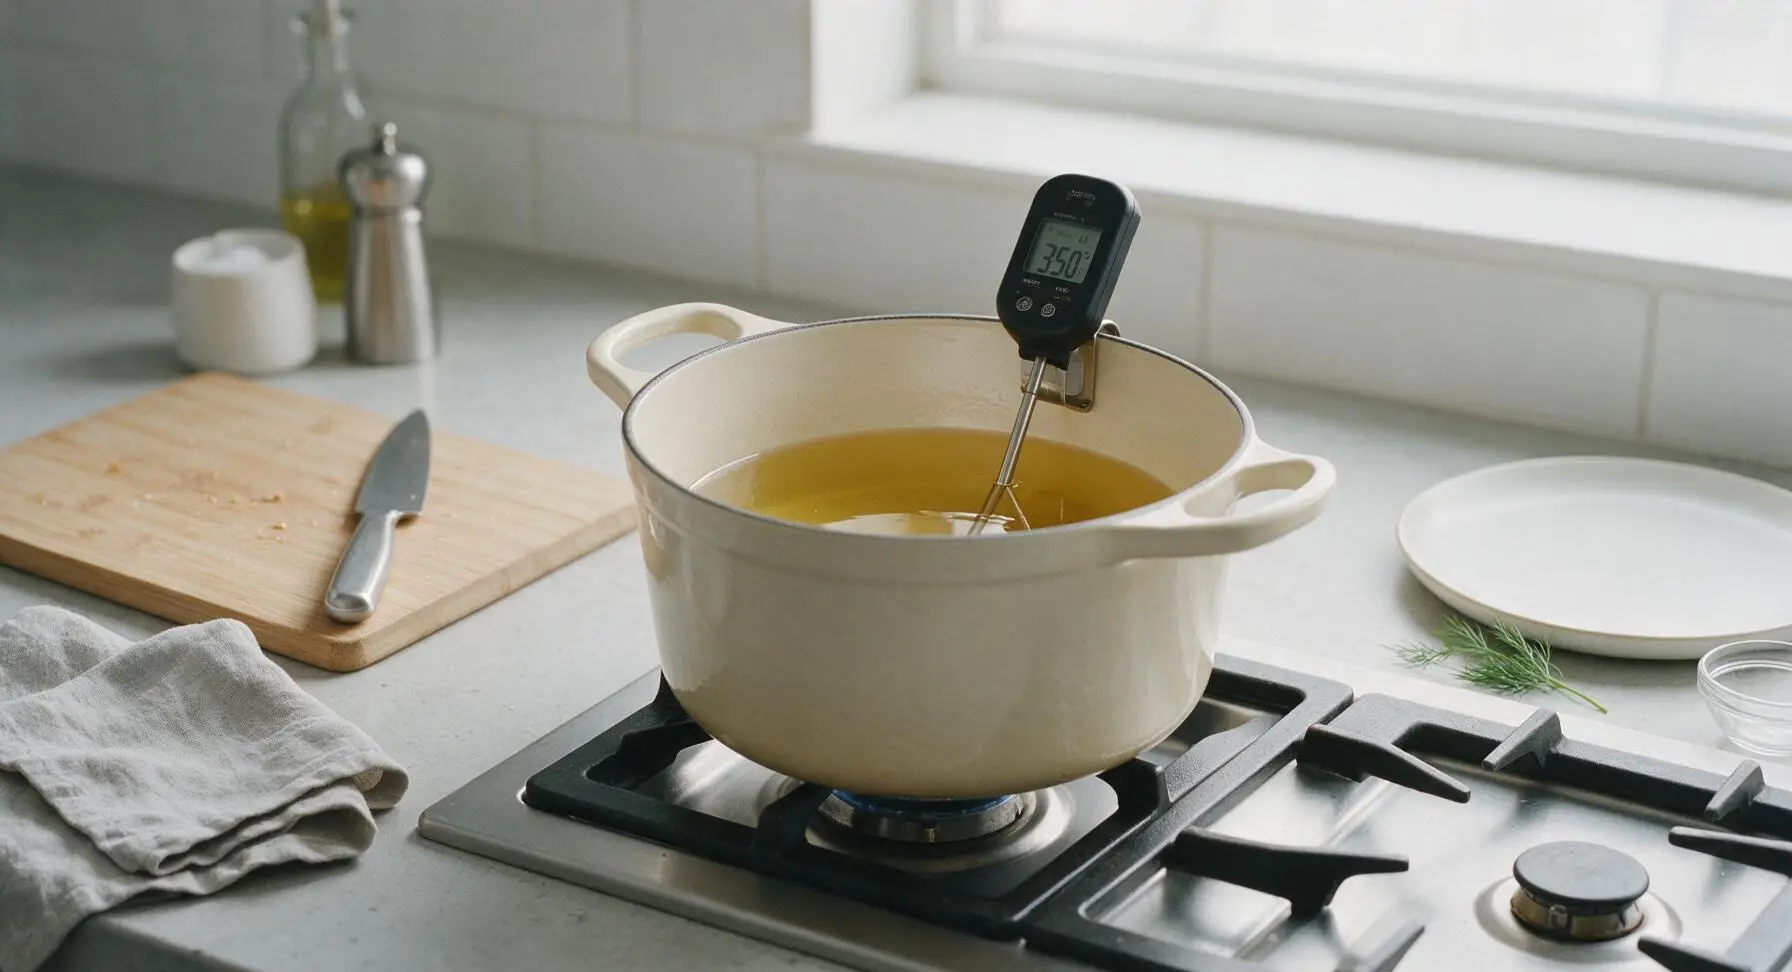
Pour 6 cups neutral canola oil into the matte cream enameled cast iron Dutch oven set on the centered stovetop burner. Clip the digital deep fry thermometer to the side of the pot, ensuring the probe is submerged 2 inches into the oil but not touching the pot bottom. Heat oil over medium heat until it reaches a steady 350°F (175°C). Adjust burner heat as needed to maintain consistent temperature throughout frying; fluctuating oil temperature is the leading cause of soggy, greasy wings.
Step 4
step4:Heat Frying Oil
5

Dredge Wings Evenly

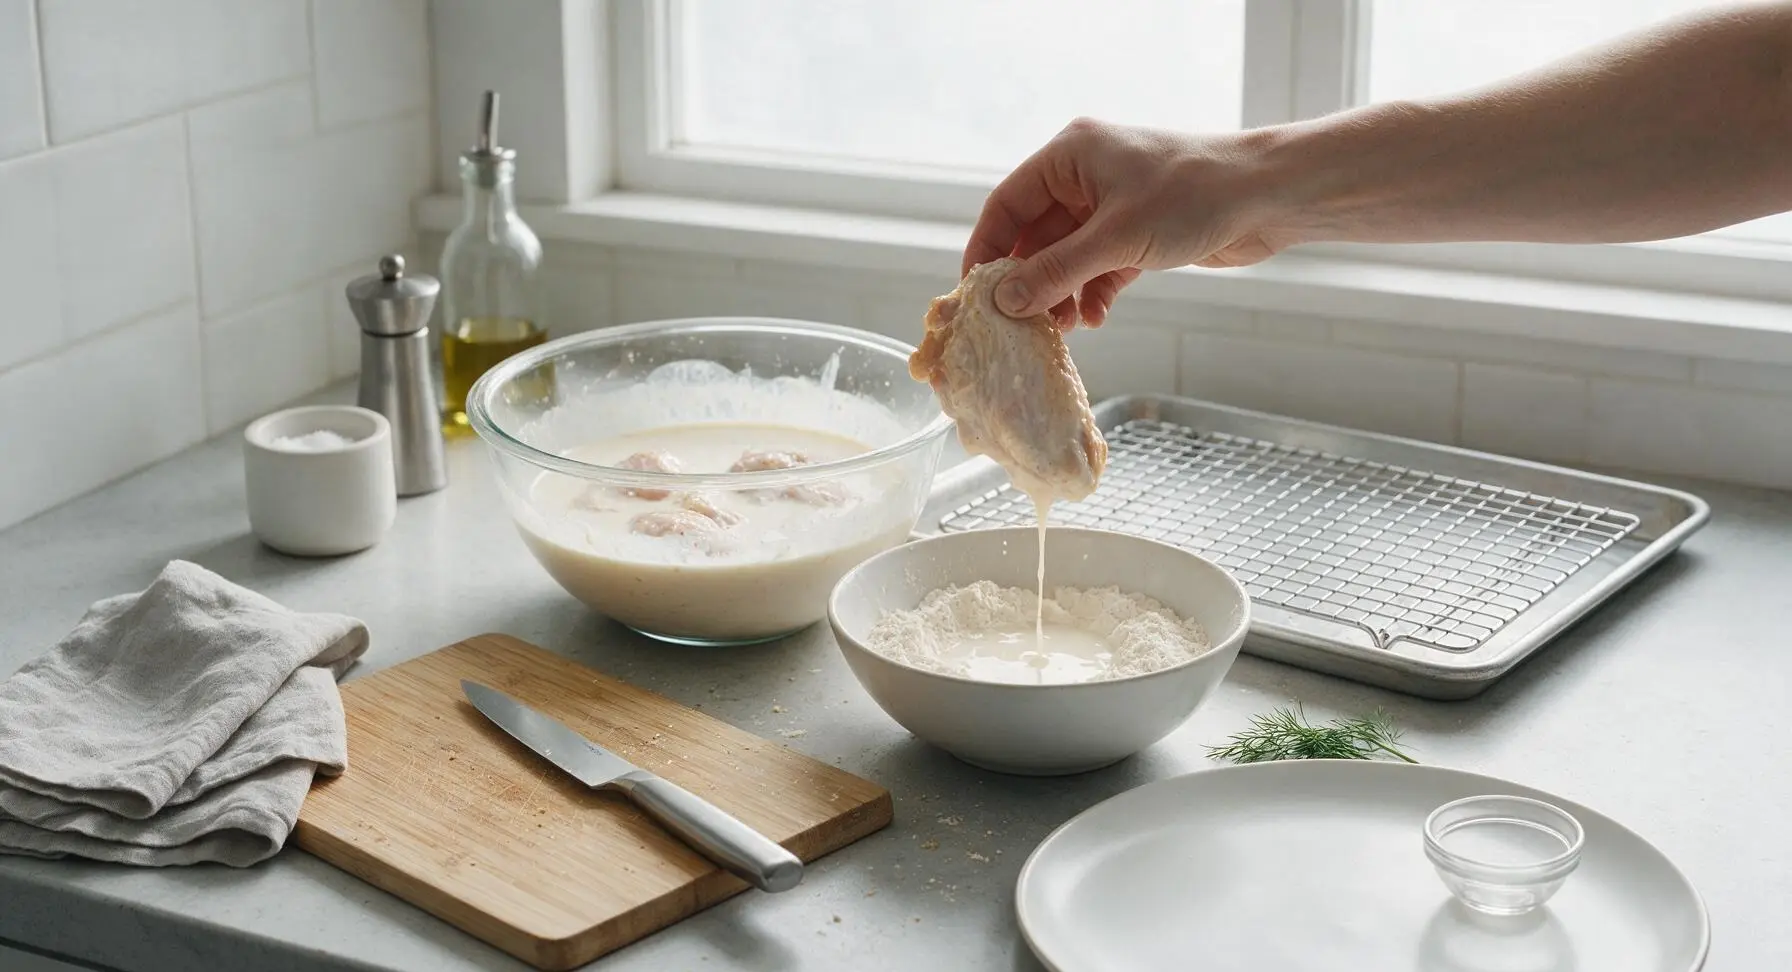
Working one wing at a time, lift wings from the buttermilk brine, letting excess brine drip off for 2 seconds. Drop each wing into the dredge mixture, pressing firmly to coat every surface in a thick, even layer of flour. Place coated wings on the chrome wire cooling rack set over the aluminum baking sheet, and let rest for 10 minutes to allow the coating to set — this prevents breading from sliding off during frying. The set coating will look dry and slightly craggy, not wet or clumpy.
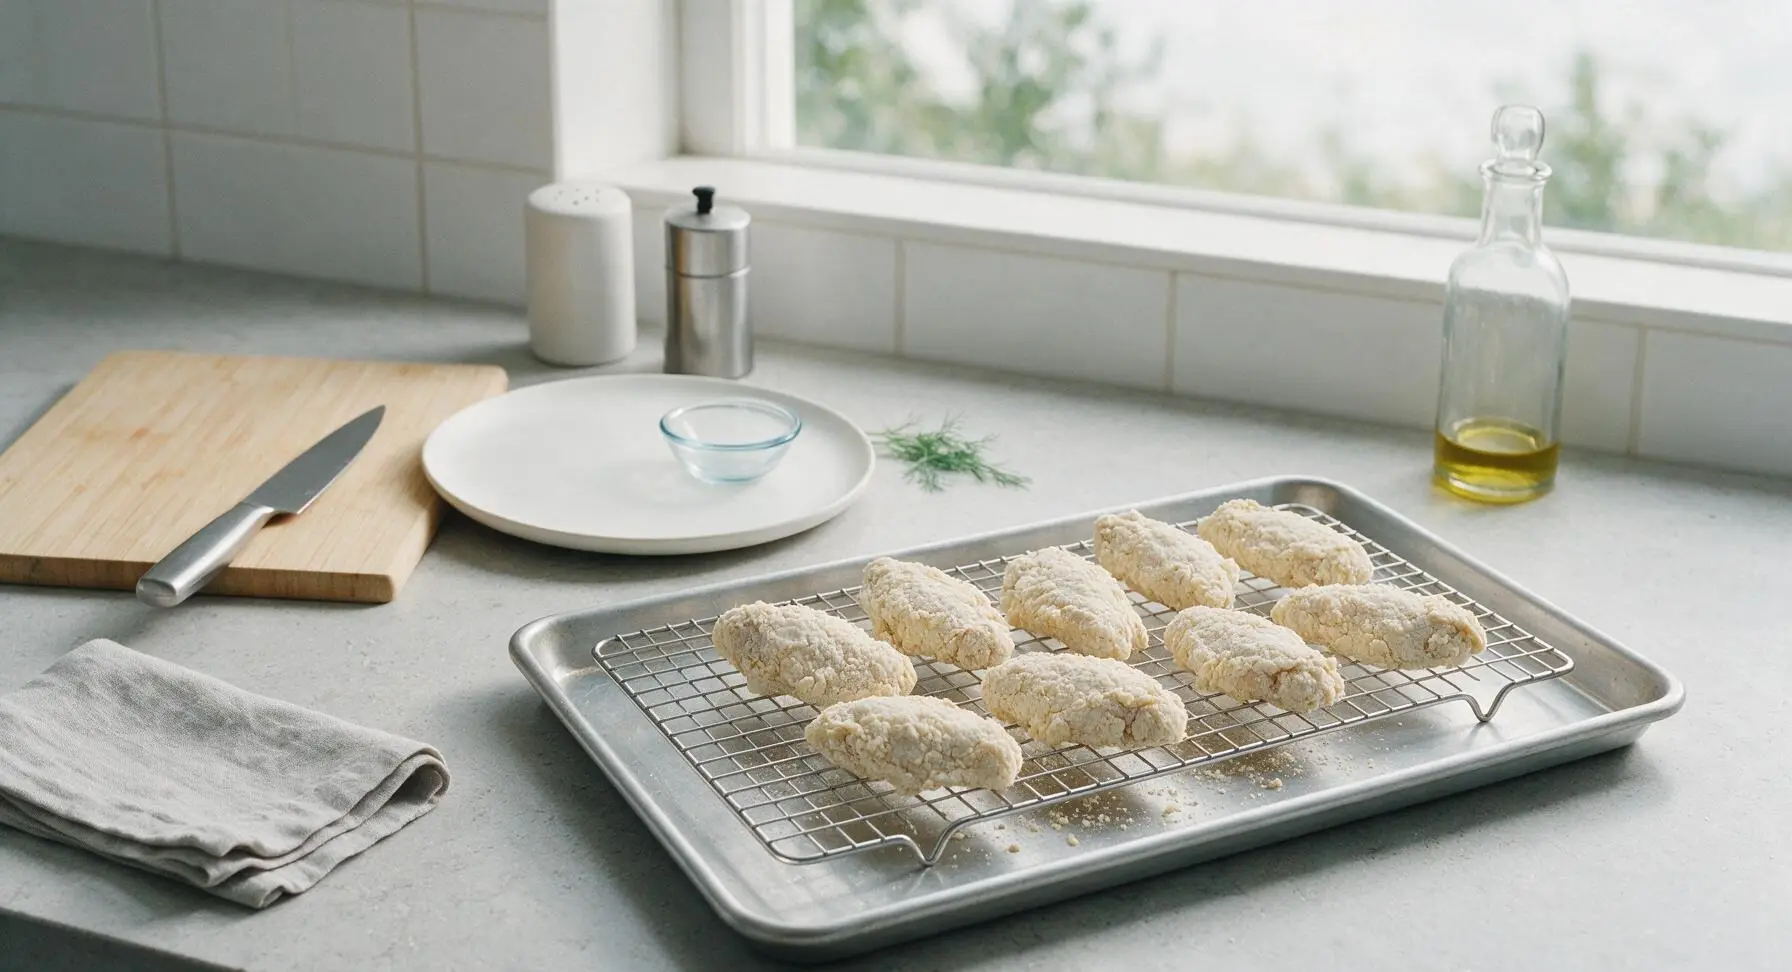
Step 5
step5:Dredge Wings Evenly
Step 5
step5:Dredge Wings Evenly
6

First Fry for Tenderness

Using the long stainless steel tongs, carefully lower 5-6 wings into the 350°F oil, working in batches to avoid overcrowding the pot (overcrowding drops oil temperature by 50+ degrees, causing greasy, soggy wings). Fry for 6 minutes total, turning each wing once halfway through cooking. Wings will be pale golden blonde, not dark brown, and cooked roughly 80% through when removed. Transfer half-cooked wings back to the wire cooling rack to drain for 5 minutes between batches.
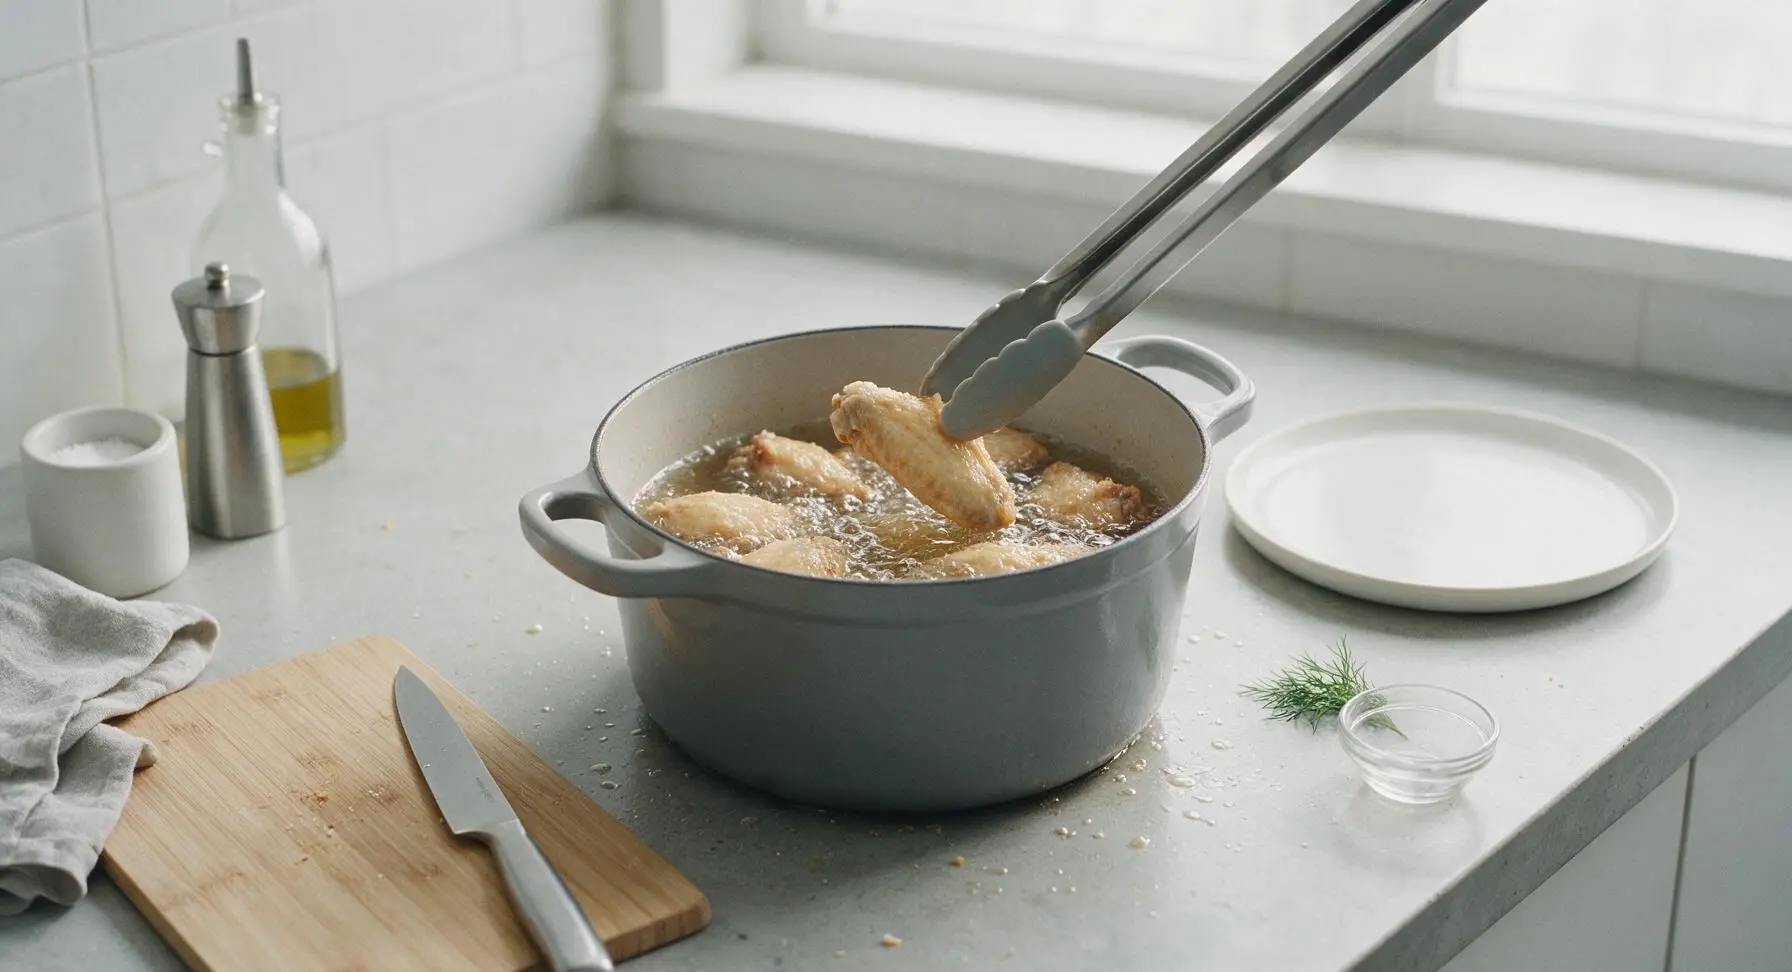
Step 6
step6:First Fry for Tenderness
7

Second Fry for Crunch

Increase burner heat slightly to bring oil temperature up to a steady 375°F (190°C). Once temperature holds, return half-cooked wings to the oil in batches again, frying for 3-4 minutes per batch until the crust is deep golden brown, shatteringly crisp, and the internal temperature of the wings reaches 165°F (74°C) at the thickest part. The crust will look visibly craggy and make a faint audible crunch when tapped gently with tongs. Transfer fully cooked wings back to the clean wire rack to drain for 2 minutes, sprinkling lightly with a pinch of extra kosher salt while the surface is still hot and porous.
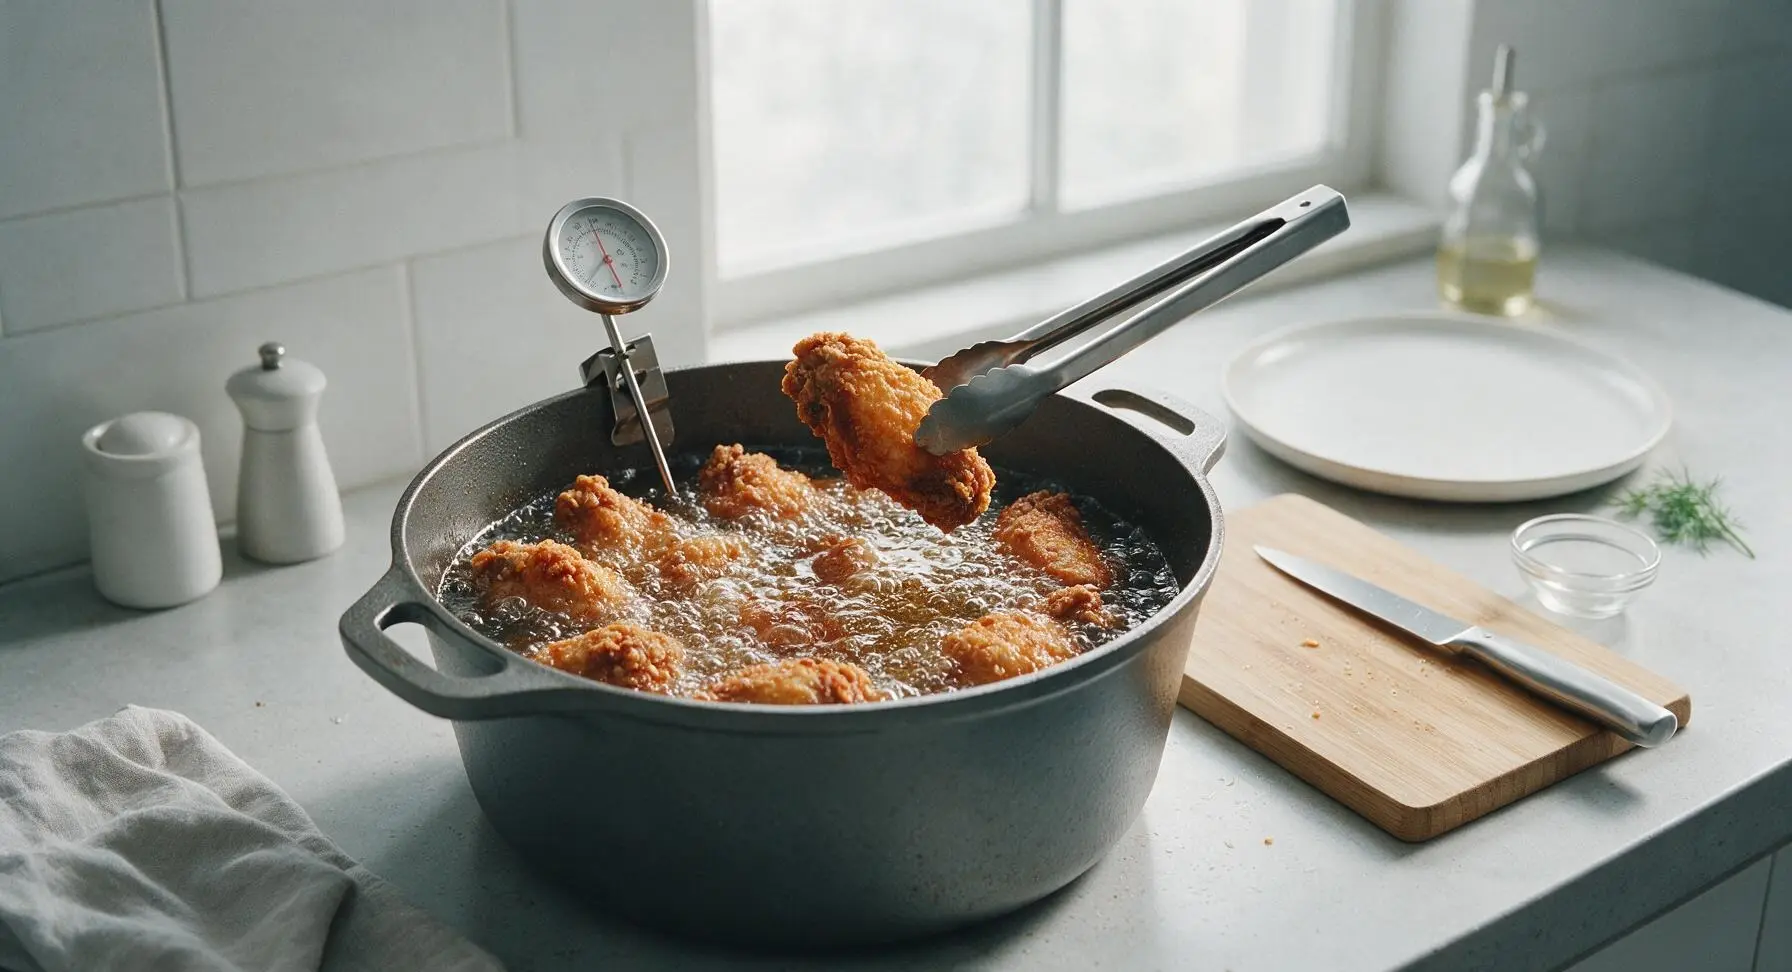
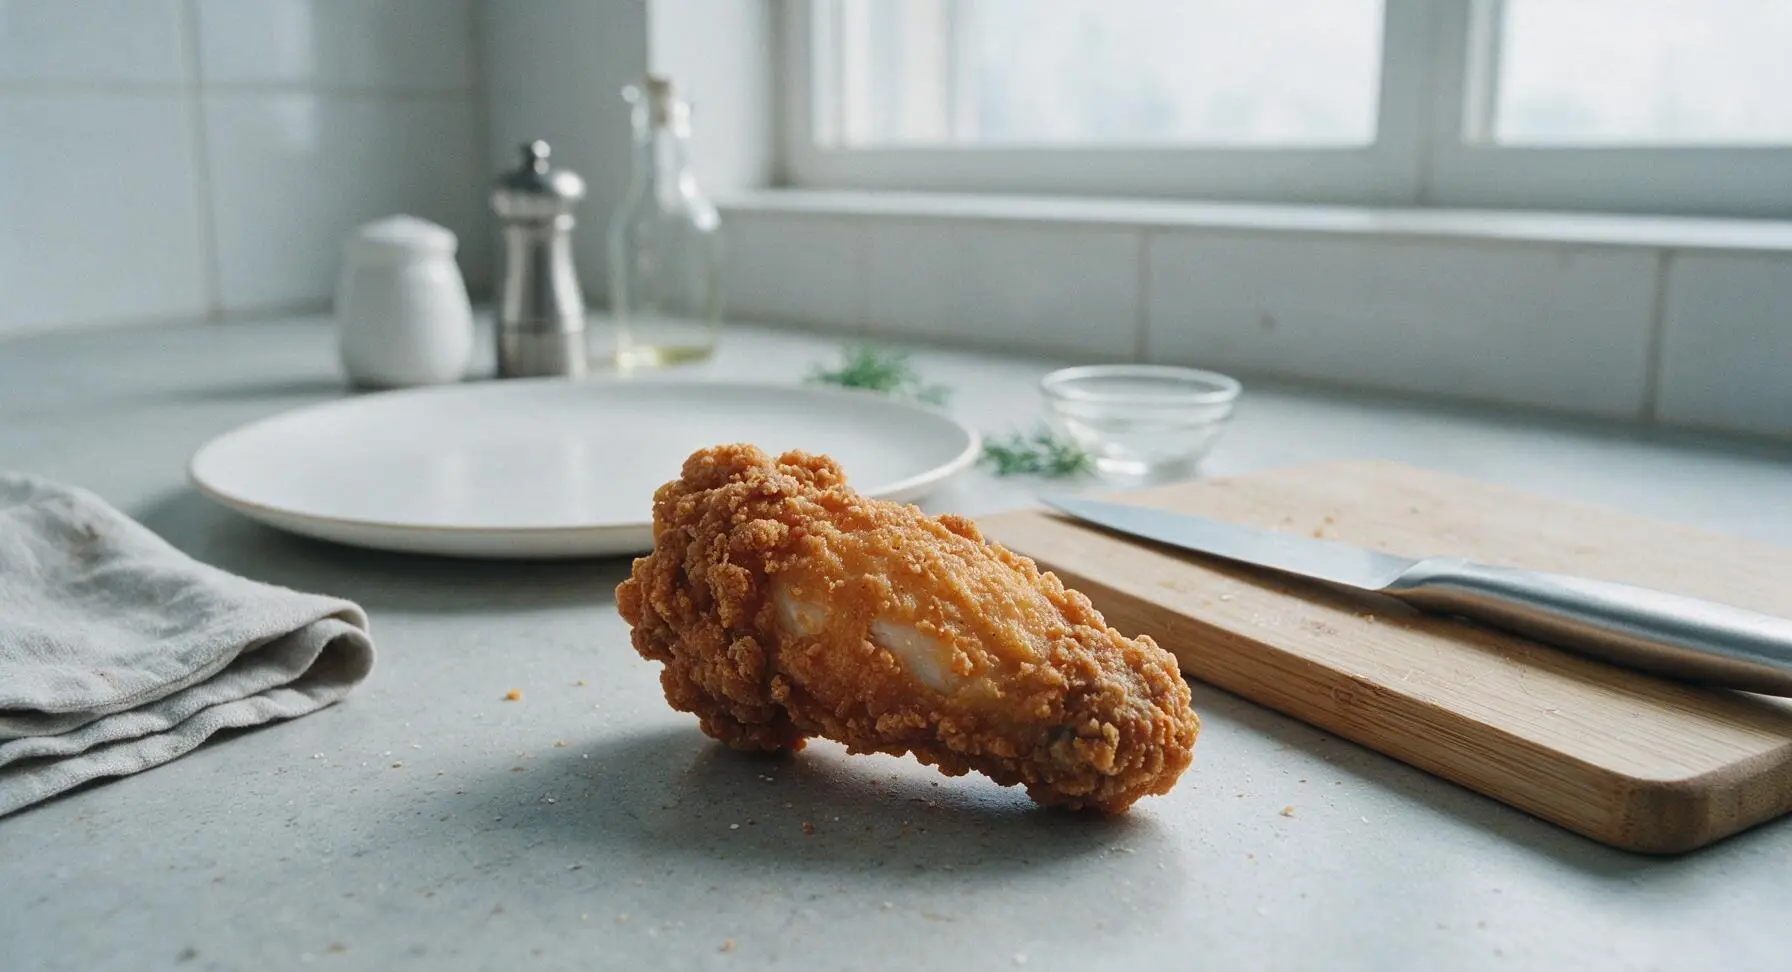
Step 7
step7:Second Fry for Crunch
Step 7
step7:Second Fry for Crunch
8

Plate and Serve Hot

Pile hot, crispy wings onto the wide matte cream ceramic serving platter. Garnish with a light sprinkle of chopped fresh parsley, and tuck the small clear glass ramekin of ranch dressing onto the platter for dipping. Serve immediately, while the crust is at its peak shatteringly crisp texture.
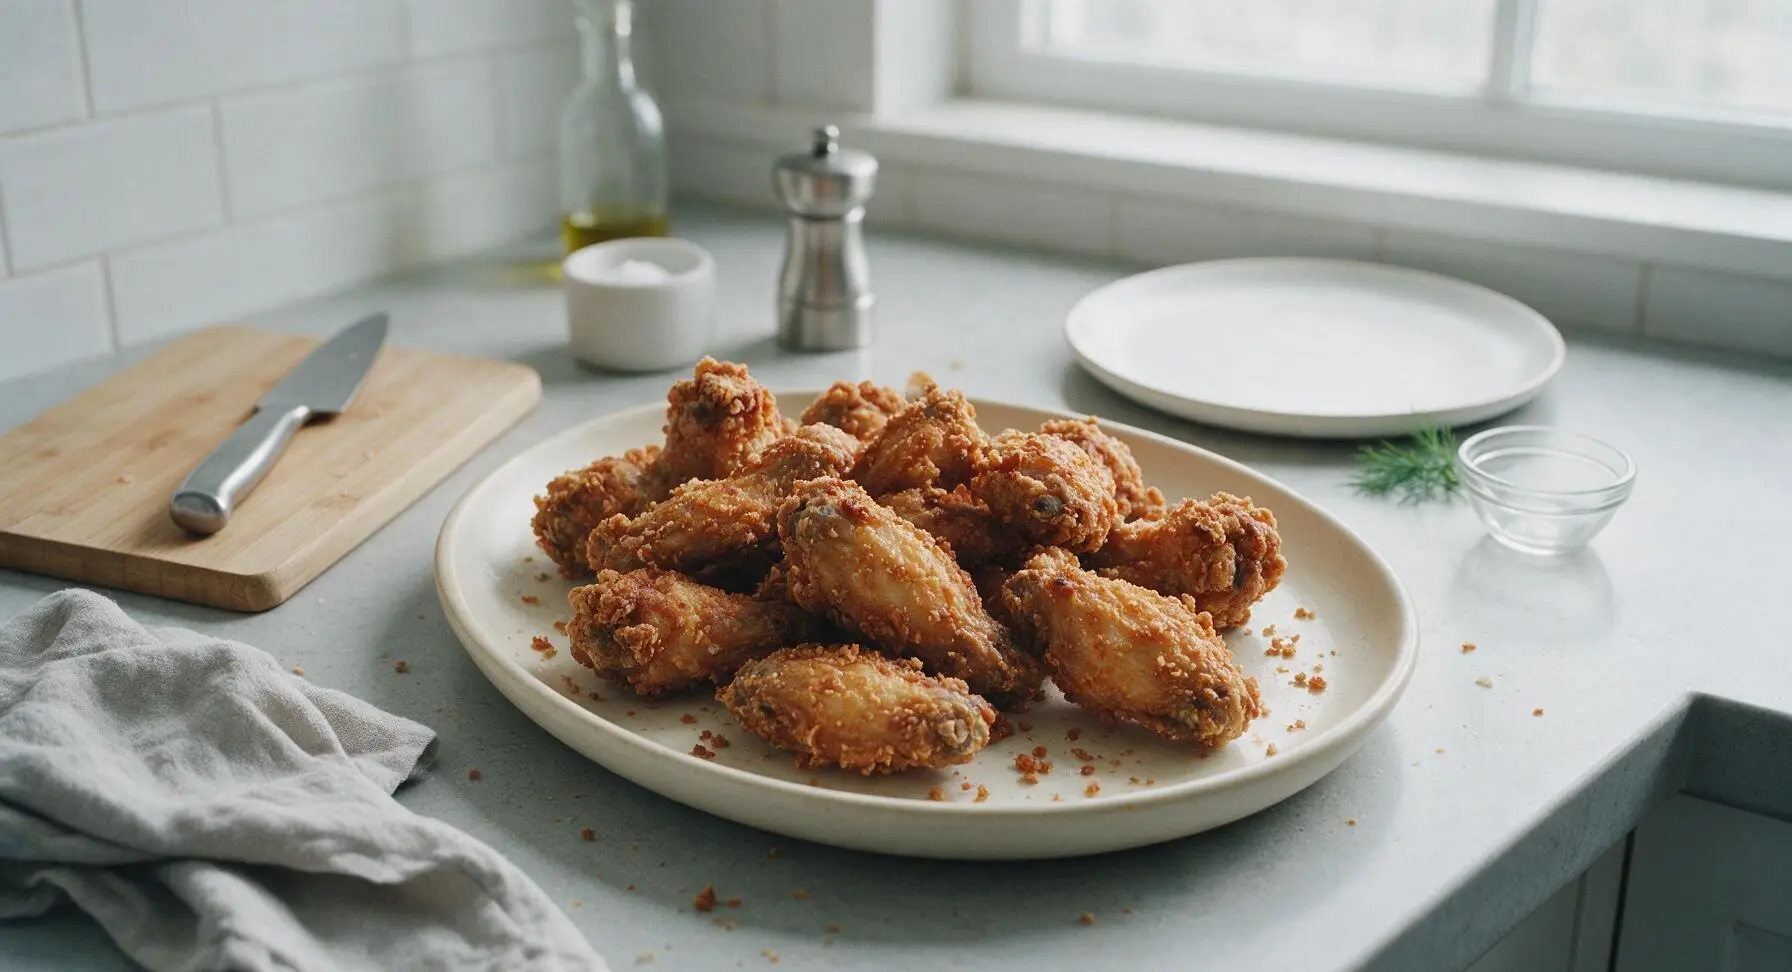
Step 8
step8:Plate and Serve Hot

Tips

1.Never skip the 10-minute rest after dredging: this resting period allows the flour and buttermilk to form a tight, adhesive layer that won’t slide off during frying, creating a shattery, evenly craggy crust instead of patchy, missing breading.
2.The double-fry method is non-negotiable for long-lasting crisp: the first lower-temperature fry cooks the meat through and renders excess fat from the skin, while the second higher-temperature fry crisps the crust to a perfect crunch without overcooking the tender meat inside.
3.Always drain fried wings on a wire rack instead of paper towels: paper towels trap rising steam against the crust, turning perfectly crispy wings soggy in 2-3 minutes, while an elevated rack allows air circulation to keep crust crisp for 15-20 minutes after frying.


✨ You May Also Like

Snacks & Appetizers
🍜 Mexico

Crispy thick-cut tortilla chips piled high with seasoned beef, melted cheese, and bright fresh toppings for a shareable, crowd-favorite bite.

⏱️ 25 minuteSnacks & Appetizers ★ 4.8
Snacks & Appetizers
🍜 United States

Crisp, sweet-tangy spiced pickled watermelon rind is a zero-waste summer staple, perfect with grilled meats, charcuterie, or eaten straight from the jar as a bright snack.

⏱️ 30 minuteSnacks & Appetizers ★ 4.6
Snacks & Appetizers
🍜 Germany

A tangy, jellied pork cold cut slow-simmered with aromatic spices, set into a firm sliceable loaf, served cold with mustard and crusty bread.

⏱️ 3 hours 4Snacks & Appetizers ★ 4.8
Snacks & Appetizers
🍜 United States

Creamy, tangy, perfectly seasoned hard-boiled egg halves filled with a rich, smooth yolk mixture, a timeless, crowd-pleasing bite for holiday and casual gatherings alike.

⏱️ 40 minuteSnacks & Appetizers ★ 4.8
Snacks & Appetizers
🍜 Russia

Silky, dill-forward no-smoke cured salmon, a Scandinavian classic with bright salty-sweet flavor, ideal for holiday starter platters and open-faced rye sandwiches.

⏱️ 48 hours Snacks & Appetizers ★ 4.7
Snacks & Appetizers
🍜 Japan

Crisp golden bottoms, juicy savory pork and vegetable filling, and tangy dipping sauce make these pan-fried gyoza a beloved shareable bite.

⏱️ 45 minuteSnacks & Appetizers ★ 4.8

best fried wings:Frequently Asked Questions

1.How long should I brine the wings in buttermilk to get juicy, tender meat without a mushy texture? ▾
For split drumettes and flats, aim for 4 to 12 hours of brine time in the fridge. That’s long enough for buttermilk’s lactic acid to tenderize meat and lock in moisture, but short enough to avoid the mushy texture that comes with 24+ hour soaks. Keep wings fully submerged, and toss the container once halfway for even brine coverage.
2.Do I really need to pat the wings dry after pulling them out of the buttermilk brine? ▾
Absolutely—this step is non-negotiable for that signature shatteringly crisp crust. Let excess buttermilk drip off, then pat every wing thoroughly with paper towels until no damp spots remain. Wet wings cause the crisp outer layer to slide off, create dangerous oil splatter, and leave you with a soggy, disappointing final crust.
3.What oil temperature works best for frying these wings, and how do I keep it consistent? ▾
Heat a neutral, high-smoke-point oil (peanut or canola works great) to 350°F, and use a clip-on candy thermometer to track temperature the whole time. Don’t overcrowd the pot, which drops oil temp fast—fry in 3 to 4 small batches. If temp dips below 325°F, turn heat up slightly and wait for it to rebound before adding more wings.
4.Can I use frozen pre-cut wings for this recipe instead of fresh ones? ▾
You totally can, just thaw them completely first in the fridge overnight, then pat them extremely dry before adding to the buttermilk brine. Skip frozen wings that have added sodium solutions or pre-seasoning, since those will throw off the brine’s salt balance and make the final crust taste overly salty or unevenly seasoned.
5.How much hot sauce should I add to the brine for a noticeable but not overpowering kick? ▾
Start with 2 tablespoons of vinegar-based hot sauce (like Frank’s RedHot) per 2 cups of buttermilk for a subtle, crowd-pleasing background zing. If you want bolder heat, bump that up to ¼ cup—just skip super thick, chunky hot sauces here, since they can keep the crisp outer layer from adhering smoothly to the wing skin.
6.Why does my wing crust turn out soggy instead of shatteringly crisp every time I fry? ▾
Soggy crust almost always traces back to three common missteps: oil that was too cold when you added wings, overcrowding the fry pot, or skipping the post-brine pat-dry step. Hold oil steady at 350°F, fry in small batches, and never stack hot cooked wings in a sealed container—let them drain on a wire rack instead to keep crust crisp.
7.The recipe says to reserve wing tips for stock—how do I actually use those scraps? ▾
Don’t toss those tips! Toss them in a labeled freezer bag and keep them frozen until you have 1 to 2 pounds of accumulated poultry scraps (bones, necks, mild veggie trimmings). Simmer low and slow for 2 to 3 hours with onion, celery, and carrot, then strain for rich, homemade chicken stock perfect for soups, gravies, or grain dishes.
8.How long do I fry the wings to make sure they’re cooked through but not dried out? ▾
For standard split drumettes and flats, 10 to 12 minutes of frying at a steady 350°F will get you to a food-safe 165°F internal temperature, with juicy, tender meat inside. Test the thickest part of a drumette (away from the bone) with an instant-read thermometer to be sure, and pull them as soon as they hit temp to avoid overcooking.
9.Can I make these wings in an air fryer instead of deep frying to cut down on oil? ▾
You can get a fantastic crispy result in an air fryer with a few small tweaks. After brining and patting wings completely dry, spritz them lightly with neutral oil, arrange in a single layer in the basket, and cook at 400°F for 22 to 25 minutes, flipping halfway through, until skin is crisp and internal temp hits 165°F.
10.Should I add extra seasoning to the wings right after they come out of the fryer? ▾
Yes, always hit the wings with a light pinch of kosher salt and a crack of fresh black pepper the second they come out of the oil and are still draining on the wire rack. The hot, slightly porous crisp crust grabs onto that seasoning way better than if you wait until wings cool, amplifying all the tangy, savory brine flavor.
11.What’s a good buttermilk substitute for the brine if I have a dairy allergy? ▾
If you’re avoiding dairy, you can make a perfect brine substitute by mixing 2 cups of plain unsweetened oat milk with 2 tablespoons of white vinegar, and letting it sit for 5 minutes to curdle. It delivers the same tangy, tenderizing effect as traditional buttermilk, and won’t throw off the final crispy texture or balanced savory flavor of the wings.
12.How do I keep wings crispy when serving them for a party, instead of getting soft while I cook batches? ▾
As you finish frying each batch, transfer wings to a wire rack set over a baking sheet, and hold them in a 200°F oven while you cook the rest. Don’t cover them with foil or stack them, since trapped steam will turn that perfect crisp crust soggy. They’ll stay hot and crunchy for up to 45 minutes with this method.

Comments (11)

2 days ago

OMG these are hands down the best fried wings I’ve ever made at home! The buttermilk brine makes them so juicy, I didn’t think I could get that level of crisp without a fancy restaurant fryer. Made them for my husband’s birthday cookout and everyone was begging for the recipe. SO good, will be making these every game day from now on!

just now

Really solid wing recipe! The brine is chef’s kiss, though I will say I had to fry mine a couple minutes longer than the recipe said to get them extra crispy like I like. Tossed half in buffalo and half in honey garlic, both were a hit with my roommates. Great base recipe to tweak to your taste!

3 days ago

Game changer!! I’ve always struggled with fried wings coming out soggy or the breading sliding off, but the method here worked perfectly. My kids devoured a whole platter in 10 minutes flat and asked when I’m making them again. 10/10, no notes!

yesterday

Made these for our Sunday family dinner and even my super picky father-in-law said they were better than the wings at our local sports bar. Quick question though—can I brine these for longer than 24 hours if I prep them the night before a big potluck?

2 hours ago

So glad your father-in-law approved! You can absolutely brine the wings for up to 48 hours in the fridge—any longer and the buttermilk might start to break down the texture of the chicken too much. Just make sure to pat them super dry before breading for maximum crispness!

5 days ago

Taste was great, but I had a really hard time getting the breading to stick when I fried the first batch. Did I do something wrong? I used regular all-purpose flour like the recipe said, but a lot of it sloughed off into the oil.

3 days ago

I had that same issue my first time! Turns out I didn’t pat the wings dry enough after taking them out of the brine. You want them almost totally dry before you toss them in the flour mix, and let them rest for 10 minutes after breading so the coating sets before frying. Fixed it completely for me on batch two!

2 weeks ago

Brought these to my office potluck last week and they were gone in literally 5 minutes. People were hovering by the platter before I even set it down! The only tweak I made was adding a little paprika and garlic powder to the flour, and it was *chef’s kiss*.

1 week ago

Love that you added extra paprika and garlic powder—those are such great additions to the flour mix! So stoked these were a hit at your potluck, nothing beats a platter of crispy wings to win over the office.

30 minutes ago

Just pulled my first batch out and they smell incredible! Quick heads up for anyone using a smaller countertop fryer—don’t overcrowd the basket, I made that mistake with the first round and they weren’t as crispy as the second round when I did smaller batches.

5 minutes ago

Thanks for the tip! I was just about to dump a whole double batch in my tiny fryer, you just saved me from a soggy wing disaster. Can’t wait to try these tonight!

1 week ago

Meal prep win! I made a big batch of these on Sunday, stored them in the fridge, and reheated them in the oven for 10 minutes at 400 for lunches all week. They stayed crispy even after reheating? Wild. Saved me so much money on takeout wings this week.

5 days ago

Wait they actually stay crispy when reheated? I was gonna skip this because I thought they’d be soggy as leftovers, but I’m definitely adding them to my Sunday prep list now!

3 days ago

So glad these worked for your meal prep! The key to crispy reheated wings is making sure you don’t stack them on the baking sheet when you warm them up—single layer is best to keep that crunch. Great call making a big batch!

2 weeks ago

I’ve been making fried wings for my grandkids for 40 years, and I have to say this buttermilk brine trick just made my old recipe obsolete! My oldest grandson said these are the best wings he’s ever had, and that’s saying something because he eats wings at least twice a week. Thank you for sharing this!

1 week ago

This is the highest possible praise! If a grandma who’s been making wings for 40 years says this recipe is good, I know I need to run to the store for buttermilk tonight.

5 days ago

Wow, that means the world coming from someone with decades of wing experience! So happy the brine worked for you and your grandson—nothing beats cooking for family, right?

5 days ago

I wanted to love these, but I found the brine a little too salty for my taste? I followed the measurements exactly, used low-fat buttermilk, and brined for 12 hours like suggested, but the end result was way saltier than I expected. Not sure what went wrong.

3 days ago

Wait did you use regular table salt instead of kosher salt? I made that mistake once with a different brine recipe and it was unbearably salty—table salt is way denser so the measurement is totally off!

2 days ago

So sorry the salt level was off for you! Jen makes a great point—this recipe is tested with Diamond Crystal kosher salt, which is much less salty by volume than table salt or even other kosher salt brands. If you’re using a different salt next time, cut the amount in half and adjust to taste! I’ll add a note about that to the recipe to help clarify.

2 hours ago

Made these for my boyfriend’s watch party for the big game today and every single person asked for the recipe. I tossed them in that viral honey hot sauce and they were absolute perfection. Even the guy who swears he ‘doesn’t eat chicken off the bone’ had three! Total win.

30 minutes ago

Oh my god which honey hot sauce did you use?? I’ve been testing different ones for my own game day spread next weekend and need a rec!

5 minutes ago

It’s the Mike’s Hot Honey mixed with a little melted butter and a pinch of cayenne! So easy, no fancy ingredients needed, and it pairs so perfectly with the crispy crust on these wings.



