
biscuit sausage balls
intro
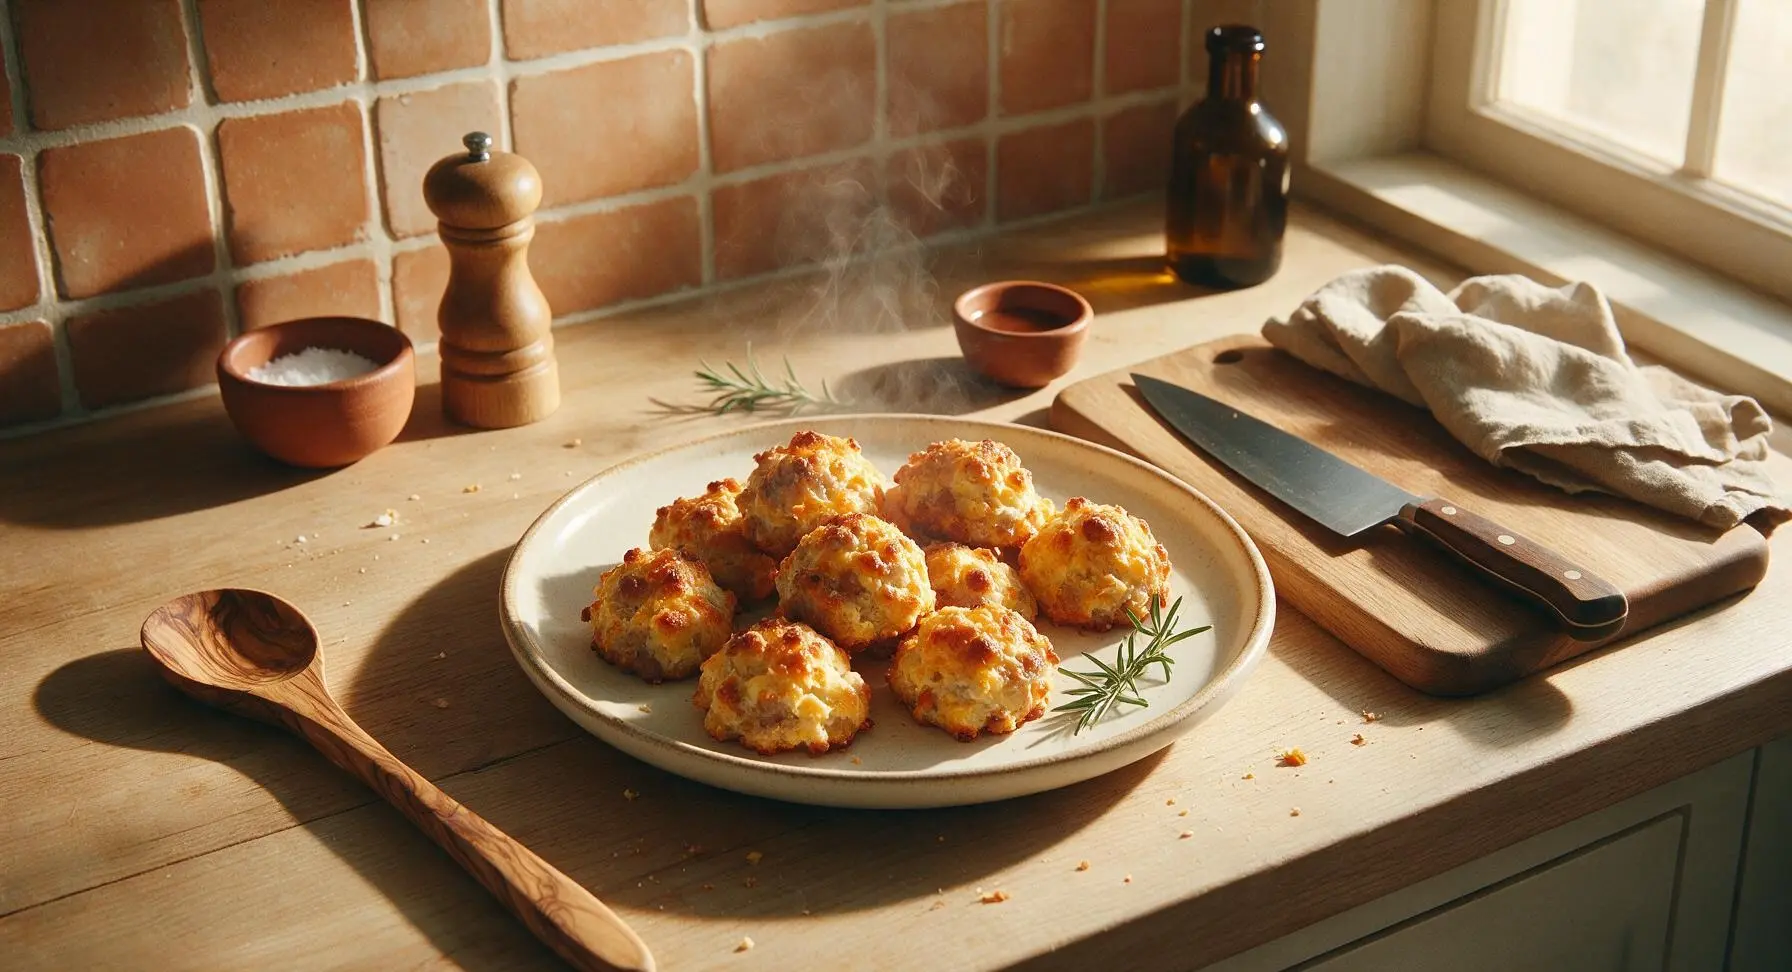
Golden, crispy-edged biscuit sausage balls with flaky, cheesy centers—savory, handheld Southern bites perfect for casual snacking and gatherings.
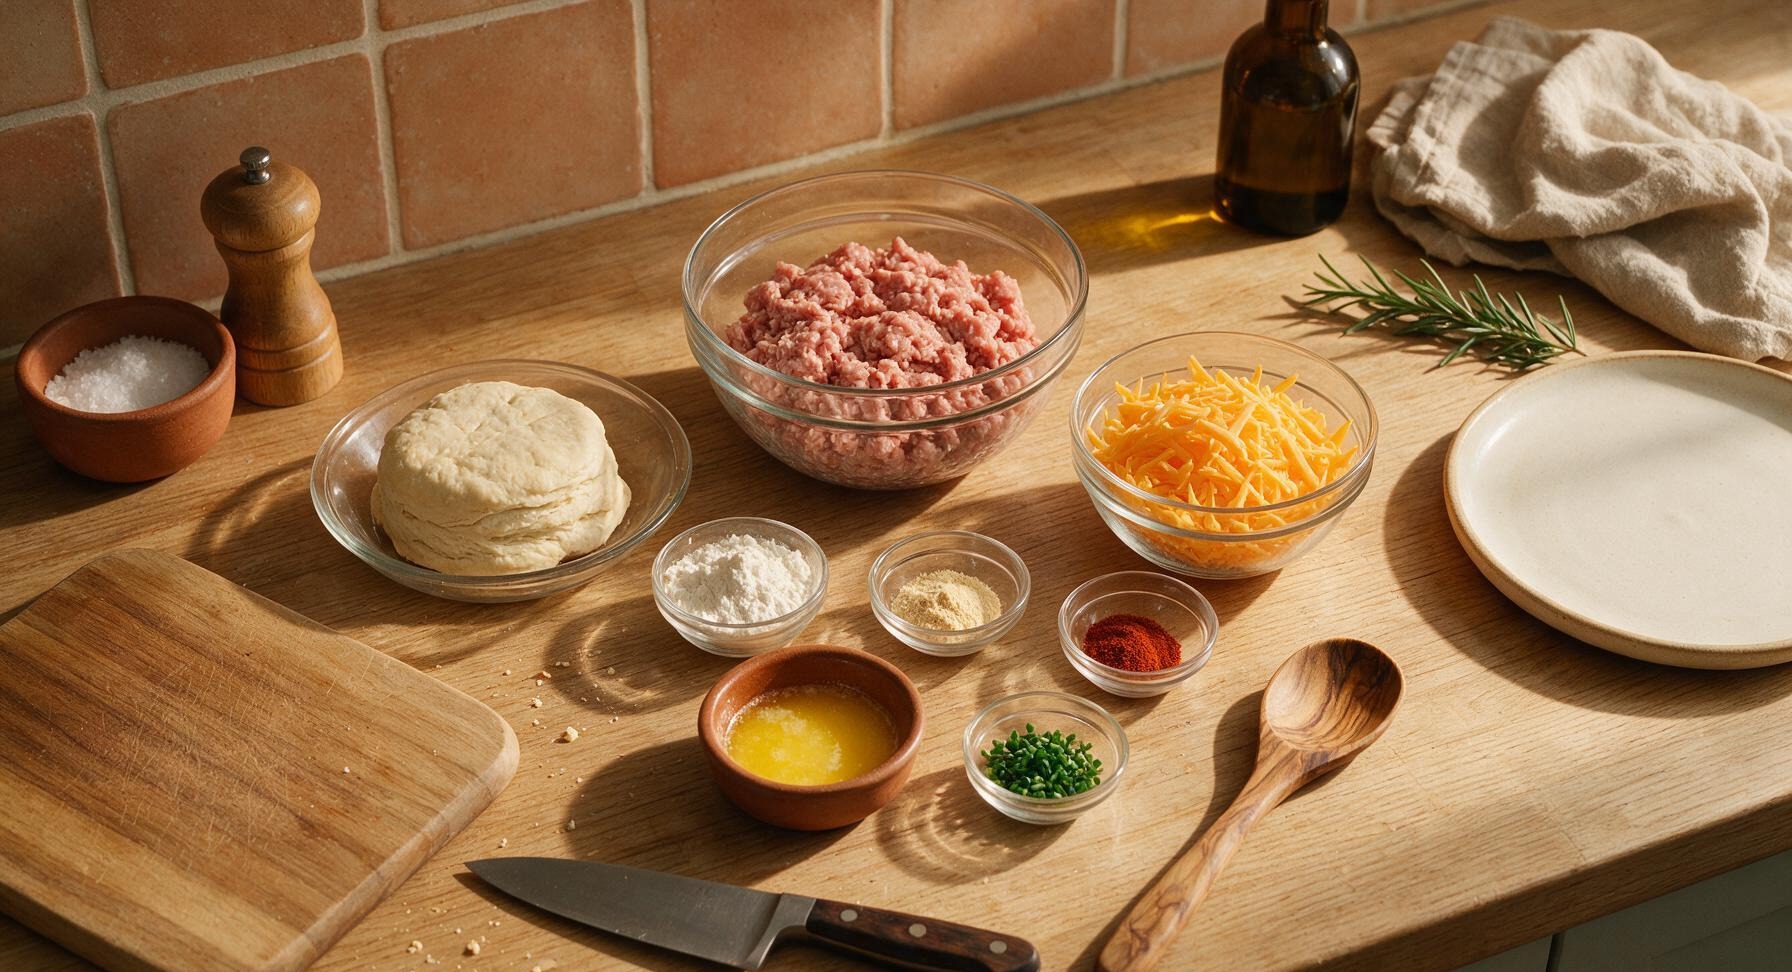
Ingredients
Steps
Preheat Oven, Line Pan
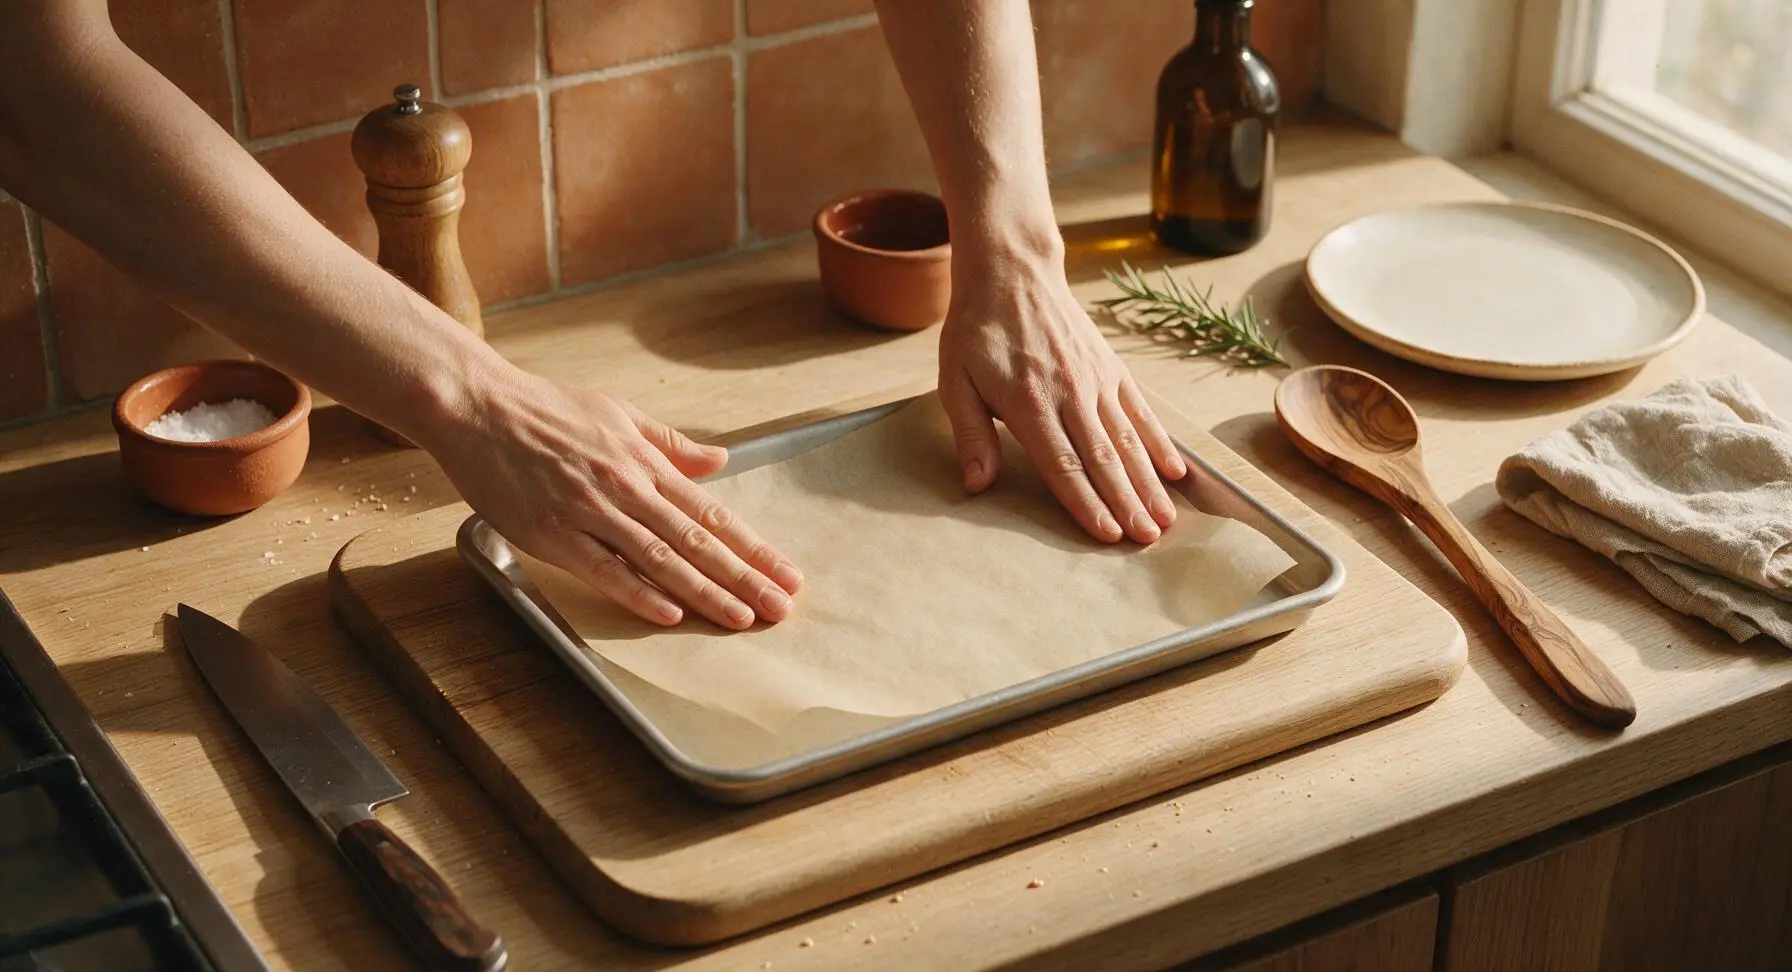
Preheat your oven to 375°F (190°C). Tear a sheet of unbleached parchment paper to fit the light aluminum baking sheet, smoothing it flat across the pan surface so no edges curl up. Set the prepared pan aside on the back of the counter while you mix the ingredients. Prepping the pan first ensures you can move shaped dough directly to the sheet without delay, preventing dough from warming too much and spreading in the oven.
Mix Sausage and Spices
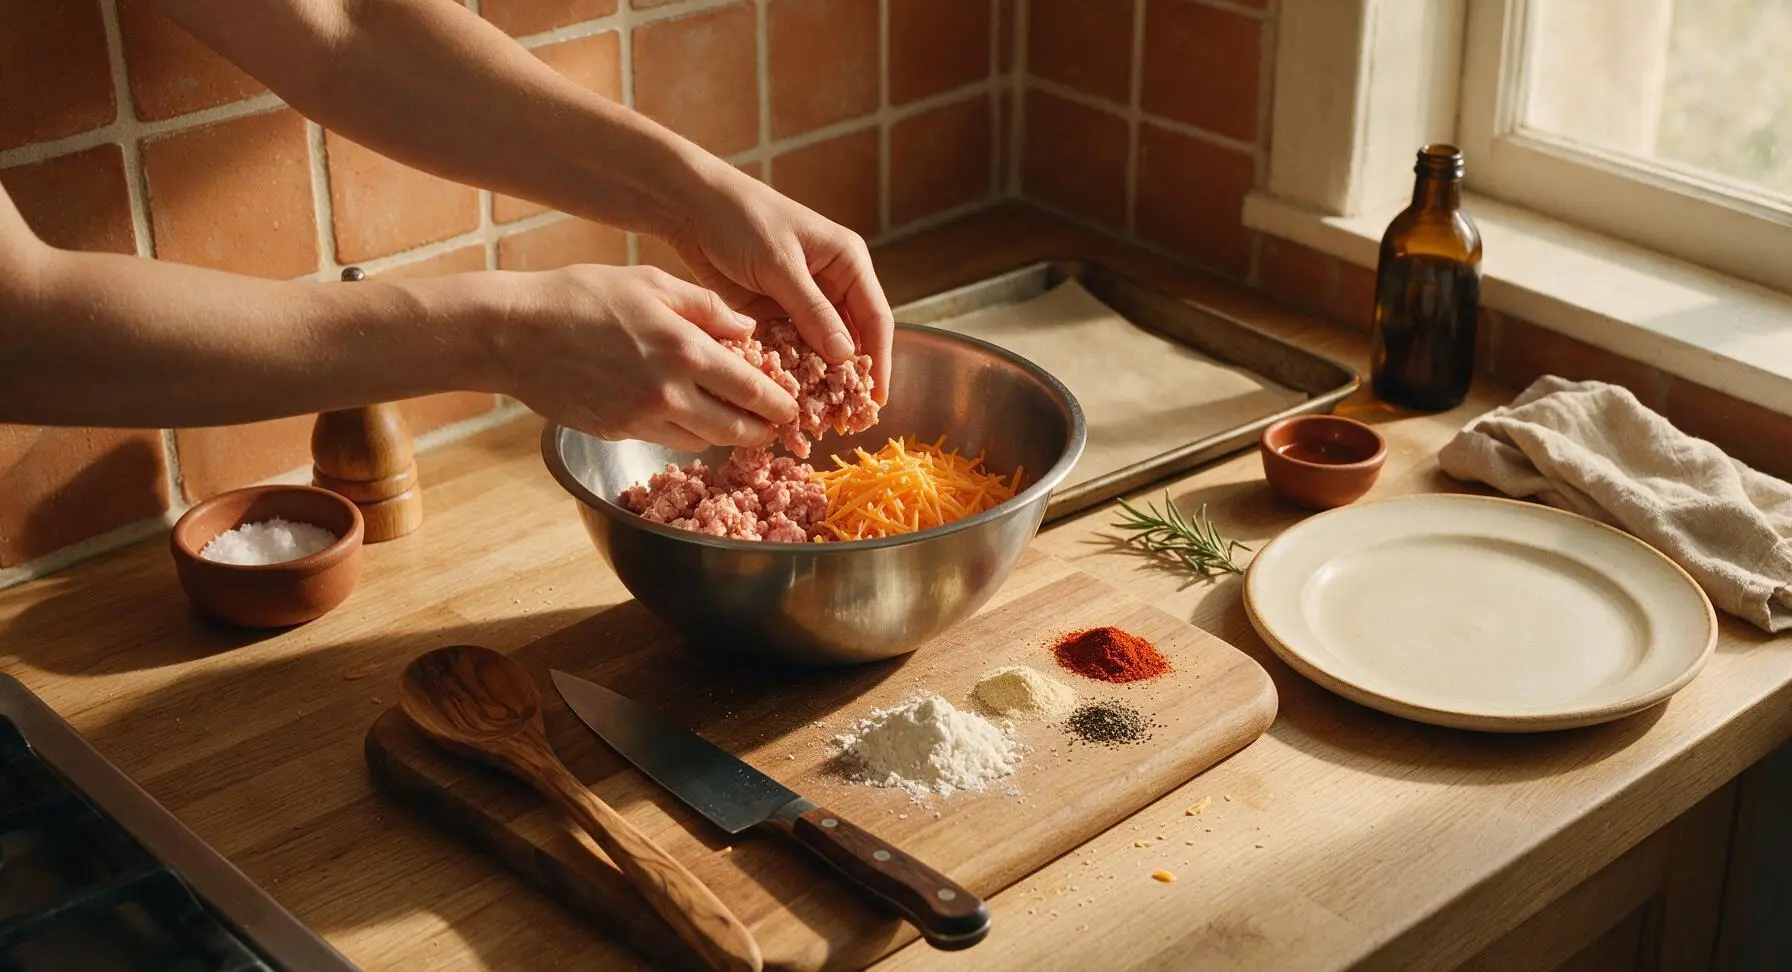
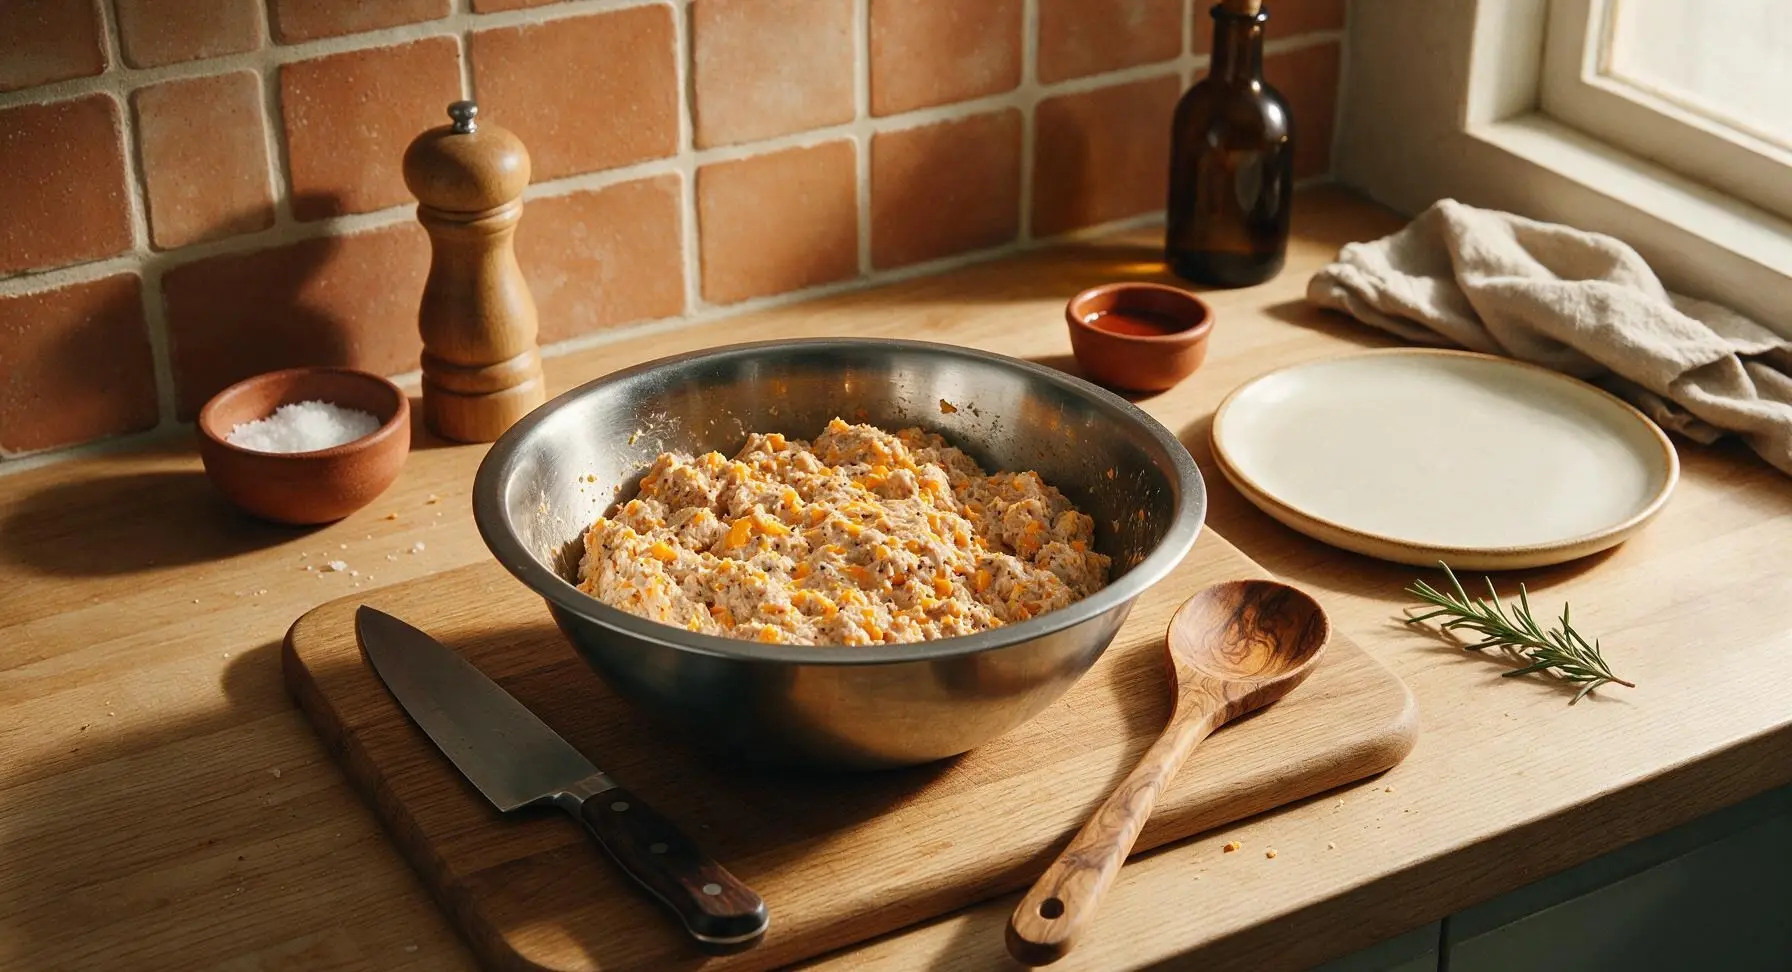
Place the room-temperature bulk pork sausage and shredded sharp cheddar into the large stainless steel mixing bowl set on the center of the maple cutting board. Add the all-purpose flour, garlic powder, smoked paprika, and black pepper. Use clean hands to mash and mix the ingredients together for 1 minute, until the spices are evenly distributed and the cheese is fully incorporated into the sausage. The flour coating prevents the balls from spreading too wide while baking.
Fold in Biscuit Dough
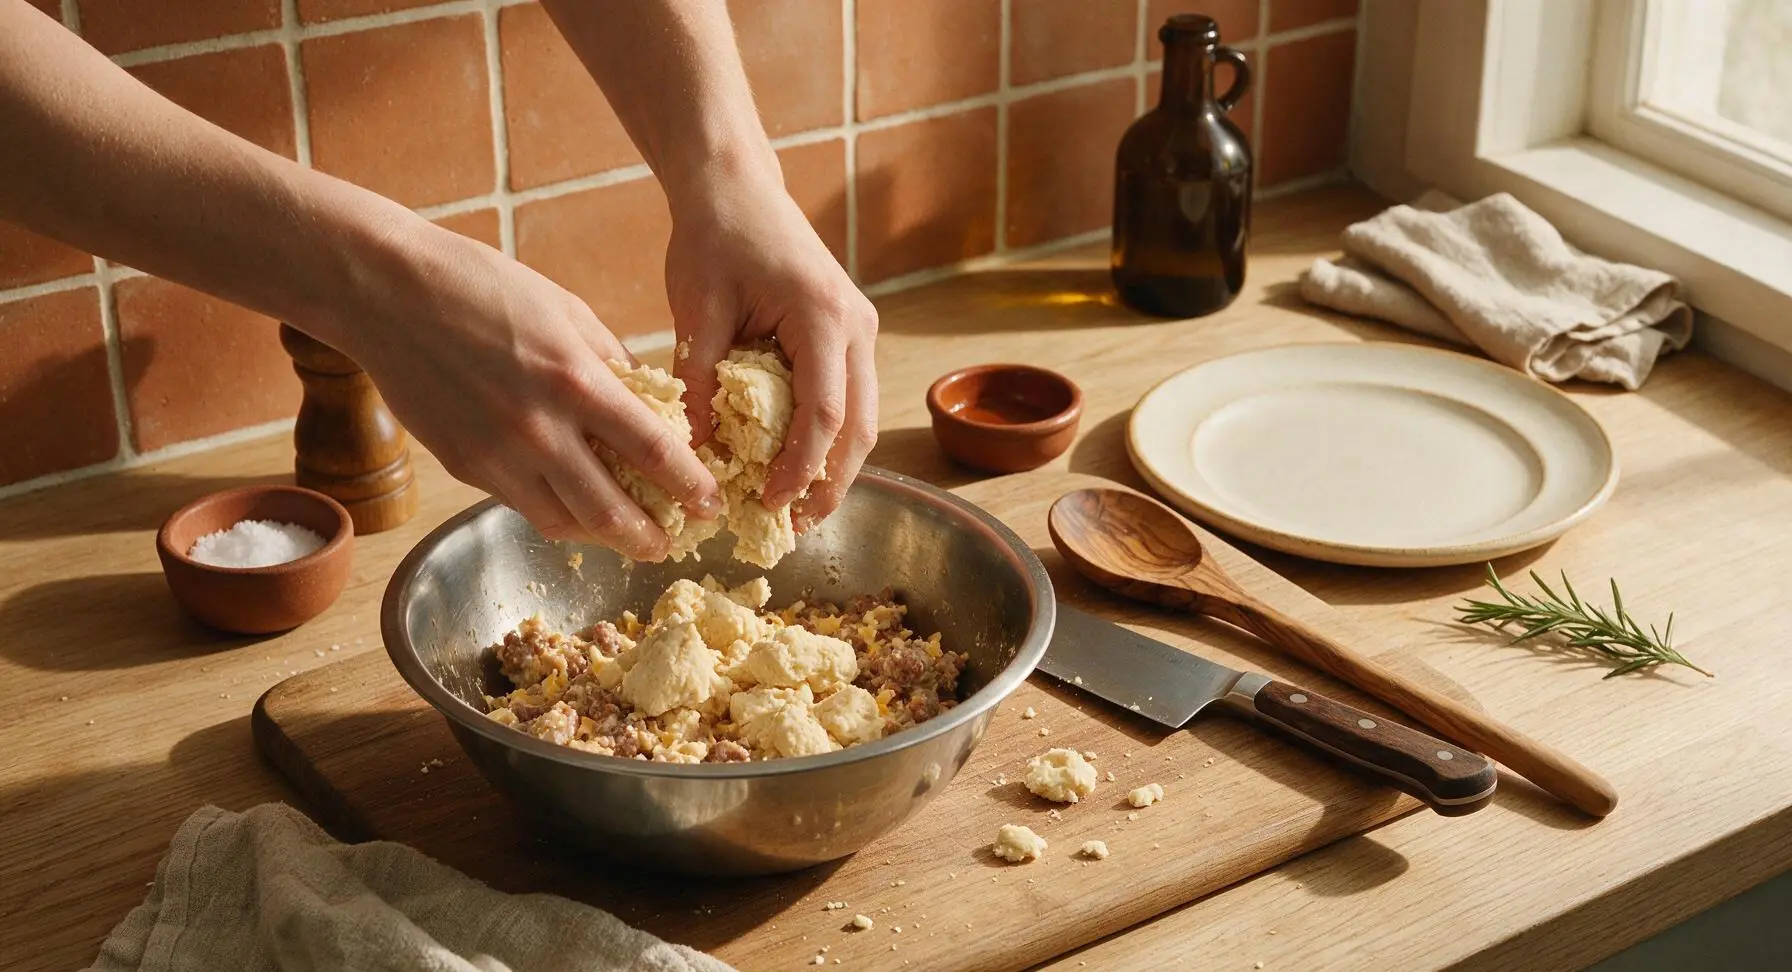
Open the can of refrigerated flaky buttermilk biscuit dough, and tear each biscuit into rough 1-inch (2.5cm) pieces. Add the torn biscuit pieces to the sausage and cheese mixture, then use your hands to gently fold and squeeze the dough into the sausage mix for 2 minutes, until no large dry biscuit chunks remain. Do not overmix—small, visible flecks of biscuit dough will create light, flaky layers in the finished balls, while overmixing leads to tough, dense texture.
Scoop Uniform Balls
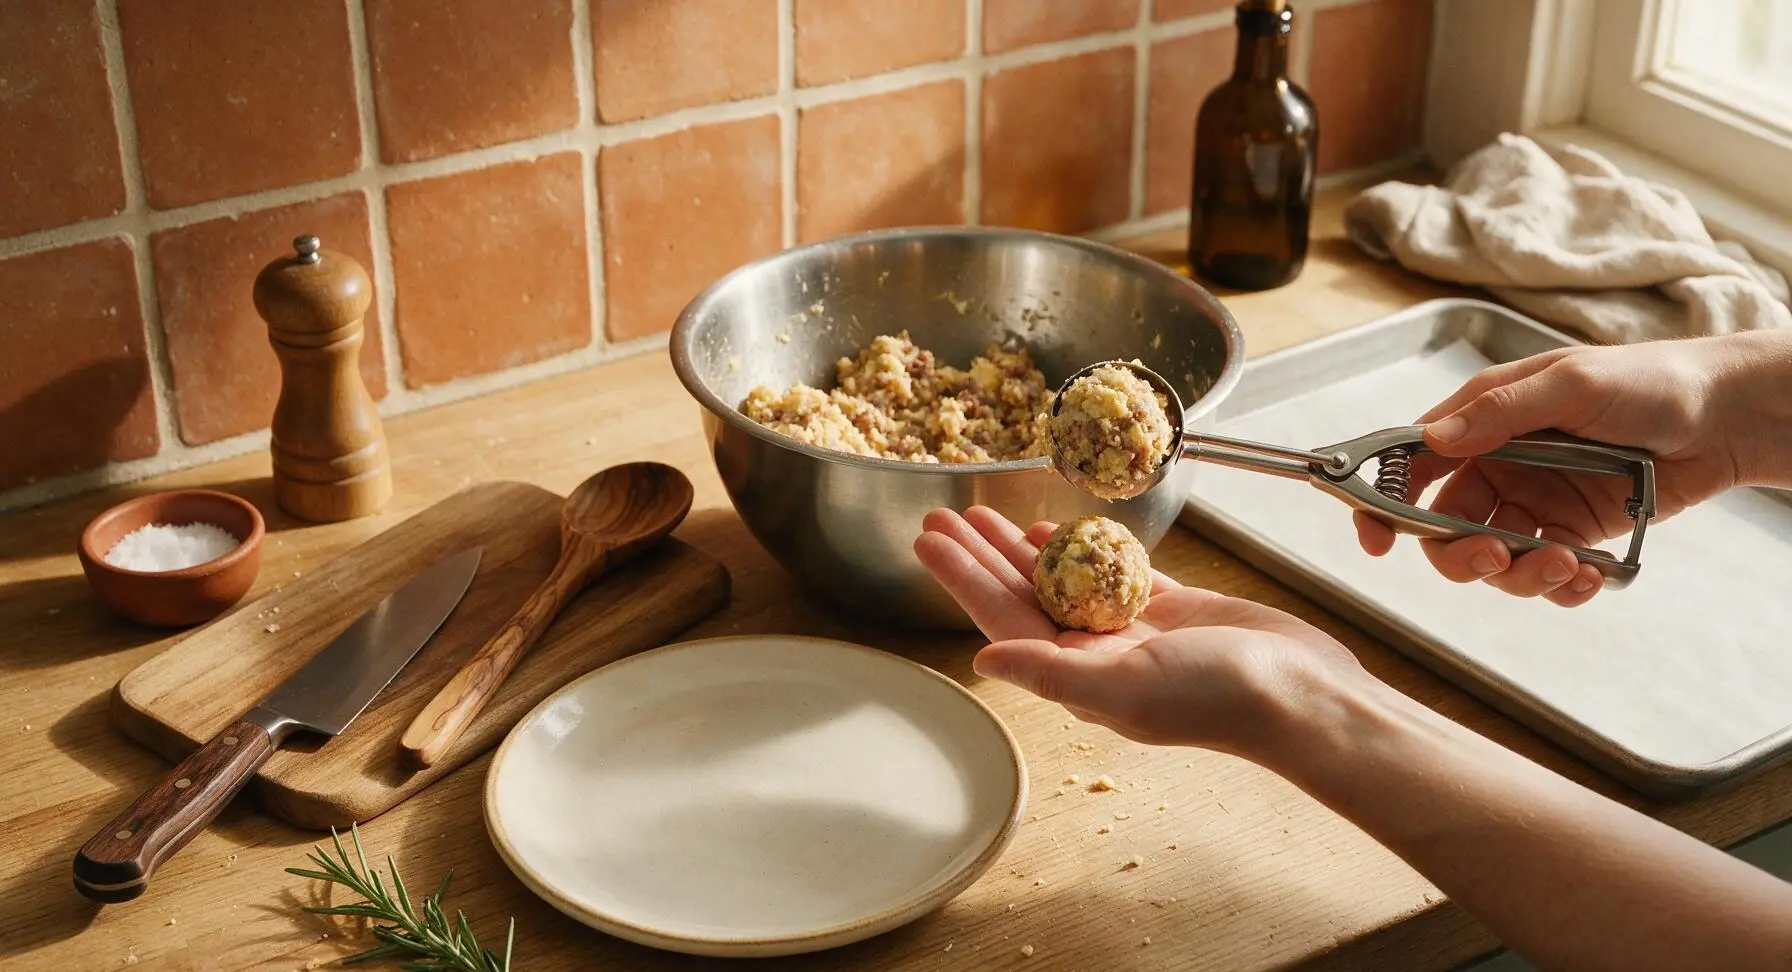
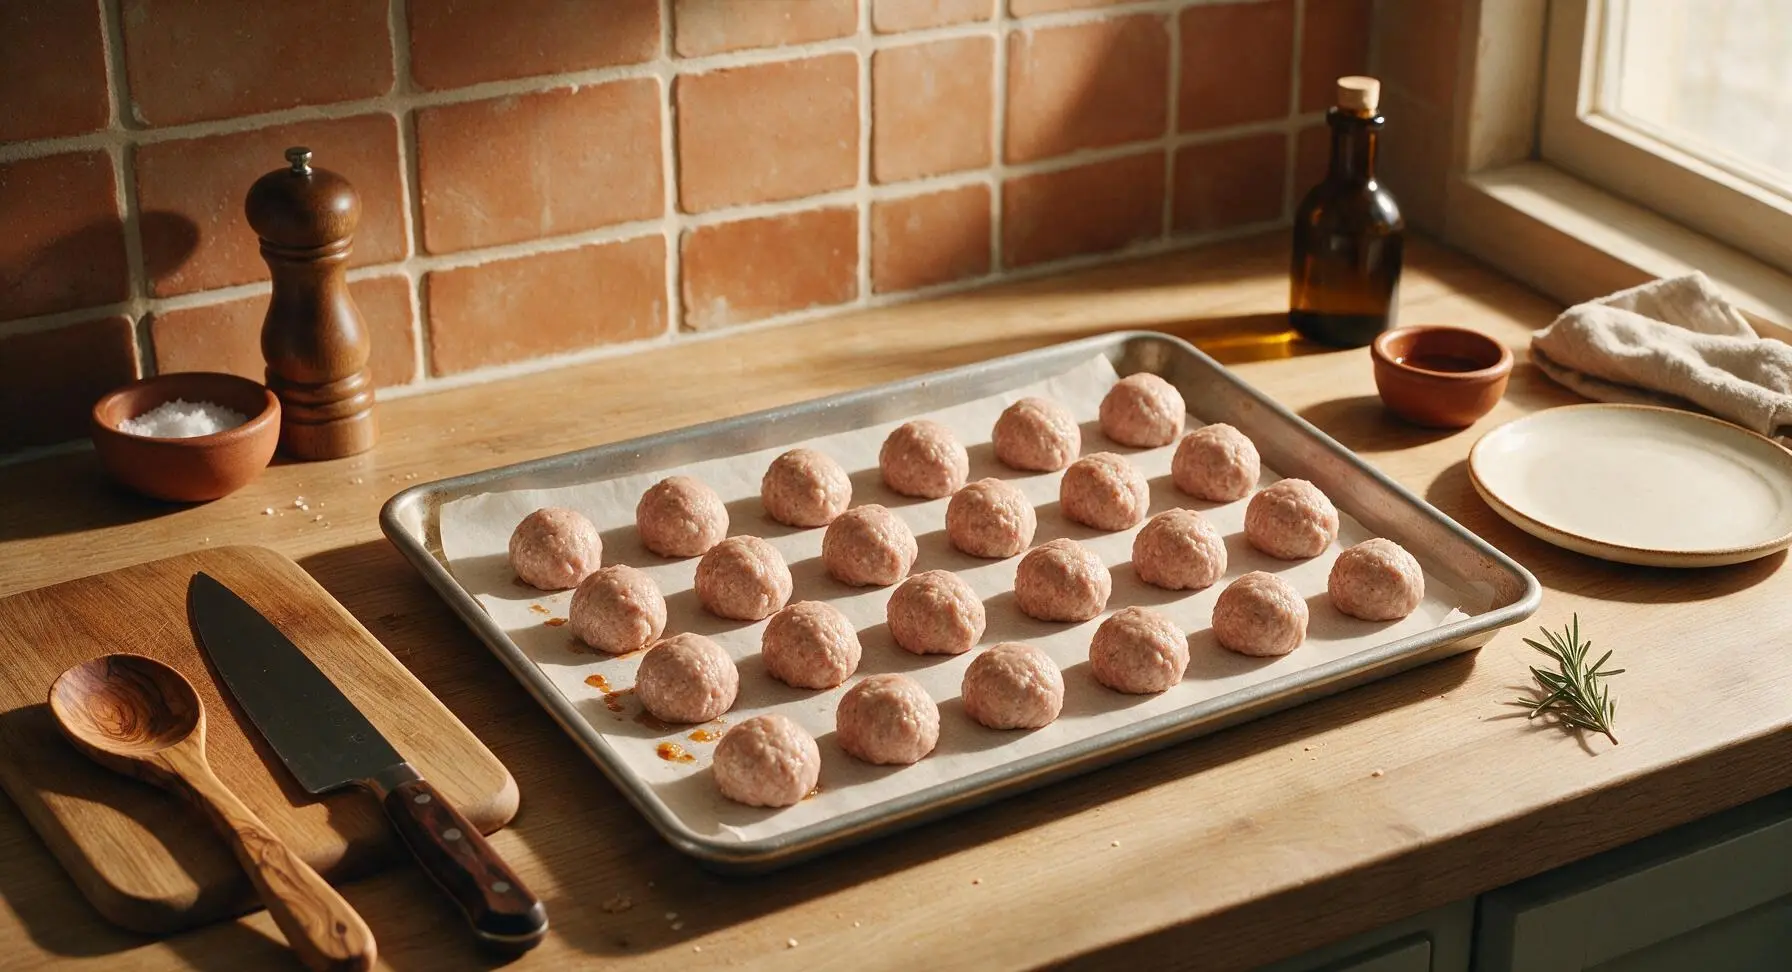
Use the 1-tablespoon spring-loaded cookie scoop to portion the mixture into even 1-inch (2.5cm) portions, rolling each briefly between clean palms to create a smooth, round shape. Place each shaped ball 1 inch (2.5cm) apart on the parchment-lined aluminum baking sheet. Uniform size ensures all balls cook evenly, with no undercooked centers or burnt edges. You will end up with approximately 32 total balls.
Bake Until Golden
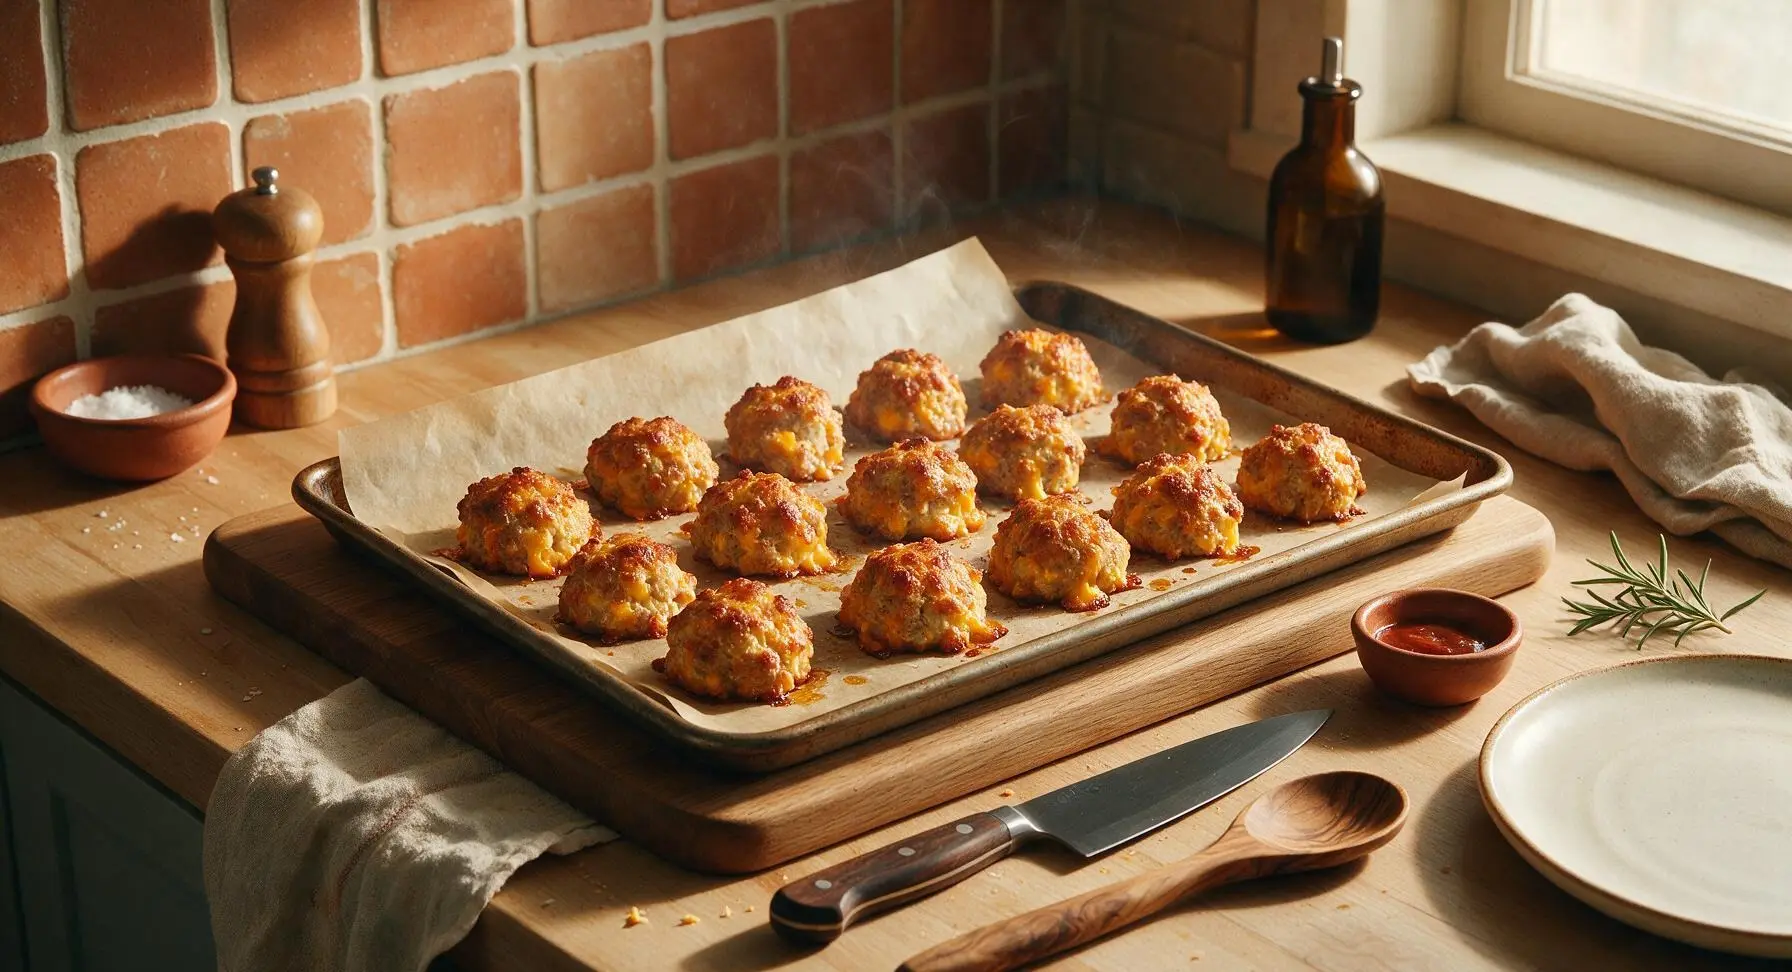
Carefully place the baking sheet on the middle rack of the preheated 375°F (190°C) oven. Bake for 20–24 minutes, until the balls are deep golden brown on the edges, the biscuit is fully cooked, and the sausage reaches an internal temperature of 165°F (74°C) with no pink remaining in the center. Rotate the pan halfway through baking for even browning if your oven has hot spots.
Brush with Butter
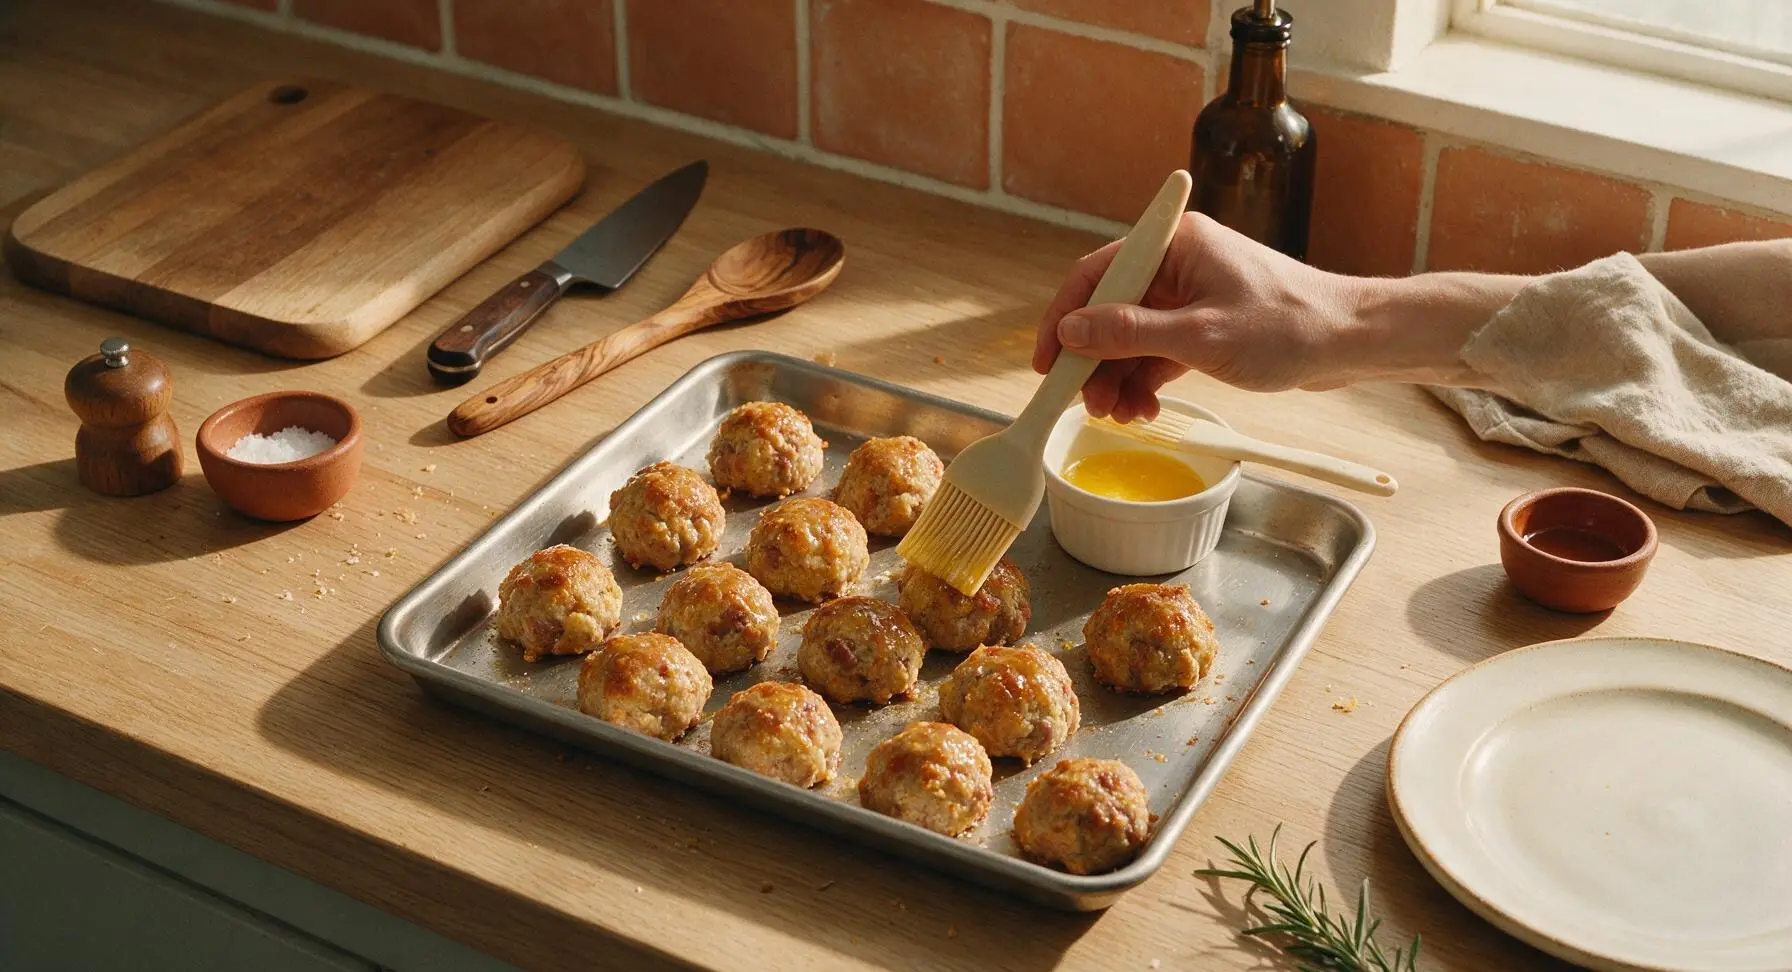
While the sausage balls are still hot (immediately after removing from the oven), use the silicone basting brush to lightly brush the top of each ball with the melted unsalted butter held in the small white ceramic ramekin. This adds a rich, glossy finish and keeps the tops tender instead of dry and crusty. Let the balls rest on the baking sheet for 3 minutes to set before transferring.
Garnish and Serve
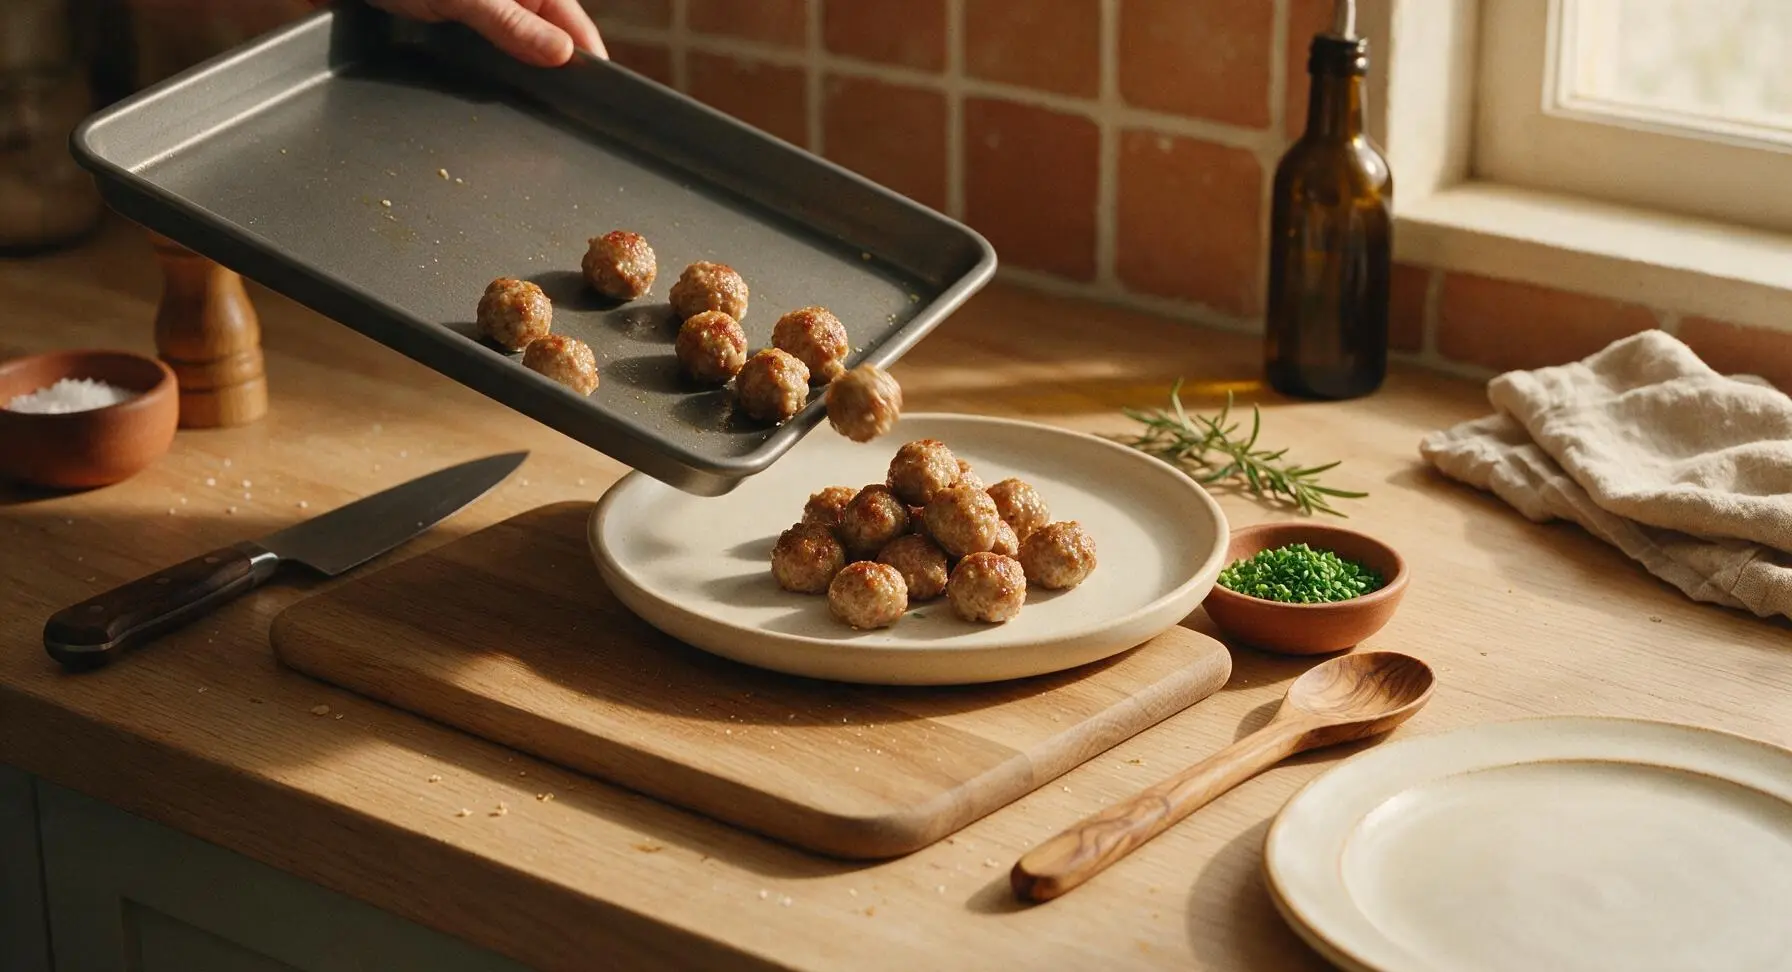
Transfer the warm, buttered sausage balls to the matte off-white ceramic serving platter, piling them loosely in the center. Sprinkle the finely chopped fresh chives over the top for a bright, fresh color contrast and mild onion flavor. Serve warm, with optional honey mustard or ranch dipping sauce on the side if desired.
Tips
2.Avoid overmixing once you add the biscuit dough: overmixing develops gluten in the biscuit flour, leading to tough, dense balls instead of light, flaky bites with distinct tender biscuit layers. Stop mixing as soon as no large dry dough chunks remain.
3.Make ahead by freezing unbaked balls on the parchment-lined sheet for 1 hour, then transfer to a labeled freezer bag for up to 3 months: bake directly from frozen at 375°F (190°C) for 28–30 minutes (no thawing needed) for quick, last-minute appetizers.






OMG these are SO good! I threw these together after soccer practice last night and my boys devoured half the batch before I even got them on a serving plate. 22 minutes total cook time is such a win for busy weeknights, no fancy ingredients needed either. 10/10 will make again!
Total game changer for tailgates! I brought these to our Sunday football watch party and they were gone within 10 minutes. I added a little extra shredded cheddar to the mix and served them with a side of honey mustard dip. People were begging me for the recipe all afternoon.
These are my new go-to Sunday meal prep staple! They reheat perfectly in the microwave for 30 seconds, are packed with protein, and don’t get soggy at all in the fridge all week. Way better than the sad frozen breakfast sandwiches I used to grab on my commute.
First time making anything that isn’t microwave mac and cheese and these actually turned out? The recipe is so easy, I didn’t mess up a single step even when I accidentally spilled a little extra biscuit mix. My roommates said they’re better than the ones our campus dining hall sells, which is high praise.
I’ve been making sausage balls for 40 years and this recipe is easily one of the best I’ve ever tried. The biscuit base makes them so much fluffier than the old baking mix versions I used to make. My grandkids asked for seconds before they even finished their first one at Sunday dinner.
I signed up to bring an appetizer for my office potluck tomorrow and panicked because I had zero time to prep, then I found this recipe. I cooked up a triple batch in under 45 minutes total, they smell amazing, and I already snuck three to taste test—they’re incredible. Fingers crossed I impress my coworkers!
Made these for my daughter’s birthday party this weekend and they were a total crowd pleaser for both the kids and the adults. I love that I didn’t have to stand over the stove cooking them—just popped the tray in the oven and got to hang out with the party guests while they baked. Easy cleanup too, which is a massive win.
Quick note for anyone gluten free: I swapped the regular biscuit dough for gluten free biscuit mix and these still came out perfect! Didn’t have that weird gritty texture a lot of GF baked goods get, and my husband who eats regular gluten didn’t even notice the difference.
Made these for a weekend brunch with my girlfriends and served them with maple syrup for dipping, and WOW. The sweet and salty combo is unreal. I thought I’d have leftovers to take to work on Monday, but we ate every last one while we were watching rom coms. 10/10 brunch food.
This recipe is so affordable! I already had sausage in the freezer, picked up a can of biscuit dough on sale for $1, and had enough food to feed me and my roommate for two dinners. Way cheaper than ordering takeout, and tastes better too. Will be adding this to my regular rotation.
I used hot Italian sausage instead of regular breakfast sausage for these and added a dash of cayenne, and they have the perfect little kick! If you like heat, definitely give that swap a try—it doesn’t overpower the flavor at all, just adds a nice zing. Knocked one star off only because I wish the original recipe had a spicy variation listed, but otherwise it’s perfect.
Tested these out as a potential Christmas morning appetizer and they are perfect! I can mix the ingredients the night before, roll the balls, keep them in the fridge, and just pop them in the oven while we open presents. No early morning cooking stress, exactly what I need for holiday hosting.
I was skeptical these would fit my macro goals but I did the math and with lean turkey sausage and reduced fat biscuit dough, they’re actually a pretty balanced high-protein snack! Baked instead of fried, no weird processed additives, way better than the chalky protein bars I usually keep in my gym bag.
My 7 year old who refuses to eat literally anything except chicken nuggets and plain mac and cheese ate SIX of these in one sitting. I almost fell out of my chair. I didn’t even hide any veggies in them or anything, she just loved them. Finally a win for dinner time.
Wait, quick question for anyone who’s made these: do you cook the sausage before mixing it with the biscuit dough? I’ve never made anything like this before and I don’t want to serve undercooked food at my friend’s game night, lmao. The recipe looks super easy otherwise, can’t wait to try it!
I am notoriously bad at cooking and burn almost everything I make, but these came out perfectly golden on the first try. The cook time was exactly right, no guesswork, and they taste like something you’d order at a fancy brunch spot. Even my cat was trying to steal a bite off my plate lmao.