
breading for chicken tenders
intro
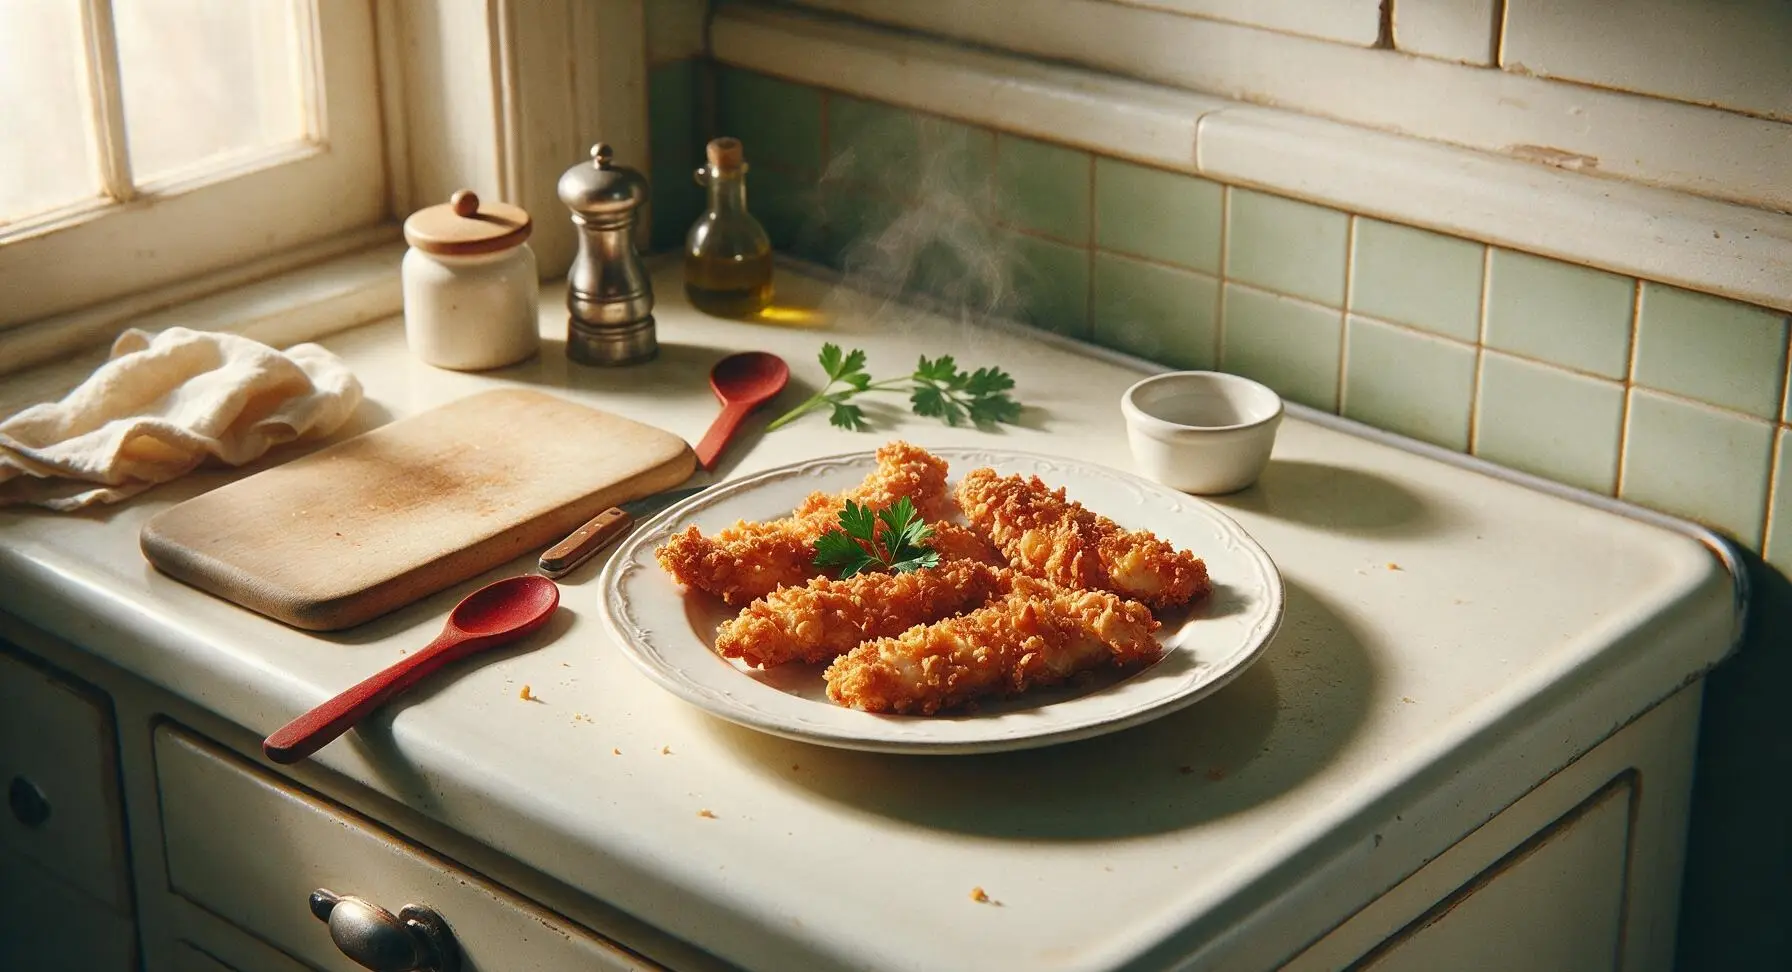
Ultra-crispy, craggy breading for juicy chicken tenders, designed to stick tight and stay crunchy through every bite—perfect for dipping and sharing.
Ingredients
Steps
Prep and Pat Chicken Dry
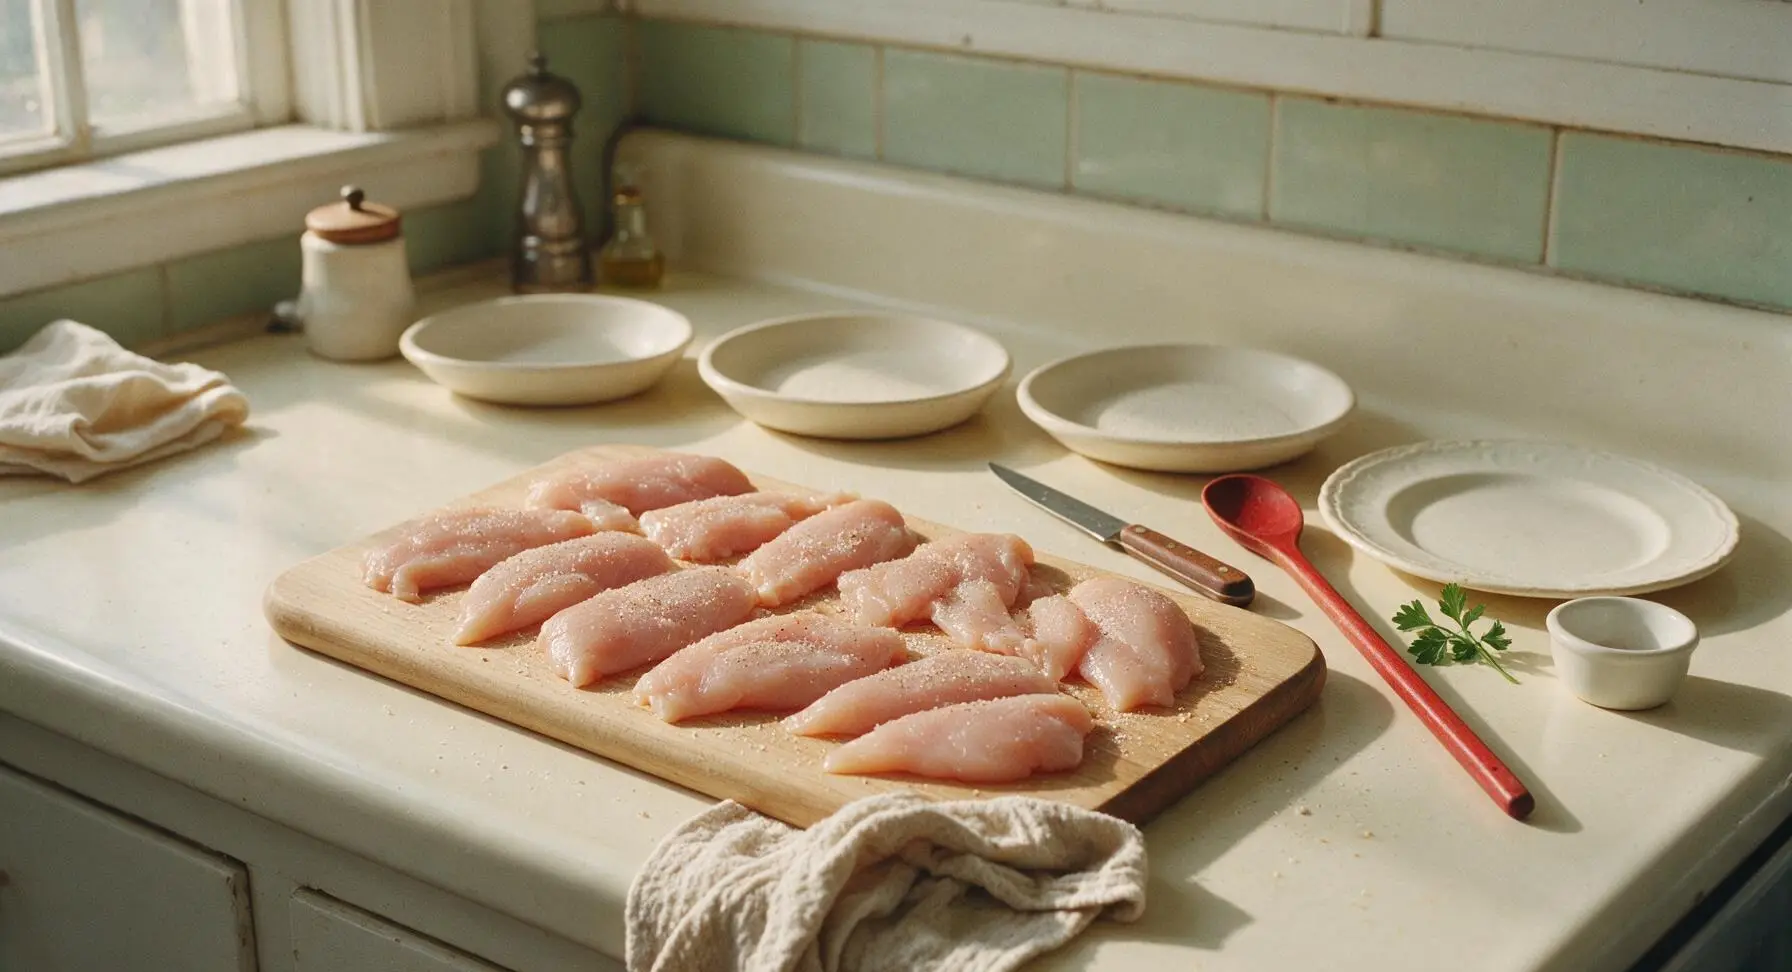
Place 500g of boneless, skinless chicken tenderloins on the acacia wood cutting board. Pat every surface completely dry with the oatmeal cotton kitchen towel, removing all excess moisture. Season lightly with 1/2 tsp kosher salt and 1/4 tsp black pepper, tossing to coat evenly. Dry chicken ensures breading sticks tightly and crisps properly, rather than sliding off during frying.
Arrange Breading Station
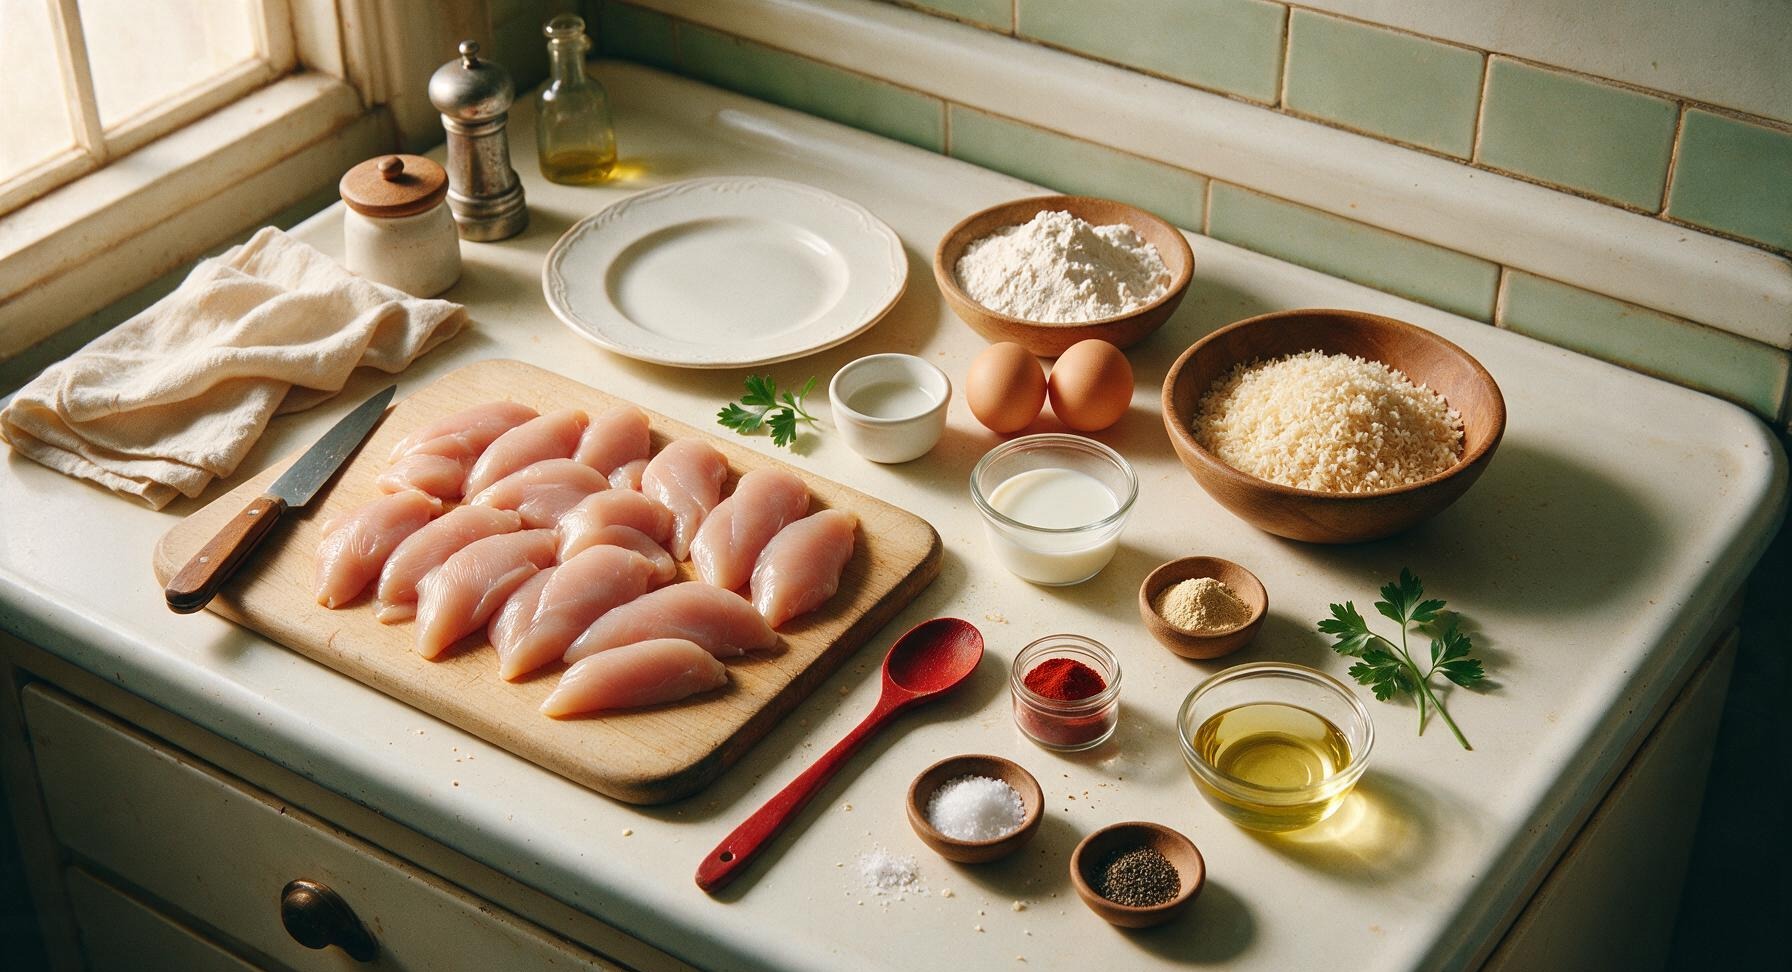
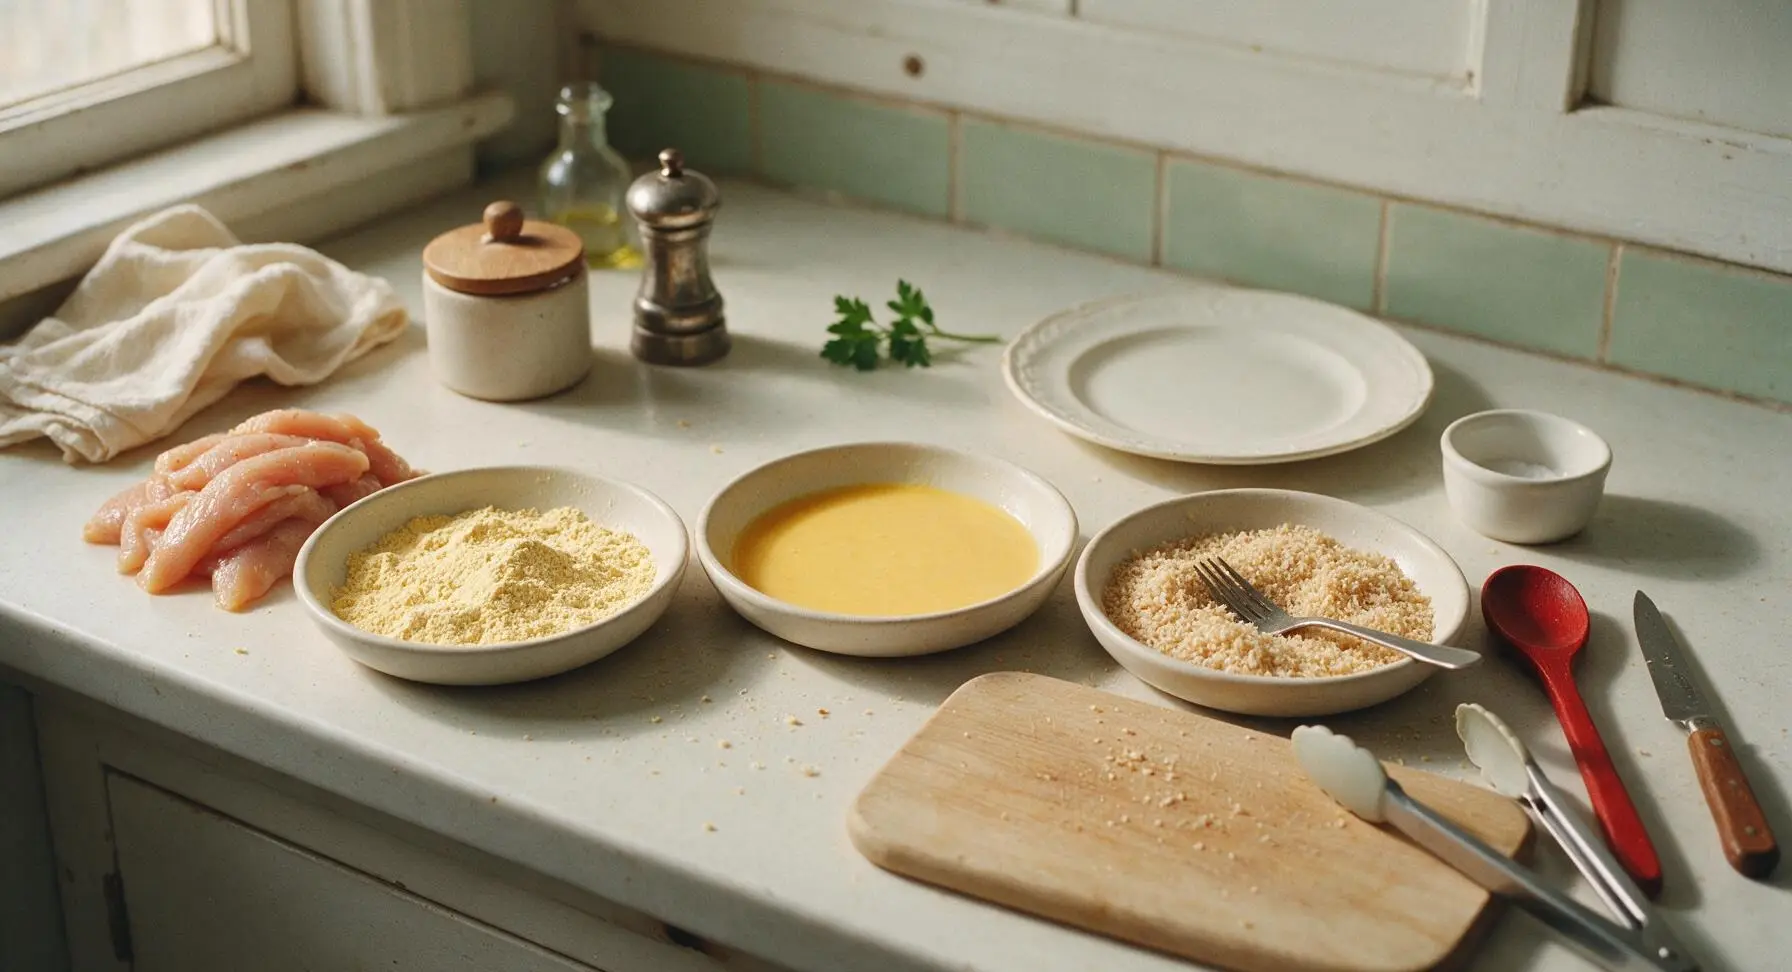
Fill the three shallow ceramic breading dishes in order from left to right: first dish with 120g all-purpose flour mixed with 1/2 tsp garlic powder, 1/2 tsp smoked paprika, 1/2 tsp kosher salt, and 1/4 tsp black pepper, stirred to combine; middle dish with 2 large eggs beaten with 60ml whole milk until smooth, no streaks of egg white remaining; third dish with 150g panko breadcrumbs, fluffed lightly with a fork. Line the dishes up in a straight row to create a one-way assembly line to minimize cross-contamination and mess.
Dredge in Seasoned Flour
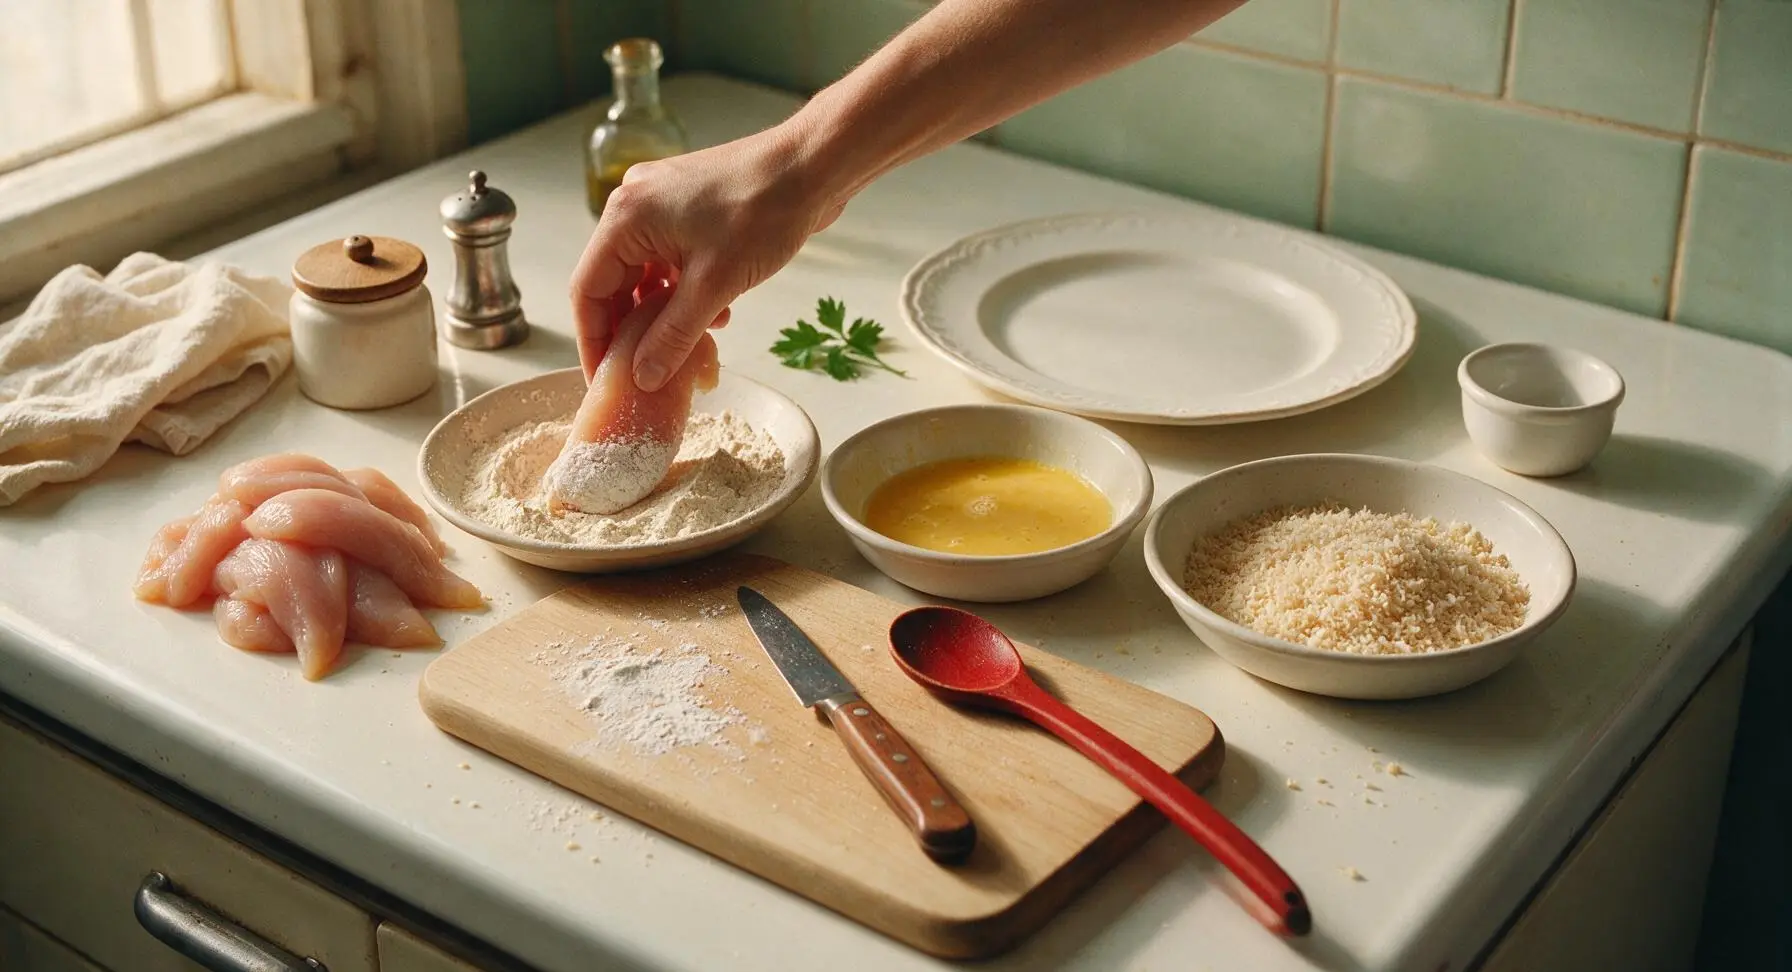
Working one tender at a time, pick up a chicken piece with tongs or clean hands, and press it firmly into the seasoned flour, turning to coat every surface completely. Shake off any excess flour back into the dish, so only a thin, even dusting remains on the chicken. The flour layer creates a dry, tacky base that helps the egg wash adhere evenly, preventing bald spots on the finished crust.
Dip in Egg Wash
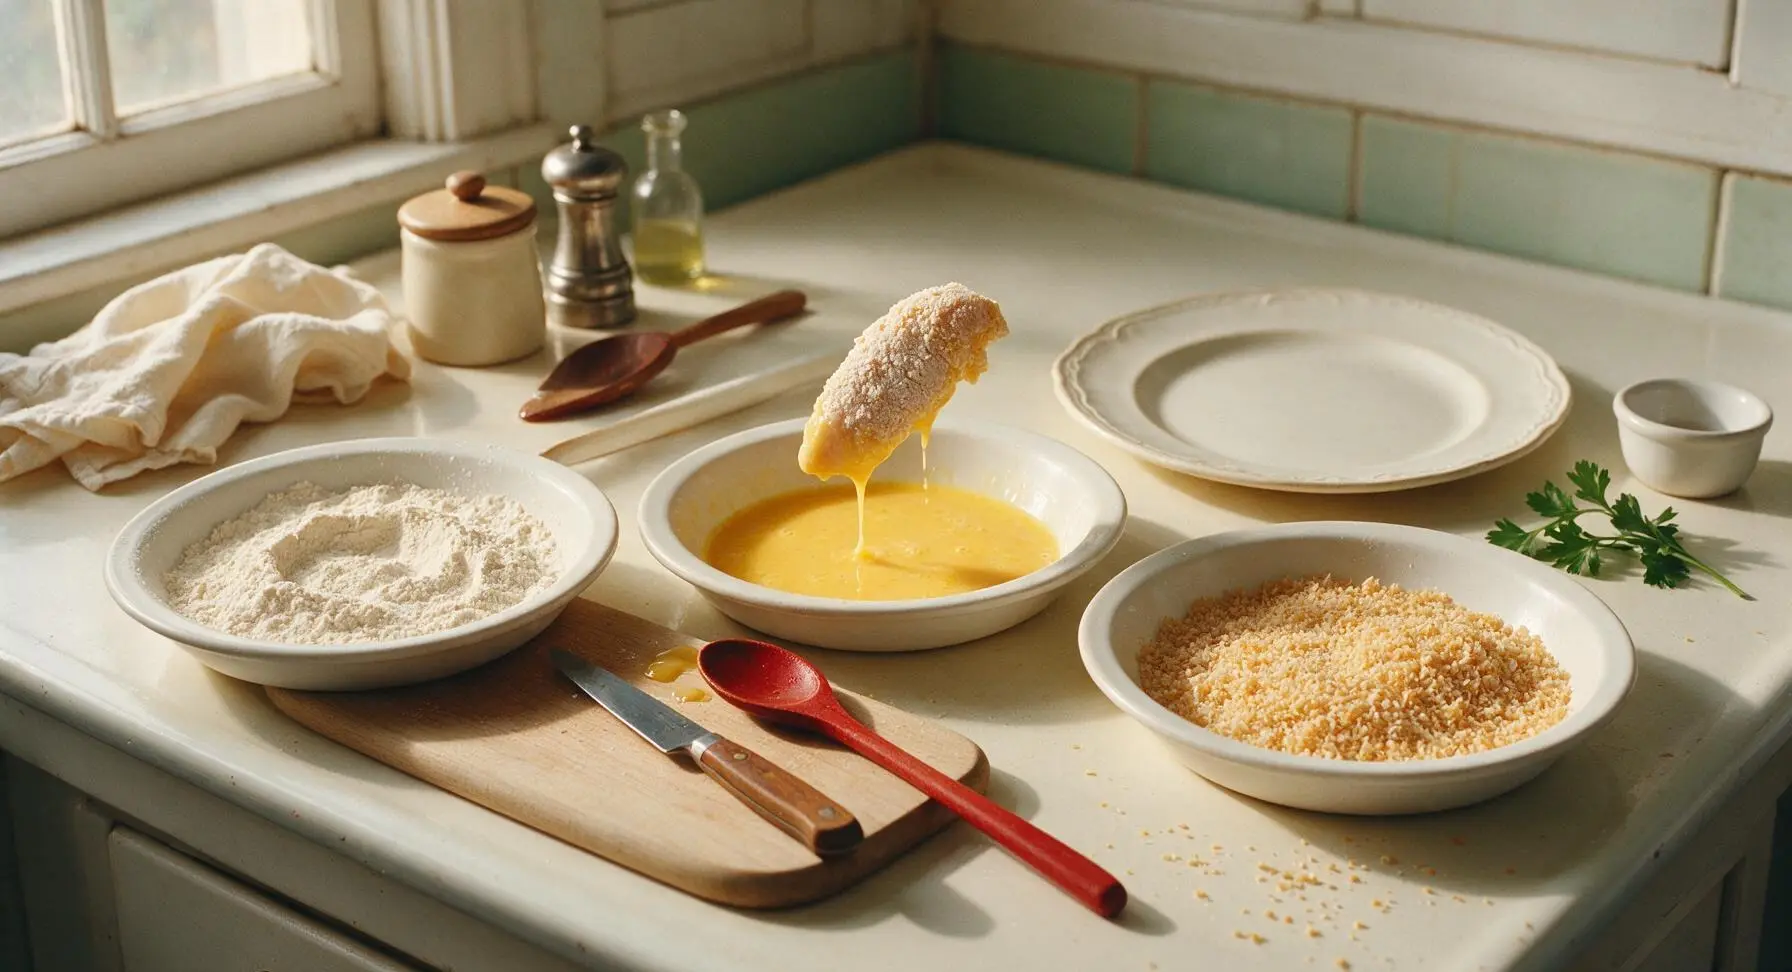
Transfer the flour-coated chicken tender directly to the middle egg wash dish, turning to fully submerge every floured surface in the liquid. Hold the tender above the dish for 2 seconds to let excess egg wash drip off, so the coating does not get soggy. Too much excess egg will make the breadcrumb layer slide off during frying, leading to patchy crust.
Press in Panko Crumbs
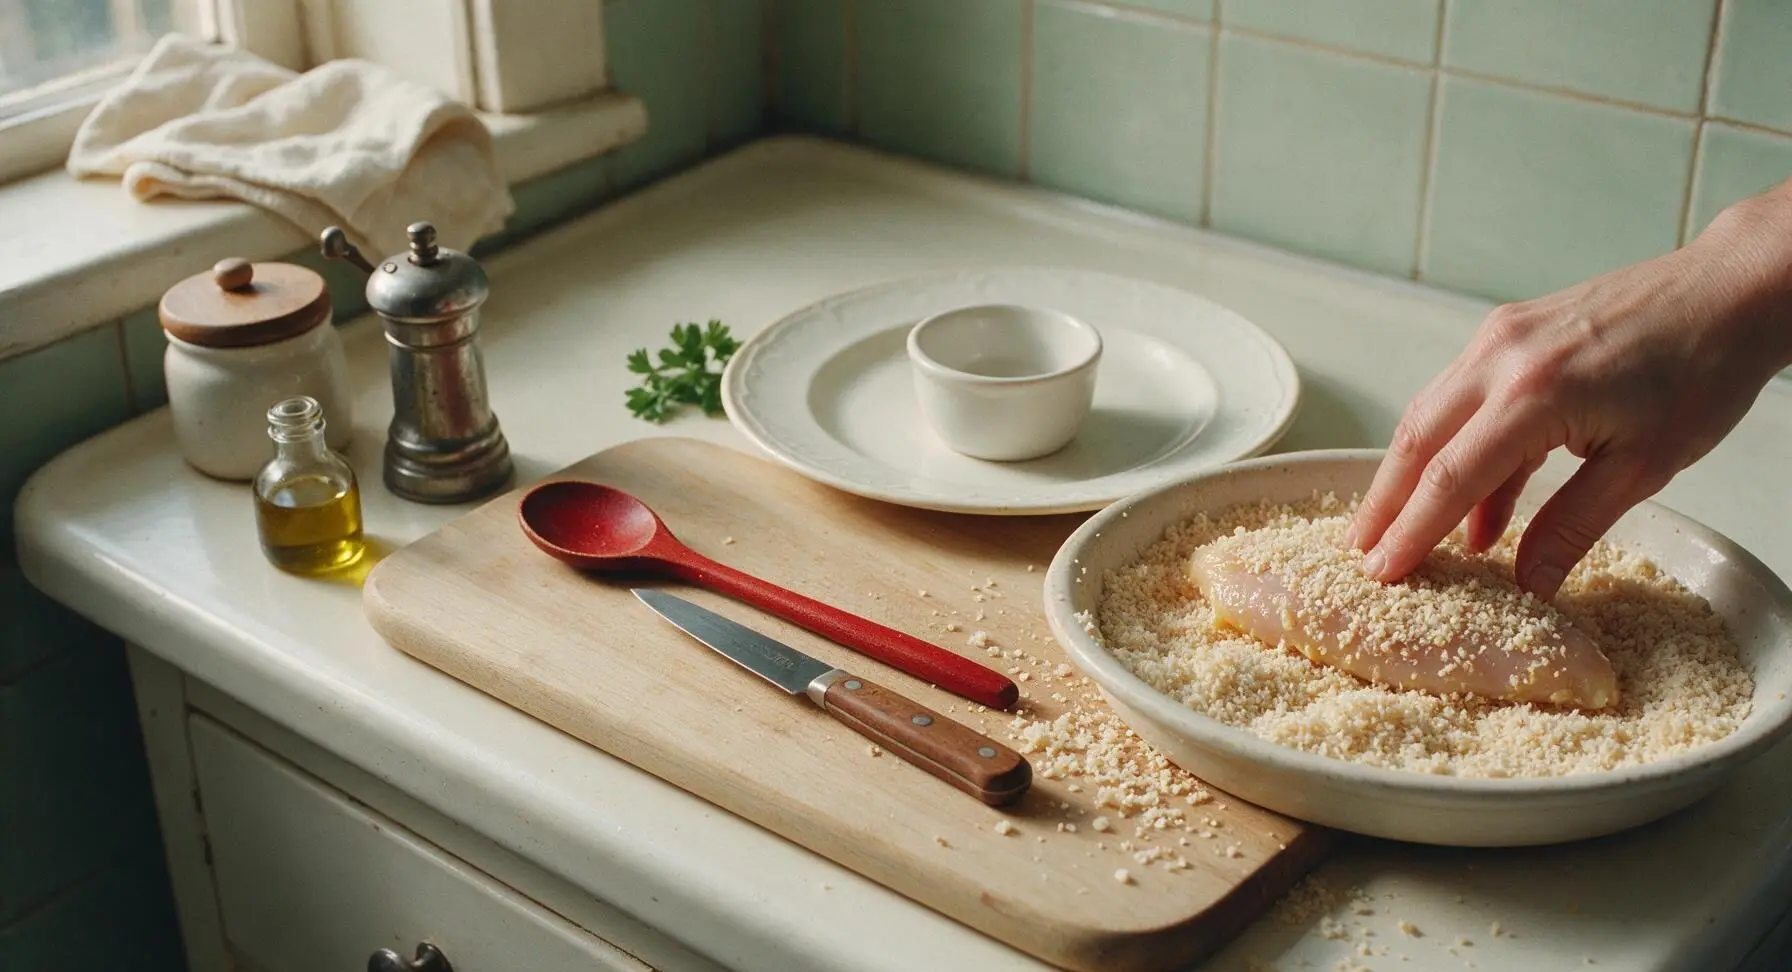
Place the egg-washed tender into the panko breadcrumb dish, and use your fingers to pile crumbs over the top of the tender, pressing firmly so the crumbs adhere to every side. Turn the tender and press again to ensure full, thick coverage, no wet egg spots peeking through. Pressing (not just tossing) the crumbs creates a craggy, extra-crispy crust that does not fall off during cooking.
Rest Breading to Set
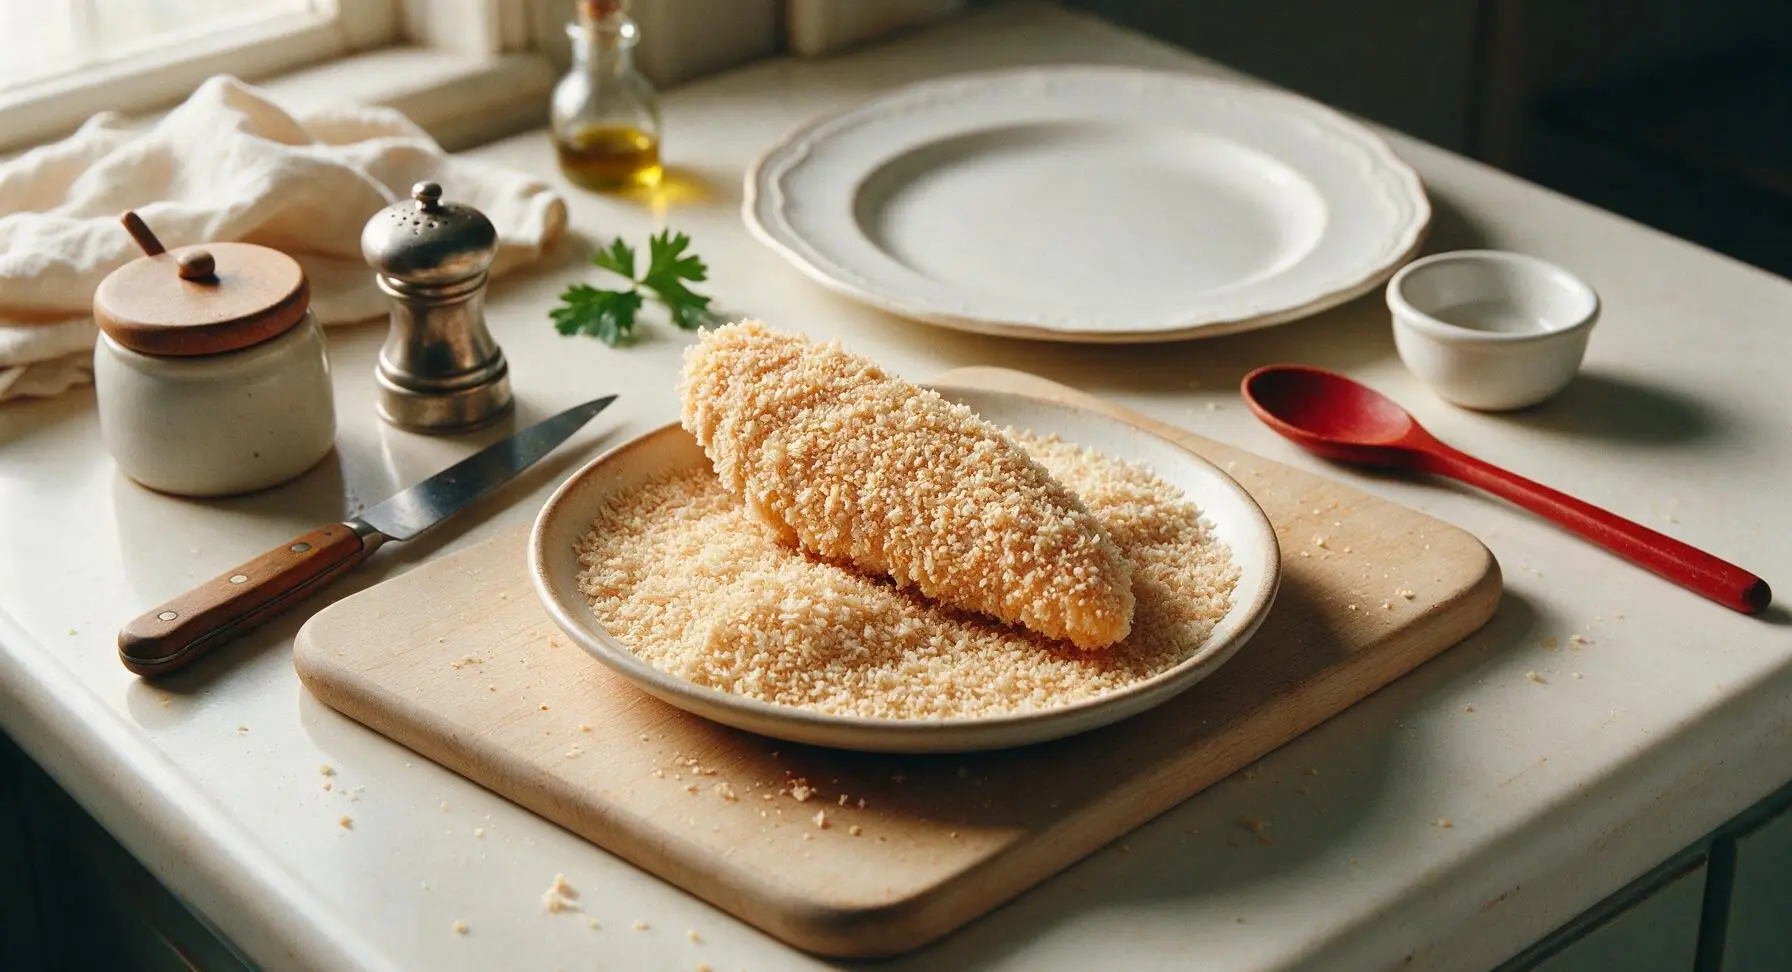
Transfer all fully breaded chicken tenders to a clean section of the acacia cutting board as you finish coating them, and let them rest for 5 minutes at room temperature. This resting period allows the breading layers to bond together, so the crust does not separate from the chicken or fall off when frying. Do not stack the tenders while resting, as this will make the breading soggy and create bald spots.
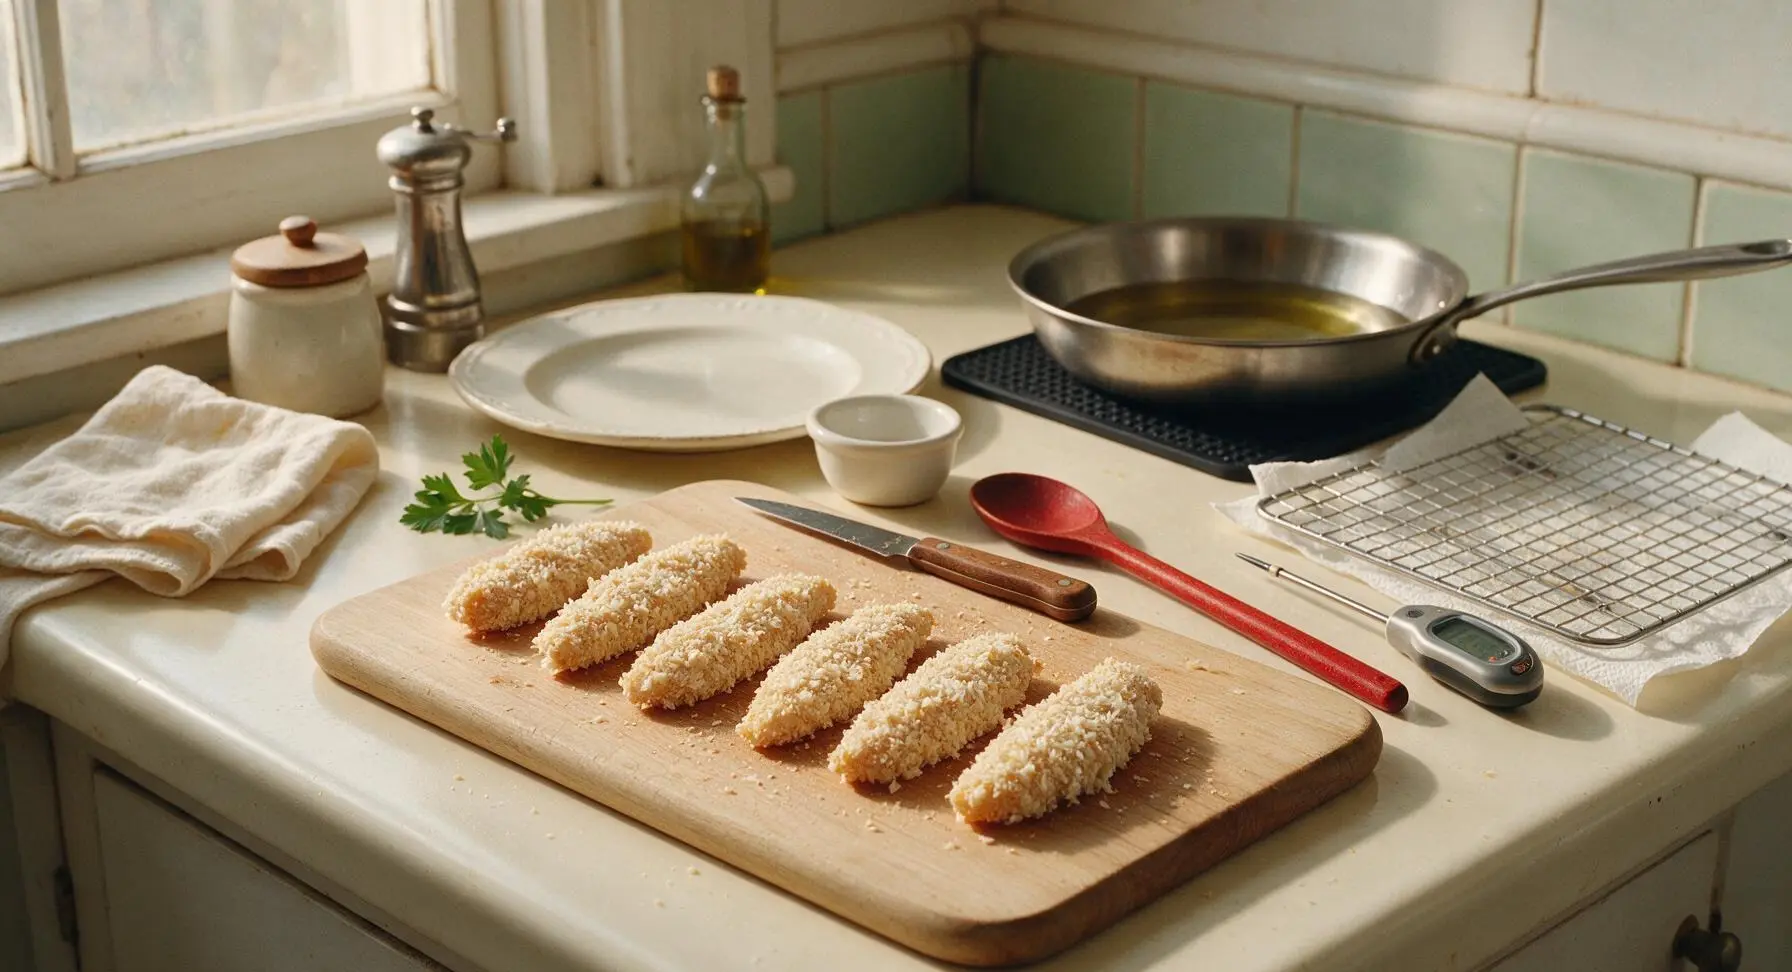
Fry to Golden Crisp
Heat the neutral oil in the stainless steel skillet over medium heat until it reaches 175C (350F), measured with the instant-read thermometer. Carefully lower 3-4 tenders into the hot oil at a time, taking care not to overcrowd the pan (which drops oil temperature and leads to soggy crust). Fry for 3-4 minutes per side, until the breading is deep golden brown and crispy, and the internal temperature of the chicken reaches 75C (165F).
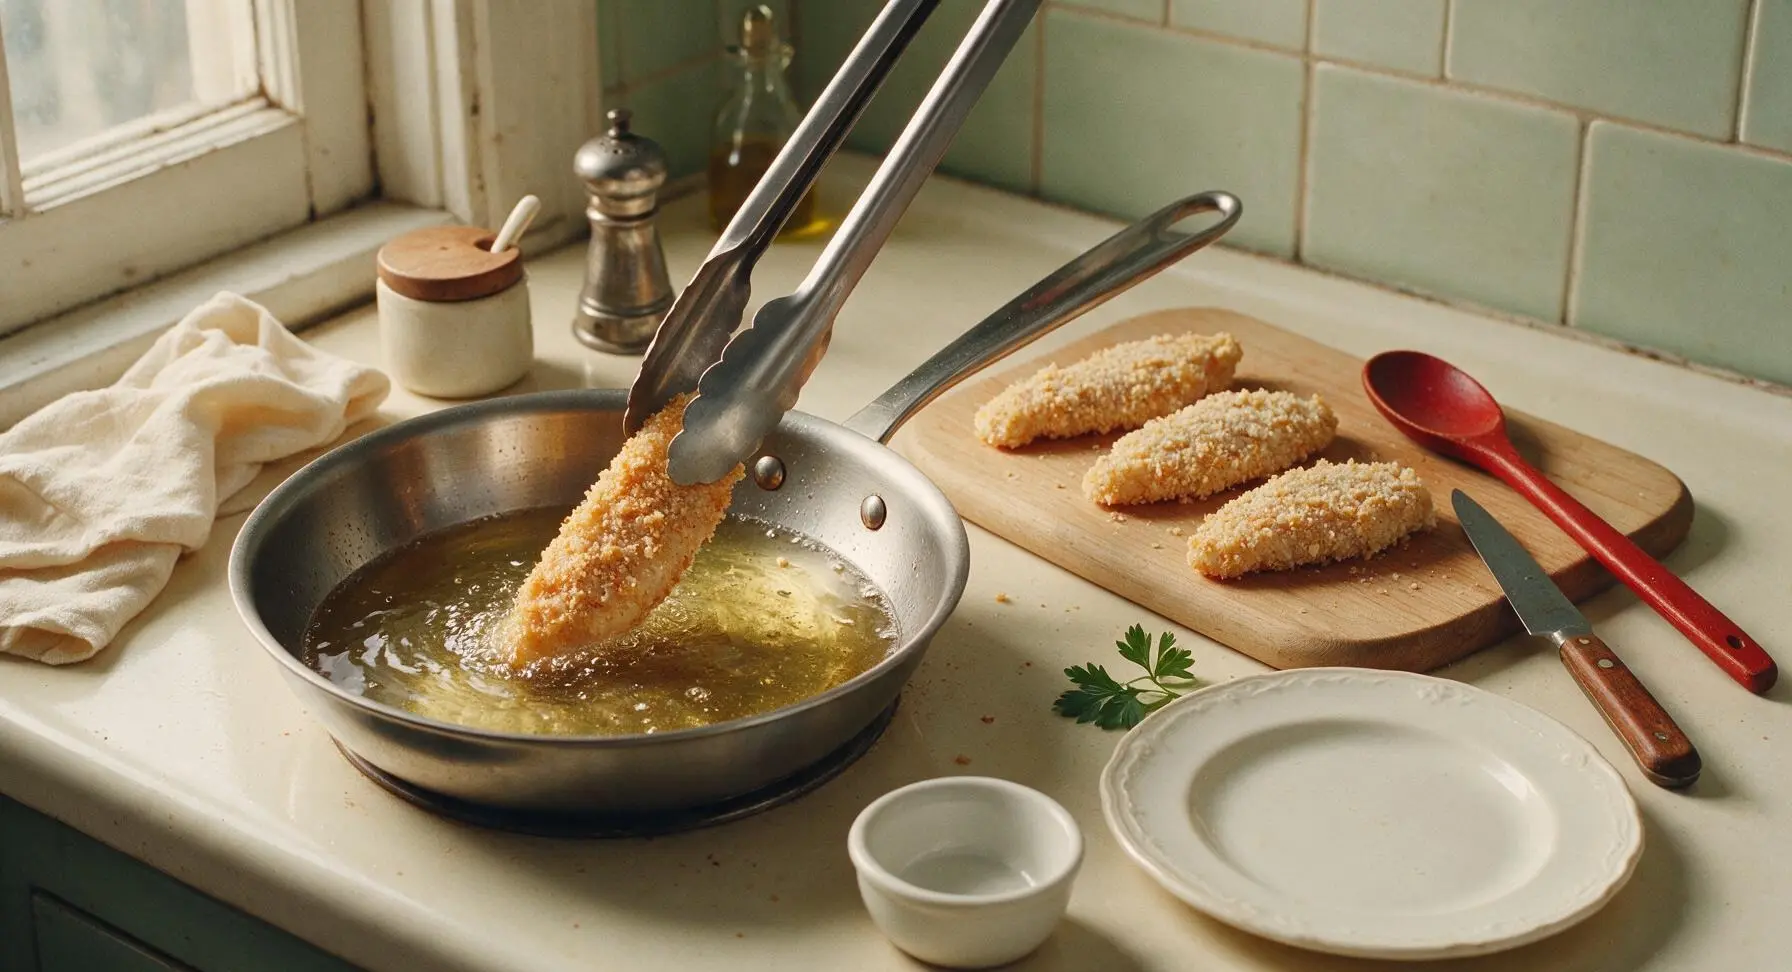
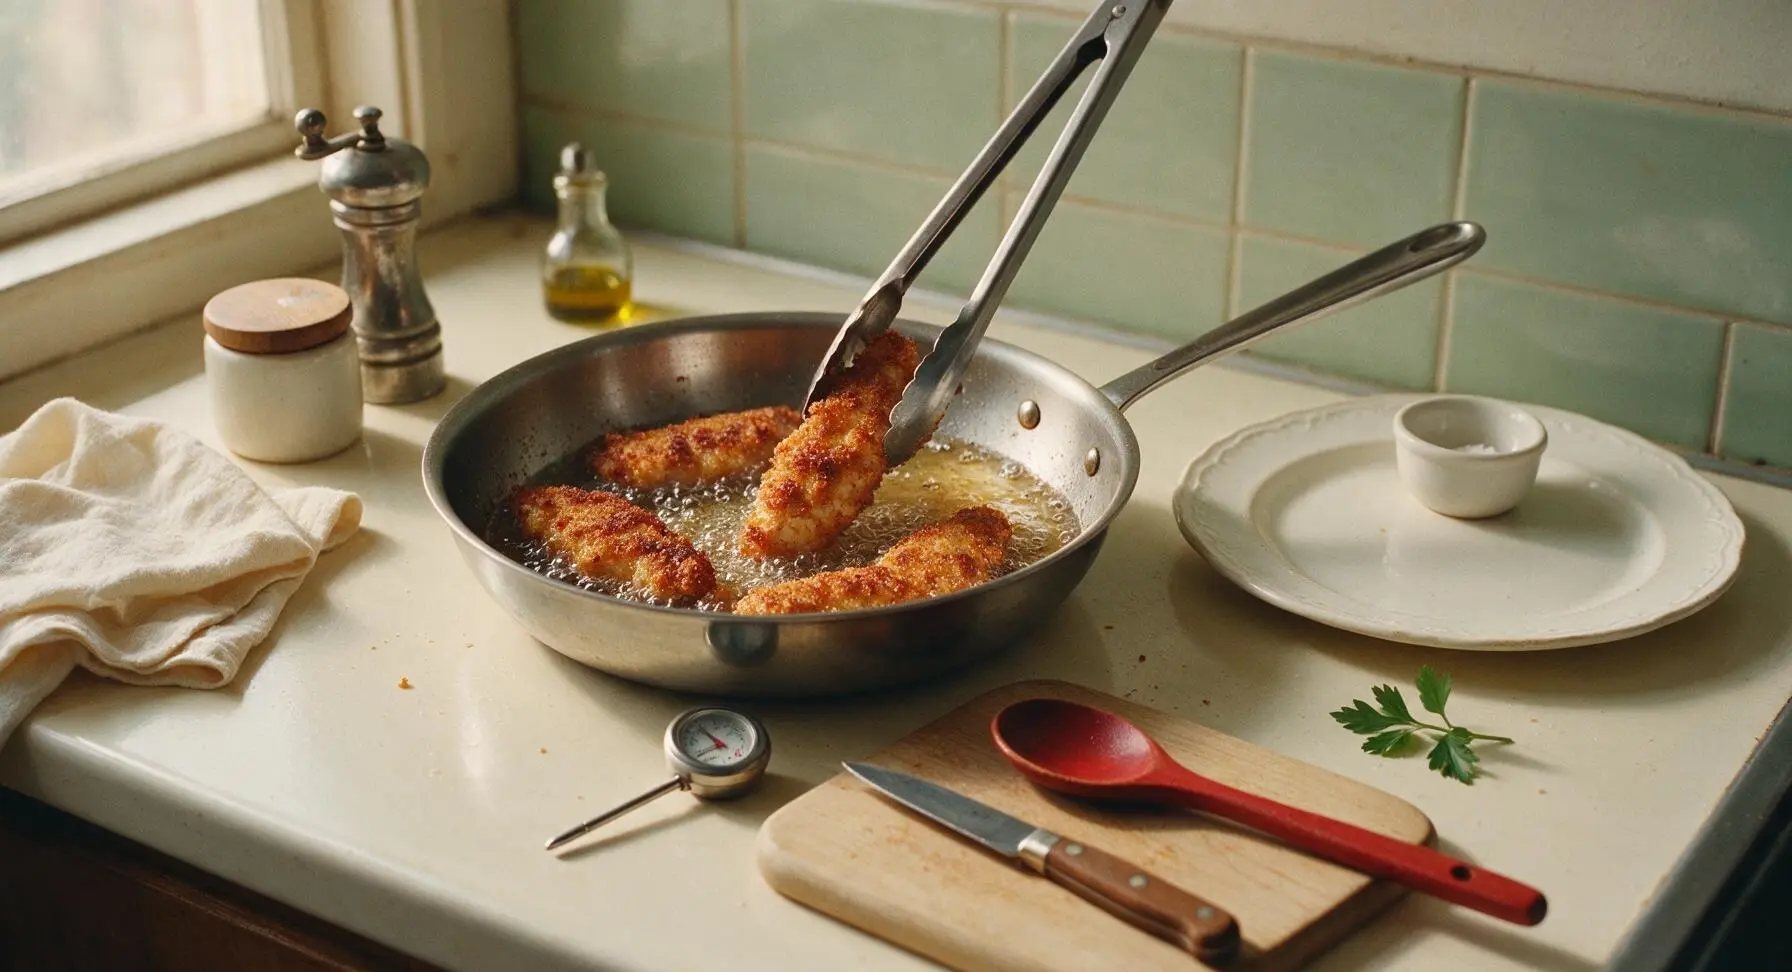
Drain Excess Oil
Use the tongs to lift cooked golden tenders out of the oil, holding them above the skillet for 2 seconds to let excess oil drip off, then transfer them to the paper-towel lined wire cooling rack. Lightly season the hot tenders with a pinch of extra kosher salt immediately after removing them from the oil, so the salt sticks to the crispy crust. Let them rest for 2 minutes before plating and serving.
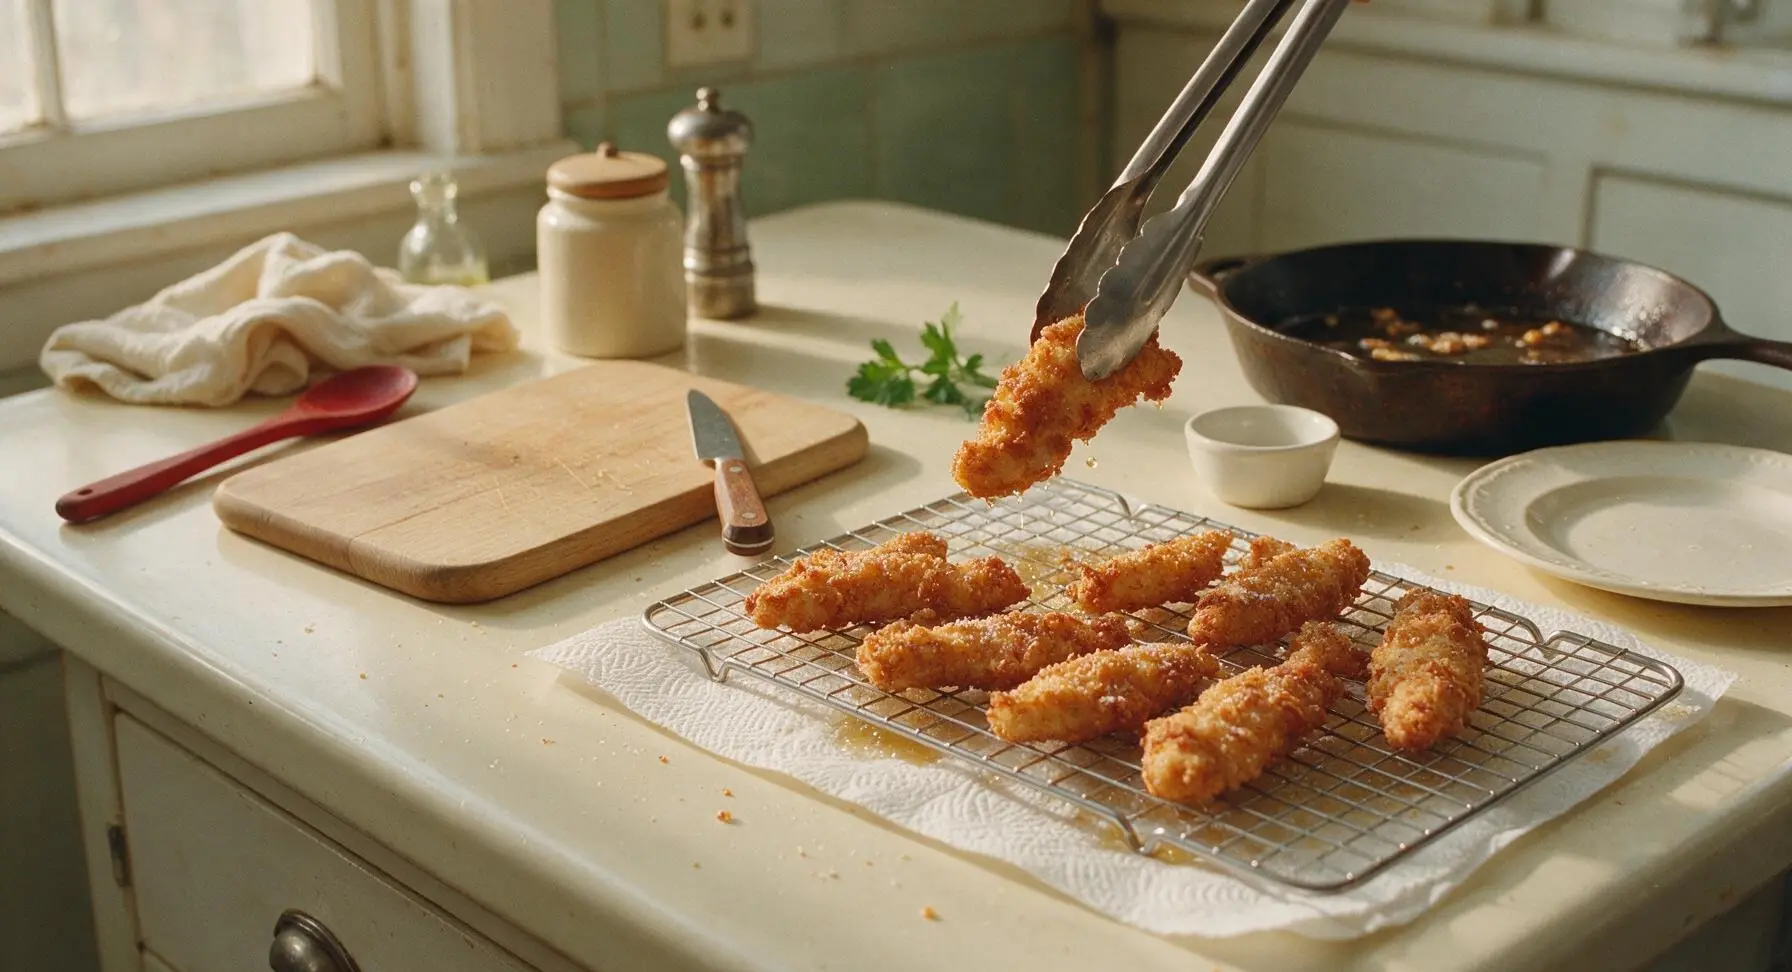
Tips
2.Let breaded tenders rest 5 minutes before frying: this short pause allows the flour, egg, and panko layers to bond into a single cohesive crust, eliminating the common frustration of breading sliding off the chicken while eating.
3.Keep oil temperature steady at 175C (350F) while frying: oil that is too hot burns the panko crust before the chicken cooks through, while oil that is too cool is absorbed by the breading, leading to greasy, soggy tenders instead of light, crisp ones.






I swapped the regular panko for gluten free panko and this worked like a charm! I’ve struggled for years to make gluten free chicken tenders where the breading doesn’t slide off or turn mushy, and this recipe delivered that perfect crunch I’ve been missing. Even my non-gluten free roommate thought these were better than the regular takeout tenders we usually order!
Wait can I make this in the air fryer instead of pan frying? I try to avoid extra oil when I can, but I’ve had such bad luck with breading sliding off air fryer tenders before, this recipe looks too good to pass up!
Made these last night for my boyfriend and his friends while they watched the game, and they were raving the whole time! The crunch is insane, no sliding breading at all, just perfect crispy chicken every bite. I dipped mine in honey mustard and it was chef’s kiss. Will absolutely be making these on repeat!
SO good, this is now my go-to for Sunday meal prep! The breading doesn’t get soggy even after 3 days in the fridge, which is a miracle compared to every other tender recipe I’ve tried. 12 minute cook time is perfect too, I can throw these together while my rice is cooking and have lunches for the whole work week done in no time.
OMG this breading is a total game changer! I’ve tried so many recipes for chicken tenders where the breading slides right off the second you take a bite, and I was so skeptical this would work, but nope— it stayed perfectly crispy and stuck the whole time! My kids devoured an entire batch in 10 minutes for our weeknight family dinner, even my super picky 7 year old asked for seconds. 10/10, will be making this for our next potluck too!
This recipe was so easy! I’m not much of a cook, but I was able to pull this off on a busy school night without any mess. The no-slide thing is no joke, I was fully expecting to be picking breading crumbs off the baking sheet, but every single tender had perfect, even breading all the way around. My kids already asked when we’re having this again.
Brought these to our neighborhood block party potluck last weekend and they were gone in 15 minutes! Everyone was asking me for the recipe, I lost count of how many people came up to say they were the best chicken tenders they’d ever had. The best part? I made them 20 minutes before leaving the house, drove 10 minutes to the party, and the breading was still perfectly crispy and didn’t slide at all when people grabbed them.
Wait y’all, this recipe is so cheap and easy? I’m a broke college student with barely any cooking supplies, and I made these in my tiny toaster oven for me and my roommates last night. We thought we messed up the breading station at first, but it all stuck perfectly, and they were so crispy we thought we ordered takeout. 10/10, way better than the dining hall chicken.
I added a hefty pinch of cayenne and a little smoked paprika to the breading mix for a spicy kick, and it was so good! The breading still stuck perfectly even with the extra seasonings mixed in, no sliding at all, and the crunch was out of this world. Served these with a side of waffles for a lazy Sunday brunch and my partner said it was better than our favorite brunch spot’s chicken and waffles. Will absolutely be making this again!