1.Why does my caramel corn turn out chewy instead of shatteringly crisp?
▾
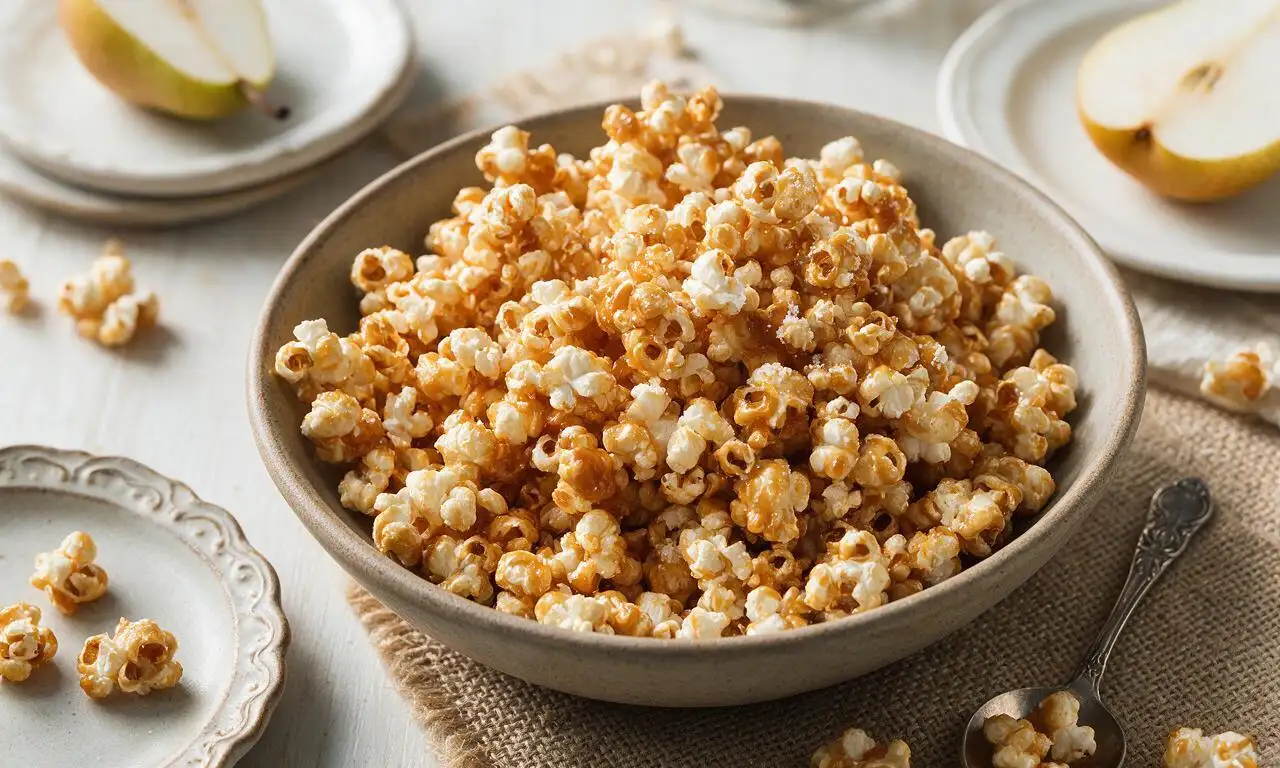
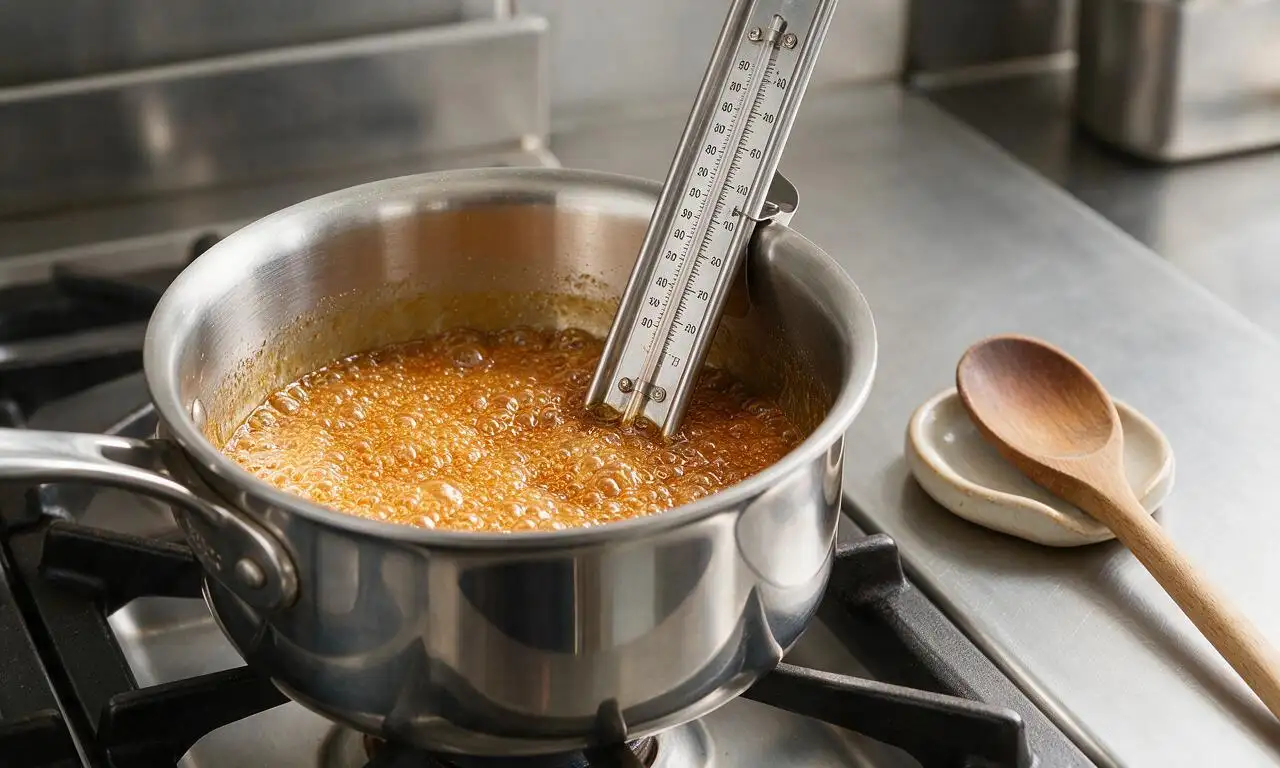
Chewy caramel corn usually stems from three common missteps: not cooking caramel to the 300–310°F hard crack stage, skipping the low-and-slow bake to evaporate excess moisture, or storing it before it’s fully cooled. Use a candy thermometer, bake at 250°F for 45 minutes stirring every 15 minutes, and let it cool completely in a thin layer for crisp results every time.
2.Can I pop popcorn in an air popper instead of using oil on the stovetop?
▾
Absolutely! Air-popped corn works beautifully and cuts a small amount of extra fat from the recipe. Just be sure to sift out all unpopped old maids before tossing with caramel—those hard bits are a major tooth hazard. Aim for 10 cups of fluffy, unburnt popped corn to match the yield and texture of stovetop-popped batches.
3.Do I have to use light corn syrup, or can I swap it for another ingredient?
▾
Light corn syrup is the most reliable pick because it prevents sugar crystallization that causes grainy caramel. If you need a substitute, use equal parts golden syrup, or 1 cup honey mixed with 1/4 teaspoon cream of tartar per cup of corn syrup. Skip maple syrup—it has too strong a flavor and higher moisture content that leads to chewy results.
4.Can I use dark brown sugar instead of firmly packed light brown sugar?
▾
You absolutely can for a deeper, molasses-kissed caramel flavor—just note the final corn will be slightly darker and richer tasting than the classic light state fair version. Be sure to pack whichever brown sugar you use firmly into your measuring cup to hit the correct sugar ratio, so the caramel sets to the perfect crisp texture.
5.How do I keep caramel from clumping into hard spots instead of coating every popcorn piece evenly?
▾
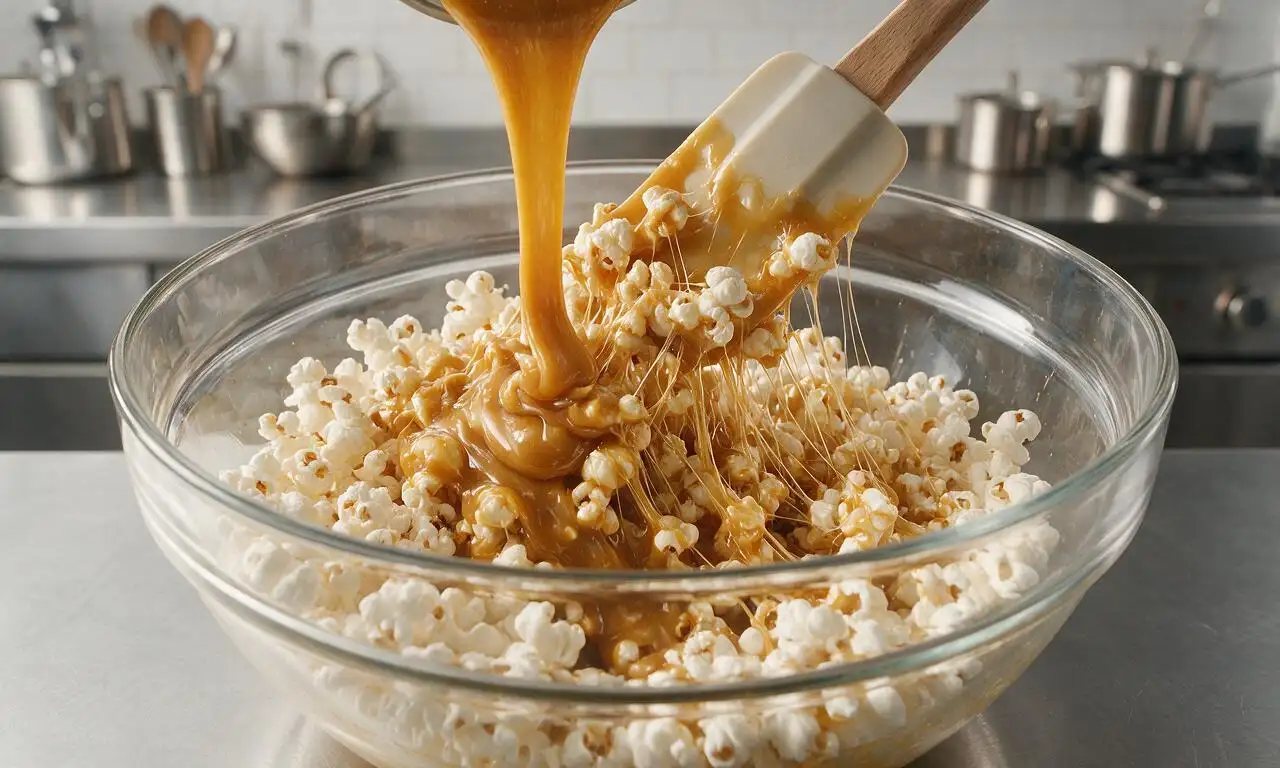
First, make sure your popped popcorn is slightly warm when you pour hot caramel over it—cold popcorn makes caramel seize instantly into hard lumps. Pour caramel in a thin, slow stream while tossing constantly with two silicone spatulas, then spread the mixture immediately on lined baking sheets to avoid big sticky clumps.
6.Can I add mix-ins like nuts, pretzels, or chocolate chips to my caramel corn?
▾
Definitely! Stir roasted salted peanuts, pecans, broken pretzel pieces, or plain rice cereal into the popcorn right before adding caramel so they get evenly coated. Wait to add chocolate chips, candy-coated chocolates, or sprinkles until the caramel corn is fully cooled to room temperature, otherwise chocolate will melt and create soggy spots.
7.What’s the best way to store homemade caramel corn so it stays crunchy?
▾
Let it cool completely for at least 1 hour first—trapped residual steam will turn it soggy incredibly fast. Store it in an airtight container at room temperature, away from direct sunlight or humid spots like above your stovetop. Toss one plain saltine cracker in the container to absorb stray moisture, and it will stay crisp for up to 2 weeks.
8.I don’t own a candy thermometer—how do I tell when caramel is ready?
▾
Use the classic cold water test! Drop a tiny pea-sized bit of hot caramel into a small bowl of very cold water. It should form hard, brittle threads that crack easily when you bend them, instead of soft, chewy blobs that squish between your fingers. That’s the hard crack stage (300–310°F) that delivers perfect shattery caramel.
9.Why is my caramel grainy instead of smooth?
▾
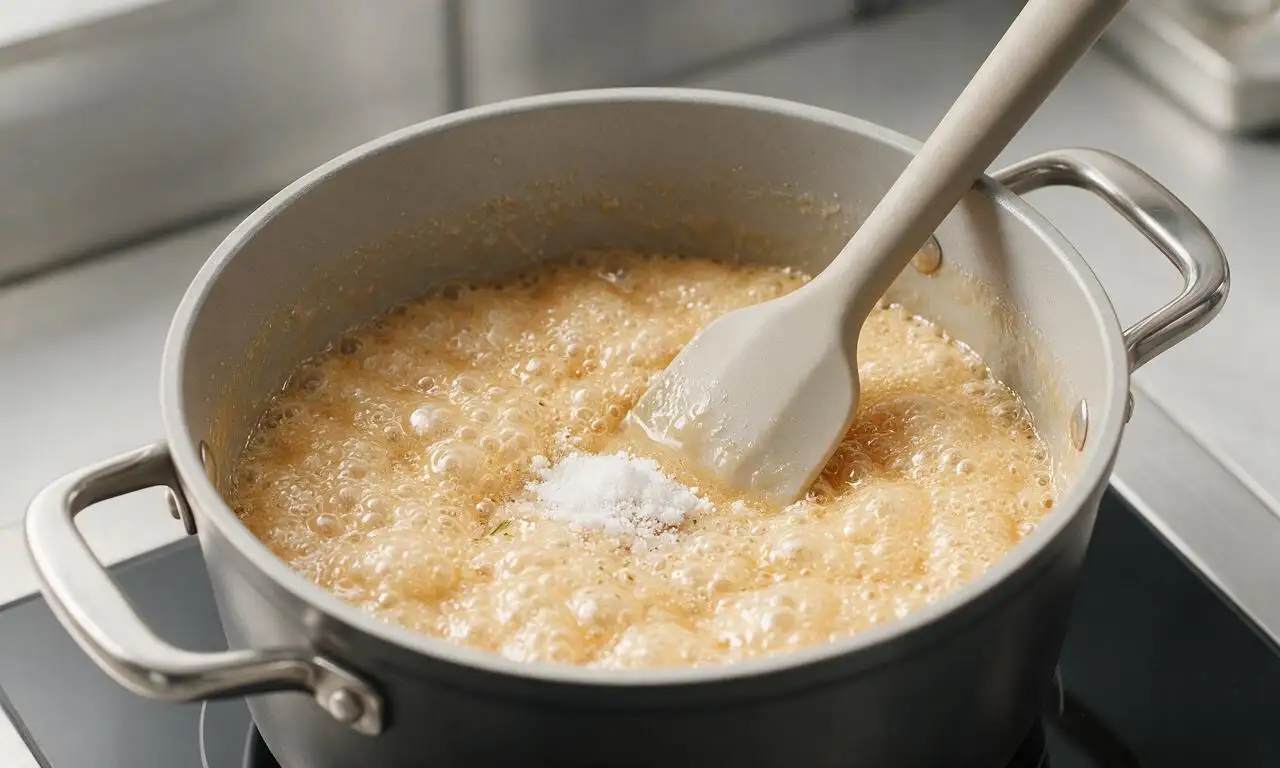
Grainy caramel almost always comes from stray sugar crystals from the brown sugar and corn syrup forming on the sides of the pot as it cooks. Fix this by brushing down the inner sides of the saucepan with a wet pastry brush a few times as the caramel simmers to dissolve crystals. Avoid stirring the caramel once it hits a rolling boil—just swirl the pan gently to mix.
10.Can I make this caramel corn dairy-free?
▾
You absolutely can! Swap the unsalted butter for an equal amount of refined coconut oil (the refined variety has no strong coconut flavor) to keep that rich, buttery mouthfeel. Double-check that your light corn syrup is dairy-free (most standard national brands are) and follow the rest of the recipe exactly for the same crisp, sweet result.
11.Why do I need to bake caramel corn in the oven, and how long should it bake?
▾
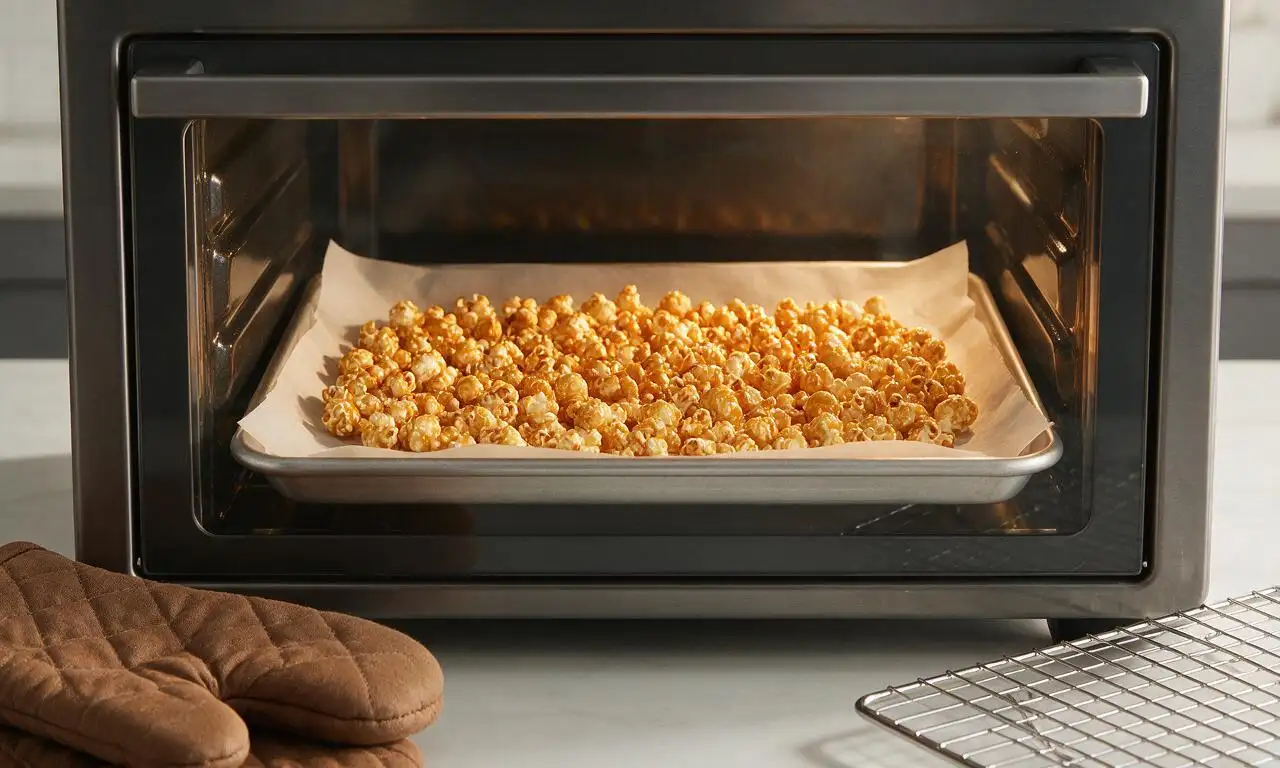
The low, slow oven bake evaporates excess moisture from the caramel that would otherwise leave you with chewy, sticky corn instead of light, shatteringly crisp state fair-style texture. Bake coated caramel corn at 250°F for 45 minutes, stirring thoroughly every 15 minutes to ensure every piece dries out evenly. Don’t skip this step!
12.What’s the best way to prep baking sheets so caramel corn doesn’t stick?
▾
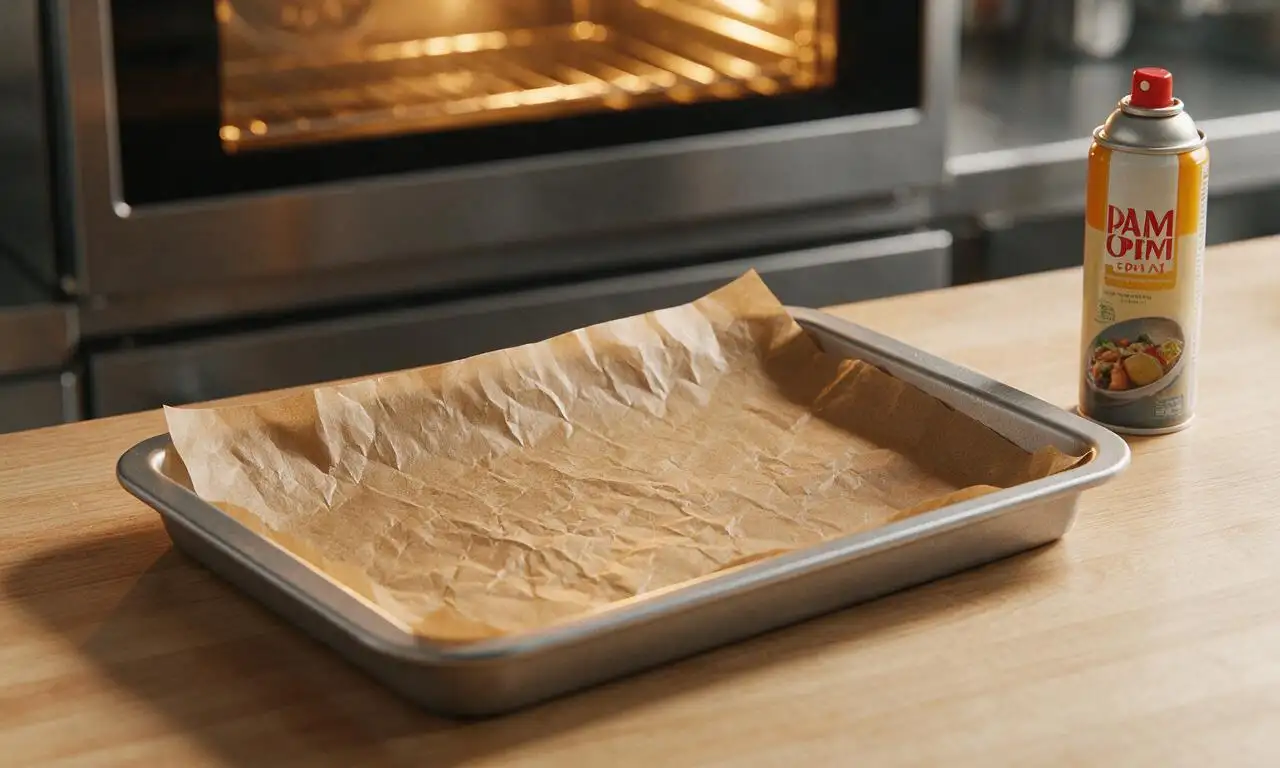
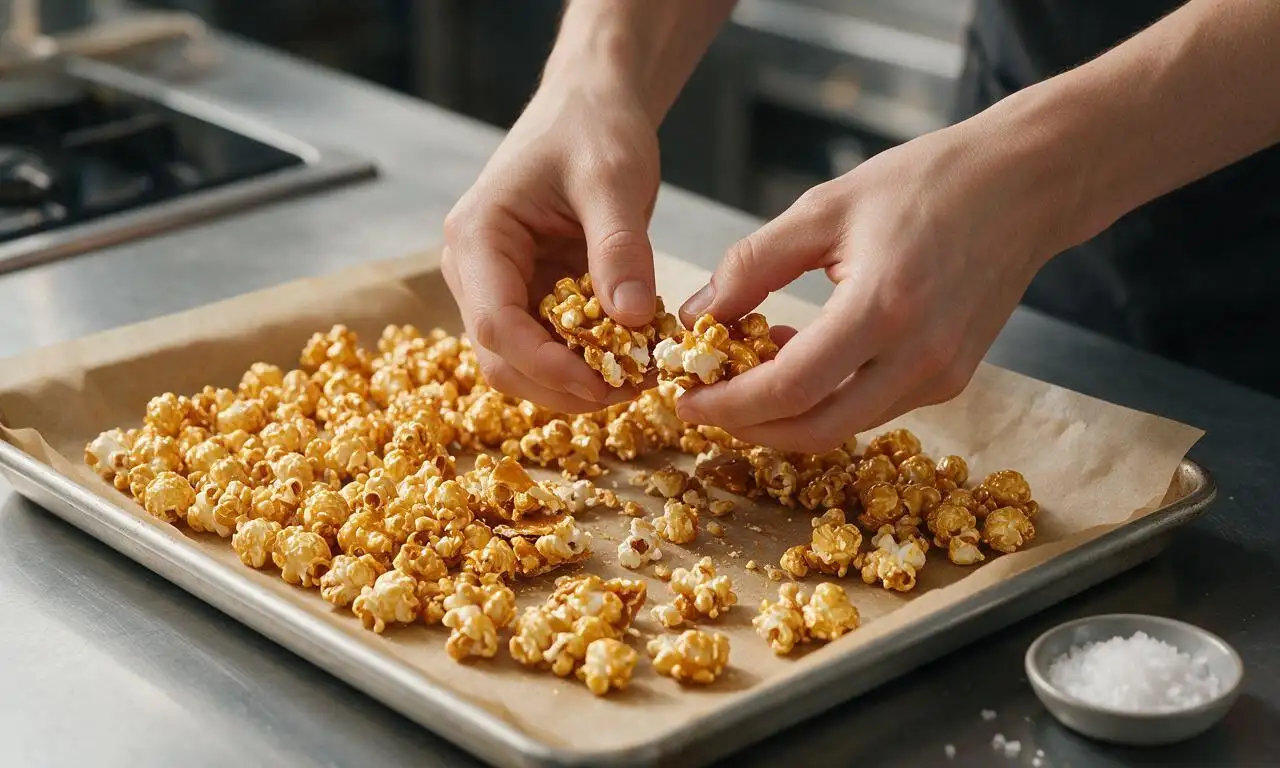
Line rimmed baking sheets with heavy-duty parchment paper or a silicone baking mat for zero-stick results. Skip plain waxed paper, which will melt under hot caramel, and don’t just grease bare metal pans—caramel will still glue itself to unlined metal. Leave small gaps between pieces as you spread them to make cleanup even faster.
13.Can I use store-bought microwave popcorn instead of popping kernels from scratch?
▾
You can use microwave popcorn as a shortcut, but stick to plain, unsalted, unbuttered varieties to avoid off-flavors and extra grease that makes caramel slide off instead of sticking. Sift out all unpopped kernels first, and measure out 10 cups of popped corn to match the recipe yield. Skip flavored buttered or cheese popcorn, which causes sogginess.
14.My caramel burned right before I poured it—what went wrong?
▾
Caramel goes from perfectly done to burnt in under 60 seconds once it climbs above 320°F, so never walk away from the stove once it turns a deep golden amber. Keep heat at medium once it reaches a rolling boil, and if you smell a sharp, bitter burnt sugar scent, pull it immediately—burnt caramel can’t be fixed, so you’ll need to start a fresh batch.
15.Should I add salt to caramel corn, and what kind works best?
▾
A light sprinkle of salt cuts through the rich sweetness and makes the butter and caramel flavors pop dramatically, so it’s highly recommended. Skip fine table salt, which dissolves too fast and can make corn taste overly salty. Use about 1/2 teaspoon of flaky sea salt, sprinkled evenly right after spreading hot caramel on sheets, for perfect sweet-salty balance.
16.Can I scale this recipe up to serve a large crowd?
▾
Absolutely—this snack is made for casual group gatherings, just like the classic state fair version! Don’t overcrowd your pot when popping corn, and split caramel-coated corn across multiple baking sheets so it sits in a thin, even layer for baking; piling it high prevents even crisping. A double batch fits on 3 standard rimmed sheets and serves 8–10 snackers easily.
17.Why do I have so many unpopped kernels left when I pop corn on the stovetop?
▾
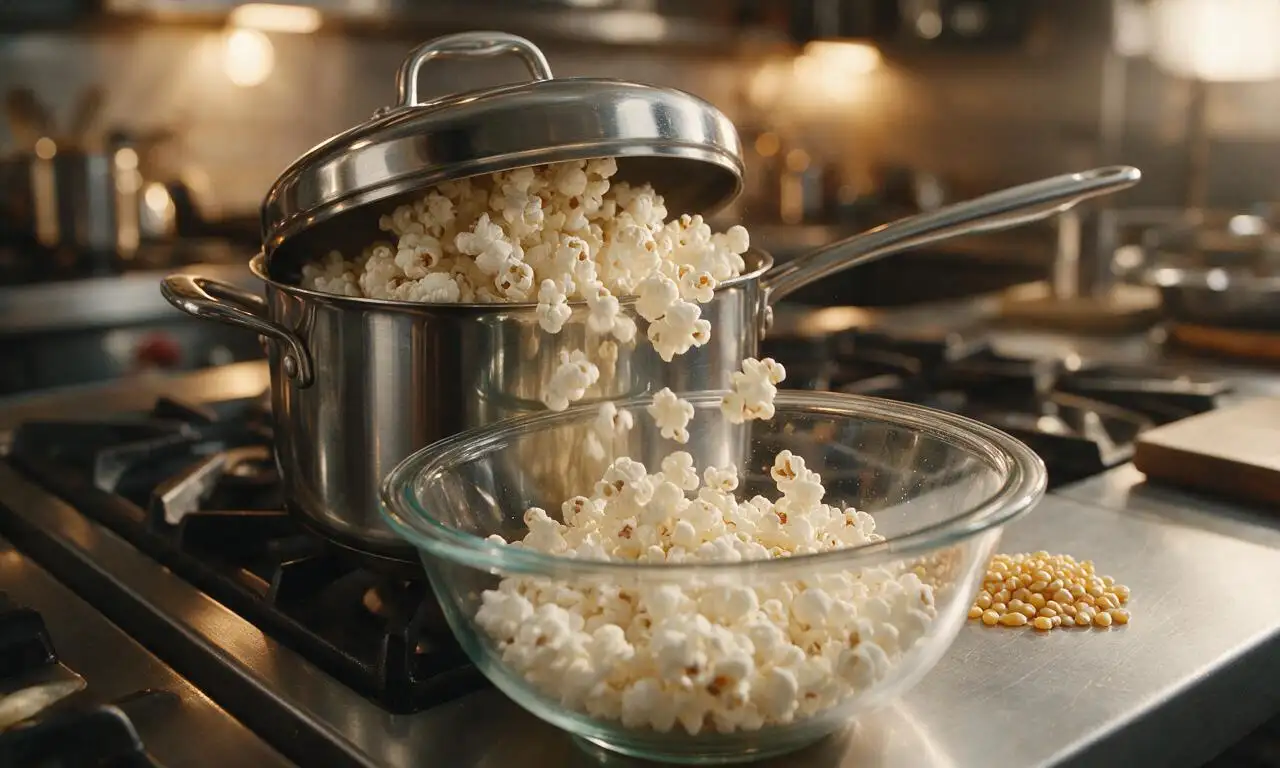
Most excess unpopped kernels come from old, dried-out popcorn that has lost its internal moisture, so start with fresh, in-date kernels. Heat your vegetable oil over medium heat first, add 2–3 test kernels, and pour in the rest once those pop. Shake the covered pot constantly as it pops, and pull it off heat when pops slow to 2 seconds apart to avoid burning.







OMG this caramel corn is SO good! I made it for my kid’s soccer team potluck last weekend and every single parent asked for the recipe. It stays crunchy for days, no soggy mess at all! Total game changer compared to the store-bought stuff I used to grab.
Super easy recipe to follow, even for someone who burns microwave popcorn half the time (guilty). Cook time was right at an hour like the recipe said, and the caramel didn’t crystallize on me which I was super worried about. Brought a big bag on our weekend camping trip and it was the perfect snack around the campfire.
My kids loved it! I added a little extra flaky sea salt on top because we’re obsessed with that sweet-salty vibe, and it was chef’s kiss. Already planning to make a double batch for our neighborhood Halloween party next month, this is gonna be a new fall staple for us.
Quick question before I make this: is there a way to make this fully nut-free? My nephew has a severe tree nut allergy and I want to bring this to our extended family dinner next week, I just don’t want to risk any cross contamination.