
Catering Tray
intro
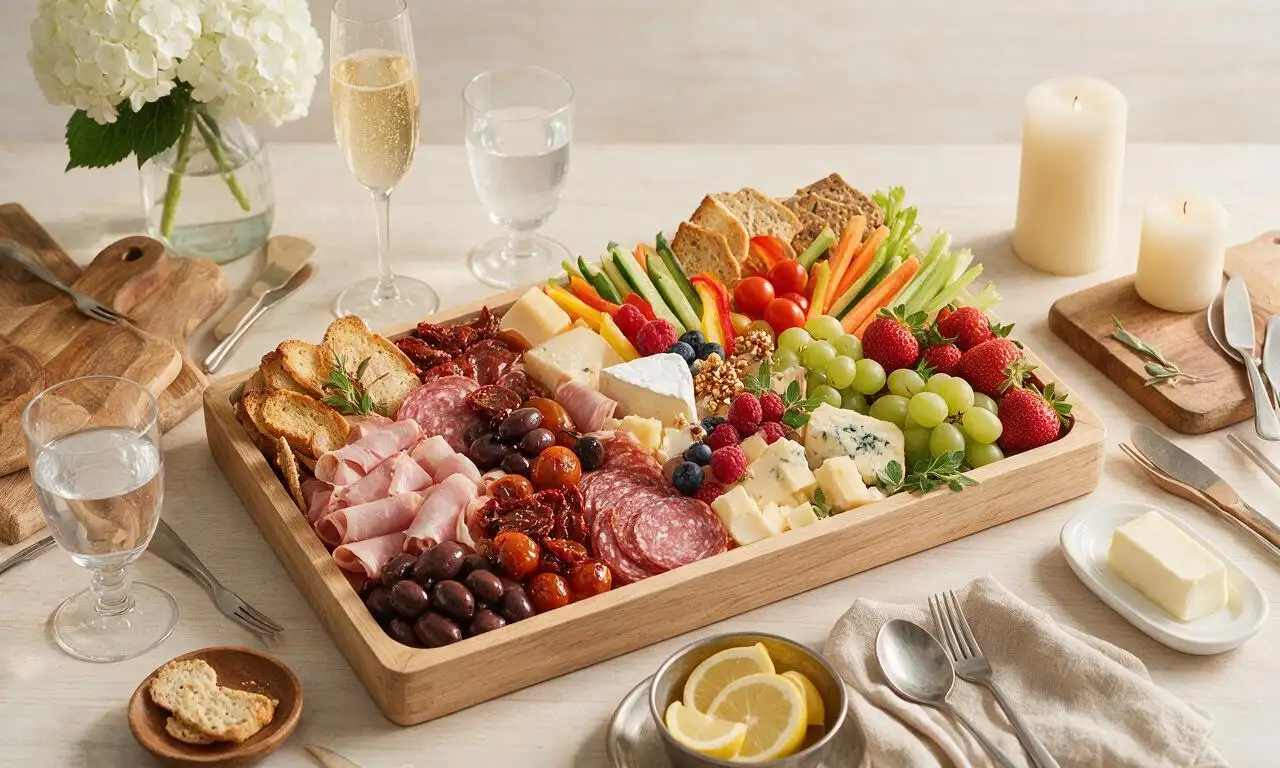
A colorful, shareable deli-style catering tray loaded with cured meats, cheeses, fresh produce, and crisp dippers, perfect for feeding groups with minimal cooking required.
Ingredients
Steps
Prep the catering tray
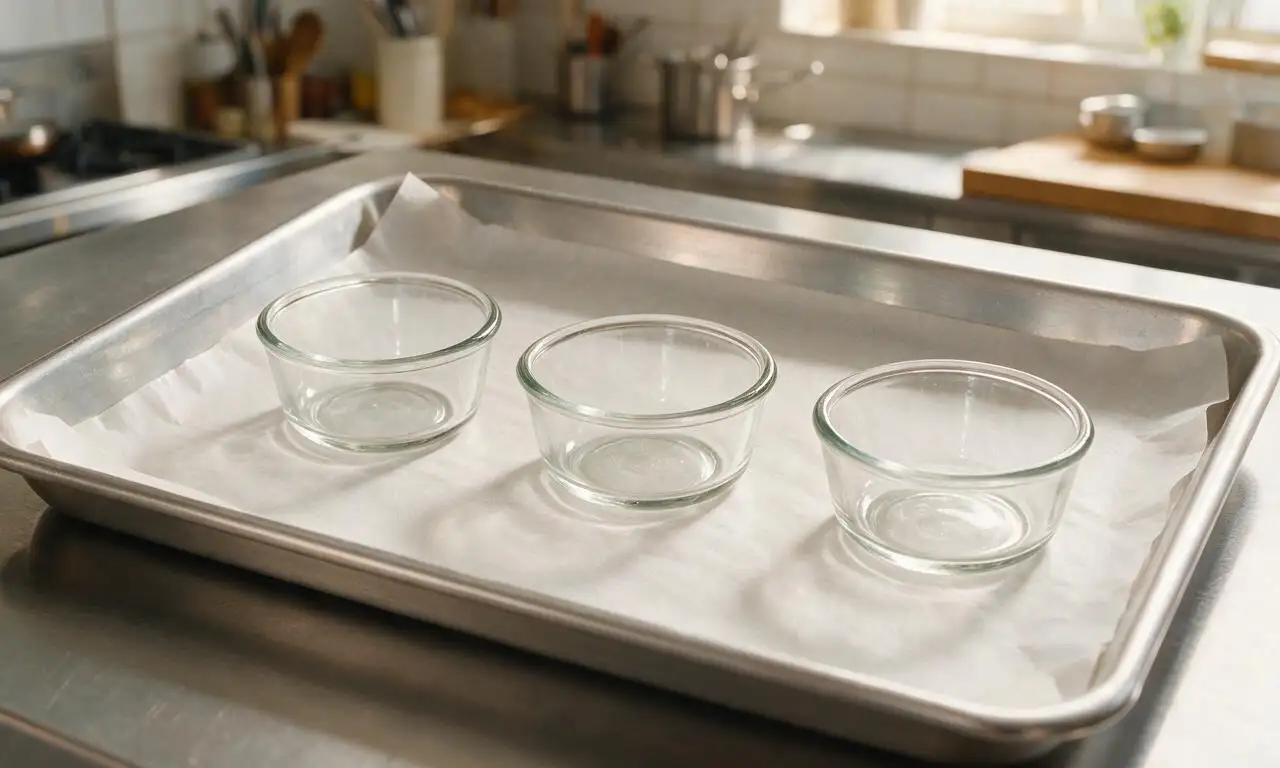
Take a 45cm x 30cm reusable or disposable aluminum catering tray, line the base with food-grade parchment paper cut to exact fit, and set three 120ml ramekins evenly spaced down the tray’s center, leaving 5cm of open space between each ramekin. This prep step takes 4 minutes at room temperature, no heat required.
Fill serving ramekins
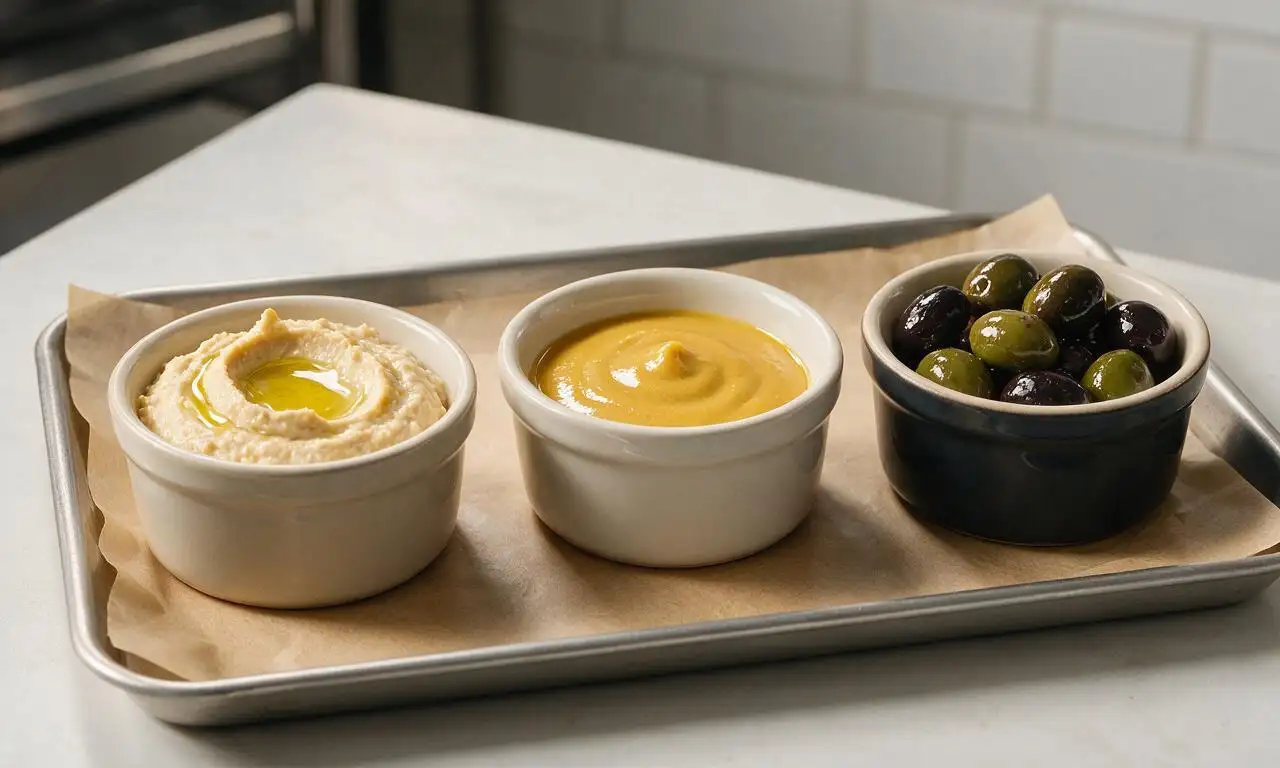
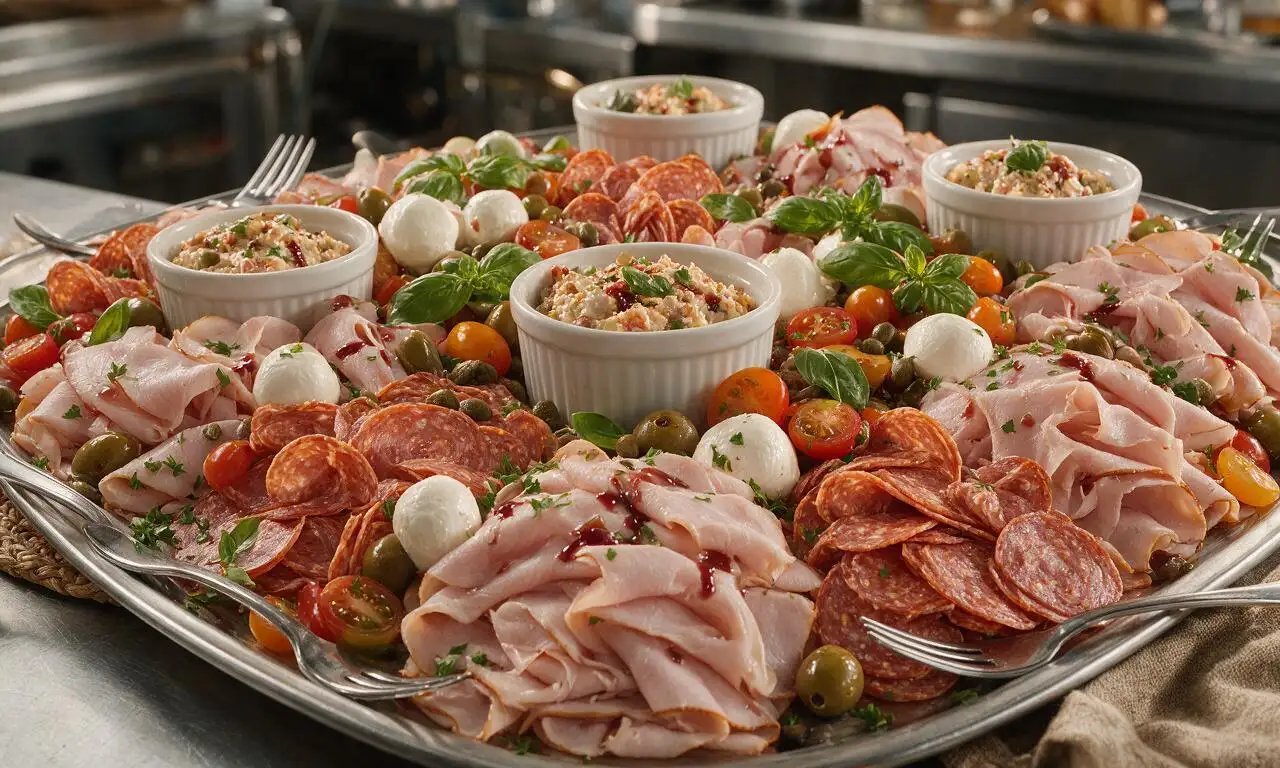
Scoop 250g roasted garlic hummus into the leftmost ramekin, smoothing the top with a small spoon and drizzling 5ml of extra-virgin olive oil over the surface for a polished look. Pour 120ml honey mustard into the middle ramekin, and add 200g mixed pitted olives to the rightmost ramekin. This step takes 3 minutes.
Crisp salami slices
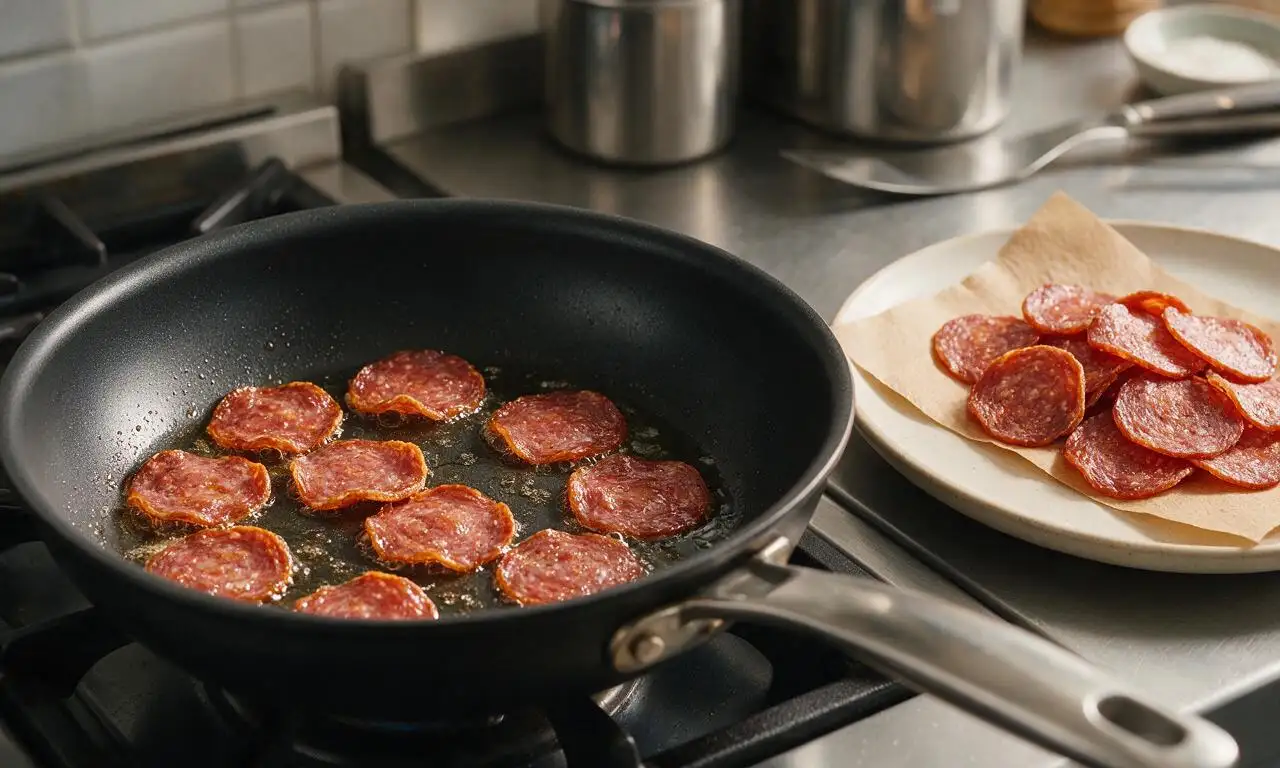
Heat a medium non-stick skillet over medium heat (175°C / 350°F). Working in batches of 6 slices to avoid overcrowding, cook 350g Genoa salami for 45 seconds per side until edges curl and turn deep golden brown. Transfer cooked salami to a paper-towel lined plate to cool and drain for 5 minutes. This cooking step takes 10 minutes total, including batch cook time and cooling.
Arrange meat selections
Fold 450g sliced smoked deli turkey into loose, ruffled 3-slice stacks, and arrange the stacks in two neat, evenly spaced rows between the left hummus ramekin and middle honey mustard ramekin. Tuck the cooled crisp salami slices into loose, easy-to-grab piles between the middle honey mustard ramekin and right olive ramekin, leaving 2cm of open space between meat piles and ramekins to prevent crowding. This step takes 5 minutes.
Add cheeses and produce
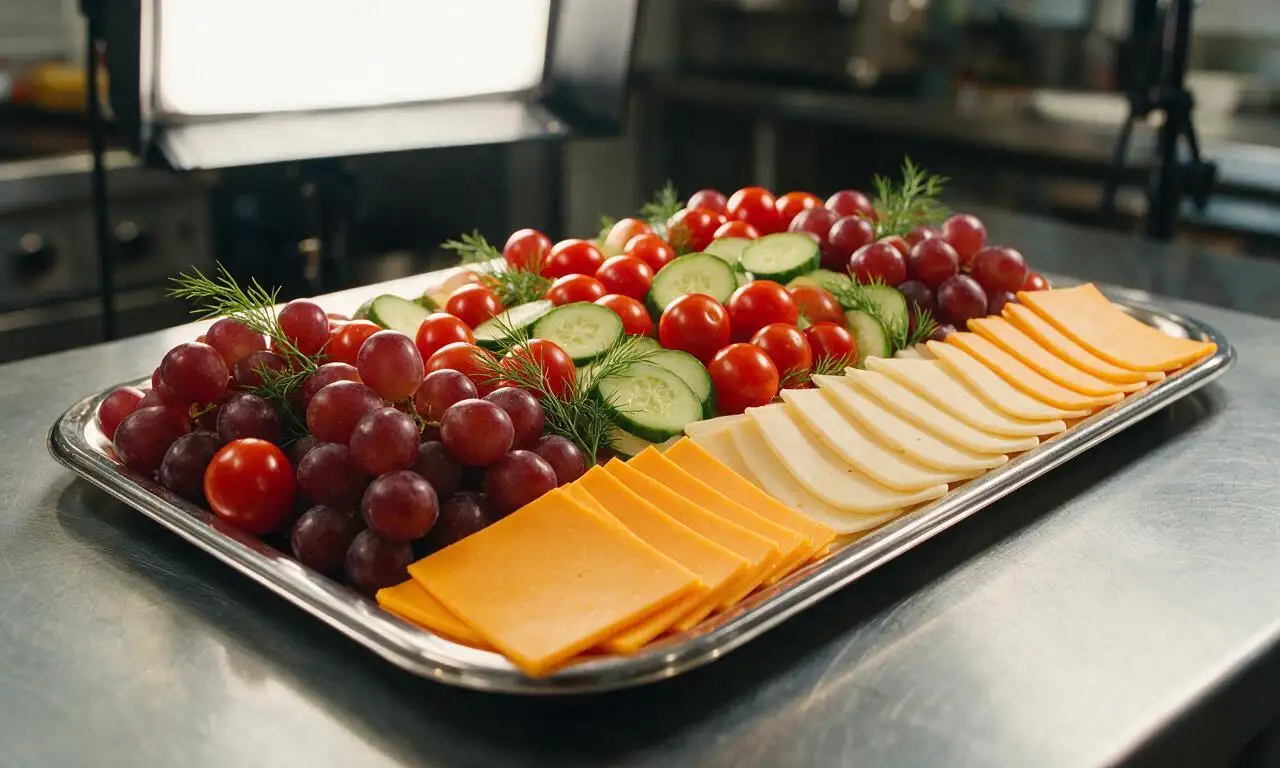
Fan 300g sliced sharp cheddar and 250g sliced provolone in alternating, overlapping rows along the left long edge of the tray. Arrange 400g small seedless red grape clusters, 250g whole cherry tomatoes, and cucumber cut into 1cm-thick rounds along the right long edge of the tray, tucking 15g fresh dill sprigs between produce piles for a fresh green garnish. This step takes 7 minutes.
Add dippers and chill
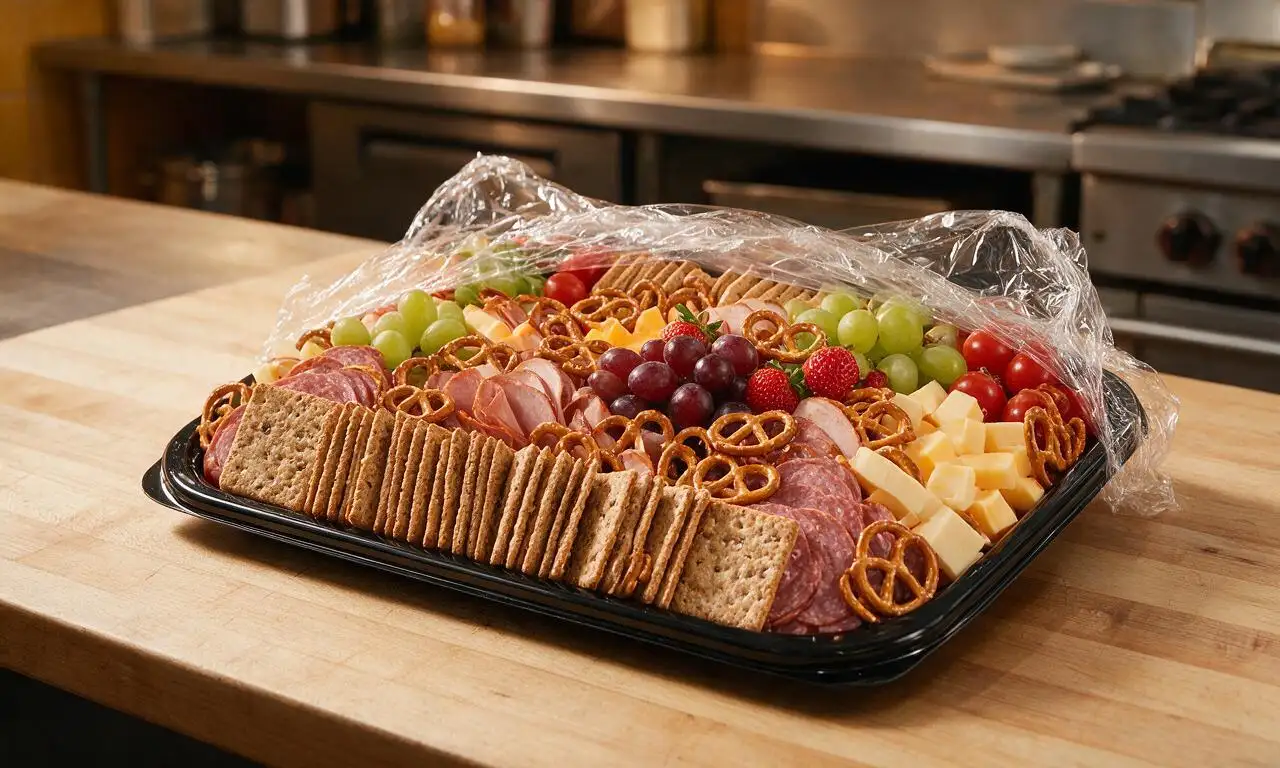
Fill all remaining empty gaps on the tray with 300g whole-grain crackers and 200g mini pretzel twists, standing crackers upright where possible to make them easy for guests to grab. Loosely cover the entire tray with food-safe plastic wrap, and chill in the refrigerator at 4°C (39°F) for 6 minutes to set before serving. This final step takes 6 minutes.
Tips
2.You can prep and arrange meats, cheeses, dips, and produce up to 12 hours in advance (stored covered in the fridge), but add crackers and pretzels no earlier than 30 minutes before serving to keep them crisp.
3.Reserve a small 10cm section of the tray for gluten-free rice crackers if serving guests with dietary restrictions, and add small handwritten labels next to dips to note common allergens like dairy, sesame, and mustard.






OMG I made this for my kid’s soccer team potluck last weekend and it was GONE in 10 minutes flat! So easy to throw together, I even set out a little bowl of spicy mustard on the side for the parents and everyone was raving. 10/10 will make again for our next backyard BBQ!
Total game changer for my fantasy football draft party this year. I usually just dump a bunch of chip bags out and call it a day, but this tray looked so fancy my friends thought I paid to have it catered. Only took me 30 minutes to put together, zero stress at all.
Super easy to adapt for my gluten free household! I just swapped the regular rye bread slices for GF crackers and made sure all the deli meats were certified GF, and my whole family ate this for lunch prep all week. SO good, way cheaper than ordering a pre-made tray from the deli down the street.
Made this for my fraternity’s pregame last Saturday, only note is that I wish I made twice as much? Guys were piling the meat and cheese on rolls so fast I barely got a single bite. Will be doubling the recipe next time for sure.
I made this for my granddaughter’s high school graduation open house and it was perfect! All the older guests loved the classic deli flavors, and the kids kept coming back for the cheese cubes. I arranged it on my big vintage platter and it looked so pretty on the food table.
I don’t even make this for parties tbh! I portion out the meat, cheese, and cracker stacks into little to-go containers for my husband and I to grab for work lunches all week. It takes 35 minutes total on Sunday and saves us so much money on takeout lunches. Obsessed.
Wait I was skeptical a party tray could be that good but wow, this is so much better than the sad pre-made trays from the grocery store. The tip to fold the deli meat instead of just laying it flat? *Chef’s kiss* makes it look so professional.
Okay full transparency I forgot I was hosting book club until an hour before people showed up, and this recipe saved my entire butt. I sprinted to the grocery store, grabbed all the ingredients, threw it together in 25 minutes, and none of my friends knew I was 20 minutes away from texting everyone to reschedule. Total win!
Made this for our annual Labor Day cookout, told my kids I spent 3 hours crafting the perfect artisanal charcuterie board. They bought it until my wife ratted me out and told them it took 30 minutes total. Worth it. 10/10, super easy to lie about how much effort you put in when it looks this nice.
Really great base recipe! I have a kid with a tree nut allergy so I skipped the suggested nut garnish and added extra grapes and cherry tomatoes instead, and it worked perfectly. Super flexible for different dietary needs, which I really appreciate as a mom.
I run a small hair salon and I put this tray out for my clients during our holiday open house, and I got so many compliments! Multiple clients asked for the recipe, I told them I found it here. Way more affordable than ordering catering for 40 people.
I’m literally a college student who burns toast 90% of the time, and I managed to make this for my roommate’s birthday party without messing anything up. The instructions were so clear, no fancy skills needed. 10/10 for total beginners like me.
Packed this up for our tailgate before the big game last weekend, and it held up perfectly even in the cooler for 4 hours. The cheese didn’t get soggy, the meat stayed fresh, everyone kept grabbing bites between plays. Will be a regular in our tailgate rotation from now on.
I made this for a casual baby shower brunch I hosted, and paired it with mini croissants so people could make little sandwiches. It was such a hit! The mom-to-be said it was her favorite food at the whole shower, which is a win in my book.
I did the math, making this tray cost me less than half of what the local deli charges for a comparable party tray. And it tastes fresher too! I’ll never buy a pre-made deli tray again, this is so much better.
Really solid base recipe! I added some pepper jack cheese and pickled jalapeños to give it a little extra heat, since my friend group goes crazy for spicy food. The only reason I’m not giving it 5 stars is I wish the recipe had a few more suggested flavor variations in the notes, but overall it’s a total home run.
I’ve been making deli trays for my bridge club for 40 years, and this layout is so much better than the way I used to arrange everything! The tip to group like items together and add little garnishes between sections makes it so much easier for people to grab what they want without making a mess.
Wait I made this for last year’s Super Bowl party and everyone is still talking about it! I’m making it again this year, and I’m adding a little chocolate covered pretzel section on the end for people who want a sweet bite with their salty meat and cheese. So excited.