
cheese corn sandwich
intro
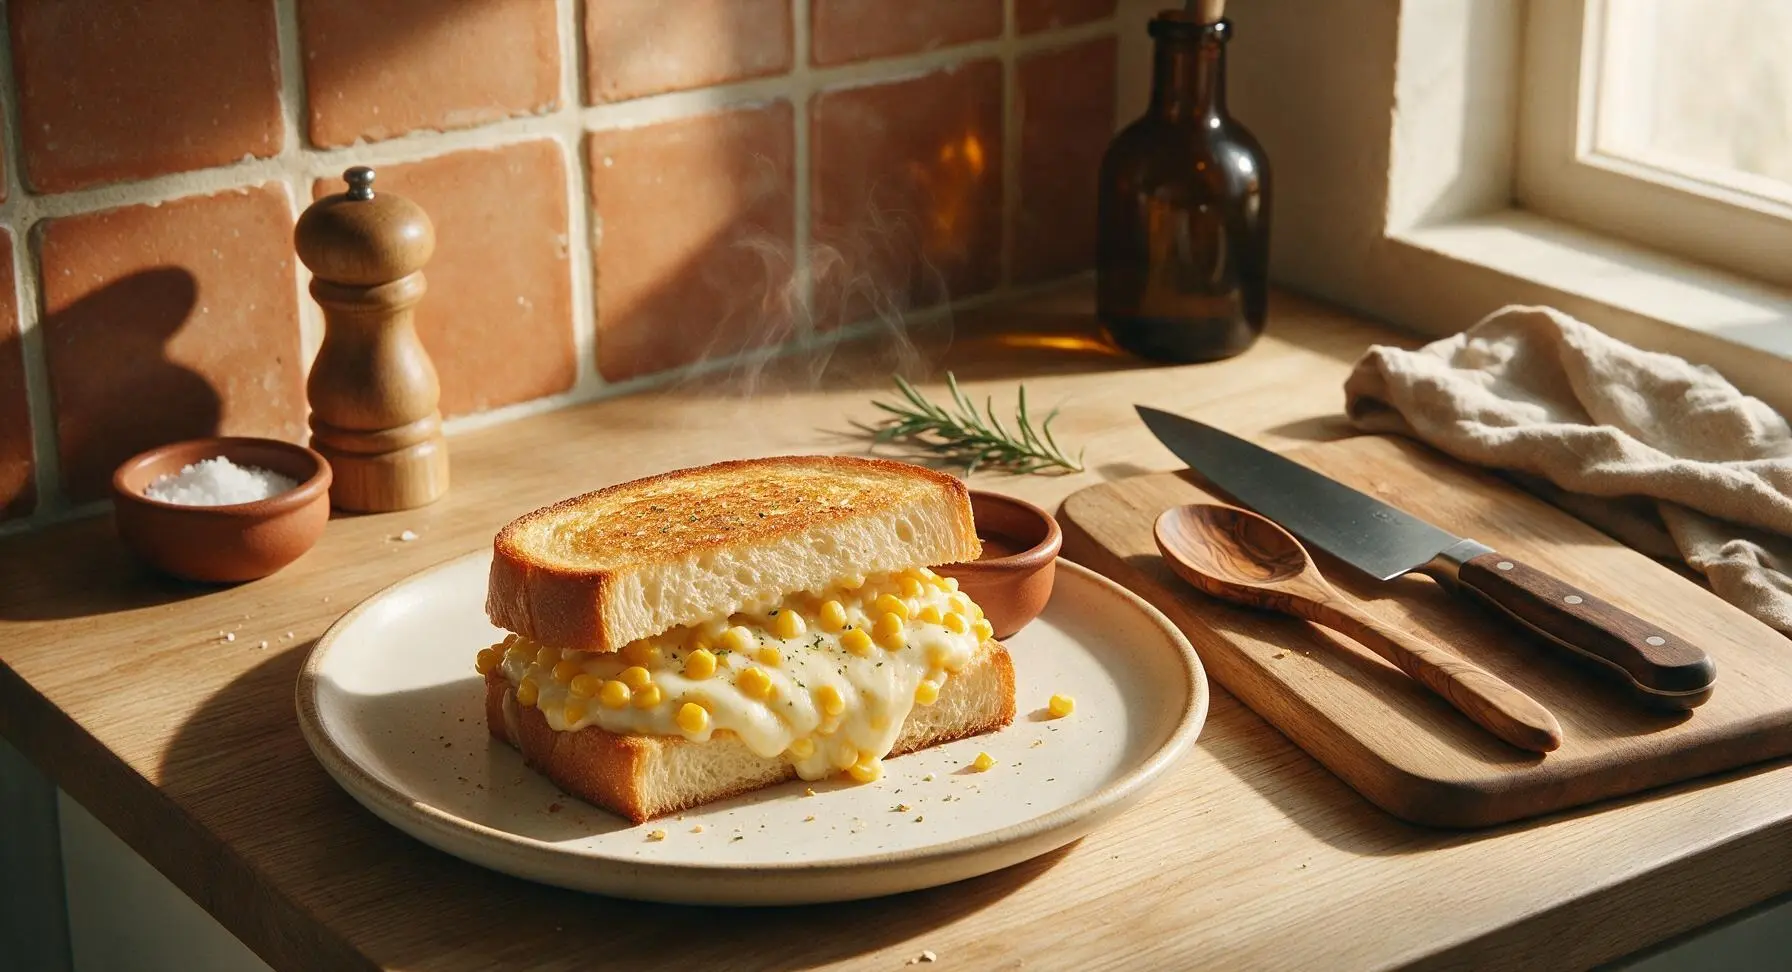
Crispy golden toasted bread oozing with melted mozzarella and sweet, buttery corn, lightly herbed—this quick, satisfying sandwich comes together in under 20 minutes for cozy, no-fuss eating.
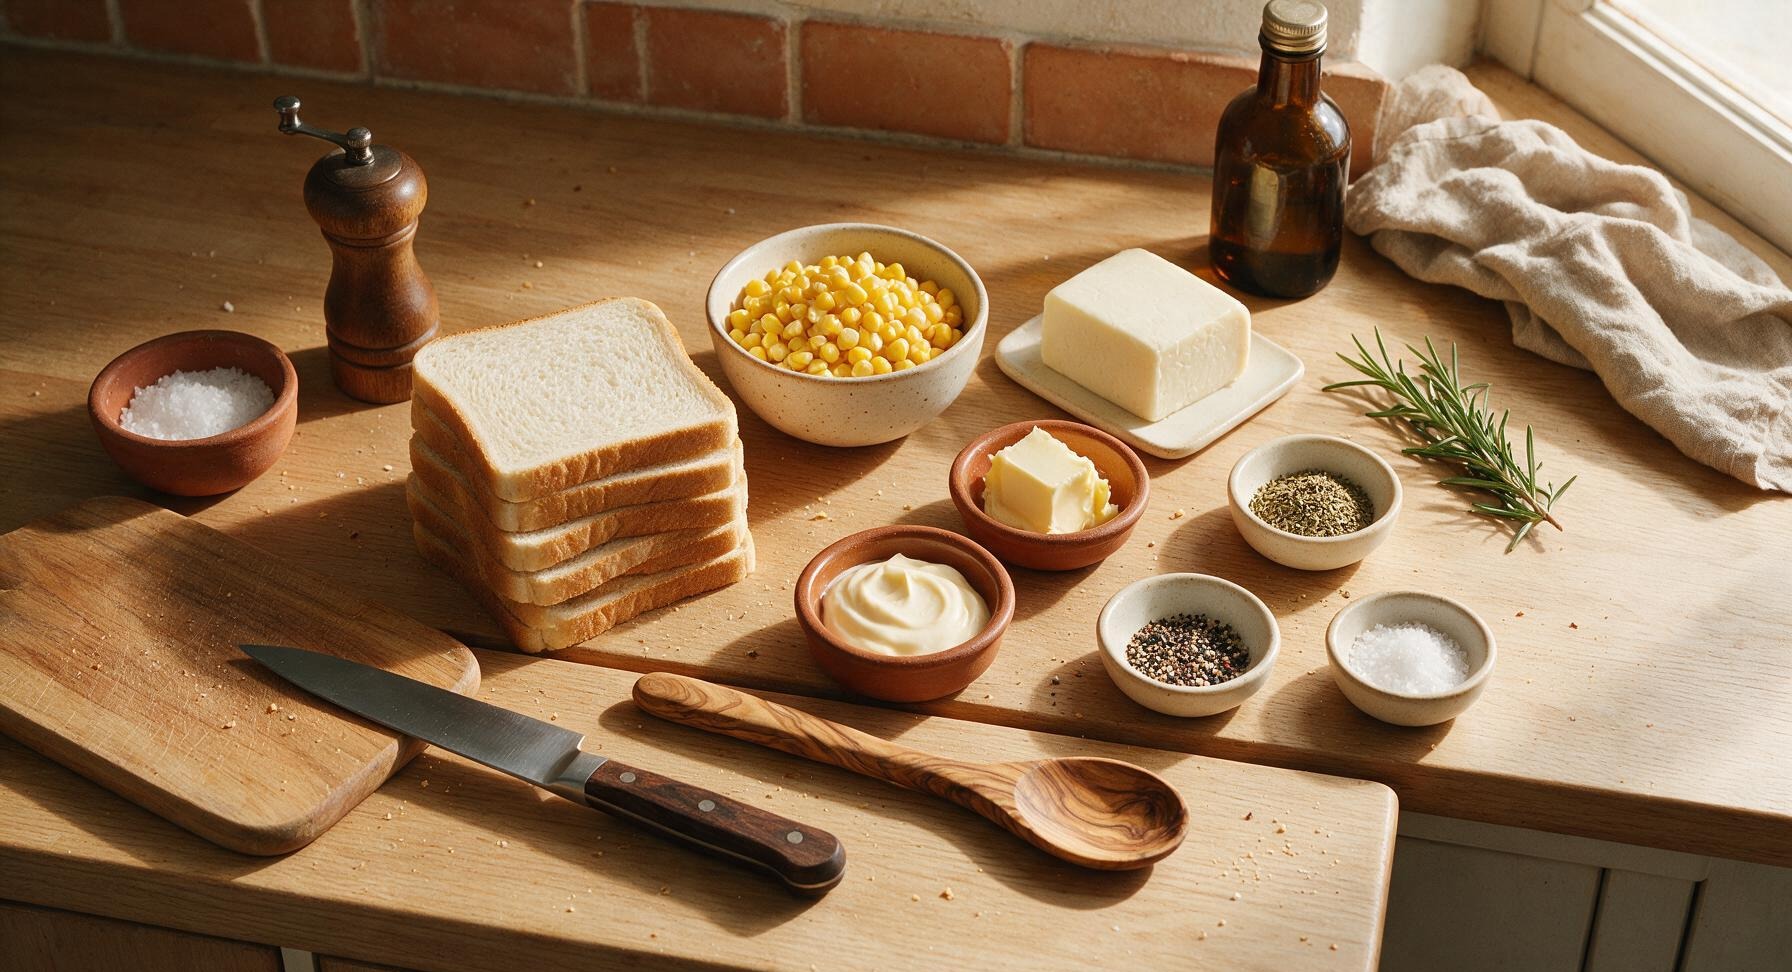
Ingredients
Steps
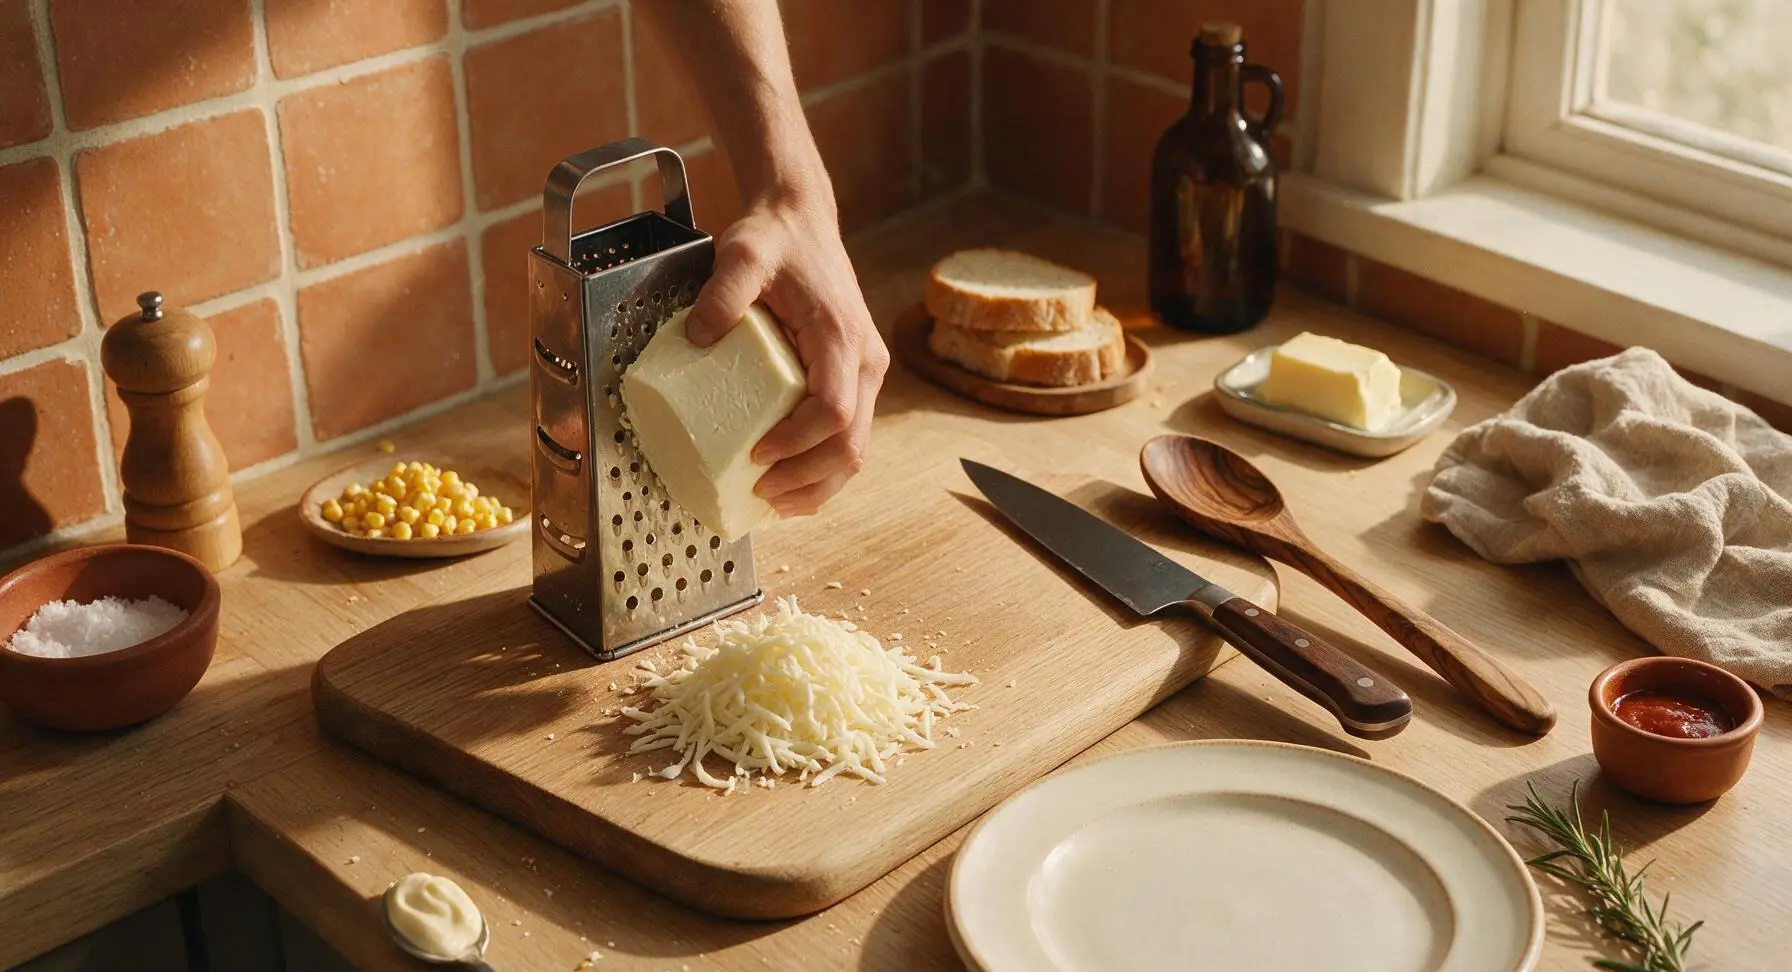
Shred fresh mozzarella
Place the small stainless steel box grater on the rear left of the light beech cutting board. Hold the block of low-moisture mozzarella firmly against the large holes of the grater, applying even pressure to shred into fine, fluffy pieces until you have 1.5 cups of shredded cheese. Set shredded cheese in a loose pile on the front edge of the cutting board; do not pack the shreds tightly, as this will lead to uneven melting.
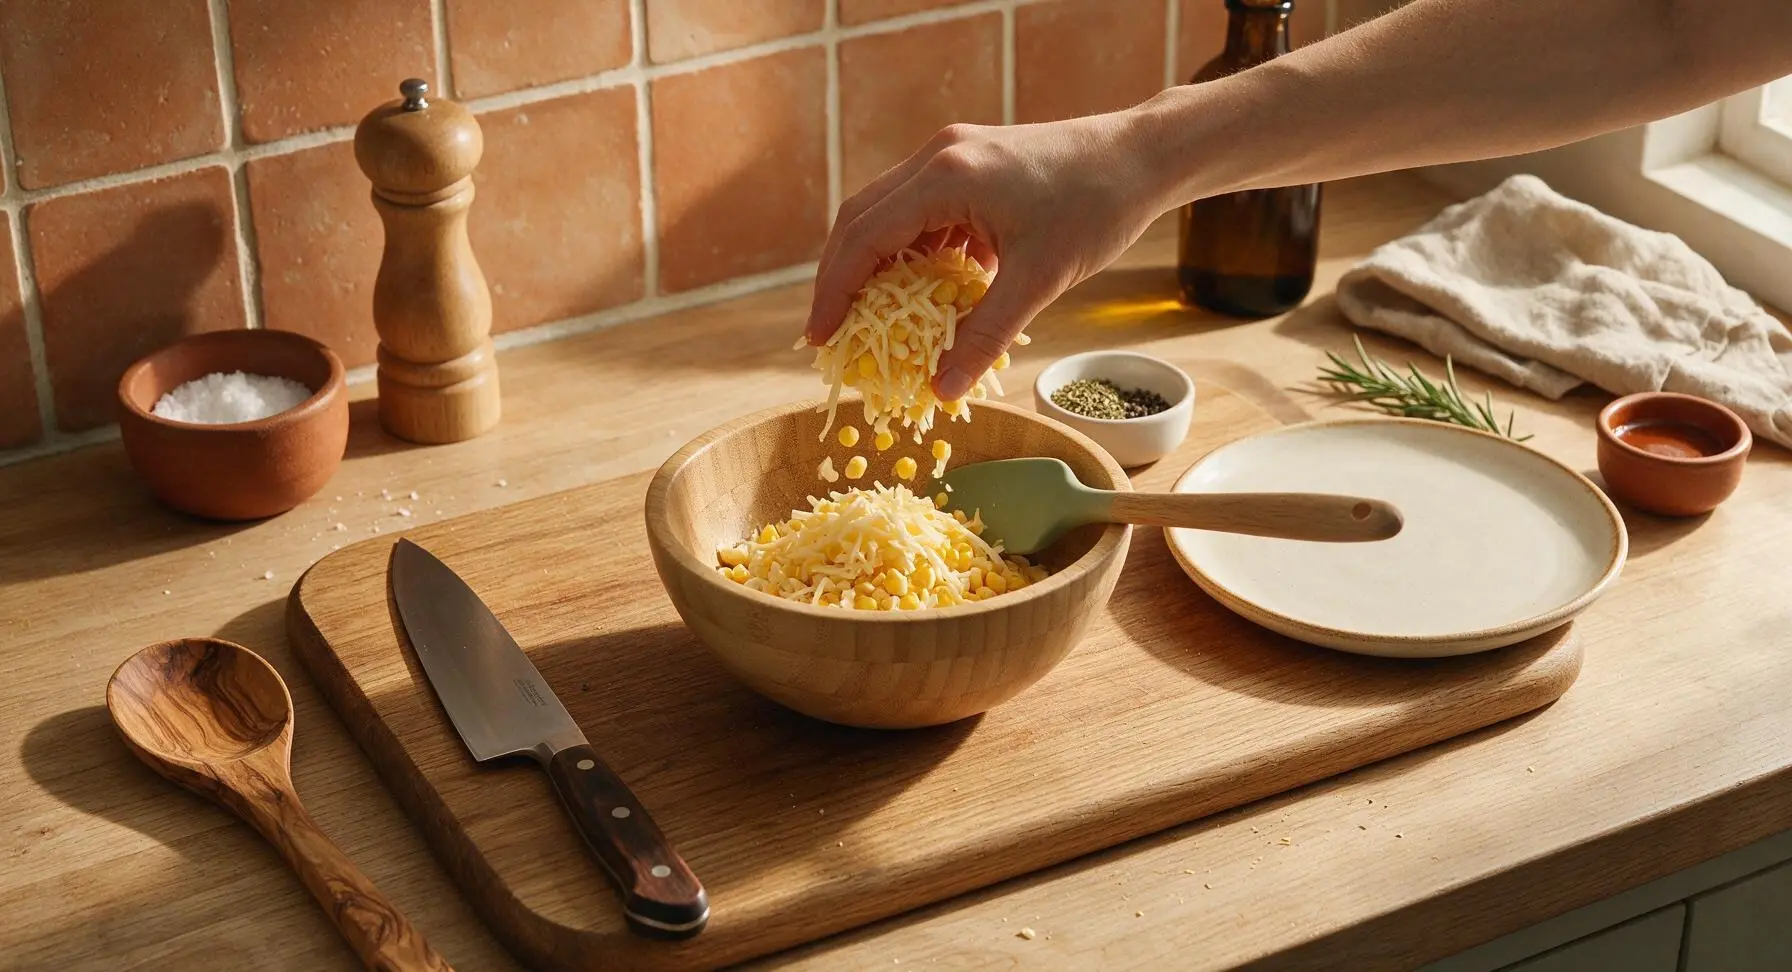
Mix corn cheese filling
Move the small light bamboo mixing bowl to the center of the beech cutting board. Add the sweet corn kernels (patted dry with a corner of the pale yellow linen towel if using thawed frozen corn to remove excess moisture), shredded mozzarella, 2 tablespoons mayonnaise, 1 teaspoon dried oregano, 1/2 teaspoon black pepper, and 1/4 teaspoon sea salt to the bowl. Stir thoroughly with the pale sage green silicone spatula until every corn kernel is evenly coated in cheese and creamy seasoning, with no dry clumps of spice remaining at the bottom of the bowl.
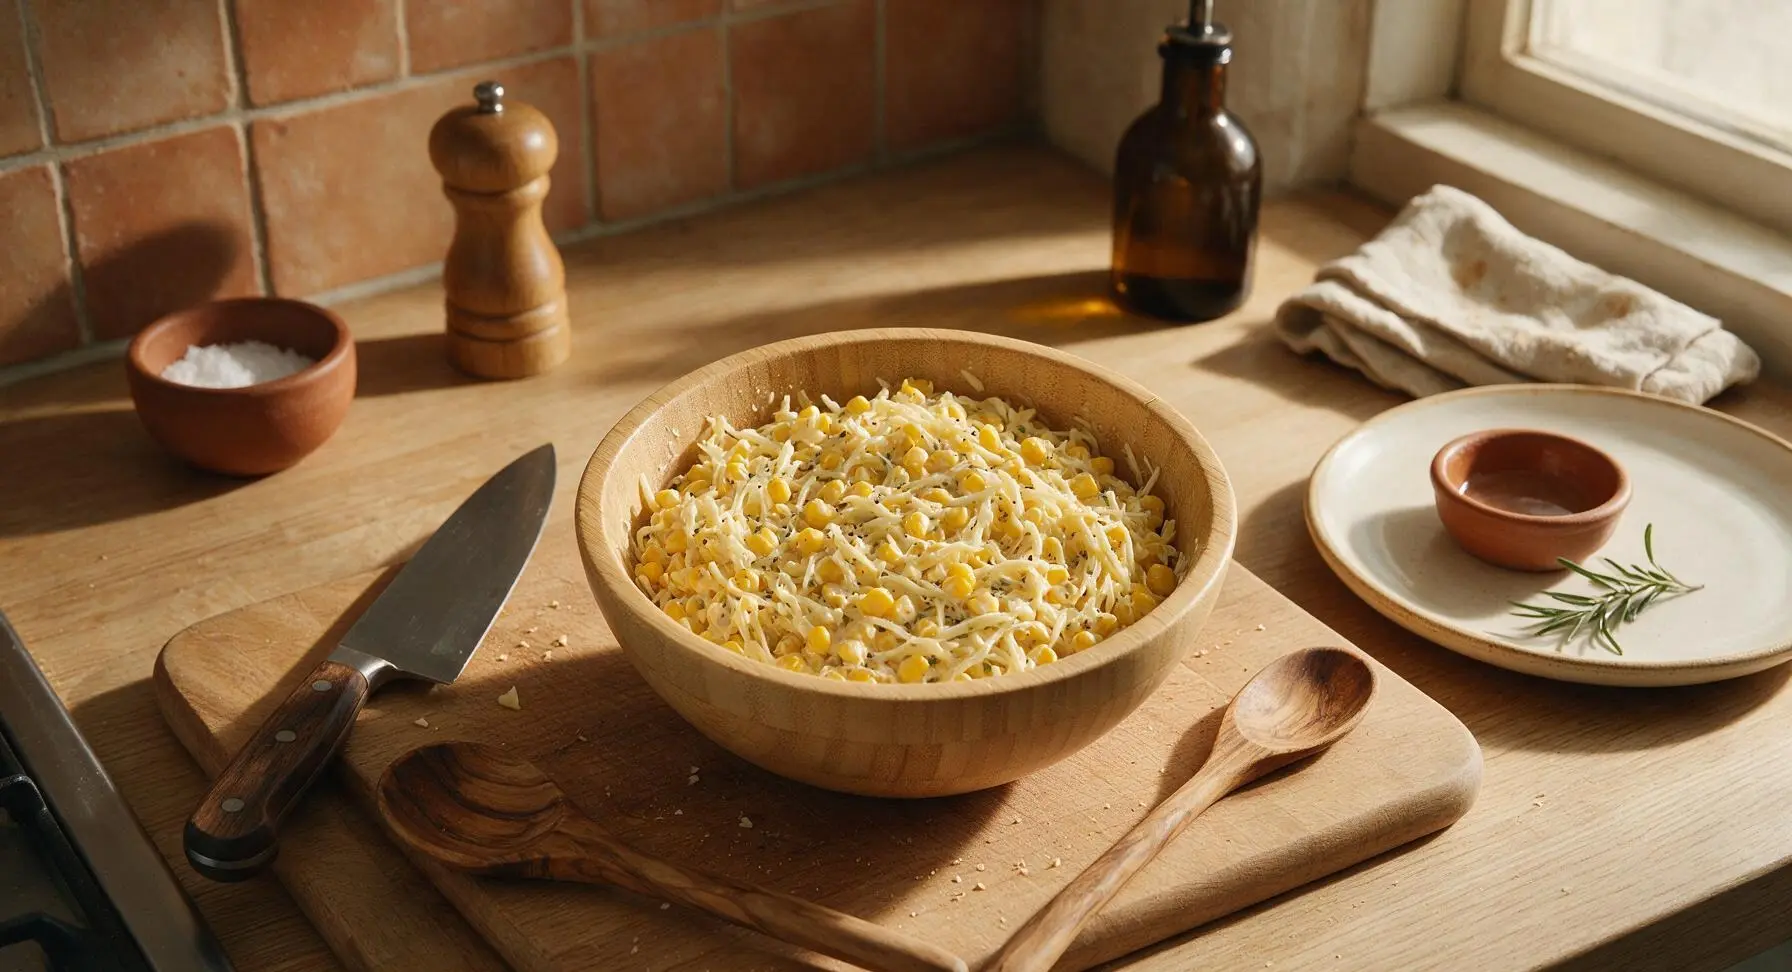
Butter all bread slices
Lay all 8 slices of white sandwich bread flat across the beech cutting board. Use the tip of the sage green silicone spatula to spread 1 teaspoon of softened salted butter evenly across one full side of each bread slice, spreading all the way to the crust edges to ensure even, uniform crisping during toasting. The buttered side of each slice will be the outer, toasted surface of the finished sandwich.
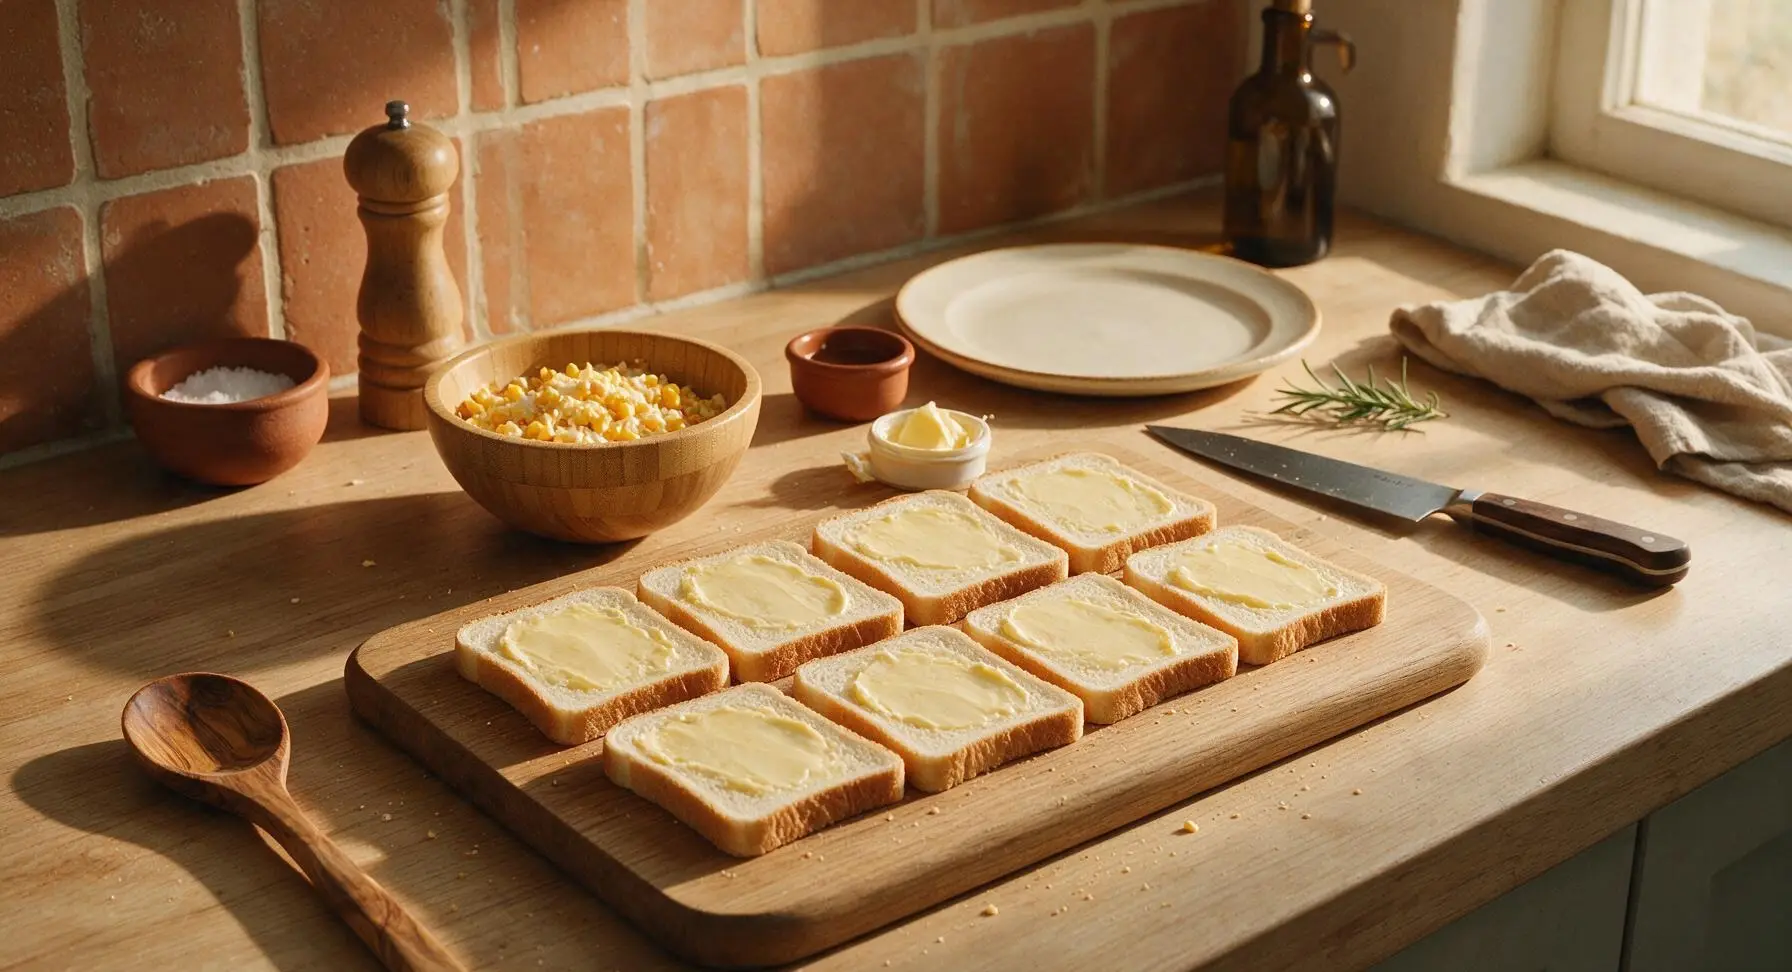
Assemble sandwich layers
Flip 4 of the buttered bread slices over so the buttered side faces down against the cutting board. Spoon 1/4 of the corn-cheese filling onto the unbuttered side of each of these 4 base slices, spreading the filling evenly to 1/2 inch from the crust edge to prevent filling from oozing out while toasting. Top each filled base with a second bread slice, buttered side facing up, and press down gently on the top of each sandwich to seal the edges.
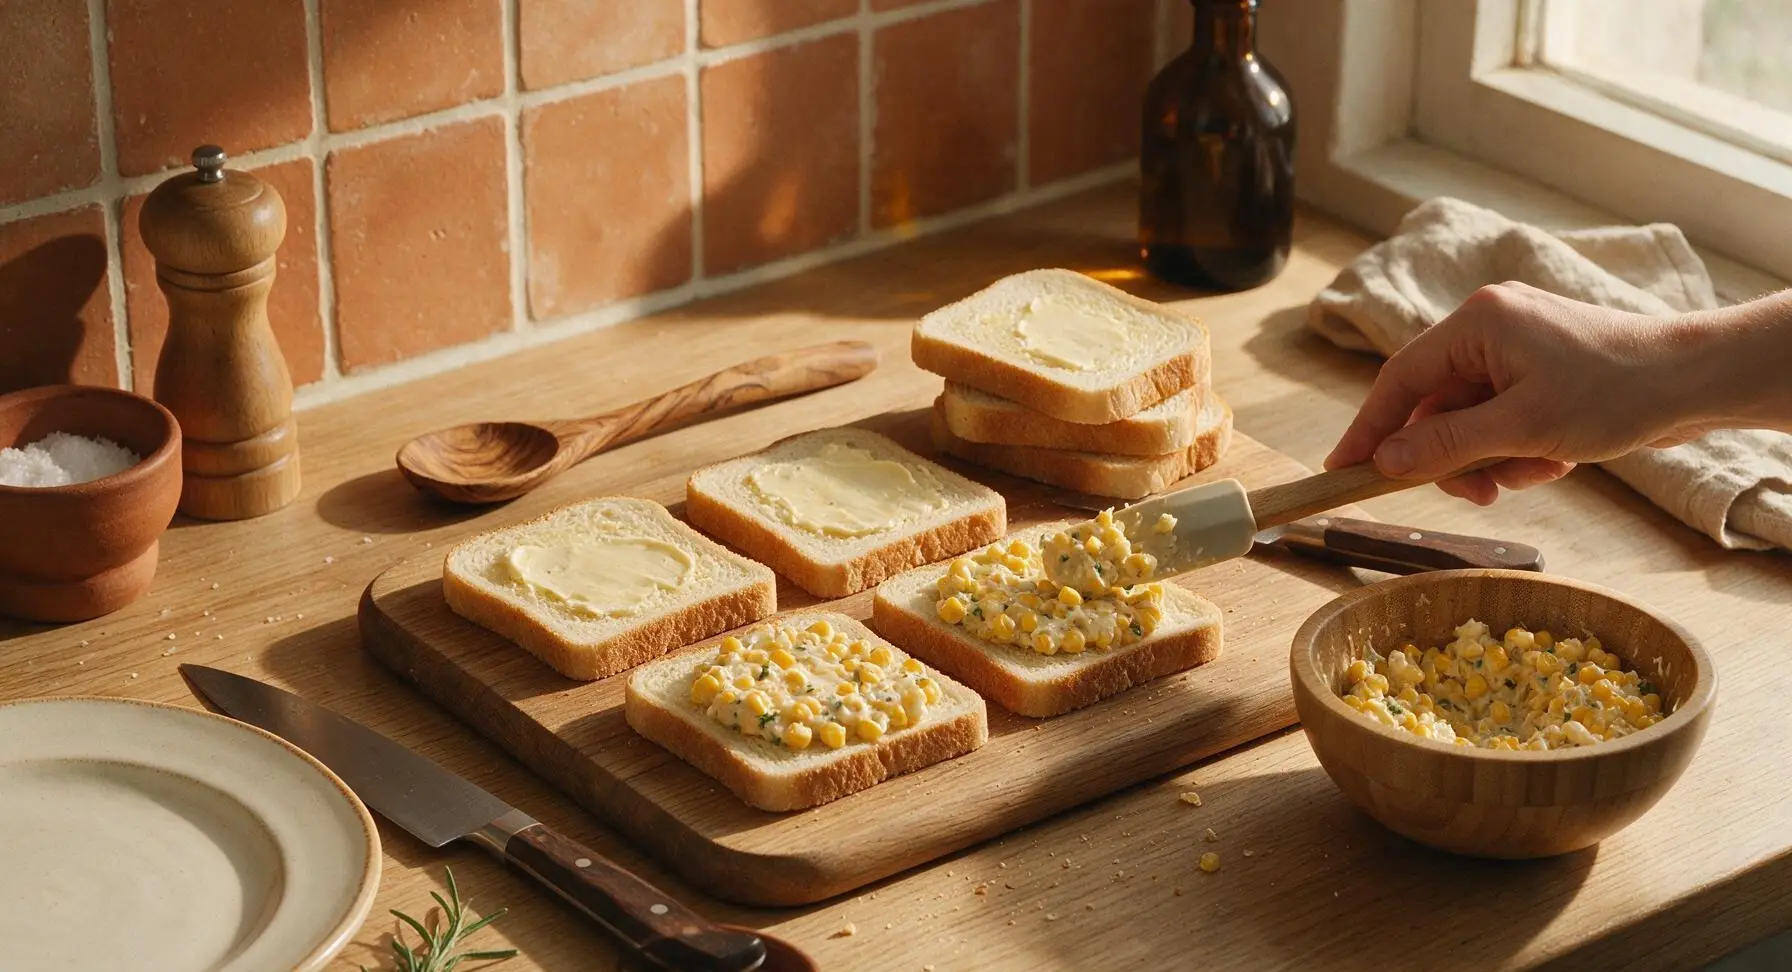
Preheat non-stick skillet
Retrieve the 24cm matte charcoal non-stick skillet from below the counter and place it on the rear right induction cooktop zone built into the counter. Heat over medium-low heat (325°F / 160°C) for 2 minutes, until the pan surface is warm enough that a single drop of water sizzles and dances across the surface immediately on contact. Do not heat on high, as this will burn the bread before the center cheese melts.
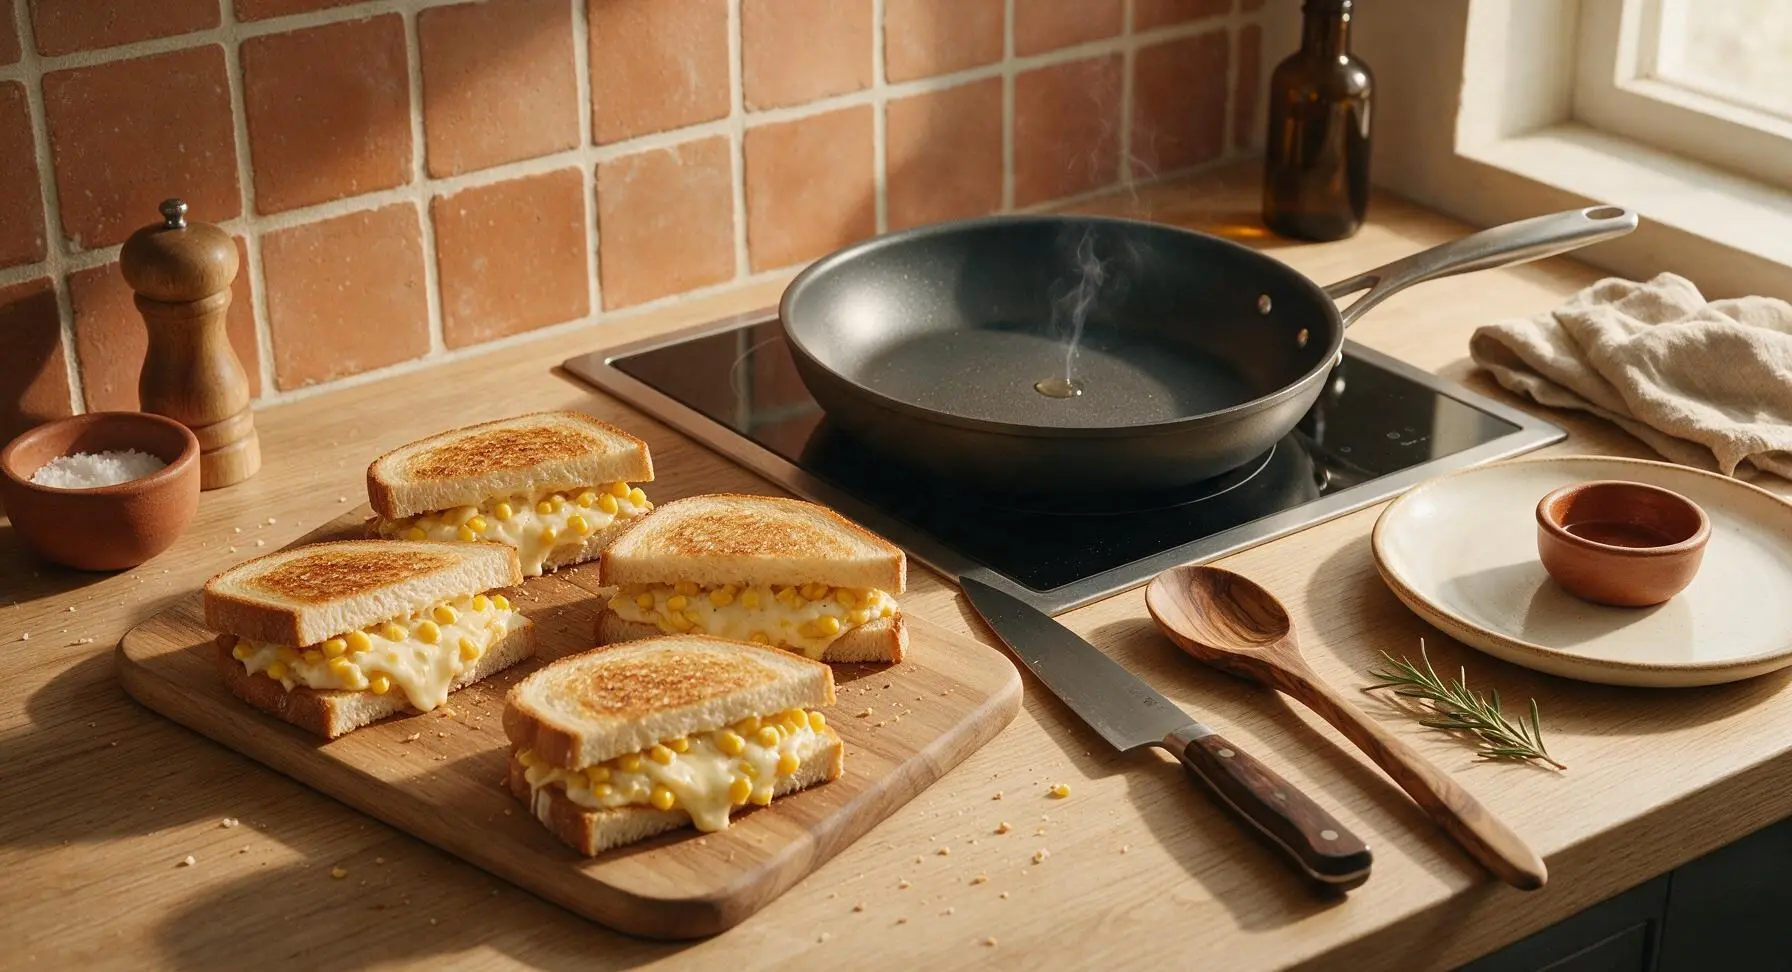
Toast first sandwich side
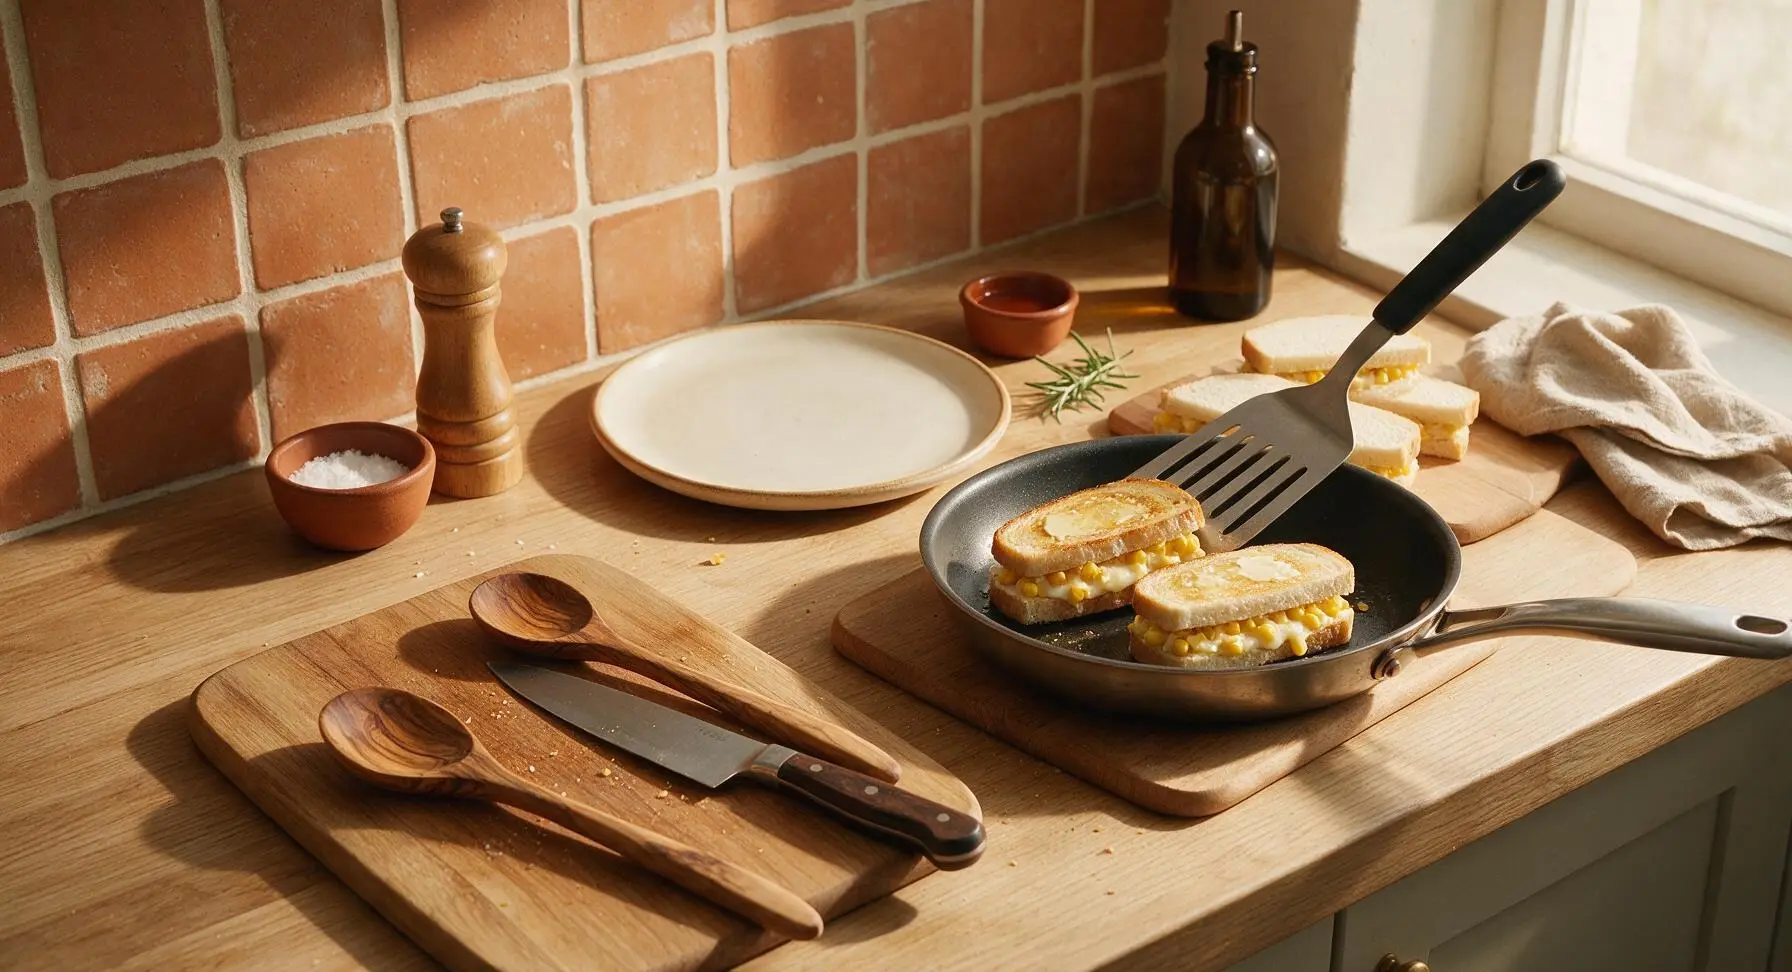
Use the matte stainless steel sandwich spatula with the black silicone handle to carefully lift 2 assembled sandwiches and place them in the preheated skillet. Cook for 3 minutes on the first side, without pressing down hard on the sandwiches (pressing squeezes out filling and compresses the bread), until the bottom bread surface is deep golden brown and crispy, and the cheese closest to the pan has started to melt and bubble slightly at the edges.

Flip and finish toasting
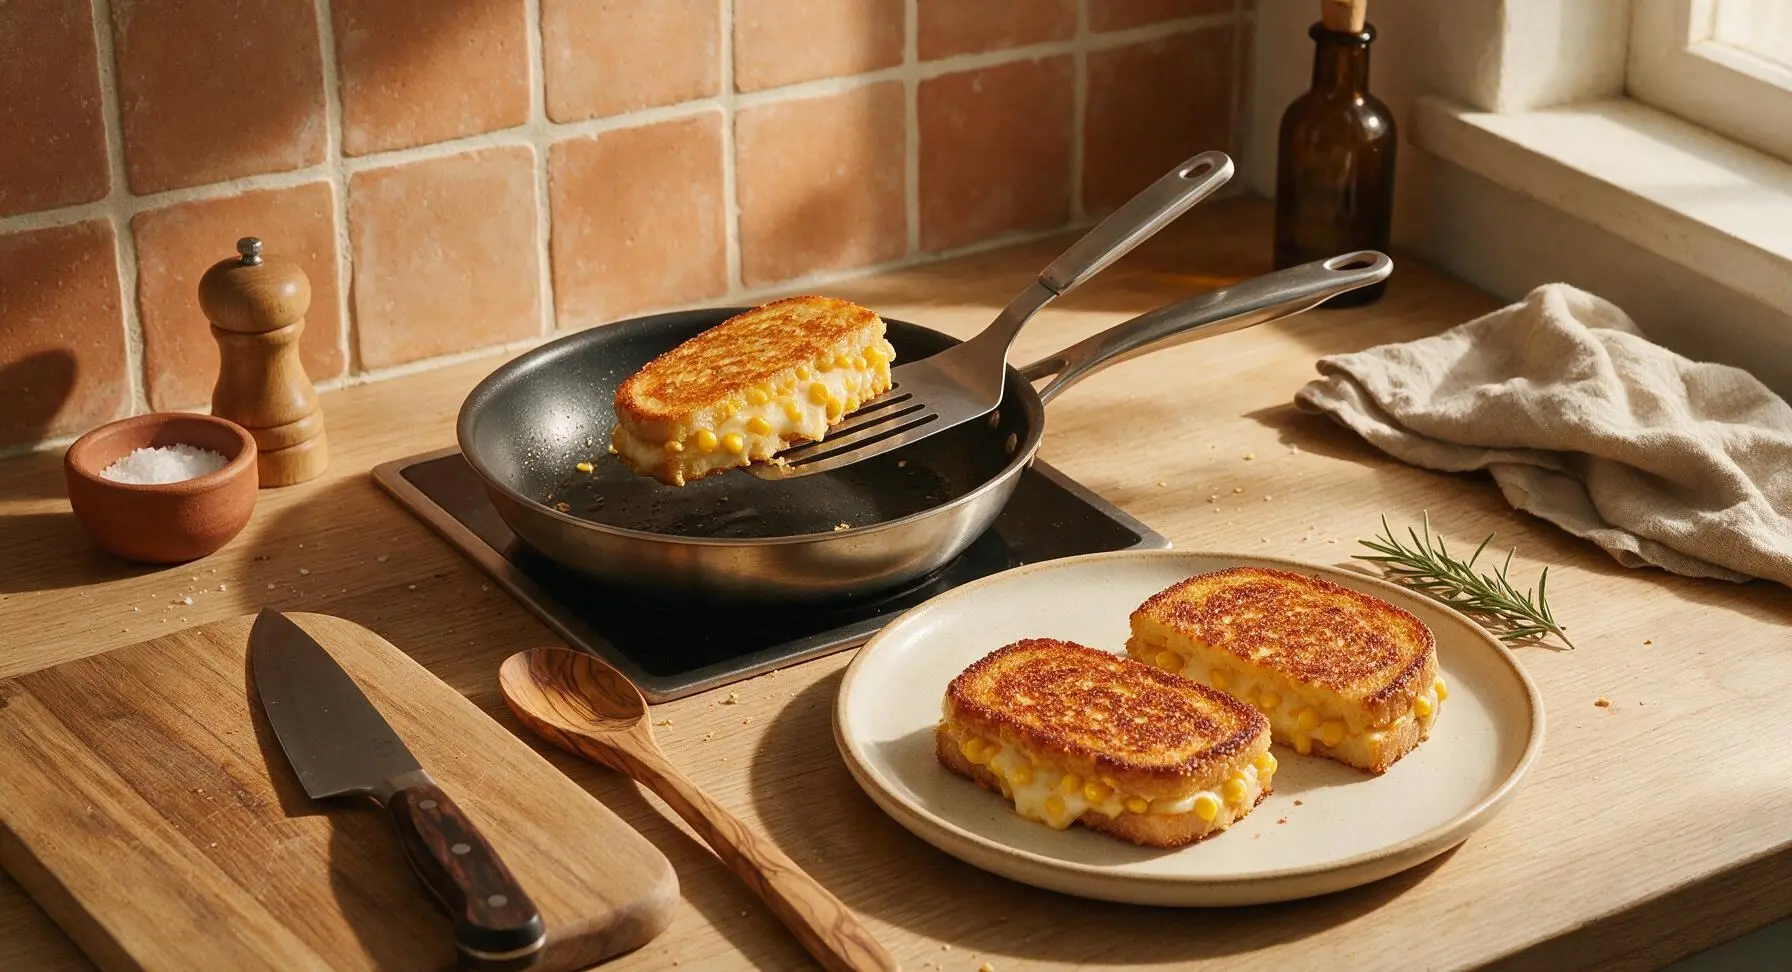
Slide the sandwich spatula fully under each sandwich to support the entire bread surface, then flip gently to cook the second side. Cook for another 2-3 minutes, until the second side is equally deep golden brown and crispy, and cheese oozes slightly from all edges of the sandwich (a visual cue that the center cheese is fully melted). Transfer cooked sandwiches to the matte cream ceramic dinner plate at front right, then repeat the toasting process with the remaining 2 uncooked sandwiches.
Cut and rest sandwiches
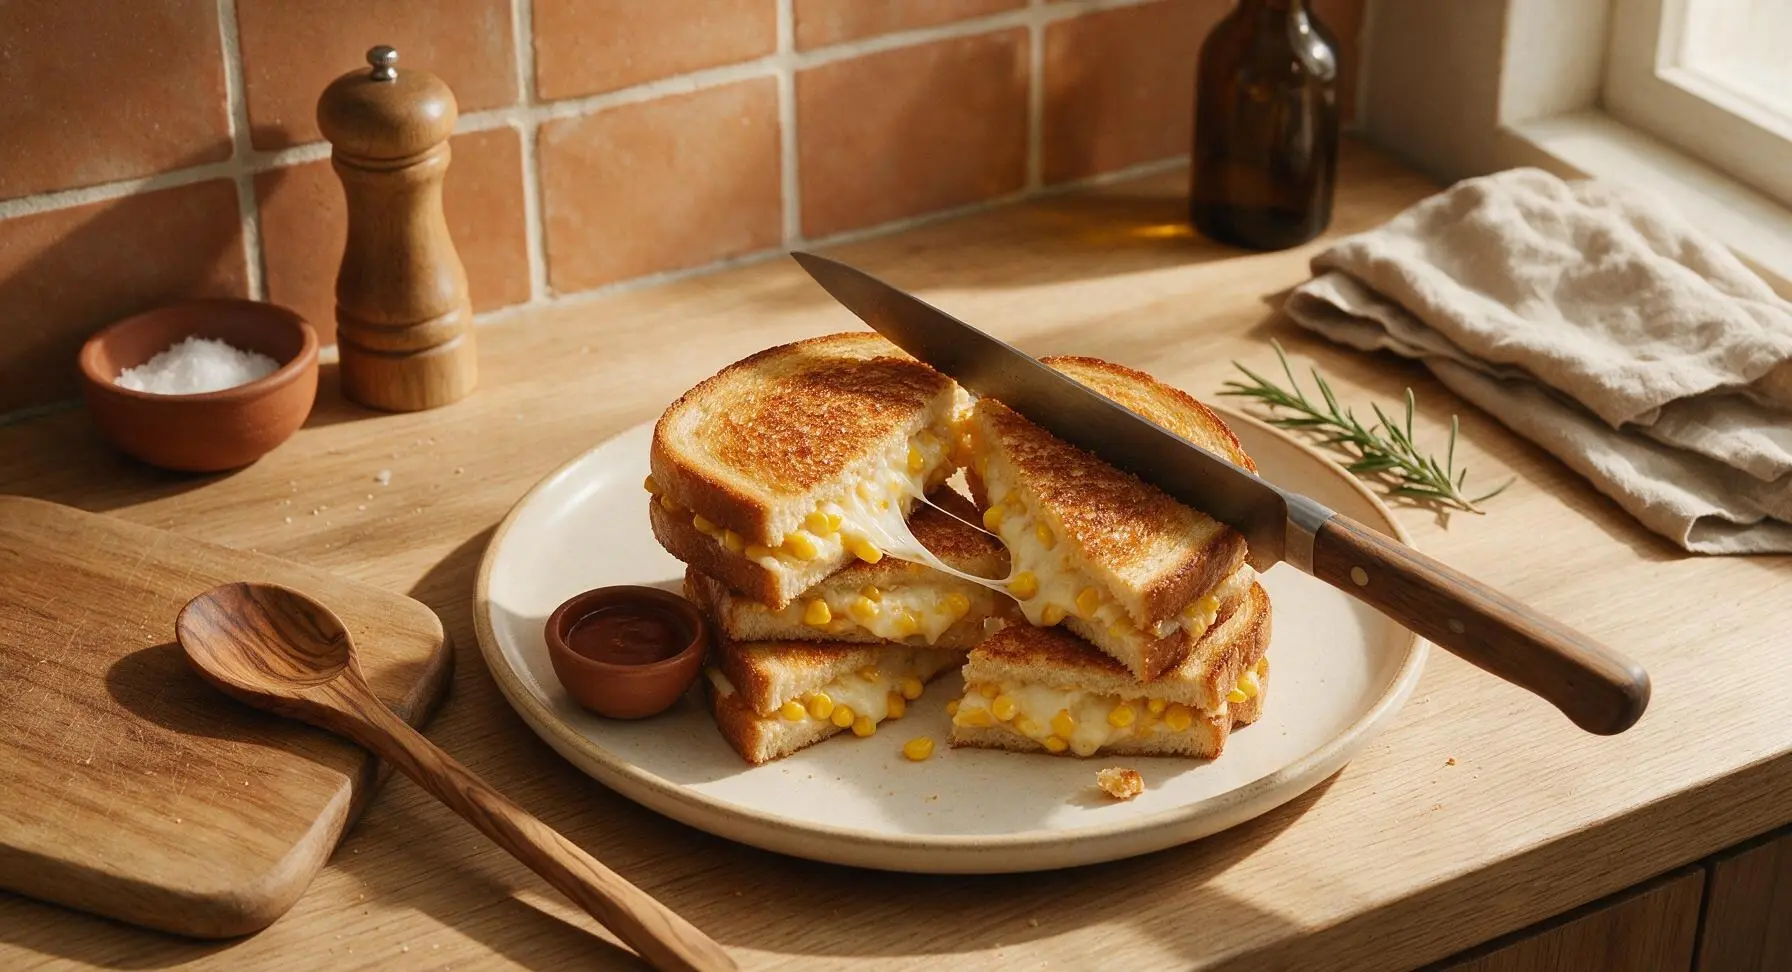
Once all 4 sandwiches are cooked and transferred to the cream ceramic plate, let them rest for 1 full minute to allow the melted cheese to set slightly (this prevents filling from gushing out when cut or bitten into). Use the 8-inch beech-handled chef knife to cut each sandwich diagonally into two equal triangles, arranging the pieces to display the melted corn and cheese filling.
Tips
2.Always cook the sandwiches on medium-low heat (325°F / 160°C) rather than high heat: high temperatures will burn the bread crust to a dark, bitter brown before the cheese in the center of the thick filling has time to fully melt, leading to an unpleasantly crunchy exterior with cold, unmelted filling inside.
3.Do not skip the 1-minute rest after cooking: this short pause allows the super-hot, runny melted cheese to thicken slightly, so it does not gush out the sides of the sandwich when you take the first bite, and keeps the toasted bread crisp instead of turning soggy from contact with hot, wet cheese.






I swapped the regular sourdough for gluten free bread and used dairy-free cheddar for my food sensitivities, and these cheese corn sandwiches came out SO good! I was worried the substitutions would make them bland or the cheese not melt right, but it was perfectly gooey and flavorful. Such a forgiving, easy recipe!
Threw this together as a late-night snack after my ranked Valorant grind and holy cow it hit the spot. I only had canned corn on hand so I used that, and it worked perfectly. Pro tip: drizzle a little hot honey on top before you close the sandwich — total game changer.
As a broke college junior with a busted stovetop and only a tiny toaster oven, this recipe saved my sad weeknight dinner. No fancy ingredients, took literally 10 minutes, and tasted way better than the $12 sandwich from the campus cafe. Will be making this at least once a week for the rest of the semester.
Y’all, this was the first thing I’ve ever cooked that didn’t come out burnt or totally bland! I was so nervous I’d mess it up, but the steps were so straightforward even I could follow them. My roommate said it tasted like something from the fancy sandwich shop downtown, I was so proud.
This is going straight into my weekly work meal prep rotation! It’s so quick to throw together, uses minimal ingredients, and holds up really well wrapped in parchment paper and foil for grab-and-go lunches. I used a mix of sharp cheddar and pepper jack because that’s what I had in the fridge, and it was chef’s kiss.
My 4-year-old is the pickiest eater on the entire planet, and he ate TWO of these cheese corn sandwiches for dinner last night without a single complaint. I stirred in a little finely diced red bell pepper to the corn and cheese mix to sneak in some extra veggies, and he didn’t even notice. Total mom win!
I made a big batch of these for our neighborhood block party potluck last weekend and they were gone in literally 15 minutes! So many people came up to ask for the recipe, I couldn’t believe how big of a hit they were. Quick question — has anyone tried keeping these warm in a slow cooker for parties?
OMG this cheese corn sandwich is a total game changer! I threw these together in 10 minutes flat before my kids’ soccer practice last week, and they begged me to pack them for school lunches every day this week. The gooey melted cheese mixed with sweet corn is just unbeatable. I added a tiny pinch of smoked paprika for a little kick, and it was perfect.
Made these for a lazy Sunday brunch with my girlfriends a couple weeks ago and we all devoured them. I served them with a side of spicy tomato soup for dipping, and it was the coziest, most perfect fall combo. I already have plans to make them again for our Friendsgiving appetizer spread next month!