
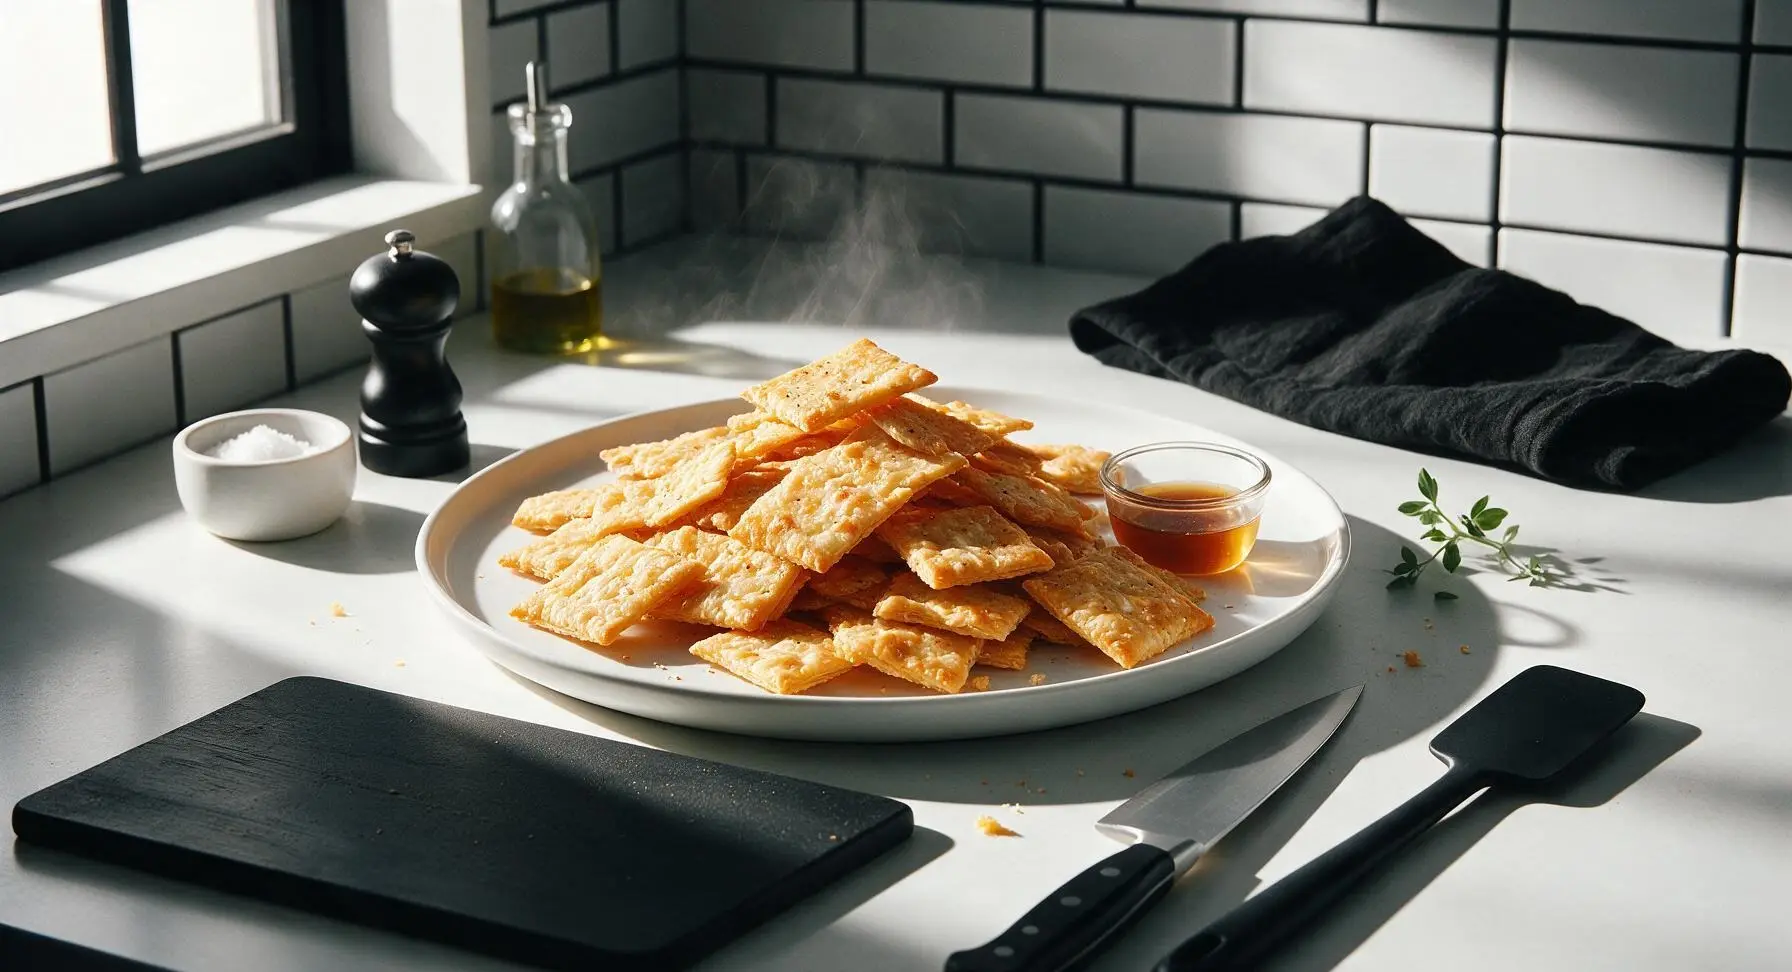
cheese cracker

title 1
cheese cracker
⏱️ cook time 12 minutes
🍽️ servings 6
⚡ Difficulty easy

intro

Crisp, buttery homemade sharp cheddar cheese crackers, baked to golden perfection with a light salty, smoky kick—ideal for snacking, dipping, or pairing with cheese boards.

Ingredients
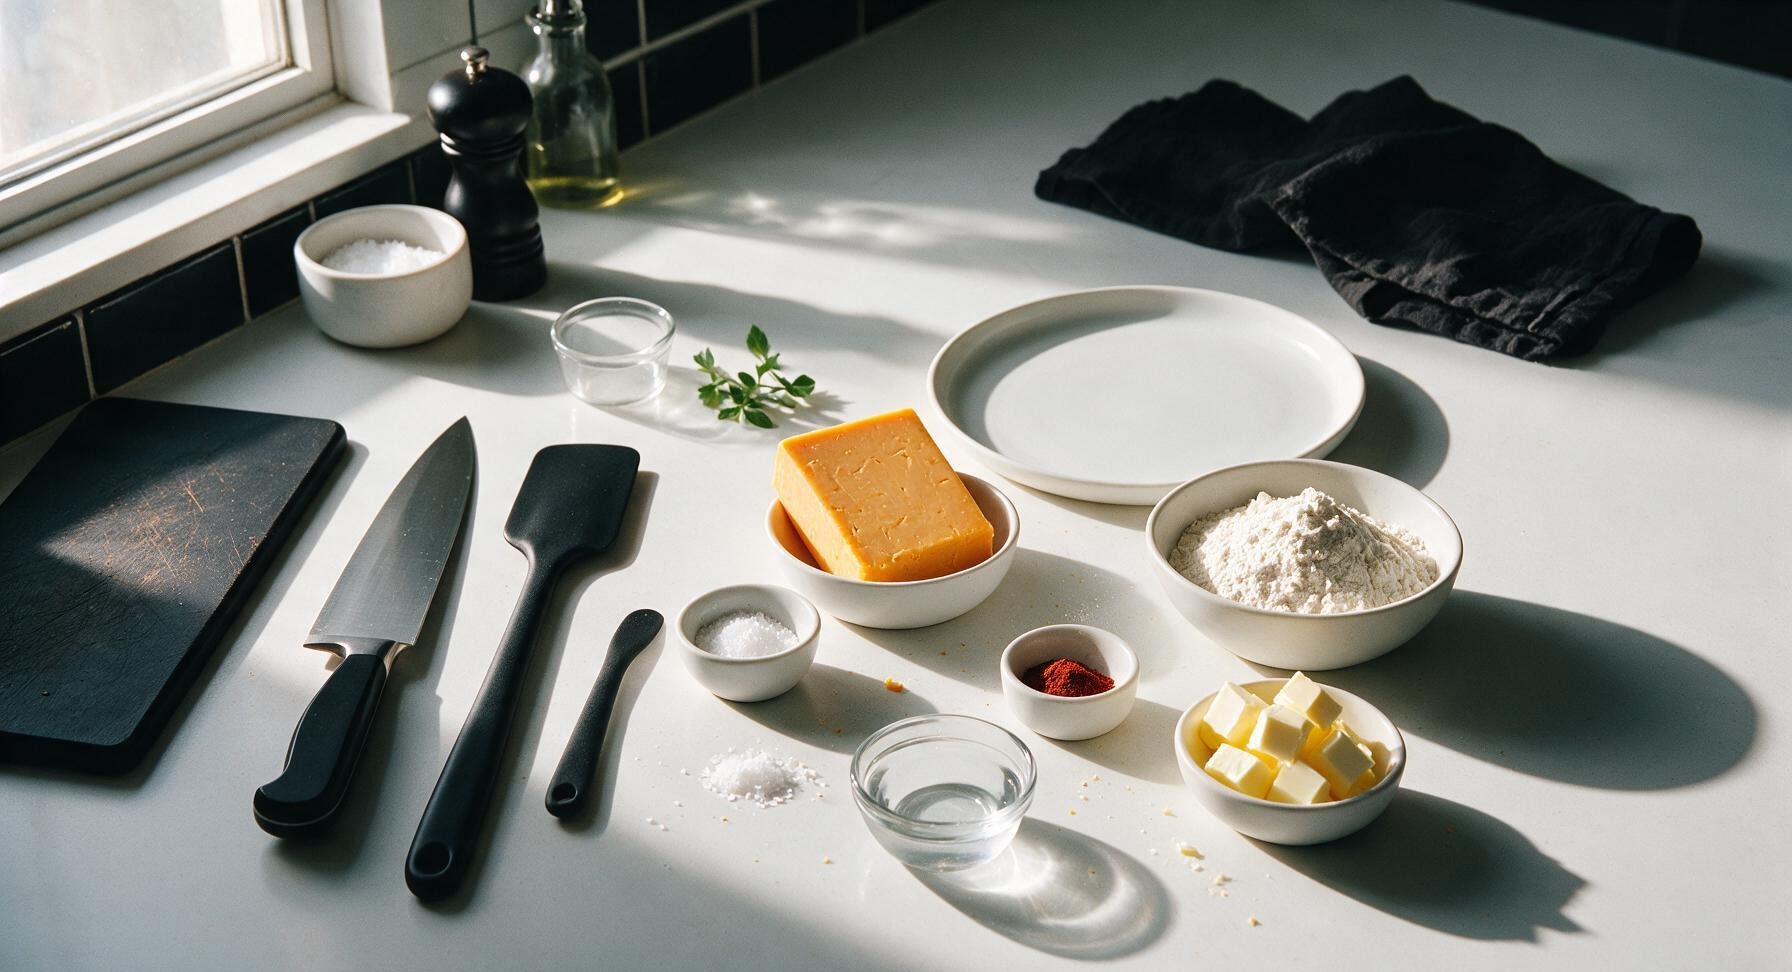
Sharp cheddar cheese 8 oz (225g)
All-purpose flour 1 cup (120g)
Cold unsalted butter 4 tbsp (57g, 1/2 stick)
Fine sea salt 1/2 tsp
Smoked paprika 1/4 tsp
Ice cold water 2 tbsp
Flaky sea salt 1 tsp

Steps

1

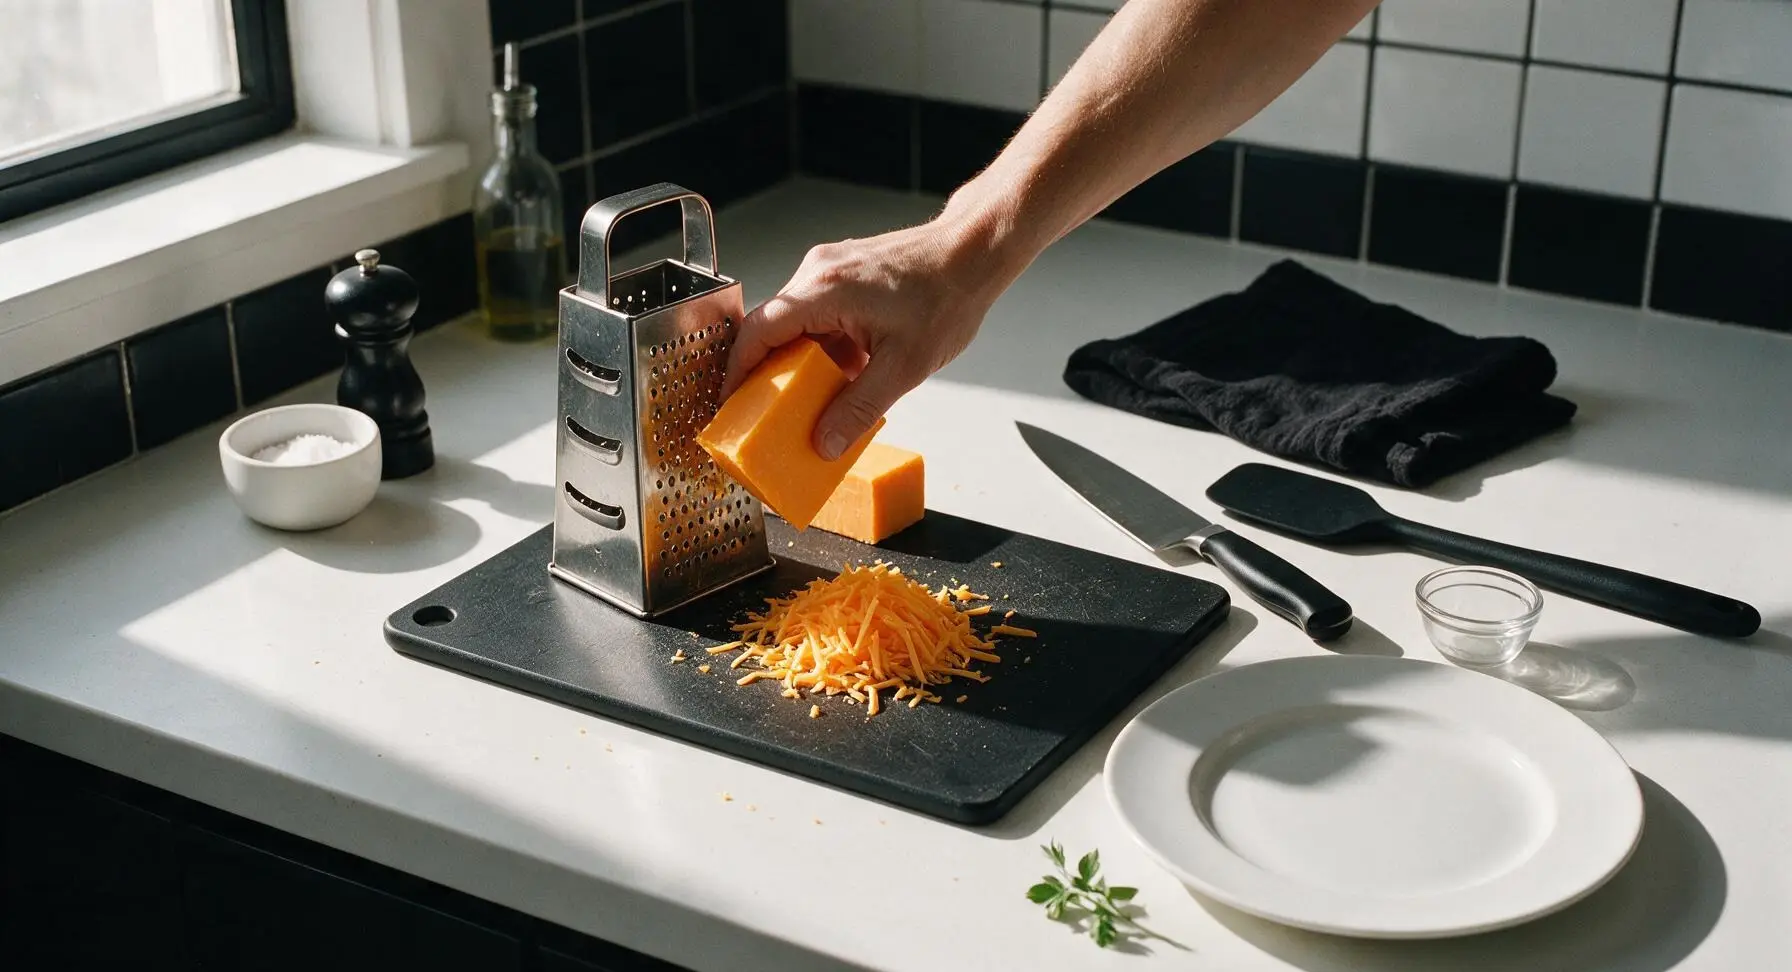
Grate Sharp Cheddar

Place the matte stainless steel box grater on the left edge of the birch cutting board. Hold the cold 8oz block of sharp cheddar against the smallest grating holes, and shred into fine, even pieces to make approximately 2 cups of loosely packed shredded cheese. Avoid pre-shredded cheese, as anti-caking additives will create a tough, crumbly dough.
Step 1
step1:Grate Sharp Cheddar
2

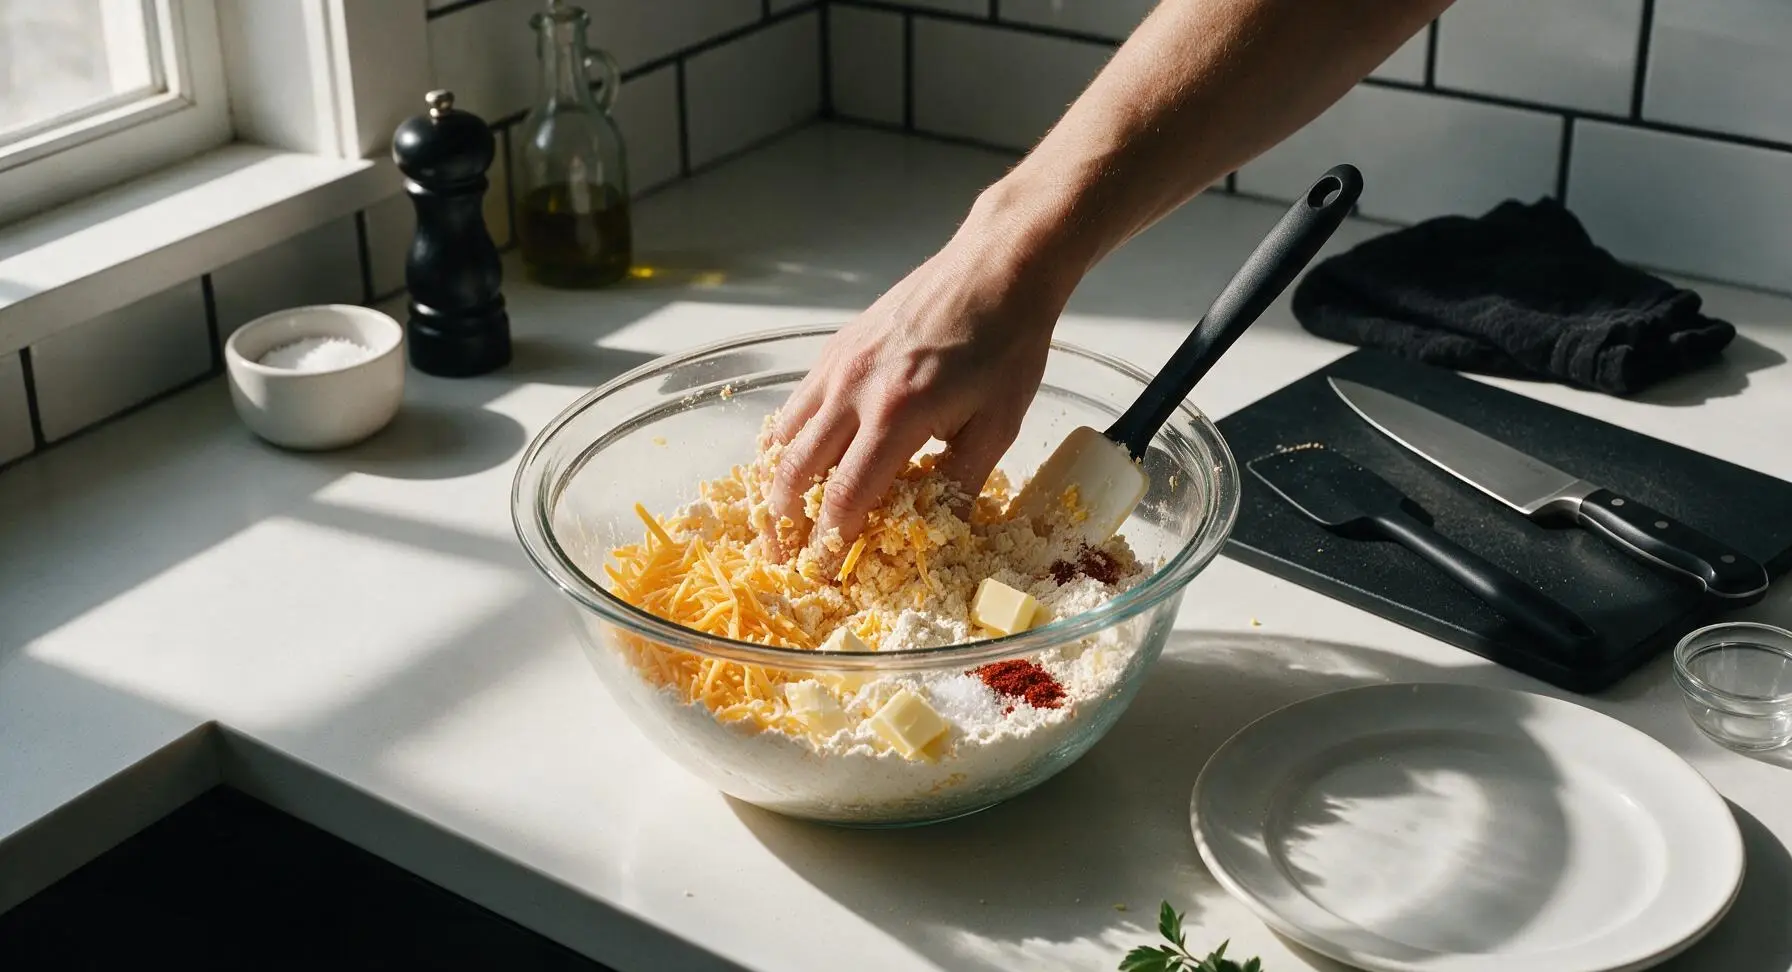
Combine Dough Ingredients

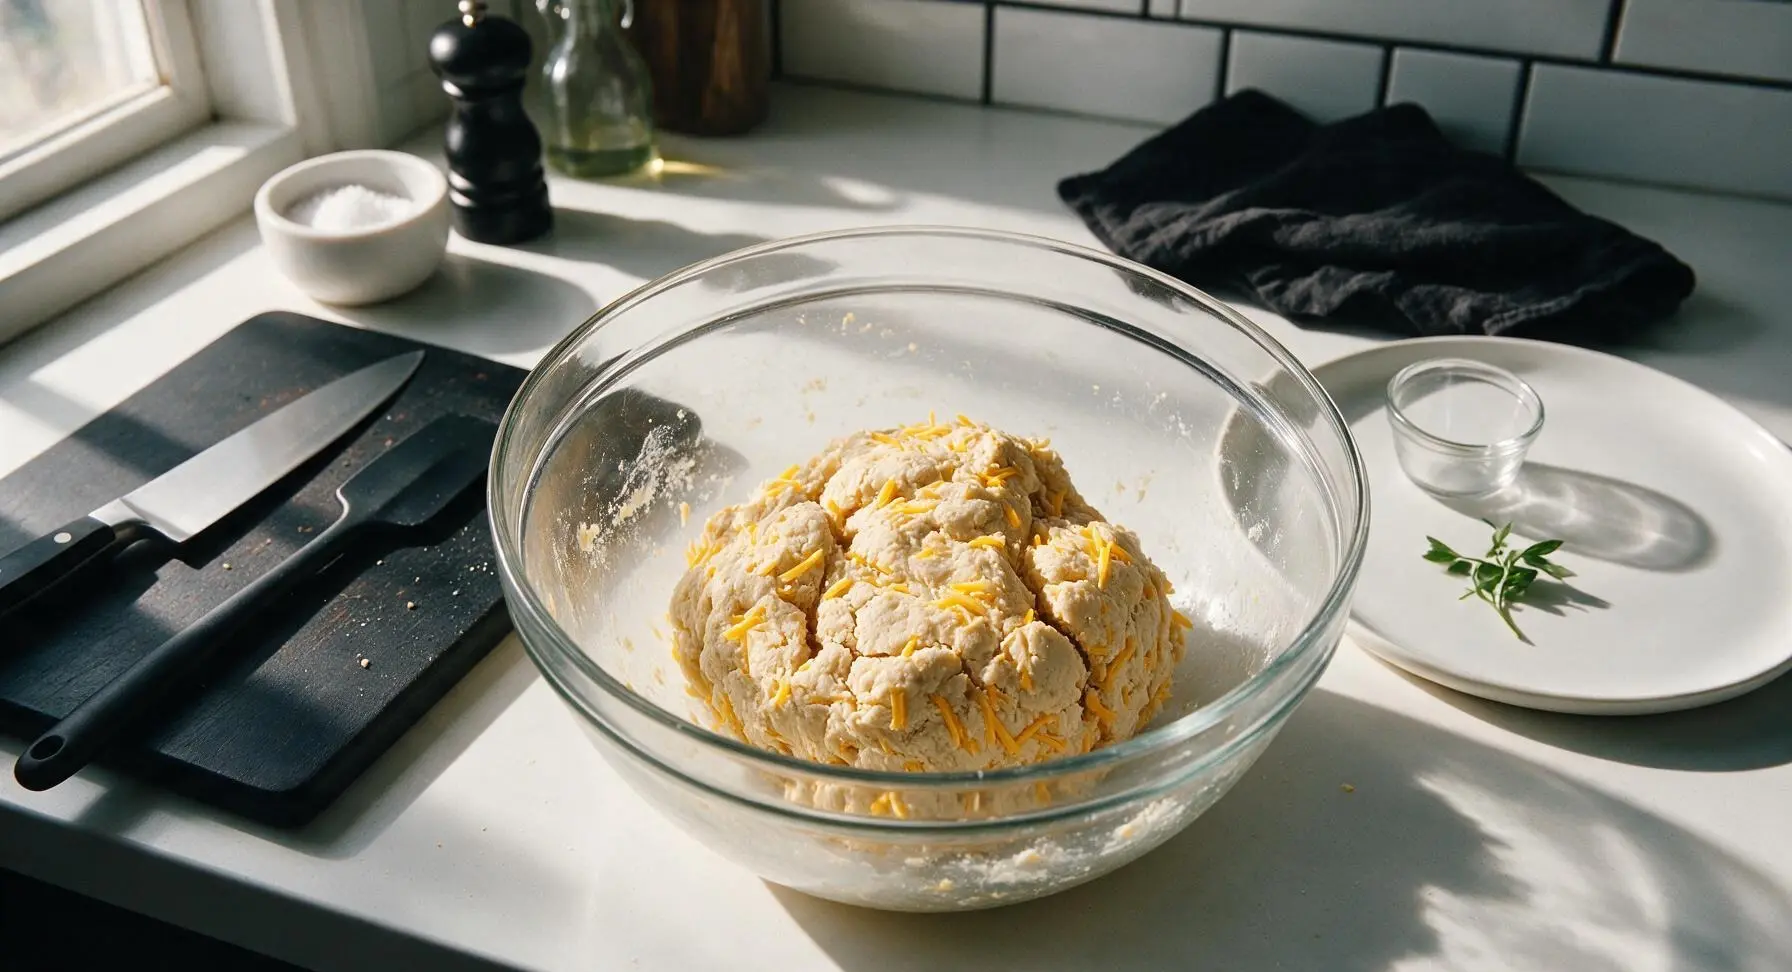
Add the shredded cheddar, cold cubed unsalted butter, all-purpose flour, fine sea salt, and smoked paprika to the clear glass mixing bowl. Use your fingertips to rub the butter and cheese into the flour until the mixture resembles coarse, damp sand with no large butter lumps remaining. Drizzle in ice cold water 1 tablespoon at a time, stirring with the off-white silicone spatula, until the mixture clumps into a shaggy, firm dough that holds shape when squeezed.
Step 2
step2:Combine Dough Ingredients
Step 2
step2:Combine Dough Ingredients
3

Form Dough Disk

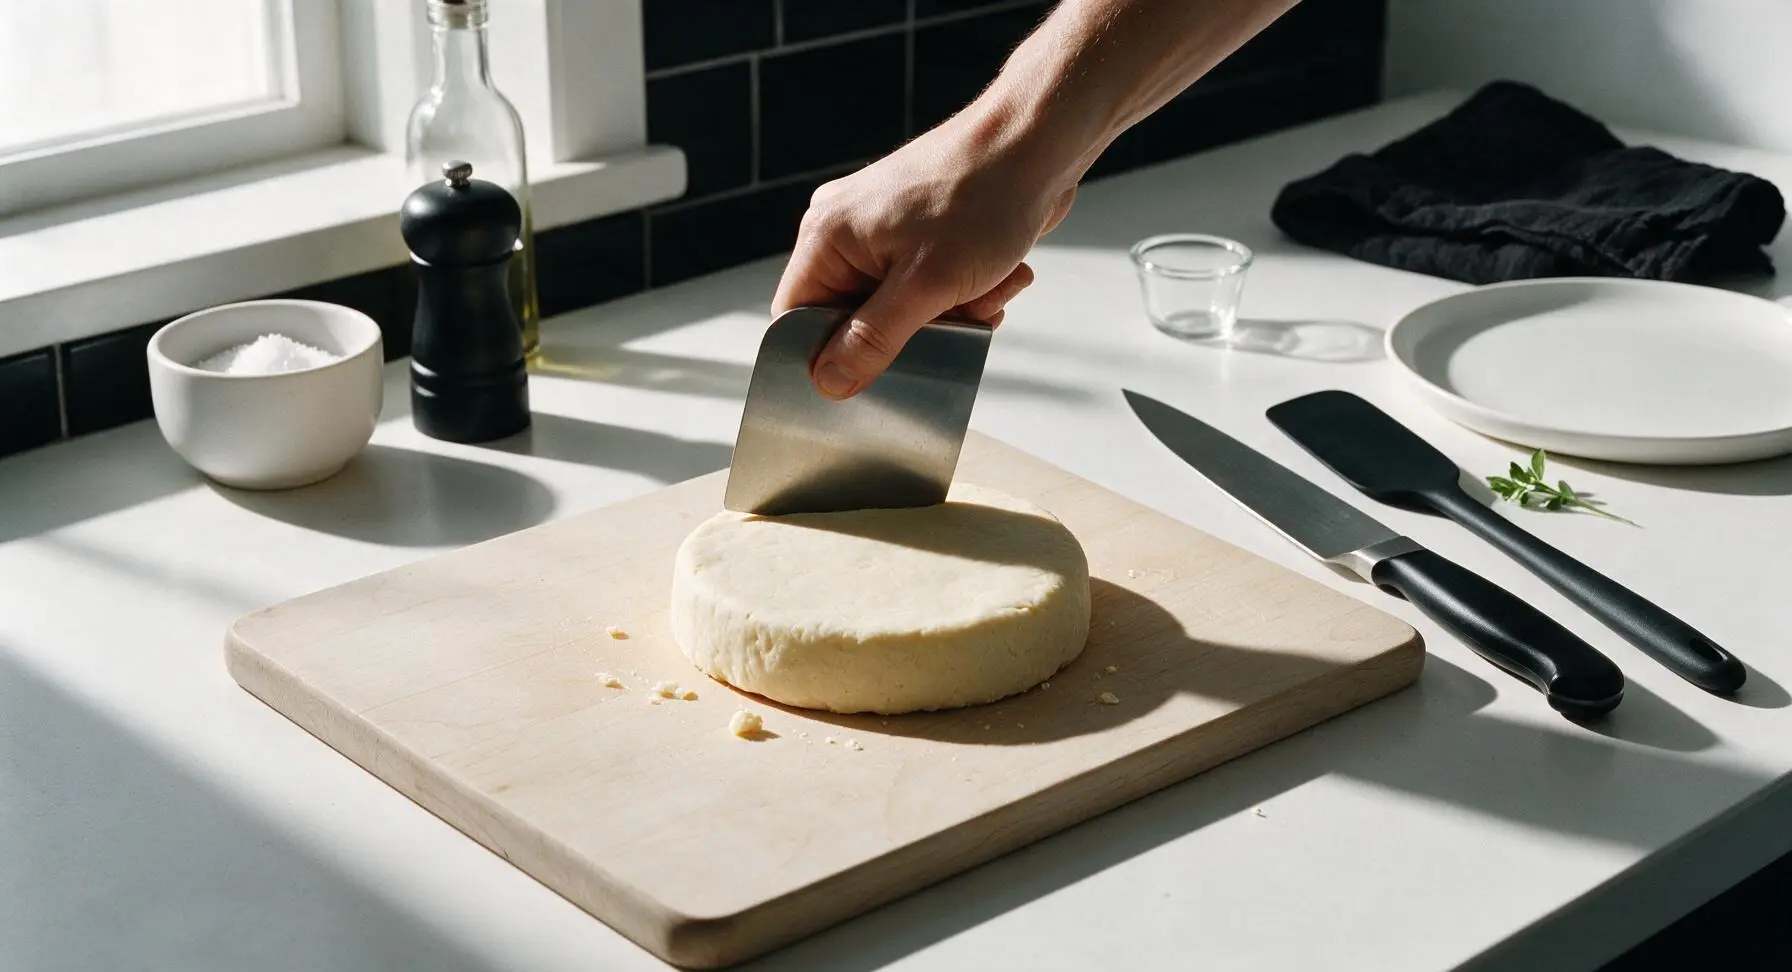
Turn the shaggy dough out onto the clean birch cutting board. Use the stainless steel dough scraper to press the dough together into a solid, uniform 1-inch thick flat disk, approximately 6 inches wide. Smooth the disk edges to eliminate deep cracks that would split when rolled.
Step 3
step3:Form Dough Disk
4

Chill Dough Firmly

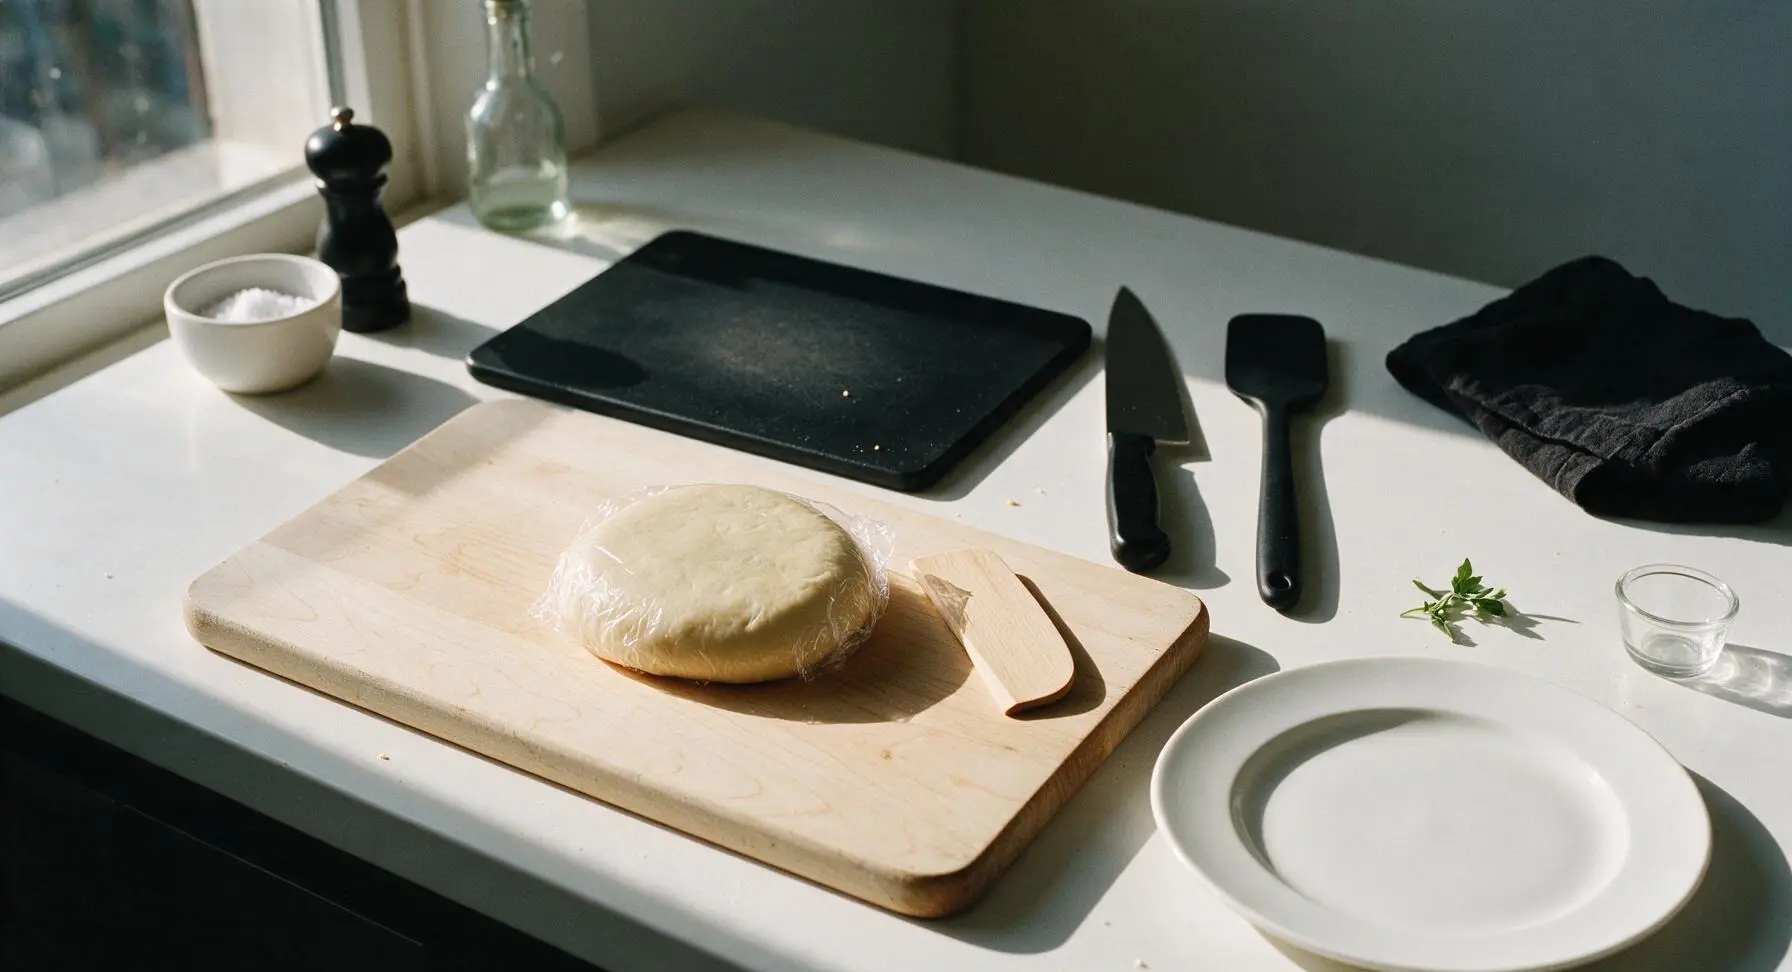
Wrap the dough disk tightly in clear plastic wrap, and refrigerate for 30 minutes until firm to the touch, with no give when pressed lightly with a finger. Chilling solidifies the butter, which prevents excessive spreading during baking and guarantees a crisp, flaky texture.
Step 4
step4:Chill Dough Firmly
5

Roll Dough Thinly

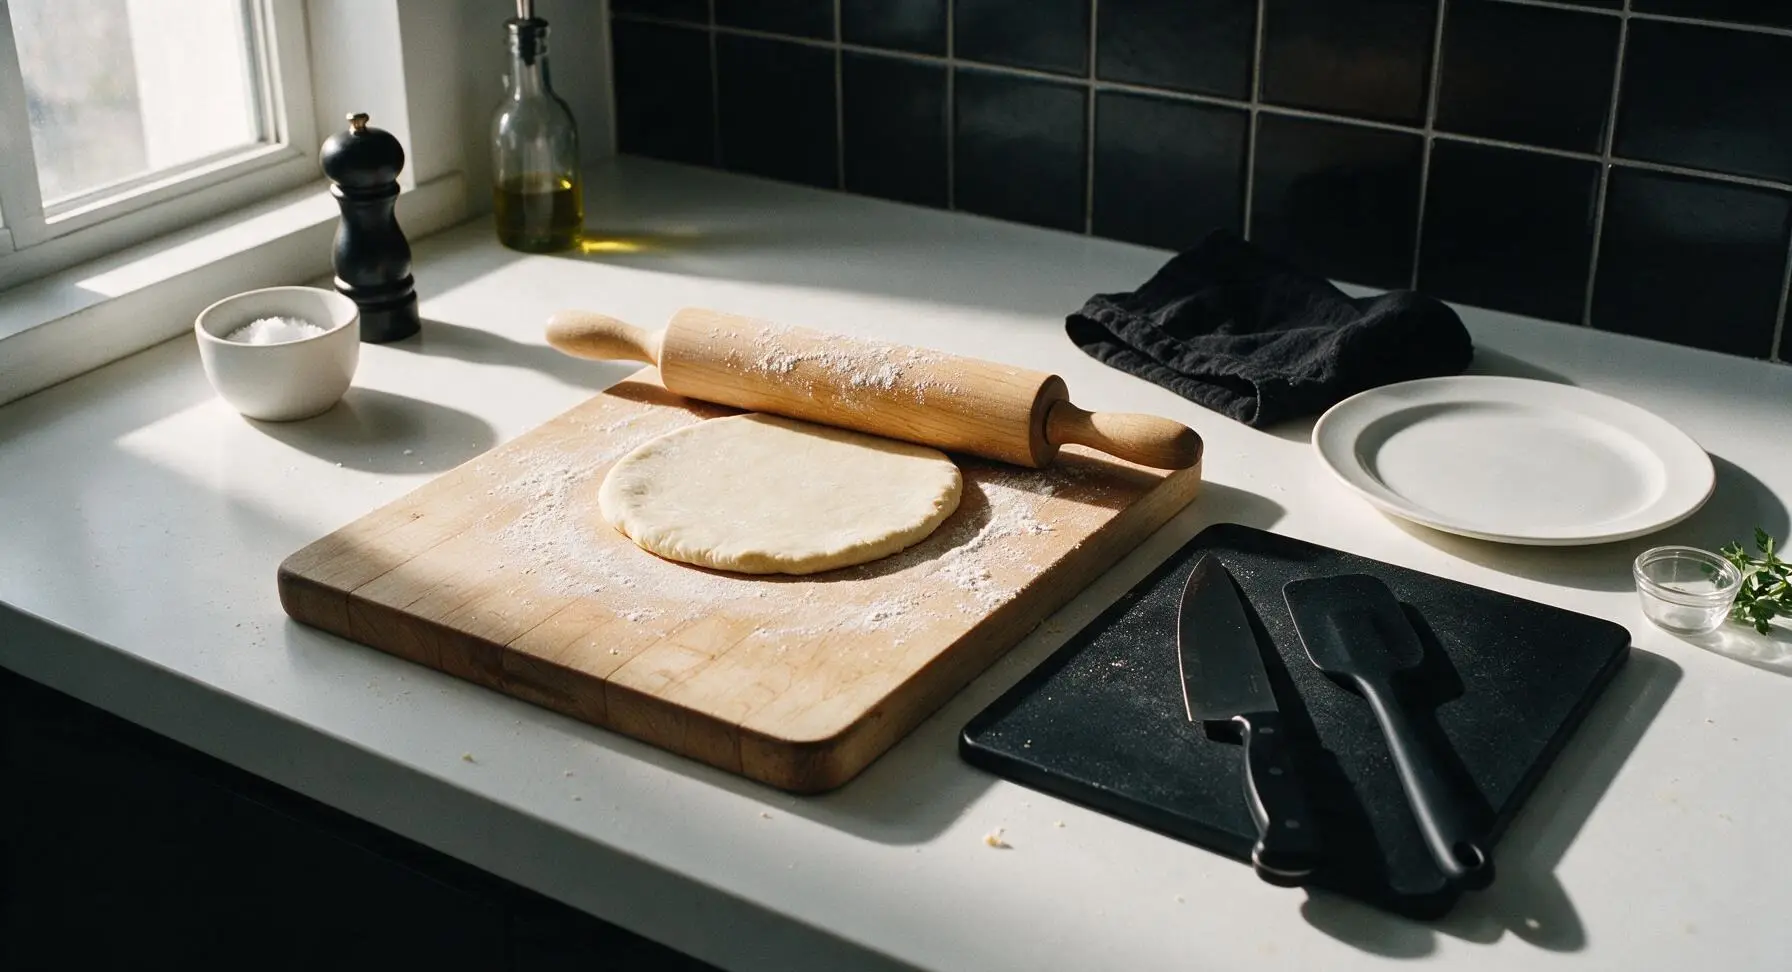
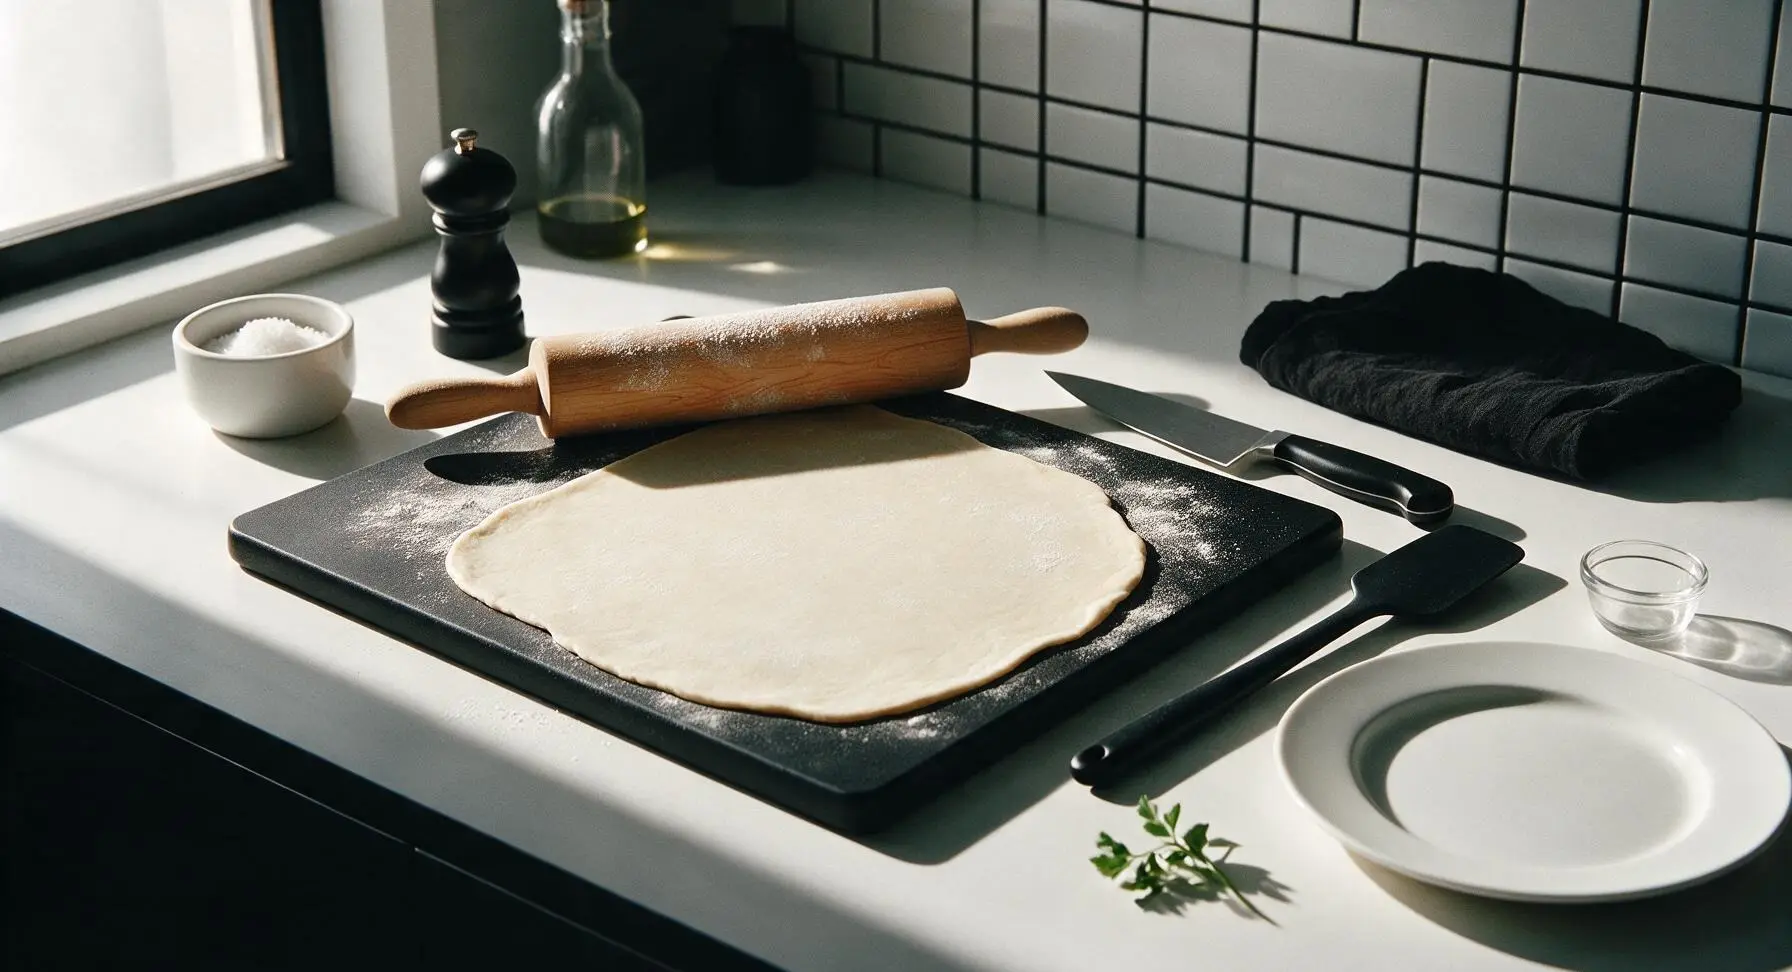
Unwrap the chilled dough and return it to the lightly floured birch cutting board. Dust the maple rolling pin with a pinch of flour, then roll the dough to an even 1/8-inch thickness, applying consistent pressure to avoid thick or thin spots. Dough rolled thicker than 1/8 inch will produce soft, not crisp, crackers.
Step 5
step5:Roll Dough Thinly
Step 5
step5:Roll Dough Thinly
6

Cut Cracker Shapes

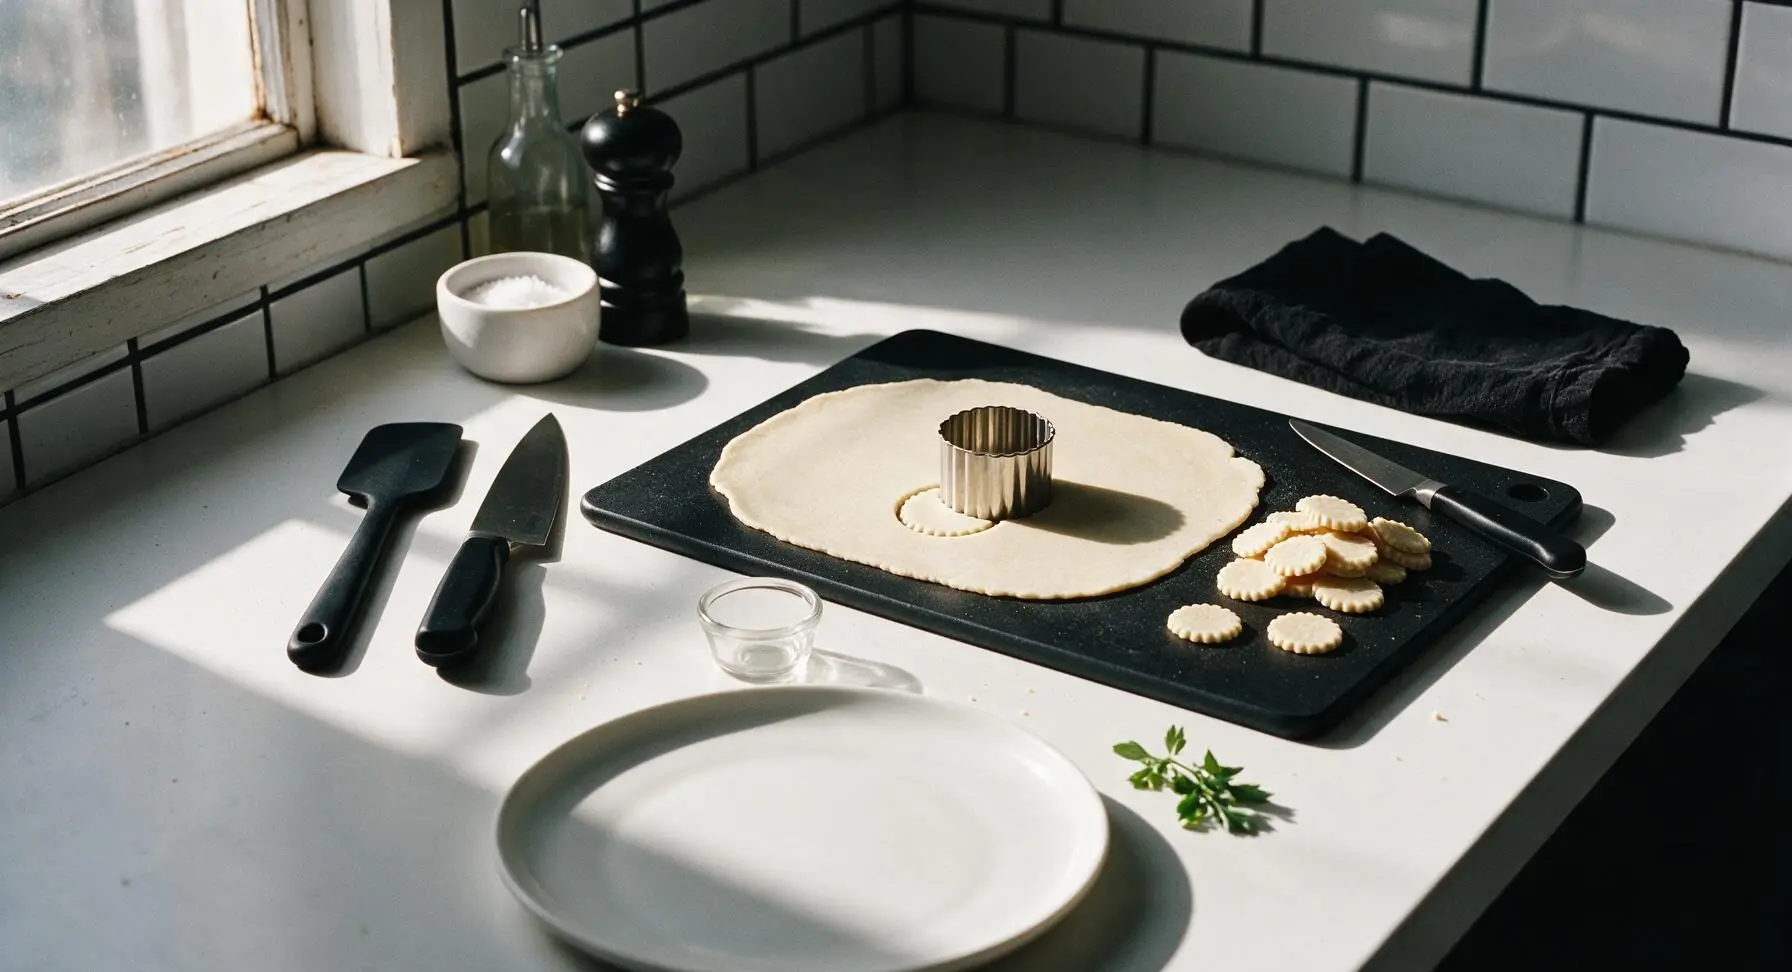
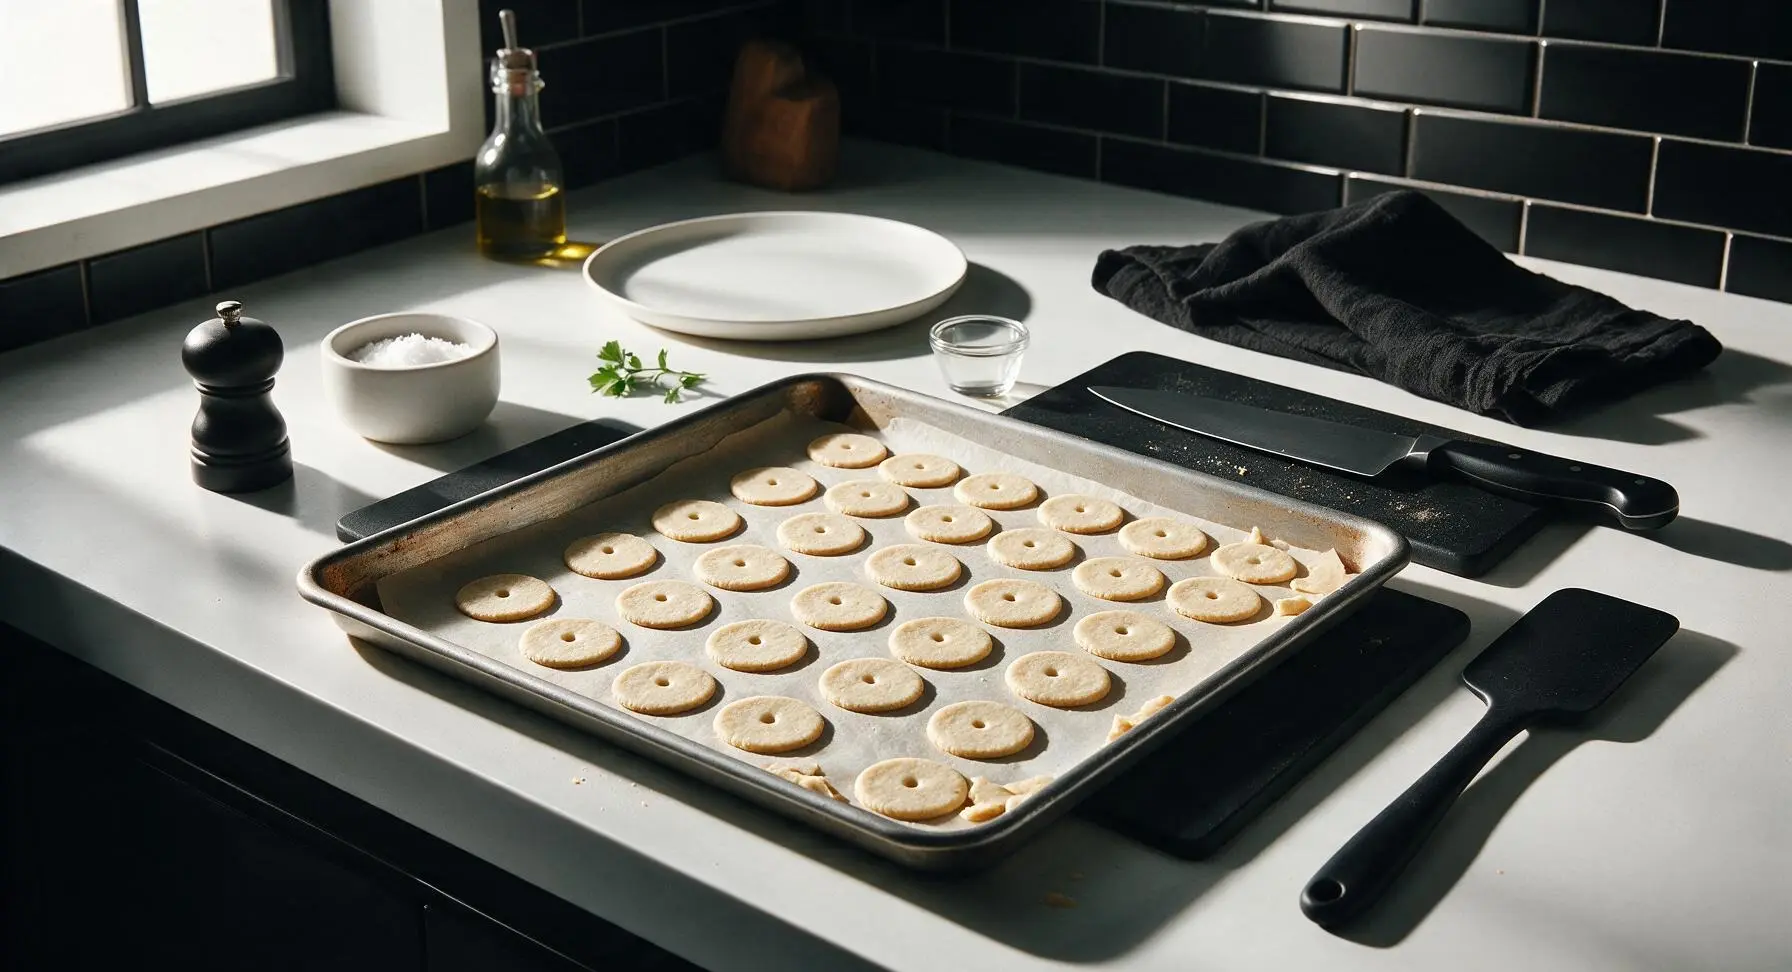
Use the 3cm fluted stainless steel cookie cutter to cut shapes from the rolled dough, pressing straight down without twisting to create clean, even edges. Gather dough scraps, re-roll to 1/8-inch thickness, and cut additional crackers until all dough is used. Use the paring knife tip to poke one small hole in the center of each cracker to prevent air bubbles and puffing during baking.
Step 6
step6:Cut Cracker Shapes
Step 6
step6:Cut Cracker Shapes
7

Bake Until Golden

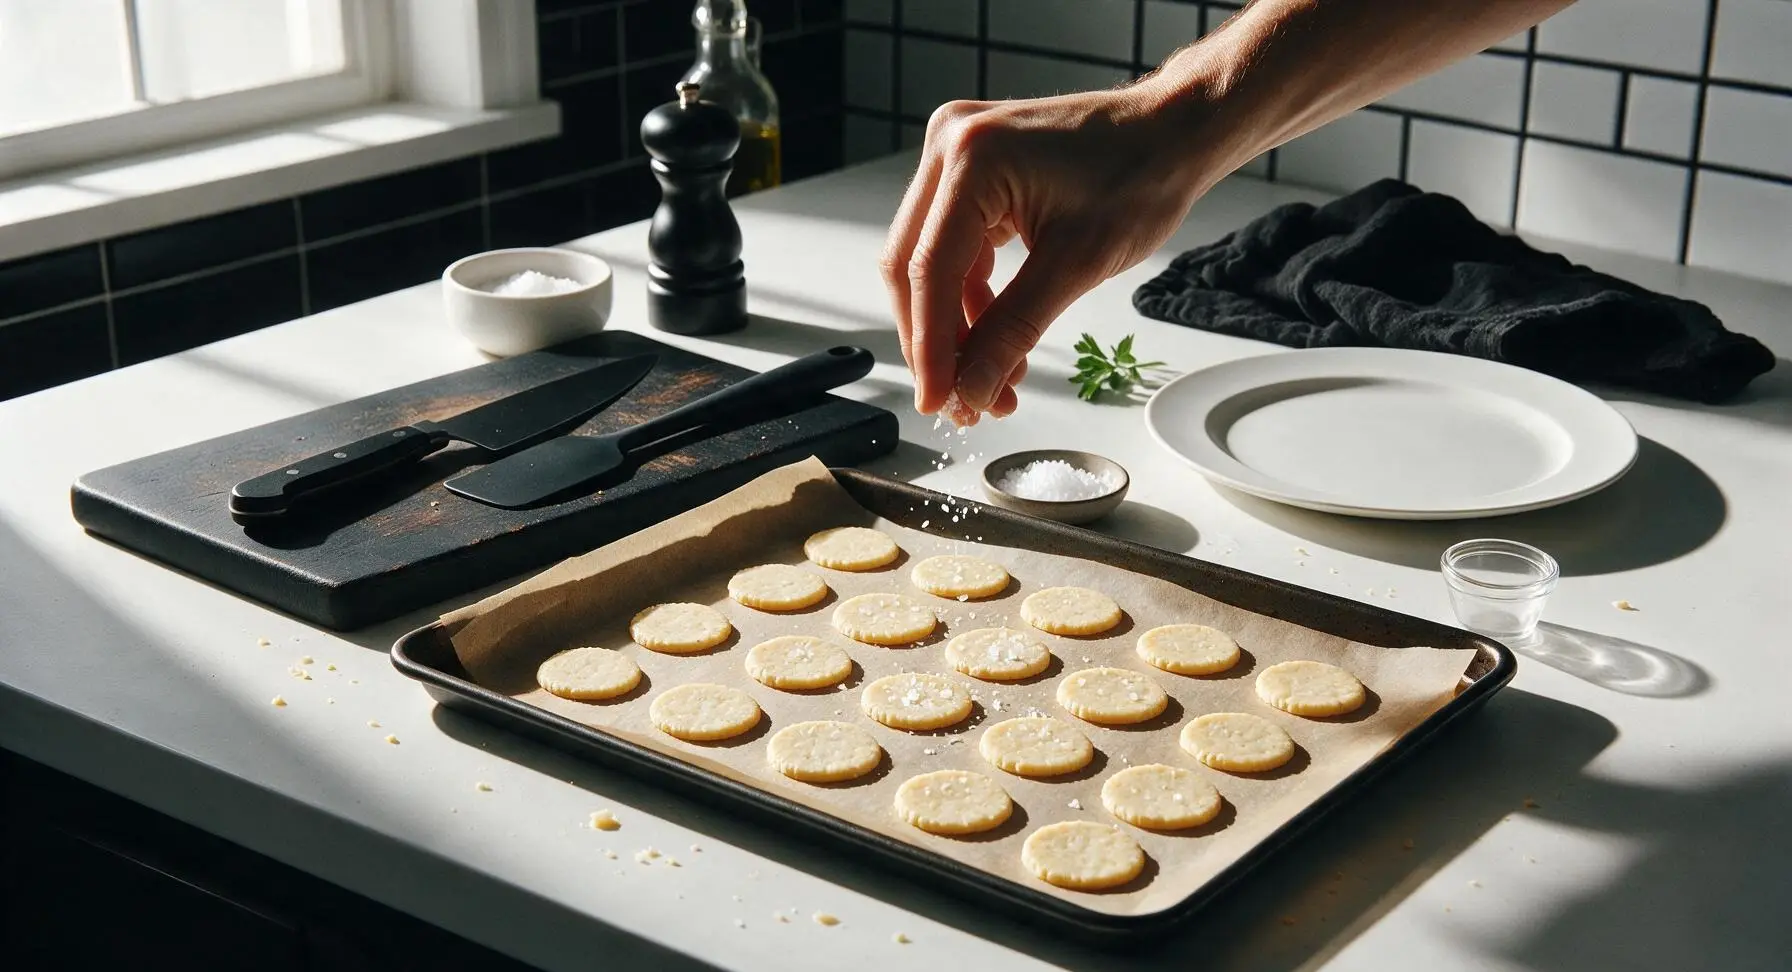
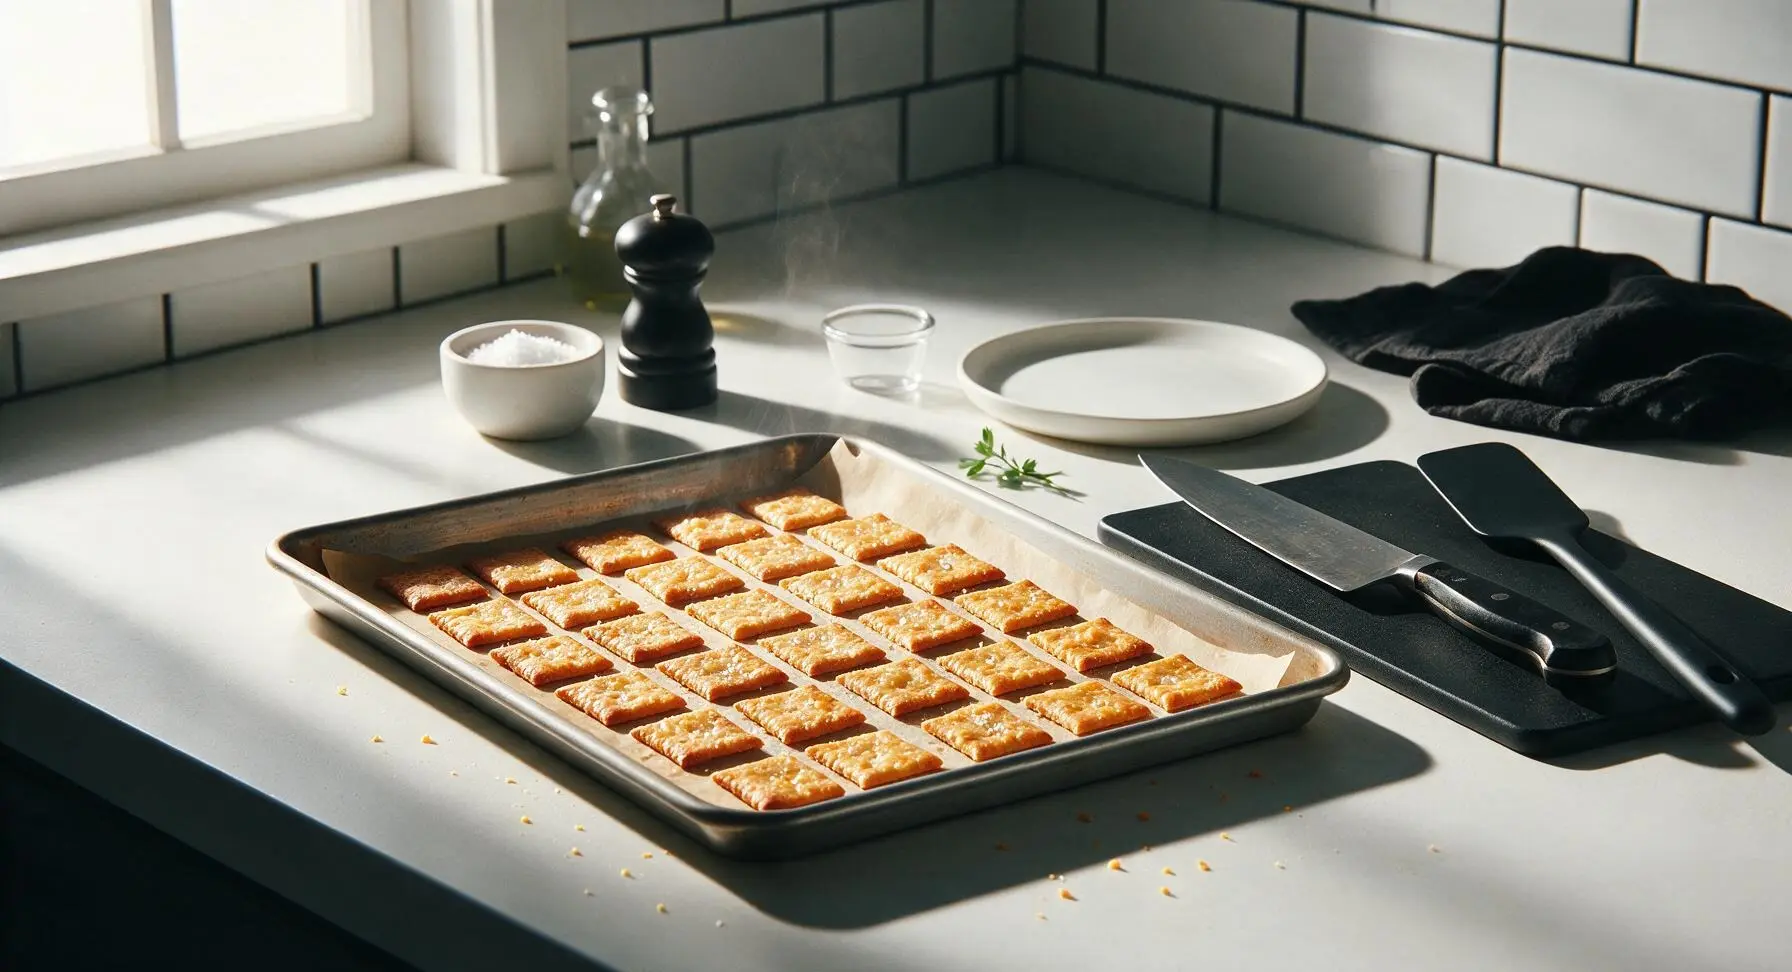
Space the cut crackers 1/2 inch apart on the parchment-lined baking sheet, and sprinkle tops lightly with flaky sea salt. Bake in a preheated 375°F (190°C) oven for 10-12 minutes, rotating the sheet halfway through, until cracker edges are deep golden brown and centers are dry to the touch.
Step 7
step7:Bake Until Golden
Step 7
step7:Bake Until Golden
8

Cool Crackers Fully

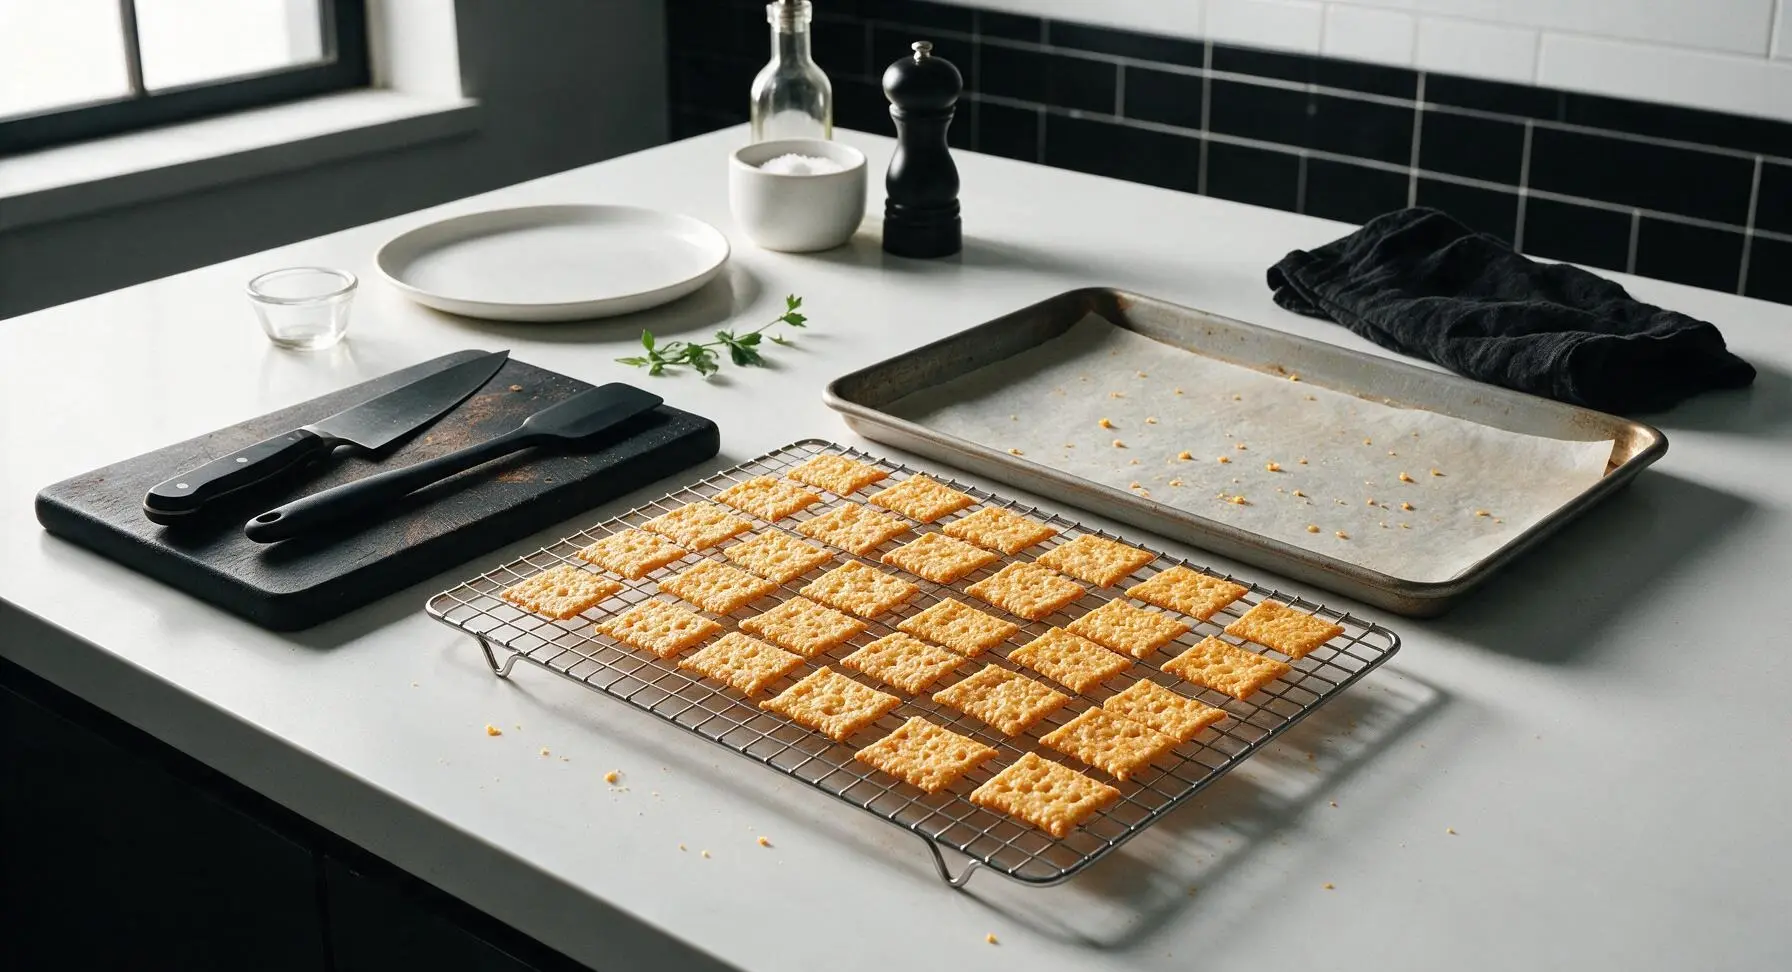
Transfer the baked crackers to the stainless steel wire cooling rack, and let cool completely for 10 minutes at room temperature. Crackers will continue to crisp as they cool, so avoid plating or storing them until they are no longer warm to the touch.
Step 8
step8:Cool Crackers Fully

Tips

1.Always use cold butter and ice water for the dough: cold butter creates tiny steam pockets as it melts in the oven, resulting in light, flaky, crisp crackers instead of dense, hard bites.
2.Press cookie cutters straight down without twisting: twisting seals the cut edges of the dough, which prevents even rising and leads to lopsided, misshapen crackers after baking.
3.Let crackers cool completely before storing in an airtight container: trapped residual warmth creates condensation inside storage containers, which will turn crisp crackers soft and chewy. Properly stored, crackers stay fresh for up to 1 week.


✨ You May Also Like

Snacks & Appetizers
🍜 Mexico

Crispy thick-cut tortilla chips piled high with seasoned beef, melted cheese, and bright fresh toppings for a shareable, crowd-favorite bite.

⏱️ 25 minuteSnacks & Appetizers ★ 4.8
Snacks & Appetizers
🍜 United States

Crisp, sweet-tangy spiced pickled watermelon rind is a zero-waste summer staple, perfect with grilled meats, charcuterie, or eaten straight from the jar as a bright snack.

⏱️ 30 minuteSnacks & Appetizers ★ 4.6
Snacks & Appetizers
🍜 Germany

A tangy, jellied pork cold cut slow-simmered with aromatic spices, set into a firm sliceable loaf, served cold with mustard and crusty bread.

⏱️ 3 hours 4Snacks & Appetizers ★ 4.8
Snacks & Appetizers
🍜 United States

Creamy, tangy, perfectly seasoned hard-boiled egg halves filled with a rich, smooth yolk mixture, a timeless, crowd-pleasing bite for holiday and casual gatherings alike.

⏱️ 40 minuteSnacks & Appetizers ★ 4.8
Snacks & Appetizers
🍜 Russia

Silky, dill-forward no-smoke cured salmon, a Scandinavian classic with bright salty-sweet flavor, ideal for holiday starter platters and open-faced rye sandwiches.

⏱️ 48 hours Snacks & Appetizers ★ 4.7
Snacks & Appetizers
🍜 Japan

Crisp golden bottoms, juicy savory pork and vegetable filling, and tangy dipping sauce make these pan-fried gyoza a beloved shareable bite.

⏱️ 45 minuteSnacks & Appetizers ★ 4.8

cheese cracker:Frequently Asked Questions

1.Why do my homemade cheddar crackers turn out dense instead of light and crisp? ▾
That almost always traces back to two common missteps: using room-temperature butter instead of ice-cold butter, or overworking the dough. Cold butter creates tiny steam pockets as it bakes for that signature flaky crispness, while overmixing develops too much gluten in the flour, leading to tough, dense results. Stop mixing just as the dough comes together, and chill it 30 minutes before rolling.
2.Can I use pre-shredded cheddar instead of grating my own block of cheese? ▾
I don’t recommend it for the best texture and flavor. Pre-shredded sharp cheddar is coated in potato starch or anti-caking agents to prevent clumping, which keeps it from melting smoothly into the dough and can leave a faint starchy aftertaste. Freshly grated block cheddar gives you richer, more even cheese flavor and perfectly crisp, cohesive crackers every time.
3.How thin do I need to roll the dough to get that classic cracker crunch? ▾
Aim for a consistent 1/8-inch thickness across the entire sheet of dough. Any thicker, and your crackers will be soft and bready in the center instead of crisp all the way through; any thinner, and they’ll burn quickly around the edges before the cheese fully toasts. Use two 1/8-inch wooden dowels as rolling guides for perfectly even results.
4.Can I make this dough ahead of time to bake later for parties or meal prep? ▾
Absolutely! This dough holds up beautifully for advance prep. Form it into a tight, flat disc, wrap it tightly in plastic wrap, and store it in the refrigerator for up to 3 days, or in the freezer for up to 3 months. If frozen, thaw it overnight in the fridge before rolling and cutting—no extra adjustments to baking time are needed.
5.Why do my crackers brown unevenly when they bake? ▾
Uneven browning almost always stems from uneven dough thickness or unaccounted-for oven hot spots. First, confirm you’re rolling dough to a consistent 1/8-inch thickness across the whole batch. Halfway through baking, rotate your sheet pan 180 degrees, and pull any fast-browning edge crackers a minute early if needed so none burn.
6.Is there a substitute for smoked paprika if I don’t like smoky flavors? ▾
Definitely—you can swap the smoked paprika for an equal amount of sweet paprika for a mild, warm pepper note without smoke, or leave it out and add a pinch of garlic powder, dried thyme, or a tiny dash of cayenne for a different flavor kick. Just skip adding more than 1 teaspoon of extra dry spice, as that can throw off the dough balance and make it crumbly.
7.How do I keep these crackers crisp after storing them? ▾
Let your baked crackers cool completely to room temperature first—storing them while warm traps condensation, which makes them soggy fast. Keep them in an airtight container at room temperature for up to 1 week, and toss one plain saltine cracker into the container to absorb excess moisture if you live in a particularly humid climate.
8.Can I add extra mix-ins like seeds or fresh herbs to the dough? ▾
Absolutely, as long as you keep add-ins to 2 tablespoons total per batch so you don’t throw off the dough’s fat-to-flour ratio. Great options include toasted sesame seeds, poppy seeds, a pinch of garlic powder, finely chopped fresh rosemary, or flaky salt sprinkled on top right before baking. Skip large, chunky add-ins that poke through the thin dough as you roll.
9.My dough is crumbly and won’t hold together when I roll it out—what went wrong? ▾
That usually means your butter warmed up too much while mixing, or you didn’t add enough moisture to bring the dough together. If it’s crumbly straight from the mixer, spritz it with 1 teaspoon of ice water at a time and gently knead just until it holds together. If it got crumbly after sitting out, pop it back in the fridge for 20 minutes to firm the butter back up.
10.What’s the best way to cut these crackers to get uniform, neat shapes? ▾
For classic square crackers, use a sharp knife or fluted pastry wheel to cut rolled dough into 1-inch squares, and poke each square once with a fork to prevent air bubbles from puffing them up as they bake. If you want fun shapes, use small 1 to 1.5-inch cookie cutters, and re-roll scraps only once to keep crackers from getting tough.
11.Can I make these crackers gluten-free for guests with dietary restrictions? ▾
Yes, you can swap the all-purpose flour for a 1:1 gluten-free all-purpose baking blend that contains xanthan gum for best results. Keep all other ingredient measurements the same, and note you may need to add 1 to 2 extra teaspoons of ice water to get the dough to hold together, since gluten-free flours absorb moisture a little differently than wheat flour.
12.How do I know when the crackers are fully done so I don’t under or over-bake them? ▾
Look for consistent deep golden edges on every cracker, with a lightly golden center—they’ll crisp up more as they cool, so don’t wait for the whole cracker to turn dark brown, that means they’re overdone. At 375°F, this usually takes 12 to 15 minutes, but start checking at the 10 minute mark since home oven temperatures vary widely.

Comments (4)

2 days ago

OMG these are SO good! I made a batch for my kids’ after-school snack yesterday and they devoured the whole plate in 10 minutes flat. I was worried the sharp cheddar would be too tangy for my 7-year-old, but he kept coming back for seconds. It was so easy to throw the dough together too, I didn’t even have to run to the store for random specialty ingredients! Total game changer for school lunch packing too, I’m definitely adding these to my weekly meal prep rotation.

yesterday

Wait quick question—did you roll your dough super thin? My first test batch came out a little soft in the middle, and I’m wondering if I cut mine too thick! My kids went absolutely feral for the crispy edges though, so I know they’ll be perfect once I nail the texture.

yesterday

Great question! For maximum all-over crispiness, aim to roll the dough to about 1/8 inch thickness, and make sure your oven is fully preheated before sliding the trays in. If your edges are crispy but centers are soft, you can bake them for an extra 1-2 minutes, just keep a close eye so they don’t turn too dark! So glad your family is loving the recipe 😊

1 week ago

Brought these to our neighborhood block party potluck last weekend and people were begging me for the recipe before I even left! I added a tiny sprinkle of smoked paprika on top right before baking for a little extra smoky kick, and it paired so perfectly with the tangy sharp cheddar. Way better than the store-bought cheese crackers that are full of weird unpronounceable preservatives, I’ll never go back to the boxed kind again.

3 days ago

Okay I’m literally the worst at baking, I burn even pre-made refrigerated cookie dough half the time, but these turned out perfect on my first try! The 12 minute cook time is no joke, I set a timer as soon as I put them in and they came out golden and crispy exactly when it went off. The only misstep I made was grating my cheese too coarse at first, so I re-grated it with the smallest holes on my box grater and it mixed into the dough so much more smoothly.

2 days ago

So proud of you for nailing the recipe on your first try! Great call switching to the smaller grater holes—finely shredded cheese melts into the dough way more evenly for that perfect cheesy texture in every bite. If you want to mix it up next time, try adding a pinch of garlic powder or dried thyme for a fun, savory flavor twist!

2 hours ago

These are already a household favorite, I’ve made them three times in the last month! Quick question for other folks who’ve experimented: has anyone tried swapping the orange sharp cheddar for white sharp cheddar? I have a big block of it sitting in my fridge I need to use up, and I’m wondering if it’ll work the same? I’m also thinking of sprinkling a little everything bagel seasoning on top for some extra crunch, would that throw off the 12 minute cook time?

30 minutes ago

I made them with white sharp cheddar last week and it worked totally perfectly! Tasted almost identical, just didn’t have that bright classic orange cheese cracker color. I sprinkled everything bagel seasoning on half my batch and it was chef’s kiss, didn’t change the cook time at all for me—just don’t pile the seasoning on super thick or it might fall off all over your baking sheet!



