
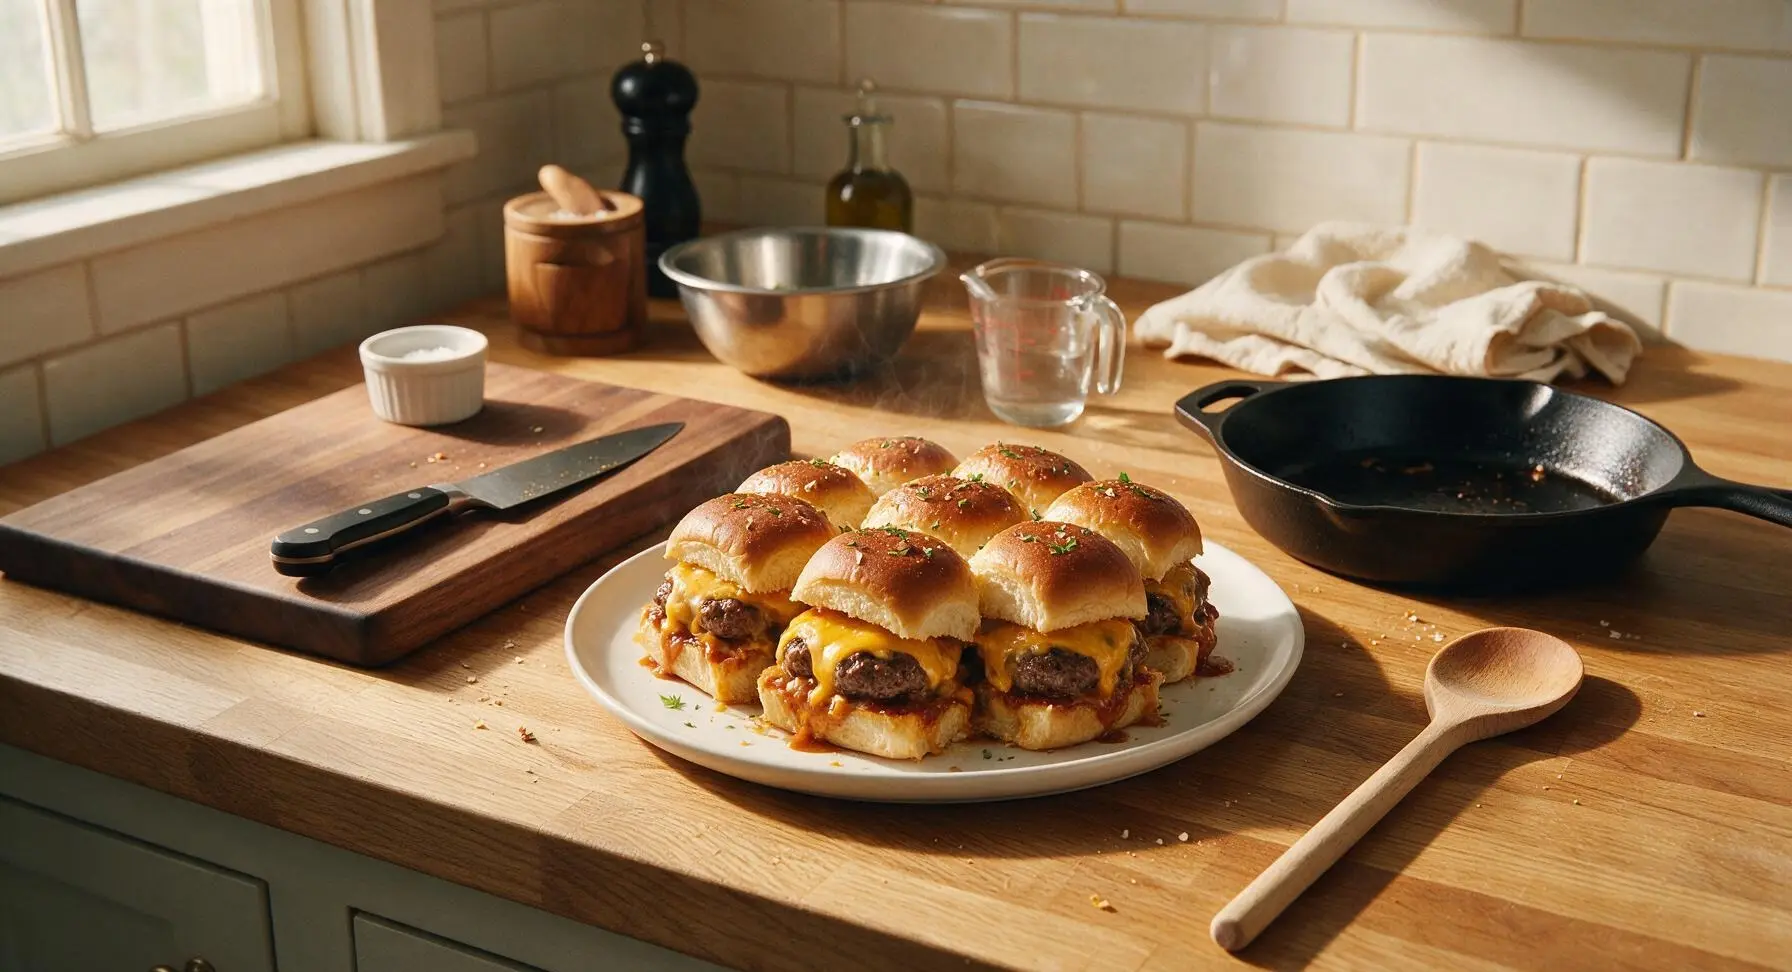
Cheese Slider

title 1
Cheese Slider
⏱️ cook time 25 minutes
🍽️ servings 4
⚡ Difficulty easy

intro

Juicy mini beef patties smothered in melted cheddar, stacked on soft sweet rolls with tangy sauce—irresistible pull-apart sliders perfect for casual group sharing.

Ingredients
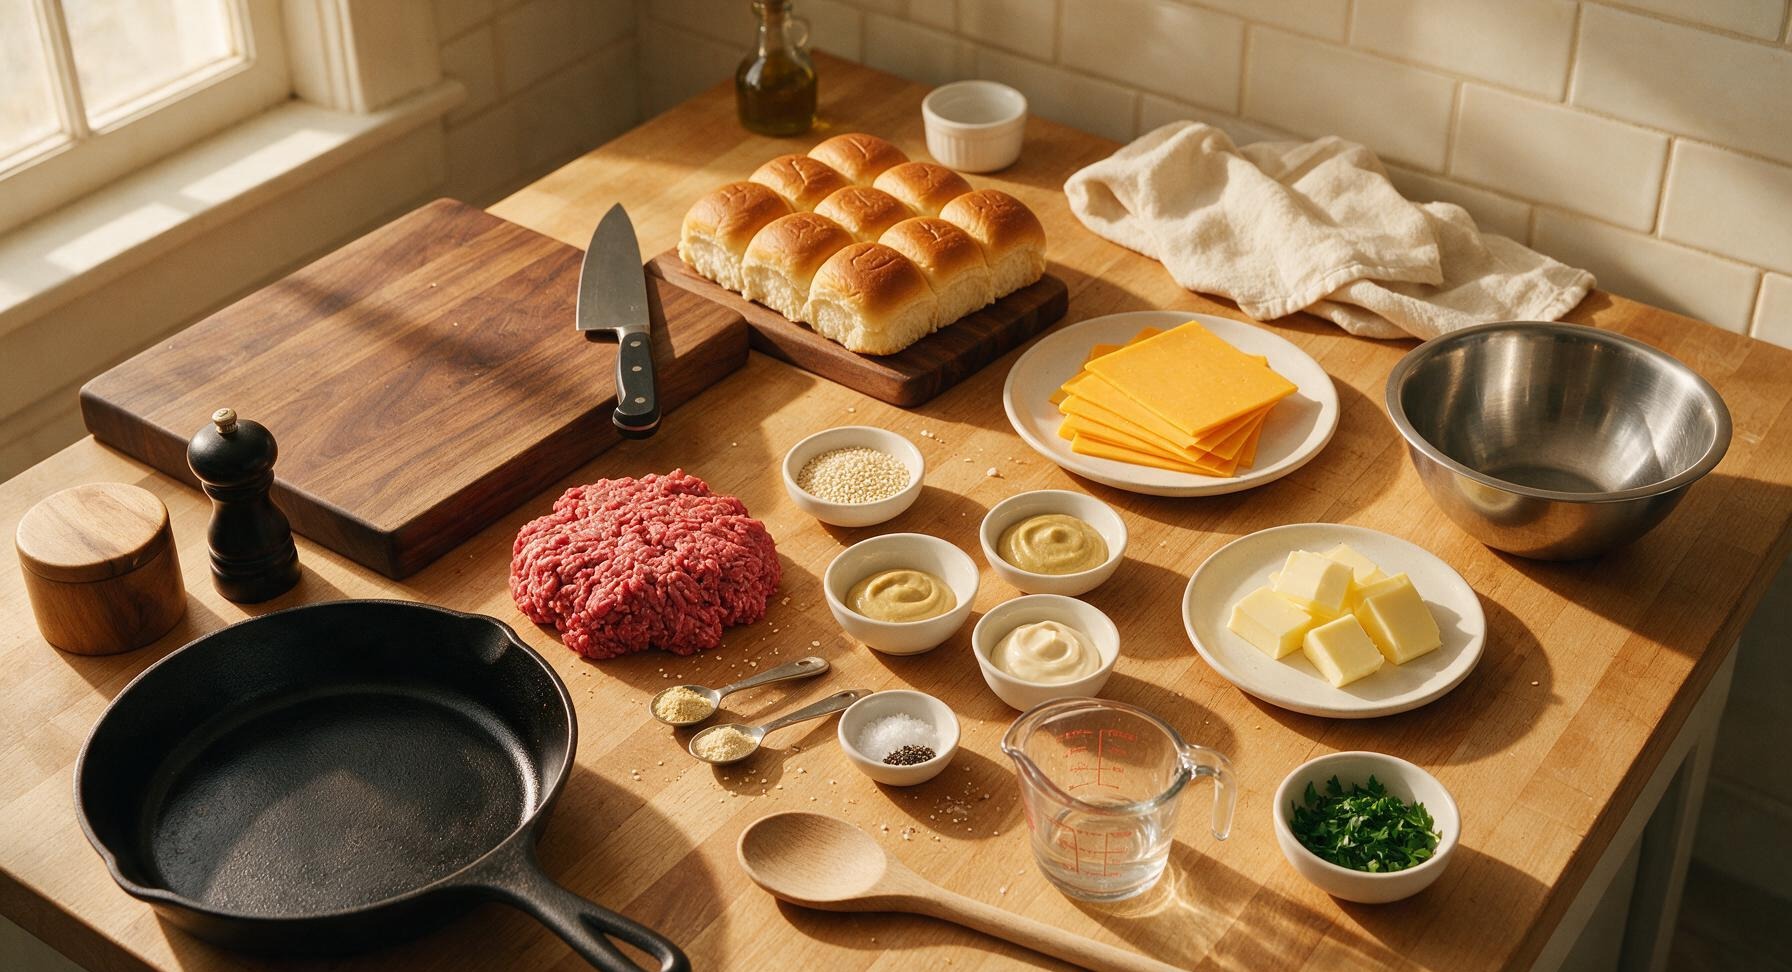
Hawaiian sweet dinner rolls 1 pack (12 rolls, 430g)
80/20 ground beef 450g
Sharp cheddar cheese slices 8 slices (160g)
Unsalted butter 4 tbsp (56g)
Dijon mustard 3 tbsp (divided)
Mayonnaise 1 tbsp
Garlic powder 1 tsp (divided)
Onion powder 1 tsp (divided)
Sesame seeds 1 tbsp
Kosher salt 1 tsp
Black pepper ½ tsp
Fresh flat-leaf parsley 2 tbsp (chopped, for garnish)

Steps

1

Split the sweet rolls

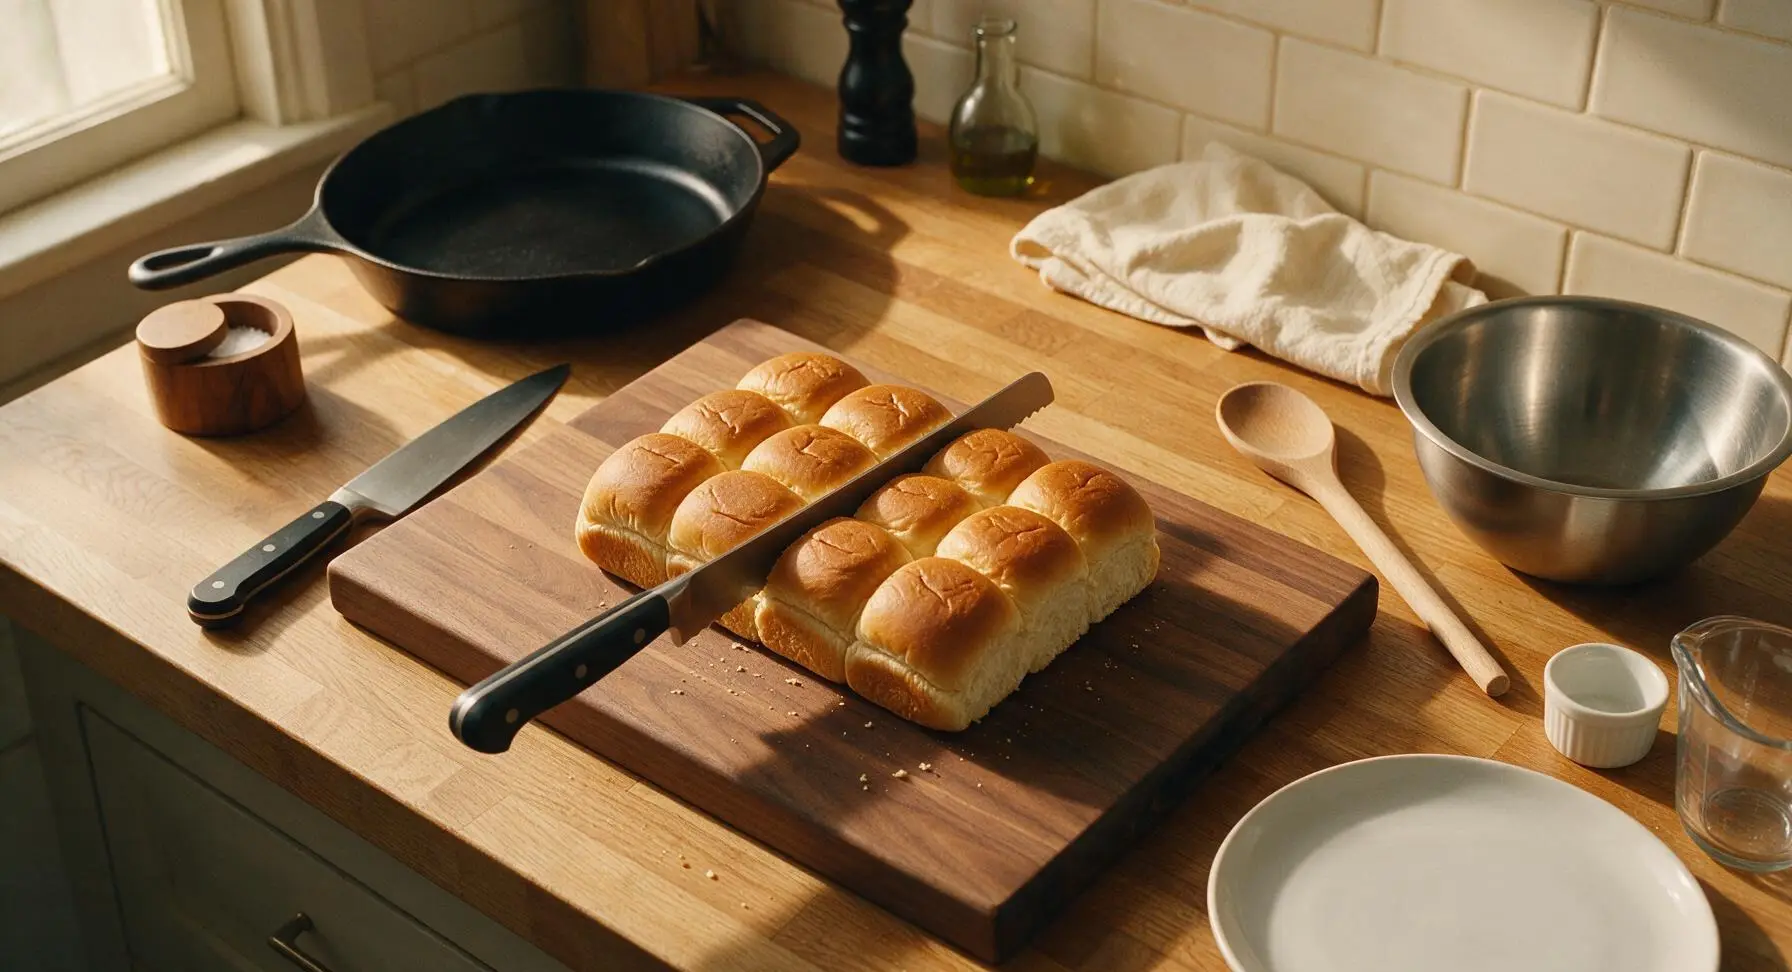
Place the entire unseparated 12-pack of Hawaiian sweet rolls horizontally on the bamboo cutting board. Use the serrated utility knife to slice the whole block of rolls evenly in half horizontally, creating a single solid top slab and a single solid bottom slab of rolls, without separating individual rolls. The cut should be clean, with no torn bread edges, so the sliders hold together when assembled.
Step 1
step1:Split the sweet rolls
2

Cook the seasoned beef

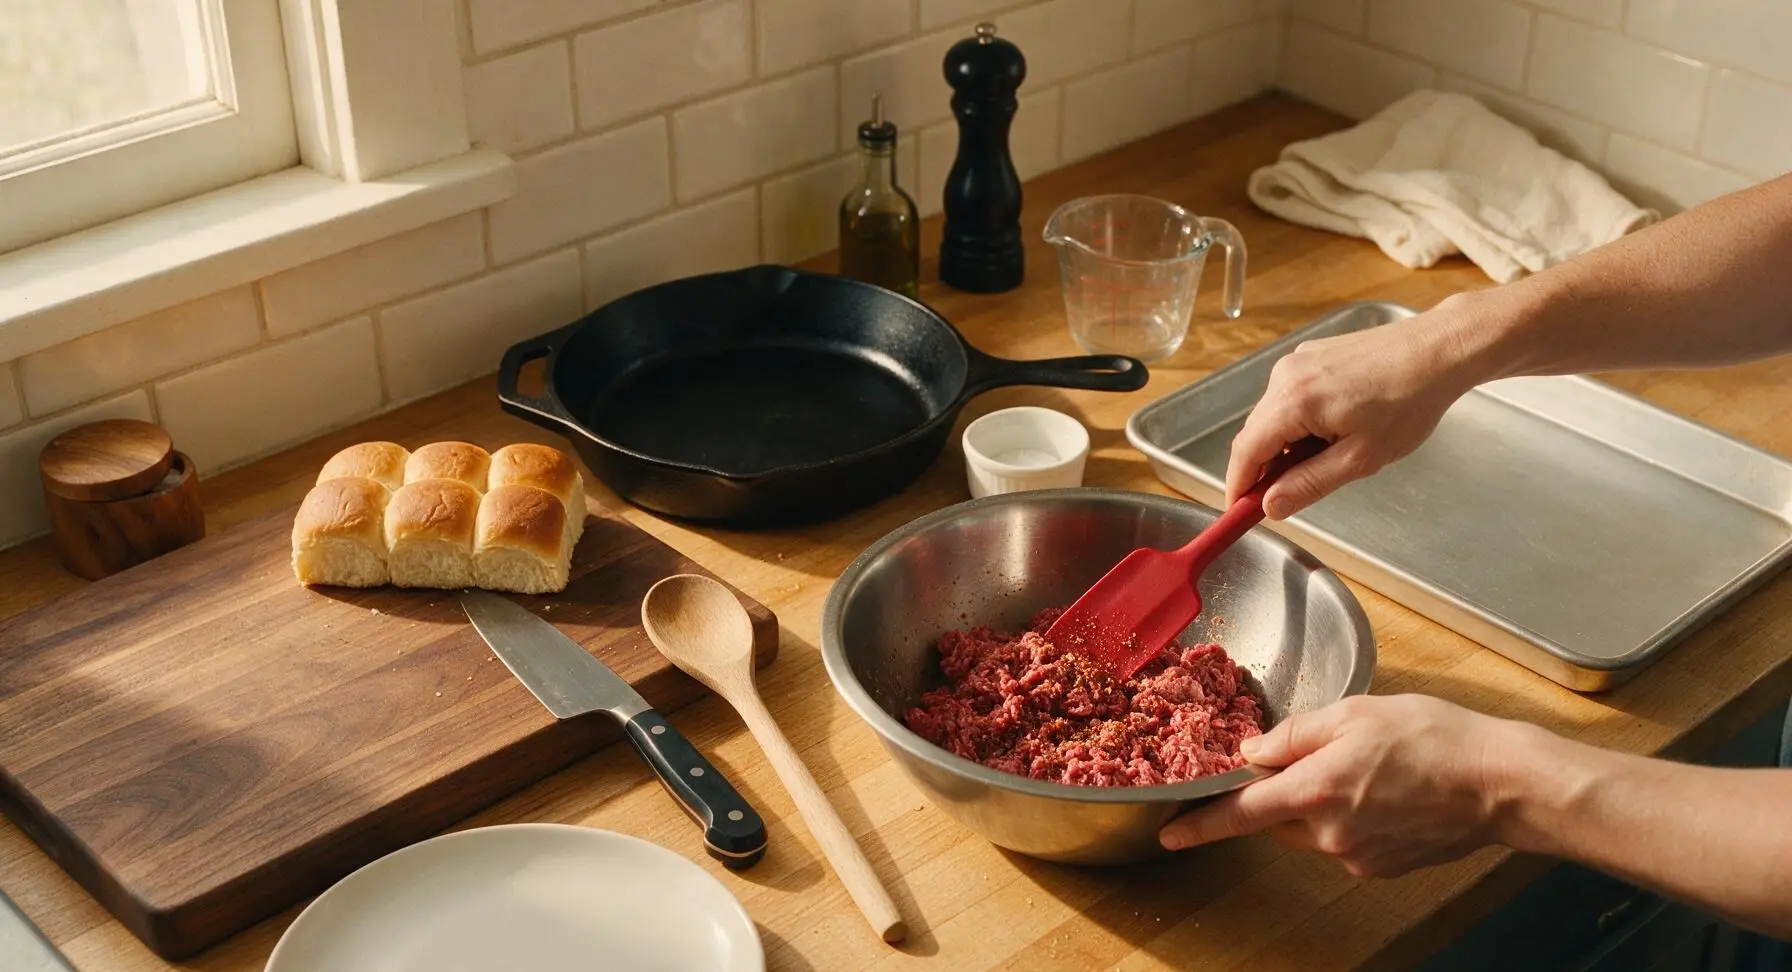
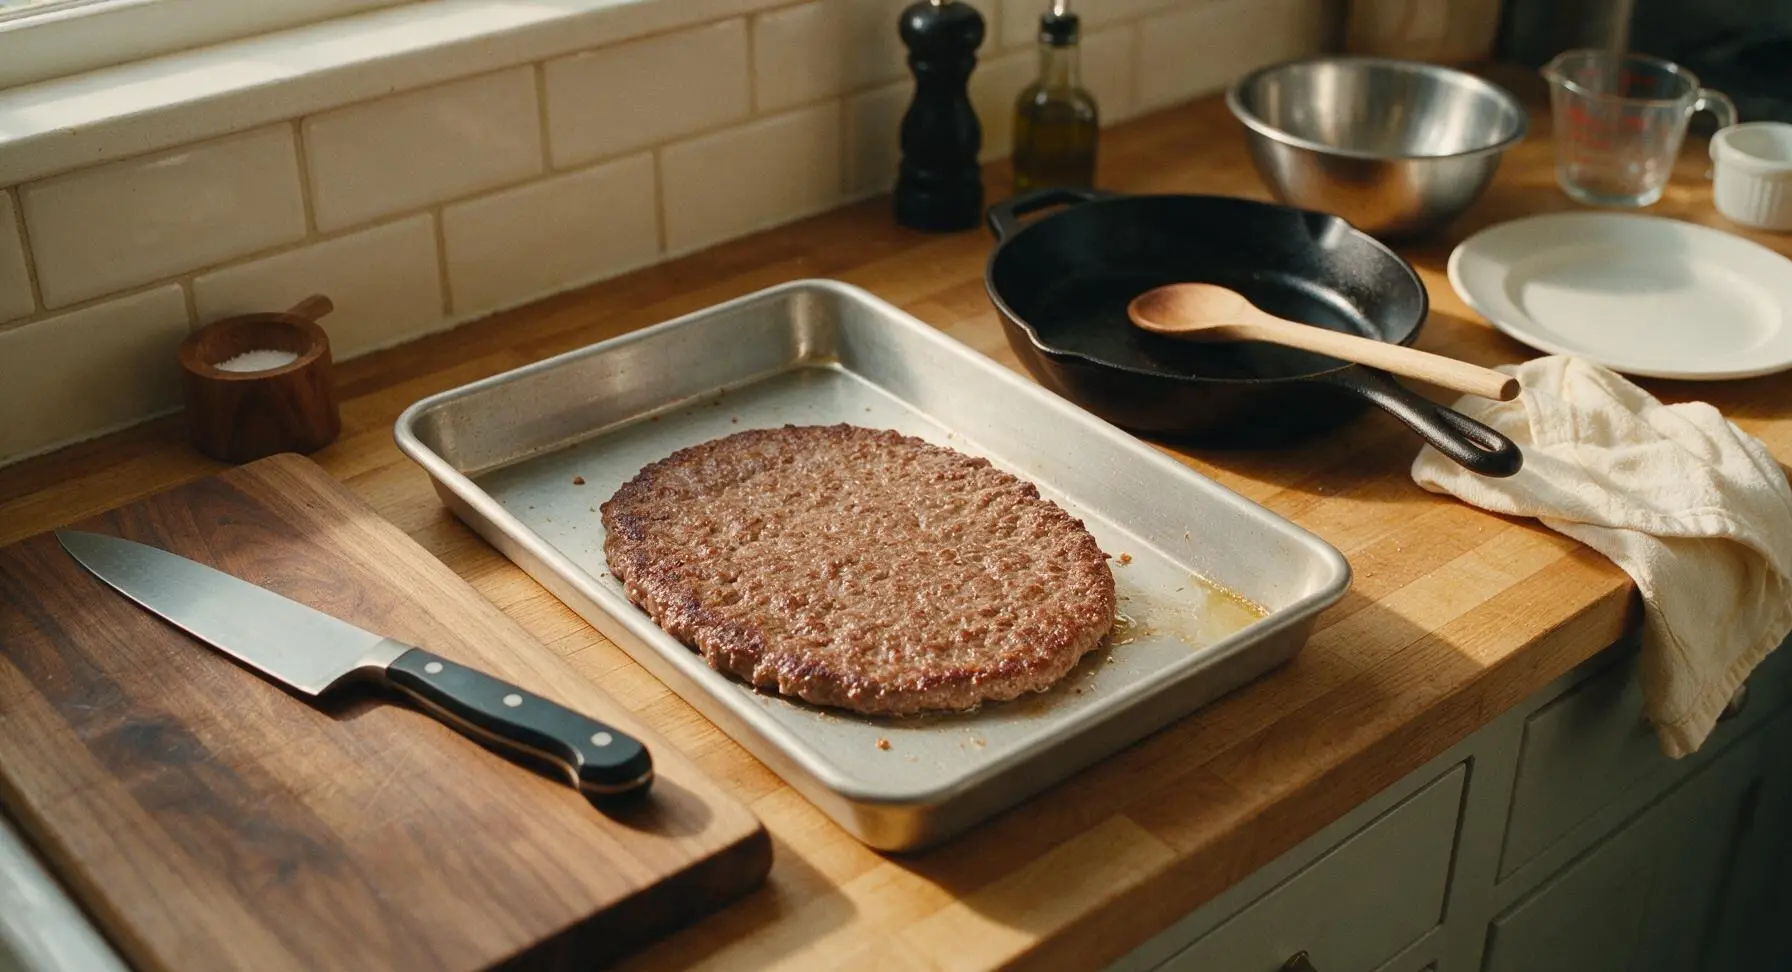
Place the 450g ground beef in the medium stainless steel mixing bowl, add 1 tsp kosher salt, ½ tsp black pepper, ½ tsp garlic powder, and ½ tsp onion powder. Mix gently with the red silicone spatula just until spices are incorporated—do not overwork the meat, as this will make patties tough. Press the seasoned beef evenly into the bottom of the 9x13 inch aluminized steel baking pan to form a single thin, uniform patty layer. Bake at 190C (375F) for 10 minutes, then remove from oven and drain excess rendered fat from the pan. The beef will be fully browned across the surface, with no visible pink remaining.
Step 2
step2:Cook the seasoned beef
Step 2
step2:Cook the seasoned beef
3

Layer sliders in pan

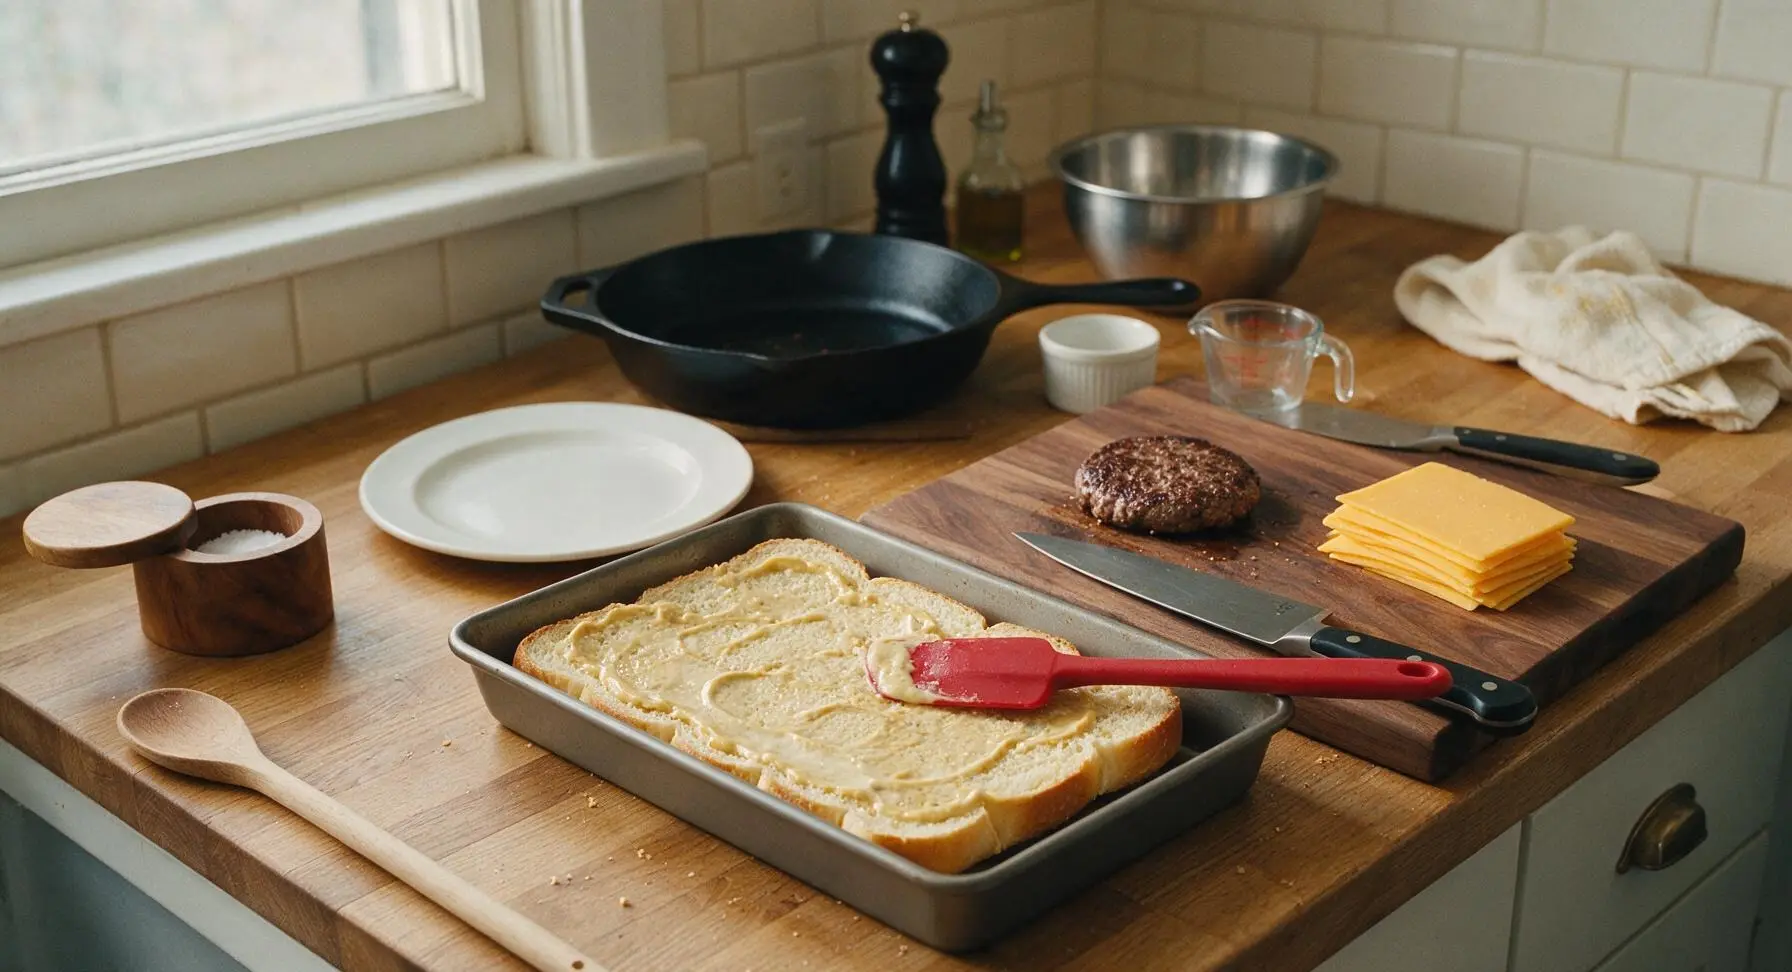
After setting the cooked beef patty aside temporarily, wipe any excess grease from the 9x13 inch baking pan. Place the bottom slab of cut rolls into the clean pan, then spread 1 tbsp mayonnaise and 1 tbsp dijon mustard evenly across the cut surface of the bottom rolls using the silicone spatula. Lay the cooked thin beef patty directly on top of the sauced bottom rolls, trimming edges slightly if needed to fit perfectly inside the pan. Layer all 8 slices of sharp cheddar cheese evenly over the beef, overlapping slightly to cover the entire patty surface with no gaps.
Step 3
step3:Layer sliders in pan
4

Place top roll slab

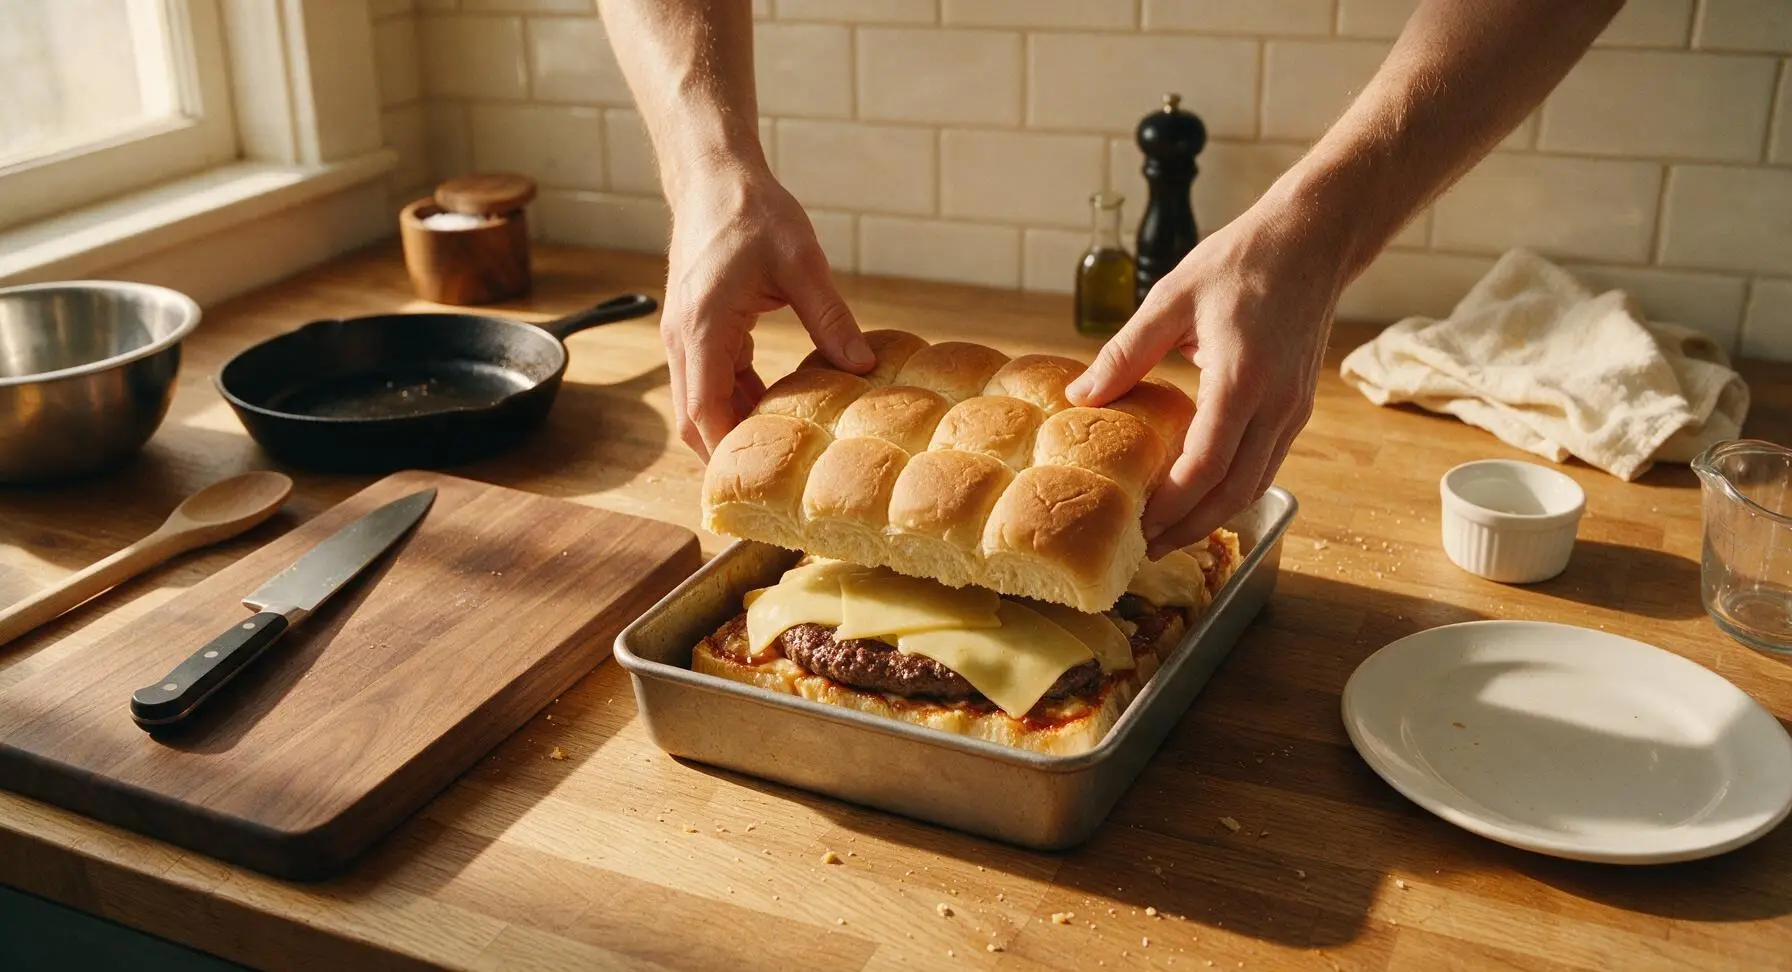
Place the top slab of rolls directly over the cheese layer, pressing down gently with the palm of your hand to secure the layers together. The assembled slider block should sit evenly in the pan, with minimal filling spilling out over the edges at this stage.
Step 4
step4:Place top roll slab
5

Brush seasoned butter

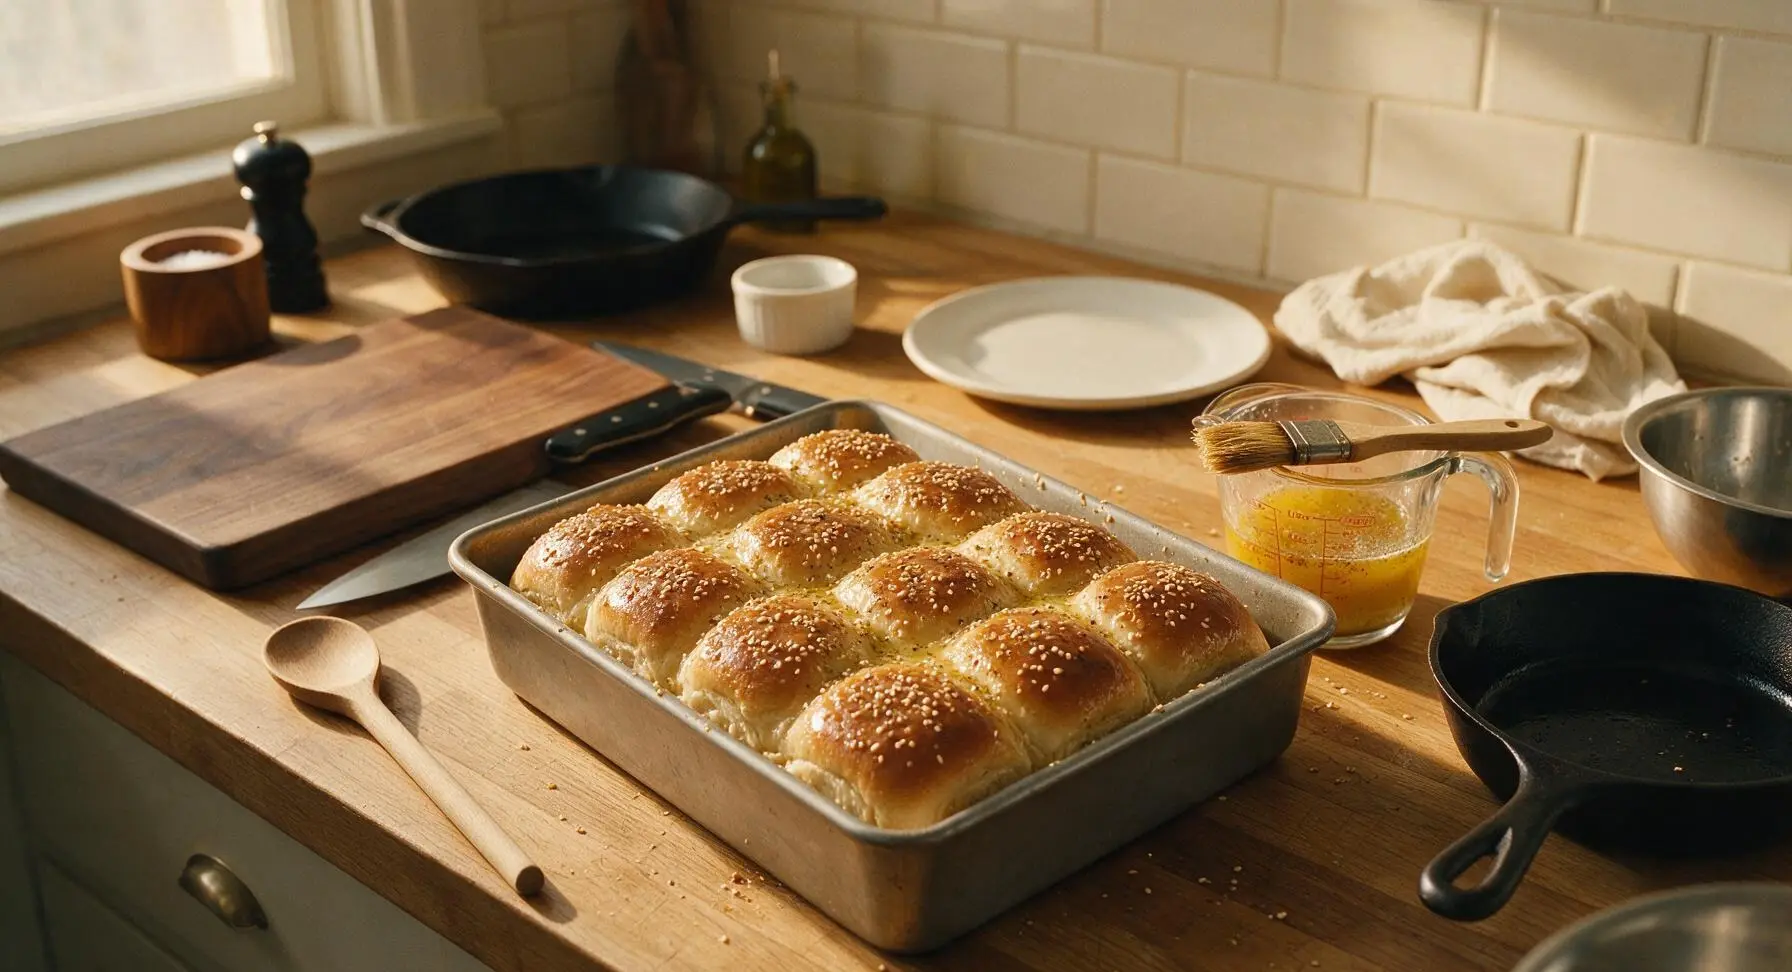
Melt 4 tbsp unsalted butter in the clear glass measuring cup (microwave for 30 seconds until fully liquid), then stir in the remaining ½ tsp garlic powder, ½ tsp onion powder, and 1 tbsp dijon mustard until completely smooth. Use the small boar bristle pastry brush to generously brush the entire top surface of the roll slab with the melted seasoned butter, covering every edge to ensure even browning. Sprinkle 1 tbsp sesame seeds evenly over the buttered top, letting a few seeds fall naturally onto the pan edges for a rustic look.
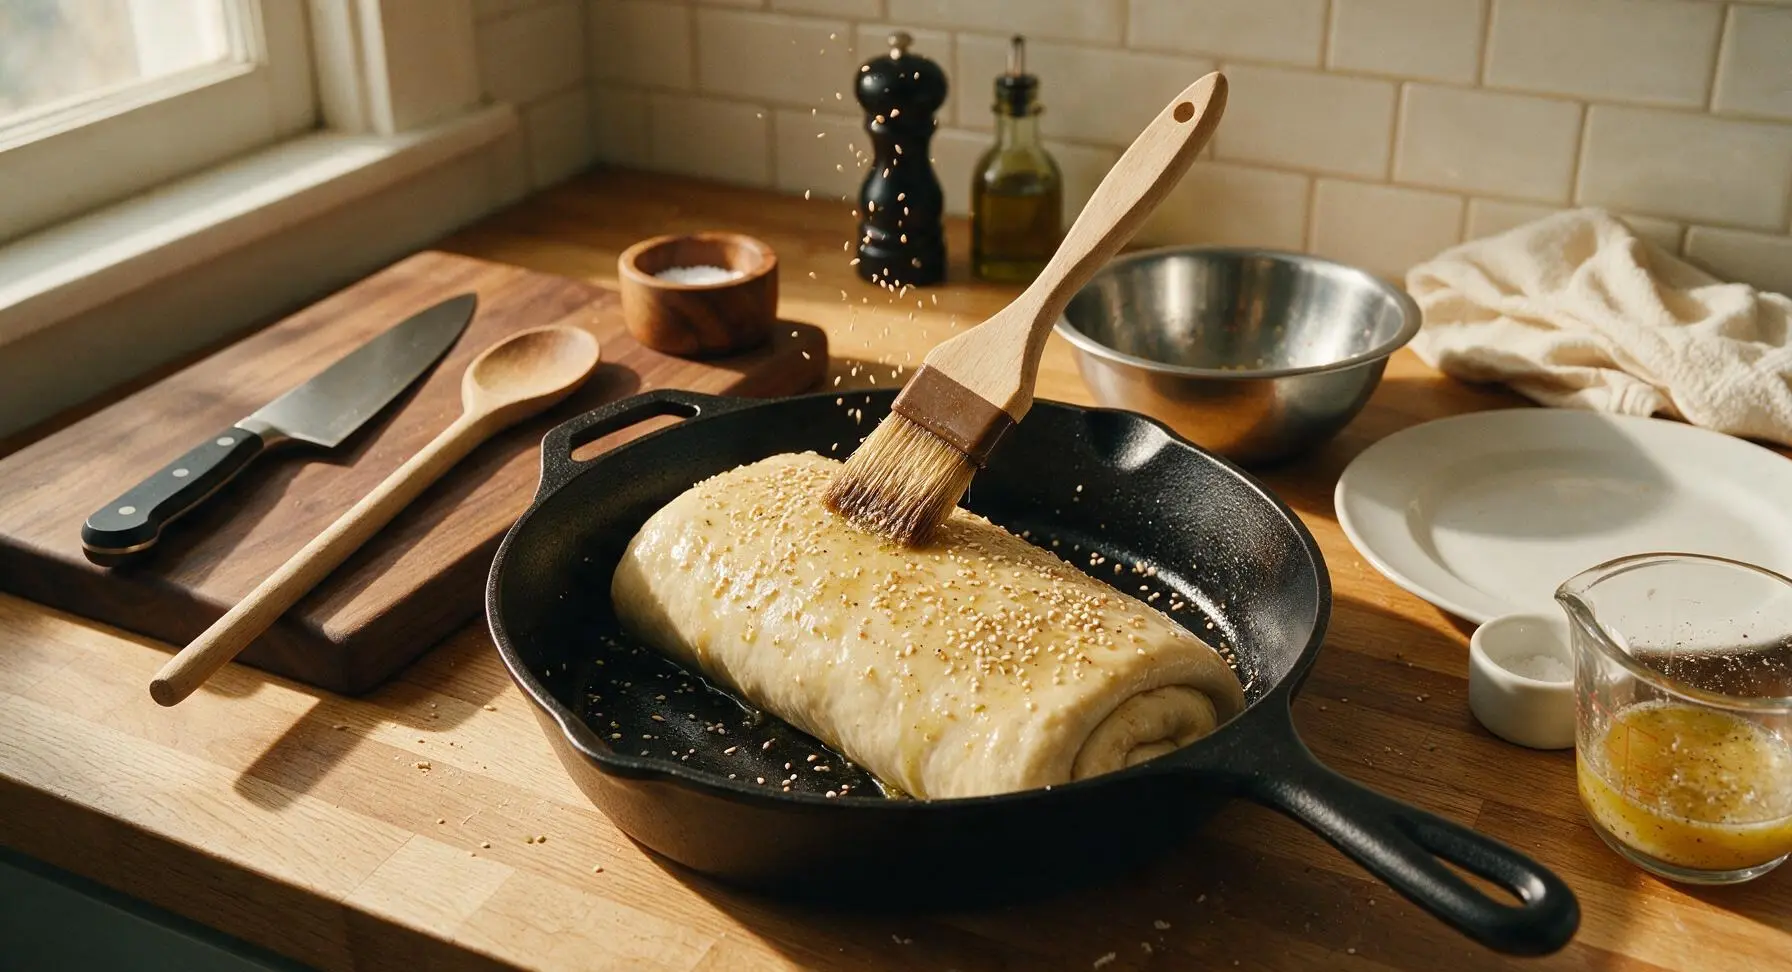
Step 5
step5:Brush seasoned butter
Step 5
step5:Brush seasoned butter
6

Bake until cheese melts

Cover the baking pan tightly with a sheet of aluminum foil, crimping edges firmly to seal in steam, which will soften the rolls and melt the cheese evenly. Bake at 190C (375F) for 10 minutes covered, then remove the foil and bake for an additional 5 minutes uncovered, until the tops are deep golden brown and slightly crispy, and the cheddar cheese is fully melted and bubbling around the edges of the pan. Avoid overbaking, as this will dry out the rolls.
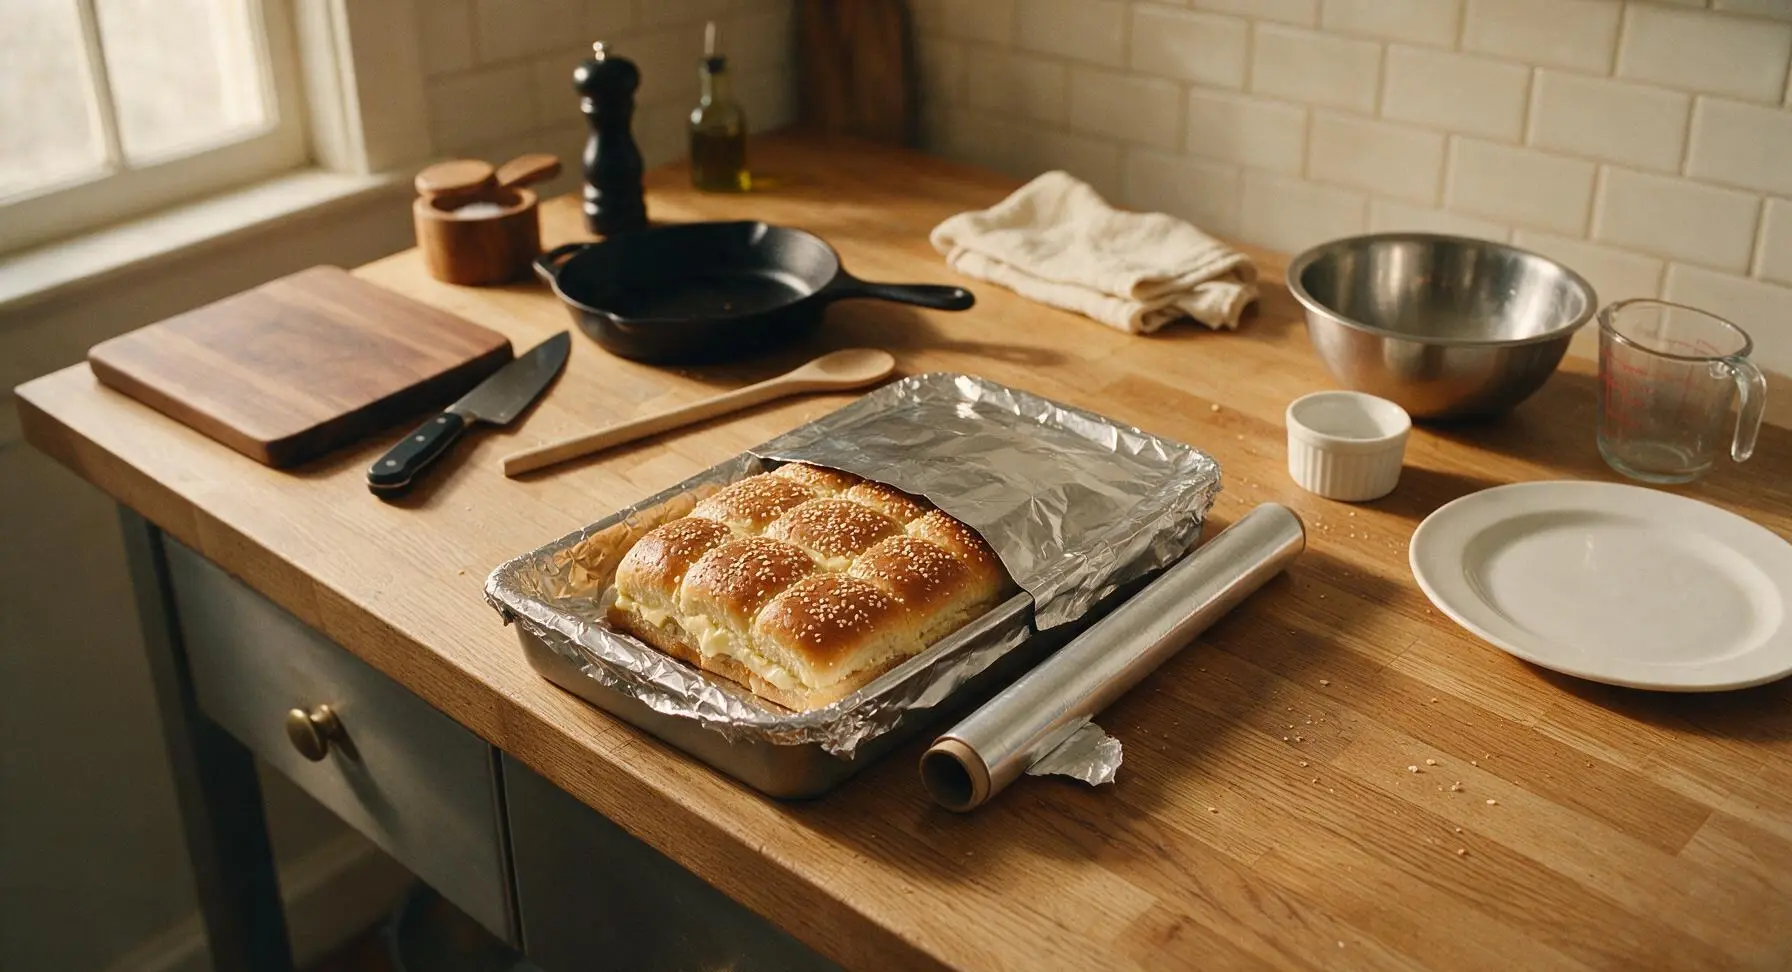
Step 6
step6:Bake until cheese melts
7

Garnish and plate sliders

Remove the pan from the oven, let the sliders rest for 3 minutes to allow the cheese to set, then sprinkle 2 tbsp chopped fresh flat-leaf parsley evenly over the top. Use the serrated utility knife to cut along the pre-scored roll lines to separate into 12 individual sliders. Transfer sliders to the large matte white ceramic serving platter, and serve with the remaining 1 tbsp dijon mixed with extra mayo in the small clear glass ramekin for dipping.
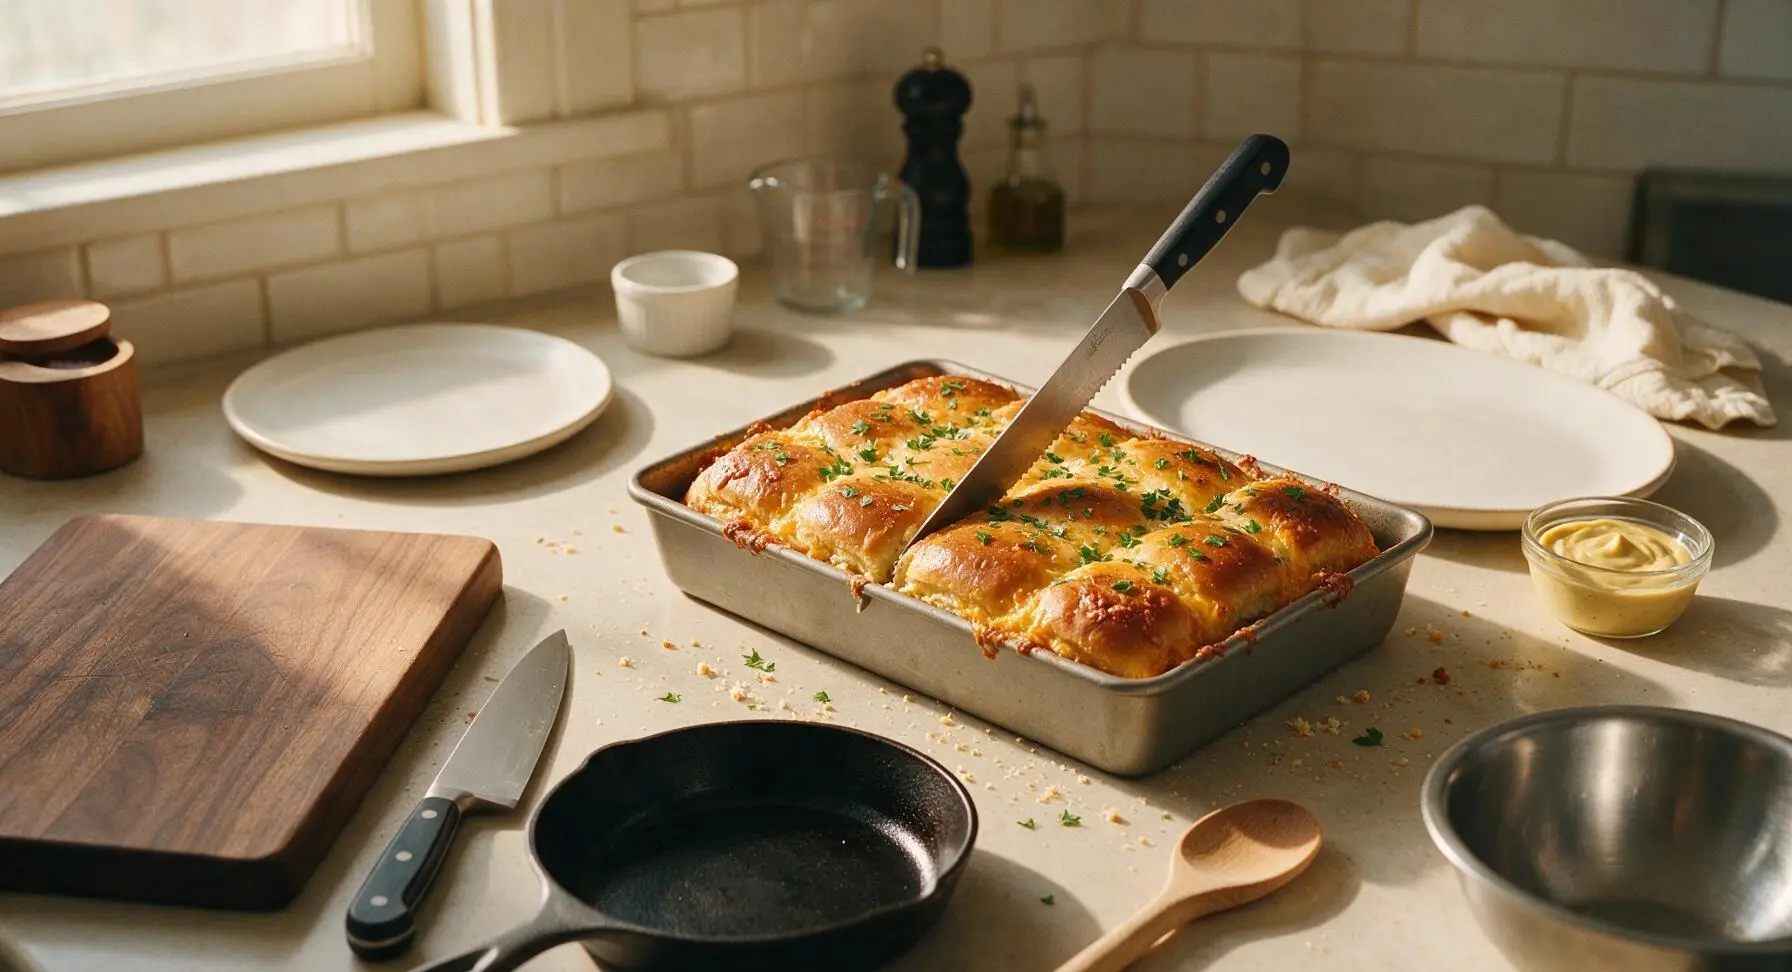
Step 7
step7:Garnish and plate sliders

Tips

1.Keep the roll block fully intact when slicing horizontally: Do not separate individual rolls before assembling, as the connected bread structure helps hold melted cheese and beef in place, creating the classic pull-apart slider experience with less filling oozing out during serving.
2.Stick with 80/20 lean-to-fat ground beef: The 20% fat content adds rich, beefy flavor and keeps the thin patty juicy even after baking; leaner beef (90/10 or higher) will result in dry, crumbly sliders that lack depth of flavor, even with added butter.
3.Let sliders rest for 3 full minutes after removing from the oven: This short rest allows melted cheese to set slightly, so it does not run out when you cut along the roll lines, making individual sliders easier to pick up and eat without dripping.


✨ You May Also Like

Snacks & Appetizers
🍜 Mexico

Crispy thick-cut tortilla chips piled high with seasoned beef, melted cheese, and bright fresh toppings for a shareable, crowd-favorite bite.

⏱️ 25 minuteSnacks & Appetizers ★ 4.8
Snacks & Appetizers
🍜 United States

Crisp, sweet-tangy spiced pickled watermelon rind is a zero-waste summer staple, perfect with grilled meats, charcuterie, or eaten straight from the jar as a bright snack.

⏱️ 30 minuteSnacks & Appetizers ★ 4.6
Snacks & Appetizers
🍜 Germany

A tangy, jellied pork cold cut slow-simmered with aromatic spices, set into a firm sliceable loaf, served cold with mustard and crusty bread.

⏱️ 3 hours 4Snacks & Appetizers ★ 4.8
Snacks & Appetizers
🍜 United States

Creamy, tangy, perfectly seasoned hard-boiled egg halves filled with a rich, smooth yolk mixture, a timeless, crowd-pleasing bite for holiday and casual gatherings alike.

⏱️ 40 minuteSnacks & Appetizers ★ 4.8
Snacks & Appetizers
🍜 Russia

Silky, dill-forward no-smoke cured salmon, a Scandinavian classic with bright salty-sweet flavor, ideal for holiday starter platters and open-faced rye sandwiches.

⏱️ 48 hours Snacks & Appetizers ★ 4.7
Snacks & Appetizers
🍜 Japan

Crisp golden bottoms, juicy savory pork and vegetable filling, and tangy dipping sauce make these pan-fried gyoza a beloved shareable bite.

⏱️ 45 minuteSnacks & Appetizers ★ 4.8

Cheese Slider:Frequently Asked Questions

1.Why do you recommend 80/20 ground beef instead of a leaner blend for these sliders? ▾
The 20% fat content in 80/20 ground beef keeps mini patties juicy and rich as they bake, so you won’t end up with dry, crumbly sliders. The rendered fat adds deep, savory beef flavor that balances the sweetness of the Hawaiian rolls, and you won’t need extra cooking oil to prevent sticking. Leaner blends will turn tough and bland in this recipe.
2.Can I use regular white dinner rolls instead of Hawaiian sweet rolls? ▾
You can, but you’ll miss that signature soft, slightly sweet contrast that makes these sliders so addictive. If you swap, choose soft, pull-apart style dinner rolls (skip crusty artisan rolls) and stir a tiny bit of honey into your butter topping to add a hint of matching sweetness to balance the savory beef and tangy Dijon.
3.Do I have to keep the rolls connected when making pull-apart sliders? ▾
Yes, that’s the key to the easy pull-apart structure! Keep the full slab of rolls intact as you slice the whole block horizontally through the middle, so top and bottom layers stay connected as single sheets. This makes assembly faster, holds fillings in place as they bake, and lets guests pull individual sliders apart easily when serving.
4.What’s the best way to keep cheese from oozing out all over the pan while baking? ▾
Layer sharp cheddar slices both directly on the bottom half of the rolls and on top of the cooked beef patties, tucking any overhanging cheese edges in toward the center of the roll slab before adding the top layer. Line your baking pan with parchment for super easy cleanup if any small bits of cheese do escape during baking.
5.How do I make sure mini beef patties are the same size so they cook evenly? ▾
Skip forming individual mini patties entirely! Press your 80/20 ground beef into a thin, even rectangle that matches the exact size of your roll slab on parchment, then bake it as one single large patty. Once cooked, slide the whole beef slab right onto the rolls, and it will cut perfectly into even slider portions with zero uneven cooking.
6.What does Dijon mustard do in the butter topping? ▾
Dijon adds a bright, tangy, slightly sharp kick that cuts through the richness of melted butter, fatty beef, and gooey cheddar, so the sliders don’t taste heavy or one-note. Whisk it fully into melted unsalted butter before brushing over roll tops, and it bakes into the soft bread for subtle depth without tasting strongly of mustard.
7.Can I prep these sliders ahead of time for a party? ▾
Absolutely! Assemble the sliders fully, but hold off on brushing the butter-Dijon topping on until right before baking. Cover the pan tightly with plastic wrap and refrigerate for up to 24 hours. When you’re ready to serve, add the butter topping, bake as directed, and tack on 3 to 5 minutes of bake time to account for cold fillings.
8.How long do I bake these sliders so the rolls don’t get soggy? ▾
Bake them covered with foil for the first 15 minutes at 350°F, then uncover for the last 5 to 7 minutes. The covered cook time melts the cheese and heats the beef through without drying out the rolls, and the uncovered finish toasts the roll tops just enough to prevent sogginess from butter and meat juices.
9.Can I add extra toppings like pickles or onions without ruining the pull-apart structure? ▾
You can, just keep extra toppings thinly sliced and distributed evenly across the beef layer so they don’t create gaps between sliders. Thin dill pickle slices or caramelized onions work great, but avoid heavy, watery toppings like thick fresh tomato slices, which will make the bread soggy as it bakes.
10.Why use sharp cheddar instead of mild cheddar for these sliders? ▾
Sharp cheddar has a concentrated, tangy, nutty flavor that stands up to sweet rolls, savory beef, and zesty Dijon, so you’ll actually taste the cheese instead of it getting lost among other ingredients. It also melts into that perfect gooey, stretchy texture without separating or turning greasy, unlike extra-sharp aged cheddar which can get crumbly.
11.Do I need to cook the ground beef all the way through before assembling the sliders? ▾
Yes, par-cook the beef slab until it’s just about done (it will finish cooking as the sliders bake) and drain off any excess rendered fat before layering it on the rolls. Skipping this step will leave you with greasy, soggy rolls from rendered fat, and you risk undercooked patties from the short assembled bake time.
12.What’s the easiest way to serve these pull-apart sliders at a party? ▾
Let the baked sliders rest in the pan for 5 minutes after coming out of the oven, then run a sharp knife along the original roll seams to mark individual portions. Leave the whole slab on a wooden cutting board with napkins nearby, so guests can just grab and pull a slider off without needing extra serving utensils.
13.Can I freeze leftover baked sliders for later? ▾
Yes, let baked sliders cool completely first, then wrap them individually in plastic wrap and tuck into a freezer-safe bag for up to 3 months. Reheat wrapped in foil in a 325°F oven for 12 to 15 minutes until cheese melts—skip the microwave, which turns soft Hawaiian rolls rubbery and makes beef tough.
14.My butter-Dijon topping keeps pooling at the bottom of the pan—what am I doing wrong? ▾
You’re likely using too much butter, or not mixing it fully with Dijon before brushing. Stick to 4 tablespoons of melted unsalted butter whisked smooth with 1 tablespoon of Dijon, and brush it slowly across roll tops, letting it soak into the bread instead of pouring it on all at once, to prevent runoff.

Comments (9)

2 days ago

OMG these sliders were an absolute game changer for our Sunday football watch party! I used a mix of cheddar and Swiss because that’s what I had in the fridge, and everyone went back for seconds. Even my super picky 7 year old ate two! 25 minute cook time is no joke, I had them in and out of the oven before the first quarter ended. Will 100% be making these for our next potluck at work.

yesterday

Wait the cheddar/Swiss swap sounds chef’s kiss! Did you brush the tops with that garlic butter like the recipe says? I’m making these for my buddy’s birthday this weekend and don’t wanna mess it up.

yesterday

So glad these were a hit at your watch party! Love the cheddar and Swiss swap, that sounds delicious. And great question from GameDayGriller – that garlic butter brush on top is totally worth the extra 30 seconds, it adds so much flavor!

1 week ago

Perfect easy weeknight meal when I don’t feel like spending an hour in the kitchen! I prepped all the components the night before (sliced the rolls, layered the cheese, mixed the butter topping) and just popped it in the oven when I got home from work. My husband said these are better than the sliders we get at our local pub. Only note: I wish I’d made a double batch, we had zero leftovers!

5 days ago

Meal prepping these ahead is such a smart hack! We’re big fans of making a double batch too – they go fast, especially with hungry families. So happy you two enjoyed them!

3 days ago

As someone who can barely boil water without burning it, these were so easy to pull off! I made them for my dorm floor potluck and people were asking me for the recipe all night. Used cheap American cheese slices from the campus market and they still turned out SO good. 10/10, no notes.

5 days ago

Made these for my kid’s soccer team end-of-season potluck and they were the first dish gone! I added a little thin-sliced ham to half the pan for the meat lovers, and kept the other half classic cheese for the vegetarians. So easy to customize, and the pull-apart aspect makes them perfect for grabbing and going when you’re juggling kids and coolers and folding chairs.

3 days ago

Oh the ham addition is genius! My son’s team has a potluck next weekend and I was trying to figure out how to make something that works for both meat eaters and my vegetarian daughter. Stealing this idea!

2 days ago

Love that you customized these to work for everyone at the potluck! Adding deli meats, roasted veggies, or even a little pickles are all fun swaps that work perfectly with this base recipe. Great call!

2 weeks ago

These are now a staple in my weekly meal prep rotation! I cut them into individual sliders after baking, pop them in the fridge, and grab one or two for a quick lunch at work all week. They reheat so well in the microwave for 30 seconds, no sogginess at all. Way better than spending $12 on takeout sandwiches every day.

1 week ago

Wait do you store them in an airtight container? I tried reheating sliders once before and they got all mushy, would love to get your method down so I can add these to my prep too!

yesterday

Made these for our weekly board game night with friends and everyone lost their minds. We paired them with some potato chips and pickles on the side, and it was the perfect low-fuss spread so I could actually hang out instead of being stuck in the kitchen the whole time. The garlic butter on the roll tops is chef’s kiss, don’t skip that!

30 minutes ago

Really good sliders! My only mistake was not pulling the rolls apart a little before baking so the cheese could get in between the layers better, so some bites were just plain bread. Oops. Definitely my bad though, the recipe was super easy to follow even for a newbie like me. Will make again and do it right next time!

5 minutes ago

Don’t stress about the mistake at all! A quick tip for next time: keep the rolls connected at the base when you slice them horizontally, then you can tuck cheese evenly between every section before putting the top layer of rolls on. Works like a charm!

5 minutes ago

I added a little sprinkle of parmesan and a dash of paprika to the garlic butter topping and wow, that took these to the next level! Served them at my daughter’s birthday party alongside some tomato soup shooters, and the kids and adults both were raving. So simple, so versatile, can’t beat it.

just now

Tomato soup shooters?! That is such a cute party idea, I’m stealing that for my next housewarming. Did you use canned soup or make your own?

2 hours ago

Such a cheap, filling meal for when grocery money is tight at the end of the month! I got a pack of Hawaiian rolls, a block of generic cheese, and some butter from the dollar store, and the whole pan cost like $5 to make and fed me and my two roommates for two nights. Absolute winner, will be making this on repeat.



