
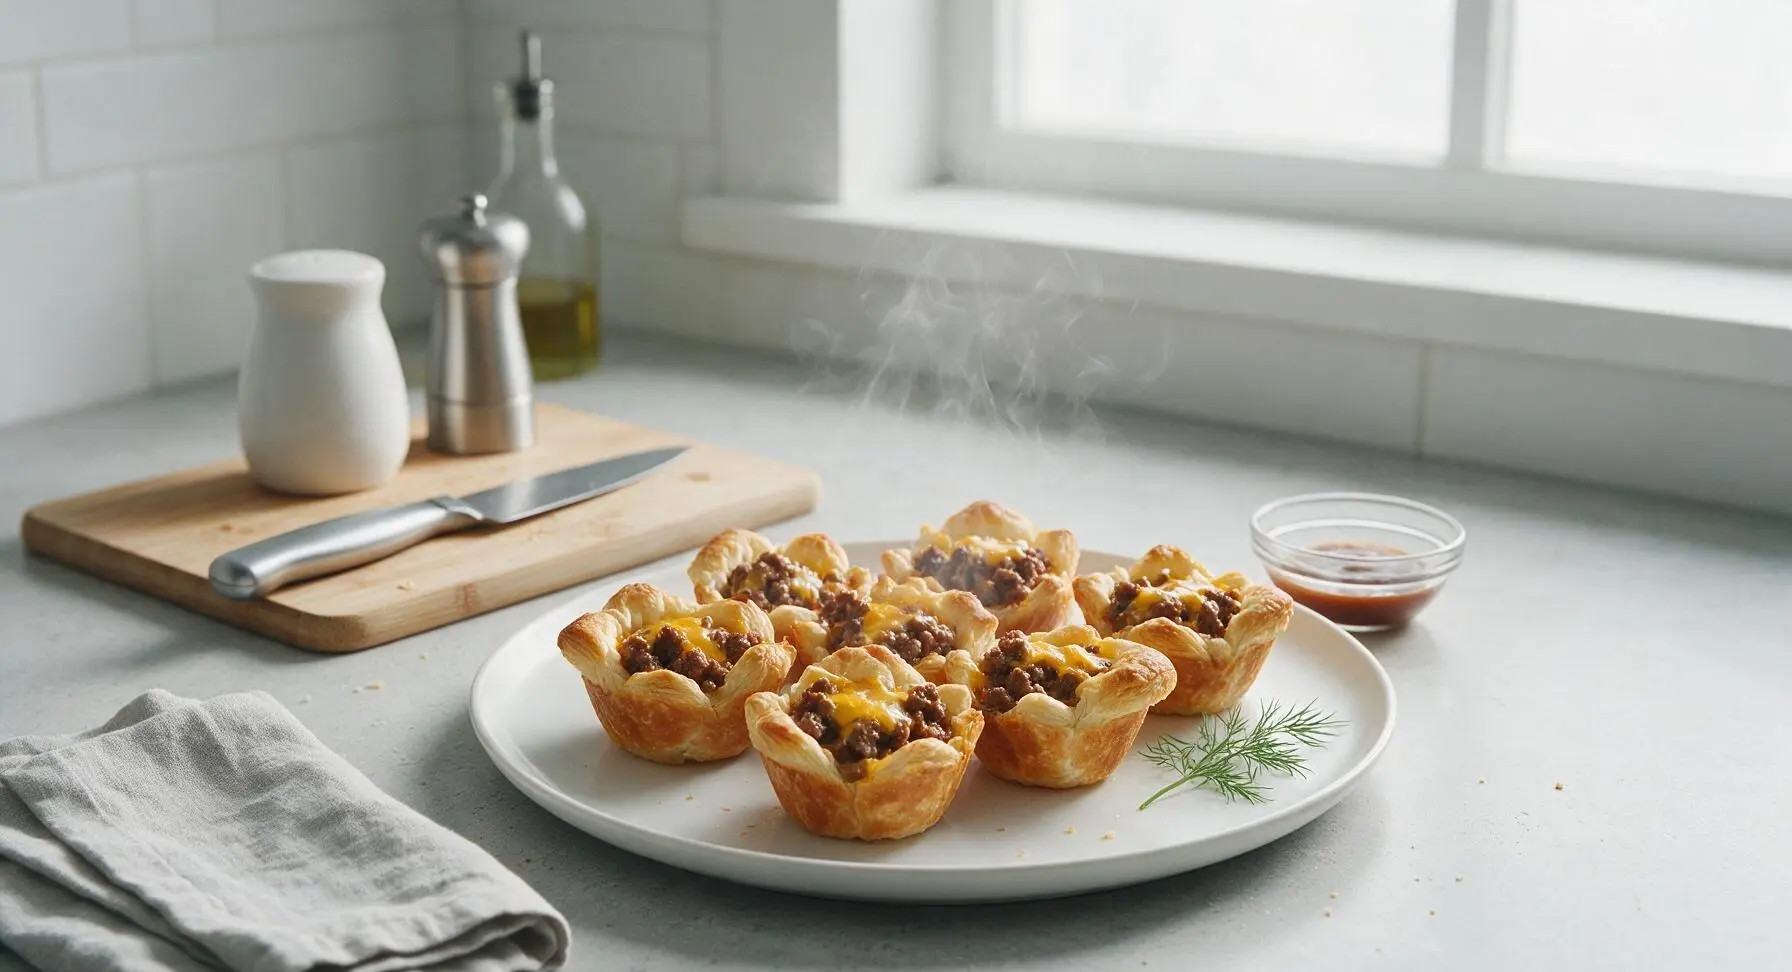
cheeseburger cups

title 1
cheeseburger cups
⏱️ cook time 20 minutes
🍽️ servings 4
⚡ Difficulty easy

intro

Crispy flaky biscuit cups loaded with juicy seasoned beef, melted cheddar, and classic cheeseburger toppings—perfect handheld bites for casual gatherings.

Ingredients
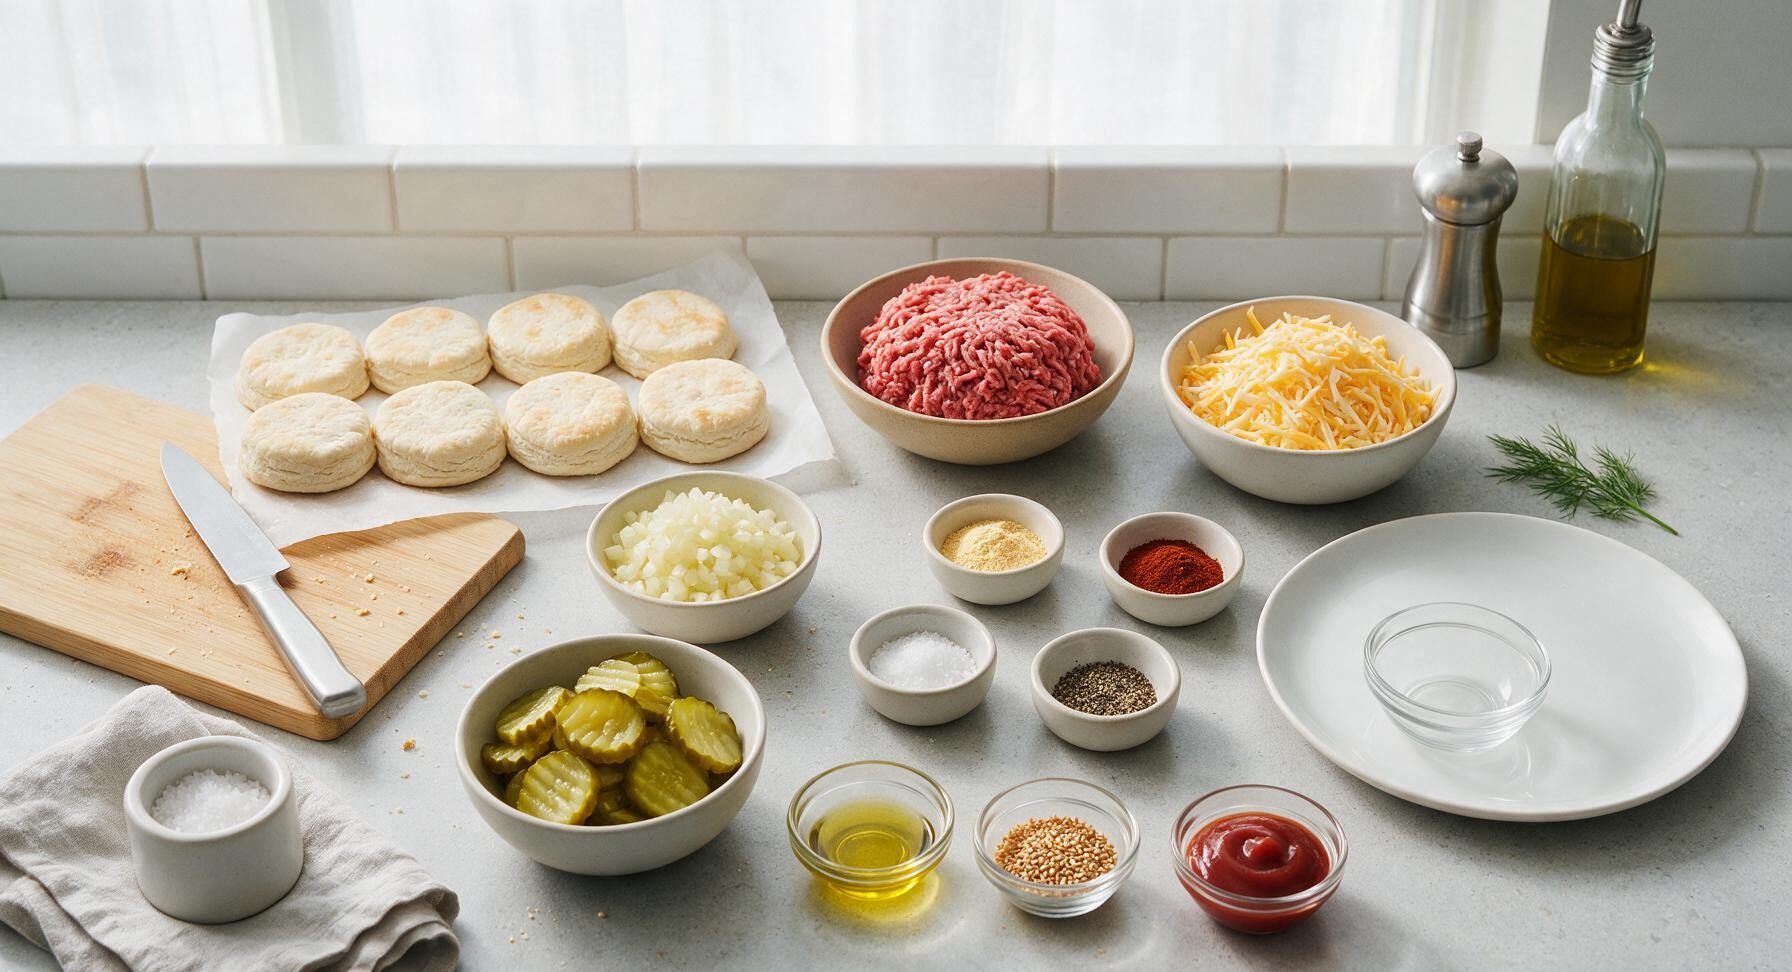
Refrigerated flaky biscuit dough (8-count) 454g (1 16oz can)
80/20 ground beef 450g (1lb)
Sharp cheddar cheese 113g (4oz, shredded)
Small yellow onion 1 (100g, finely diced)
Garlic powder 1 tsp
Smoked paprika 1/2 tsp
Kosher salt 1 tsp
Freshly ground black pepper 1/2 tsp
Dill pickle slices 16 slices
Ketchup 2 tbsp
Toasted sesame seeds 1 tsp
Olive oil 1 tsp

Steps

1

Preheat Oven and Prep

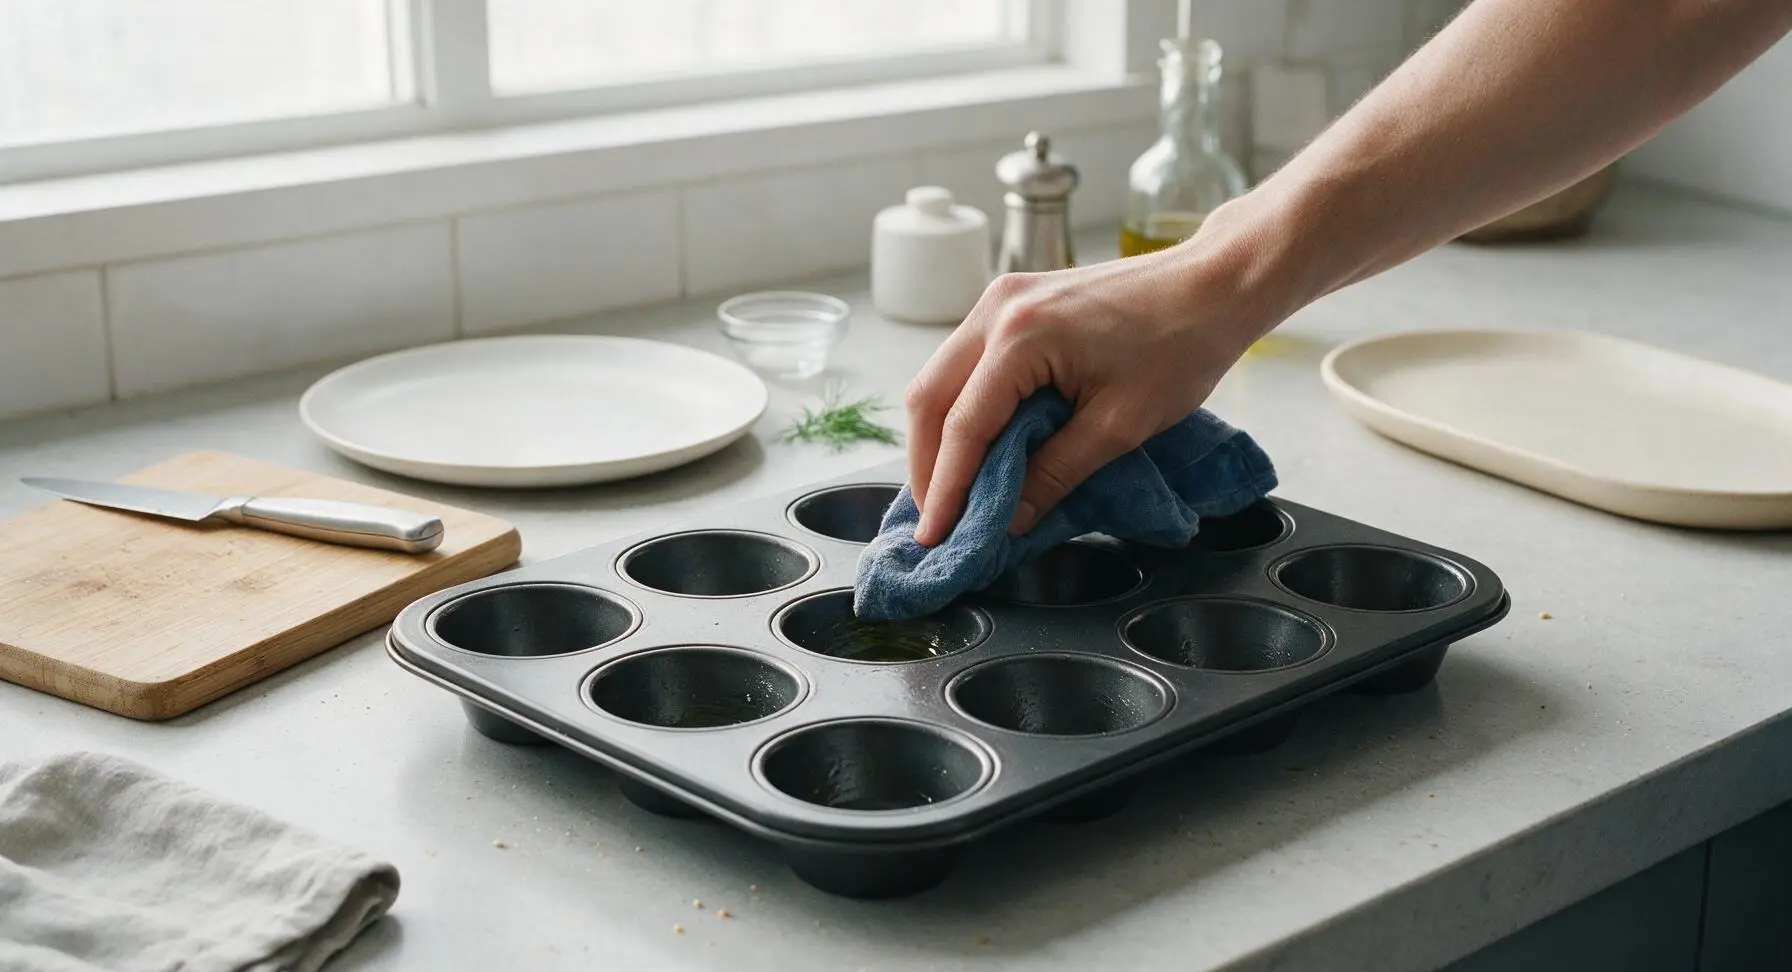
Preheat your oven to 400°F (200°C). Lightly grease 8 cups of the 12-cup matte black nonstick muffin tin with 1 tsp olive oil, using a corner of the faded indigo kitchen towel to spread a thin, even coat across the bottom and sides of each cup. Set the prepared tin at center counter while you prep the beef filling.
Step 1
step1:Preheat Oven and Prep
2

Brown Seasoned Ground Beef

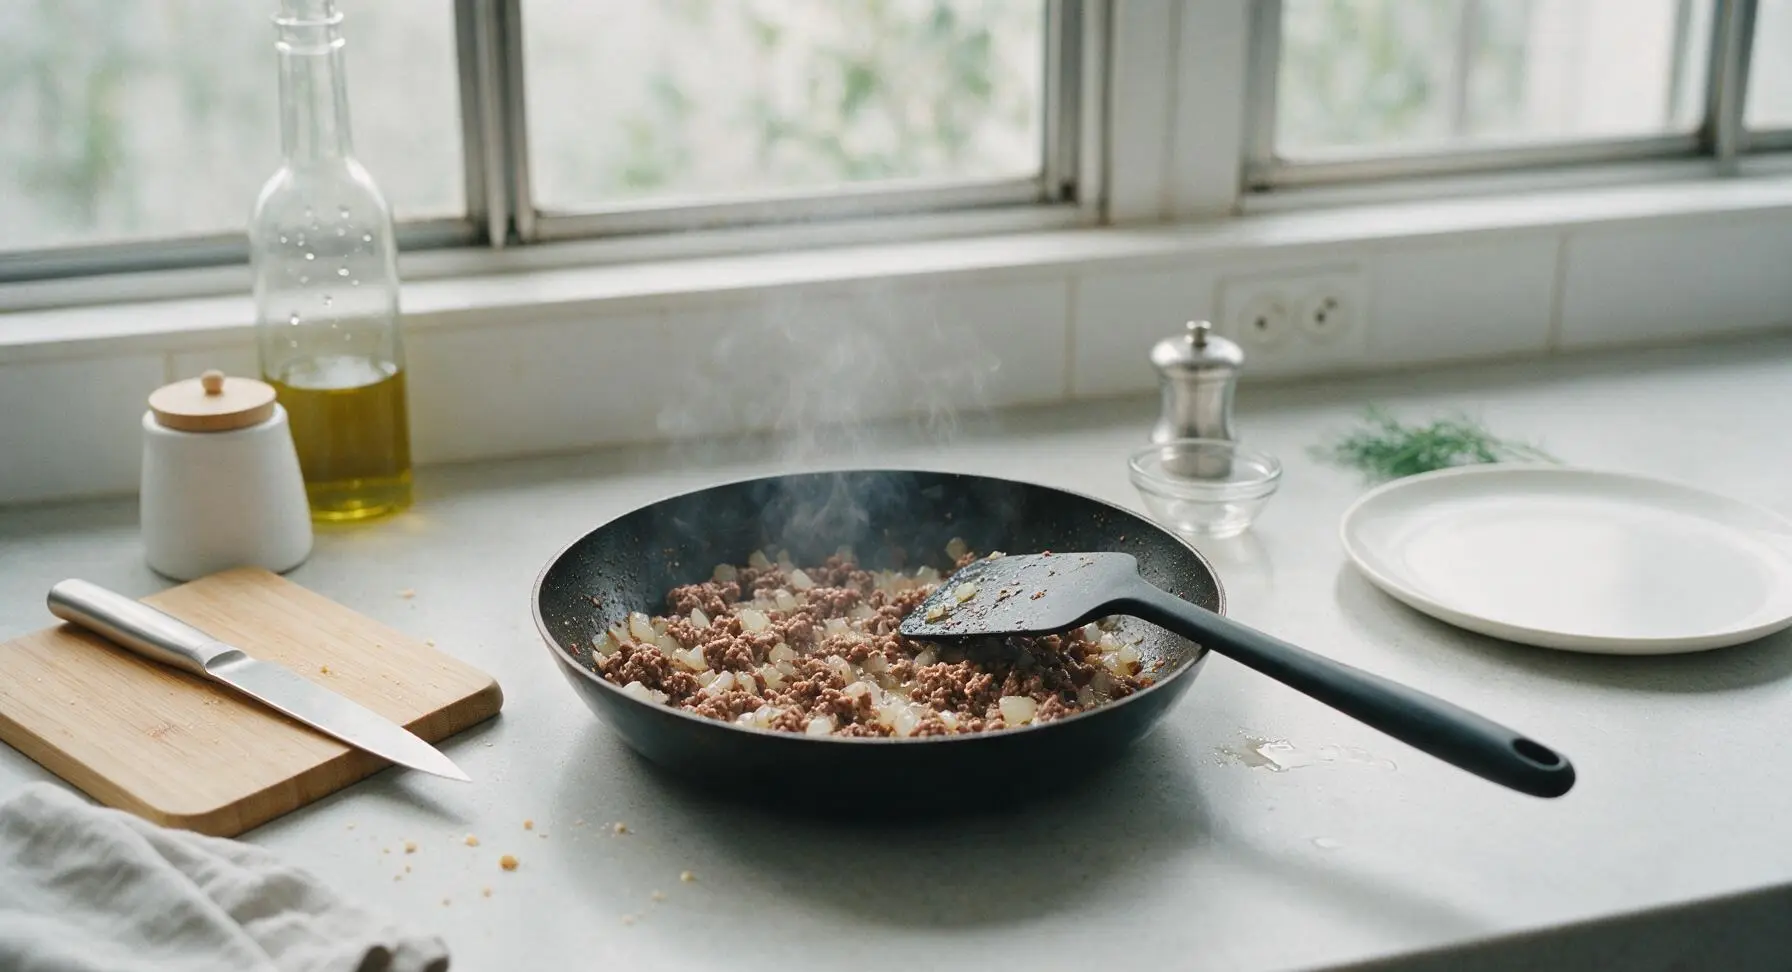
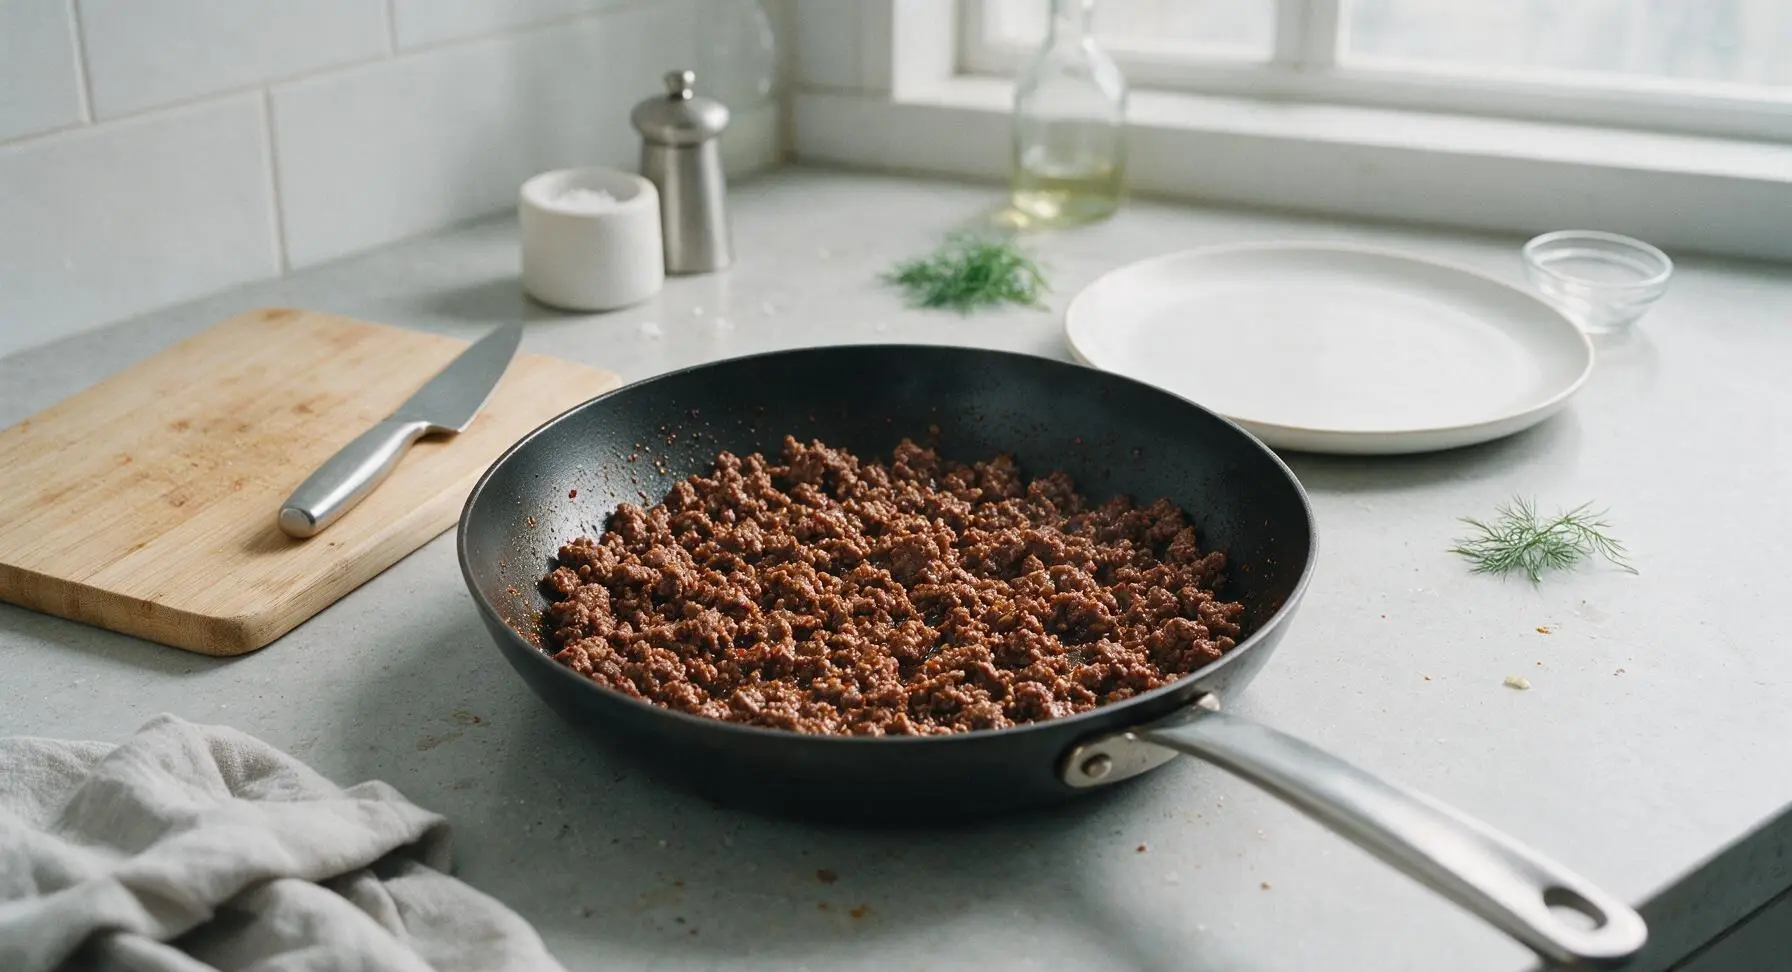
Place the 24cm matte black carbon steel skillet over medium heat. Add the finely diced yellow onion, sauté for 2 minutes until soft and translucent. Add the 450g ground beef, breaking it apart into small crumbles with the black silicone spatula as it cooks. Stir in 1 tsp garlic powder, 1/2 tsp smoked paprika, 1 tsp kosher salt, and 1/2 tsp freshly ground black pepper. Cook for 5-6 minutes until the beef is fully browned with no pink remaining, then carefully drain any excess rendered grease from the skillet.
Step 2
step2:Brown Seasoned Ground Beef
Step 2
step2:Brown Seasoned Ground Beef
3

Shape Biscuit Cups

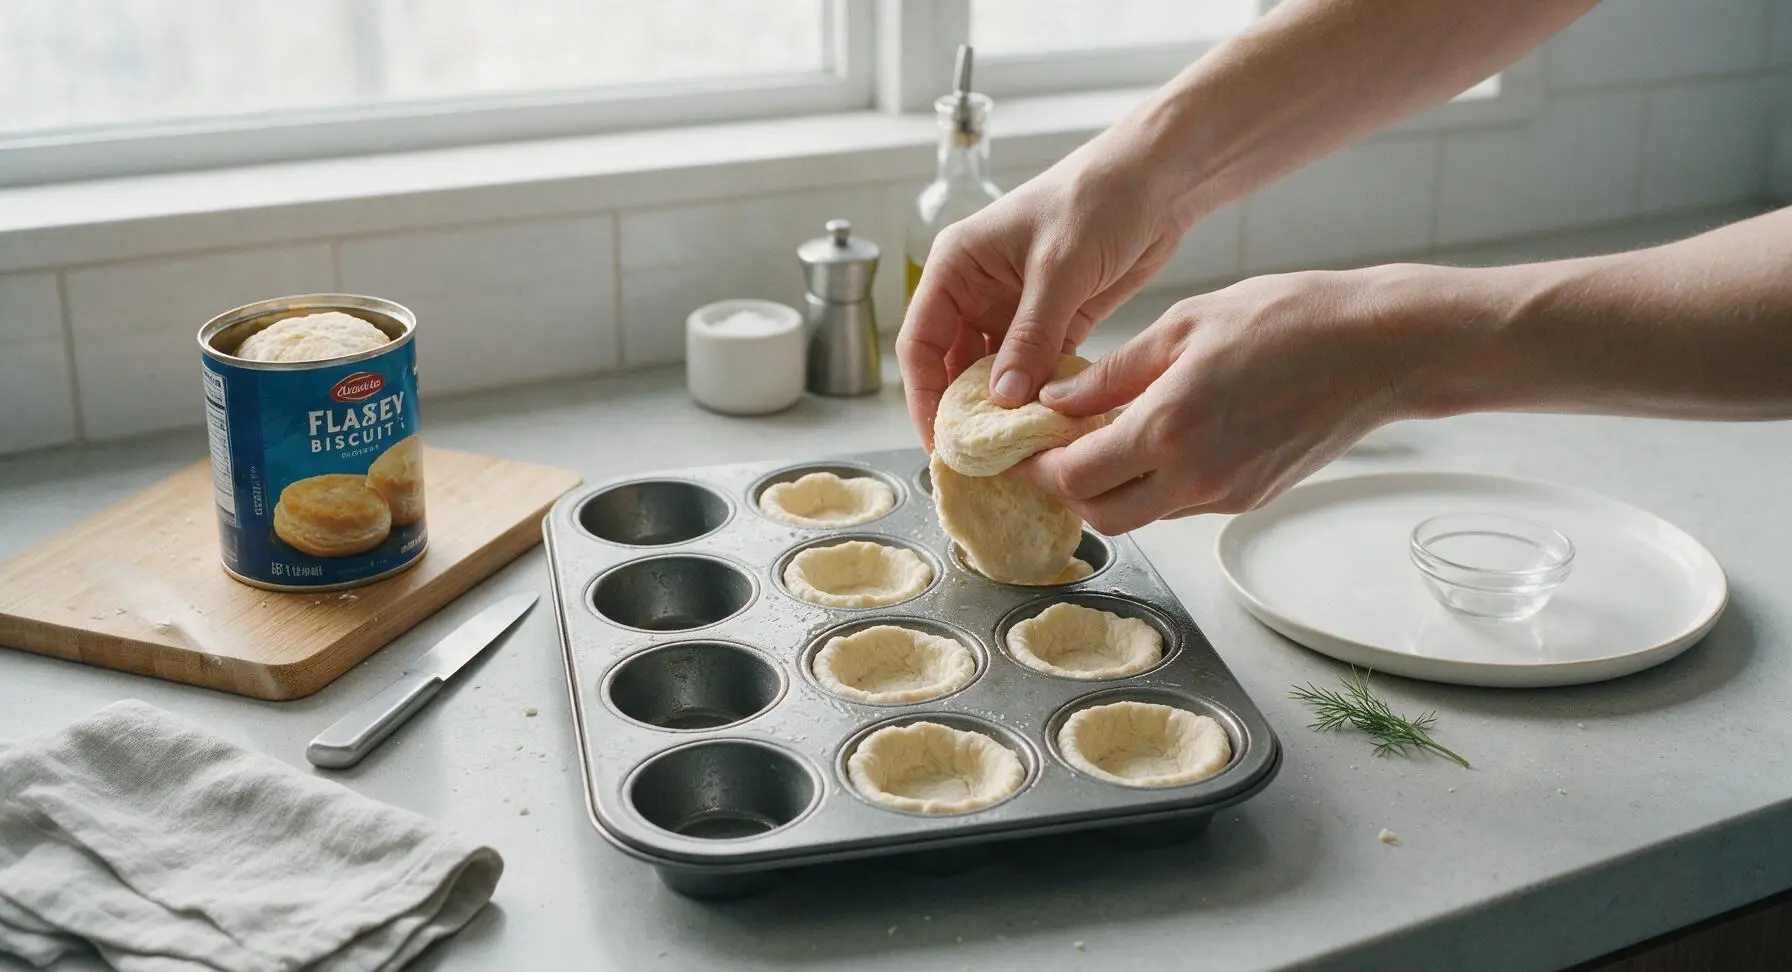
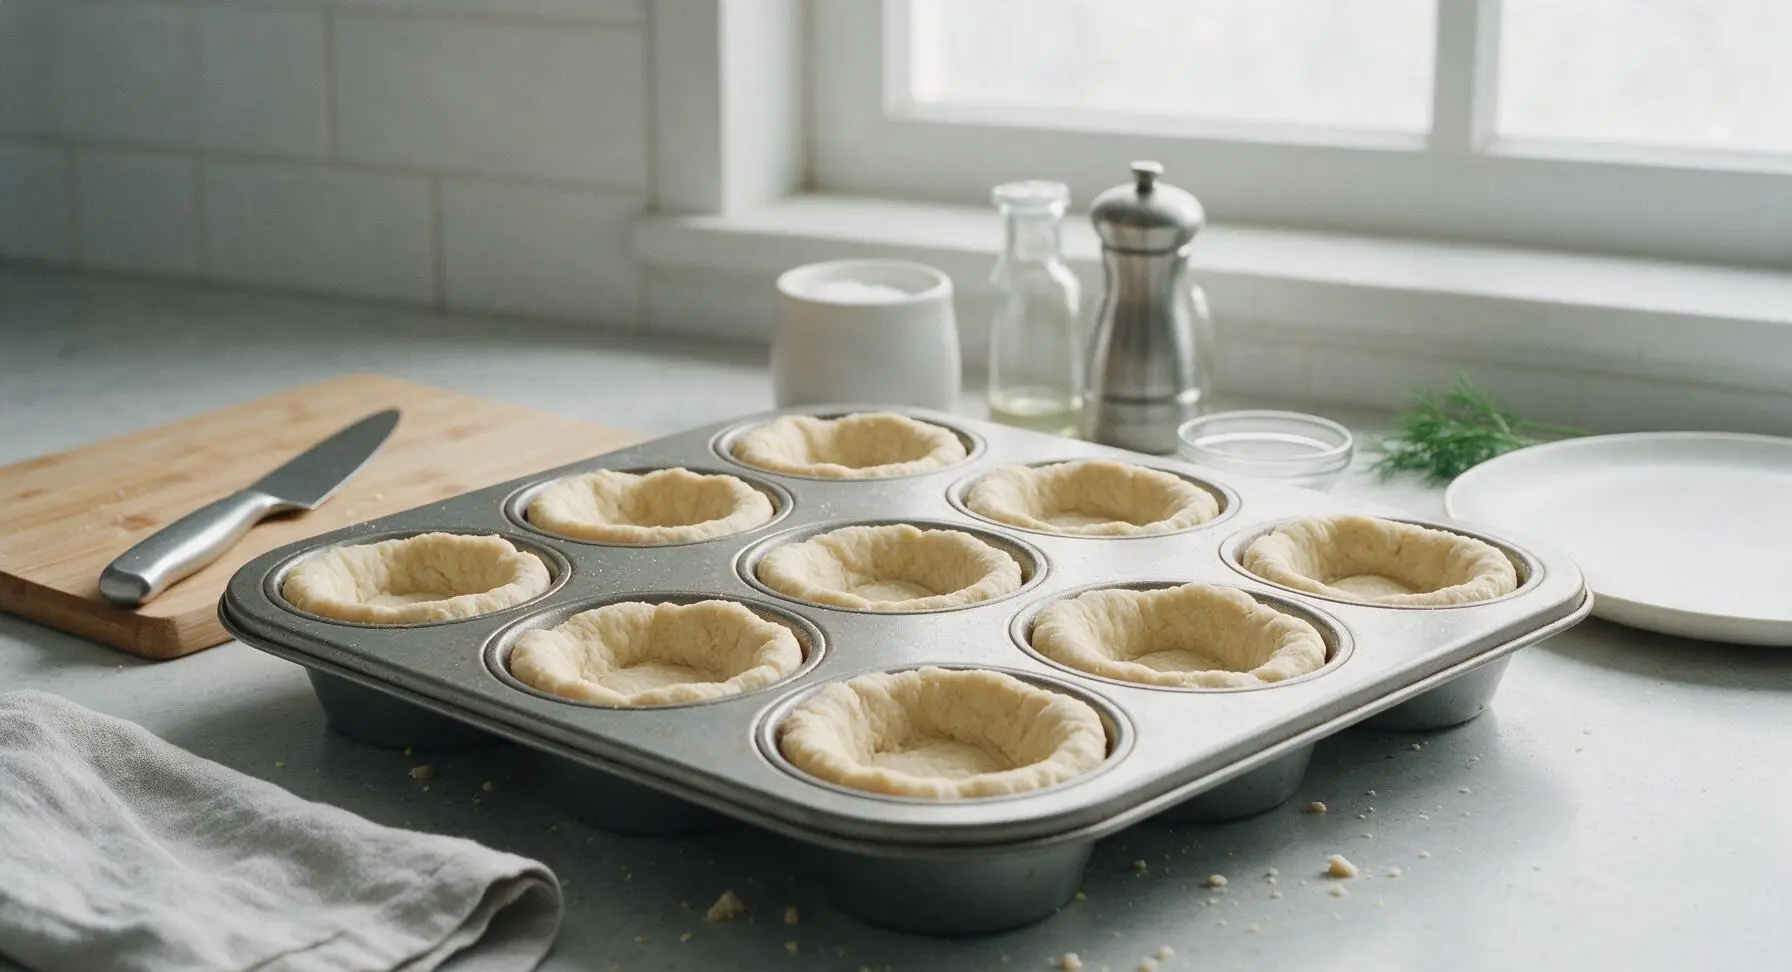
Open the 16oz can of flaky biscuit dough, separating the 8 individual pre-cut biscuit rounds. Place one biscuit into each greased cup of the muffin tin. Using clean fingers, press each biscuit down and up the sides of the tin cup to form a 1/4-inch thick crust with a shallow well in the center, taking care to press out any thin spots or holes where filling could leak through during baking.
Step 3
step3:Shape Biscuit Cups
Step 3
step3:Shape Biscuit Cups
4

Fill Cups with Beef

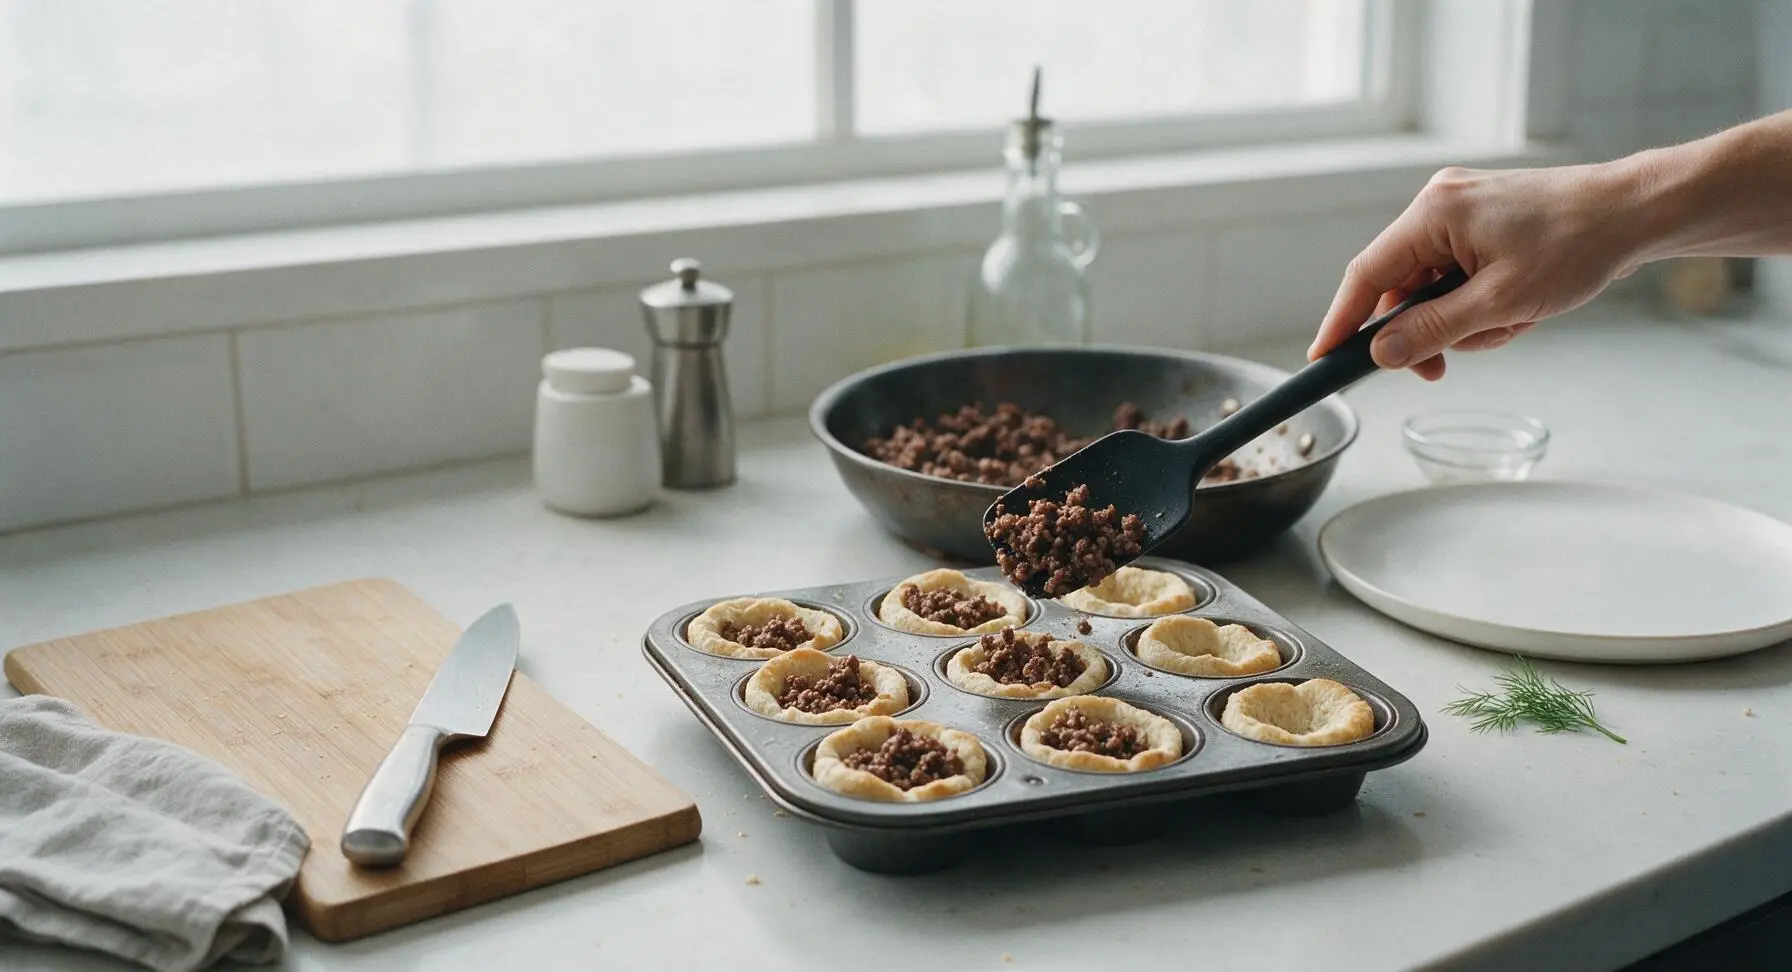
Spoon 2 tablespoons of the cooked, seasoned ground beef mixture into the center well of each biscuit-lined cup, pressing the filling down lightly to leave a small gap at the top for cheese. Do not overfill the cups, as the biscuit dough will puff up as it bakes and push filling over the edges.
Step 4
step4:Fill Cups with Beef
5

Top with Shredded Cheddar

Sprinkle 1 tablespoon of freshly shredded sharp cheddar over the beef filling in each cup, covering the beef completely so the cheese melts evenly across the top during baking. Reserve 1 tablespoon of cheddar for extra topping if desired.
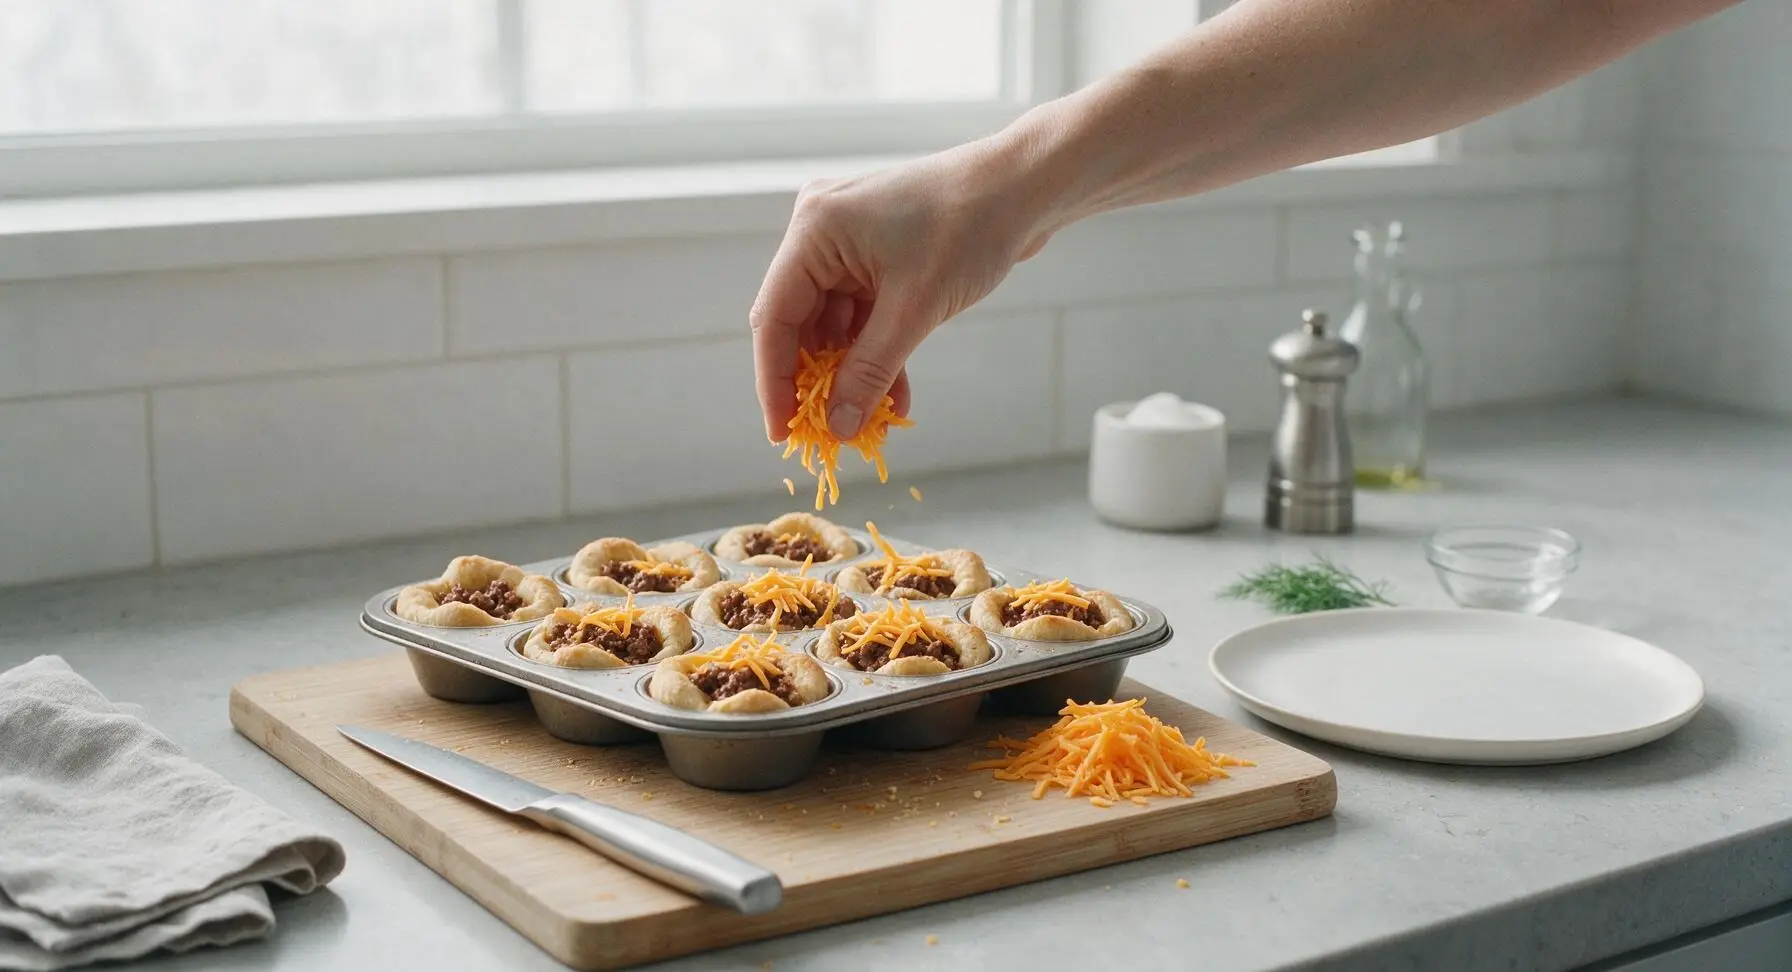
Step 5
step5:Top with Shredded Cheddar
6

Bake to Golden Perfection

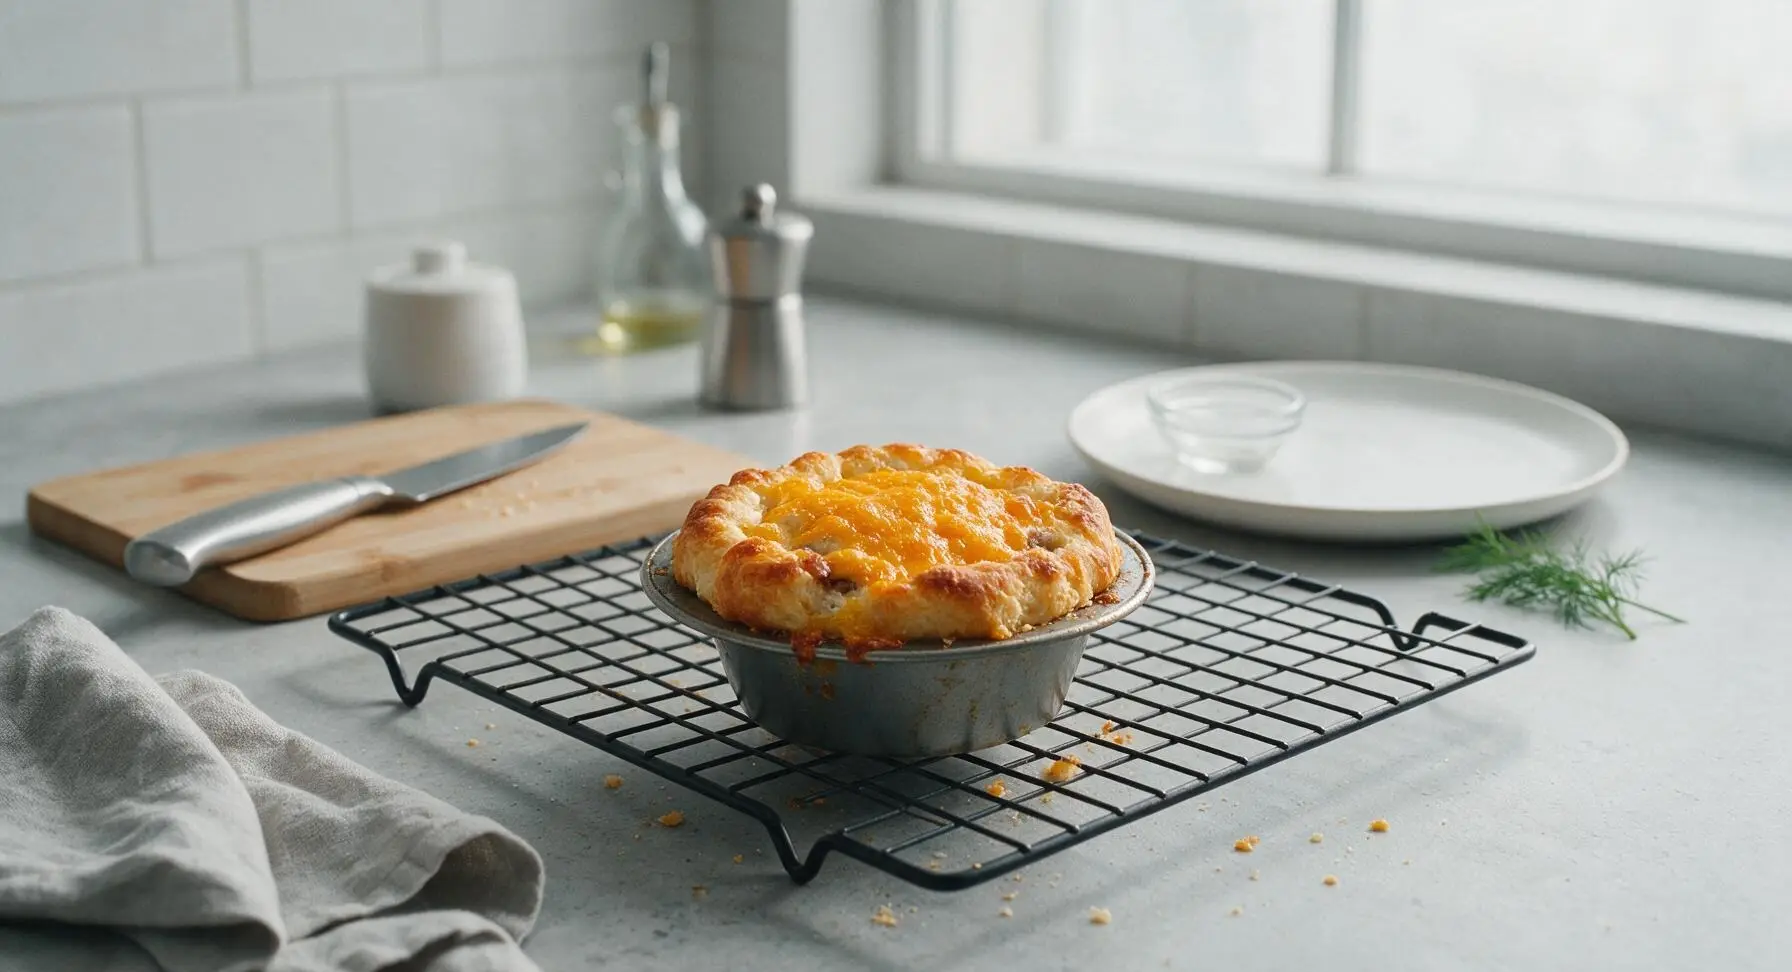
Carefully place the filled muffin tin in the preheated 400°F (200°C) oven. Bake for 12-14 minutes, until the biscuit edges are deep golden brown and crispy, and the cheese is fully melted and bubbling around the cup edges. Remove the tin from the oven and set it on the matte black wire cooling rack to rest for 3 minutes to set.
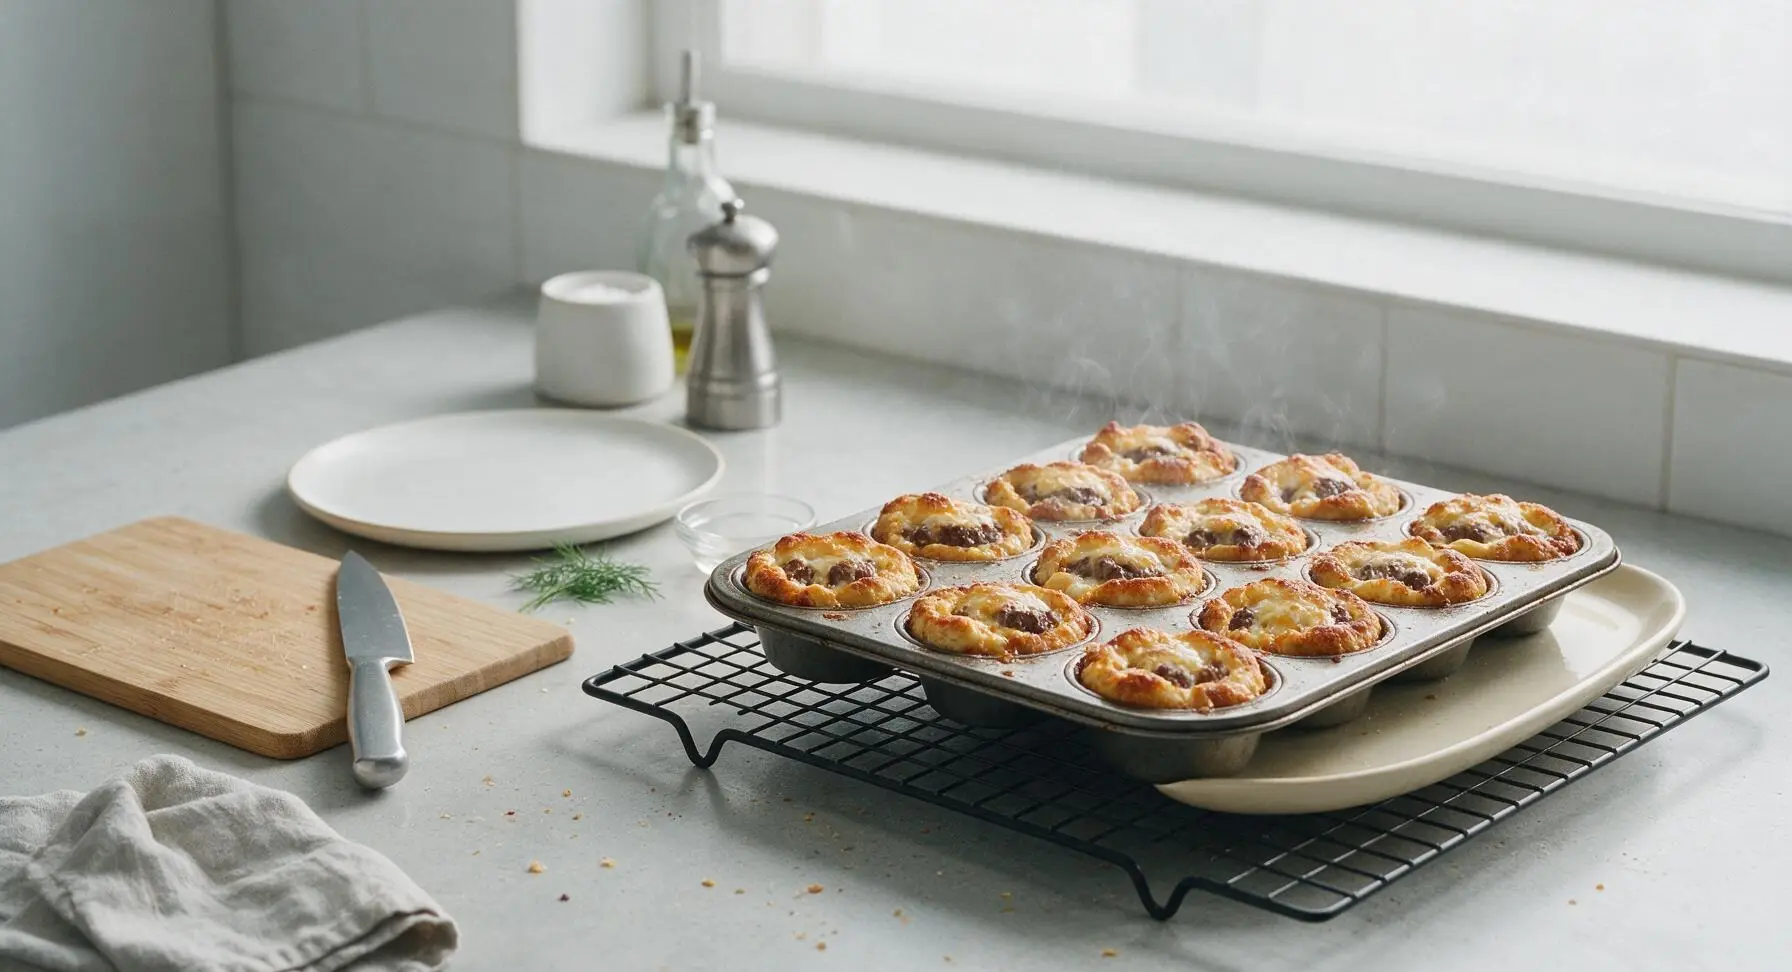
Step 6
step6:Bake to Golden Perfection
Step 6
step6:Bake to Golden Perfection
7

Garnish and Serve

Run the small stainless steel paring knife around the edge of each cup to loosen it from the tin, then lift each cup out with the stainless steel tongs and arrange it on the matte cream ceramic serving platter. Top each cup with a small dollop of ketchup, two crinkled dill pickle slices, and a light sprinkle of toasted sesame seeds to echo classic cheeseburger toppings. Serve warm.
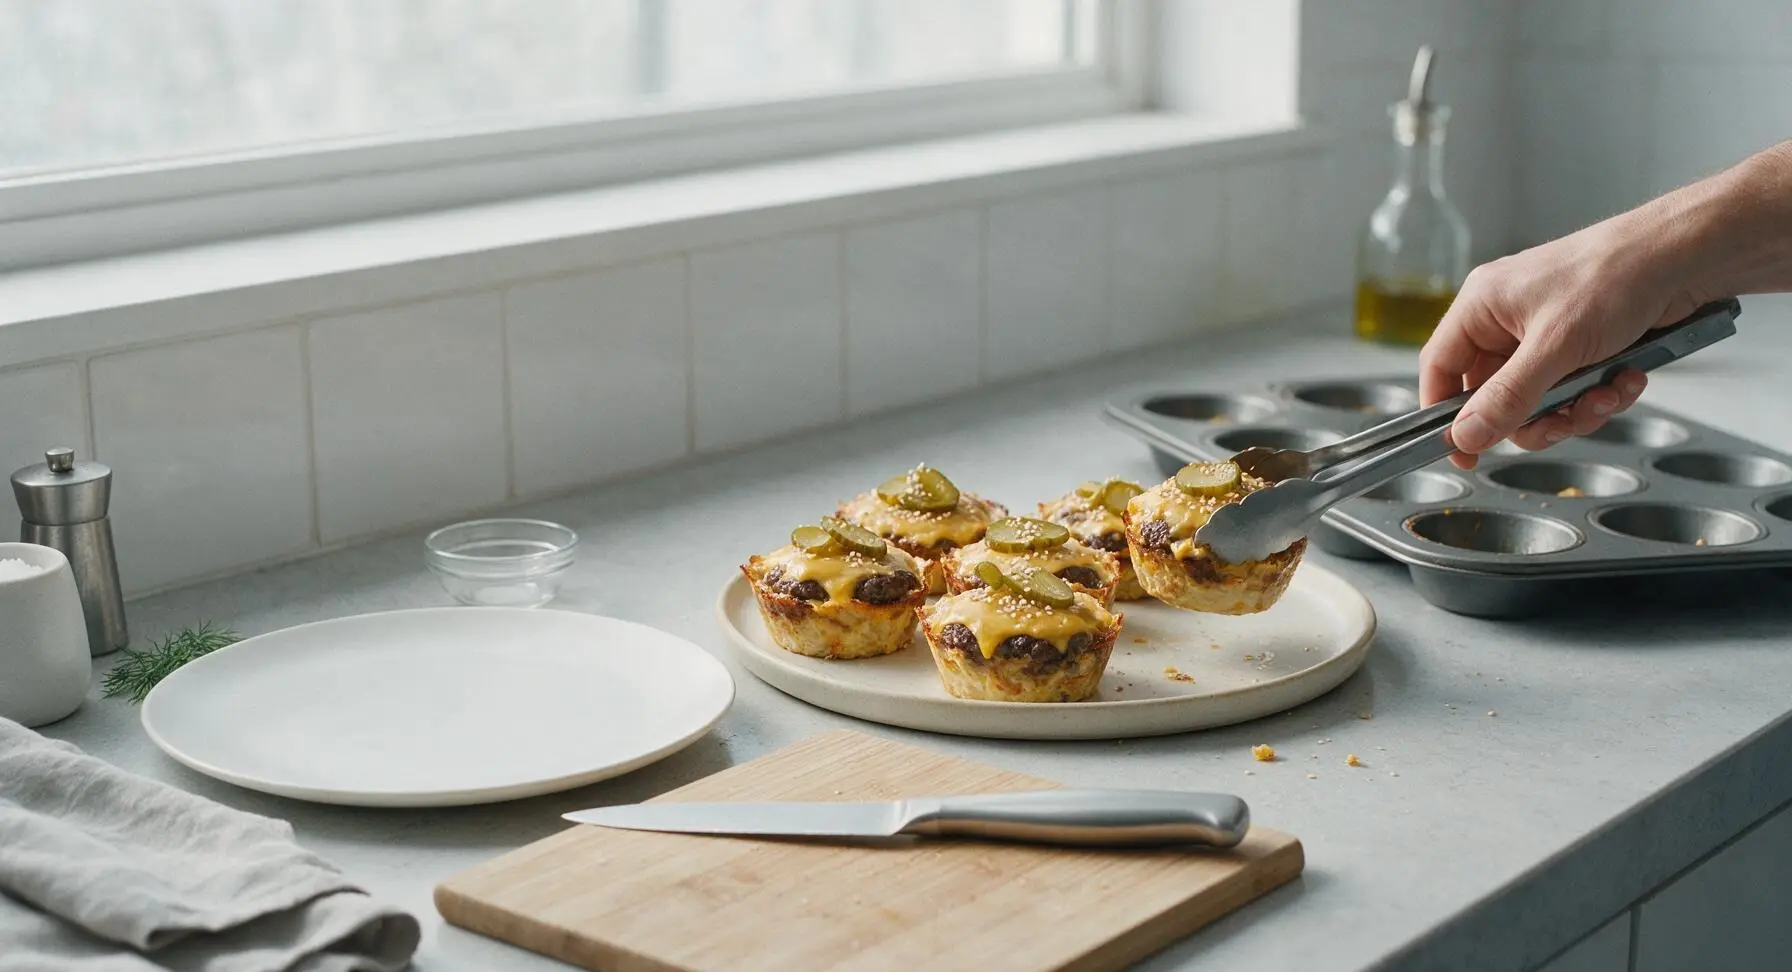
Step 7
step7:Garnish and Serve

Tips

1.Use 80/20 ground beef for the juiciest filling: the 20% fat content adds rich, beefy flavor and prevents the filling from drying out during the short bake time, while leaner 90/10 beef will result in dry, crumbly cups.
2.Don’t skip greasing the muffin tin, even if it is labeled nonstick: melted cheese and biscuit dough can seep into tiny scratches on the tin surface and stick, making it hard to remove the cups in one piece without tearing the crust.
3.Let the cups rest for 3 full minutes in the tin after baking: this allows the flaky biscuit crust to set and the melted cheese to firm slightly, so the cups hold their cup shape when lifted instead of sagging or falling apart when picked up.


✨ You May Also Like

Snacks & Appetizers
🍜 Mexico

Crispy thick-cut tortilla chips piled high with seasoned beef, melted cheese, and bright fresh toppings for a shareable, crowd-favorite bite.

⏱️ 25 minuteSnacks & Appetizers ★ 4.8
Snacks & Appetizers
🍜 United States

Crisp, sweet-tangy spiced pickled watermelon rind is a zero-waste summer staple, perfect with grilled meats, charcuterie, or eaten straight from the jar as a bright snack.

⏱️ 30 minuteSnacks & Appetizers ★ 4.6
Snacks & Appetizers
🍜 Germany

A tangy, jellied pork cold cut slow-simmered with aromatic spices, set into a firm sliceable loaf, served cold with mustard and crusty bread.

⏱️ 3 hours 4Snacks & Appetizers ★ 4.8
Snacks & Appetizers
🍜 United States

Creamy, tangy, perfectly seasoned hard-boiled egg halves filled with a rich, smooth yolk mixture, a timeless, crowd-pleasing bite for holiday and casual gatherings alike.

⏱️ 40 minuteSnacks & Appetizers ★ 4.8
Snacks & Appetizers
🍜 Russia

Silky, dill-forward no-smoke cured salmon, a Scandinavian classic with bright salty-sweet flavor, ideal for holiday starter platters and open-faced rye sandwiches.

⏱️ 48 hours Snacks & Appetizers ★ 4.7
Snacks & Appetizers
🍜 Japan

Crisp golden bottoms, juicy savory pork and vegetable filling, and tangy dipping sauce make these pan-fried gyoza a beloved shareable bite.

⏱️ 45 minuteSnacks & Appetizers ★ 4.8

cheeseburger cups:Frequently Asked Questions

1.Why do you recommend 80/20 ground beef for these cheeseburger cups? ▾
That 20% fat ratio delivers that classic, juicy fast-food cheeseburger flavor without drying out as it bakes, and it creates just enough rendered grease to season the onion as you sauté. If you use a leaner blend, add 1 teaspoon of olive oil when browning to avoid crumbly, bland filling, and always drain excess grease to prevent soggy biscuit cups.
2.Can I use homemade biscuit dough instead of refrigerated flaky biscuit dough? ▾
Absolutely! Just roll your homemade flaky, buttery biscuit dough to ¼-inch thickness and cut it into 3 ½-inch rounds to press evenly into your muffin tin. Skip dense drop biscuit recipes for this, as they won’t create that light, crispy, flaky cup texture that makes these handheld bites perfect for casual gatherings.
3.How do I keep the biscuit cups from getting soggy once I add the beef filling? ▾
The two most effective tricks are draining your browned beef really well (no pooled grease left!) and giving the pressed biscuit cups a quick 3-minute pre-bake in the muffin tin before adding filling. You can also sprinkle a tiny pinch of shredded cheddar on the bottom of each pre-baked cup to create a moisture barrier between dough and filling.
4.What size muffin tin do I need for this 8-count biscuit recipe? ▾
A standard 12-cup nonstick muffin tin works perfectly, even for the 8-count can of flaky biscuit dough. Press each individual biscuit evenly up the sides of 8 muffin wells, leaving the remaining 4 empty to allow for even air circulation as they bake, which helps the cups crisp evenly all the way around.
5.Can I swap the sharp cheddar for a different type of cheese? ▾
Definitely! Sharp cheddar is classic for that bold, tangy cheeseburger flavor, but you can swap it for equal amounts of pepper jack for a little heat, American cheese for ultra-gooey fast-food melt, or smoked gouda for a richer, smoky twist. Just avoid high-moisture cheeses like fresh mozzarella, which can make cups soggy.
6.What temperature and bake time works best for perfectly cooked cheeseburger cups? ▾
Bake them at 375°F (190°C) for 12 to 15 minutes total. If you pre-bake the biscuit cups for 3 minutes first, add the filling and cheese then bake for the remaining 9 to 12 minutes, until the biscuit edges are deep golden brown and cheese is fully melted and bubbly. Let them cool 2 minutes in the tin before serving.
7.Can I prep these cheeseburger cups ahead of time for a casual gathering? ▾
You sure can! Brown the beef and onion filling up to 3 days in advance, and store it tightly covered in the fridge. When you’re ready to bake, press the biscuit dough into the tin, add the cold filling and cheese, and bake as directed—you may just need to add 1 to 2 minutes of extra bake time since the filling will be chilled.
8.Do I need to cook the small yellow onion before adding it to the filling? ▾
Yes, for the best texture and flavor, dice the small yellow onion finely and sauté it right in the pan with the browning beef for 3 to 4 minutes, until soft and translucent. Adding raw onion directly to the cups will leave you with crunchy, sharp-tasting onion bits that don’t meld with the beef, and can release extra moisture that sogs out the biscuit cups.
9.Why does the recipe use garlic powder instead of fresh garlic? ▾
Garlic powder distributes much more evenly through the ground beef filling than minced fresh garlic, so every bite has that subtle, savory garlic note without random harsh, burnt garlic bits. If you prefer fresh garlic, add one minced clove to the beef during the last 30 seconds of browning to keep it from burning as the cups bake.
10.What classic cheeseburger toppings pair best with these cups? ▾
Keep it classic with small serving dishes of ketchup, yellow mustard, dill pickle slices, diced fresh tomato, and shredded lettuce for guests to top their cups with right before eating. Skip adding wet toppings like pickles or tomato directly into the cups before baking, as their high moisture content will make the crispy biscuit cups soggy.
11.Can I freeze leftover baked cheeseburger cups for quick meals later? ▾
Absolutely! Let fully baked cups cool completely, then wrap them individually in plastic wrap and store in a freezer-safe bag for up to 3 months. Reheat them straight from frozen on a baking sheet at 350°F for 10 to 12 minutes, until the filling is heated through and the biscuit is crispy again—skip the microwave, which makes the biscuit soggy.
12.My biscuit cups puffed up in the middle during pre-bake—how do I fix that? ▾
That’s totally normal with flaky refrigerated biscuit dough! As soon as you pull the pre-baked cups out of the oven, use the back of a small spoon to gently press the puffed center down to create a well for your beef and cheese filling. Don’t press too hard, though—you don’t want to tear the biscuit bottom and let filling leak out.
13.Can I add extra mix-ins like bacon or pickles to the beef filling? ▾
You can absolutely customize the filling! Crumbled cooked bacon, finely diced dill pickles (pat them really dry first!), or a dash of Worcestershire sauce all make great additions that amp up classic cheeseburger flavor. Just avoid adding more than ¼ cup of total mix-ins, so you don’t overfill the cups and cause filling to bubble over while baking.
14.How do I get the baked cups out of the muffin tin without them breaking apart? ▾
Let the cups cool in the tin for 2 full minutes after baking—this lets the flaky biscuit set a little so it doesn’t tear. Then, run a thin plastic knife or small offset spatula around the edge of each cup to gently loosen it from the tin, and lift it straight out. The butter from the biscuits usually prevents sticking, even on nonstick tins without extra greasing.

Comments (3)

3 days ago

OMG these cheeseburger cups are a total game changer for our weeknight dinners! I’ve got 3 super picky kids who turn their noses up at almost everything, and they all went back for seconds. Took barely any time to throw together on a school night, I used ground turkey instead of beef since that’s what I had in the fridge and they still turned out SO good. Already added this to our regular meal rotation!

2 days ago

Oh smart swap with the ground turkey! Did you add any extra seasoning to make up for it? I’ve been trying to sneak in more turkey instead of beef for my husband’s cholesterol and haven’t found a recipe that doesn’t taste bland yet.

yesterday

So glad your kids loved them! The ground turkey swap works perfectly here – a little extra garlic powder and a pinch of smoked paprika goes a long way if you’re worried about blandness, but the ketchup and cheese add tons of flavor too!

5 days ago

Brought these to my neighborhood block party potluck last weekend and people were begging me for the recipe before I even set the platter down! I topped a few with pickles and a drizzle of special sauce for the adults and left some plain for the little kids running around, zero leftovers by the end of the night. Only note is I’d recommend spraying your muffin tin really well because a couple stuck the first batch I made.

3 days ago

Great call adding the special sauce and pickles – that’s such a fun customizable twist! Thanks for the tip about the muffin tin, a quick spritz of nonstick spray makes all the difference for easy removal.

2 hours ago

As someone who burns basically everything that takes more than 15 minutes of active effort, these were totally idiot-proof. The 20 minute cook time is no lie, I ate like 5 of them straight out of the tin while standing over my kitchen counter after work last night. 10/10 would make again when I don’t feel like putting any real effort into dinner.



