
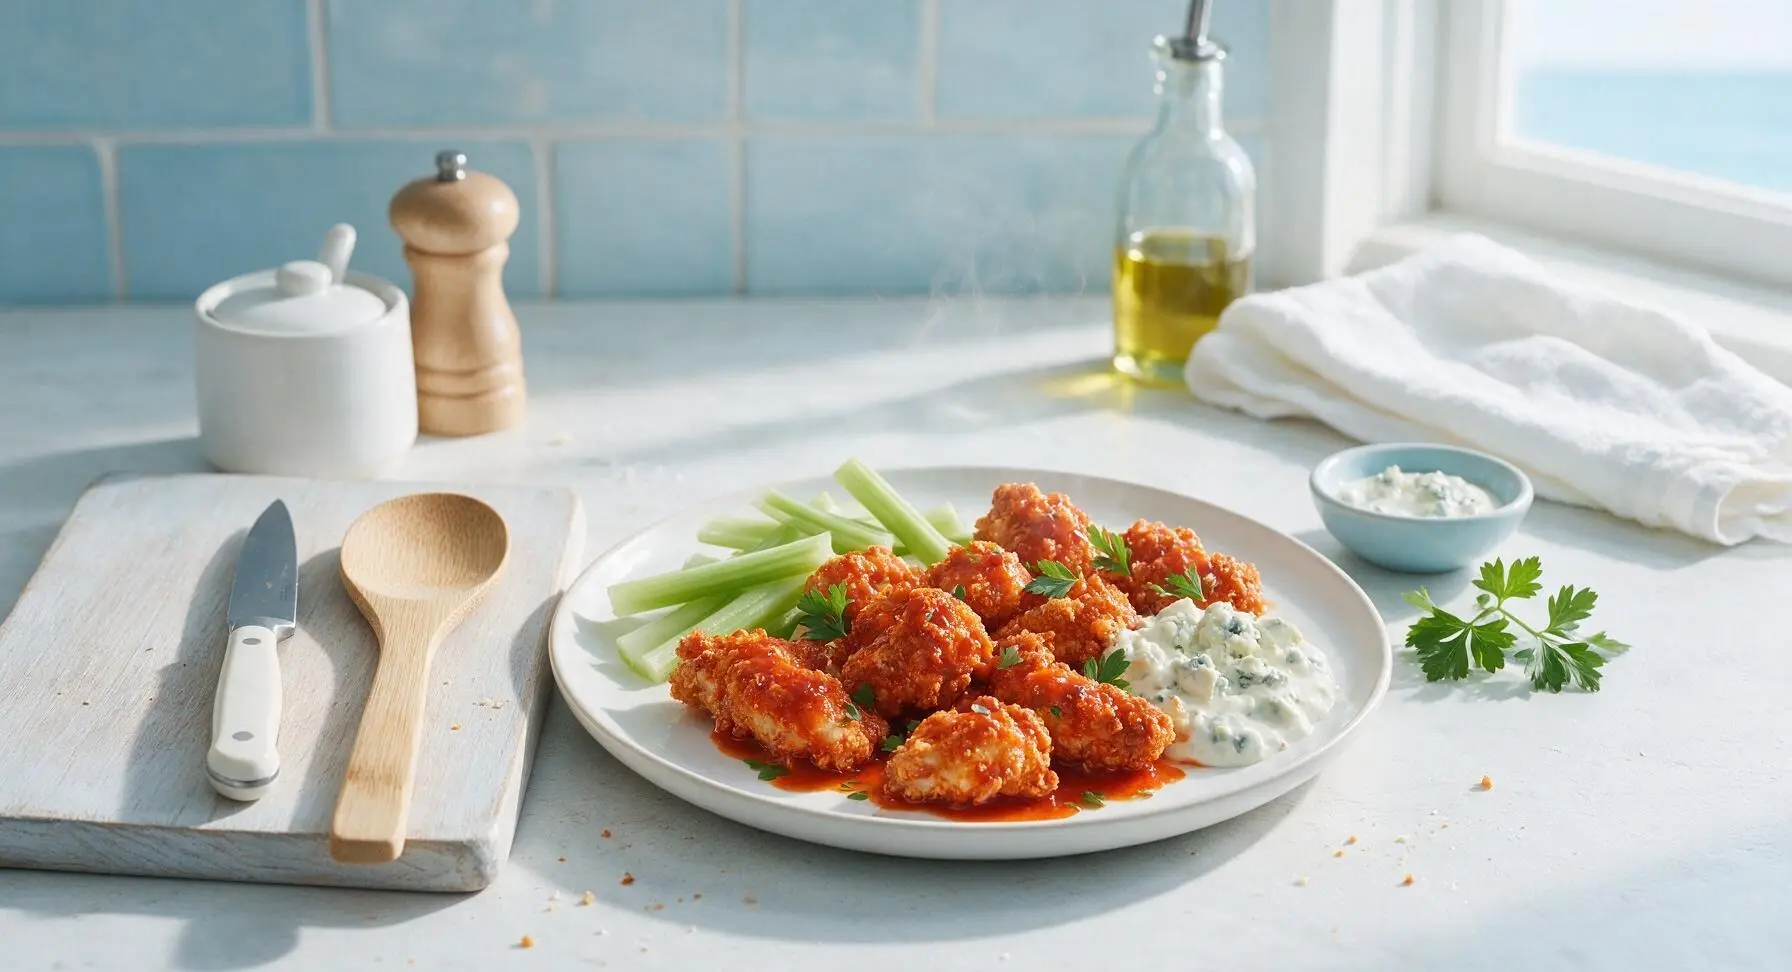
chicken buffalo

title 1
chicken buffalo
⏱️ cook time 25 minutes
🍽️ servings 4
⚡ Difficulty easy

intro

Crispy, tangy, perfectly spicy Buffalo chicken coated in iconic buttery hot sauce, served with cool celery and chunky blue cheese dip, ideal for casual gatherings.

Ingredients
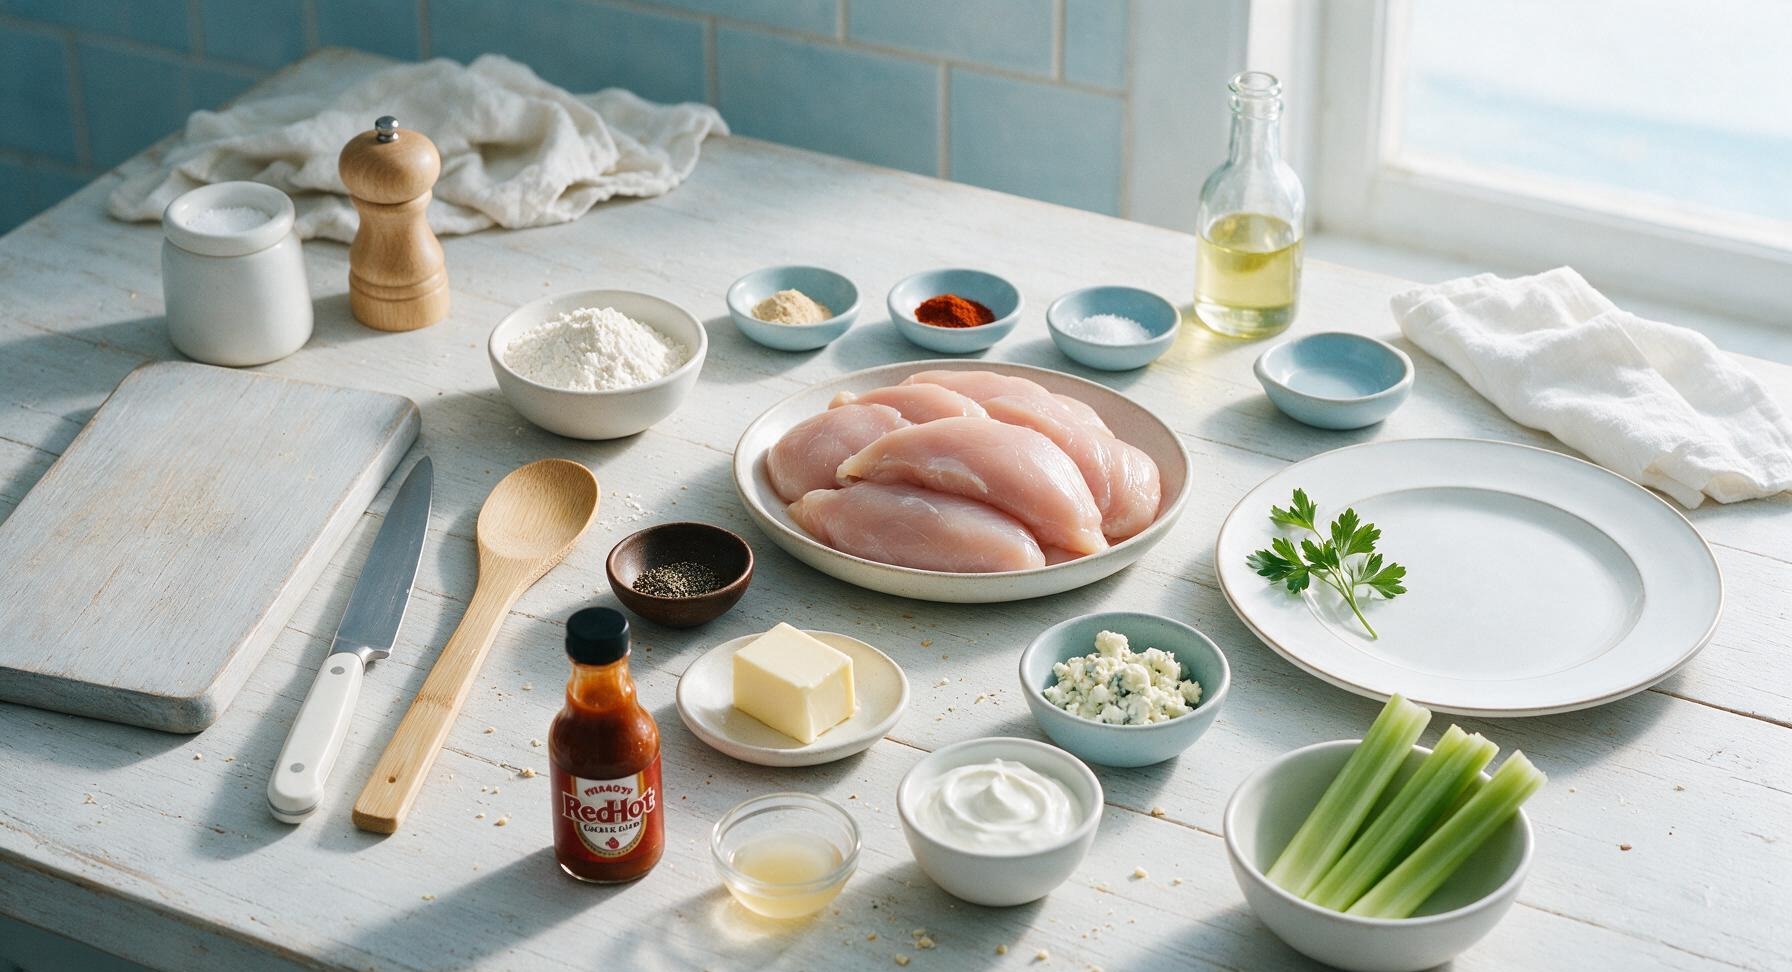
Boneless, skinless chicken breasts 680g (1.5 lbs)
All-purpose flour 80g (2/3 cup)
Garlic powder 1 tsp
Smoked paprika 1/2 tsp
Kosher salt 1 tsp
Freshly ground black pepper 1/2 tsp
Unsalted butter 57g (4 tbsp / 1 stick)
Frank's RedHot Original Cayenne Sauce 120ml (1/2 cup)
Apple cider vinegar 1 tsp
Sour cream 113g (1/2 cup)
Crumbled blue cheese 50g (1/3 cup)
Celery stalks 4 large, cut into 4-inch sticks

Steps

1

Cut chicken into chunks

Place the raw chicken breasts on the maple cutting board. Using the 8-inch chef knife, trim any visible excess fat or thin silvery silver skin from the chicken, then cut into uniform 1.5-inch (4cm) chunks. Aim for consistent size across all pieces to ensure even cooking, with no piece smaller than 1 inch or larger than 2 inches across. Pat all chicken pieces completely dry with a corner of the indigo cotton towel to help the flour coating adhere properly and prevent sogginess.
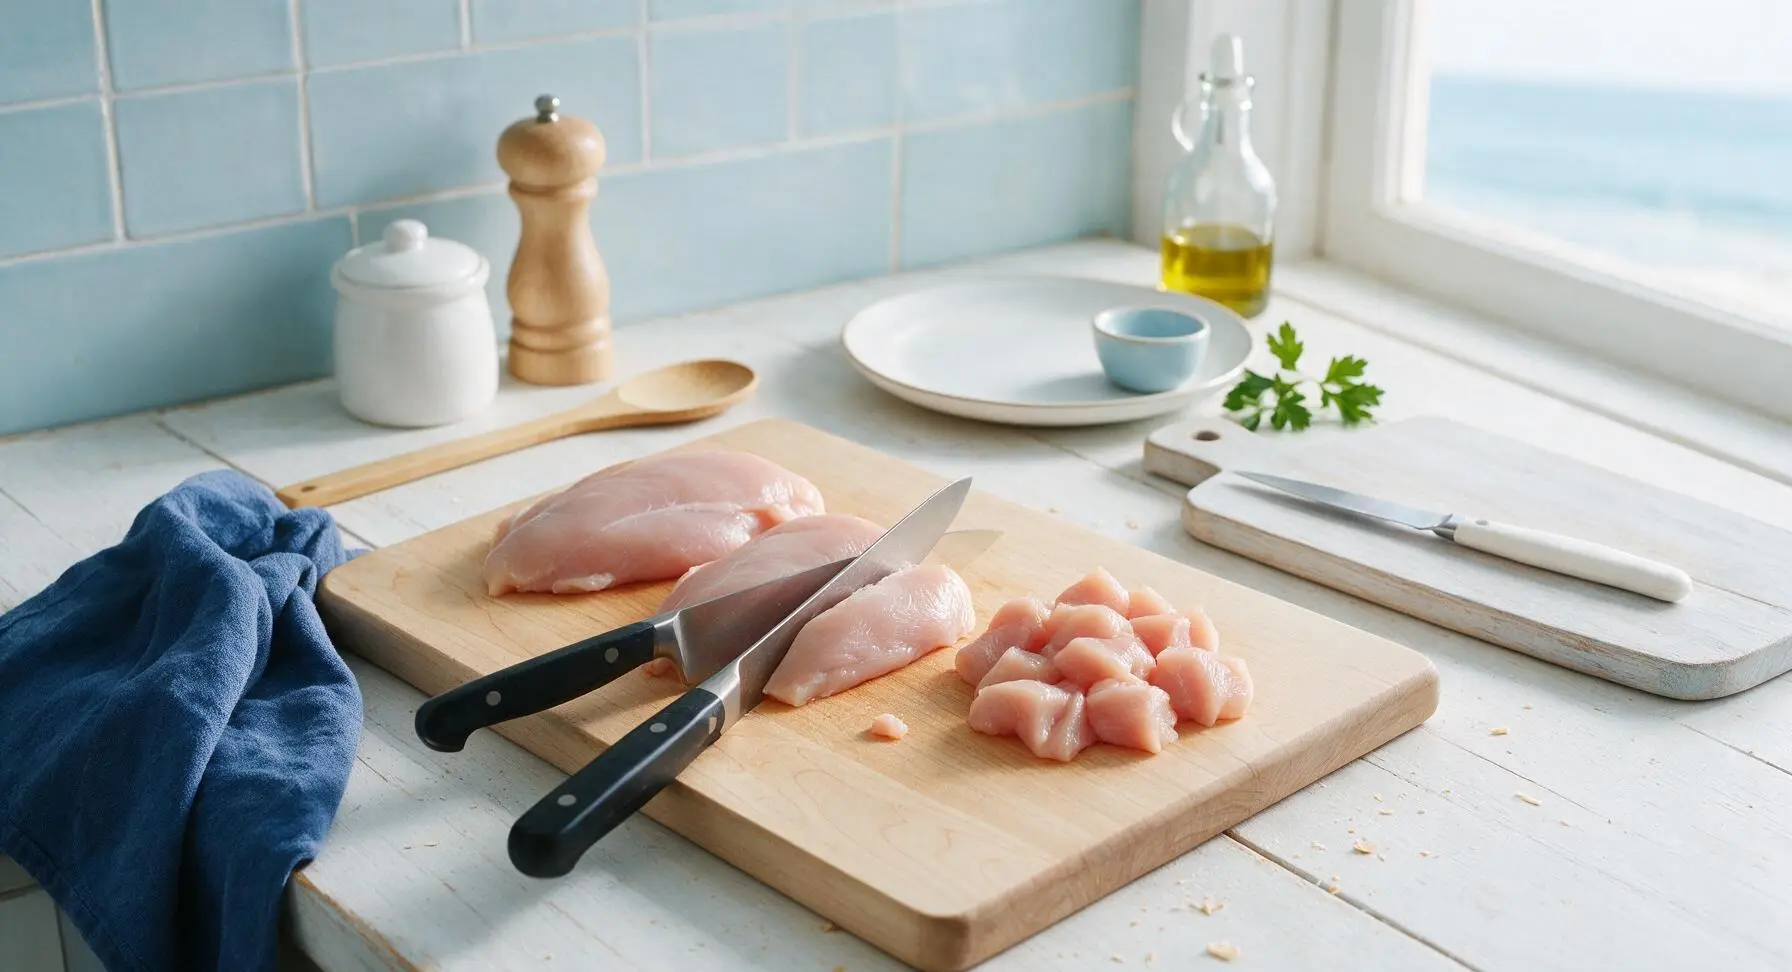
Step 1
step1:Cut chicken into chunks
2

Toss chicken in coating

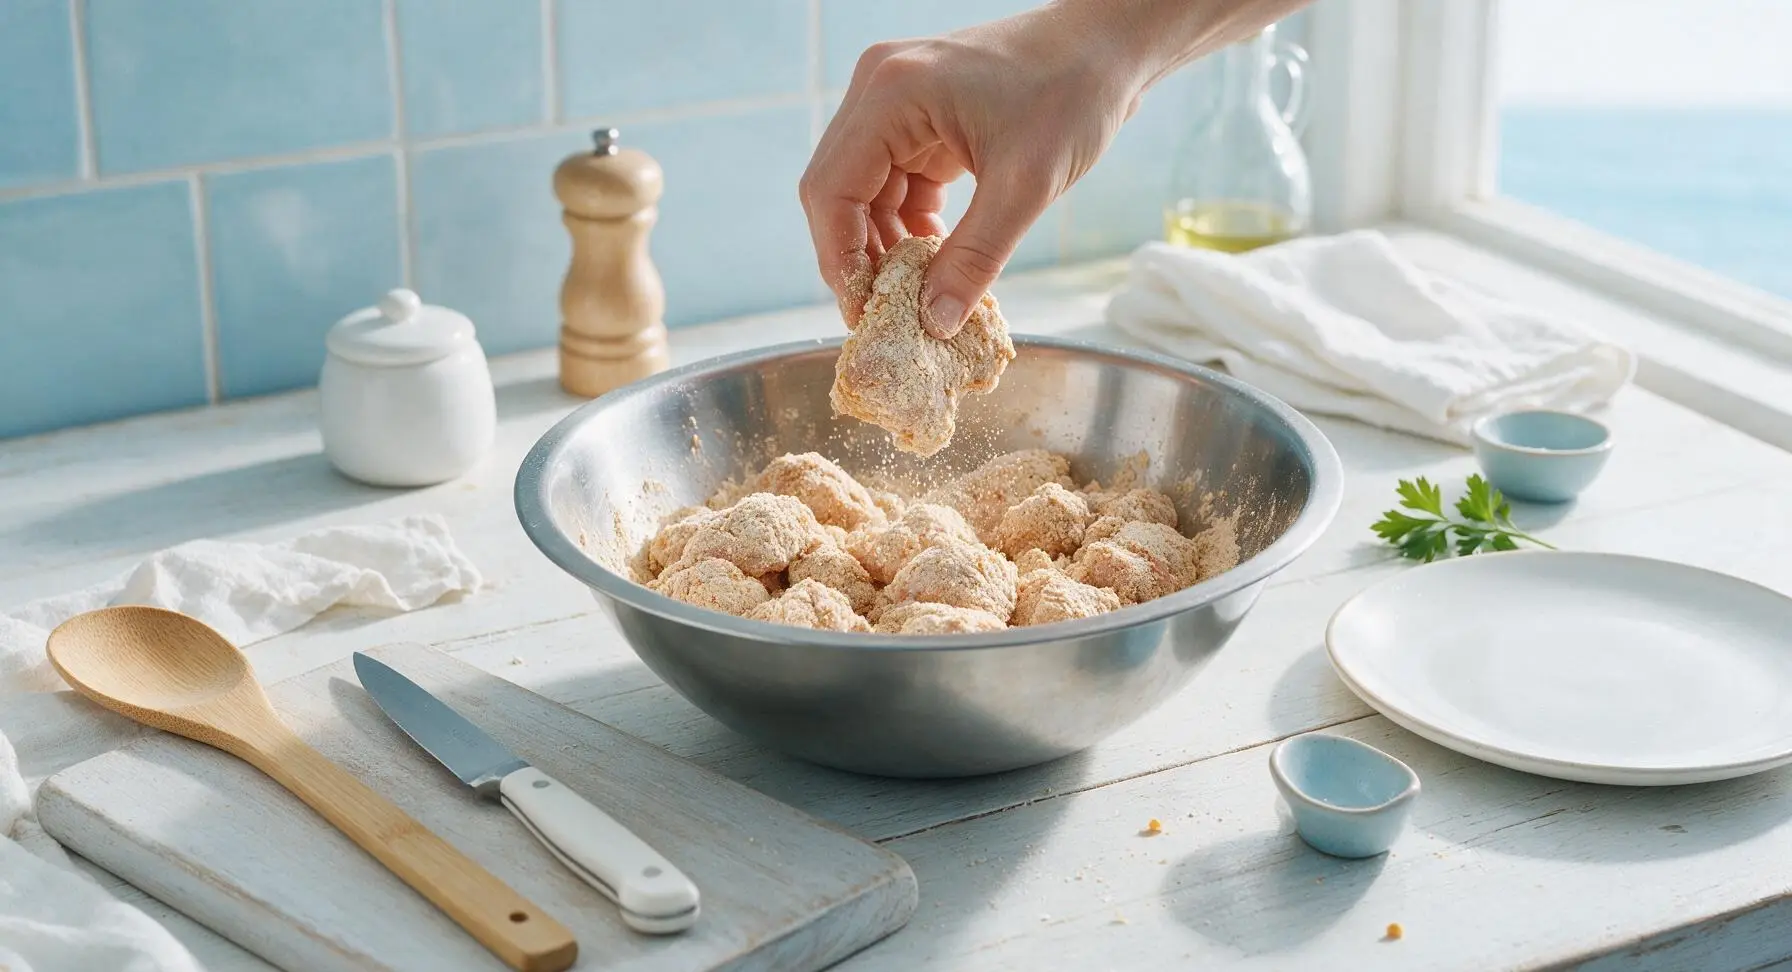
Retrieve the medium stainless steel mixing bowl from the stacked set on the right counter. Combine the all-purpose flour, garlic powder, smoked paprika, kosher salt, and black pepper in the bowl, stirring to evenly distribute the spices into a uniform pale tan mixture. Add the fully dried chicken chunks to the bowl, tossing thoroughly for 1-2 minutes until every piece is coated in a thin, even layer of spiced flour. Shake off any loose excess coating from each piece before moving to the next step.
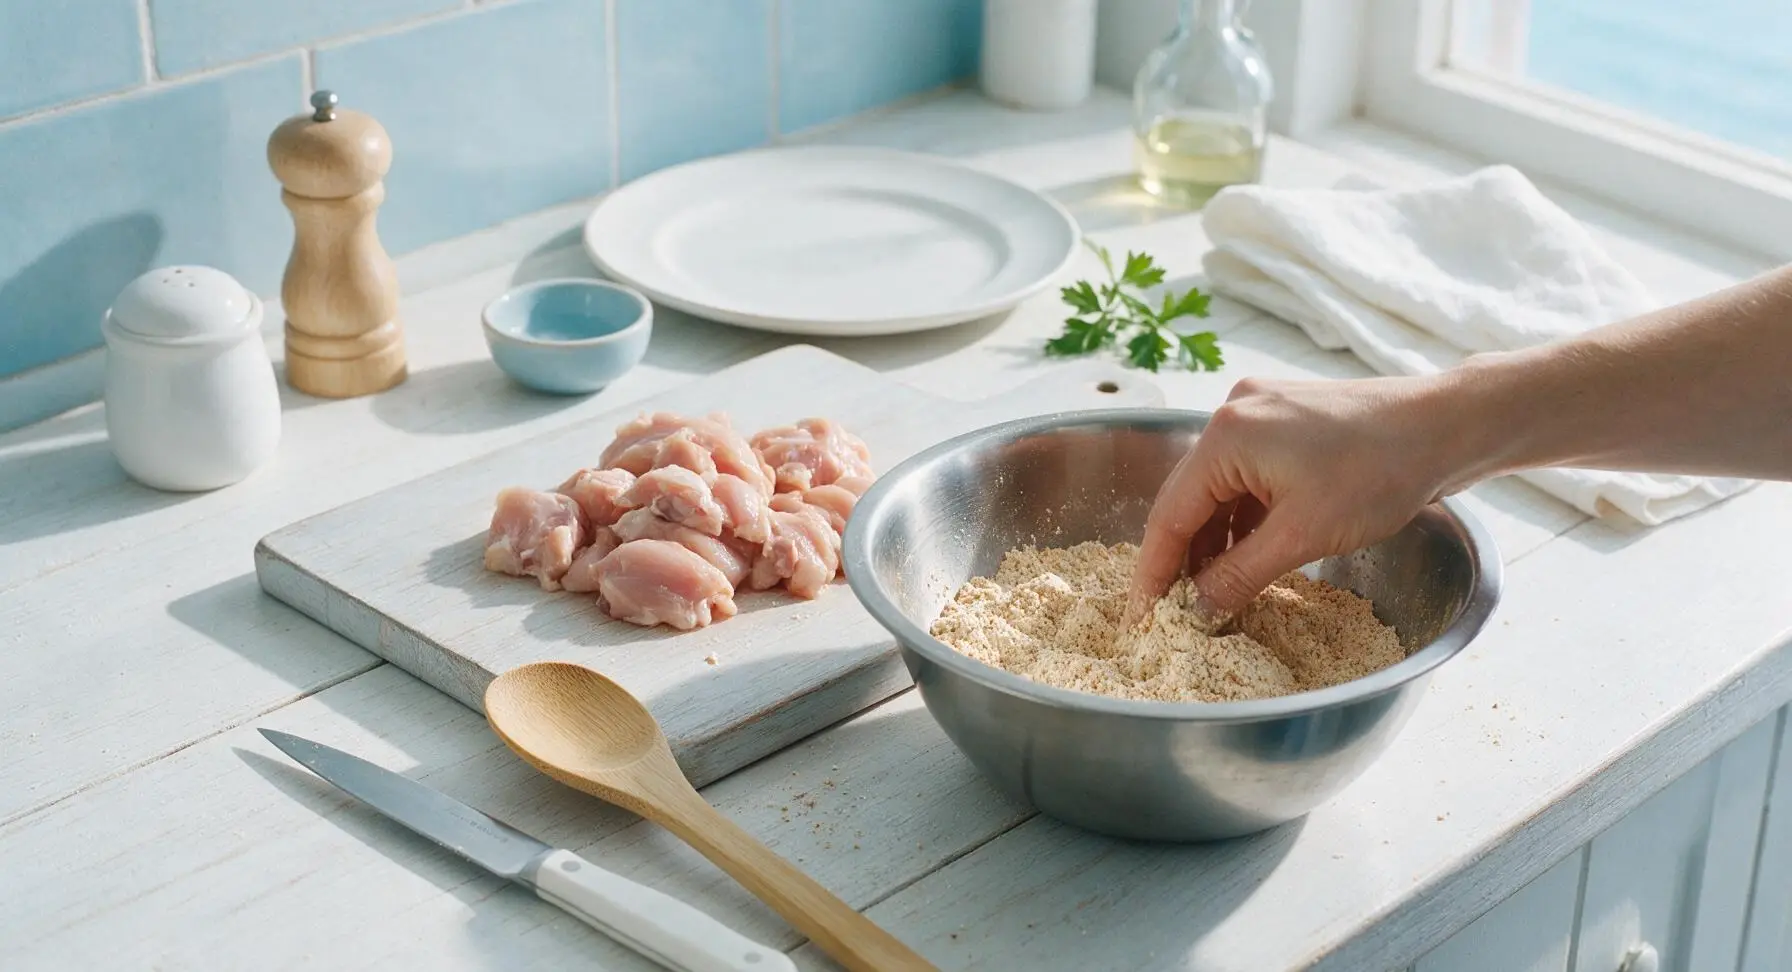
Step 2
step2:Toss chicken in coating
Step 2
step2:Toss chicken in coating
3

Arrange on baking rack

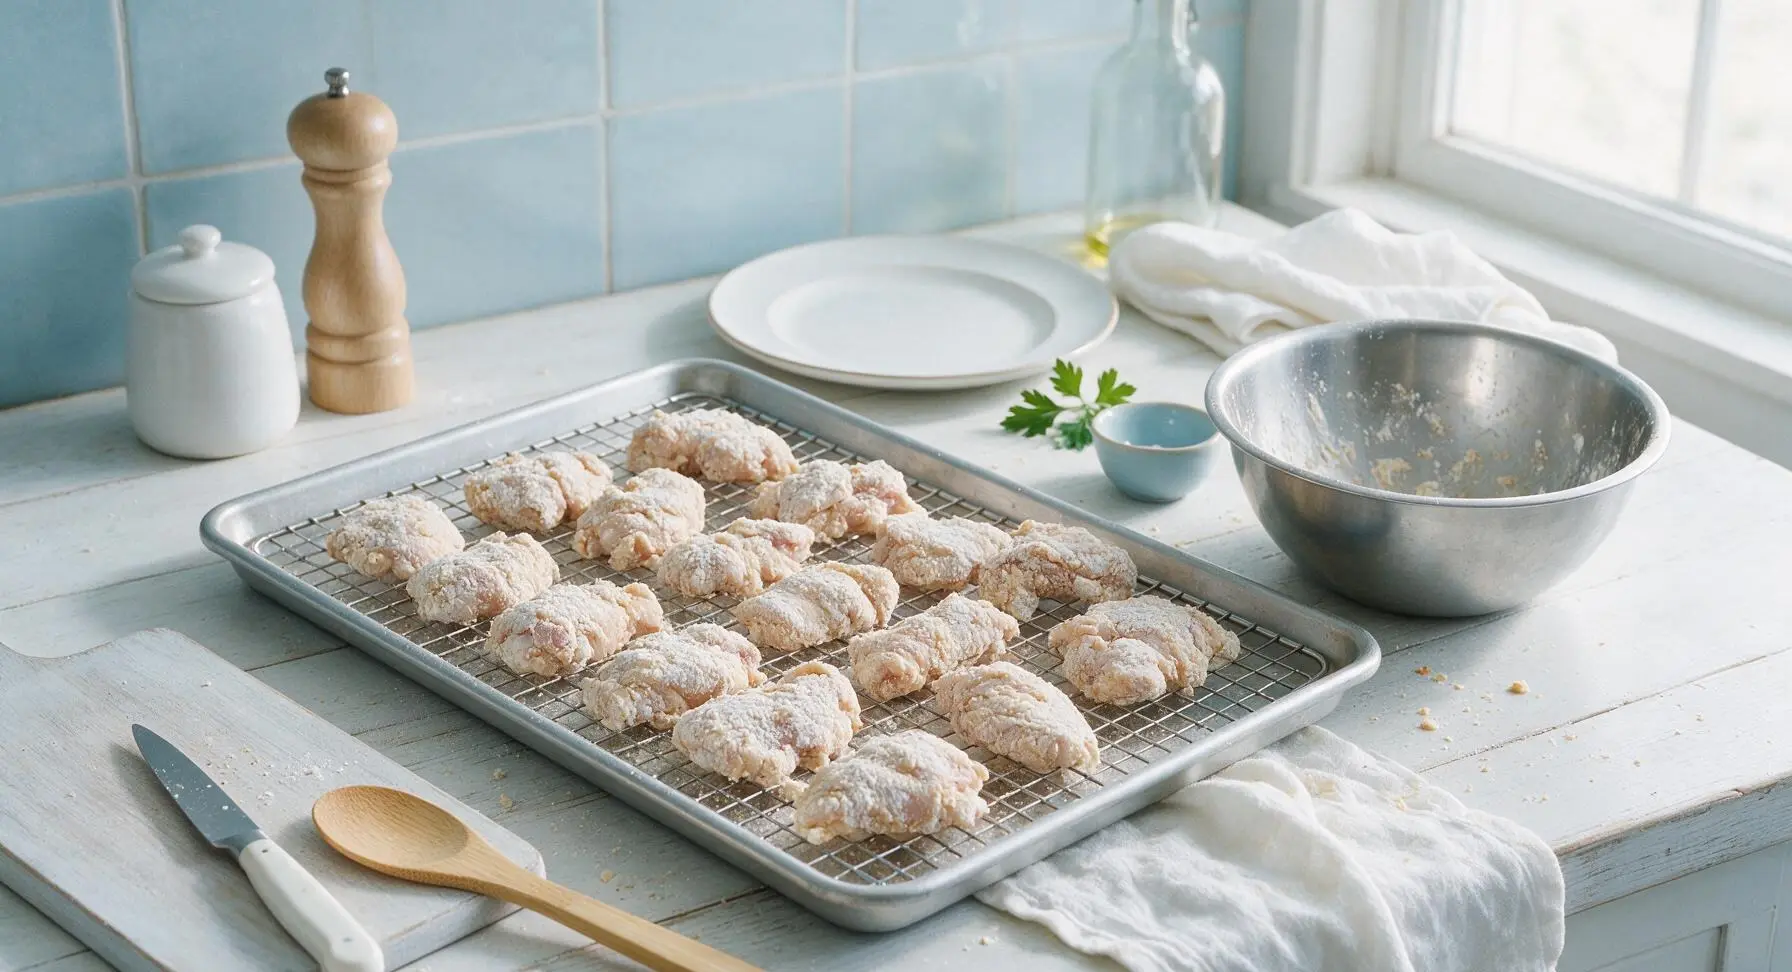
Retrieve the rimmed aluminum baking sheet and wire rack from the oak ledge. Line the baking sheet with a sheet of parchment paper for easy cleanup, then set the wire rack inside the sheet. Arrange the flour-coated chicken pieces on the rack in a single, even layer, leaving 1/2 inch of open space between each piece to allow hot air to circulate. Let the chicken rest for 10 minutes at room temperature to allow the flour coating to set, which prevents it from sliding off during baking.
Step 3
step3:Arrange on baking rack
4

Bake chicken until crisp

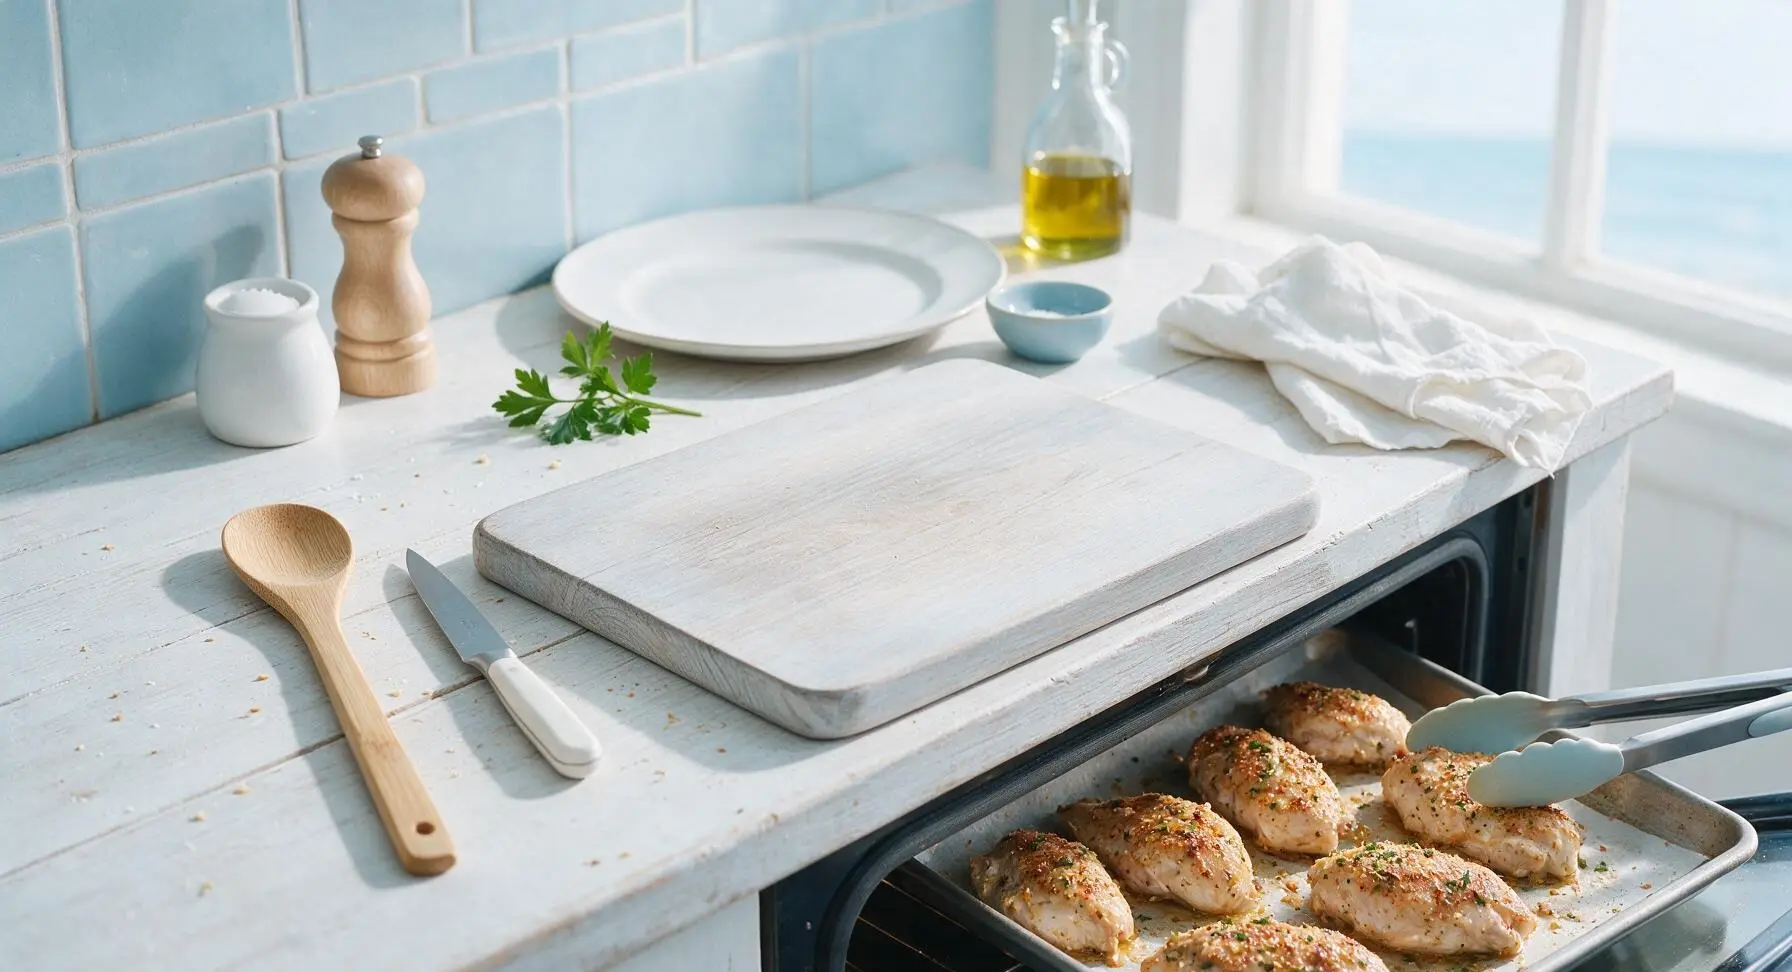
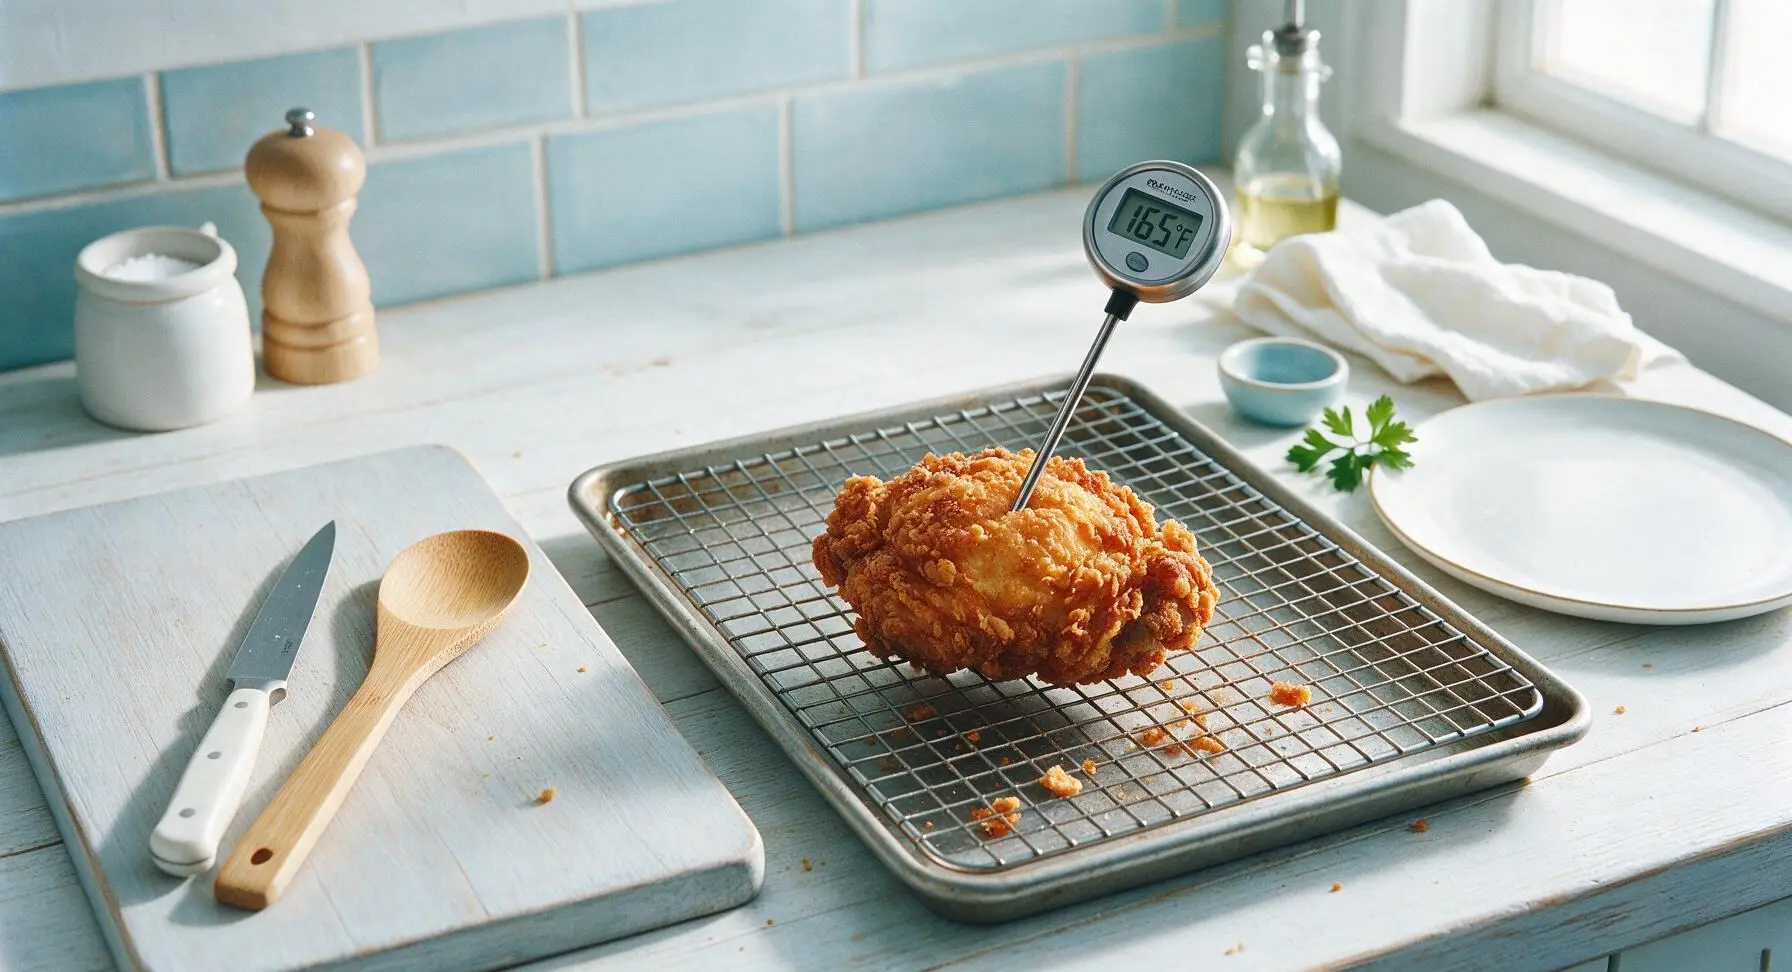
Place the baking sheet with chicken in a preheated 220C (425F) oven. Bake for 20 minutes, then use the silicone-tipped tongs to carefully flip each chicken piece. Bake for an additional 5-7 minutes, until the coating is deep golden brown and crispy across the entire surface, and the internal temperature of the thickest chicken piece reaches 74C (165F) when checked with the digital instant-read thermometer.
Step 4
step4:Bake chicken until crisp
Step 4
step4:Bake chicken until crisp
5

Prepare Buffalo sauce

While the chicken bakes, move the small 1-quart stainless steel saucepan to a stovetop burner over low heat. Add the unsalted butter, stirring gently until fully melted. Retrieve the Frank's RedHot bottle from its ledge position, measure and pour 1/2 cup into the pan along with the apple cider vinegar, stirring constantly for 1 minute until the mixture is smooth, fully emulsified, and just starting to form tiny bubbles at the pan edges. Do not bring the sauce to a rolling boil, as high heat will cause the butter to separate and break the sauce. Return the hot sauce bottle to its fixed ledge position after use.
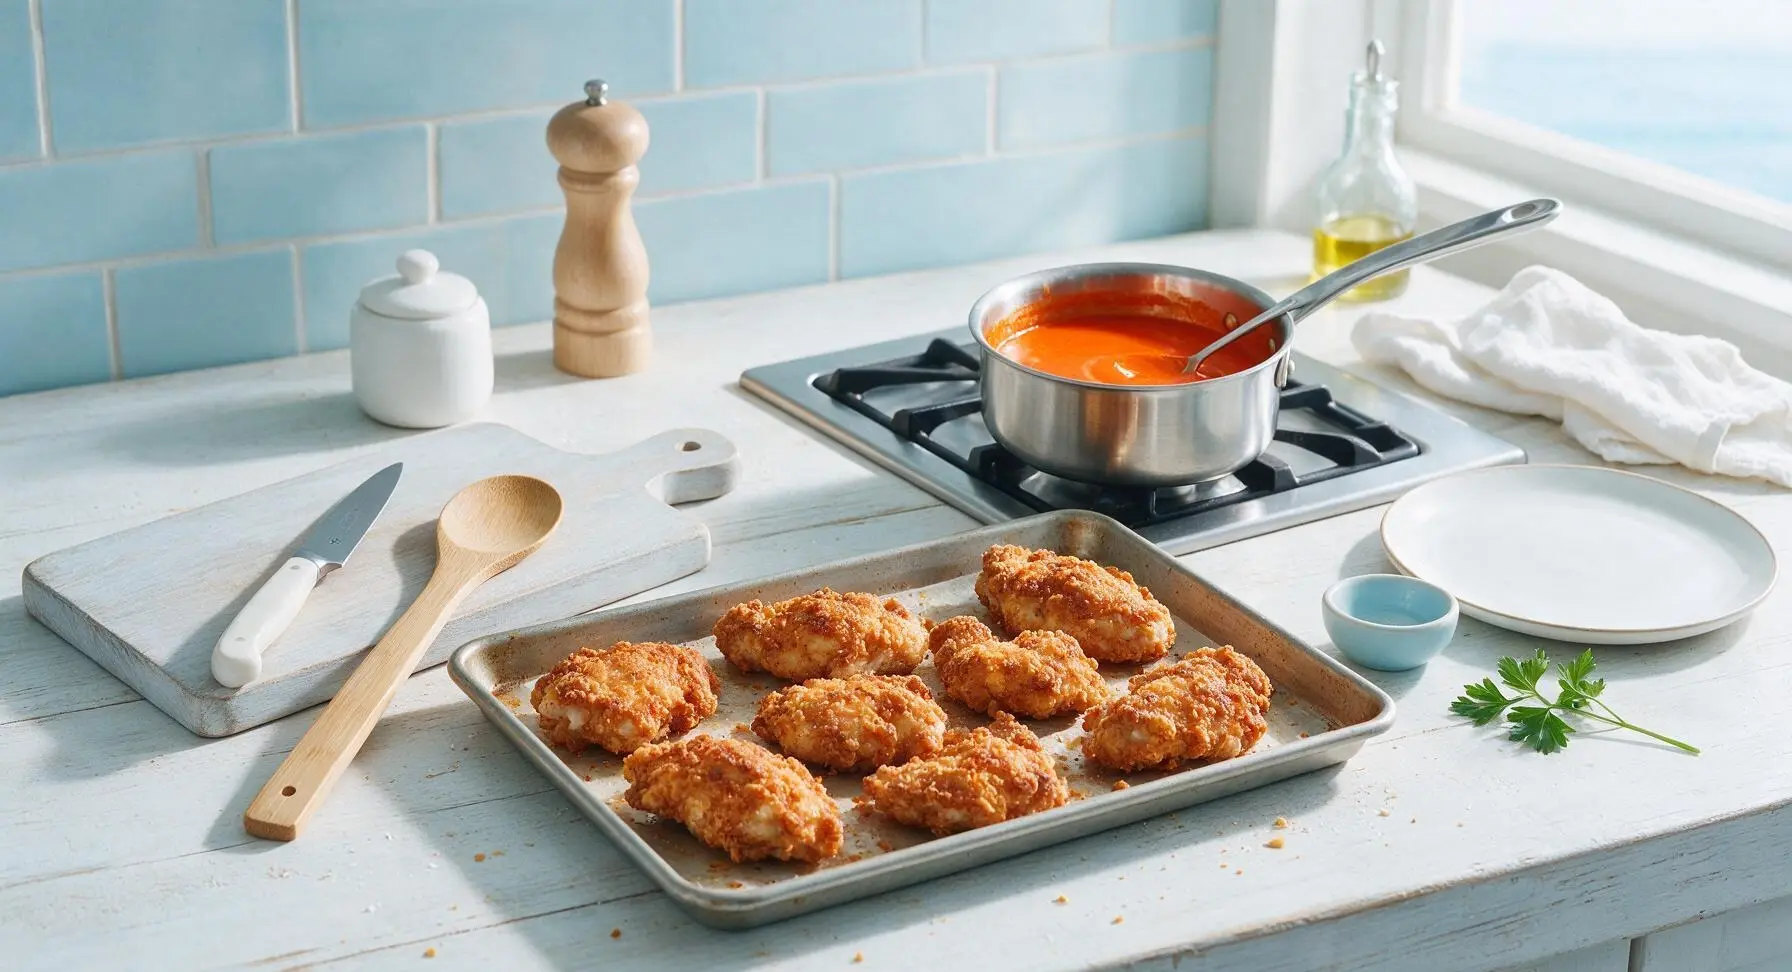
Step 5
step5:Prepare Buffalo sauce
6

Toss chicken in sauce

Retrieve the large stainless steel mixing bowl from the stacked set. Use the tongs to transfer all crispy baked chicken pieces from the wire rack into the large bowl. Pour 3/4 of the warm Buffalo sauce over the chicken, tossing gently with the tongs for 30-45 seconds until every piece is evenly coated in glossy sauce. Reserve the remaining 1/4 of the sauce to serve on the side for guests who want extra heat.
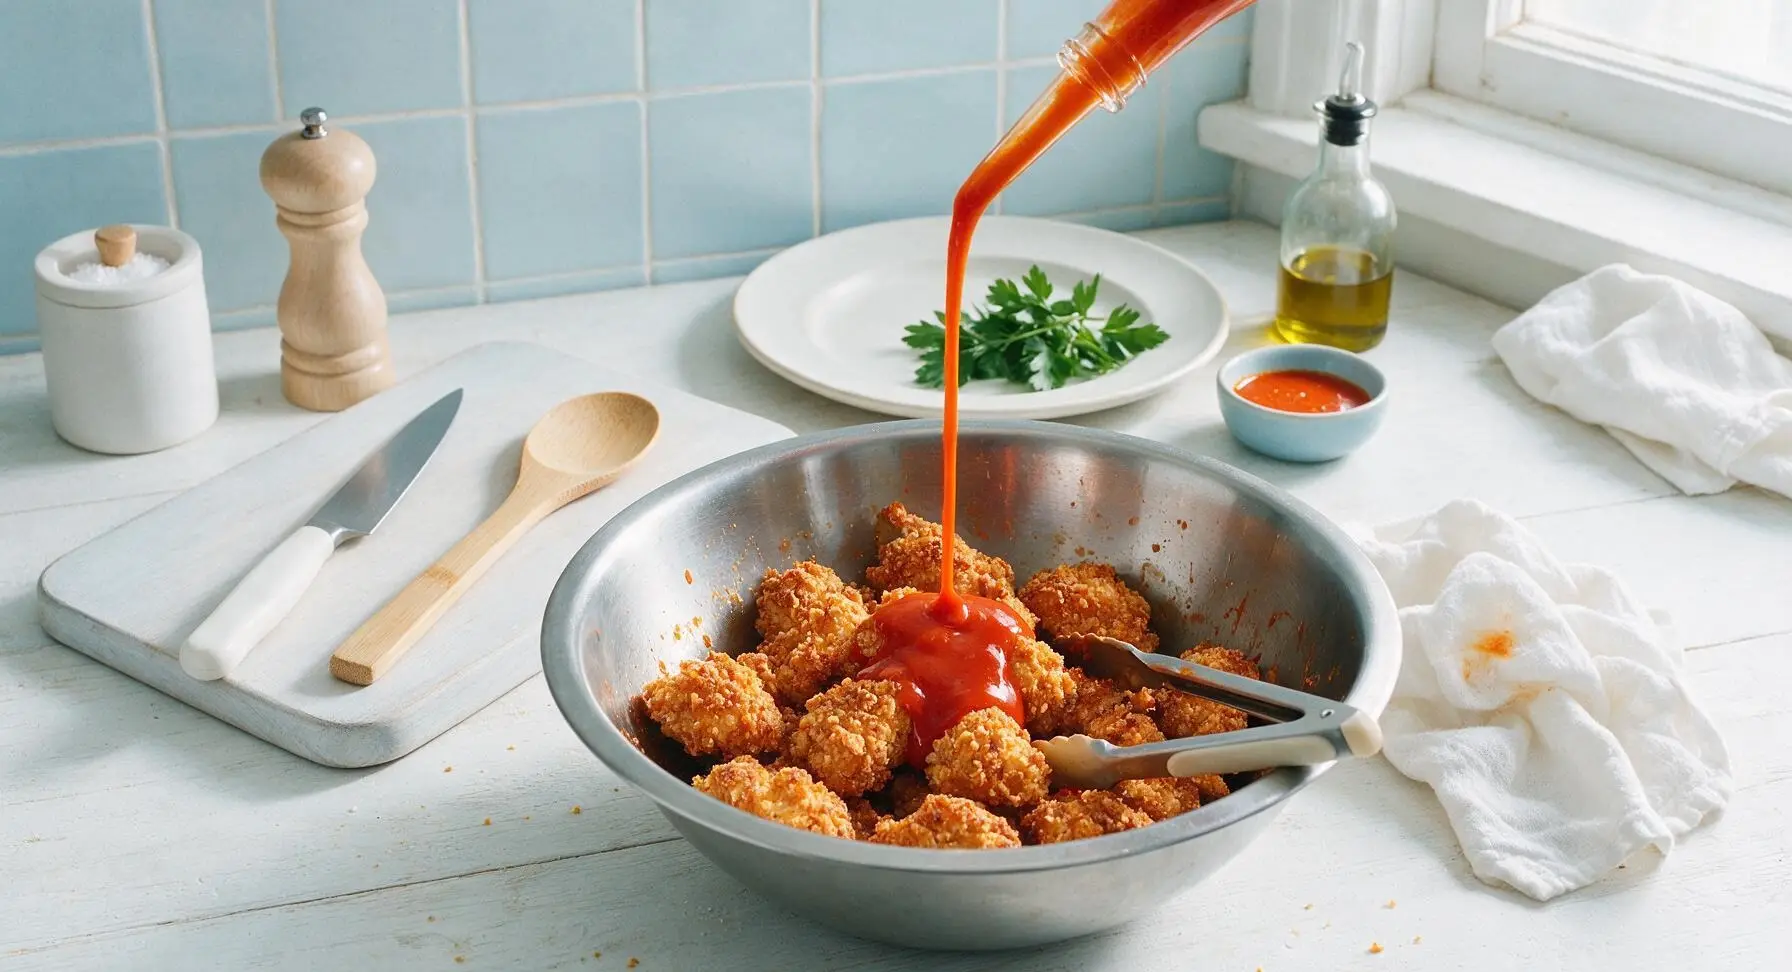
Step 6
step6:Toss chicken in sauce
7

Assemble dip and sides

While the sauced chicken rests for 2 minutes, spoon the sour cream into one sky-blue ramekin, top with crumbled blue cheese and a tiny pinch of black pepper, stirring gently to create a chunky blue cheese dip. Pour the reserved extra Buffalo sauce into the second sky-blue ramekin. Retrieve the celery bunch from its position behind the salt cellar, cut into 4-inch sticks, and arrange them in a loose pile next to the ramekins on the matte white serving platter.
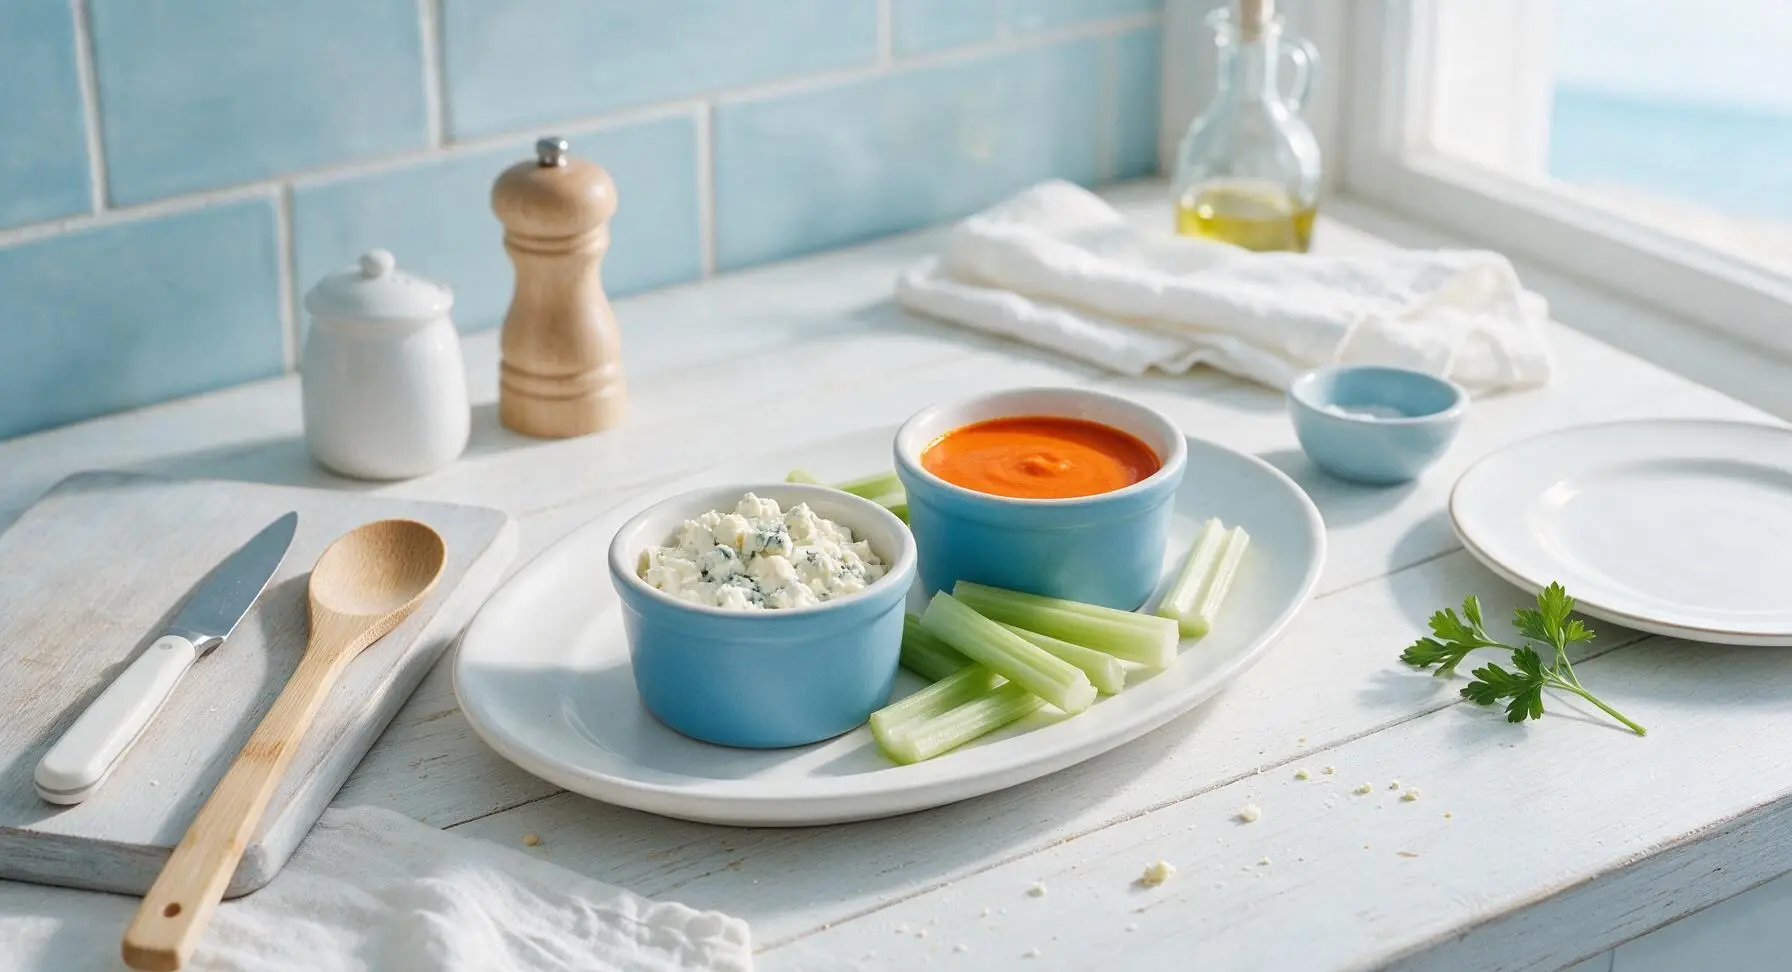
Step 7
step7:Assemble dip and sides
8

Plate finished chicken

Use the tongs to pile the sauce-coated Buffalo chicken pieces onto the prepared platter next to the celery and dip ramekins. Drizzle any remaining sauce from the mixing bowl over the top of the chicken for extra gloss and flavor. Serve immediately while the chicken is warm and the coating is crisp.
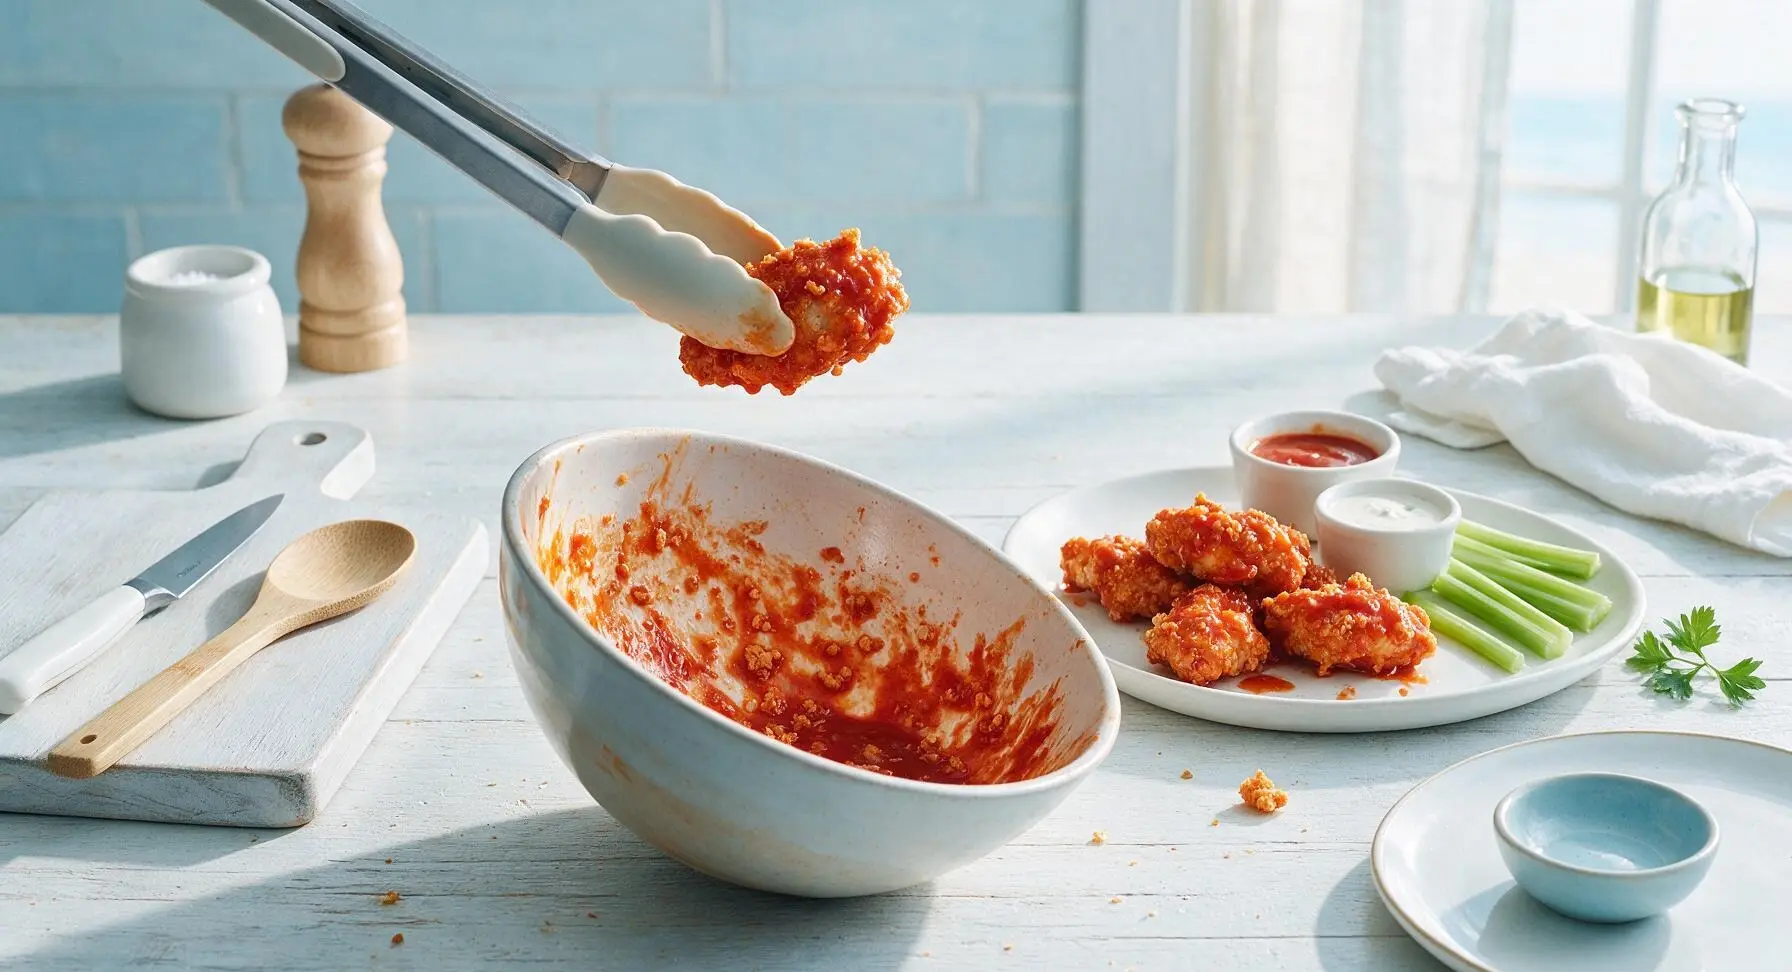
Step 8
step8:Plate finished chicken

Tips

1.Pat chicken completely dry before adding the flour coating: any residual surface moisture will turn the flour gummy, preventing a crisp crust and keeping the sauce from adhering evenly to each piece.
2.Always bake coated chicken on a wire rack set inside a baking sheet: placing chicken directly on the sheet traps steam under the pieces, leading to soggy bottoms, while the rack allows 360-degree air flow for crunch that rivals deep-fried chicken with far less oil.
3.Toss chicken in Buffalo sauce immediately before serving: if sauced chicken sits for longer than 5 minutes, the crispy coating will absorb the sauce and turn soft, so wait to sauce until you are ready to bring the platter to the table.


✨ You May Also Like

Snacks & Appetizers
🍜 Mexico

Crispy thick-cut tortilla chips piled high with seasoned beef, melted cheese, and bright fresh toppings for a shareable, crowd-favorite bite.

⏱️ 25 minuteSnacks & Appetizers ★ 4.8
Snacks & Appetizers
🍜 United States

Crisp, sweet-tangy spiced pickled watermelon rind is a zero-waste summer staple, perfect with grilled meats, charcuterie, or eaten straight from the jar as a bright snack.

⏱️ 30 minuteSnacks & Appetizers ★ 4.6
Snacks & Appetizers
🍜 Germany

A tangy, jellied pork cold cut slow-simmered with aromatic spices, set into a firm sliceable loaf, served cold with mustard and crusty bread.

⏱️ 3 hours 4Snacks & Appetizers ★ 4.8
Snacks & Appetizers
🍜 United States

Creamy, tangy, perfectly seasoned hard-boiled egg halves filled with a rich, smooth yolk mixture, a timeless, crowd-pleasing bite for holiday and casual gatherings alike.

⏱️ 40 minuteSnacks & Appetizers ★ 4.8
Snacks & Appetizers
🍜 Russia

Silky, dill-forward no-smoke cured salmon, a Scandinavian classic with bright salty-sweet flavor, ideal for holiday starter platters and open-faced rye sandwiches.

⏱️ 48 hours Snacks & Appetizers ★ 4.7
Snacks & Appetizers
🍜 Japan

Crisp golden bottoms, juicy savory pork and vegetable filling, and tangy dipping sauce make these pan-fried gyoza a beloved shareable bite.

⏱️ 45 minuteSnacks & Appetizers ★ 4.8

chicken buffalo:Frequently Asked Questions

1.How do I keep the baked chicken crispy instead of turning out soggy? ▾
Start by patting chicken completely dry with paper towels before dredging in your seasoned all-purpose flour mix (the blend of garlic powder, smoked paprika, and kosher salt) to eliminate excess surface moisture. Arrange coated chicken on a wire rack set inside a rimmed baking sheet (don’t place pieces directly on the sheet pan!) to let hot oven air circulate under every piece, and bake at 425°F for even, all-over crispness.
2.Can I use boneless, skinless chicken thighs instead of chicken breasts? ▾
Absolutely! Boneless, skinless chicken thighs work beautifully here, and their slightly higher fat content makes them extra juicy and hard to overcook. Cut thighs to match the size of breast pieces (roughly 1-inch thick strips or 4-oz portions) to keep cook time consistent, then follow the exact same coating and baking steps for delicious results.
3.What hot sauce should I use for authentic classic Buffalo flavor? ▾
Original cayenne pepper hot sauce, most famously Frank’s RedHot, is the traditional pick for that signature tangy, not-overly-spicy Buffalo taste. Skip artisanal hot sauces loaded with extra vinegar, sugar, or bold add-ins, and mix it with melted unsalted butter at a 2:1 hot sauce to butter ratio for that iconic rich, tangy coating.
4.Why does my flour coating slide off the chicken while it bakes? ▾
Coating slippage almost always stems from excess moisture on the chicken, or skipping a short rest after dredging. Pat chicken fully dry before coating, press the seasoned flour firmly onto every surface, then let coated pieces rest on a plate for 10 minutes before baking so the flour adheres tightly and won’t slide off.
5.Can I prep this recipe ahead of time for a casual party or game day? ▾
You can prep the coated, uncooked chicken on its wire rack-lined baking sheet, cover it loosely, and store it in the fridge for up to 8 hours before baking to get a head start. For peak crispness, bake right before serving, and toss in warm Buffalo sauce immediately after pulling it from the oven—saucing ahead will turn the coating soggy.
6.How do I adjust the spice level if I don’t like very spicy food? ▾
It’s simple to tune the heat to your preference! Start with the classic 2:1 hot sauce to melted butter ratio, then mellow sharp spice by stirring in an extra tablespoon of melted butter, a splash of mild ranch, or a tiny pinch of brown sugar. If you want more heat, add ¼ teaspoon of cayenne or a dash of extra-hot chili sauce to the mix.
7.Do I have to serve this with blue cheese dip, or are there good alternatives? ▾
Chunky blue cheese dip is the classic, tangy pairing, but it’s totally optional! Cool, creamy ranch dressing is a wildly popular swap if you don’t care for blue cheese’s sharp, funky flavor. Always serve with crisp celery sticks (and carrot sticks, if you like) to cut the rich, spicy sauce, with extra dip on the side.
8.What internal temperature should I cook the chicken to for juicy, not dry, results? ▾
Use an instant-read meat thermometer to check doneness, and pull the chicken from the oven when it hits 160°F at the thickest part, then let it rest for 5 minutes. Residual carryover cooking will bring it up to the food-safe 165°F without overcooking the lean breast meat, so you get tender, juicy chicken every time.

Comments (4)

2 days ago

OMG this baked buffalo chicken is a total game changer for our weeknight family dinners! I was so sick of frying chicken to get that crispy texture, but the breading here came out perfectly crunchy even in the oven, and the buffalo sauce had just the right kick without making my kids complain. Served it with celery sticks and ranch for our family movie night last night, and everyone went back for seconds. Even my picky 7 year old asked if we can have it again this week! Total cook time was right at 25 minutes too, which is perfect for busy school nights.

yesterday

Wait did you use panko for the breading? I tried a different baked buffalo recipe last month and the crust got totally soggy, would love to nail it for our football potluck this weekend!

2 hours ago

Hi there! We recommend using panko breadcrumbs tossed with a little melted butter and baking powder for that extra crisp, no sogginess guaranteed! Make sure you don't overcrowd the baking sheet too — that's the #1 mistake that leads to soggy crust. It'll be a total hit at your potluck!

1 week ago

SO good! I made a big batch of this on Sunday for my weekly meal prep, tossed it in a little extra buffalo sauce before portioning it out with roasted veggies and quinoa, and it held up perfectly all week in the fridge. It was so easy to throw together too, I didn't even have to pull out my deep fryer which saves so much cleanup. 10/10, will be adding this to my regular rotation.

5 days ago

So glad this worked for your meal prep! Pro tip: if you're reheating, pop it in the oven or air fryer for 3-4 minutes at 400F to get that crisp back instead of microwaving, it tastes just as good as day one!

3 days ago

Took this to a friend's cookout last weekend and people were begging me for the recipe! I upped the cayenne a little to give it extra heat because my crew loves super spicy food, and it still turned out amazing. The crispy crust didn't get soggy even when it sat out for an hour while we played yard games, which I was super worried about. Easy enough that even a beginner cook like me didn't mess it up!

30 minutes ago

Quick question — has anyone tried making this with chicken thighs instead of breasts? I always have boneless skinless thighs in the freezer and feel like they stay juicier, but I don't want to mess up the crisp factor. Also, does the sauce stick okay if you toss it right after baking, or do you need to let it rest a minute?

5 minutes ago

I made it with boneless skinless thighs last week! Cooked them about 3 minutes longer than the recipe says for breasts, and they came out so juicy and crispy. Toss the sauce on right when they come out of the oven, it sticks perfectly no problem!



