
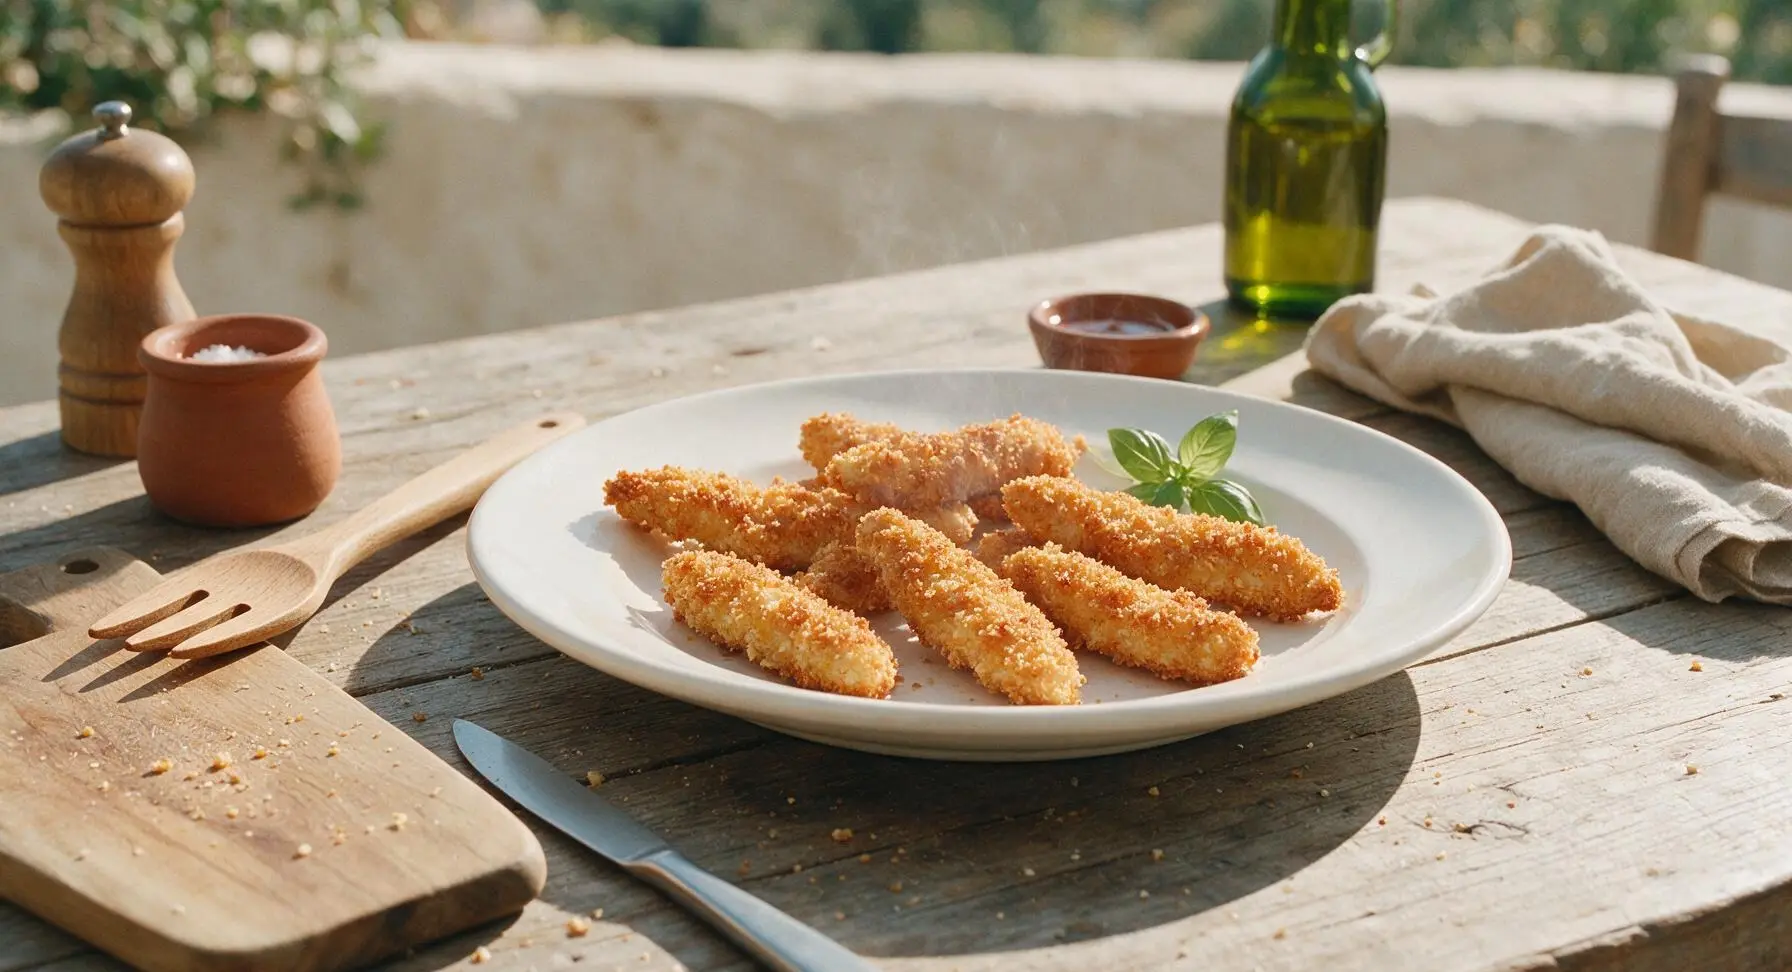
chicken fingers

title 1
chicken fingers
⏱️ cook time 20 minutes
🍽️ servings 4
⚡ Difficulty easy

intro

Crispy golden panko-crusted chicken fingers with juicy, tender interiors, made for easy dipping and casual sharing, a beloved crowd-pleasing comfort bite.

Ingredients
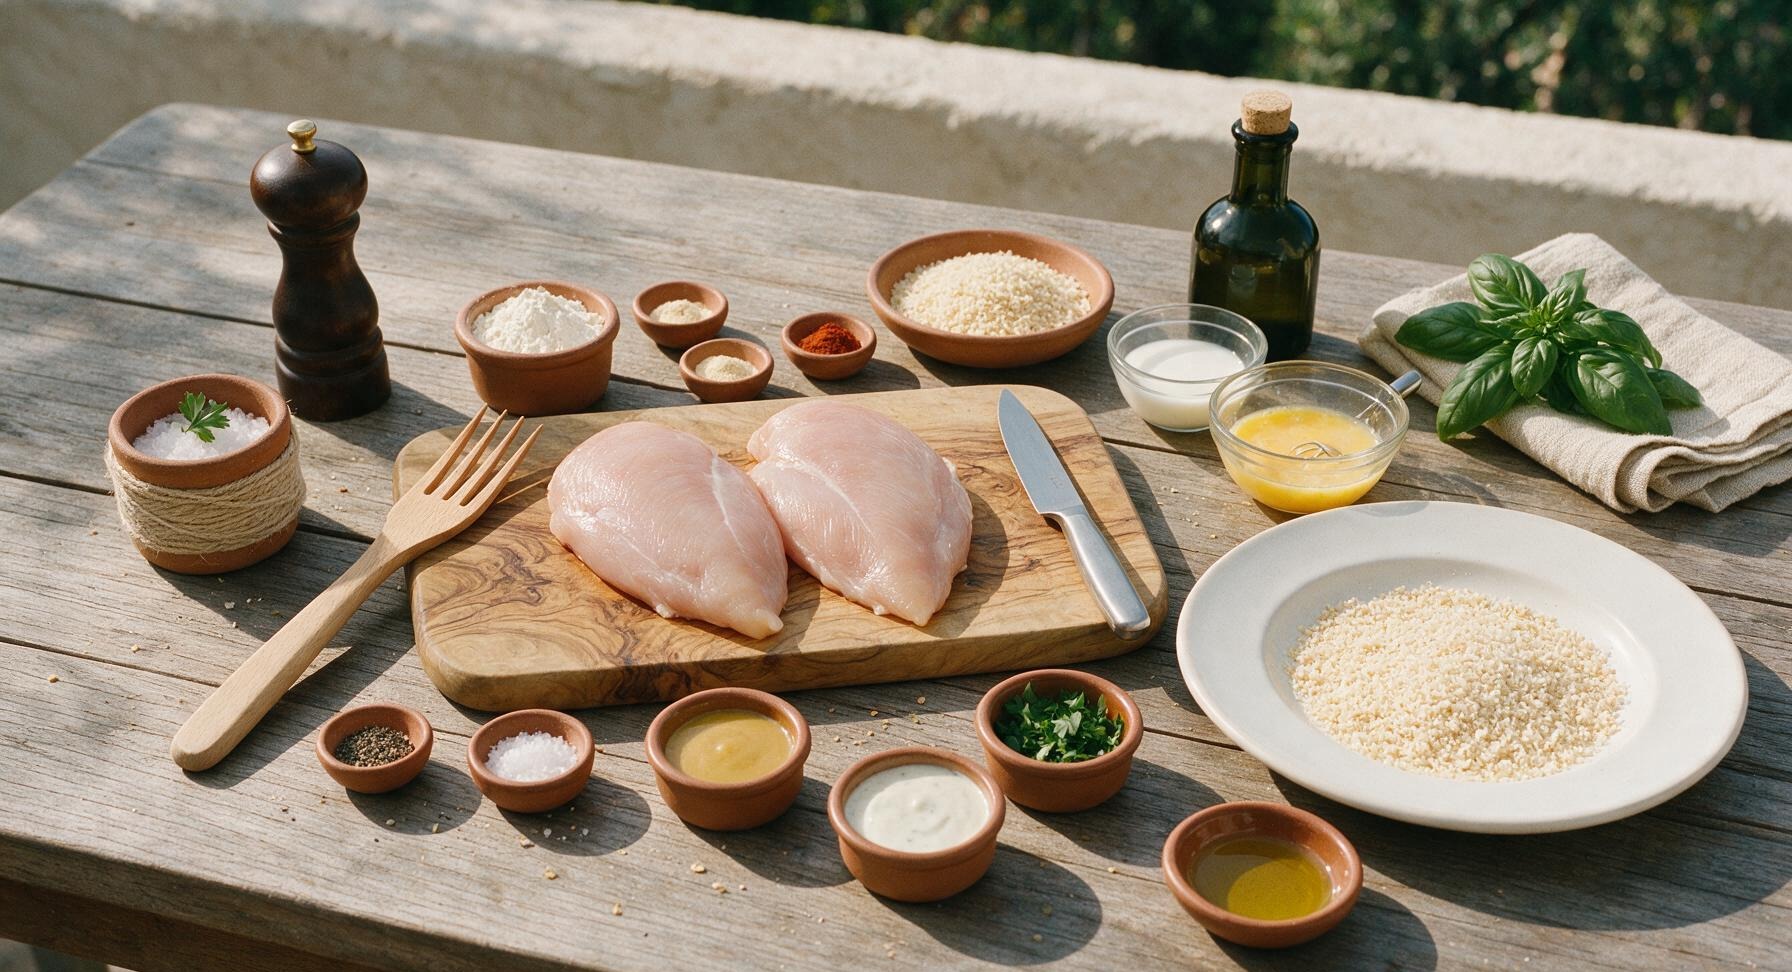
Boneless, skinless chicken breasts 600g (about 2 large breasts)
All-purpose flour 65g (½ cup)
Large eggs 2 units
Whole milk 2 tbsp
Panko breadcrumbs 90g (1 ½ cups)
Garlic powder 1 tsp (divided)
Onion powder 1 tsp
Smoked paprika ½ tsp
Kosher salt 1 tsp (divided)
Freshly ground black pepper ½ tsp
Olive oil cooking spray 1 tbsp (approx 5 second spray)
Honey mustard sauce 60ml (¼ cup)
Ranch dressing 60ml (¼ cup)
Fresh flat-leaf parsley 2 tbsp (chopped, for garnish)

Steps

1

Cut chicken into strips

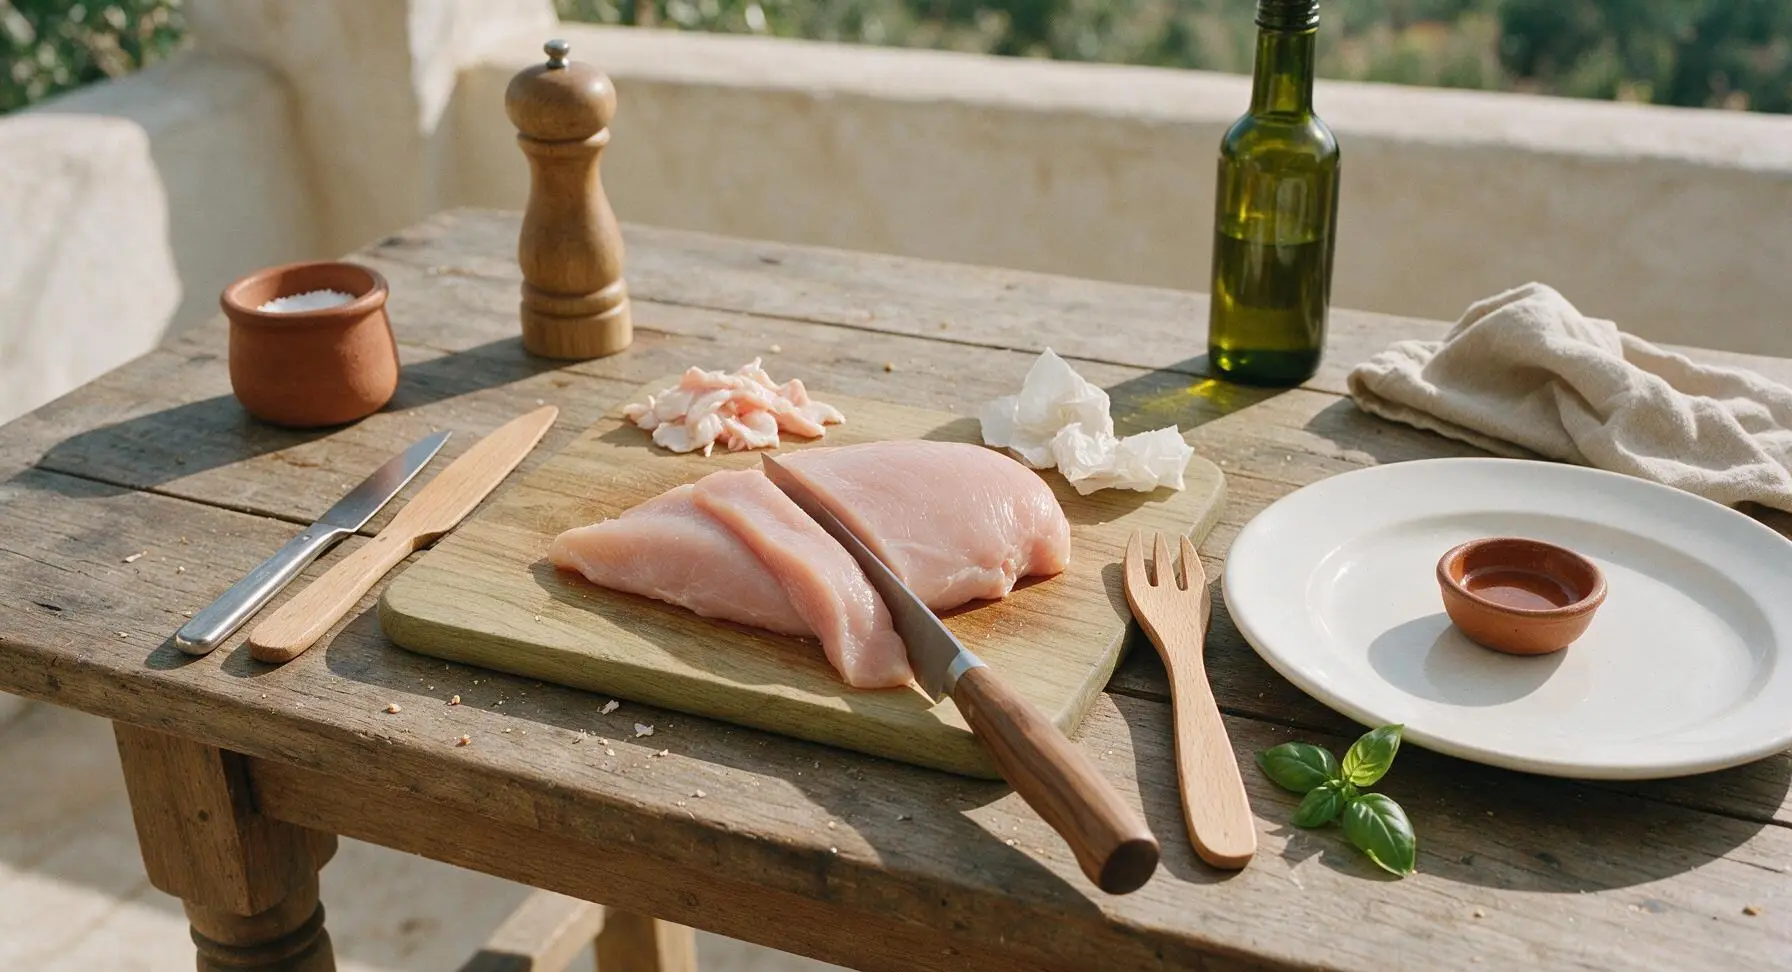
Place the 600g boneless, skinless chicken breasts on the light maple cutting board. Using the chef knife, trim any visible white fat or silver skin from the breasts. Slice against the grain into uniform 2.5cm (1 inch) wide strips, about 10cm long, so all pieces cook evenly. Pat the chicken strips completely dry with paper towels, season lightly with ¼ tsp kosher salt.
Step 1
step1:Cut chicken into strips
2

Arrange breading station

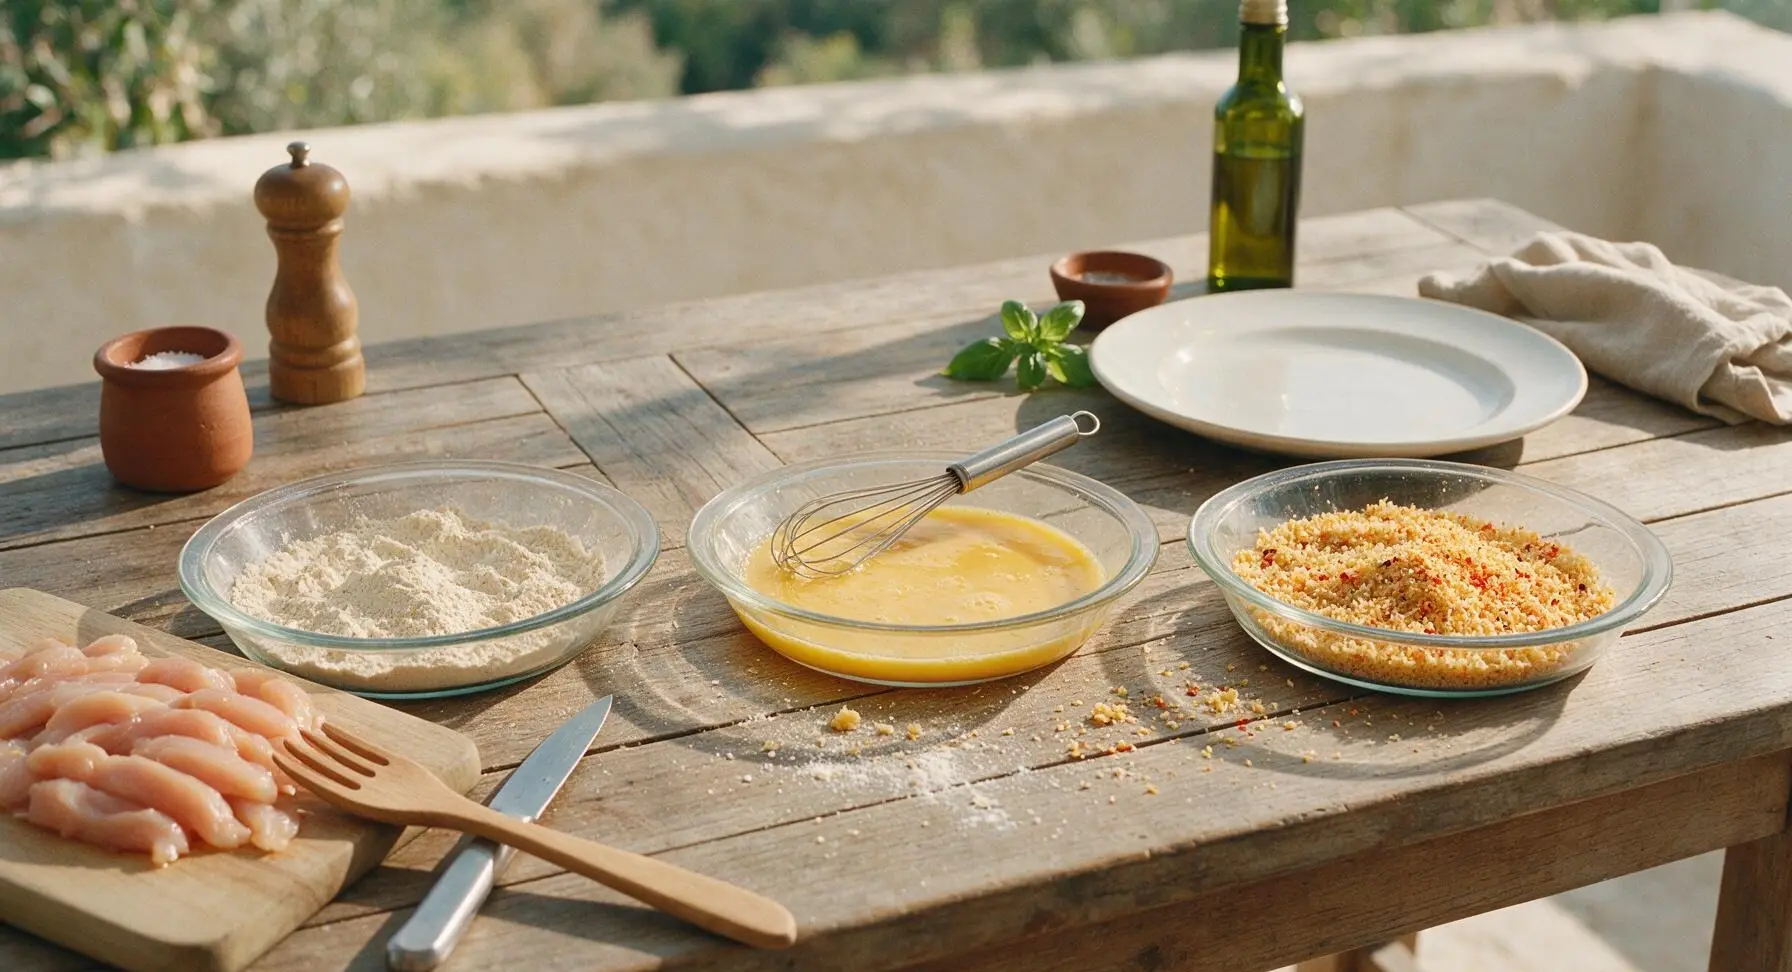
Line up the three shallow clear glass pie dishes in a row on the counter next to the cutting board. In the first dish, mix the 65g all-purpose flour with ¼ tsp kosher salt, ¼ tsp black pepper, and ½ tsp garlic powder. In the second dish, whisk the 2 large eggs with 2 tbsp whole milk until completely smooth, no streaks of egg white remaining. In the third dish, combine the 90g panko breadcrumbs with the remaining ½ tsp garlic powder, 1 tsp onion powder, ½ tsp smoked paprika, ½ tsp kosher salt, and ¼ tsp black pepper, stir to evenly distribute spices.
Step 2
step2:Arrange breading station
3

Coat chicken in breading

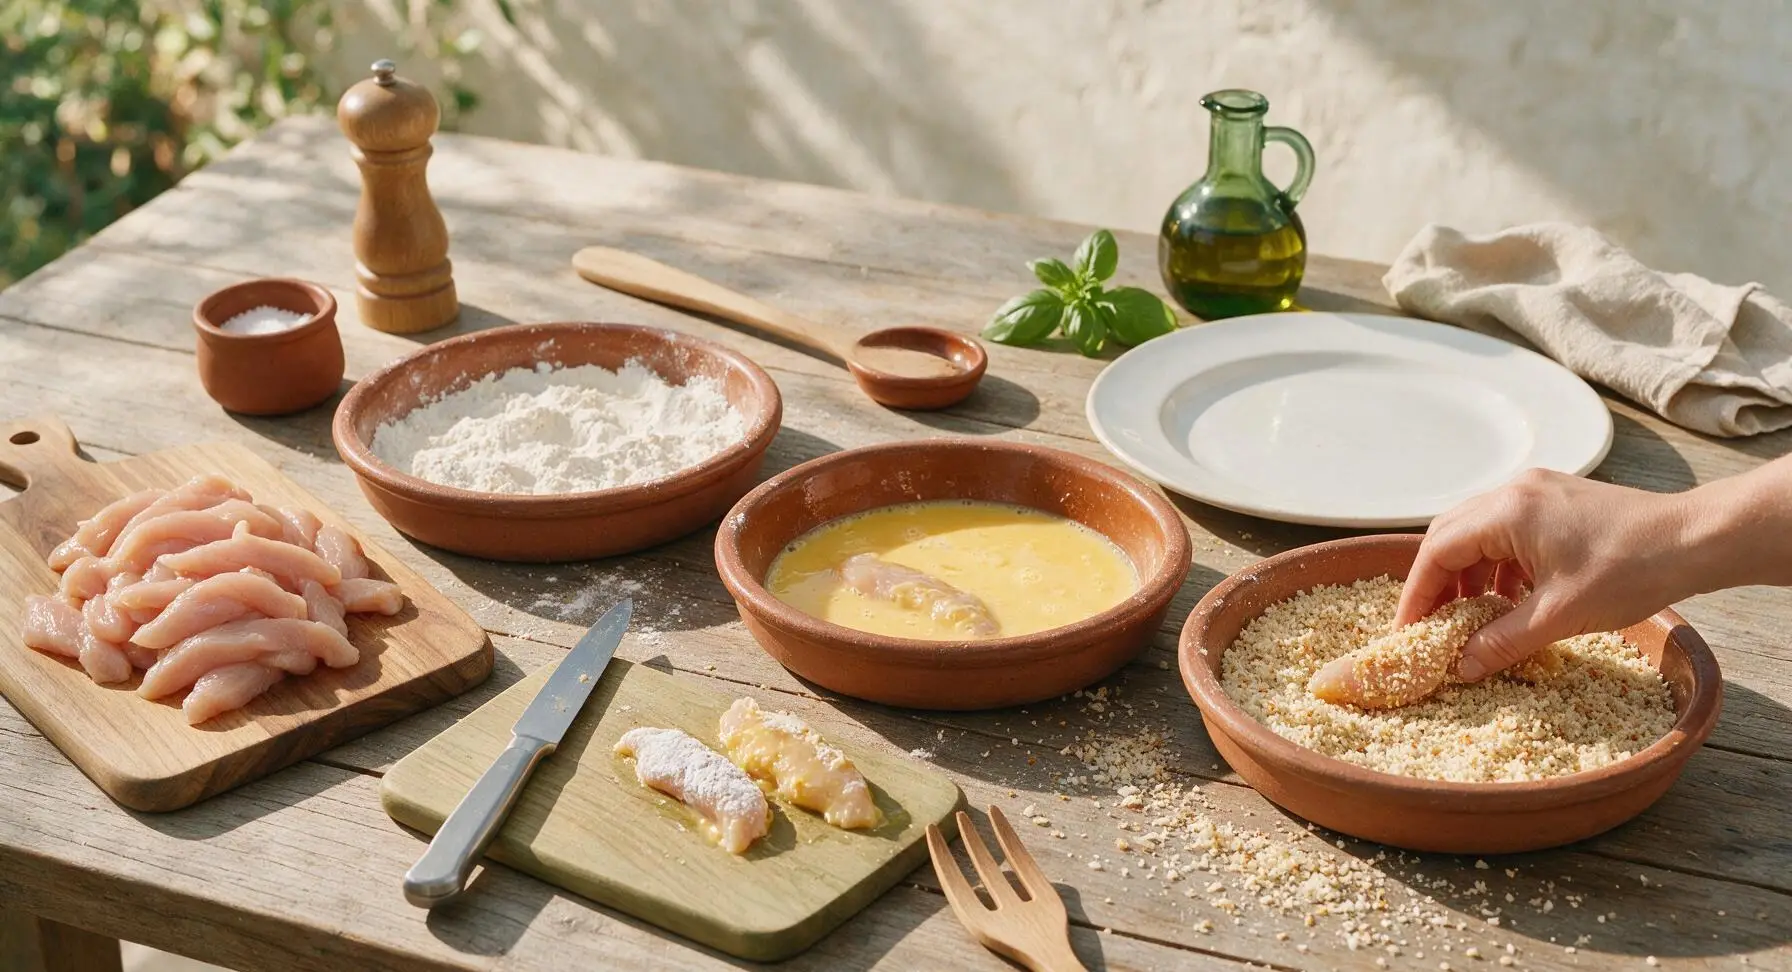
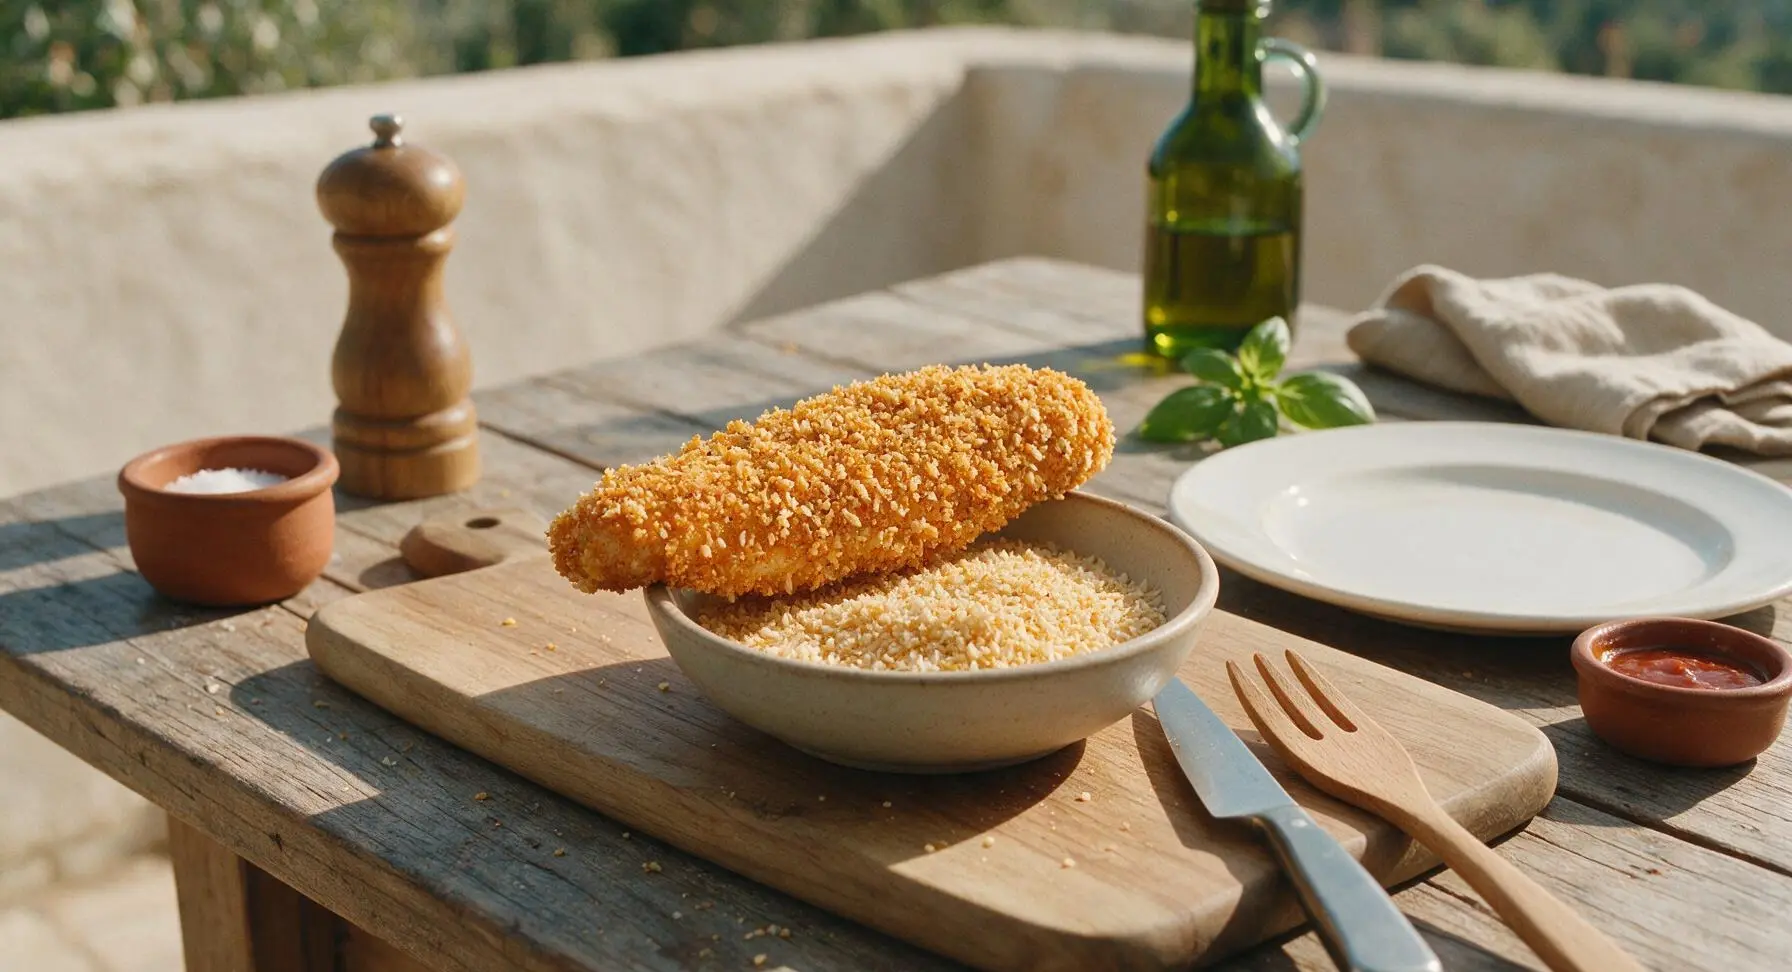
Working one strip at a time, first dredge a chicken strip in the seasoned flour, pressing gently so flour coats all sides, shake off excess. Next, dip the floured strip fully into the egg wash, let excess egg drip off for 2 seconds. Finally, press the strip firmly into the spiced panko mixture, turning to coat every surface, pressing crumbs so they adhere fully. Set breaded strips on a clean corner of the cutting board as you work, ensuring no bare spots of chicken are visible through the crust.
Step 3
step3:Coat chicken in breading
Step 3
step3:Coat chicken in breading
4

Arrange on baking rack

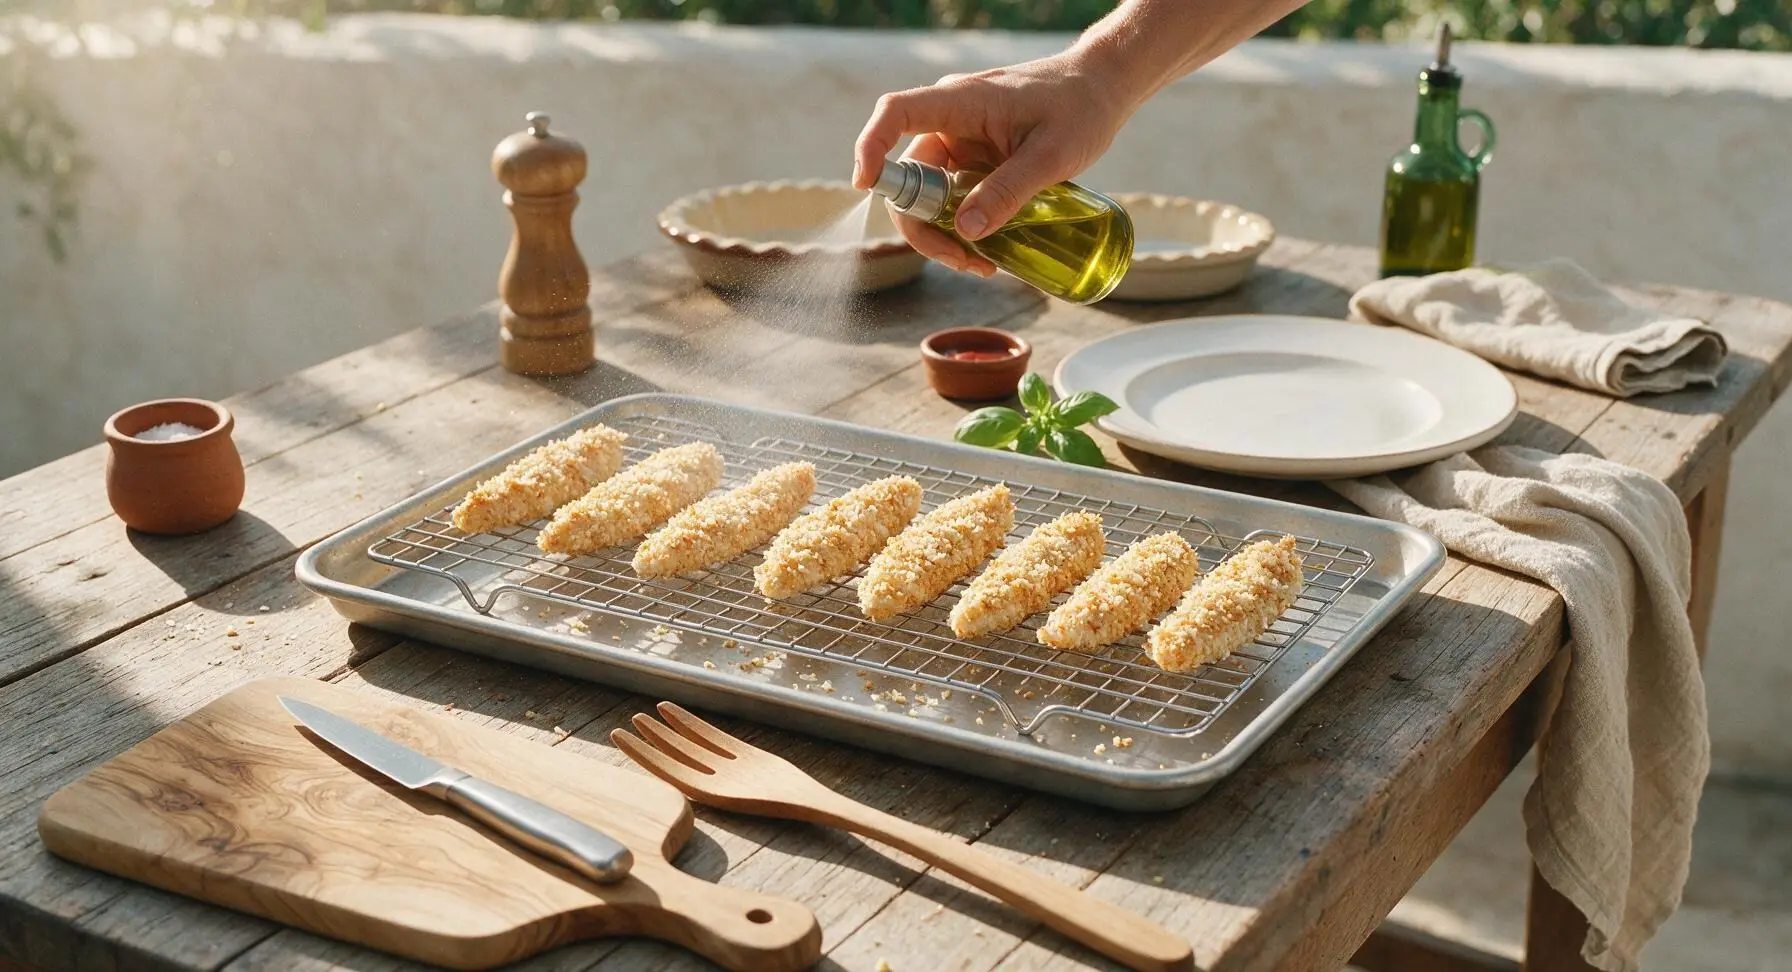
Place the chrome wire baking rack inside the rimmed aluminum baking sheet, spray the rack lightly with olive oil spray to prevent sticking. Arrange the breaded chicken strips in a single layer on the rack, leaving 1cm of space between each strip so air circulates for even crisping. Lightly spray the top of each breaded chicken strip with a thin coat of olive oil spray, which helps the crust turn golden and crispy in the oven.
Step 4
step4:Arrange on baking rack
5

Bake to golden crisp

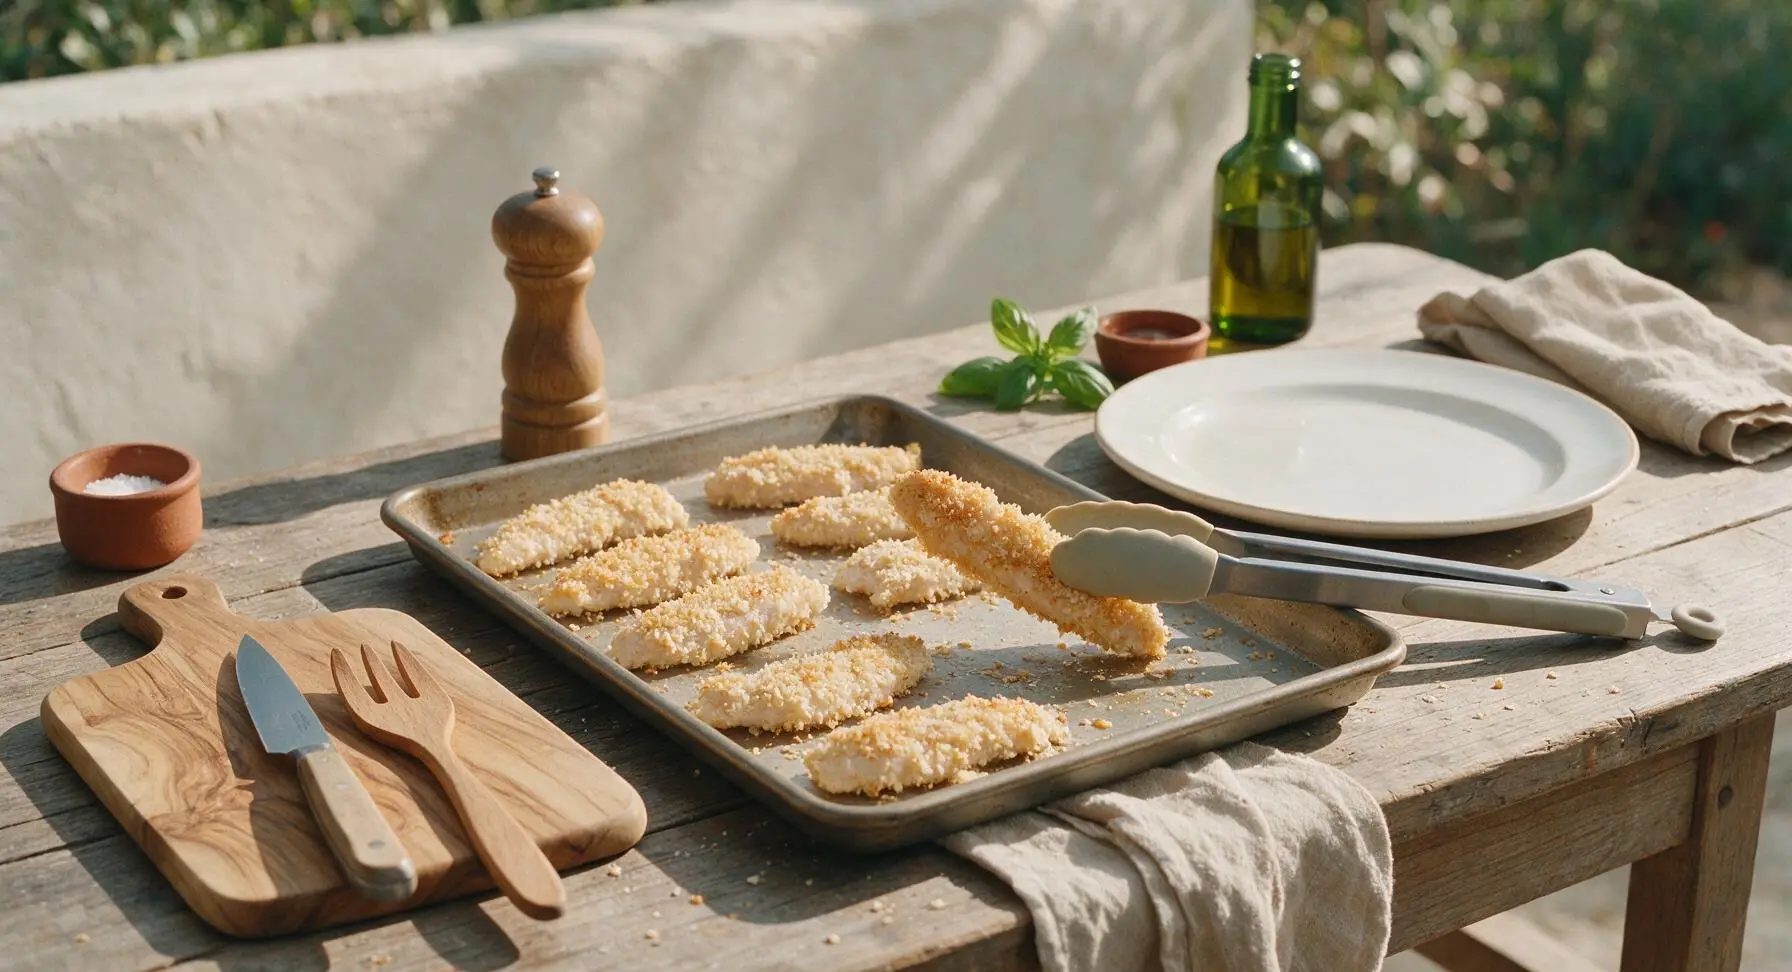
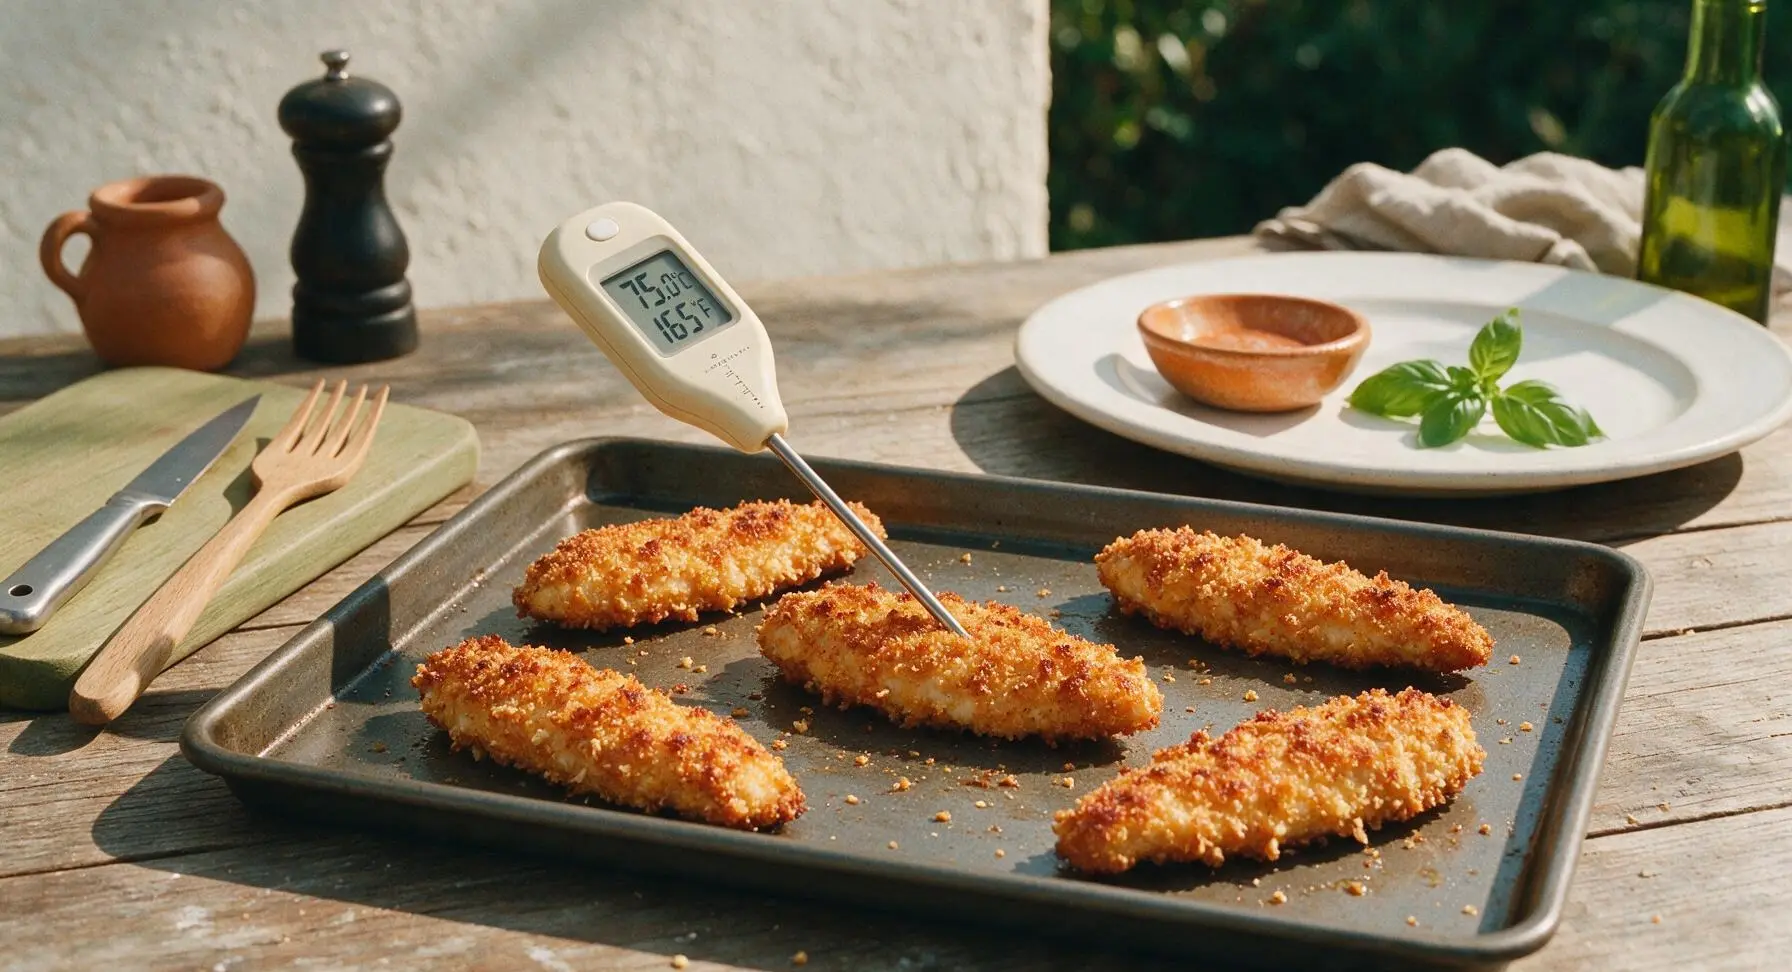
Place the baking sheet on the middle rack of a preheated 220C (425F) oven. Bake for 10 minutes, then use the silicone-tipped tongs to carefully flip each chicken strip. Bake for another 8-10 minutes, until the crust is deep golden brown and crispy, and the internal temperature of the chicken reaches 75C (165F) when checked with the instant-read thermometer. Do not overbake, or the chicken will become dry.
Step 5
step5:Bake to golden crisp
Step 5
step5:Bake to golden crisp
6

Rest and season lightly

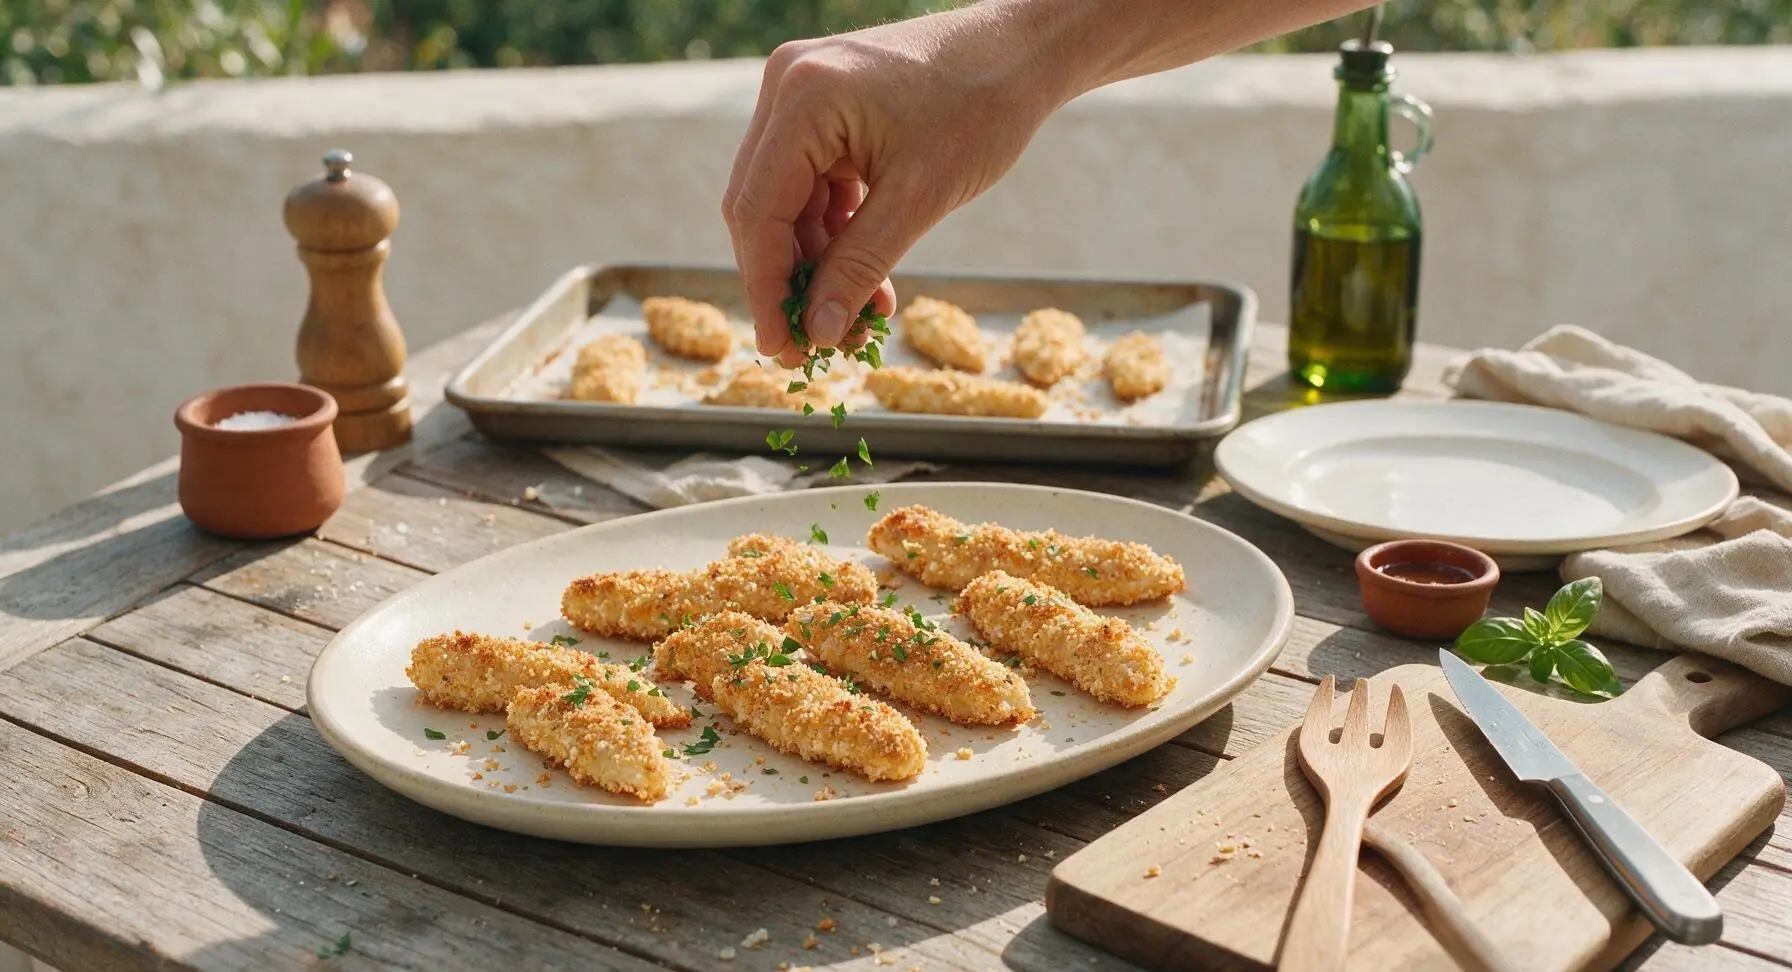
Once baked, use the tongs to transfer the chicken fingers from the rack to the matte cream ceramic serving platter. Let the strips rest for 2 minutes to allow juices to redistribute, then sprinkle lightly with a pinch of flaky sea salt and the 2 tbsp of chopped fresh flat-leaf parsley. Do not stack the strips immediately after removing from the oven, or the crust will steam and turn soggy.
Step 6
step6:Rest and season lightly
7

Serve with dipping sauces

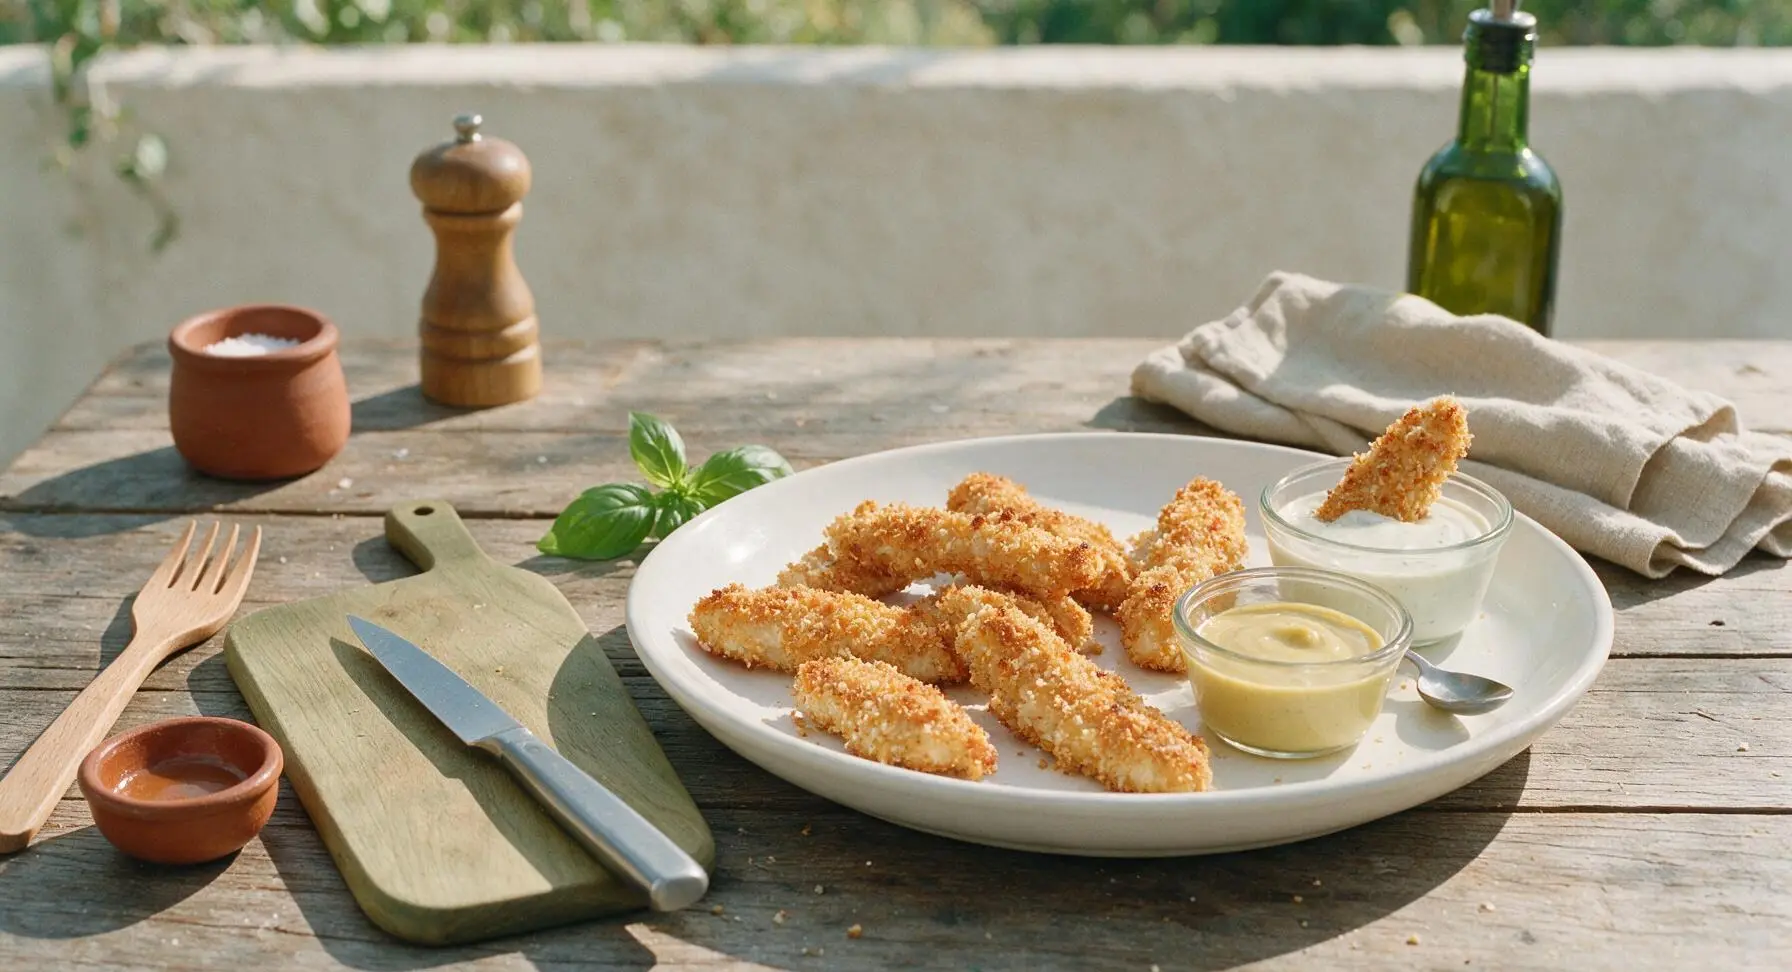
Place the two clear glass ramekins on the serving platter next to the chicken fingers. Use the small condiment spoon to fill one ramekin with ¼ cup honey mustard, and the other with ¼ cup ranch dressing. Serve immediately while the chicken is hot and crispy, for best texture.
Step 7
step7:Serve with dipping sauces

Tips

1.Pat chicken completely dry before breading: Any excess moisture on the chicken surface will cause the flour to clump, the egg wash to slide, and the panko to fall off during baking. Trapped moisture also creates steam that softens the crust, leading to soggy instead of crispy chicken fingers.
2.Bake chicken on a wire rack set inside a baking sheet, not directly on the sheet: Elevating the strips allows hot oven air to circulate fully around every side, crisping the panko evenly without needing multiple flips, and prevents the bottom crust from getting soggy from contact with the hot sheet.
3.Press panko crumbs firmly onto each chicken strip: Loosely sprinkled crumbs will fall off during baking, leaving bare patches of chicken. Pressing the crumbs into the egg wash creates a tight, even crust that stays attached and delivers consistent crunch in every bite.


✨ You May Also Like

Snacks & Appetizers
🍜 Mexico

Crispy thick-cut tortilla chips piled high with seasoned beef, melted cheese, and bright fresh toppings for a shareable, crowd-favorite bite.

⏱️ 25 minuteSnacks & Appetizers ★ 4.8
Snacks & Appetizers
🍜 United States

Crisp, sweet-tangy spiced pickled watermelon rind is a zero-waste summer staple, perfect with grilled meats, charcuterie, or eaten straight from the jar as a bright snack.

⏱️ 30 minuteSnacks & Appetizers ★ 4.6
Snacks & Appetizers
🍜 Germany

A tangy, jellied pork cold cut slow-simmered with aromatic spices, set into a firm sliceable loaf, served cold with mustard and crusty bread.

⏱️ 3 hours 4Snacks & Appetizers ★ 4.8
Snacks & Appetizers
🍜 United States

Creamy, tangy, perfectly seasoned hard-boiled egg halves filled with a rich, smooth yolk mixture, a timeless, crowd-pleasing bite for holiday and casual gatherings alike.

⏱️ 40 minuteSnacks & Appetizers ★ 4.8
Snacks & Appetizers
🍜 Russia

Silky, dill-forward no-smoke cured salmon, a Scandinavian classic with bright salty-sweet flavor, ideal for holiday starter platters and open-faced rye sandwiches.

⏱️ 48 hours Snacks & Appetizers ★ 4.7
Snacks & Appetizers
🍜 Japan

Crisp golden bottoms, juicy savory pork and vegetable filling, and tangy dipping sauce make these pan-fried gyoza a beloved shareable bite.

⏱️ 45 minuteSnacks & Appetizers ★ 4.8

chicken fingers:Frequently Asked Questions

1.Why do my baked panko chicken fingers turn out soggy instead of crispy? ▾
Sogginess almost always comes from trapped steam or an unset coating. First, toast panko crumbs in a dry skillet for 2 to 3 minutes until light golden before breading for extra crunch. Always set breaded fingers on a wire rack over a rimmed baking sheet (not directly on the pan) with ½ inch of space between pieces to let hot air circulate, and never cover the pan while baking.
2.Can I prep these chicken fingers ahead of time for a party or game day? ▾
Absolutely! You can complete the full breading step 1 day in advance: arrange the breaded strips on a wire rack-lined tray, cover loosely with plastic wrap, and store in the fridge until bake time. Baking straight from the fridge actually helps the coating stay set and crisp, and you won’t need to thaw or bring them to room temperature first to get perfect results.
3.What’s the easiest way to cut even, uniform chicken fingers from breasts? ▾
Start with partially frozen chicken breasts—pop them in the freezer for 45 minutes first to firm them up for clean, even cuts. Slice against the grain into 1-inch thick strips, trimming any excess fat or wispy tenderloin bits as you go. Uniform thickness ensures every finger cooks at the same rate, so you avoid overcooked dry edges or undercooked centers.
4.Why does my panko coating fall off the chicken while it bakes? ▾
Coating slippage usually happens when you skip proper layering or leave excess moisture on the chicken. First, pat every strip completely dry with paper towels before dredging. Follow the dry-wet-dry order: light flour dredge (shake off excess), full egg-milk dip, then firmly press panko onto all surfaces. Let strips rest 10 minutes before baking to let the coating set.
5.How do I know when the chicken fingers are done without drying them out? ▾
Use an instant-read thermometer inserted into the thickest part of the largest strip, and pull them out as soon as they hit 165°F, the FDA-recommended safe internal temperature for poultry. Let them rest for 3 minutes before serving—carryover cooking will keep them heating through, so you’ll get juicy, tender interiors instead of tough, overcooked chicken.
6.Can I make these chicken fingers gluten-free without losing the crispy texture? ▾
You absolutely can, with zero loss of that signature shatteringly crisp crust. Swap regular all-purpose flour for a 1:1 gluten-free all-purpose baking blend, and use certified gluten-free panko breadcrumbs (sold at most major U.S. grocery stores) in place of standard panko. Follow all the same breading and baking steps for results even gluten-eating guests will love.

Comments (16)

2 hours ago

OMG these came out so crispy I couldn’t believe they were baked not fried! Threw them together for my 8 year old’s after school snack and he ate 3 before I even got a plate out. Total weeknight win.

3 days ago

Game changer! I’ve tried so many baked chicken finger recipes that come out soggy no matter what I do, but the panko trick with the light oil spray actually worked. Brought these to a neighborhood potluck last weekend and they were gone in 10 minutes flat.

2 days ago

So glad they were a hit at the potluck! Pro tip: if you let them rest on a wire rack for 2 minutes after pulling them out of the oven they stay even crispier for serving.

1 week ago

Added these to my Sunday meal prep rotation! They reheat perfectly in the air fryer for 3 minutes and taste just as crispy as day one. Way better than the frozen processed chicken fingers I used to buy.

5 days ago

Wait do they hold up if you reheat them in a regular oven too? My work break room doesn’t have an air fryer 😅

30 minutes ago

Super easy to make in my tiny dorm oven! Didn’t have any fancy spices, just used garlic powder, paprika, salt and pepper and they still slapped. Way cheaper than ordering takeout tenders every night.

yesterday

My kids are so hard to please when it comes to chicken — they usually only eat the fast food kind, but they devoured these! We dipped them in honey mustard and ranch, and even my husband asked for seconds. 10/10 for family dinner.

2 hours ago

Did you use regular panko or the seasoned kind? I’m making these for my two boys tonight and want to make sure I get the crunch right!

30 minutes ago

Great question! Regular plain panko works best if you want to control the seasoning, but seasoned panko works great too if you’re short on time — just cut back a little on the added salt to keep them from being too salty.

5 days ago

Swapped the regular panko for gluten free panko and these turned out AMAZING. I was worried the coating wouldn’t stick, but following the egg wash step exactly made it work. Finally a crispy baked chicken finger I can eat!

3 days ago

Love that gluten free swap! Thanks for sharing — so many readers ask about GF modifications, so this is super helpful for the community.

2 days ago

Made these for a casual date night in with my girlfriend instead of going out, and she was obsessed. We paired them with homemade waffle fries and spicy mayo dip. Will definitely be making these again soon.

1 week ago

Wait is there a trick to getting the panko to not fall off while baking? My last batch had half the coating slide off mid-cook and I was so sad, these look too good to mess up.

5 days ago

I had the same issue the first time! Make sure you pat the chicken totally dry before dipping in egg, and press the panko into the chicken really hard so it sticks. Worked like a charm for me on round 2.

3 days ago

Linda’s tip is spot on! Also, avoid overcrowding the baking sheet — if the chicken is too close together the steam makes the coating slide right off. Use two sheets if you need to!

2 weeks ago

Tossed a little cayenne and parmesan into the panko mix for an extra kick, and OH MY GOD these are so good. Tasted just like the spicy tenders from my favorite bar but way less greasy.

1 week ago

The parmesan add is genius! I’m stealing that for my batch this weekend. Do you shred your own fresh parm or use the canned stuff?

3 days ago

20 minute cook time? Sign me up. I get home from work at 6 and have to have dinner on the table by 6:30 for the kids’ bedtime routine, so fast easy recipes are a lifesaver. These did not disappoint.

2 days ago

Do you bake them straight from prep or do you prep them ahead? I’m trying to get stuff ready the night before to make evenings even smoother.

yesterday

You can absolutely prep the coated chicken fingers the night before! Just store them on a wire rack over a baking sheet in the fridge, then pop them straight in the oven when you’re ready to bake — no extra time needed.

yesterday

Made these for my office potluck yesterday and people were asking me for the recipe before I even left the break room! I served them with a variety of dips and even the vegetarians were eyeing them (jokingly… mostly).

2 hours ago

That’s the best potluck compliment! If you want a vegetarian swap for next time, this panko coating works amazing on extra firm tofu strips too, for anyone asking.

5 minutes ago

I’m literally terrible at cooking — I burn toast half the time — and even I pulled these off! The instructions were so straightforward and no fancy equipment needed. My roommate thought I ordered takeout lmao.

1 week ago

Love that these are baked instead of fried! I’ve been cutting back on fried food but was really craving crispy chicken tenders, and these hit the spot without that heavy greasy feeling after eating. Perfect for a lighter weeknight meal.

5 days ago

How do you keep them from getting dry? I tried baking chicken tenders once and they turned into rubbery little hockey pucks 😂

3 days ago

Don’t overcook them! 20 minutes at 400 degrees is exactly right, and if your oven runs hot maybe check them at 18. I use a meat thermometer to make sure they hit 165 and pull them right out, no dry chicken at all.

2 weeks ago

These are the perfect dippable chicken finger! Sturdy enough crust that it doesn’t break off when you dip, crunchy all over, not too thick. I made a honey sriracha dip to go with them and it was chef’s kiss.

1 week ago

Honey sriracha dip sounds insane! Can you share the recipe? I’ve been looking for a new dip to pair with these instead of my usual ranch.

just now

Tasted exactly like the crispy chicken strips I used to get at the mall food court as a kid, but way better for you. Total nostalgia trip. I will be making these at least once a month from now on.

3 days ago

Wait has anyone tried freezing these after cooking? I make big batches of food for busy weeks and would love to stock my freezer with these if they freeze well.

2 days ago

I freeze them all the time! Let them cool completely, then store in a freezer bag with parchment paper between layers so they don’t stick. Reheat in the oven at 400 for 10 minutes straight from frozen and they’re still crispy.

yesterday

Great tip! We don’t recommend freezing them before baking (the coating gets soggy when thawed) but freezing fully cooked fingers works perfectly for quick meals down the line.



