
chicken flour
intro
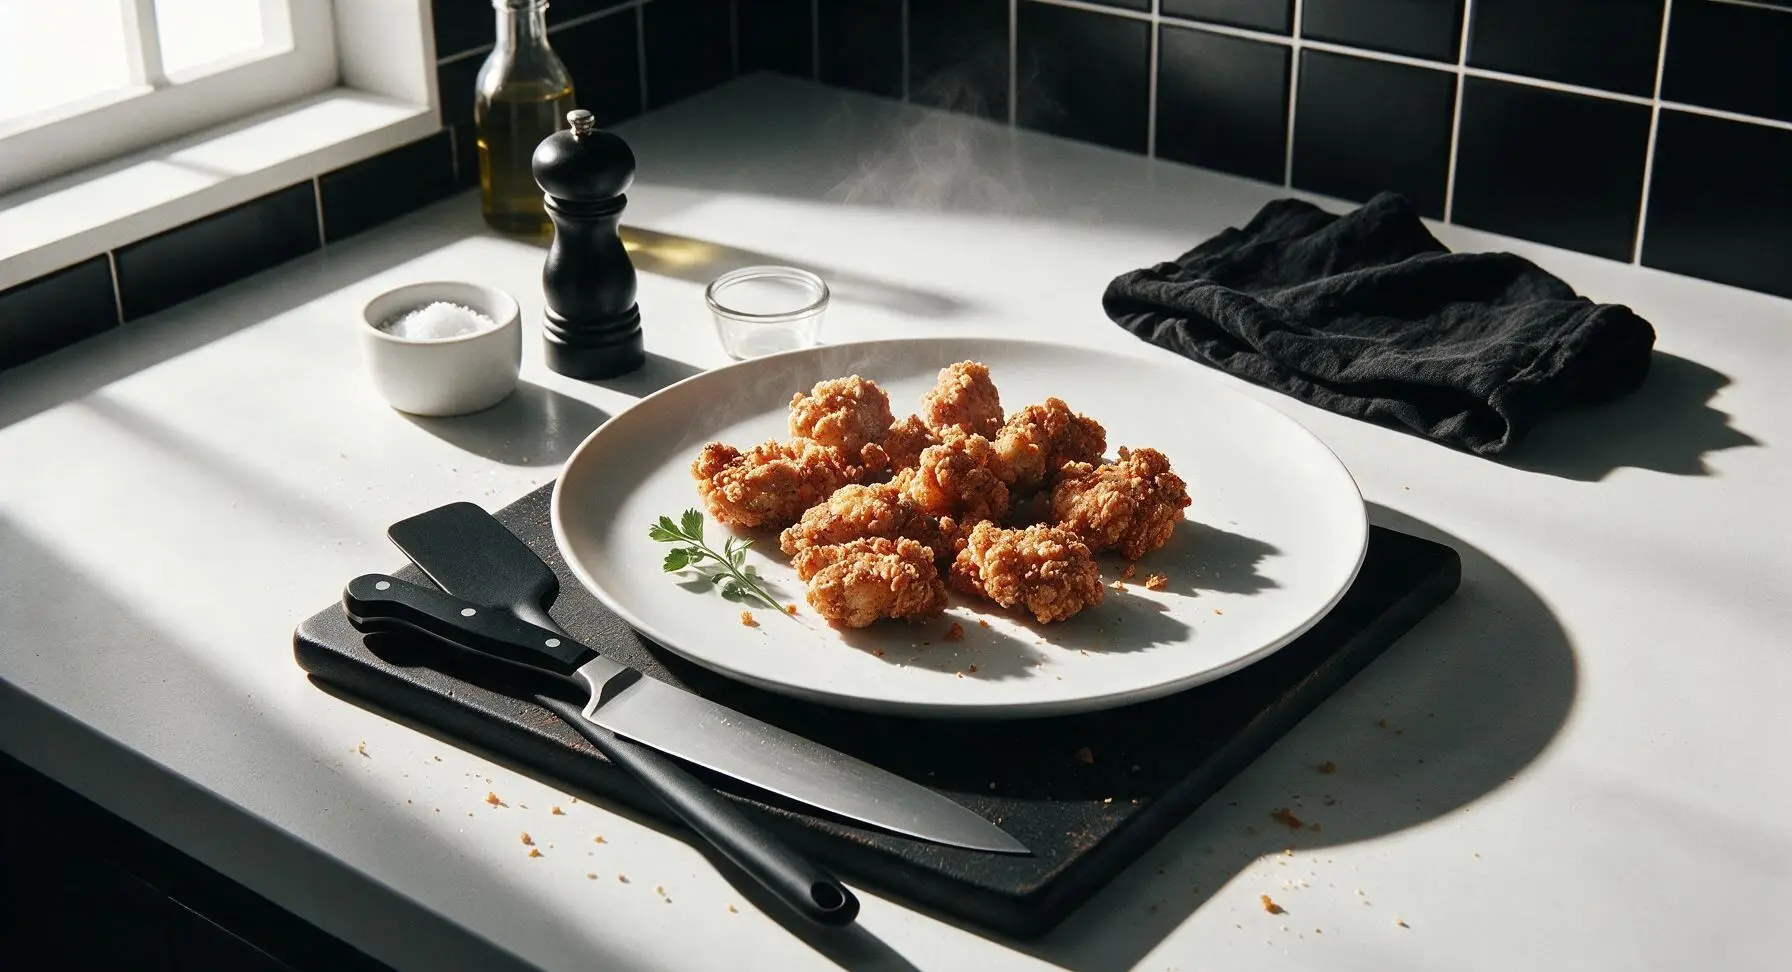
Shatteringly crisp, craggy seasoned flour-crusted chicken bites, the iconic Southern game day snack with a salty, spiced crust that crunches with every bite, perfect for dipping.
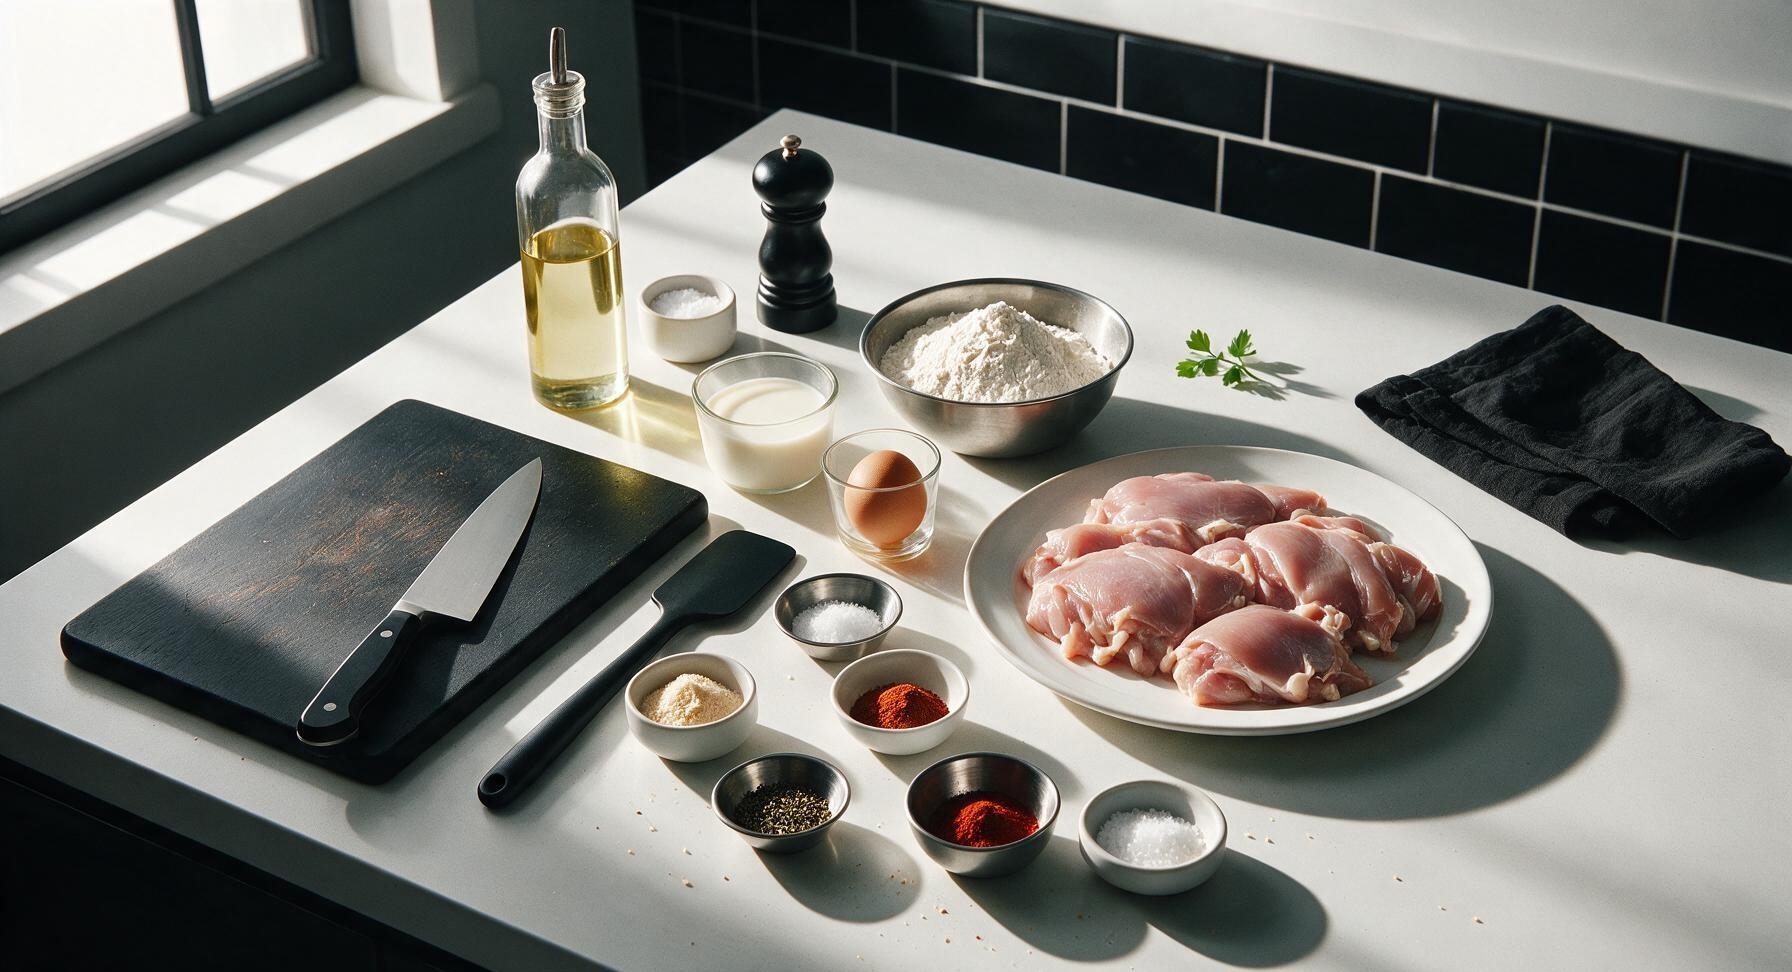
Ingredients
Steps
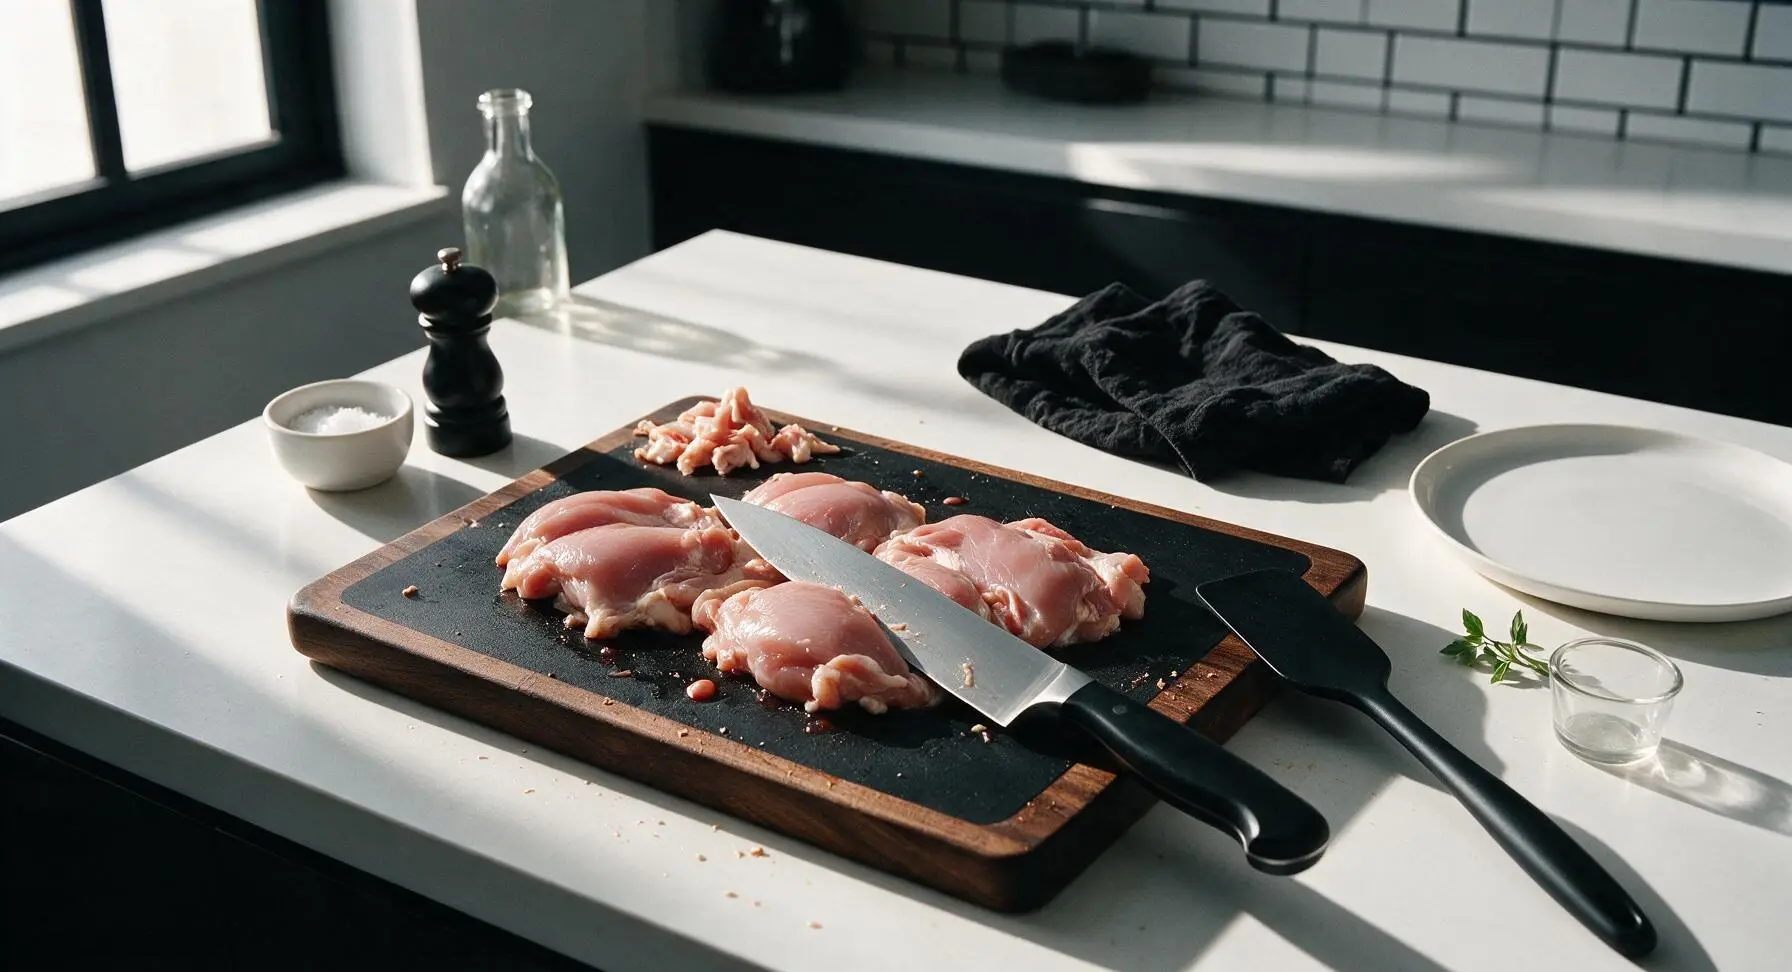
Cut Chicken into Bites
Place boneless, skinless chicken thighs on the dark walnut cutting board. Use the 8-inch walnut-handle chef knife to trim any excess hard fat or silver skin from the thighs, then cut into uniform 5cm (2-inch) bite-sized pieces. Uniform size ensures even cooking and consistent crust coverage; set trimmed fat scraps aside to discard.
Season the Flour
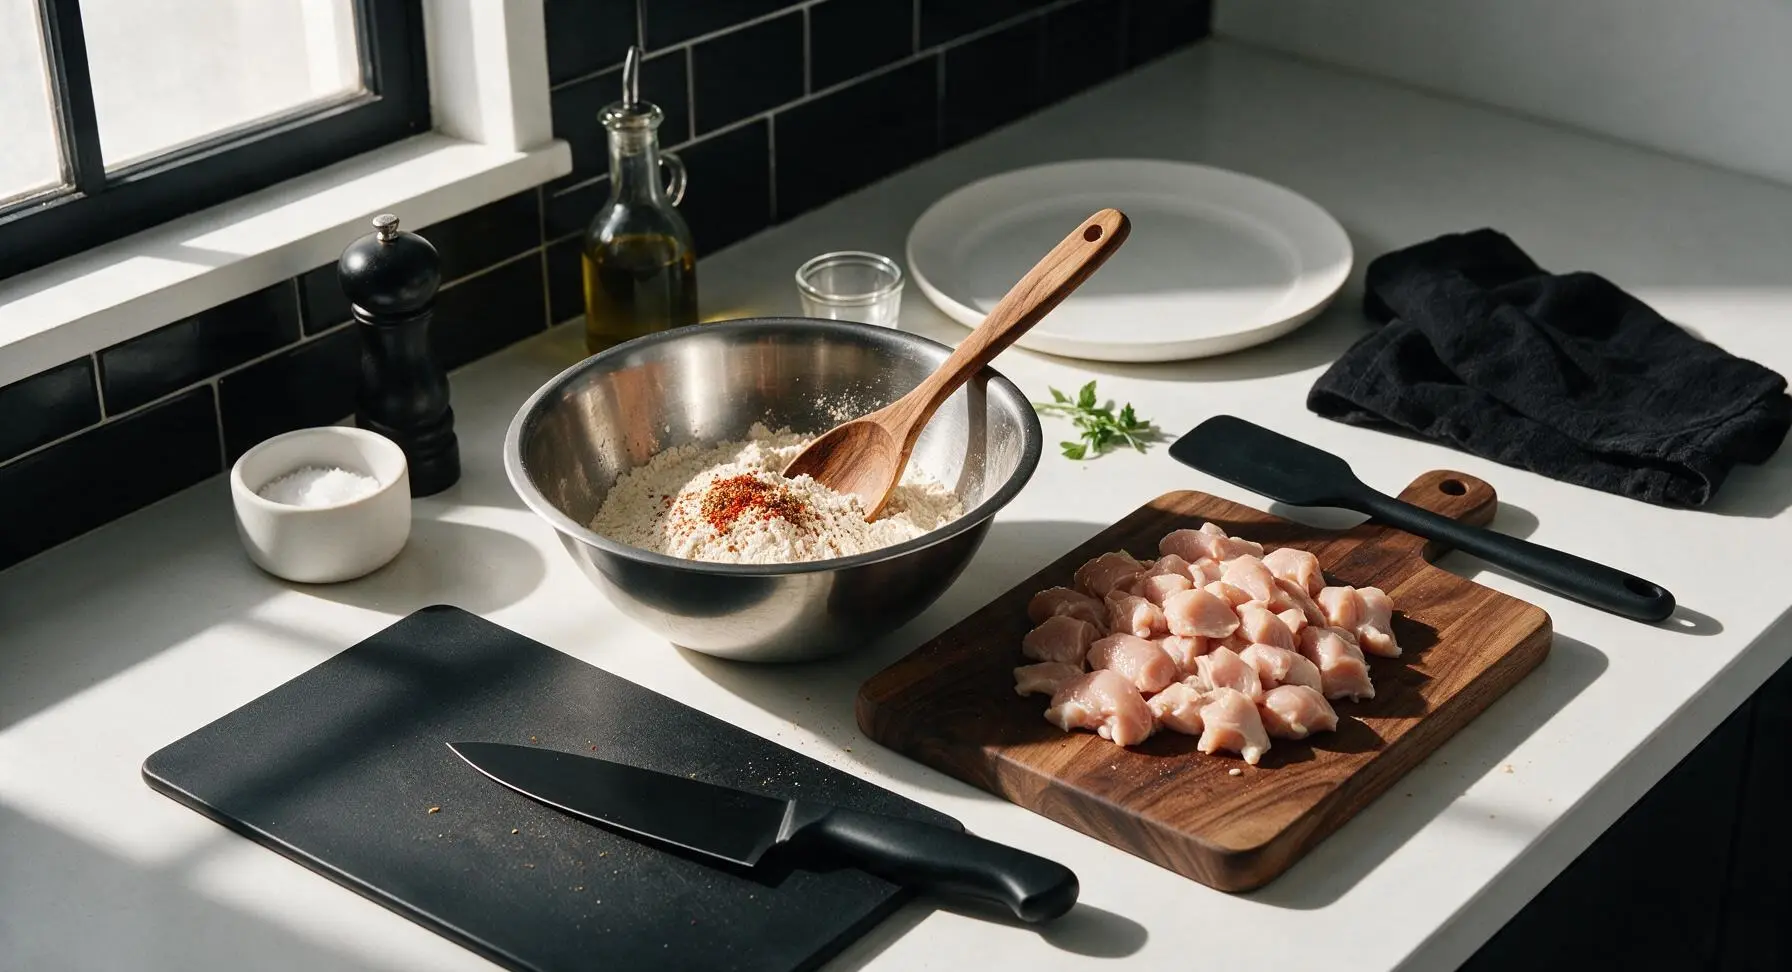
Add 2 cups of all-purpose flour to the stainless steel mixing bowl. Add 1 tbsp kosher salt, 1 tsp garlic powder, 1 tsp smoked paprika, 1/2 tsp dried thyme, 1 tsp freshly cracked black pepper, and 1/4 tsp cayenne pepper to the flour. Stir thoroughly with the maple wooden spoon for 30 seconds until all spices are evenly distributed throughout the flour, with no clumps of concentrated spice visible. This spiced blend is the signature 'chicken flour' that creates the shatteringly crisp crust.
Whisk Buttermilk Wash
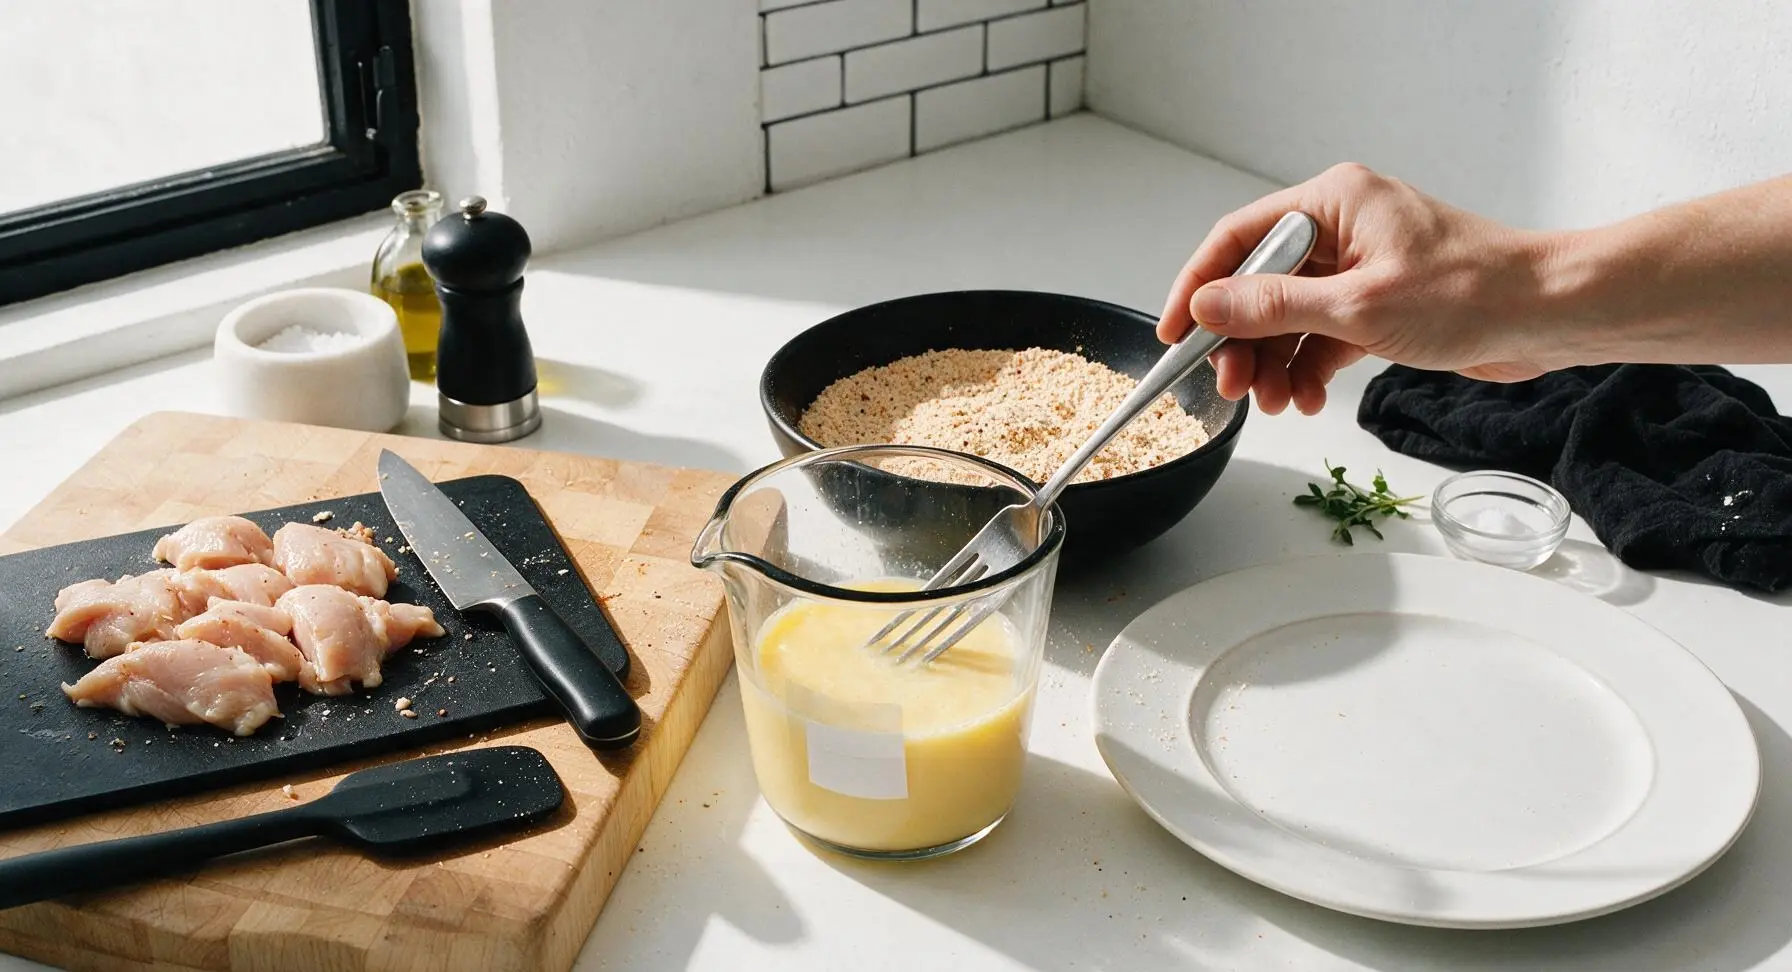
Crack the single large egg into the clear glass measuring cup holding 1/2 cup buttermilk. Use the stainless steel dinner fork to whisk vigorously for 20 seconds until the egg is fully combined with the buttermilk, creating a smooth, pale yellow liquid with no visible streaks of egg white. This wash helps the seasoned flour adhere tightly to the chicken to build a thick, craggy crust that won’t fall off during frying.
Dredge Chicken Pieces
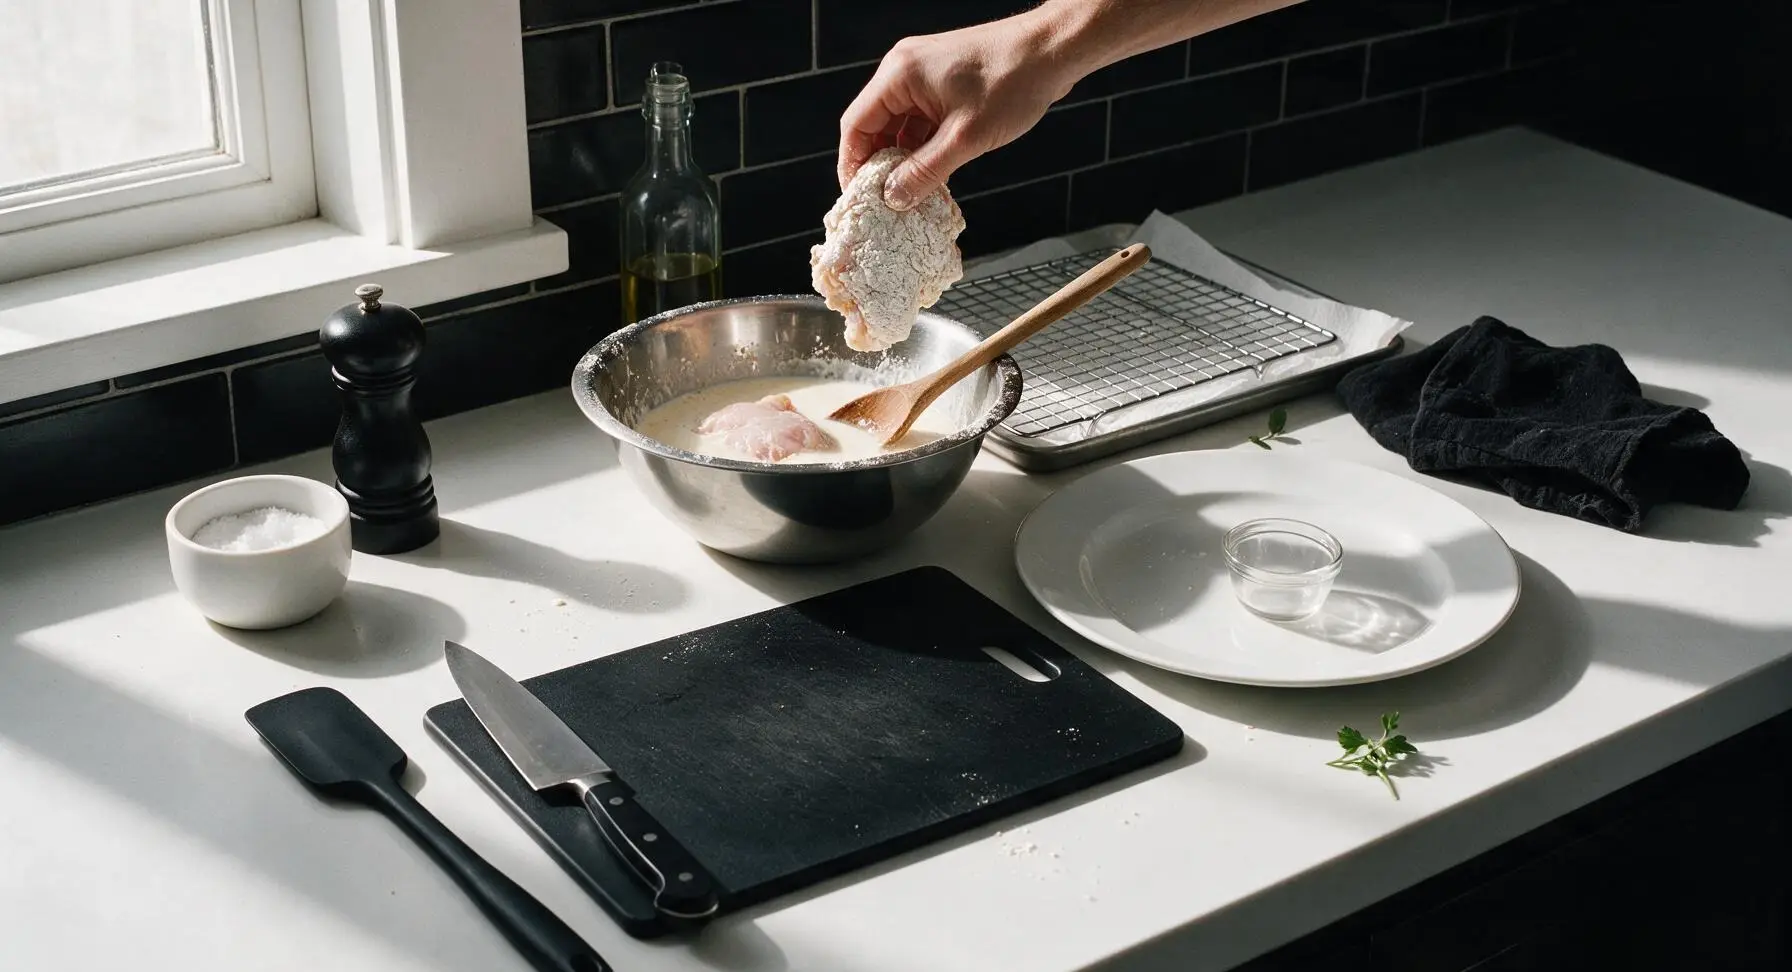
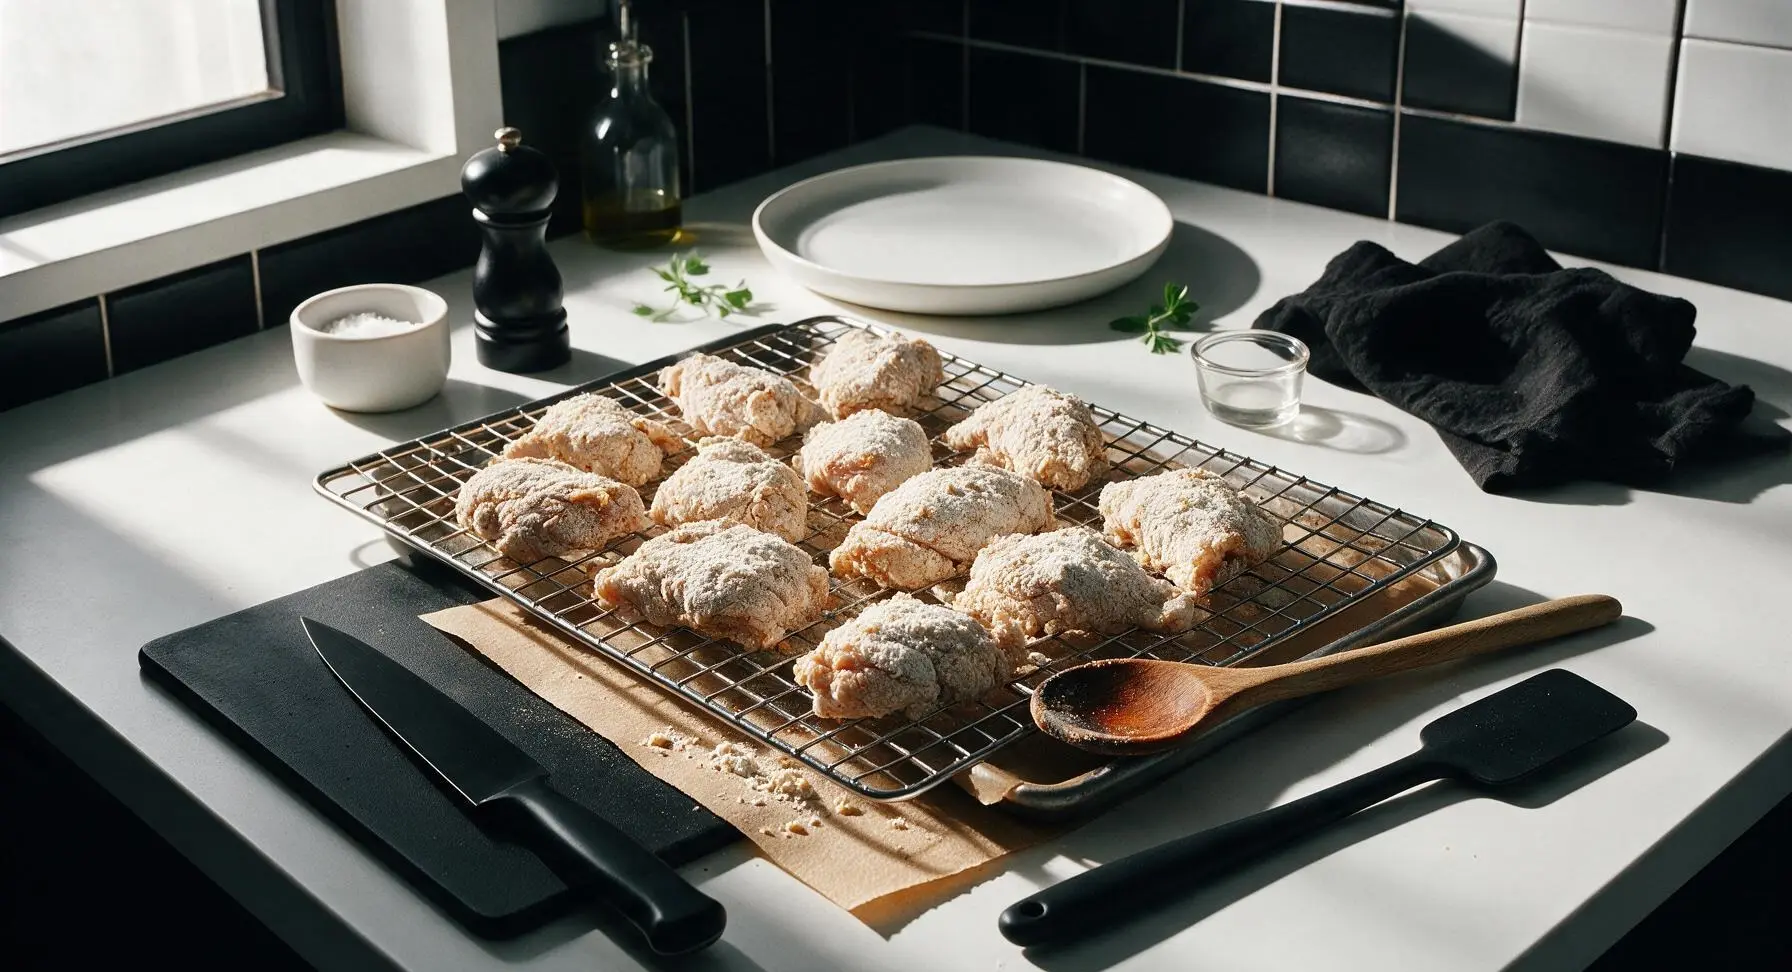
Working 3-4 pieces at a time, dip chicken bites into the buttermilk egg wash, letting excess liquid drip off for 2 seconds, then drop into the seasoned chicken flour. Toss pieces thoroughly with the maple wooden spoon to coat completely, pressing the flour firmly onto the surface of each piece to build a thick, rough coating. Transfer coated pieces to the chrome wire cooling rack set over the paper-towel lined baking sheet, and let rest for 5 minutes to allow the flour to hydrate and adhere firmly.
Heat Frying Oil
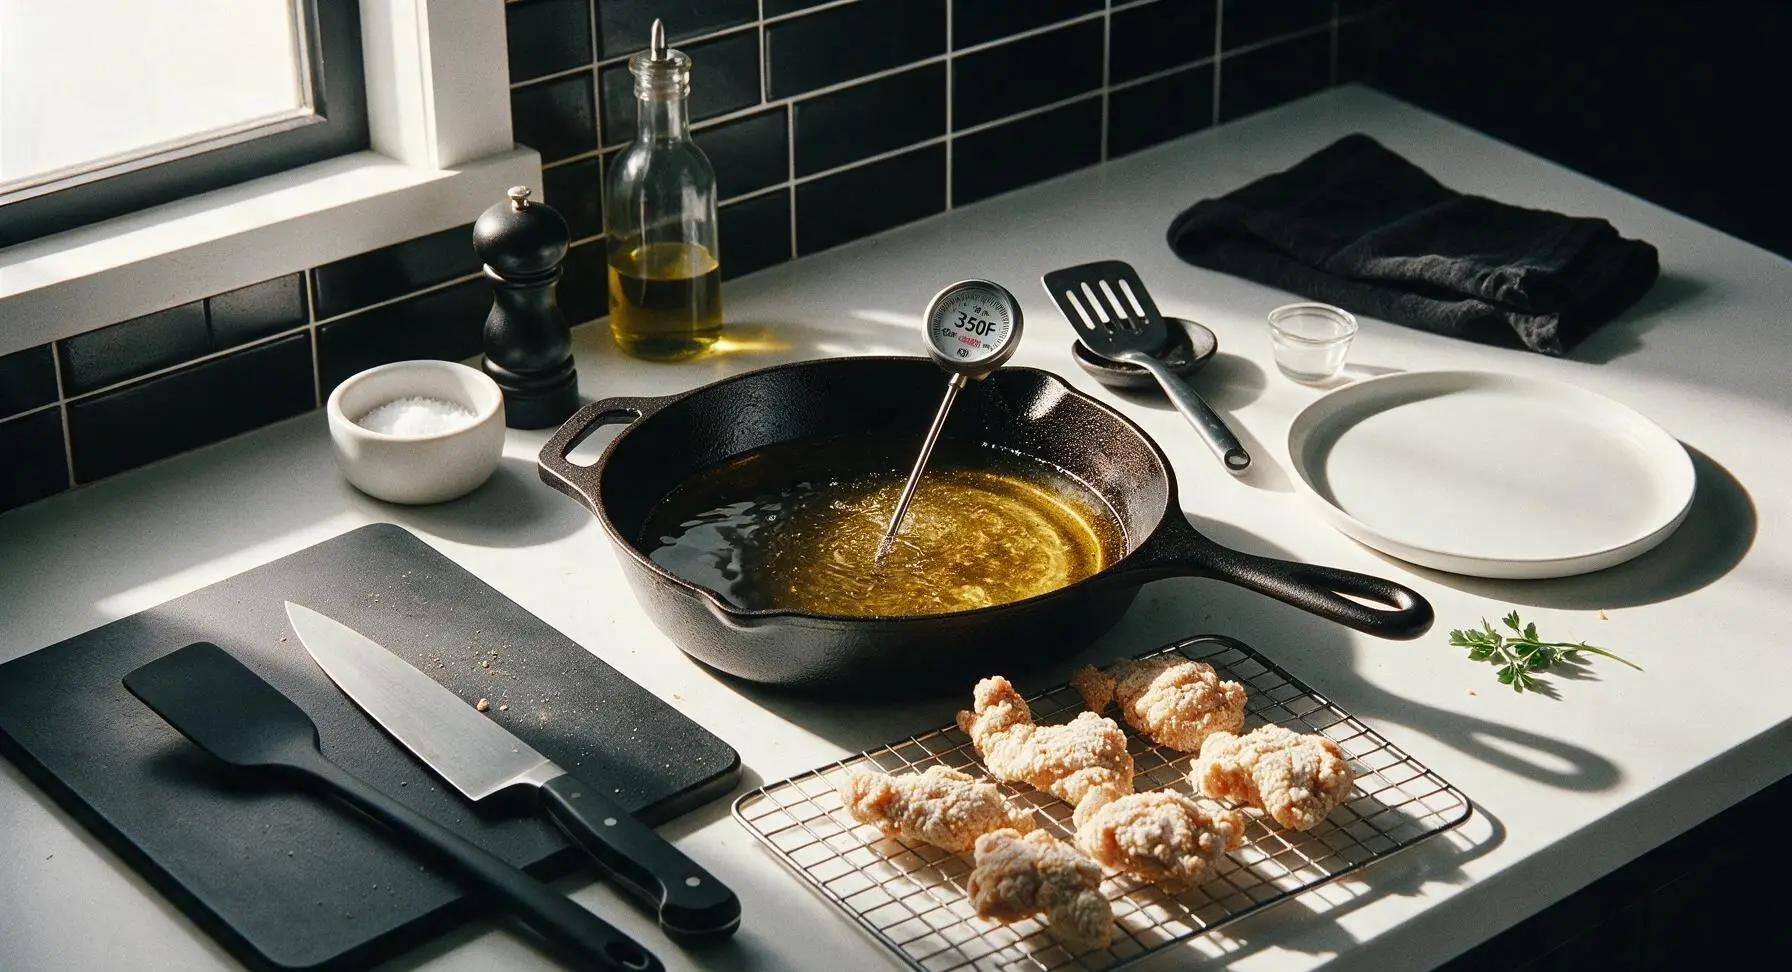
Pour 1 quart of neutral frying oil into the 12-inch cast iron skillet, set over medium-high heat. Heat the oil until it reaches a steady 175C (350F), checking the temperature with the instant-read thermometer attached to the skillet rim. Do not let the oil smoke; if it begins to shimmer and smell faintly nutty, reduce heat slightly to maintain consistent temperature.
Fry Chicken in Batches
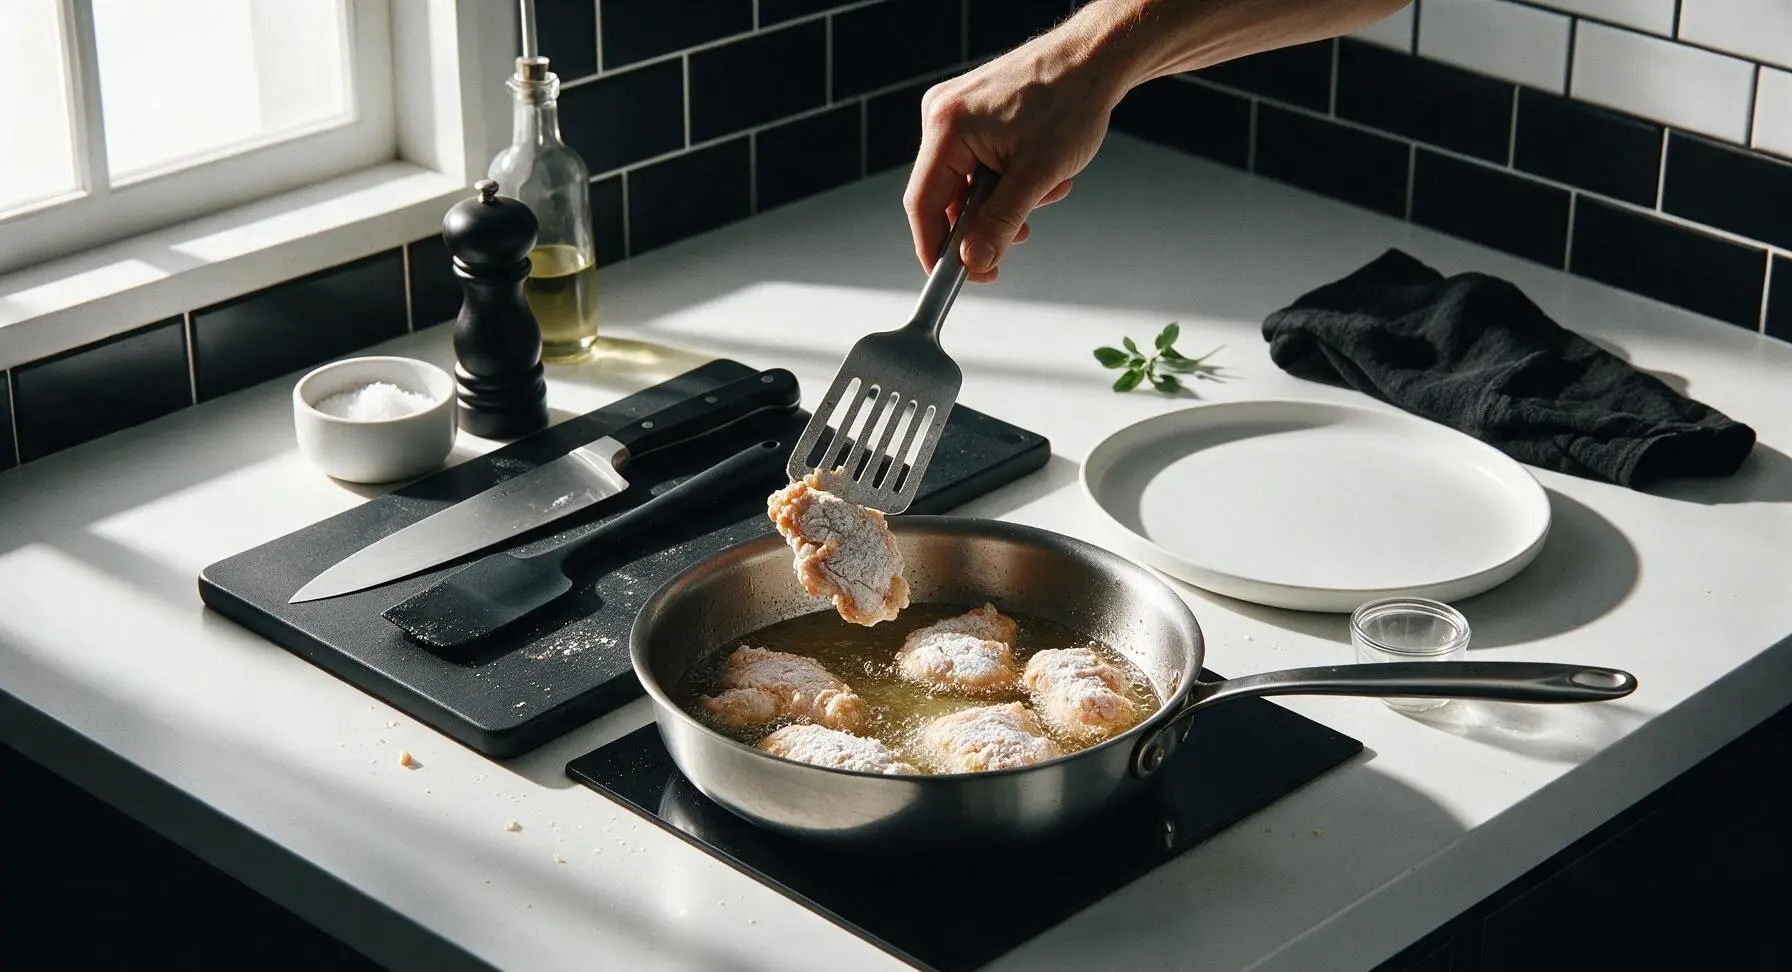
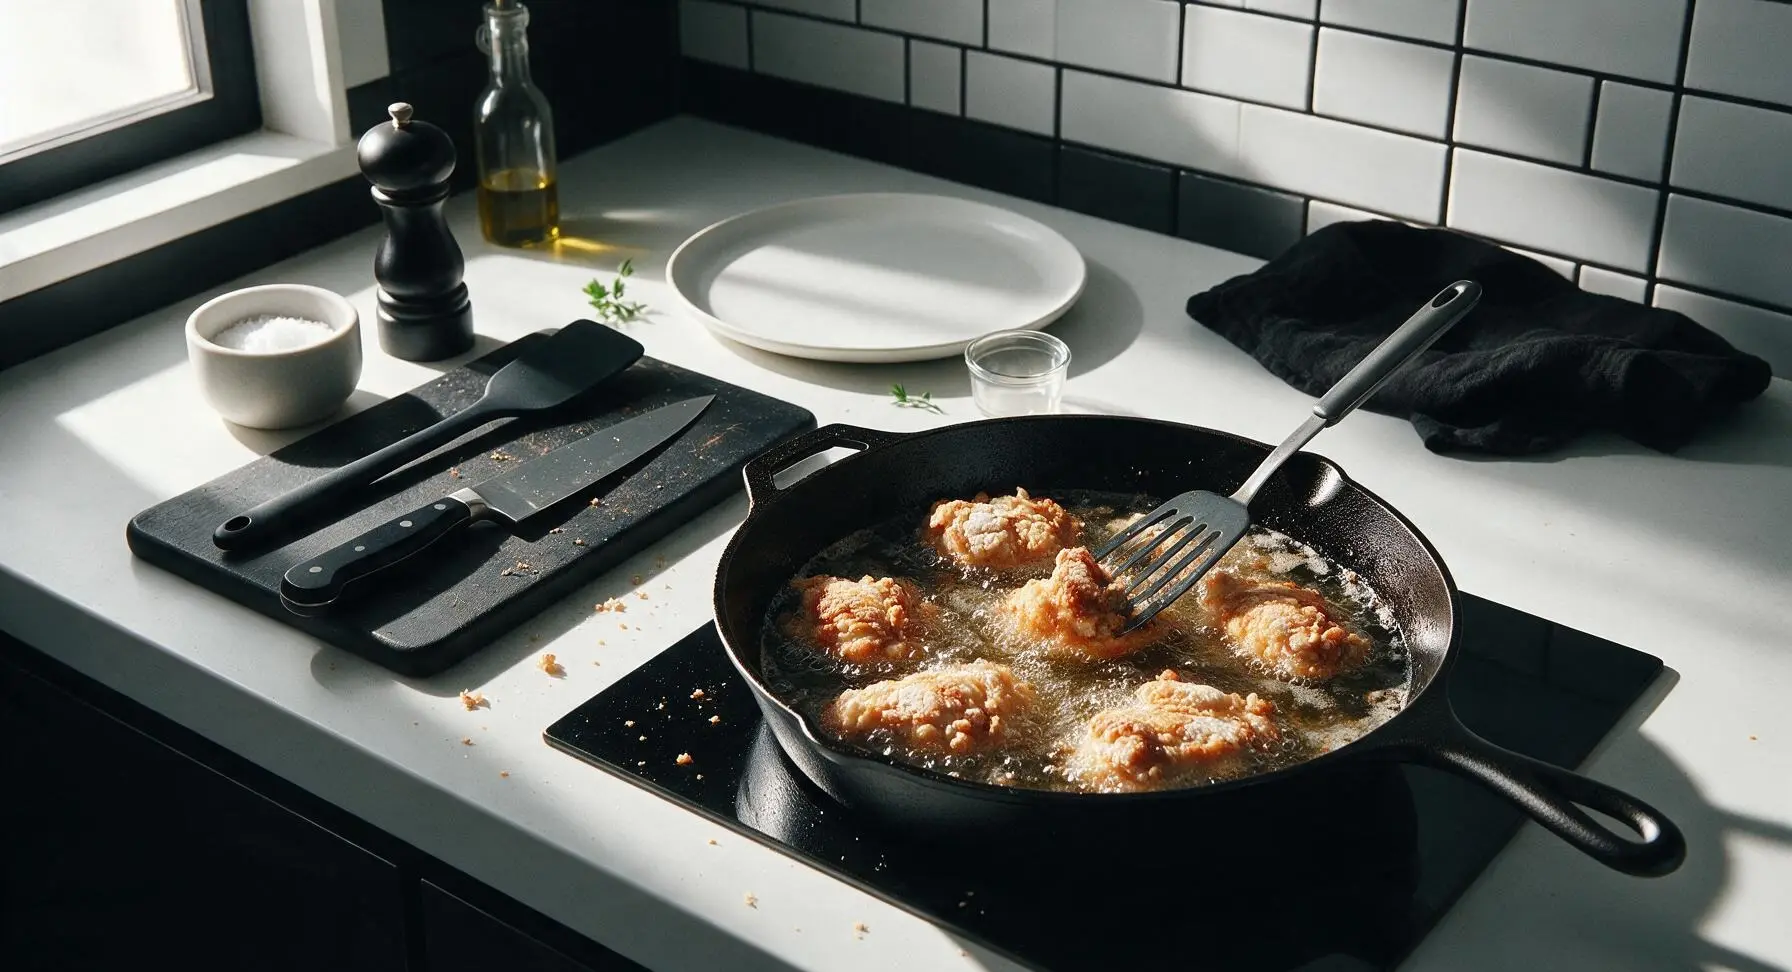
Carefully lower 5-6 coated chicken pieces into the hot oil using the slotted spatula, taking care not to splash hot oil. Do not overcrowd the pan, as this drops oil temperature and leads to soggy crust. Fry for 6-7 minutes total, turning pieces halfway through cooking with the slotted spatula, until the crust is deep golden brown and craggy, and chicken reaches an internal temperature of 75C (165F).
Drain and Season
Use the slotted spatula to lift cooked chicken pieces from the oil, letting excess oil drip back into the skillet for 3 seconds, then transfer pieces back to the wire cooling rack. Immediately sprinkle pieces lightly with flaky sea salt while the crust is still hot and glistening with oil, as salt adheres best to hot, slightly greasy surfaces. Let rest for 2 minutes to allow excess oil to drain off.
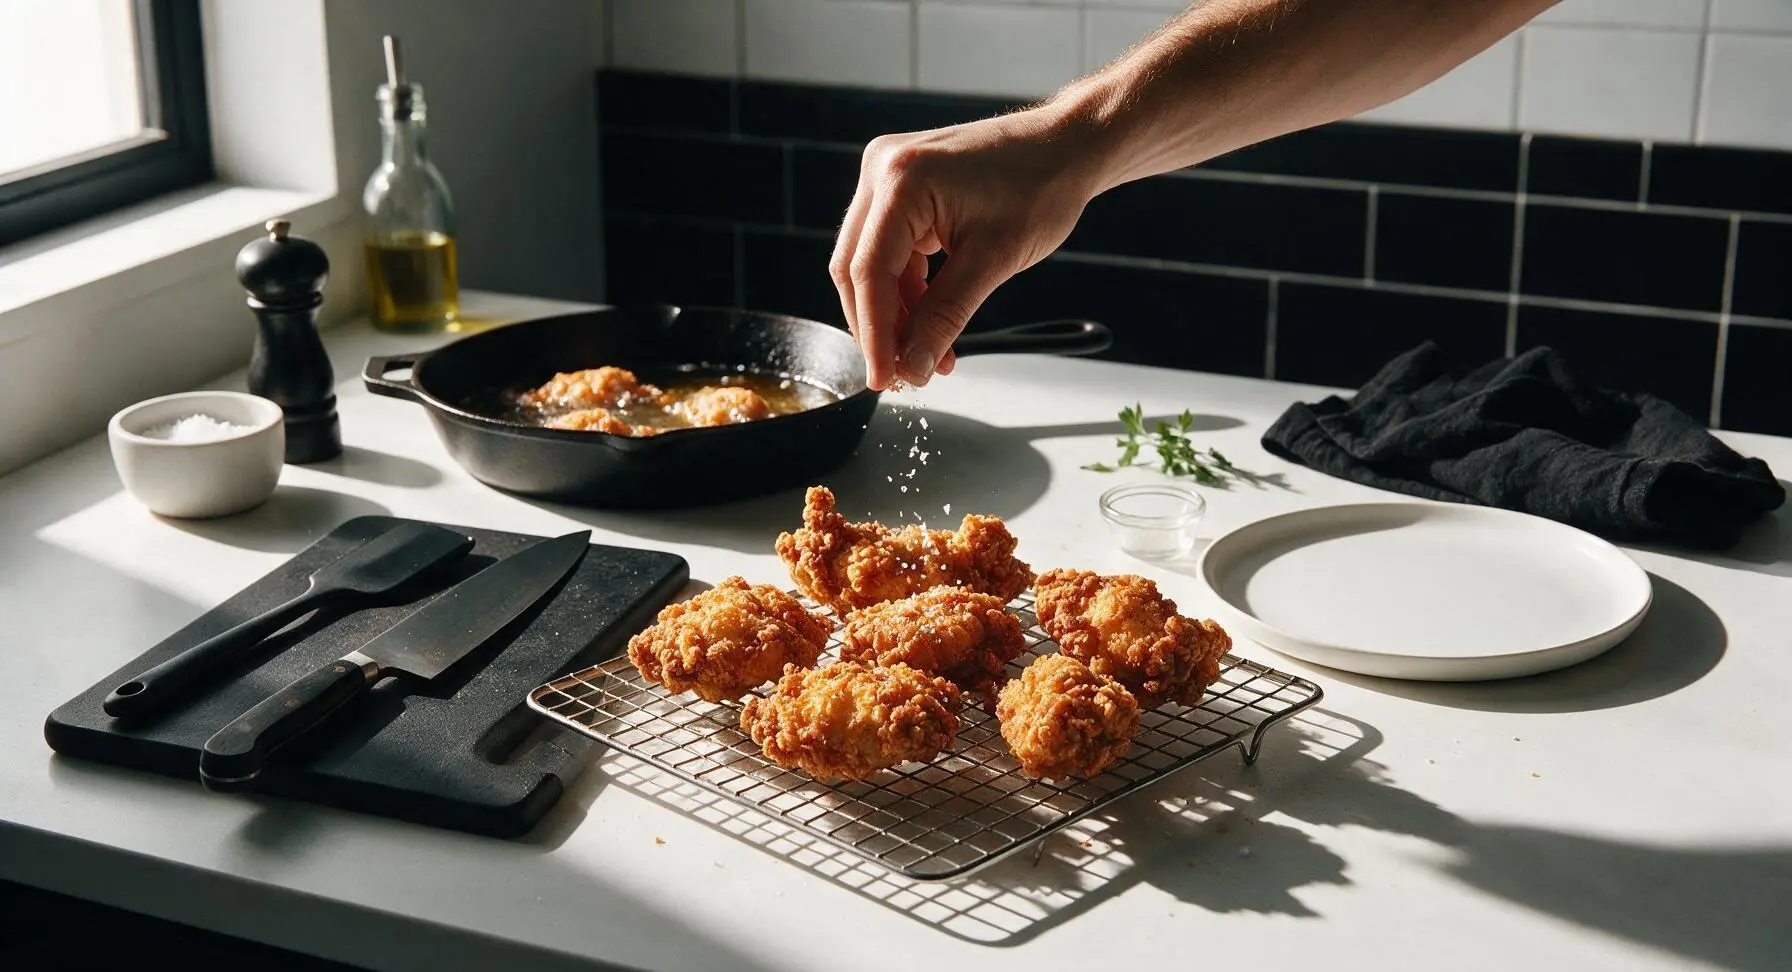
Plate to Serve
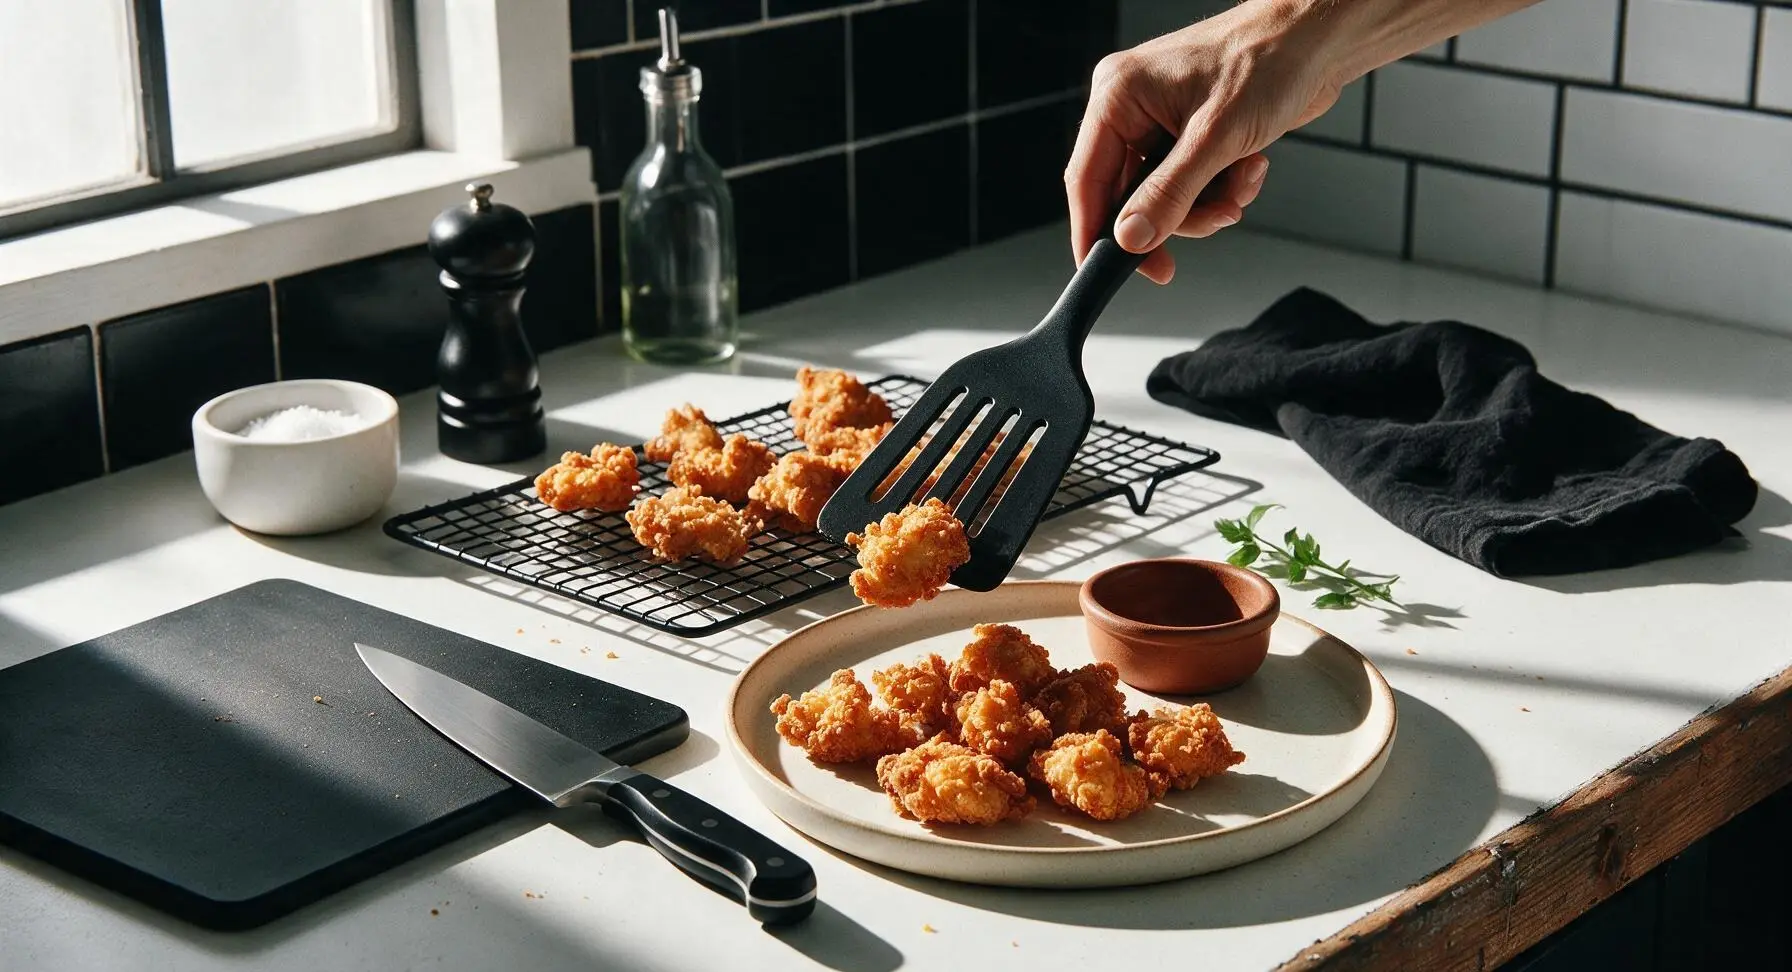
Pile the crispy, drained chicken bites loosely onto the cream stoneware dinner plate. Fill the small terracotta dipping bowl with honey mustard or your preferred dipping sauce, and tuck a few sprigs of fresh thyme next to the chicken pile for a bright garnish. Serve immediately while the crust is hot and shatteringly crisp.
Tips
2.Maintain a steady 350F (175C) oil temperature between batches: if oil is too cool, the crust will absorb excess oil and turn heavy and soggy; if it’s too hot, the flour coating will burn to a dark brown before the chicken cooks through to a safe internal temperature.
3.Drain fried chicken on a wire rack instead of paper towels: resting pieces on an elevated rack allows air to circulate around all sides of the crust, keeping it crisp, whereas placing chicken directly on paper towels traps steam that turns the bottom crust soft and soggy within minutes.






OMG these were SO good! I whipped these up for a quick backyard hangout last weekend and every single bite was gone in 10 minutes flat. That crispy crust? *Chef’s kiss* No soggy bits at all, even after sitting out for a little while.
My kids loved it! I was scrambling for a quick weeknight dinner idea that didn’t require a million ingredients, and these bites hit so hard. I served them with honey mustard and ranch for dipping, and even my pickiest eater asked for seconds.
15 minute cook time? No way, that’s actually accurate? I’m a total newbie in the kitchen and these turned out perfect on my first try. Way cheaper and tastier than the fast food chicken bites I usually order for late night study sessions.
Game changer! Brought these to my office potluck yesterday and I must have given out the recipe link to 8 different coworkers. The crust stays crispy even when they’re room temp, which is non-negotiable for potluck food in my book. Only thing I changed was adding a little garlic powder to the flour mix.
These are perfect for meal prep! I made a big batch on Sunday, popped them in the fridge, and just reheated them in the air fryer for 3 minutes when I was ready to eat all week. They stayed crispy even after reheating, which I was so worried about. 10/10 will be in my regular rotation.
Wait, quick question – can I use boneless chicken thighs instead of breast for these? I prefer the juicier dark meat but I don’t want to mess up the crispiness.
As someone who grew up eating real Southern fried chicken, I was skeptical of a 15 minute “southern” bite recipe, but y’all? These actually hit. The seasoning ratio in the flour is spot on, no bland bites anywhere. I’ll be making these for my family’s Sunday supper this week for sure.
Made these on my cast iron skillet out on the patio last night and wow. The crust gets that perfect golden crunch when you get the oil to the right temp, no weird gummy flour taste like some other fried chicken bite recipes I’ve tried. Served ‘em with hot honey and it was elite.
Taste was amazing, but my first batch came out a little soggier than I expected? I think I overcrowded the pan when I was frying, oops. Second batch I did smaller batches and they were perfectly crispy, so totally my bad. Will definitely make again now that I know my mistake!
Made these for the football watch party this past weekend and they were the most popular snack on the table, even beat out the wings! Everyone was raving about how crunchy they were, even after sitting out through two overtimes. 10/10 game day food.
These look SO good! Before I test them, has anyone tried making these with a 1:1 gluten free flour blend? I have celiac and I’d love to serve these at my kid’s birthday party next month if they work with GF flour.
I’ve been making fried chicken bites for my grandkids for 40 years, and I tried this recipe last time they came to visit. Let me tell you, that simple flour coating is just as good as my old buttermilk recipe, and it’s so much faster. My oldest granddaughter asked for the recipe to take to college, that’s how good it is.
Love how short the ingredient list is! I didn’t have to run to the grocery store for anything special, I already had all the flour, seasonings, and chicken in my kitchen. Threw these together after work in less time than it takes to get delivery, will absolutely make again.
I tossed these in a little Nashville hot oil after frying and OH MY GOODNESS. It was like having restaurant quality hot chicken bites at home for a fraction of the price. My roommate ate half the batch before I even got a chance to put them on a plate.
Made these for a casual date night in with my partner last night, served with mac and cheese and collard greens, and they said it was better than the Southern restaurant we went to for our anniversary. Win for me!
Wait, I tested these in the air fryer instead of pan frying! Sprayed them with a little olive oil, cooked at 400 for 12 minutes flipping halfway, and they got just as crispy as fried. Perfect for anyone who doesn’t want to deal with a pot of hot oil.
I make these every other week for my kids’ after school snacks! They’re the perfect size for little hands, and I love that I can control how much salt goes in them instead of buying the frozen processed ones from the grocery store. Total mom win.
Y’all, I burned the first batch because I got distracted by my dog barking at the mailman, but even the slightly crispy edges were tasty? The seasoning is so good that even my mess up didn’t ruin it. Third batch was perfect, don’t worry.
Packed these for a family picnic last weekend and they held up so well in the cooler! No sogginess, no weird texture, even after a couple hours in a container with a paper towel to soak up any excess oil. Way better than sandwiches for a casual outdoor meal.
This recipe is so budget friendly! I bought chicken thighs on sale, had flour and seasonings in my pantry, and the whole batch cost me less than $5 to make, which fed me and my two roommates. Way better than spending $12 per person on takeout chicken.