1.How long should I marinate chicken in buttermilk for the juiciest strips?
▾
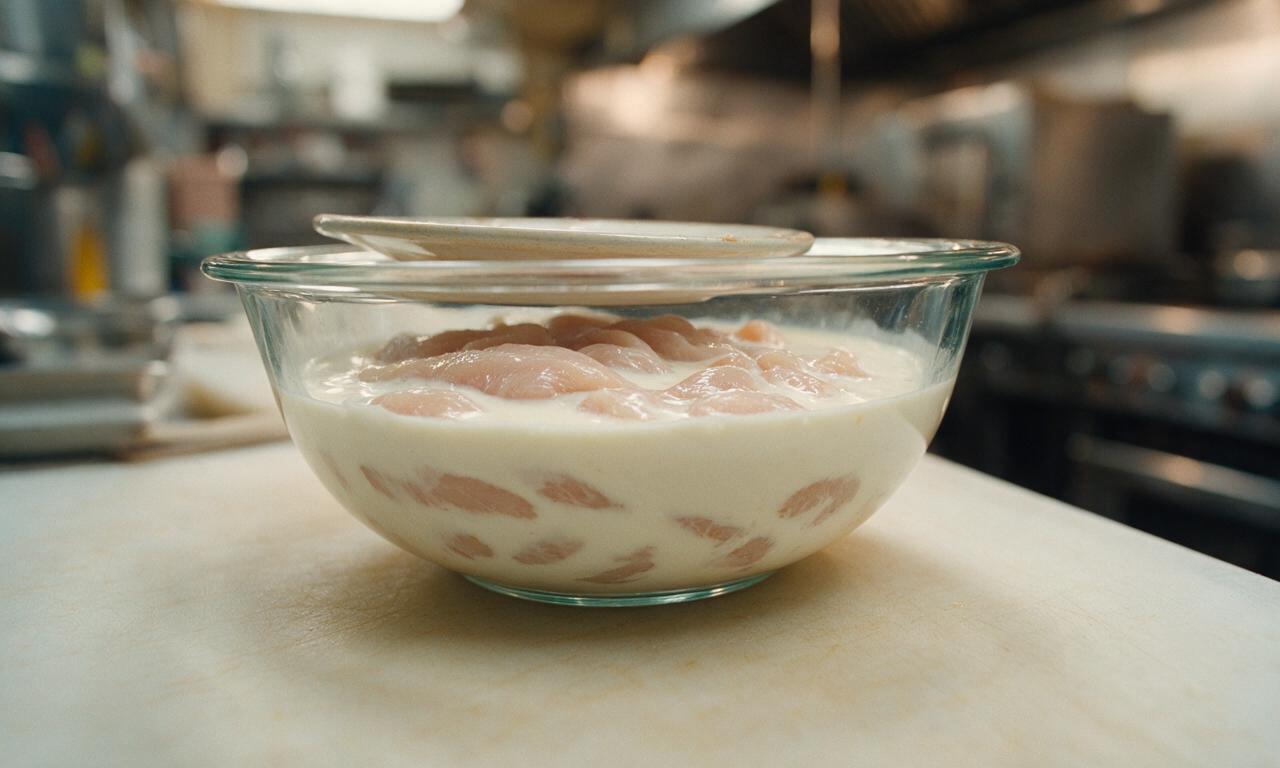
Aim for a minimum of 1 hour, and up to 24 hours, covered in the fridge. The buttermilk’s lactic acid gently tenderizes the chicken without turning it mushy, but marinating longer than 24 hours can break down meat fibers too much. Pat strips lightly before breading to help the coating stick securely.
2.Can I use regular breadcrumbs instead of panko if I don’t have it on hand?
▾
You can, but you won’t get that signature shatteringly crisp crust with fine, soft breadcrumbs. Opt for coarse, dry regular breadcrumbs, and toss them with 1 tablespoon of melted butter to mimic panko’s light, crunchy texture. Press breadcrumbs firmly onto each strip to help them adhere during cooking.
3.Why does my breading fall off when I cook chicken strips?
▾
This usually comes down to three common missteps: not patting marinated chicken slightly dry before breading, skipping the step to press each coating layer firmly to the chicken, or overcrowding your cooking vessel. Letting breaded strips rest 10 minutes before cooking also helps the coating set and stay put.
4.What oil temperature gives crispy strips without greasy, soggy results?
▾
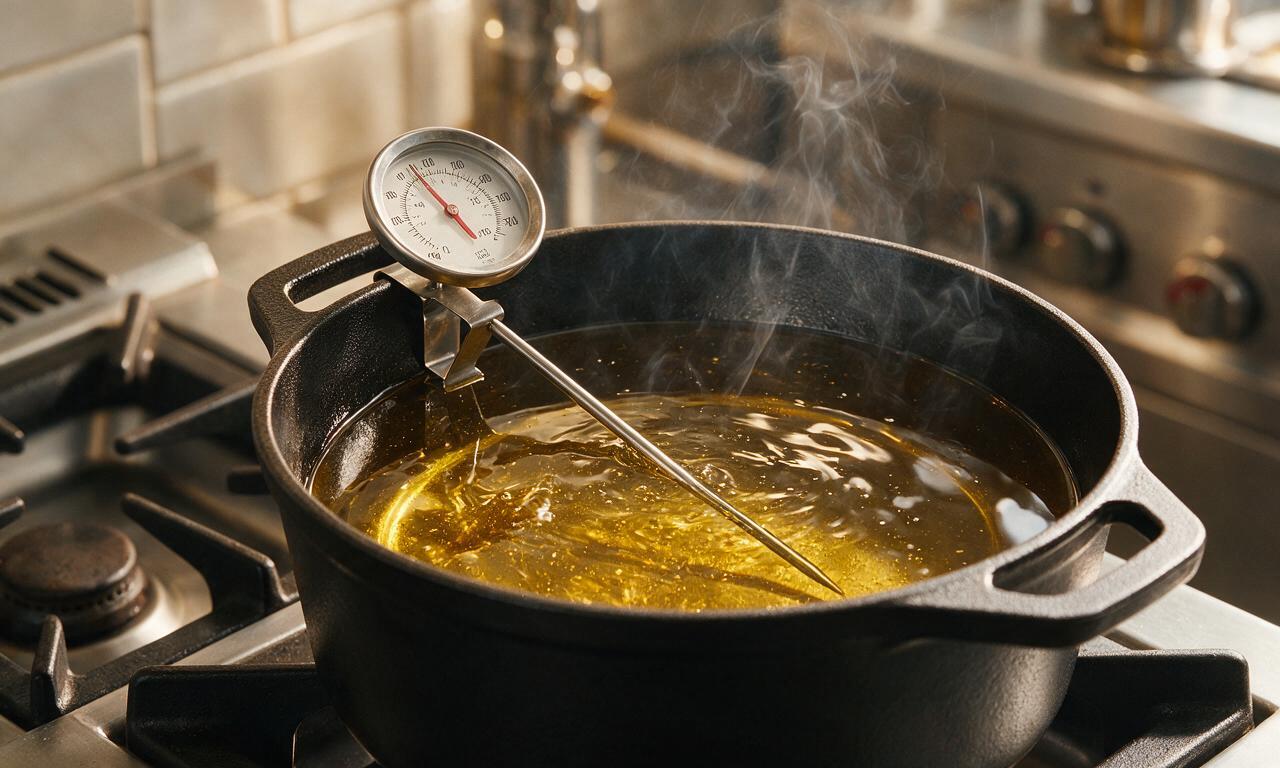
Hold a steady 350°F whether you’re deep frying, pan frying, or air frying. If oil is too cool, the coating absorbs excess oil and turns soggy; if it’s too hot, the panko burns before the chicken cooks through. Use a clip-on candy thermometer to track temp, adjusting heat as needed to keep it consistent.
5.Can I adjust this recipe to make gluten-free chicken strips?
▾
Absolutely! Swap the all-purpose flour for a 1:1 gluten-free all-purpose baking mix (look for one with xanthan gum for best binding), and use certified gluten-free panko breadcrumbs. Double check that your buttermilk has no hidden gluten additives, then follow all the same prep and cooking steps for equally crispy results.
6.How thick should I cut chicken breasts for even, consistent cooking?
▾
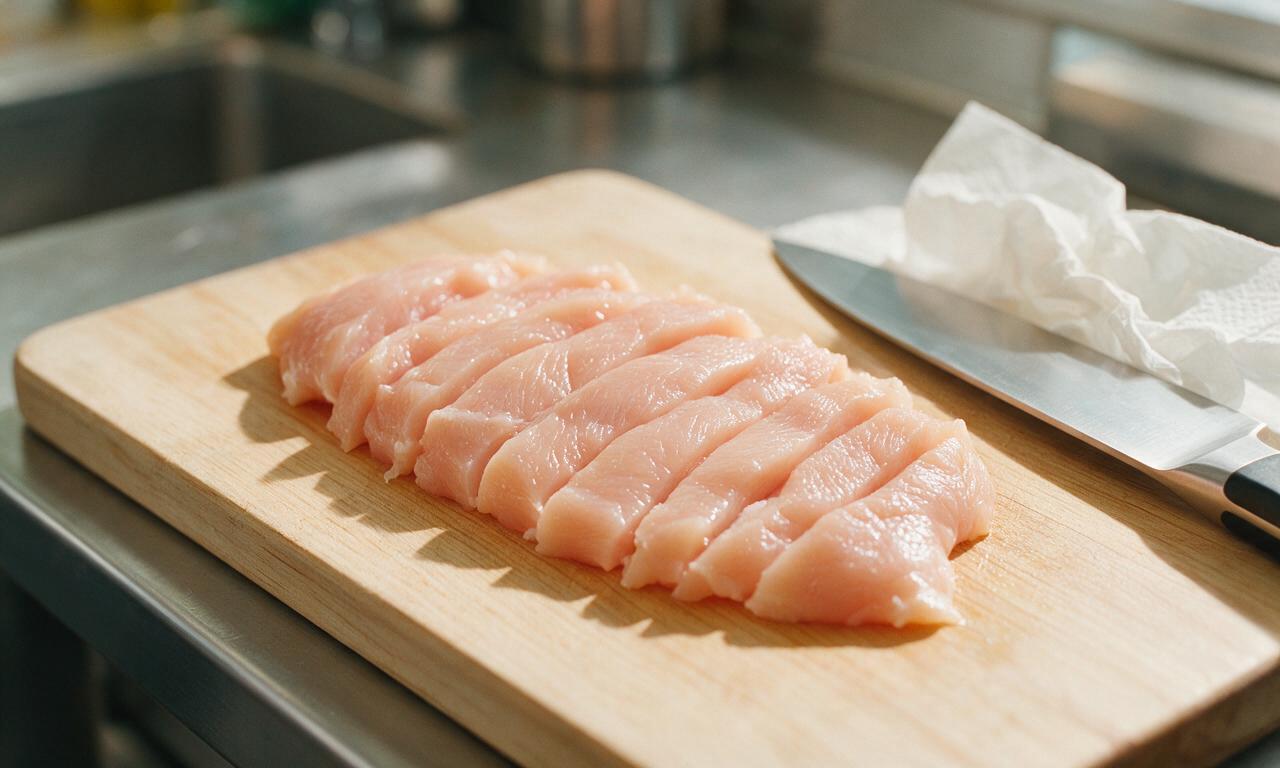
Cut boneless, skinless breasts against the grain into 1-inch wide, evenly sized strips. This thickness cooks in 4-6 minutes depending on your method, stays juicy inside, and delivers the perfect ratio of crispy crust to tender meat per bite. Avoid cuts that are too thin (which dry out fast) or too thick (which leave raw centers).
7.Do I have to use store-bought buttermilk, or can I make a quick substitute?
▾
If you don’t have cultured buttermilk, make a quick dupe by stirring 1 tablespoon of white vinegar or lemon juice into 1 cup of whole milk, then let it sit 5 minutes until it curdles slightly. It won’t be quite as thick as store-bought buttermilk, but it delivers the same tenderizing effect and subtle tang.
8.What order should I set up my breading station for the perfect crust?
▾
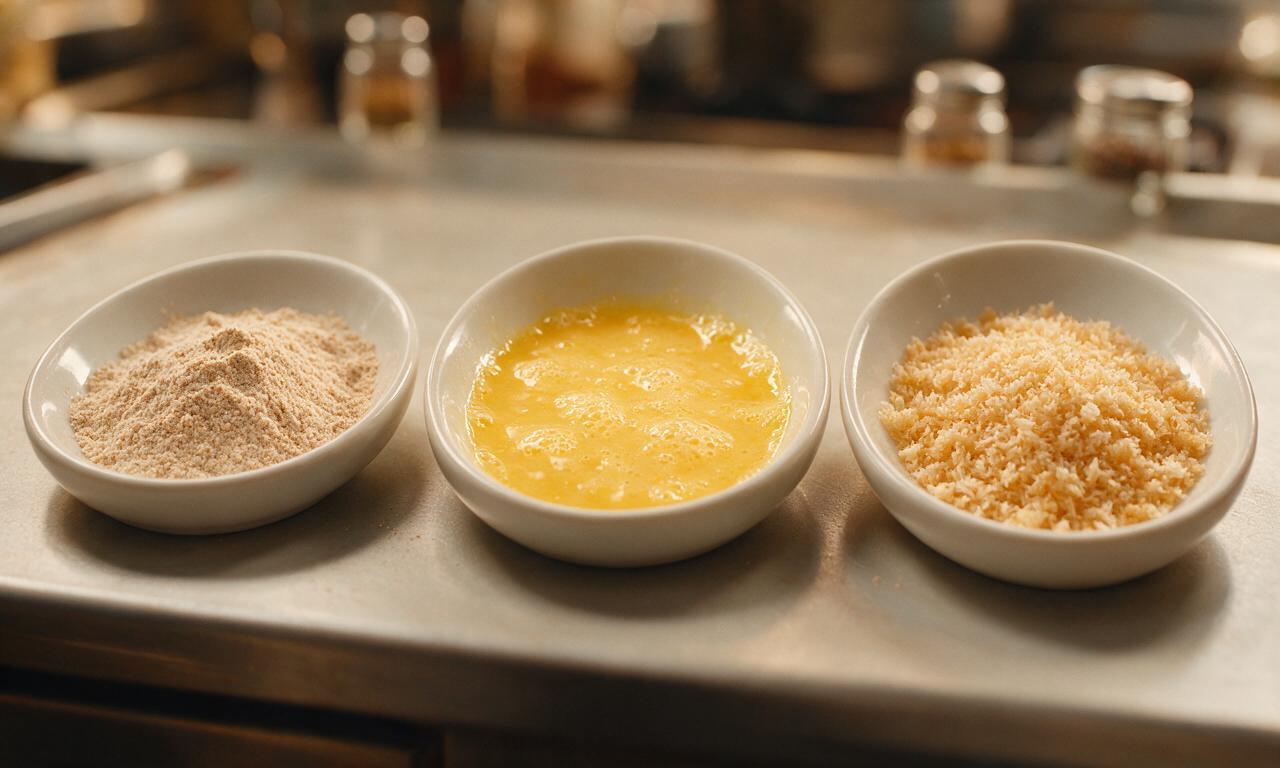
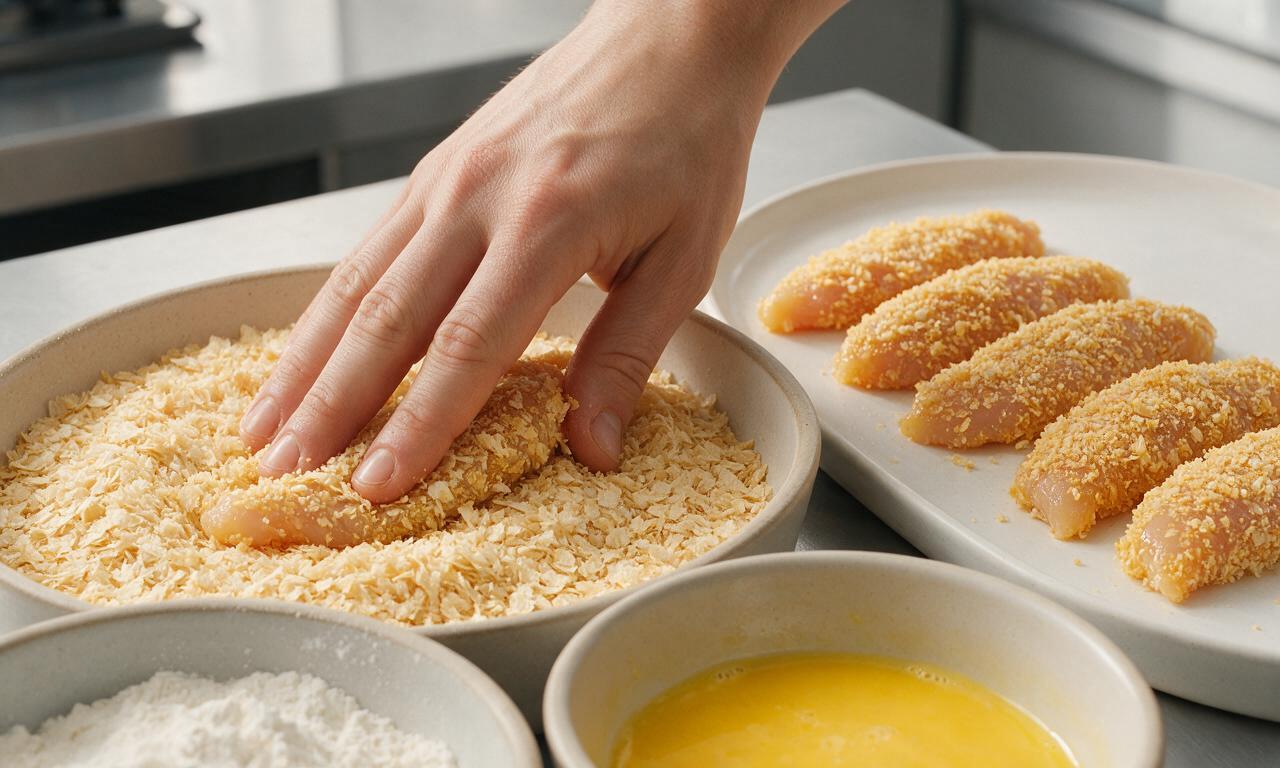
Line up three shallow dishes in a row: first your seasoned all-purpose flour, second your beaten large eggs (thin with a splash of buttermilk if too thick), third your panko breadcrumbs. Dredge each strip in flour, shake off excess, dip fully in egg, then press firmly into panko to coat every side evenly.
9.Can I freeze these chicken strips for quick weeknight meals later?
▾
Yes! Freeze uncooked, breaded strips in a single layer on a baking sheet until solid, then transfer to a labeled freezer bag for up to 3 months. Cook straight from frozen—just add 2-3 minutes to your total cook time, and confirm they reach a 165°F internal temperature before serving.
10.How do I reheat leftover strips so they stay crispy instead of soggy?
▾
Skip the microwave, which turns the panko crust mushy and rubbery. Instead, reheat strips on a wire rack set over a baking sheet in a 400°F oven for 8-10 minutes, flipping halfway. For air fryer, reheat at 375°F for 3-5 minutes, shaking the basket once, for fresh-tasting crisp results.
11.What simple seasonings work best to add flavor to the coating?
▾
You don’t need fancy blends! Start with 1 teaspoon each of kosher salt, garlic powder, paprika, black pepper, and ½ teaspoon of onion powder mixed into both the flour and panko. Add a pinch of cayenne for subtle heat, or dried oregano for herby depth, adjusting to match your favorite dip flavors.
12.Can I cook these chicken strips in an air fryer instead of deep frying?
▾
Definitely! Spray breaded strips lightly with olive oil cooking spray, arrange them in a single layer in your air fryer basket (don’t overcrowd), and cook at 375°F for 10-12 minutes, flipping halfway, until golden crisp and 165°F internally. They have less fat than deep-fried strips but still deliver that satisfying crunch.
13.How do I tell when chicken strips are fully cooked without cutting into them?
▾
The most reliable method is using an instant-read meat thermometer: stick it into the thickest part of the largest strip, and it’s done when it hits 165°F. You’ll also notice the crust is deep golden brown, and juices run clear if you do make a small cut, but a thermometer eliminates guesswork and keeps meat juicy.
14.Why is my chicken dry even when I use a buttermilk marinade?
▾
Dry chicken almost always comes from overcooking, cutting strips too thin, or cooking at too high a temperature that burns the crust before the meat gently cooks through. Stick to 1-inch thick cuts, hold your cooking temp steady, and pull strips as soon as they hit 165°F internal for juicy results every time.
15.Can I use chicken thighs instead of chicken breast for these strips?
▾
You absolutely can! Boneless, skinless chicken thighs have a richer, more savory flavor and stay even juicier than breast meat, even if you slightly overcook them. Cut them into the same 1-inch wide strips, follow the exact same buttermilk soak and breading process, and reduce cook time by 1-2 minutes for best results.
16.Should I season the buttermilk marinade, or just the breading?
▾
For the most well-rounded, flavorful results, season the buttermilk too! Stir a pinch of salt, pepper, and garlic powder into the buttermilk before adding your chicken strips. This lets seasoning penetrate the meat as it tenderizes, so you don’t end up with bland, unseasoned chicken under a flavorful crust.
17.Do I need to let breaded strips rest before cooking, or can I cook them right away?
▾
Letting breaded strips rest on a wire rack for 10 minutes at room temperature before cooking is a small step that makes a huge difference. It gives the flour, egg, and panko time to bond into a single cohesive coating, so breading won’t slide off mid-cook, and the crust will crisp more evenly.
18.What dipping sauces pair best with these crispy homemade chicken strips?
▾
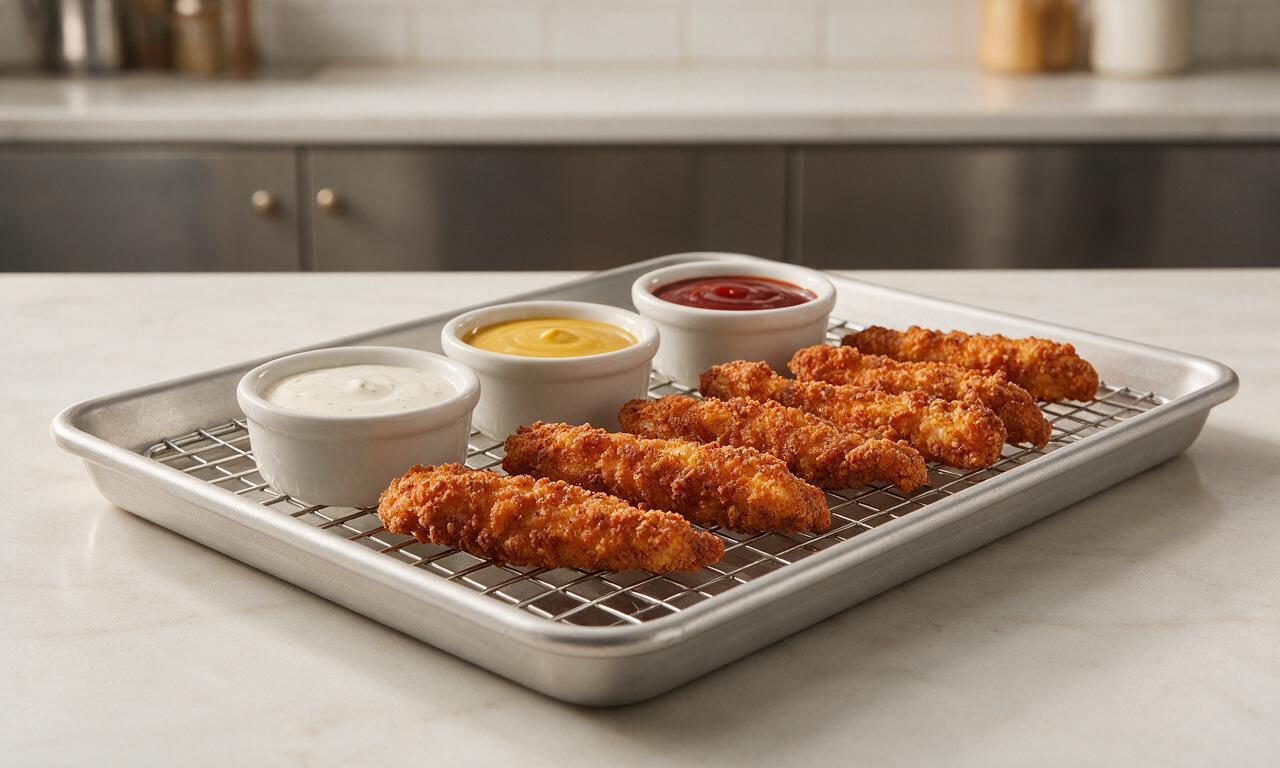
You can’t go wrong with classic picks like honey mustard, ranch dressing, tangy buffalo sauce, or creamy BBQ sauce. For a fun twist, try garlic aioli, sweet chili sauce, or spicy sriracha mayo. The strips have a savory, neutral base that pairs well with almost any creamy, tangy, or sweet dip you love.
19.How do I avoid heavy, greasy-tasting chicken strips when deep frying?
▾
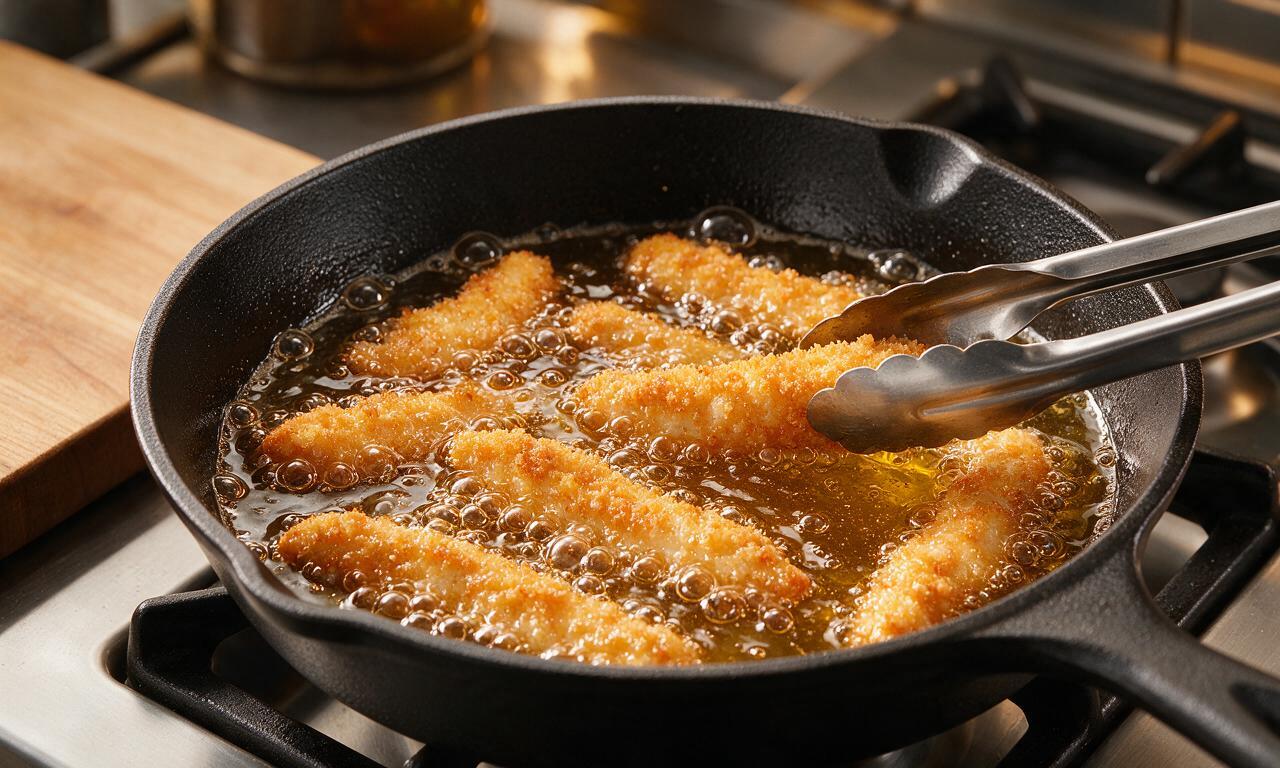
The key is holding your oil at a consistent 350°F, not overcrowding the fryer basket (which drops oil temperature rapidly), and draining cooked strips on a wire rack set over paper towels for 2 minutes after cooking. Don’t pile strips directly on a thick stack of paper towels, which traps steam and makes the bottom crust soggy.
20.Can I bake these strips in the oven if I don’t want to fry or use an air fryer?
▾
Yes! Arrange breaded strips on a wire rack set over a rimmed baking sheet, spray lightly with cooking oil, and bake at 425°F for 18-20 minutes, flipping halfway through, until golden crisp and 165°F internally. The elevated rack lets air circulate all around the strips, so you avoid soggy, flat bottoms.

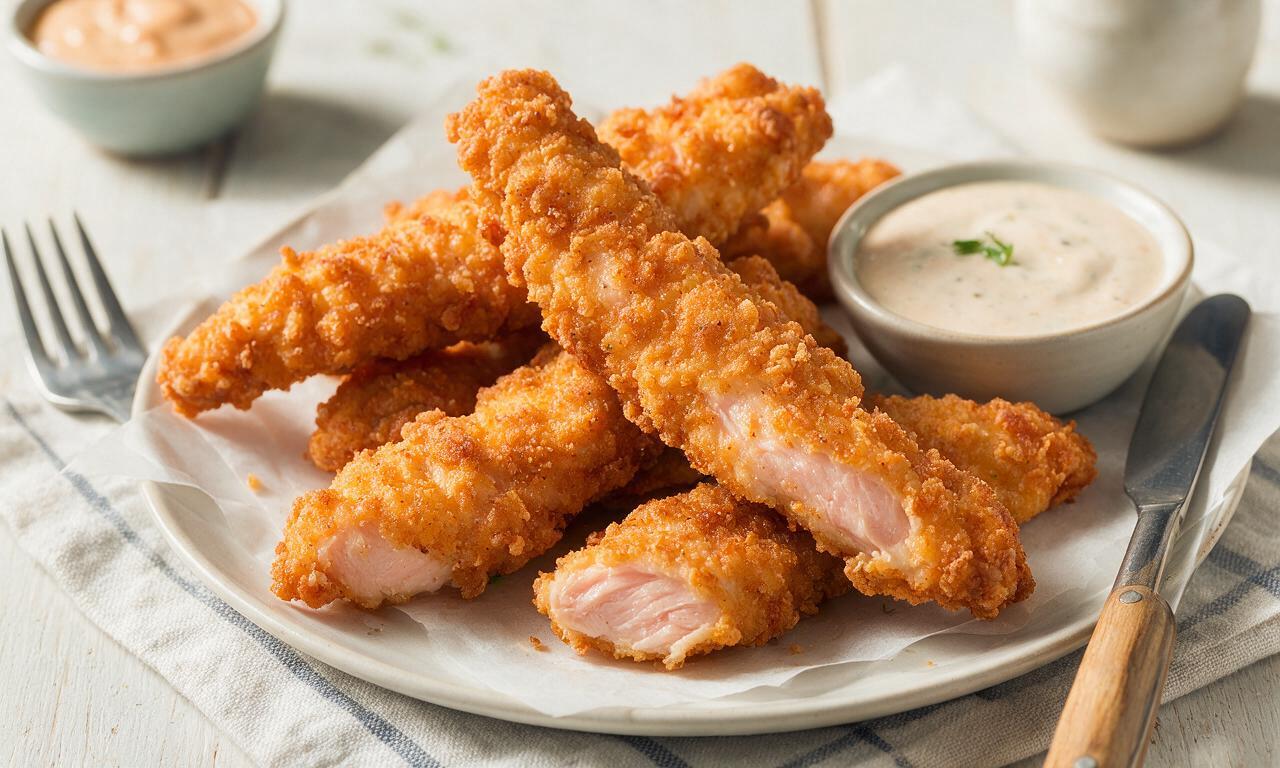
OMG these are SO good! I’ve tried so many homemade chicken strip recipes that turn out soggy no matter what I do, but these stayed crispy the whole time we ate dinner. Served them with honey mustard for our family Sunday dinner and everyone went back for seconds. 10/10 will make again every week.
Quick question—has anyone tried making these with gluten free panko? I have a celiac kiddo and would love to make these for our weekly movie night if they turn out well!
Game changer for my weekly meal prep! These take barely 30 minutes total, are way cheaper than fast food, and reheat really well in the air fryer for 2 minutes when I’m running between classes. I tossed a little garlic powder and parmesan into the breading and it slapped.
My kids loved these so much they asked for them in their school lunches the next day! I was worried they’d get mushy in the lunchbox but they held up great even cold, and my picky 7 year old didn’t complain once. Winning.
Brought these to my neighborhood block party last weekend and they were gone in 10 minutes flat! I set out ranch, buffalo sauce, and sweet chili dip on the side and people were raving the whole time. So easy to throw together last minute too.
Hmm, mine came out a little soggy on the bottom even after cooking the full 30 minutes. Flavor was great though! Any tips for next time?
Has anyone tested these in the air fryer instead of the oven? I barely use my oven anymore in the summer since it heats up the whole house, would love to give these a go!
As someone who burns basically everything I try to make, these came out perfect on my first try! The instructions were super straightforward, no weird fancy ingredients, and they tasted exactly like the fast food chicken strips I loved as a kid but way less greasy. So proud of myself lol.
Added a teaspoon of cayenne and a half teaspoon of smoked paprika to the breading for a little kick and these were unreal. Tossed them in a drizzle of hot honey after they came out of the oven and my roommate said they’re better than the ones we get at our favorite bar. Will absolutely be making these on repeat.
How long do these keep in the fridge for? I want to make a big batch on Sunday to pack for my kids’ lunches and my work lunches for the week, don’t want them to go bad!
Made these for my boyfriend last night for our casual movie date night and he said they’re better than any restaurant chicken strips he’s ever had. Served them with waffle fries and homemade ranch and he’s already asking when I’m making them again. Total win.
This recipe is so budget friendly! I already had all the ingredients in my pantry except the chicken, and it cost me less than $10 to make enough for 4 people. Way better than spending $15 per person at a restaurant for chicken strips. 10/10 for value and taste.
Wait, do I have to use panko breadcrumbs? I only have regular plain breadcrumbs at my house right now, don’t feel like running to the grocery store in the rain.
Made these for my son’s 8th birthday party last weekend, served them with mini corn dogs and potato chips, and every single kid cleared their plate. Even the parents were asking for the recipe! So easy to make a huge batch without a ton of extra work.
Wait a second—can I use frozen chicken tenderloins for this if I thaw them first? I always have a bag in the freezer for quick meals, would save me a trip to the store.
Made these for our weekly game night with the guys and they were the perfect snack. We dipped them in buffalo sauce, ranch, and even cheese dip, and they paired so well with beer. Way better than ordering takeout, and cheaper too. Will be a regular on our game night rotation.
Quick question—can I use olive oil spray instead of melted butter to coat the strips before baking? I’m trying to cut down on dairy where I can, don’t want the breading to not stick or get crispy.
The crust on these is so perfectly crunchy I couldn’t believe they were baked! I was fully expecting to have to fry them to get that crisp, but no, the oven method works flawlessly. Even my super picky cat tried to steal a piece off my plate while I was eating, that’s how good they smell.