
Chicken Tenders
intro
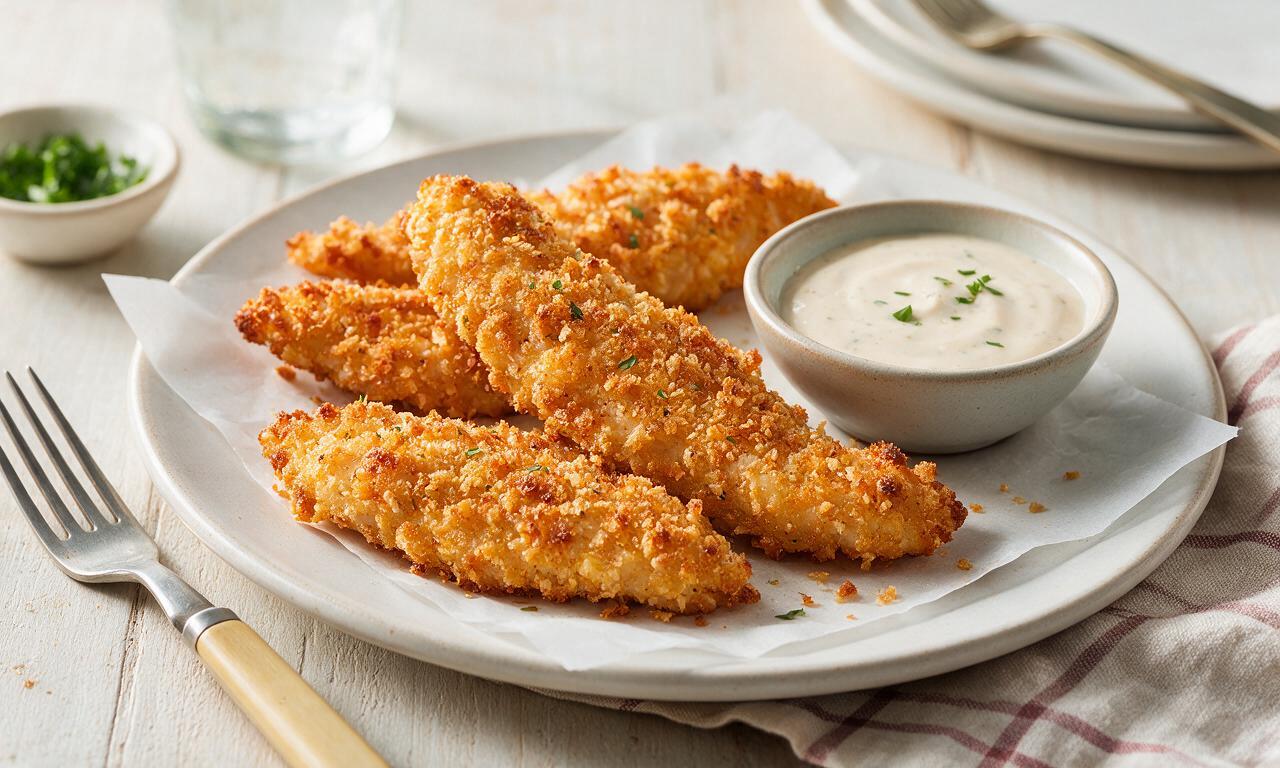
Juicy, crunchy seasoned chicken tenders with a golden panko crust, baked not fried, perfect for dipping and sharing at casual gatherings.
Ingredients
Steps
Brine the chicken tenders
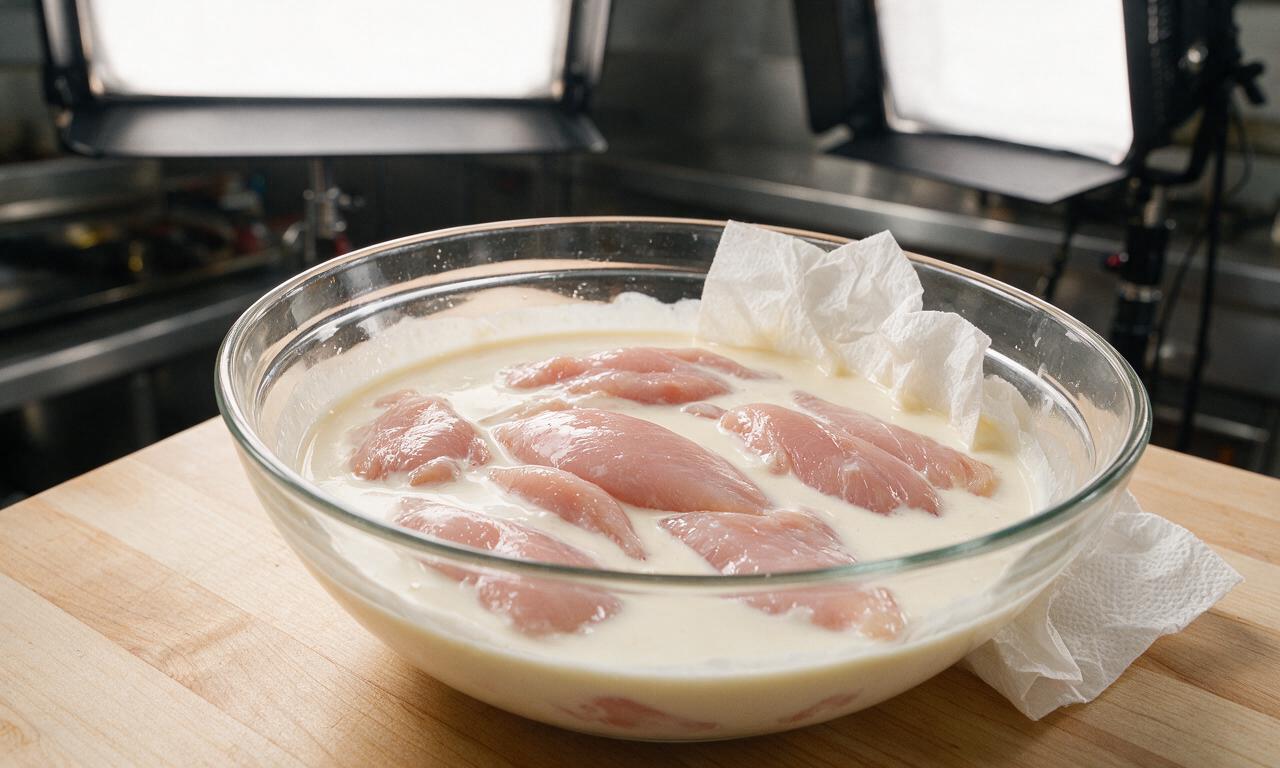
Pat 680g of boneless, skinless chicken tenderloins dry with paper towels, then submerge fully in 240ml of buttermilk mixed with ½ teaspoon of kosher salt in a shallow bowl. Cover and refrigerate for 15 minutes (or up to 4 hours for extra juiciness). Start preheating your oven to 220°C (425°F) with a rack in the middle position as you begin the brine to save prep time, and use the brine time to prep your breading stations.
Set up breading stations
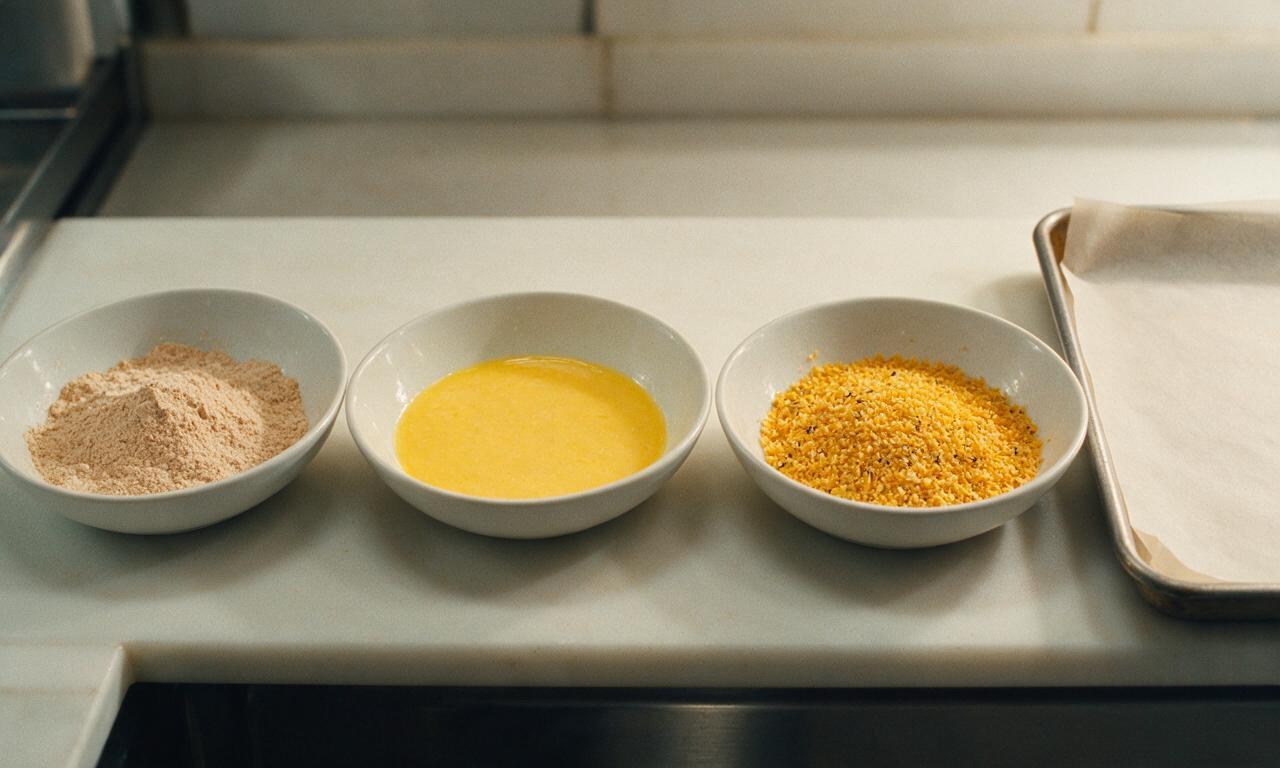
Arrange three shallow dishes in a line on your counter. In the first dish, mix 120g all-purpose flour with ½ teaspoon kosher salt, ¼ teaspoon ground black pepper, and ½ tablespoon smoked paprika. In the second dish, beat 2 large eggs until completely smooth with no visible streaks of egg white. In the third dish, stir 150g panko breadcrumbs with the remaining ½ teaspoon kosher salt, ¼ teaspoon black pepper, ½ tablespoon smoked paprika, 1 teaspoon garlic powder, 1 teaspoon onion powder, and 30ml olive oil, tossing until crumbs are evenly coated in oil for extra crispness. Line a large rimmed baking sheet with parchment paper and place it at the end of the station line.
Bread the chicken tenders
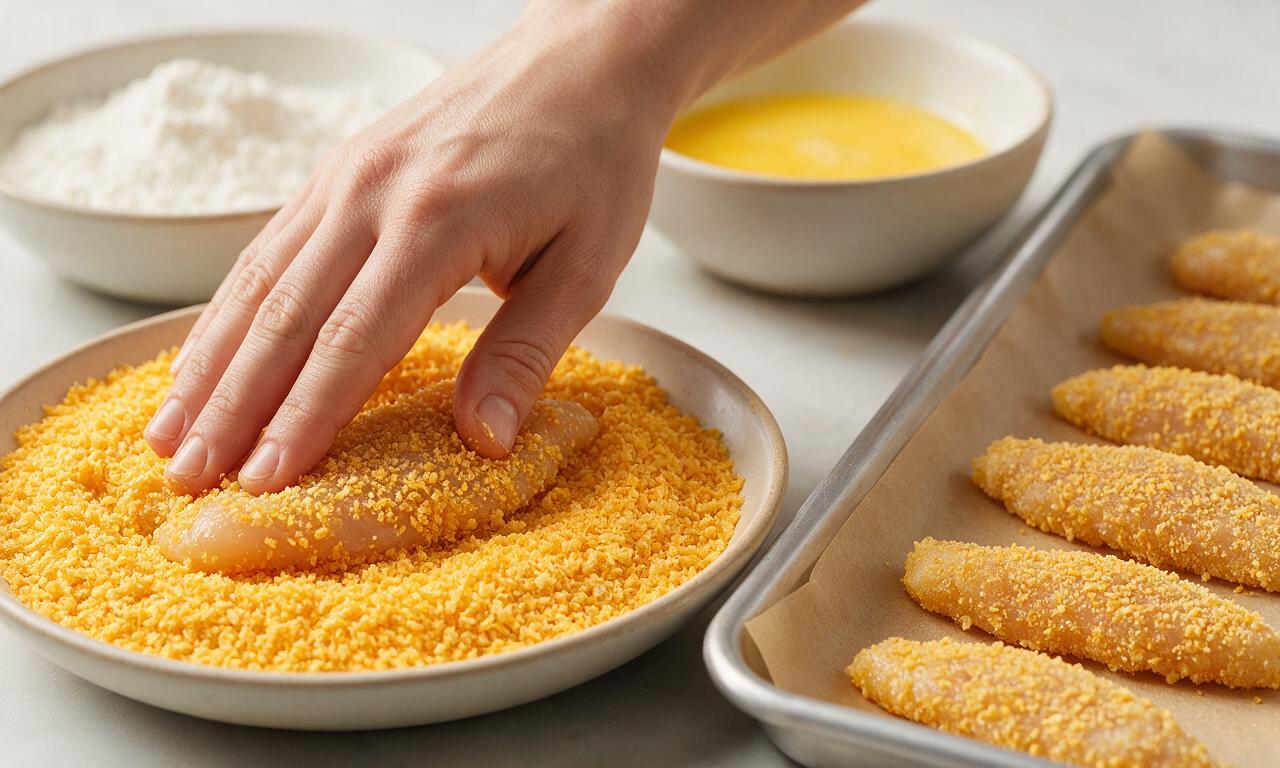
Remove chicken from the buttermilk brine, letting excess liquid drip off for 5 seconds per piece, and pat very lightly with a paper towel to remove thick surface buttermilk. Dredge each tender fully in the seasoned flour, shaking off all loose excess flour for 3 seconds, then dip fully in the beaten egg, letting excess egg drip off for 3 seconds. Finally, press each tender firmly into the seasoned panko mixture on all sides until the entire piece is coated in a thick, even crumb layer. Arrange breaded tenders in a single layer on the parchment-lined baking sheet, leaving 2cm of space between each piece to ensure even air flow and crisping.
Rest tenders to set coating
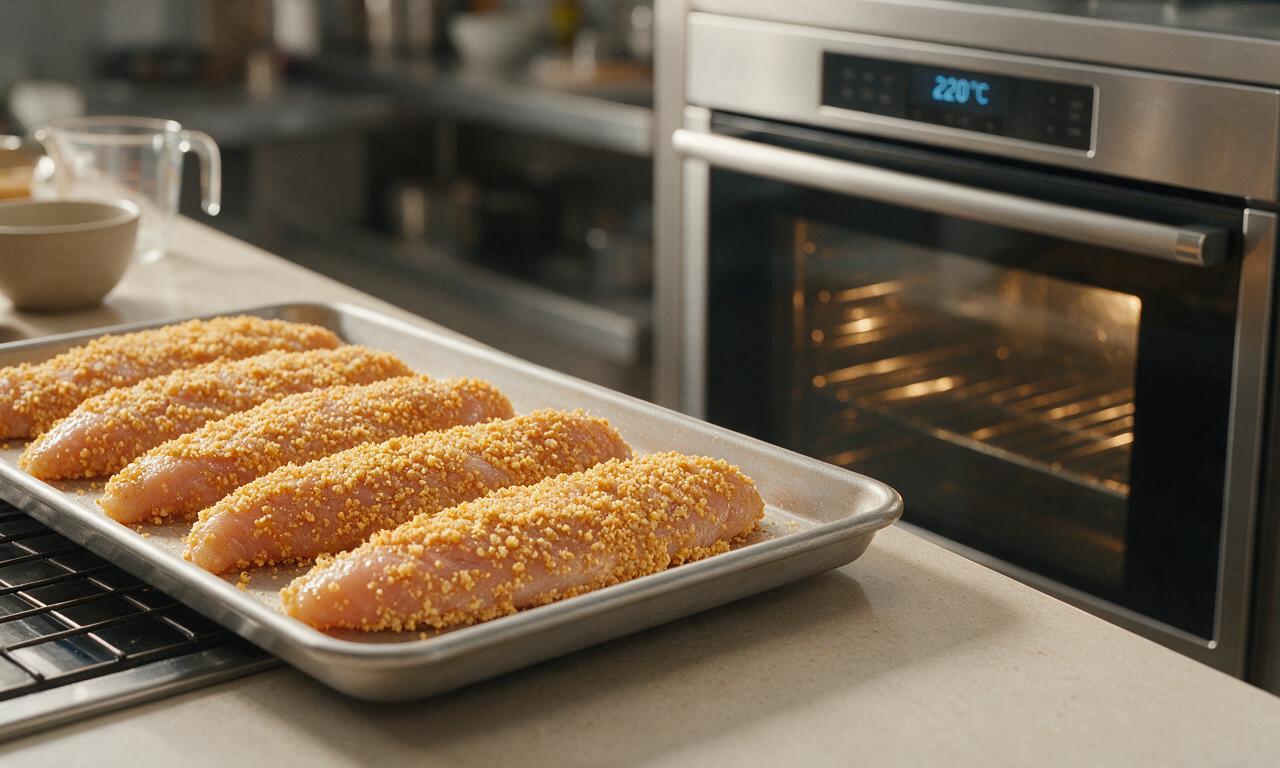
Once all tenders are breaded, let them rest uncovered on the baking sheet at room temperature for 5 minutes to help the coating adhere firmly and prevent it from falling off during baking. Your preheated oven will reach the target 220°C (425°F) temperature by the end of this short rest period.
Bake until golden and cooked
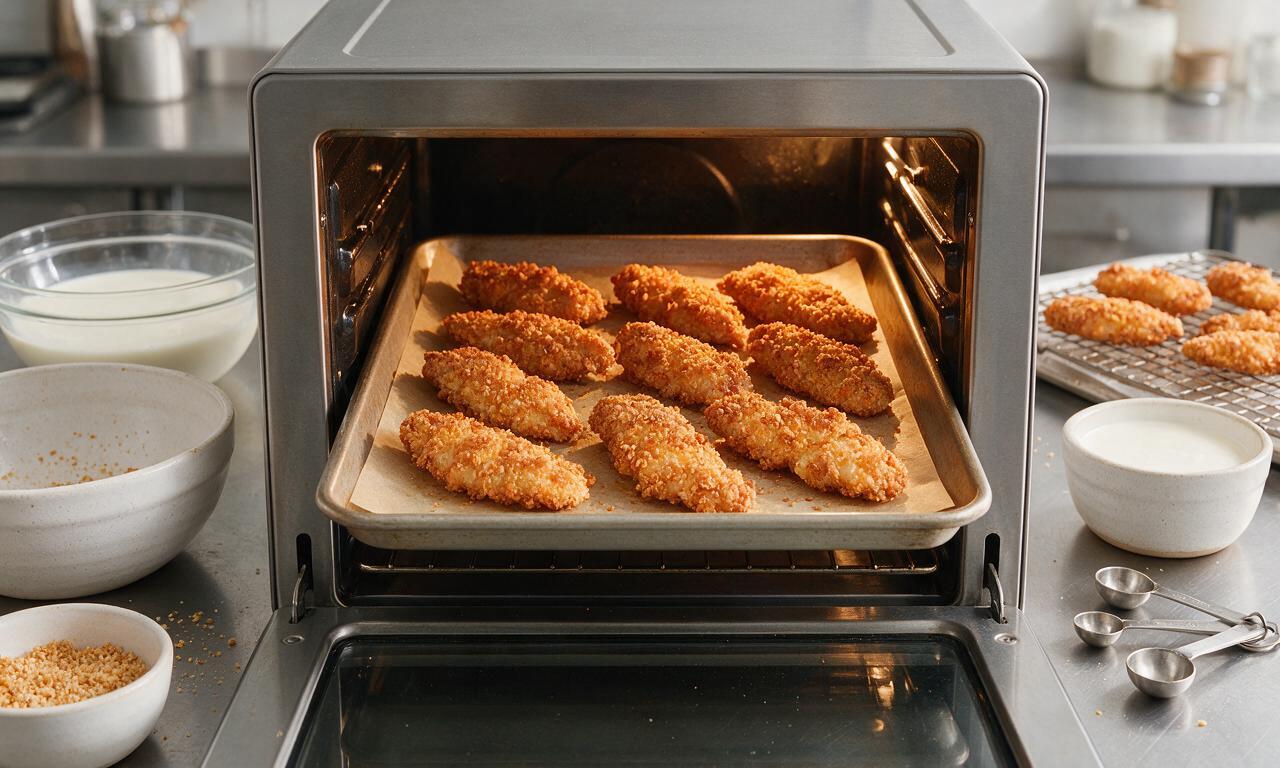
Drizzle the remaining 5ml of olive oil evenly over the top of the breaded tenders to encourage even browning, then place the baking sheet on the middle oven rack. Bake for 10 minutes at 220°C, then use metal tongs to carefully flip each tender over, and bake for another 8 minutes, until the coating is deep golden brown and crispy, and the internal temperature of the thickest part of each tender reaches 75°C (165°F) when measured with an instant-read food thermometer.
Rest and serve with dips
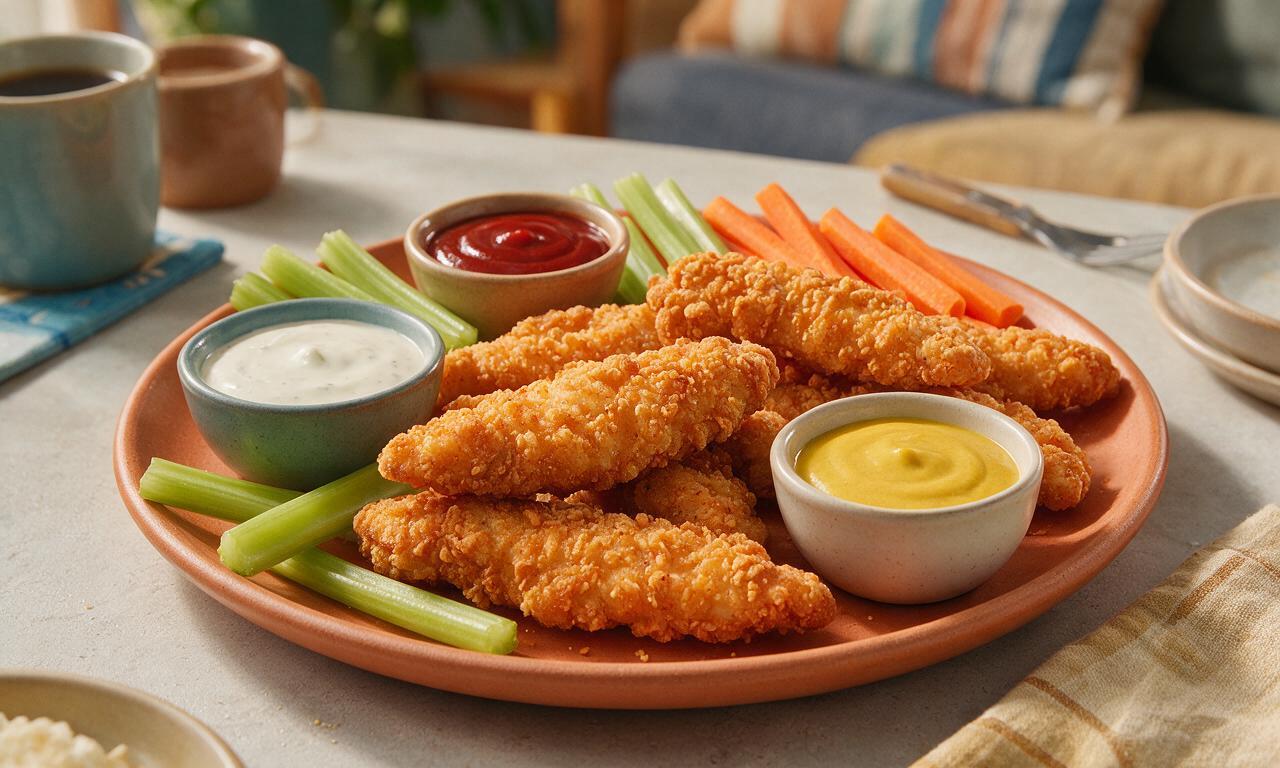
Remove the baking sheet from the oven, and let the tenders rest for 3 minutes at room temperature to let the internal juices redistribute, which keeps the chicken moist instead of leaking juice when you bite into it. Serve warm alongside your favorite dips, such as ranch dressing, honey mustard, or tangy barbecue sauce.
Tips
2.Press panko crumbs firmly onto each tender and don’t skip the short post-breading rest: this lets the coating layers set so they won’t slide off the chicken or pull away when you flip the tenders during baking.
3.Customize the coating to your taste: add ½ teaspoon of cayenne pepper for a spicy kick, swap 40g of panko for grated parmesan cheese for a savory cheesy crust, or add 1 teaspoon of dried oregano for herby Italian-style flavor.
OMG these were SO good!!! I made them for my kid’s soccer team dinner last night and every single tender was gone before I even got a second one. The crust was so crispy I couldn’t believe they were baked, not fried! Total game changer for weeknight dinners, will be making these on repeat. Wait — did anyone else use panko instead of regular breadcrumbs? I did and it worked great, just curious if that changes the crunch factor much?
Made these for a potluck at my office this week and people were hounding me for the recipe before I even left. Super easy to throw together even when you’re running late, and the buttermilk soak makes the chicken so juicy no dry bites at all. 10/10, already added the ingredients to my weekly grocery list.
These are perfect for meal prep! I made a big batch on Sunday, portioned them out with roasted veggies and honey mustard dip, and they held up great all week for work lunches. The only thing I will say is mine were a little less crispy on day 3, but that’s expected with baked chicken. Any tips for keeping them crispier when reheating?
First time ever making chicken tenders from scratch and I was so nervous they’d turn out bad, but this recipe was so easy to follow! I don’t even have a wire rack so I just put them straight on a greased baking sheet, flipped them halfway, and they still got super crispy. My roommate said they taste better than the fast food ones down the street lmao. Only question — can I freeze these before cooking for later?
I have the pickiest 7 year old on the planet who refuses 90% of the dinners I make, and he ate THREE of these tenders last night without complaining. I didn’t even have to bribe him with dessert! I added a little ranch seasoning to the breadcrumb mix and it was chef’s kiss. Thank you for a recipe that finally doesn’t end in a dinner table battle.
Made these after a long day hike with my friends over the weekend, they were the perfect post-hike comfort food. We dipped them in hot honey and blue cheese dip and it was *chefs kiss*. So much lighter than fried tenders too, I didn’t feel gross and sluggish after eating a handful. Will be making these for our next camping trip prep.
Wait, I grew up eating fried buttermilk tenders every Sunday after church and I was skeptical baked could even come close, but y’all… this recipe delivered. The crust is crunchy, the chicken is so juicy from the buttermilk soak, I didn’t even miss the deep fryer. My husband asked if we could have these every Sunday from now on. Quick question — how long do you all recommend soaking the chicken in buttermilk? I only did 2 hours because I was short on time and it was great, but wondering if longer is better.
This recipe is so easy even I can’t mess it up, and I burn toast 50% of the time. The 45 minute cook time flew by, minimal cleanup, and the whole apartment smelled amazing while they were baking. I paired them with frozen waffle fries and it felt like a takeout night without the $30 delivery fee. 10/10, will be a weeknight staple for sure.
I swapped the regular breadcrumbs for gluten free panko to make these for my sister who has celiac, and literally no one at the cookout could tell they were gluten free OR baked. Everyone was raving about how crispy they were, I almost didn’t tell them they were healthier than regular fried tenders lmao. Did anyone try making these with chicken thighs instead of tenders? I feel like that would be even juicier.
I added a ton of cayenne and a little hot sauce to the buttermilk soak to give these a spicy kick, and oh my god they were perfect. Crispy, juicy, just the right amount of heat, my friends kept asking if I ordered them from our favorite wing spot. Only note: don’t overcrowd the baking sheet! I did that on my first batch and they were a little soggy on the bottom, spaced them out on the second batch and they were perfect.
Brought these to my neighborhood block party last weekend and I swear people were lined up for seconds. I served them with 3 different dips (honey mustard, buffalo ranch, and garlic aioli) and every single tender was gone in 20 minutes. Way easier than frying a big batch for a crowd, I didn’t have to stand over a hot stove for an hour cooking batches. This is my new go-to potluck recipe for every event from now on.