
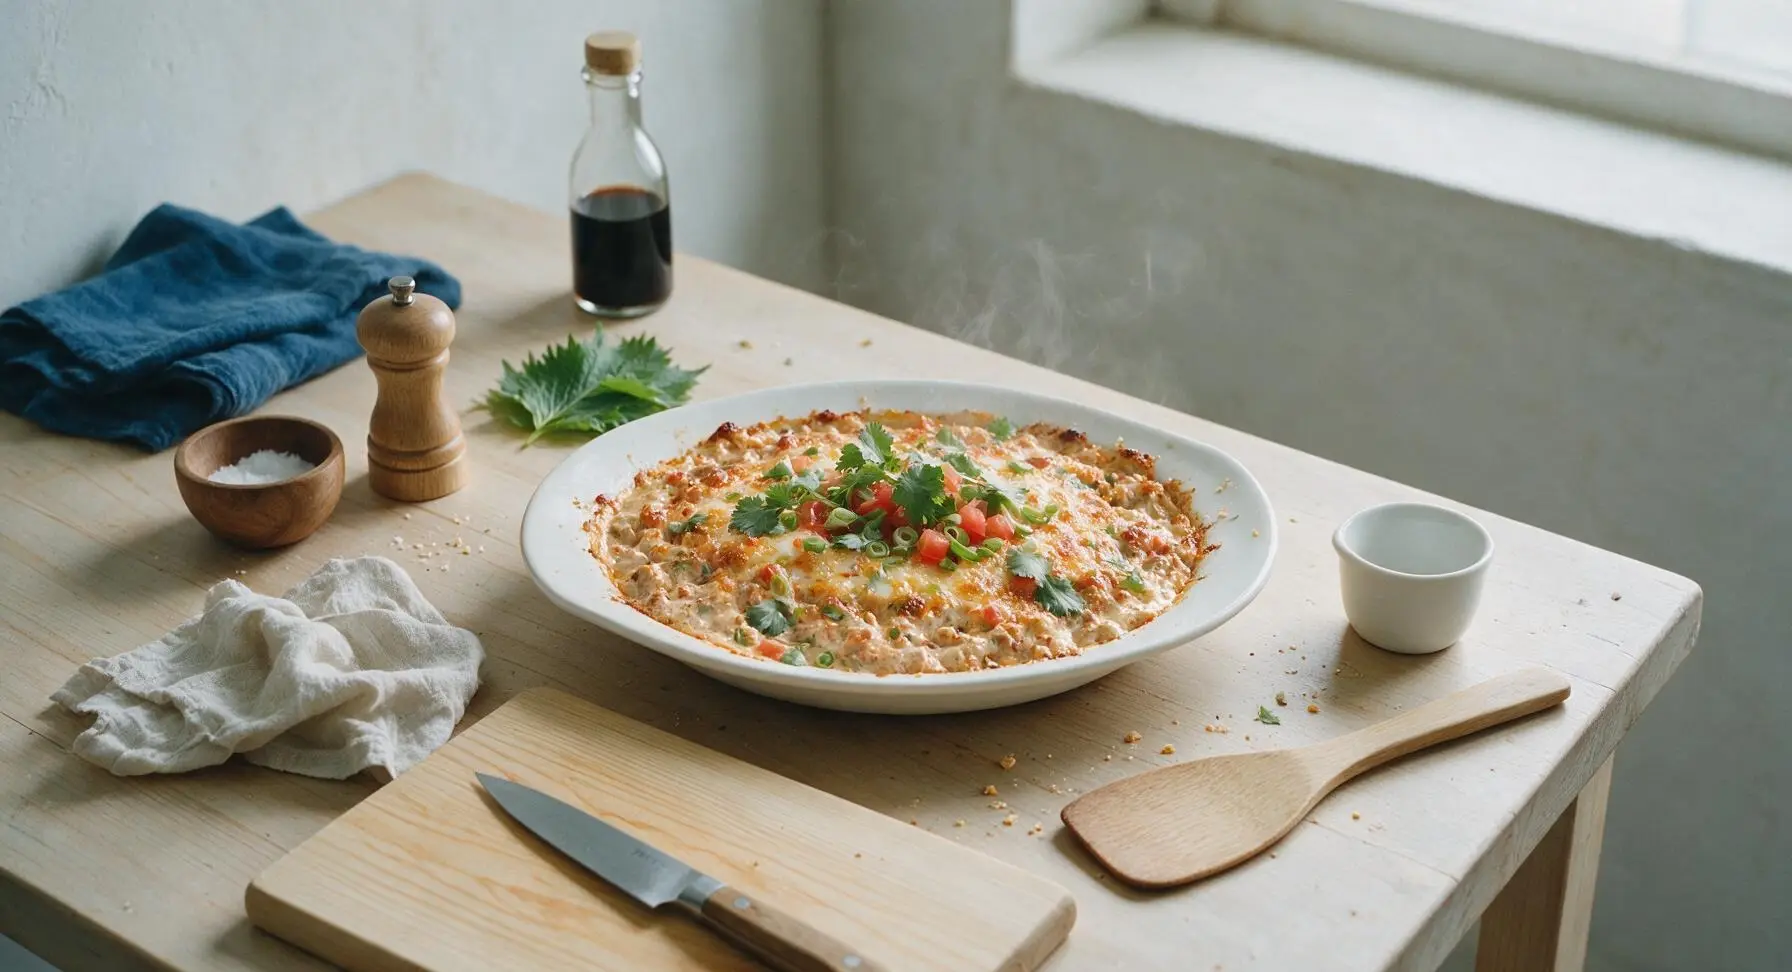
chili dip

title 1
chili dip
⏱️ cook time 25 minutes
🍽️ servings 8
⚡ Difficulty easy

intro

Creamy, cheesy, and loaded with warm chili flavor, this bubbly baked dip is thick enough to scoop with crispy tortilla chips, guaranteed to be the first empty plate at any gathering.

Ingredients
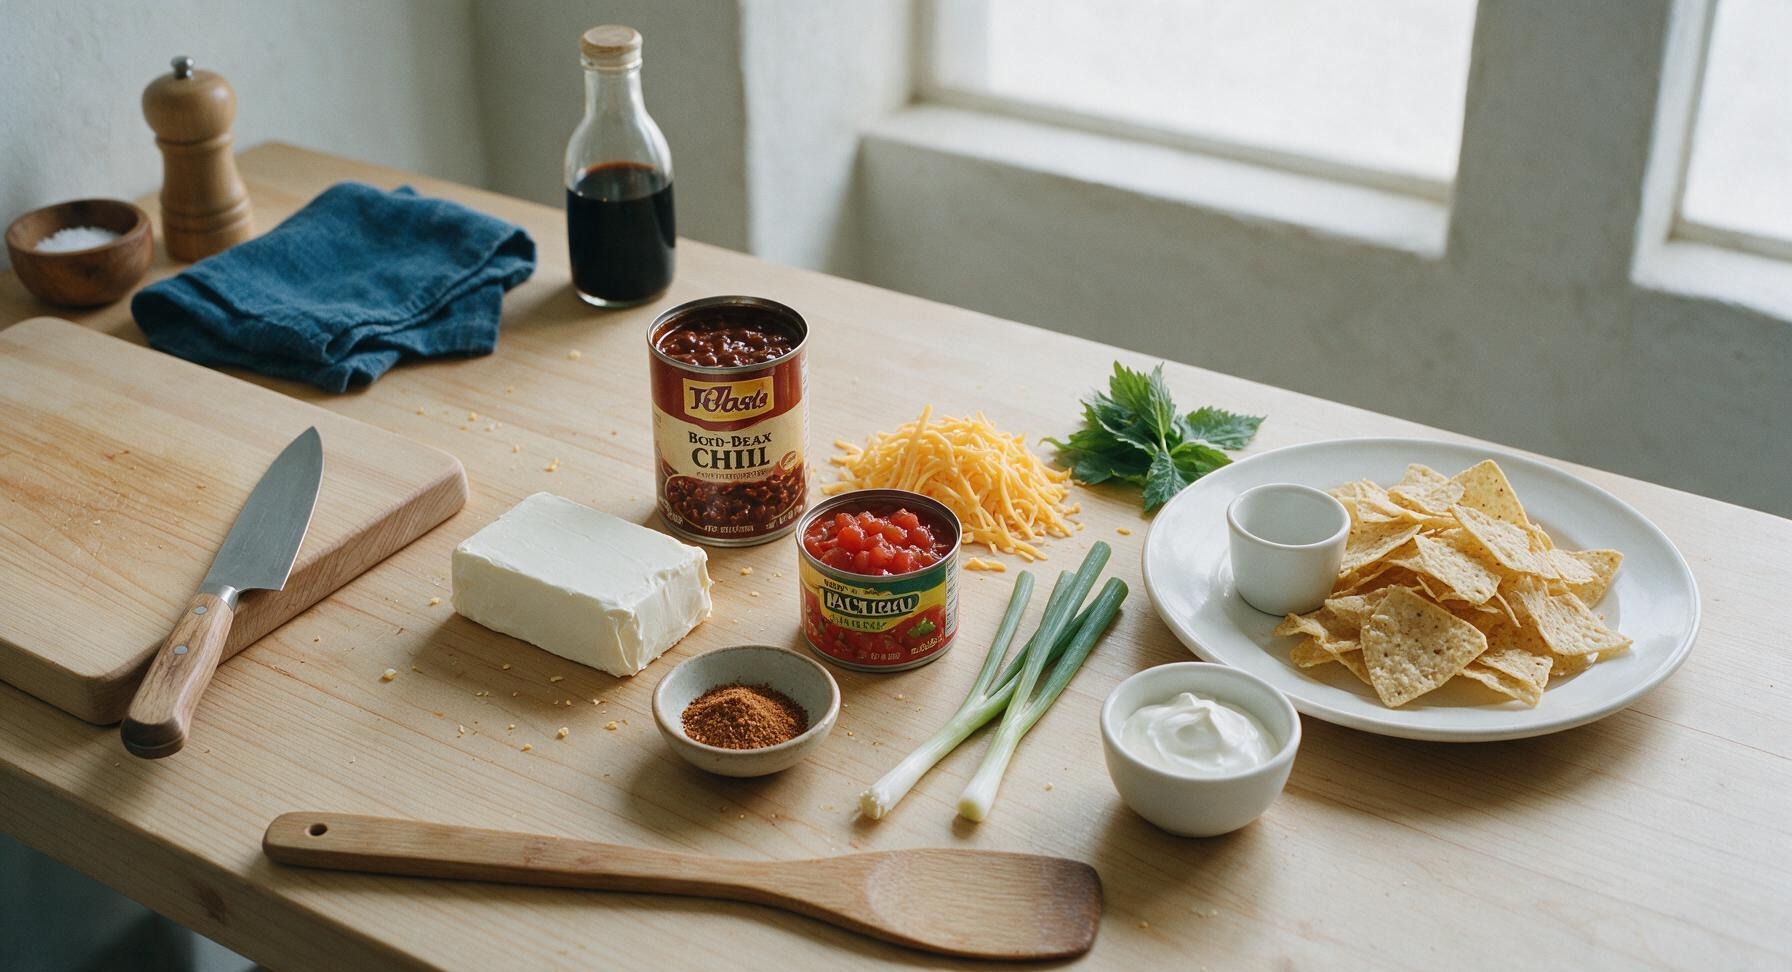
Full-fat block cream cheese 226g (8oz block)
Canned no-bean chili 425g (15oz can)
Sharp cheddar cheese 200g (shredded, divided)
Diced tomatoes with green chiles (drained) 280g (10oz can)
Taco seasoning 2 tbsp
Fresh green onions 3 stalks
Thick-cut tortilla chips 200g
Sour cream (for garnish) 60g (1/4 cup)

Steps

1

Prep Oven and Dish

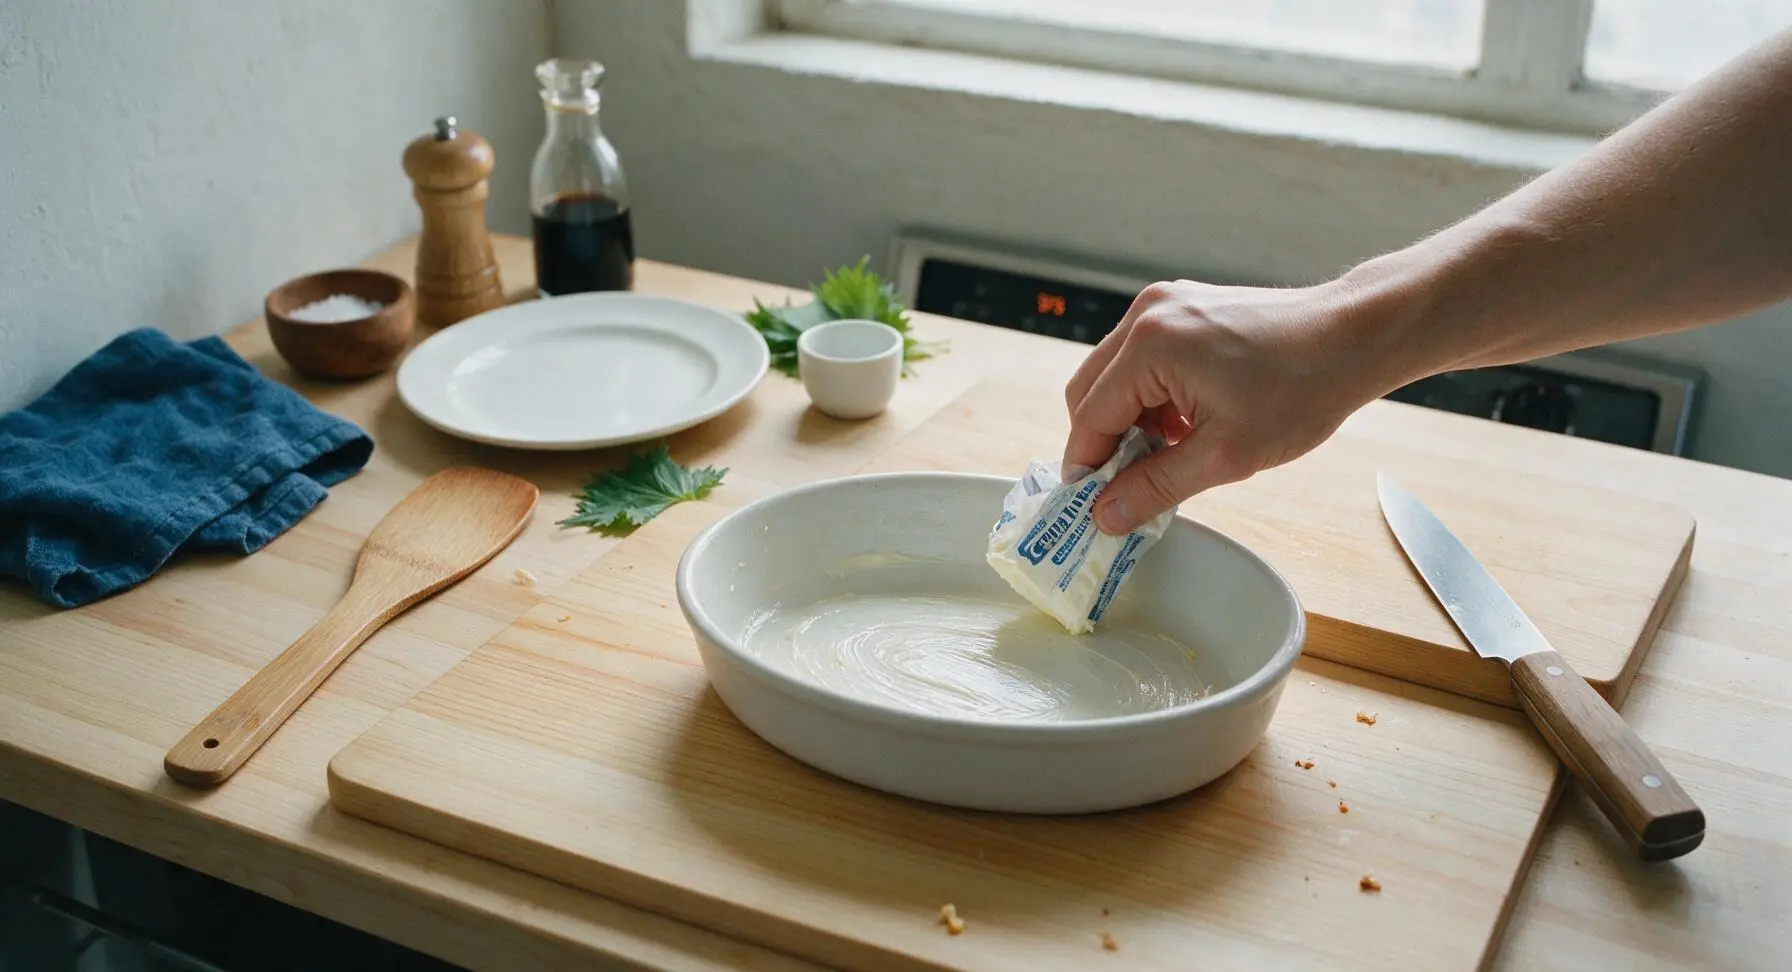
Adjust your oven rack to the middle position, then preheat the oven to 375°F (190°C). Use a small scrap of the cream cheese wrapper to lightly grease the interior of the 1.5 quart matte white ceramic baking dish, coating the bottom and all sides to prevent sticking. Set the prepared dish on the counter to the right of the stainless steel mixing bowl.
Step 1
step1:Prep Oven and Dish
2

Prep Fresh Ingredients

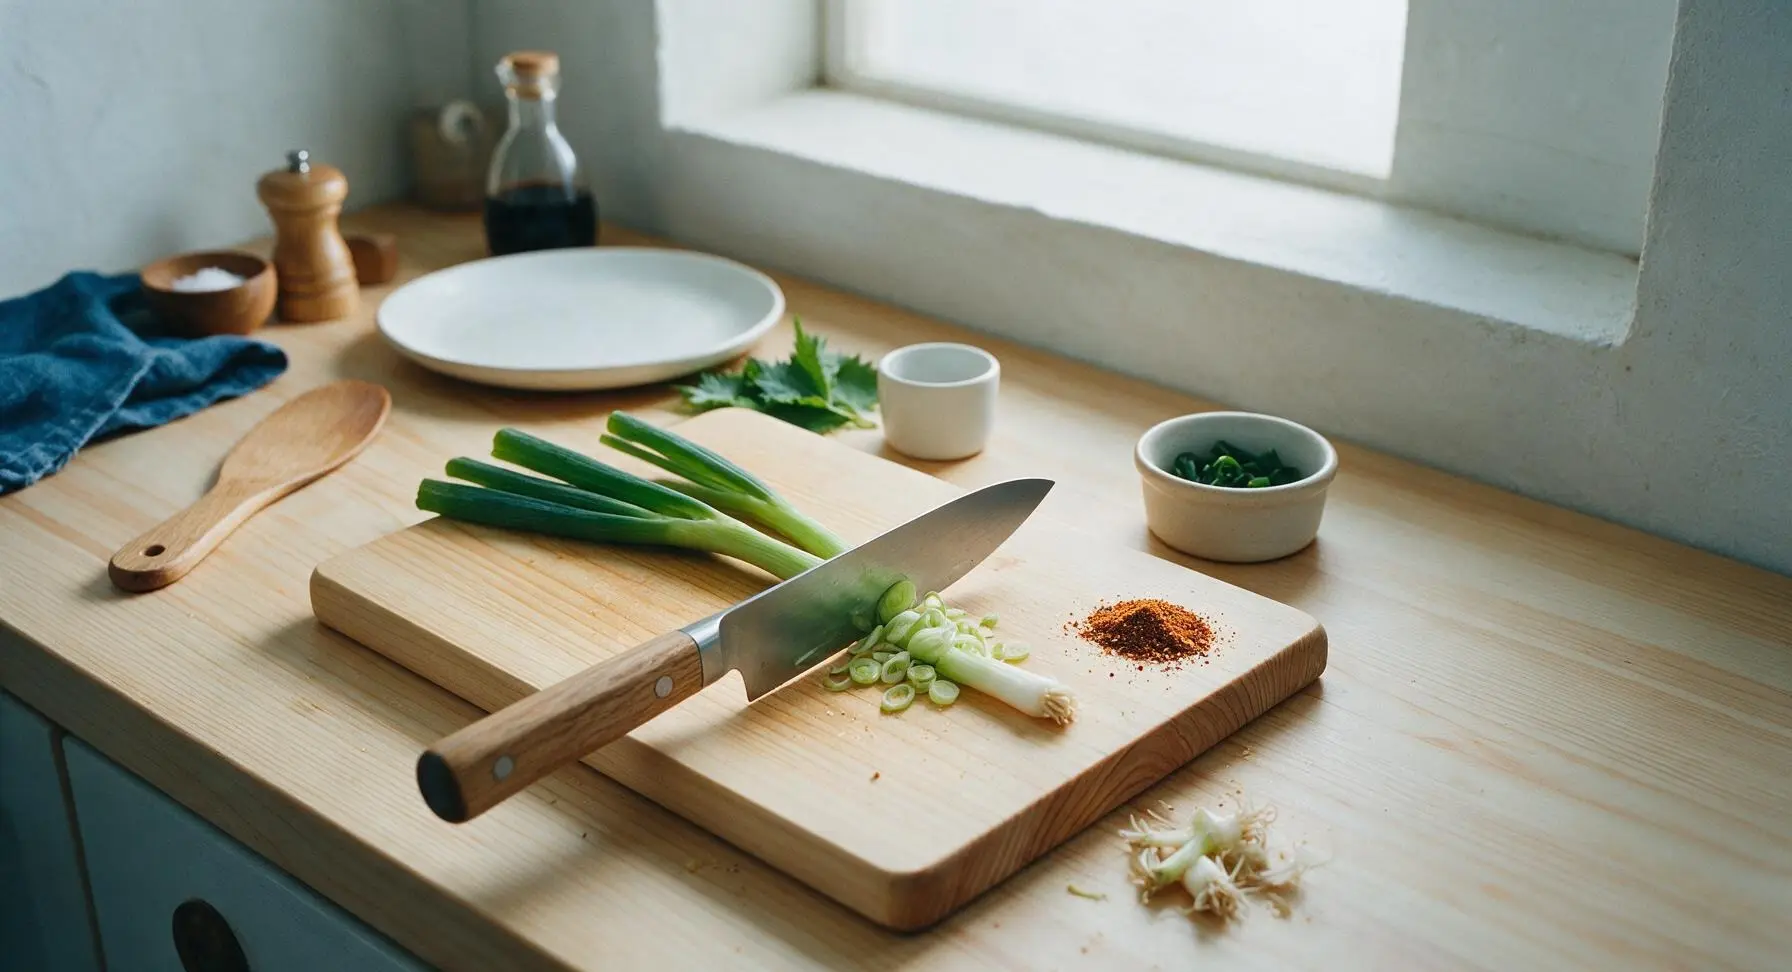
Lay the 3 green onion stalks on the light acacia wood cutting board. Use the 8-inch black-handled chef’s knife to trim off the dry, stringy root ends, then thinly slice the stalks on a slight bias, separating the firm white and pale green slices from the tender dark green tops. Place the dark green slices in one small off-white ramekin and set aside for garnish. Measure 2 tablespoons of taco seasoning into a small pile on the corner of the cutting board for easy access.
Step 2
step2:Prep Fresh Ingredients
3

Mix Cream Cheese Base

Place the unwrapped 226g (8oz) block of full-fat room-temperature cream cheese into the medium stainless steel mixing bowl. Use the deep terracotta silicone spatula to beat the cream cheese for 1 full minute, pressing it against the sides of the bowl, until it is completely smooth with no visible lumps and spreads easily. Add the measured taco seasoning and sliced white/pale green onion parts to the bowl, stirring until fully incorporated into a pale, evenly flecked base.
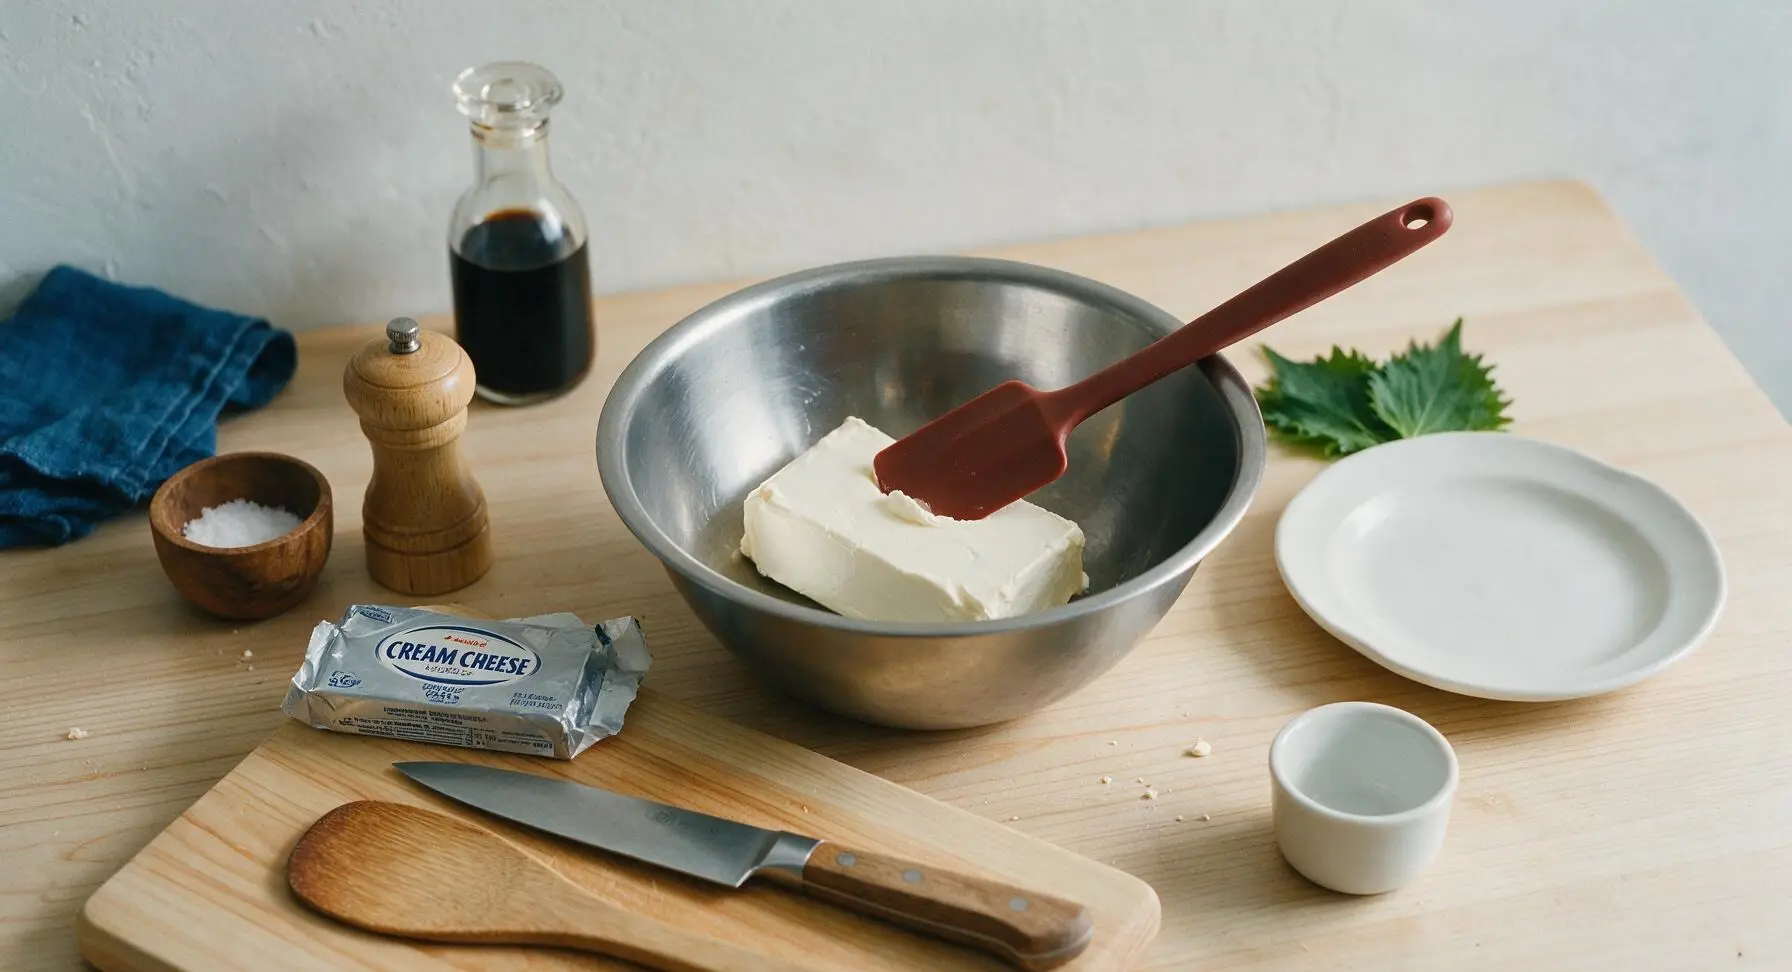
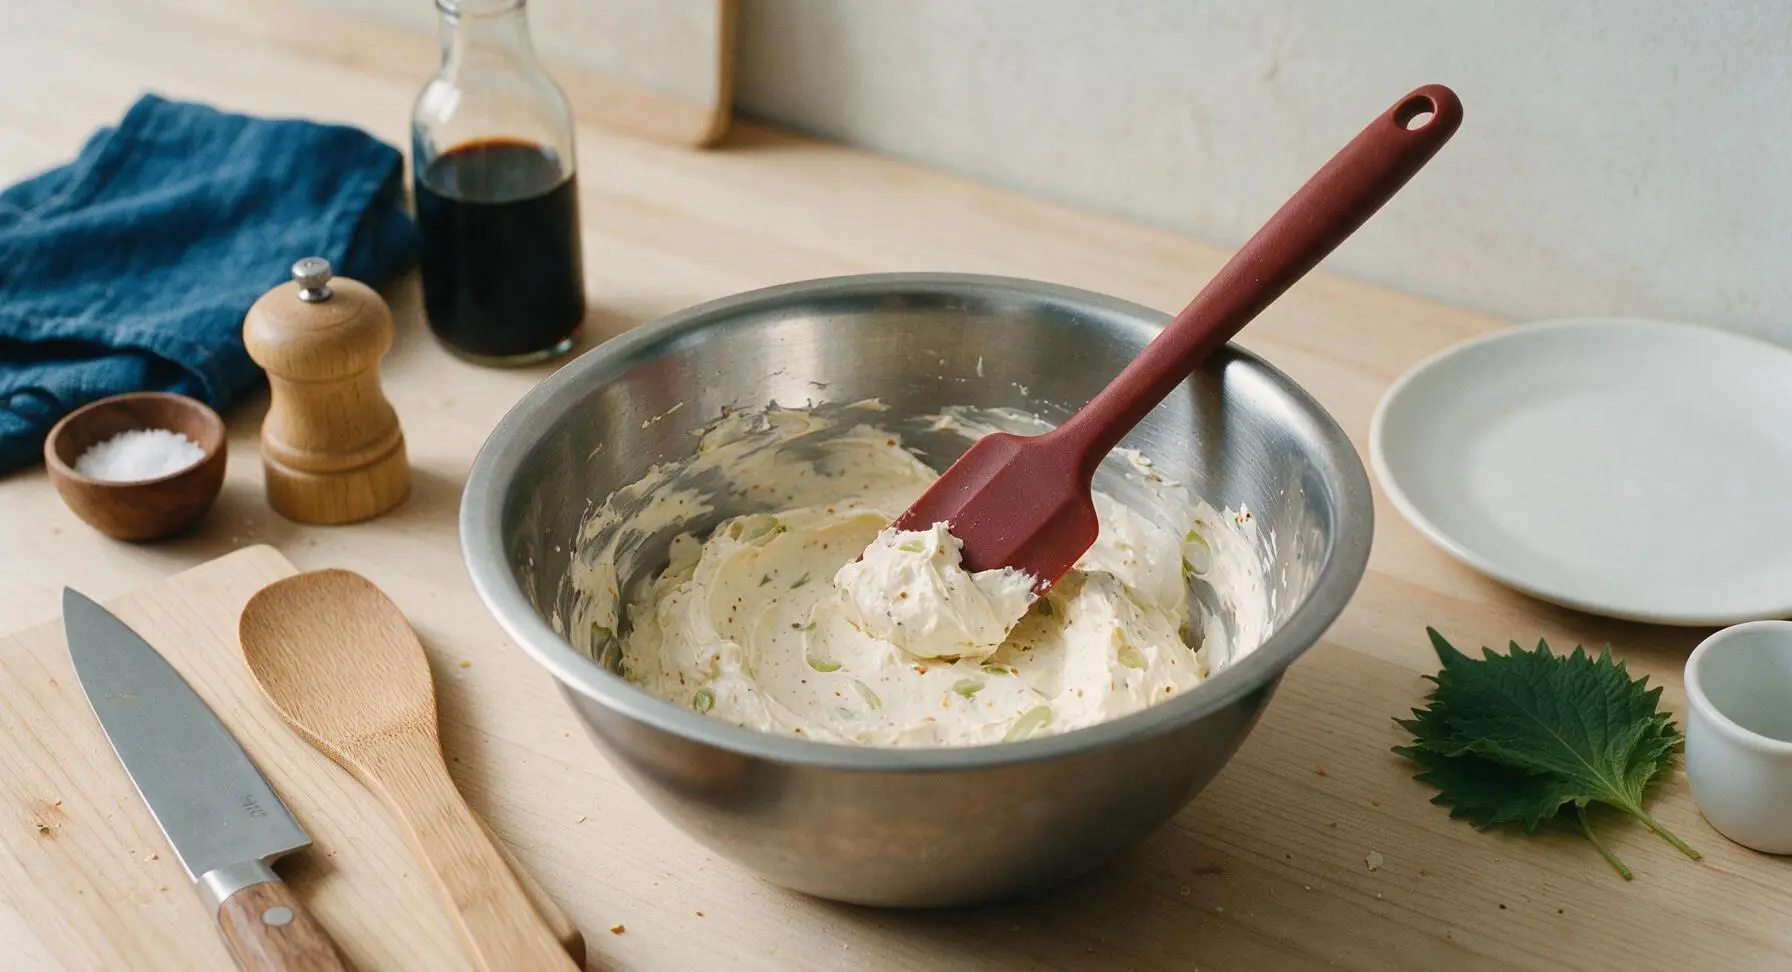
Step 3
step3:Mix Cream Cheese Base
Step 3
step3:Mix Cream Cheese Base
4

Fold in Chili and Tomatoes

Use the matte black manual can opener to open the 425g (15oz) can of no-bean chili and the 280g (10oz) can of diced tomatoes with green chiles; drain the diced tomatoes thoroughly by pressing the can lid against the tomatoes to pour off excess liquid. Add both the chili and drained tomatoes to the cream cheese base. Set aside 60g (1/2 cup) of shredded sharp cheddar for the topping, then fold the remaining cheddar into the dip mixture gently, taking care not to overmix—small, distinct chunks of tomato and chili will add pleasant texture.
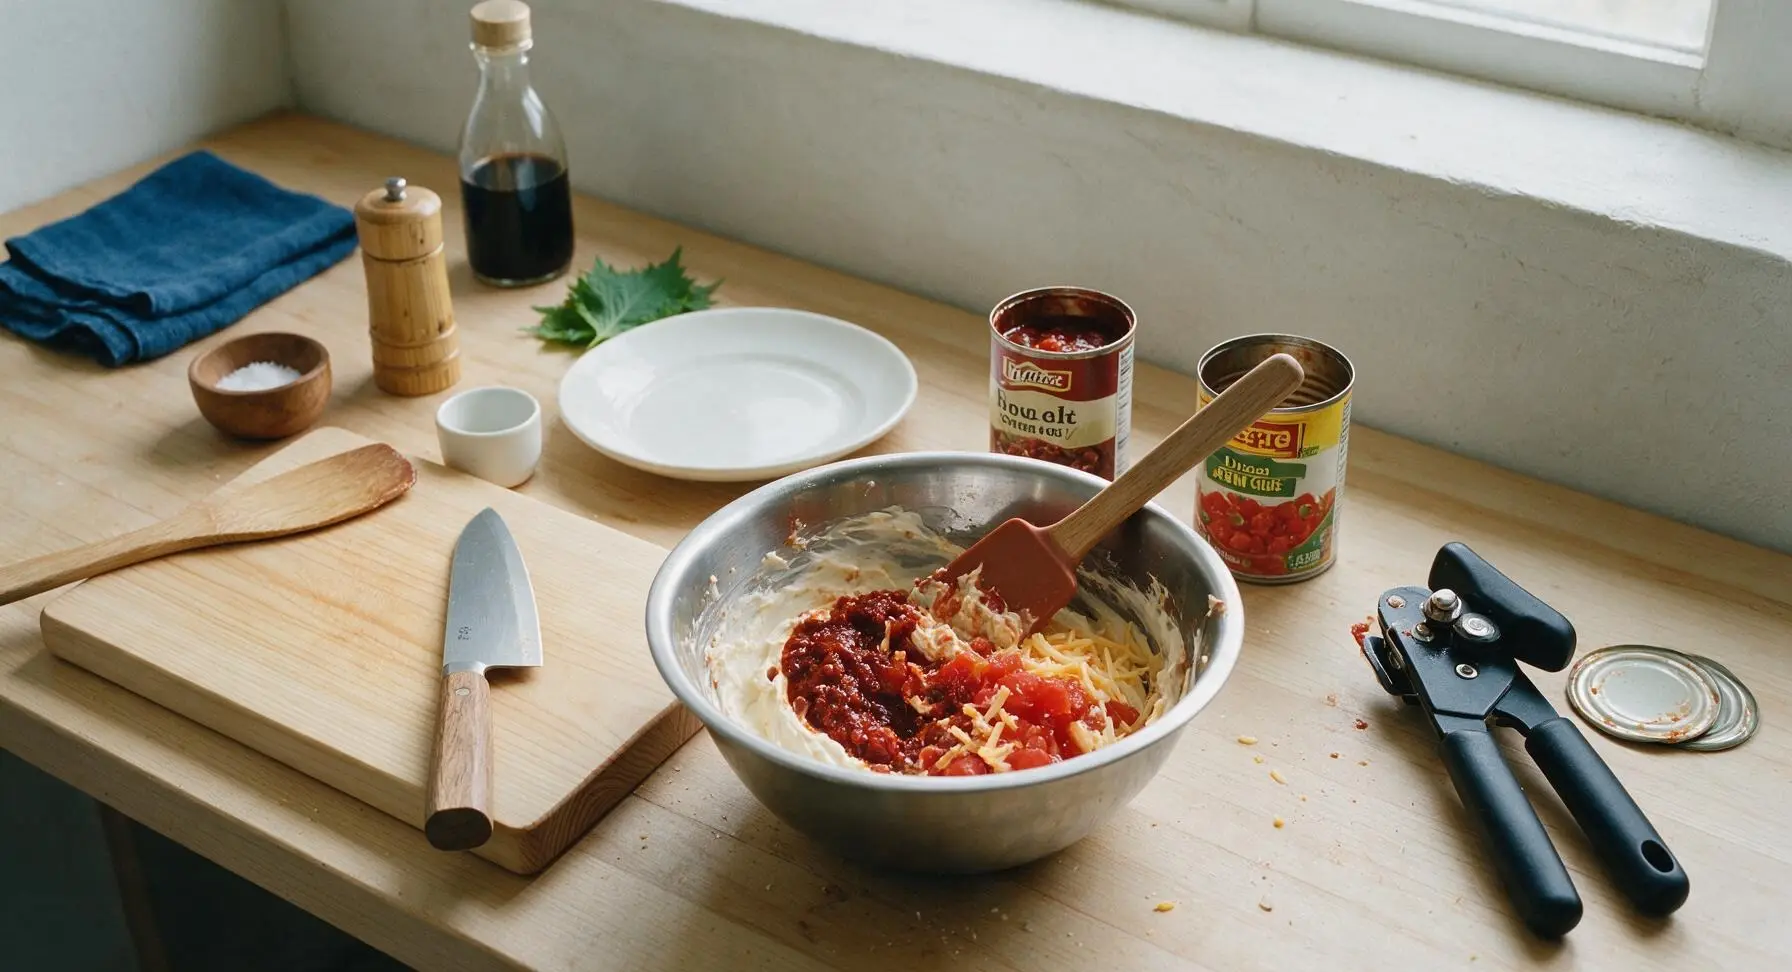
Step 4
step4:Fold in Chili and Tomatoes
5

Spread Mix in Baking Dish

Scrape every bit of the chunky dip mixture from the mixing bowl into the prepared square ceramic baking dish. Use the silicone spatula to spread the mixture into a flat, even layer that reaches all four corners of the dish, smoothing the top surface gently so it cooks evenly.
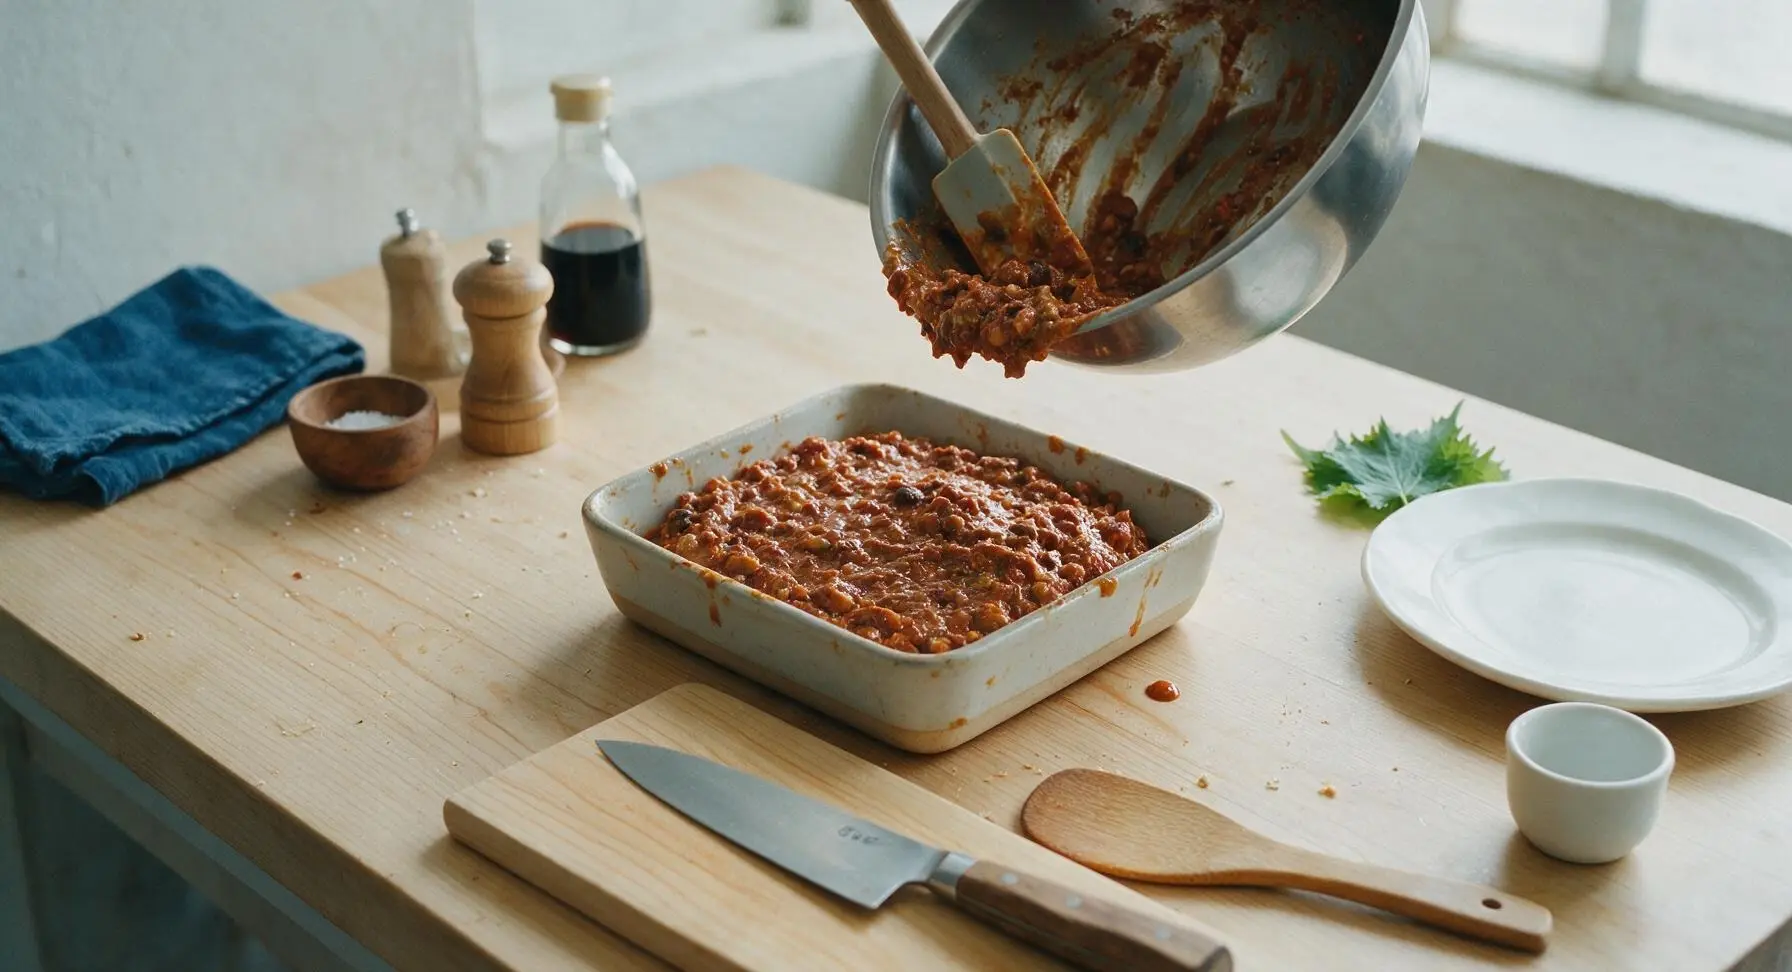
Step 5
step5:Spread Mix in Baking Dish
6

Add Cheese Topping

Sprinkle the reserved 60g (1/2 cup) of shredded sharp cheddar cheese in an even layer across the entire top surface of the dip, covering the dip mixture completely so none shows through. This loose cheese layer will melt into a golden, bubbly crust as the dip bakes.
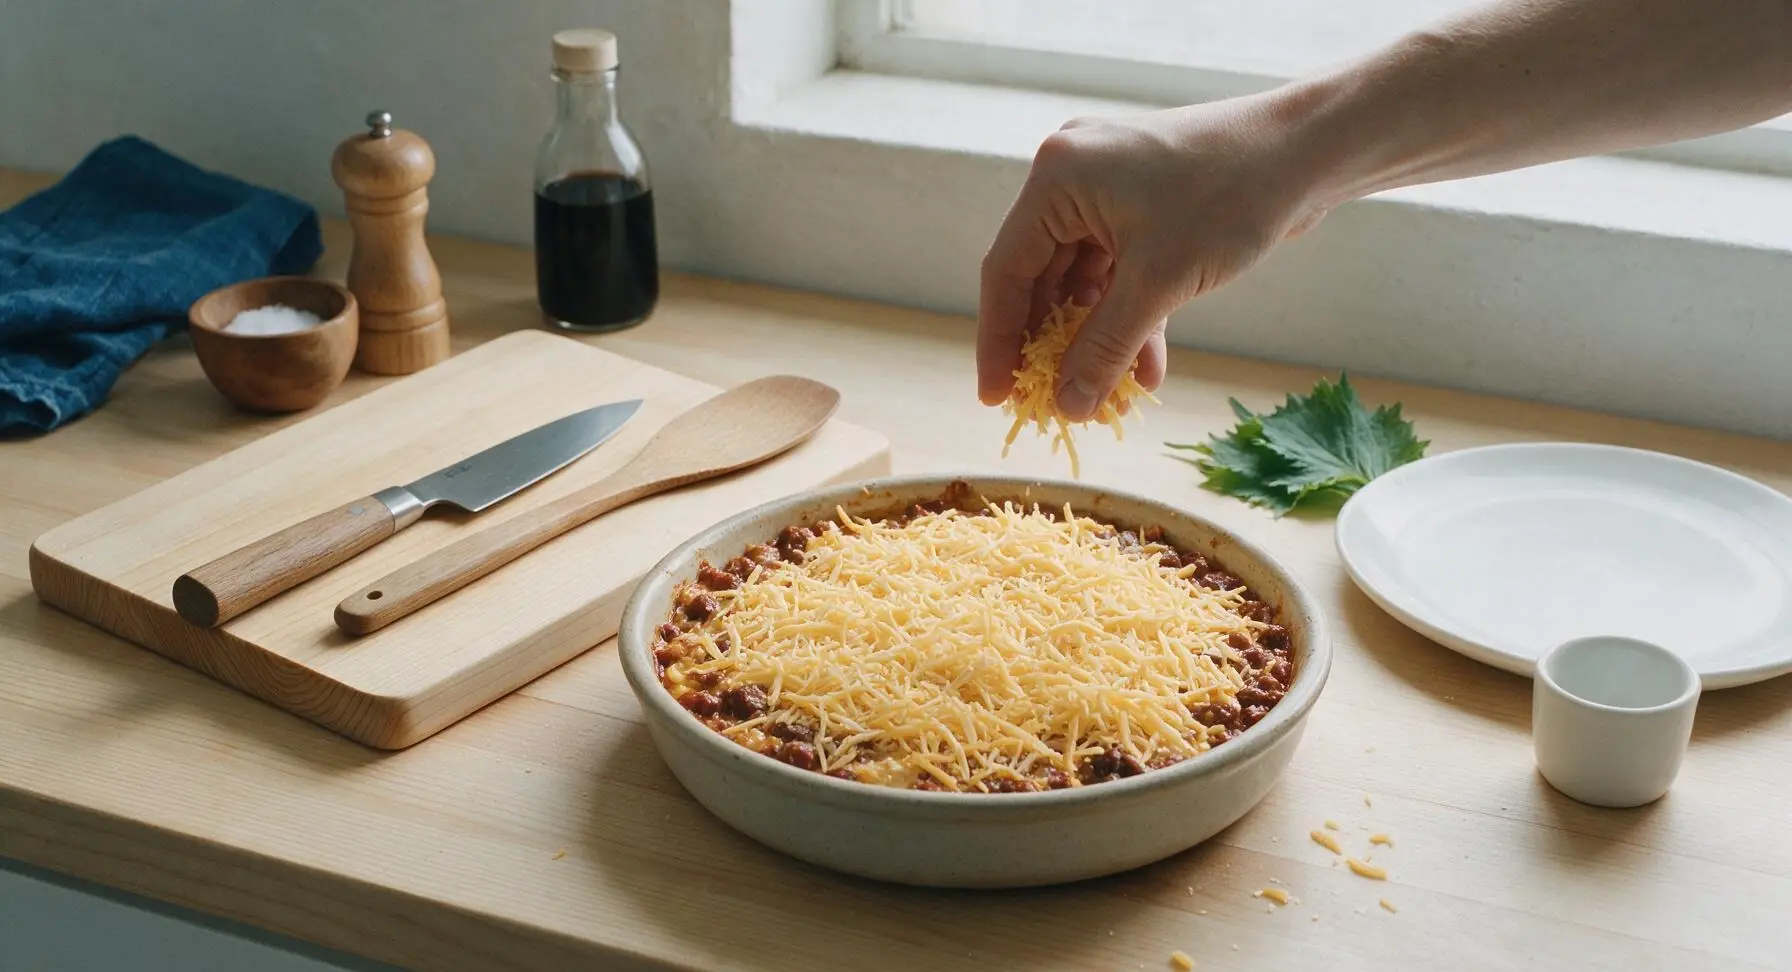
Step 6
step6:Add Cheese Topping
7

Bake Until Bubbly

Carefully slide the baking dish onto the middle oven rack. Bake for 20 to 25 minutes, until the cheese topping is fully melted, the edges of the dip are bubbling vigorously around the dish rim, and the center of the dip reaches 165°F (74°C) on an instant-read thermometer. Avoid overbaking, as high heat can cause the cream cheese to separate and turn greasy.
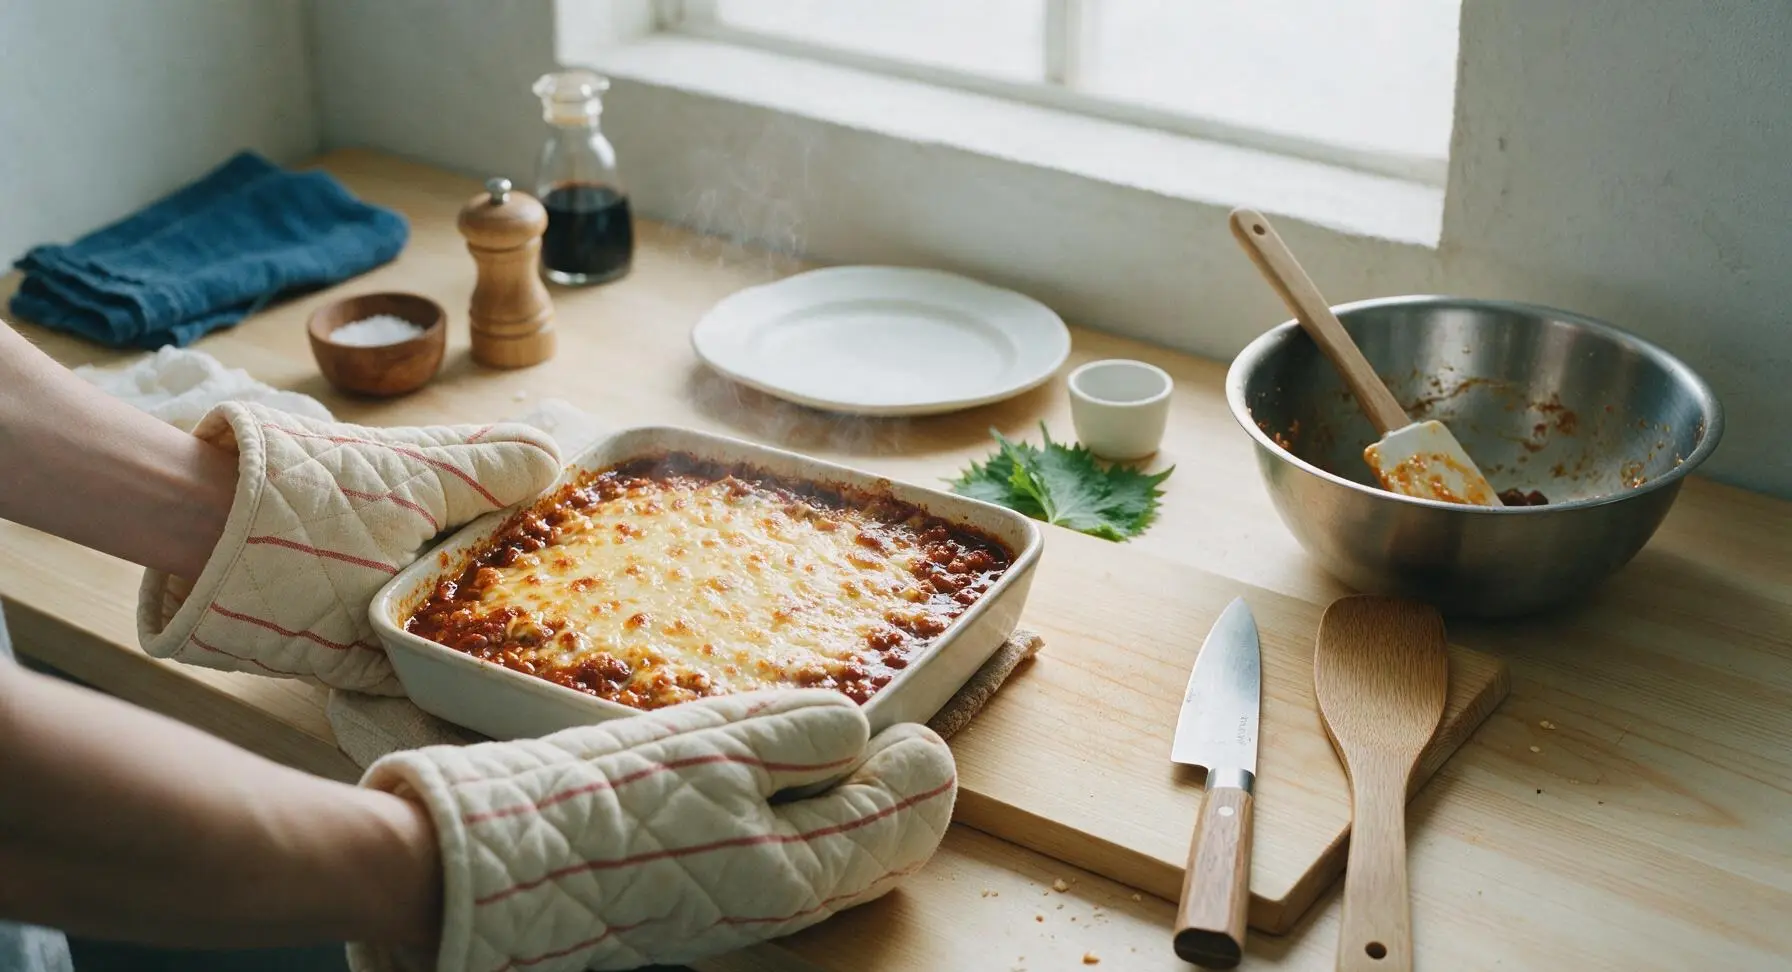
Step 7
step7:Bake Until Bubbly
8

Garnish and Plate

Set the hot baking dish directly in the center of the 30cm matte off-white round serving platter. Sprinkle the reserved sliced dark green onion tops evenly across the melted cheese surface. Arrange thick-cut tortilla chips in a loose, fanned ring around the base of the baking dish on the platter, and set one 8cm off-white ramekin filled with sour cream on the platter edge for dolloping.
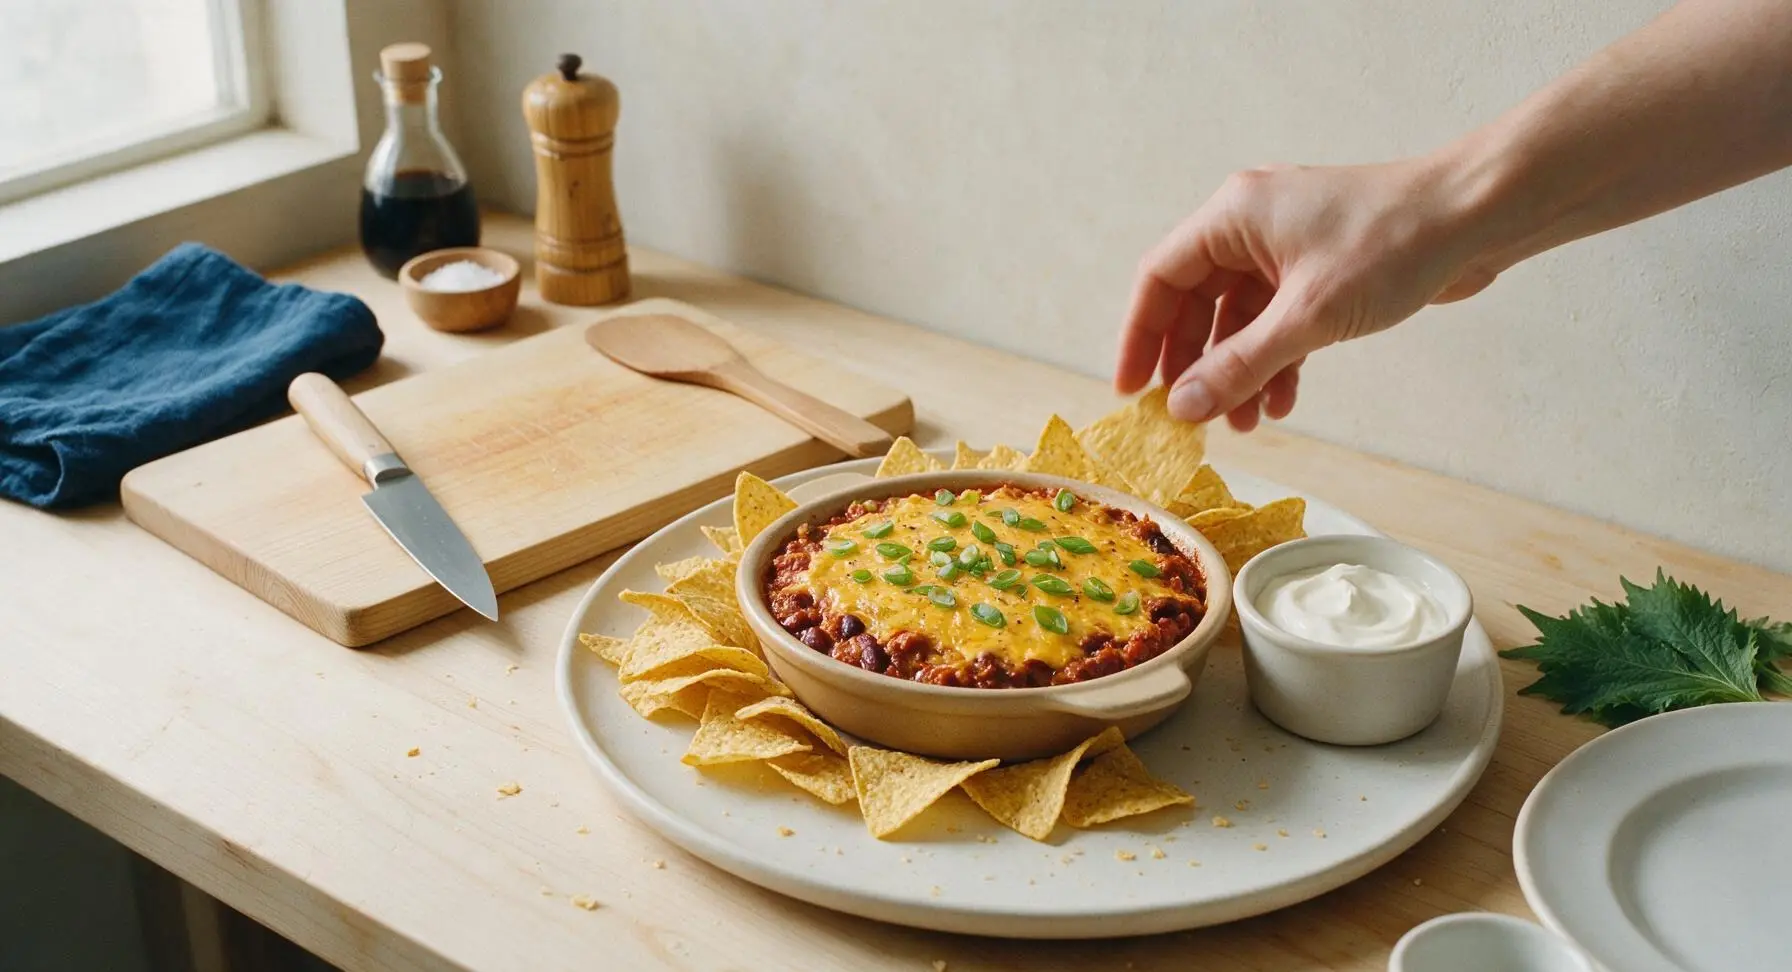
Step 8
step8:Garnish and Plate
9

Let Dip Rest Briefly

Allow the baked dip to rest for 3 minutes at room temperature before serving. This short rest lets the dip set slightly so it is thick enough to scoop without dripping, and cools it just enough to avoid burning guests’ mouths. The dip is ready to serve when the cheese is still stretchy but the center is no longer bubbling violently.
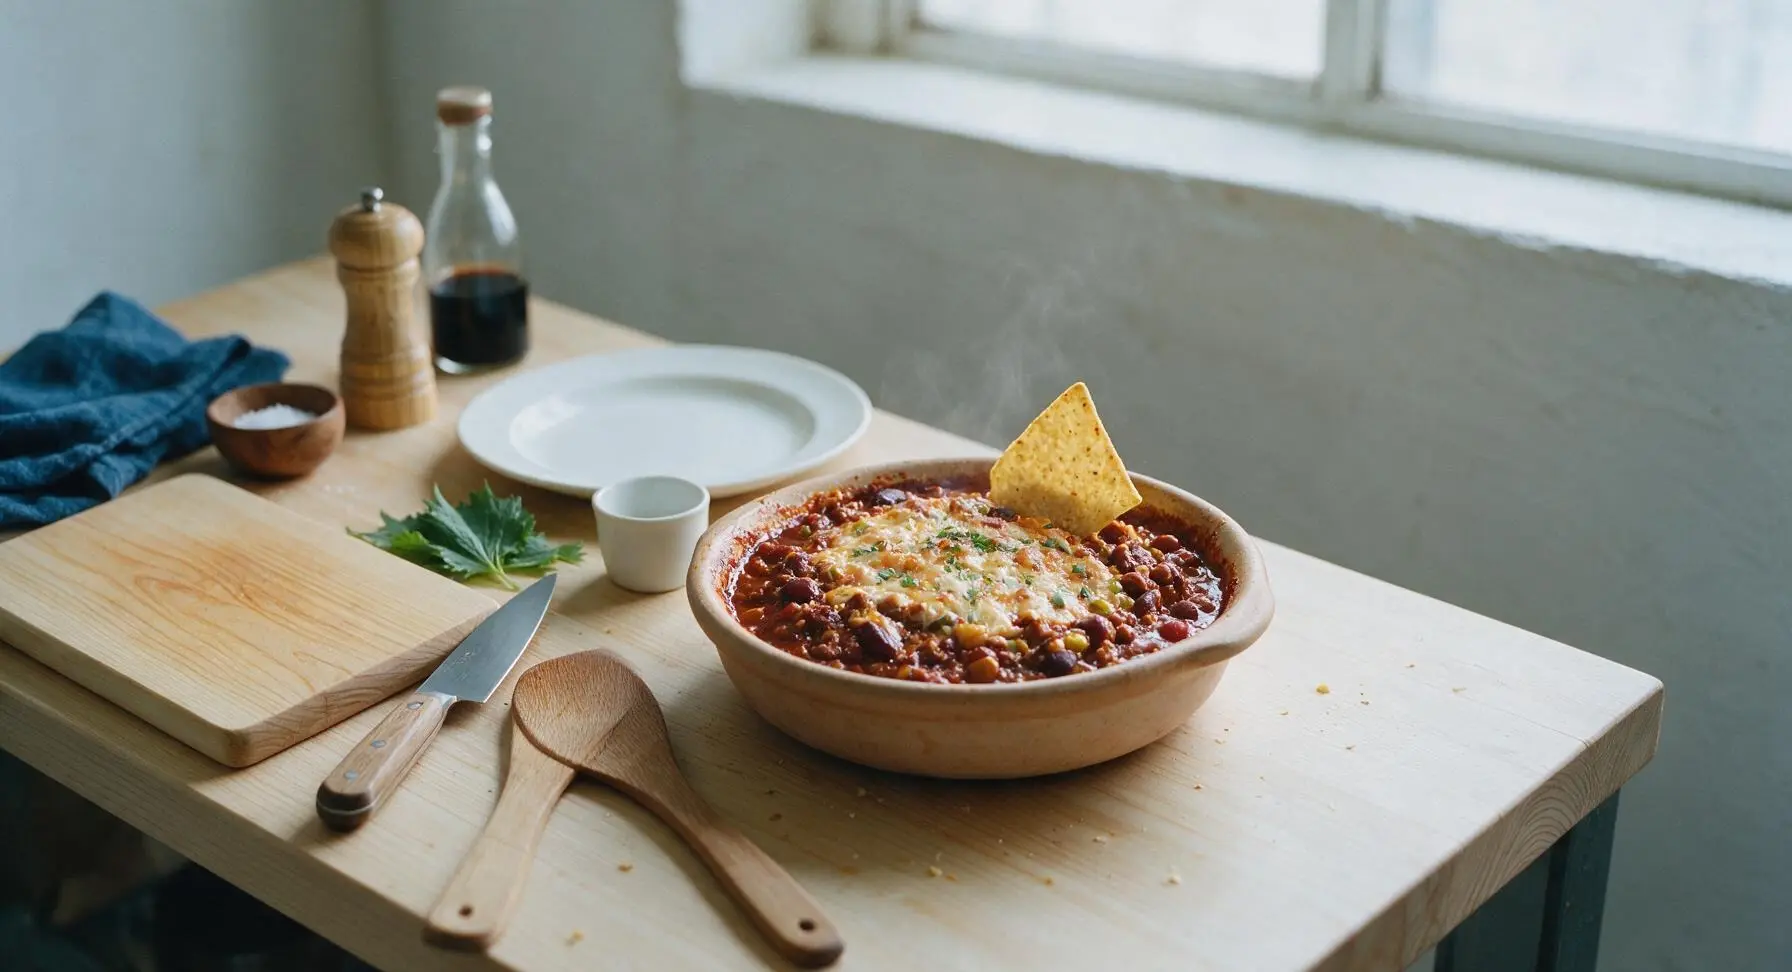
Step 9
step9:Let Dip Rest Briefly

Tips

1.Soften cream cheese to room temperature for 30 minutes before mixing to avoid lumps in the finished dip; cold cream cheese will not blend smoothly, leaving hard, unappetizing clumps that do not disappear even after baking.
2.Drain the diced tomatoes and green chiles completely before adding them to the dip base; excess tomato liquid will make the dip thin and runny, preventing it from clinging to tortilla chips properly.
3.For a make-ahead option, assemble the unbaked dip in the baking dish, cover tightly, and refrigerate for up to 2 days. Add 5 minutes to the bake time when cooking from chilled, and top with cheese right before baking for the freshest flavor.


✨ You May Also Like

Snacks & Appetizers
🍜 Mexico

Crispy thick-cut tortilla chips piled high with seasoned beef, melted cheese, and bright fresh toppings for a shareable, crowd-favorite bite.

⏱️ 25 minuteSnacks & Appetizers ★ 4.8
Snacks & Appetizers
🍜 United States

Crisp, sweet-tangy spiced pickled watermelon rind is a zero-waste summer staple, perfect with grilled meats, charcuterie, or eaten straight from the jar as a bright snack.

⏱️ 30 minuteSnacks & Appetizers ★ 4.6
Snacks & Appetizers
🍜 Germany

A tangy, jellied pork cold cut slow-simmered with aromatic spices, set into a firm sliceable loaf, served cold with mustard and crusty bread.

⏱️ 3 hours 4Snacks & Appetizers ★ 4.8
Snacks & Appetizers
🍜 United States

Creamy, tangy, perfectly seasoned hard-boiled egg halves filled with a rich, smooth yolk mixture, a timeless, crowd-pleasing bite for holiday and casual gatherings alike.

⏱️ 40 minuteSnacks & Appetizers ★ 4.8
Snacks & Appetizers
🍜 Russia

Silky, dill-forward no-smoke cured salmon, a Scandinavian classic with bright salty-sweet flavor, ideal for holiday starter platters and open-faced rye sandwiches.

⏱️ 48 hours Snacks & Appetizers ★ 4.7
Snacks & Appetizers
🍜 Japan

Crisp golden bottoms, juicy savory pork and vegetable filling, and tangy dipping sauce make these pan-fried gyoza a beloved shareable bite.

⏱️ 45 minuteSnacks & Appetizers ★ 4.8

chili dip:Frequently Asked Questions

1.Can I use low-fat or whipped cream cheese instead of full-fat block cream cheese for this dip? ▾
I don’t recommend swapping for low-fat or whipped cream cheese. These products have added stabilizers and higher water content that leads to a runny, grainy baked texture instead of that rich, thick base. Full-fat block cream cheese melts smoothly into a creamy foundation that holds up perfectly to sturdy tortilla chip scoops without sliding off.
2.Do I really need to drain the diced tomatoes with green chiles before adding them? ▾
Yes, skipping this step almost always leads to a soggy, watery dip that won’t hold its shape for scooping. Pour the can into a fine mesh sieve and shake off excess brine for 30 seconds. You don’t need to press the tomatoes completely dry—just remove loose standing liquid to keep the dip thick and scoopable.
3.Can I use homemade chili instead of canned no-bean chili for this recipe? ▾
Totally! Just make sure your homemade chili is thick and not overly soupy. If it’s on the runny side, simmer it for 10 extra minutes to reduce excess liquid before stirring it in. Bean chili works too if you prefer it, just note it will add a heartier, chunkier texture to the finished baked dip.
4.Why do you recommend sharp cheddar instead of mild cheddar for this dip? ▾
Sharp cheddar has a bolder, tangier, more concentrated cheese flavor that stands up to rich cream cheese, zesty chili, and savory taco seasoning without getting lost. Mild cheddar melts fine, but its mild taste can make the whole dip feel one-note and overly rich, with no bright tang to cut through the heaviness.
5.What temperature and bake time works best for this dip? ▾
Bake it uncovered in a 375°F oven for 20 to 25 minutes, until the edges are bubbly and the top has light golden spots. If you want an extra crispy cheese top, broil it for the last 1 to 2 minutes—just keep a close eye on it, since broilers heat extremely fast and can burn the cheese in seconds.
6.Can I make this dip ahead of time for a party? ▾
You sure can! Assemble the fully mixed dip in your baking dish, cover it tightly with plastic wrap, and store it in the fridge for up to 2 days before baking. When you’re ready to serve, pop it in the oven and add 5 to 7 minutes to the bake time to account for the cold, chilled base.
7.What are the best dippers to serve with this Tex-Mex chili dip? ▾
Crispy, sturdy restaurant-style tortilla chips are the classic pick, since they’re thick enough to scoop the heavy dip without breaking. You can also serve it with Fritos Scoops, toasted pita wedges, bell pepper strips, celery sticks, or soft pretzel bites for a fun, salty twist that pairs perfectly with the cheesy chili flavor.
8.My dip turned out watery—what did I do wrong? ▾
The most common culprits are undrained tomatoes with green chiles, watery low-fat cream cheese, or overly soupy chili. Next time, drain your tomatoes well, stick to full-fat block cream cheese, and thicken runny chili before mixing it in. If your dip is slightly watery out of the oven, let it rest 5 minutes to set before serving.
9.Can I add extra mix-ins to customize this dip? ▾
Absolutely! This base recipe is super flexible. Try stirring in sliced pickled jalapeños for extra heat, cooked crumbled chorizo for a meaty boost, sliced black olives for brininess, or sweet corn for bright, poppable texture. Just avoid adding too many high-moisture mix-ins that could thin out the dip.
10.Do I need to soften the cream cheese before mixing the dip? ▾
Yes, letting your block cream cheese sit at room temperature for 30 to 45 minutes before mixing makes it way easier to stir into a smooth, lump-free base. If you’re short on time, soften it in the microwave in 10-second bursts, taking care not to melt it completely, which can make the final baked texture greasy.
11.Can I make this dip in a slow cooker instead of the oven? ▾
You bet! Mix all the ingredients together, then add them to a small slow cooker, cover, and cook on LOW for 1.5 to 2 hours, stirring once halfway through, until the dip is fully melted and bubbly. Keep it on the WARM setting for serving so it stays scoopable throughout your entire gathering.
12.How do I store leftover baked chili dip? ▾
Let leftover dip cool completely to room temperature, then transfer it to an airtight container and store it in the refrigerator for up to 4 days. Reheat individual portions in the microwave in 30-second bursts, stirring between each, or reheat the whole batch in a 350°F oven for 10 to 15 minutes until bubbly again.
13.Is there a way to make this dip spicier? ▾
Definitely! Amp up the heat by adding 1/4 to 1/2 teaspoon of cayenne pepper to the taco seasoning, stirring in drained diced hot green chiles, adding a spoonful of chopped chipotle in adobo, or topping the finished dip with sliced fresh jalapeños or a drizzle of hot sauce right before serving.
14.Can I use pre-shredded cheddar cheese instead of shredding my own block cheddar? ▾
Pre-shredded cheese works in a pinch, but it’s coated in anti-caking agents like potato starch that keep it from melting as smoothly as freshly shredded block cheddar. For the gooiest, creamiest, most evenly melted texture, shred your own sharp cheddar straight from the block right before mixing it into the base.
15.What size baking dish is best for this dip? ▾
A 9-inch pie plate, 8x8-inch square baking dish, or 1-quart oval casserole dish works perfectly for this recipe. You want a dish that gives the dip about 1 to 1.5 inches of depth, so it bakes evenly, gets bubbly around the edges, and stays thick enough to scoop without being spread too thin.
16.Do I need to cook the canned chili before adding it to the dip? ▾
Nope, no pre-cooking required! Canned no-bean chili is already fully cooked, so you can stir it straight into the cream cheese base cold right before baking. It will heat through fully and meld with the other flavors as the dip bakes, saving you an extra dirty pan and precious prep time on party day.
17.Can I freeze this baked chili dip for later? ▾
I don’t recommend freezing this dip, honestly. Cream cheese and cheese-based dips tend to separate, turn grainy, and develop a watery texture when frozen and thawed, which ruins that smooth, creamy, scoopable consistency you want. It keeps great in the fridge for up to 4 days, so freezing is totally unnecessary.
18.What toppings should I add right before serving for extra flavor? ▾
Top the hot baked dip with bright, fresh add-ons right after pulling it out of the oven: a dollop of sour cream, a sprinkle of chopped fresh cilantro, sliced green onions, diced fresh tomato, a handful of crushed tortilla chips for crunch, or a squeeze of fresh lime to cut through the rich, cheesy goodness.

Comments (12)

2 days ago

OMG this dip is a total game changer! I brought it to our neighborhood potluck last weekend and the entire pan was gone in 15 minutes flat. So cheesy, just the right amount of kick, and it was so easy to throw together even after a long work day. 10/10 will be making this for every game night from now on!

1 day ago

Wait did you add extra jalapeños? I’m trying to decide if I should bump up the heat for my friend group that loves spicy food!

1 day ago

So glad it was a hit at the potluck! If your crew loves extra heat, feel free to toss in a diced pickled jalapeño or a pinch of cayenne when you mix the chili layer — it works perfectly without throwing off the texture!

1 week ago

My kids loved it! I was worried the Tex-Mex spice would be too much for my picky 7 year old but she asked for seconds before she even finished her first serving. Served it with crispy tortilla chips and a little dollop of sour cream on the side, perfect quick Sunday appetizer before we grilled burgers for dinner. Total win for a lazy weekend.

3 days ago

SO good! I made this for meal prep to have as a quick snack throughout the week, and the only thing I’ll change next time is draining the canned chili a little more — mine came out a tiny bit watery on the bottom. Flavor was 10/10 though, definitely a new staple!

2 days ago

Great tip about draining the canned chili! That’s such an easy fix for the watery layer — if you want extra richness, you can also stir in a tablespoon of cream cheese to the chili base before baking to help it hold together better. So glad you enjoyed the flavor!

2 hours ago

Wait, can I make this in a slow cooker instead of baking it? My oven is being weird right now and I’m supposed to bring this to my book club tonight, I already bought all the ingredients!

30 minutes ago

I did that last month! Cook it on low for 2 hours, stir it halfway through, and add the cheese on top the last 15 minutes — it turns out exactly the same, no oven needed!

2 weeks ago

Absolute game day staple. I made this for our college football tailgate last weekend, paired it with Fritos, tortilla strips, and even cut up bell peppers for the low carb folks in the group. Everyone was asking for the recipe, I can’t believe how fast it comes together for how impressive it tastes.

1 week ago

Oh the bell pepper dipper idea is genius! I’ve been looking for a dip that works for both my chip-obsessed husband and my low carb diet, this is perfect.

1 week ago

Love the bell pepper dipper hack! So smart to include options for everyone in the group — we’ve also seen folks use celery sticks or pork rinds as dippers for lower carb options too, works like a charm!

5 days ago

It was pretty good! I swapped the regular chili for vegetarian chili to fit my diet, and I think I added too much cumin when I doctored it up. Would make again but scale back the spices next time, the base recipe is really solid just easy to overdo the add-ins.

30 minutes ago

Just pulled this out of the oven and wow, I was so sure I’d mess it up since I barely ever cook! The instructions were so straightforward, I used the cheap canned chili from my campus grocery store and shredded a block of cheddar, and it tastes like something I’d pay $12 for at a restaurant. 10/10 for broke college students.

5 minutes ago

That makes us so happy to hear! This recipe is perfect for beginner cooks because it’s so forgiving — even with budget grocery store ingredients it turns out delicious. Great job making it your first solo baked dip!

yesterday

Made this for our family Christmas in July get together and even my super picky mother in law asked for the recipe. I added a layer of cream cheese at the bottom like I do for my other queso dips and it was chef’s kiss. Highly recommend that little hack!

2 hours ago

Wait the cream cheese layer is such a good call! I’m making this for my friend’s birthday cookout tomorrow, I’m definitely stealing that trick.

3 days ago

Really tasty! Made sure to use gluten free canned chili and served it with corn tortilla chips so my whole household could eat it, and no one could tell it was a GF swap. Only knock is I wish it had a little more tomato flavor, so next time I’ll stir in a small can of diced Rotel when I layer the chili. Otherwise great easy dip!

5 days ago

Hmm, mine came out super greasy? I used pre-shredded cheese which I know has that anti-caking coating, maybe that’s why? Flavor was okay but the oil pooling on top was kind of a turn off, I had to blot it with paper towels before serving.

4 days ago

Oh yeah pre-shredded cheese is definitely the culprit! I shred my own block cheese for dips now, no weird coating so it melts smooth without the grease layer. Give it another shot with fresh shredded cheese it’s so much better!

3 days ago

Great call from HomeCookHacks! Pre-shredded cheese does have that starch coating that can lead to a greasy finish as it melts — if you only have pre-shredded on hand, you can toss it with a tiny bit of cornstarch before sprinkling it on top to help it emulsify better and reduce pooling. Hope you give it another try!

1 week ago

Game changer for busy weeknights! I keep all the ingredients in my pantry now — canned chili, a block of cheddar, a bag of chips — so I can throw this together last minute if friends pop over unannounced. It’s 25 minutes total, zero fuss, always a crowd pleaser.

5 days ago

Wait why didn’t I think of keeping the ingredients stocked? I’m always scrambling last minute for snacks when people come over, this is going straight on my permanent pantry list!

just now

Just took my first bite and WOW. I added a handful of pickled jalapeños and a sprinkle of taco seasoning to the chili layer, and it’s got the perfect zing. This is going to be my go-to for every movie night from here on out, SO good.



