
chili queso dip
intro
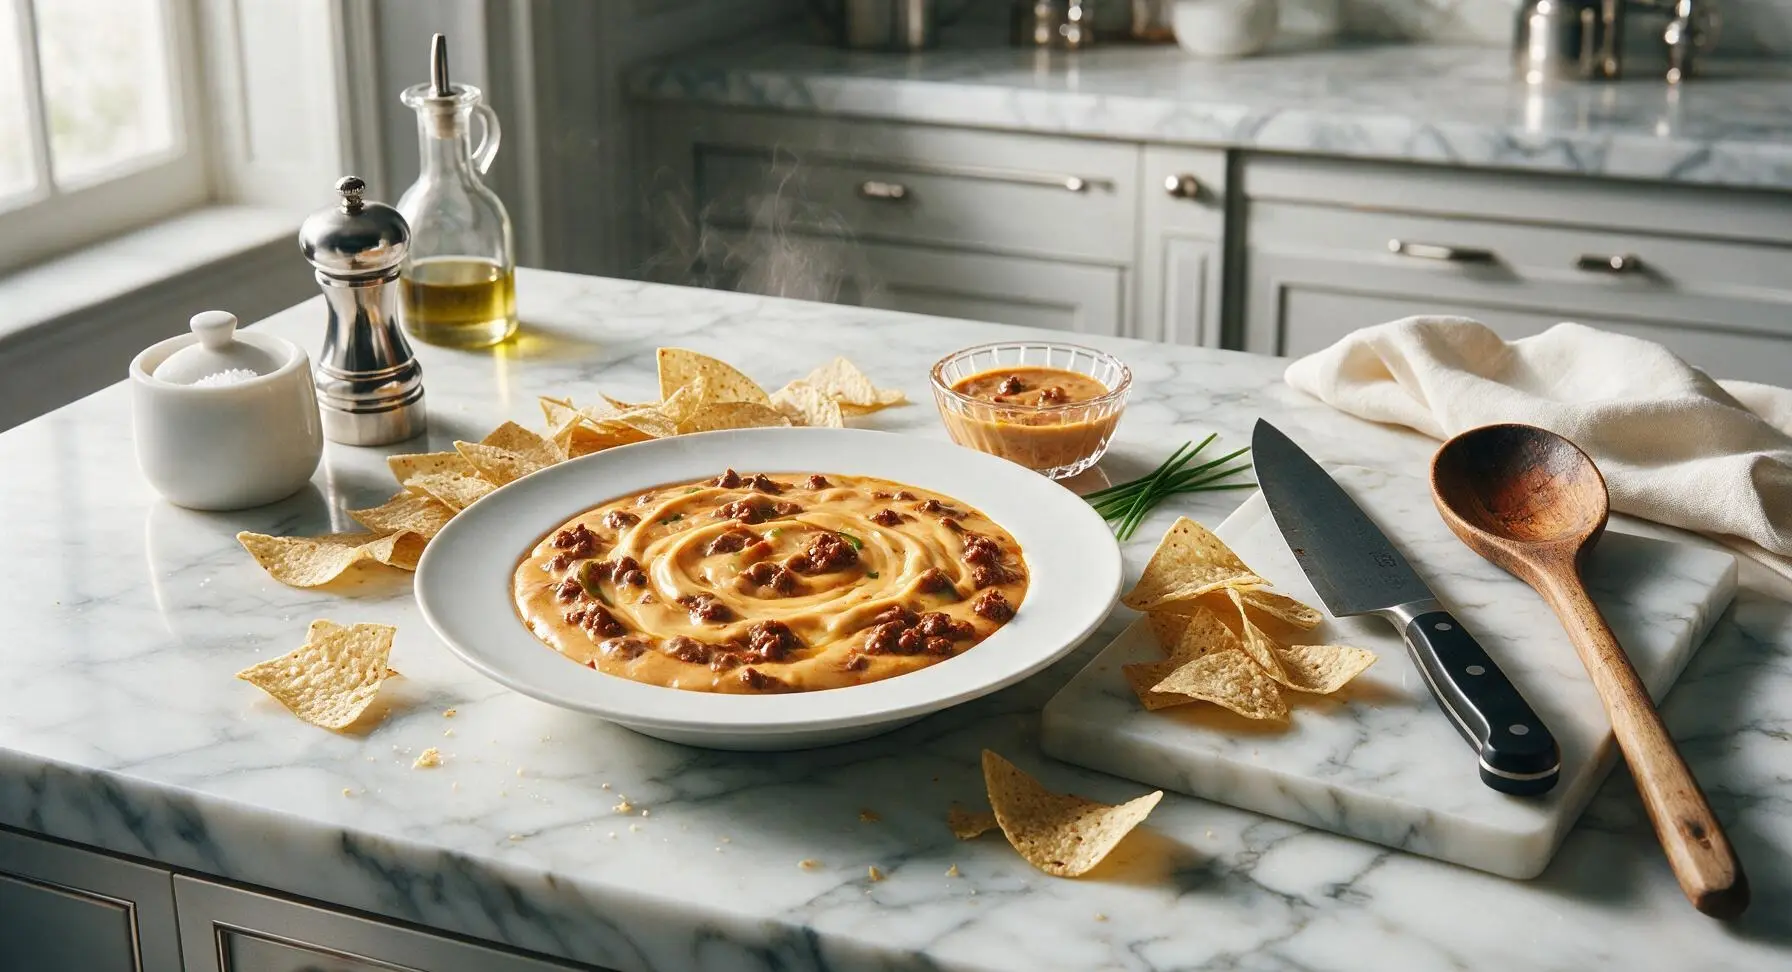
Velvety smooth melted cheese swirled with smoky beef chili and a hint of jalapeño heat, perfect for scooping with crispy tortilla chips at casual gatherings.
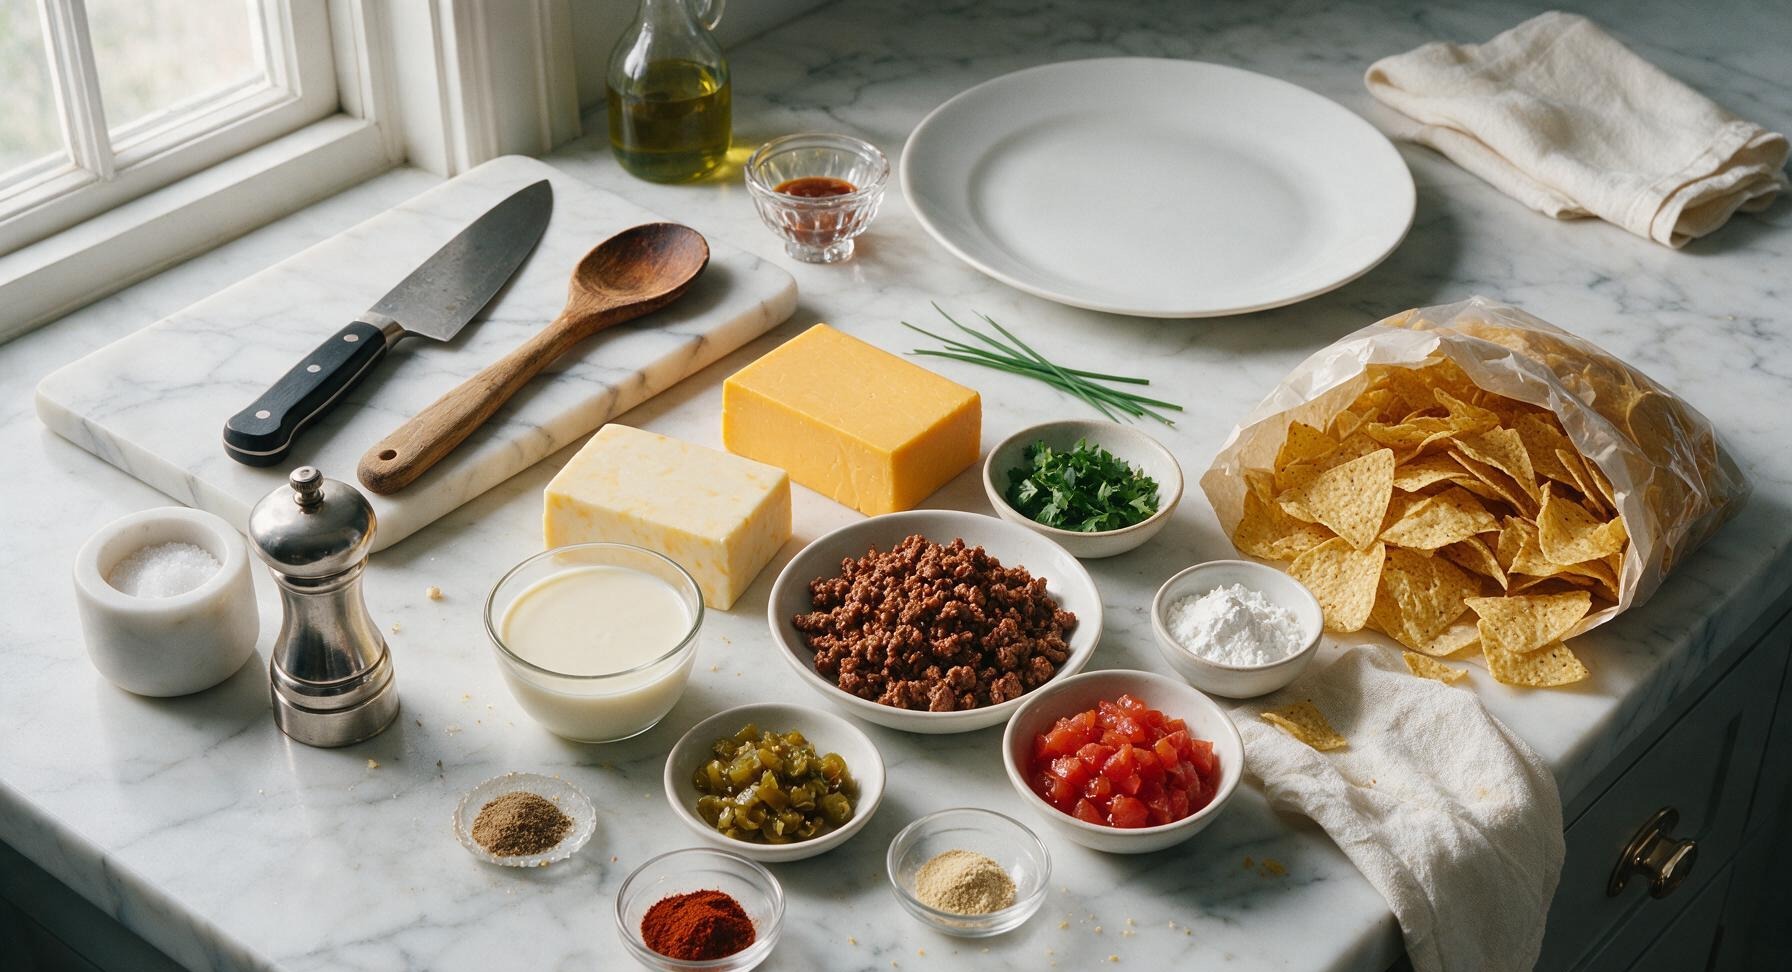
Ingredients
Steps
Grate and Coat Cheese
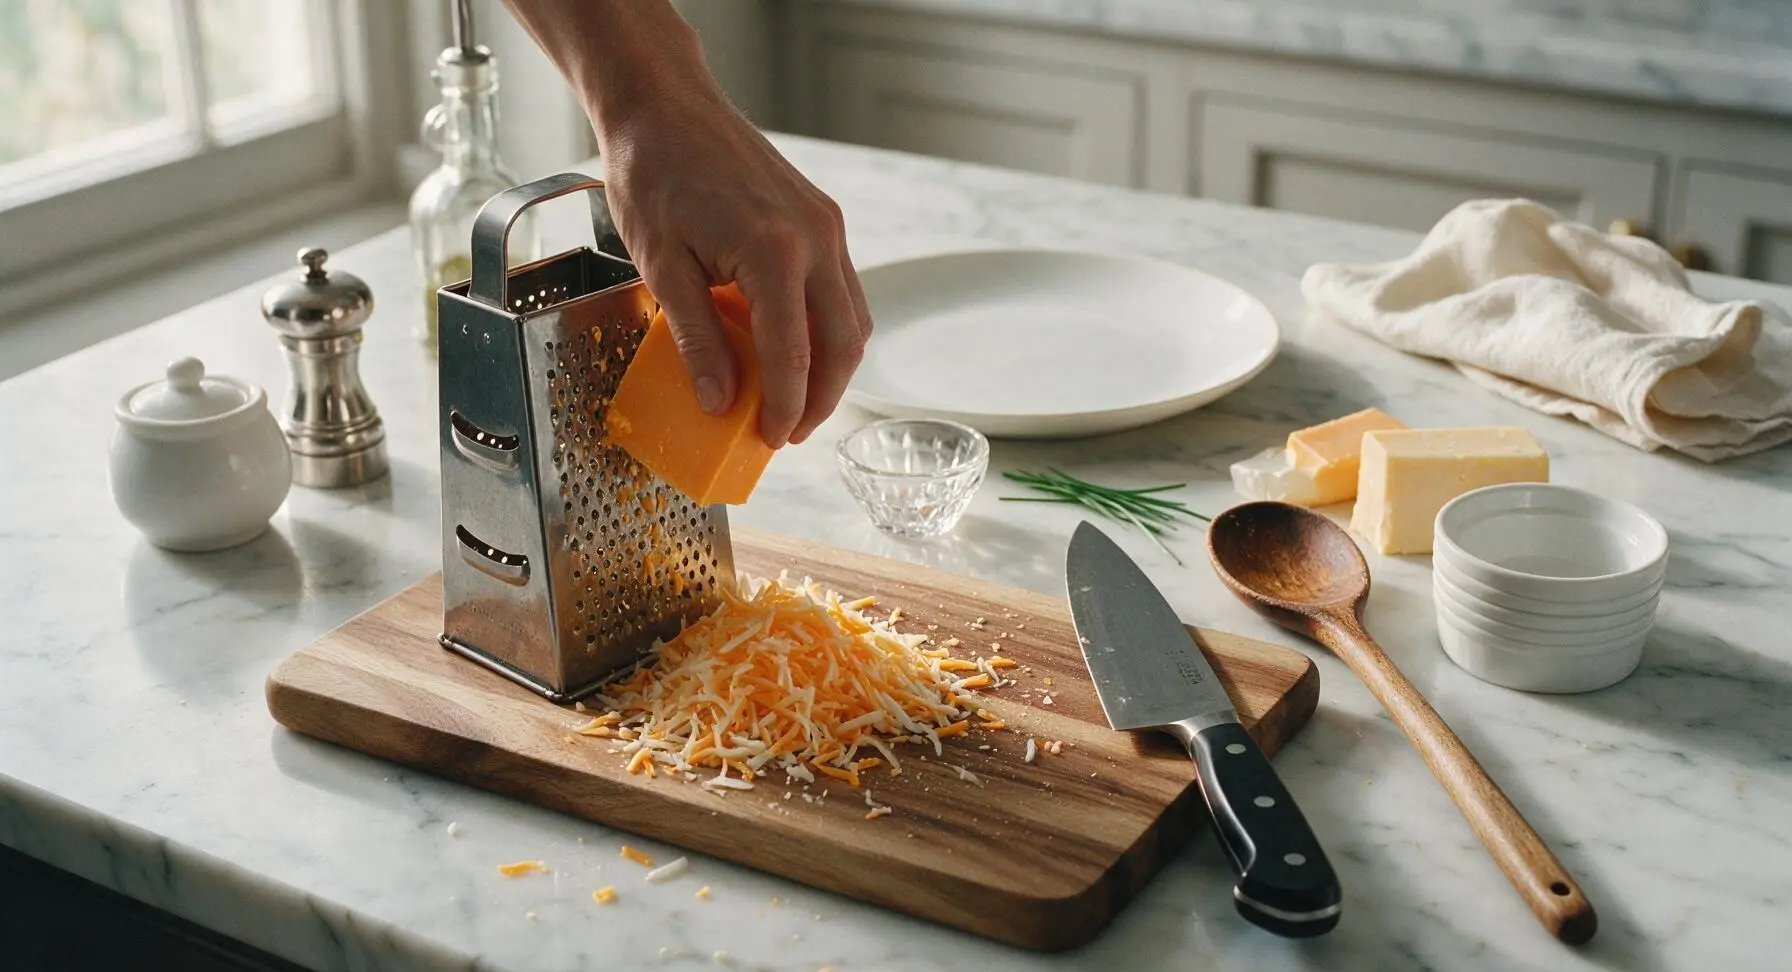
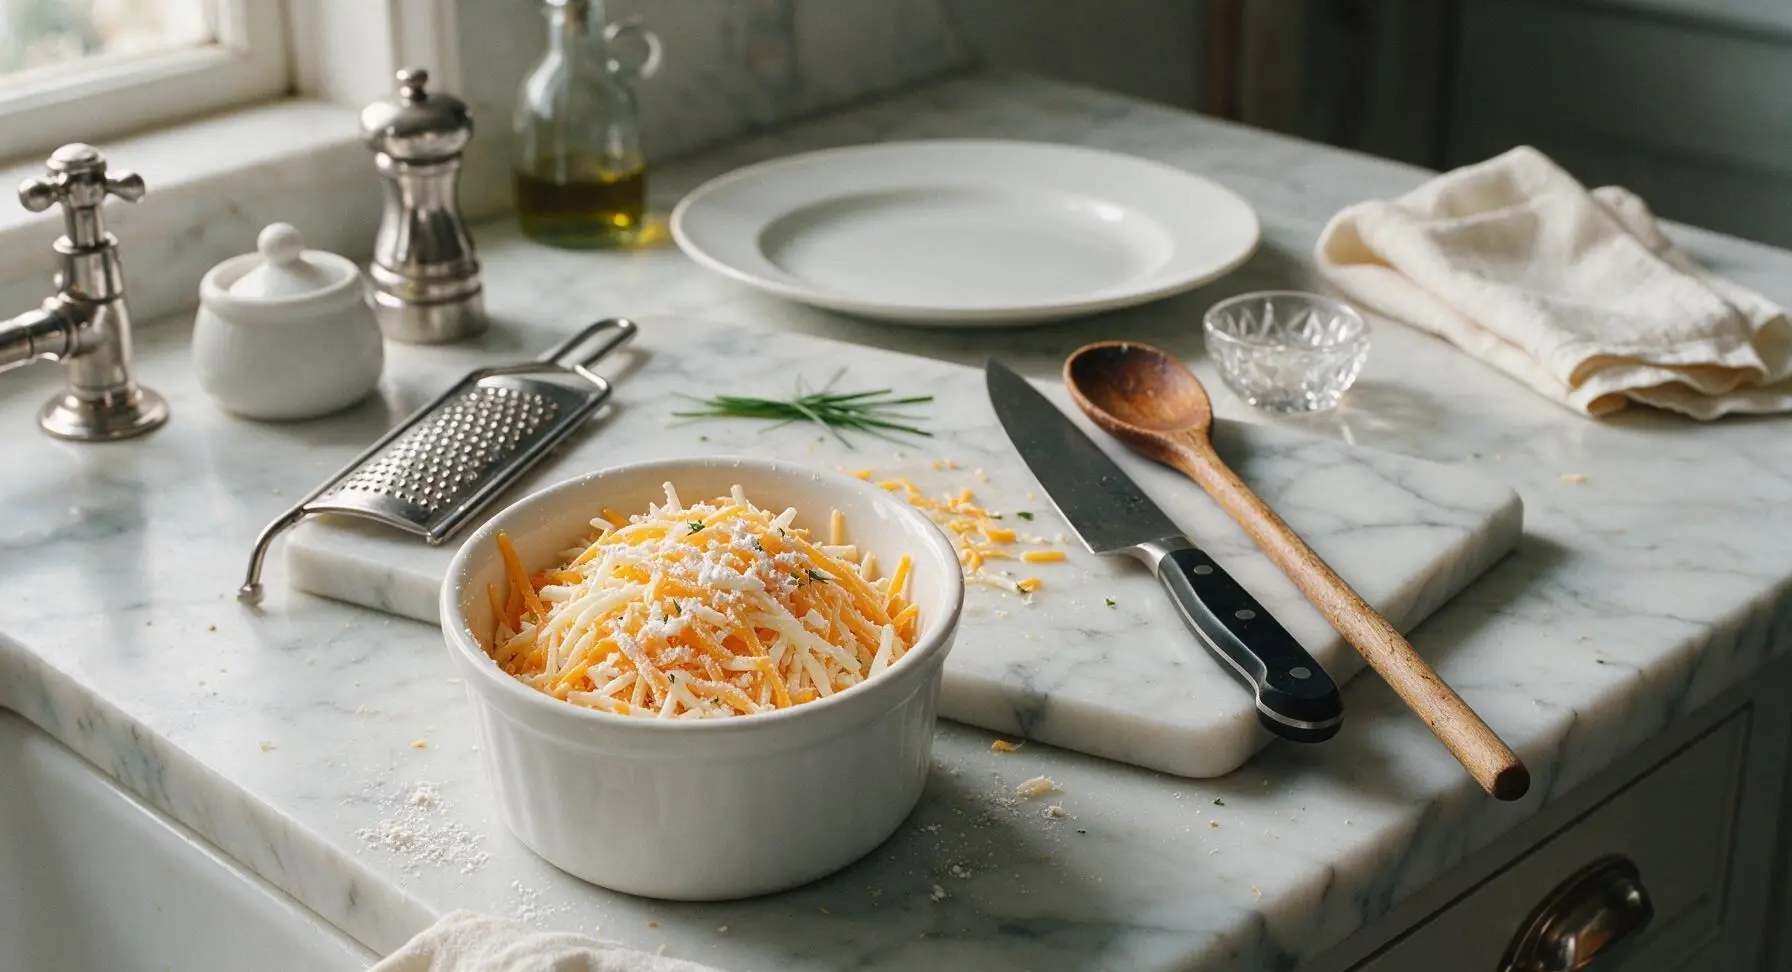
Place the acacia wood cutting board at the center of the soapstone prep zone, with the stainless steel box grater on its left edge and the chef’s knife on its right edge. Unwrap 225g sharp yellow cheddar and 115g Monterey Jack, then grate both on the coarse side of the box grater. Toss the combined shredded cheese with 1 tablespoon cornstarch in a white ceramic ramekin until every shred is lightly coated; this coating prevents cheese from separating or clumping as it melts. Set the coated cheese aside.
Prep Dip Mix-Ins
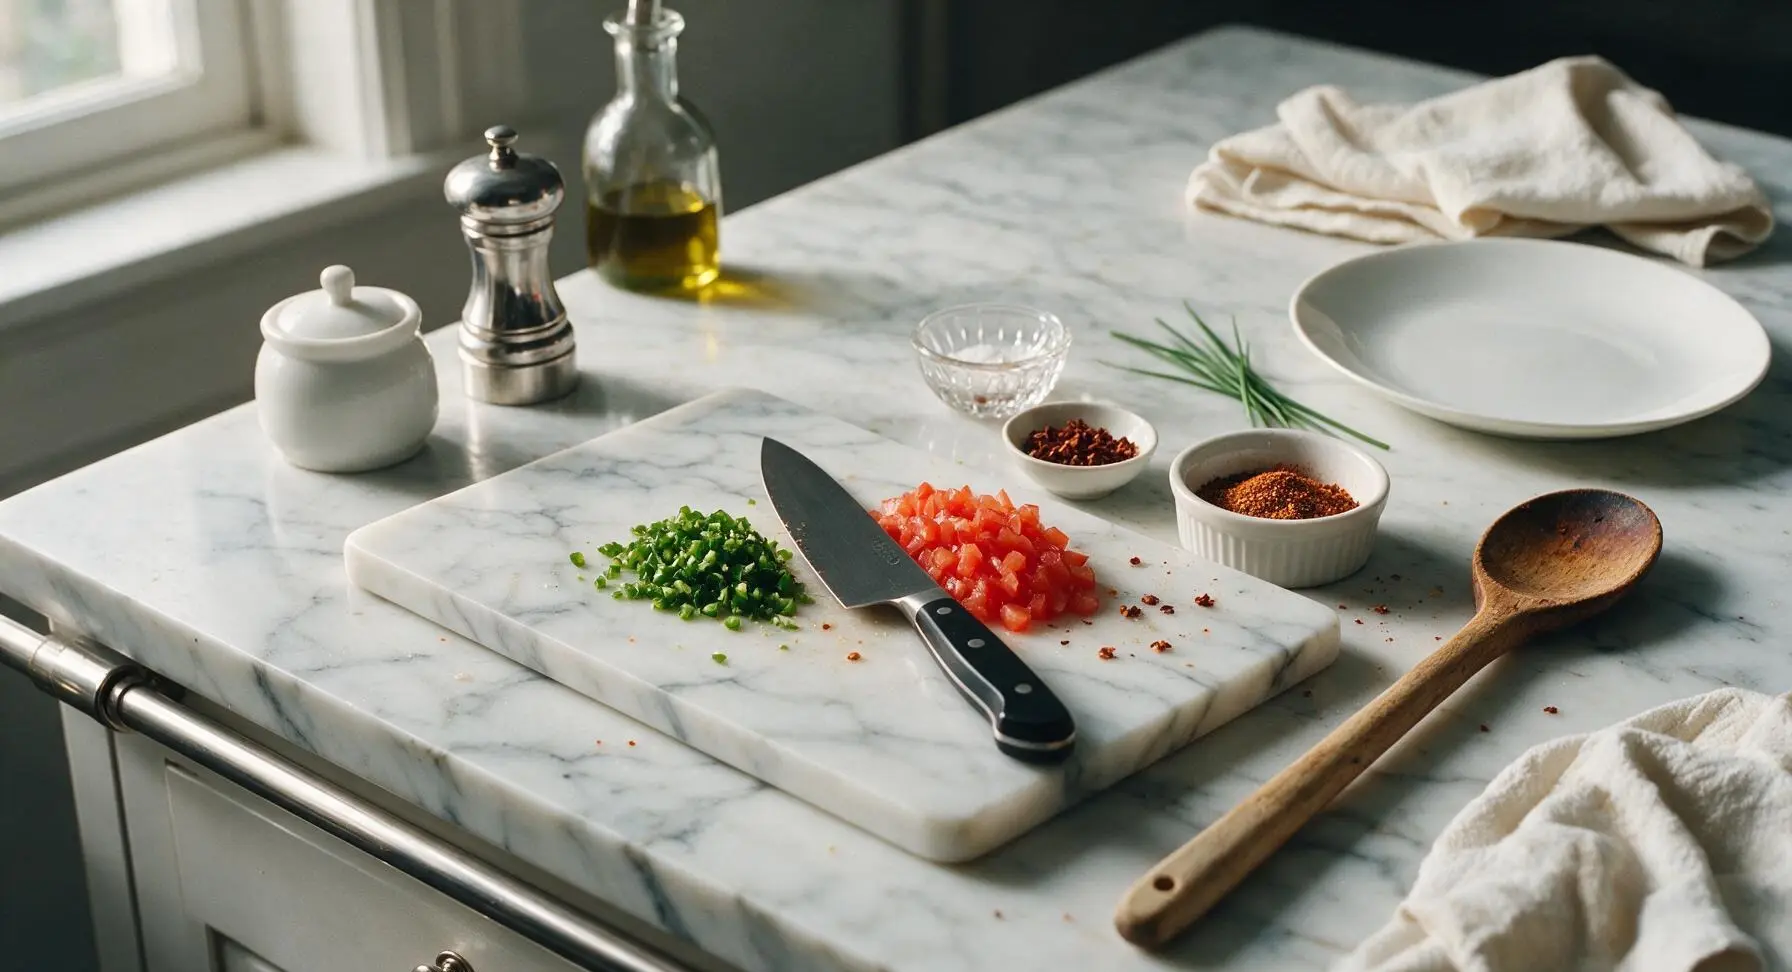
Use the chef’s knife to finely chop 2 tablespoons of pickled jalapeños, removing seeds for milder heat if desired. Pat 80g well-drained fire-roasted diced tomatoes dry with a corner of the burnt orange linen towel to remove excess moisture—watery tomatoes will thin the queso and cause graininess. Measure 1 teaspoon chili powder, 1/2 teaspoon ground cumin, and 1/2 teaspoon garlic powder into a second white ramekin, and fluff 150g cooked crumbled ground beef chili with a fork to break up large clumps.
Warm Evaporated Milk
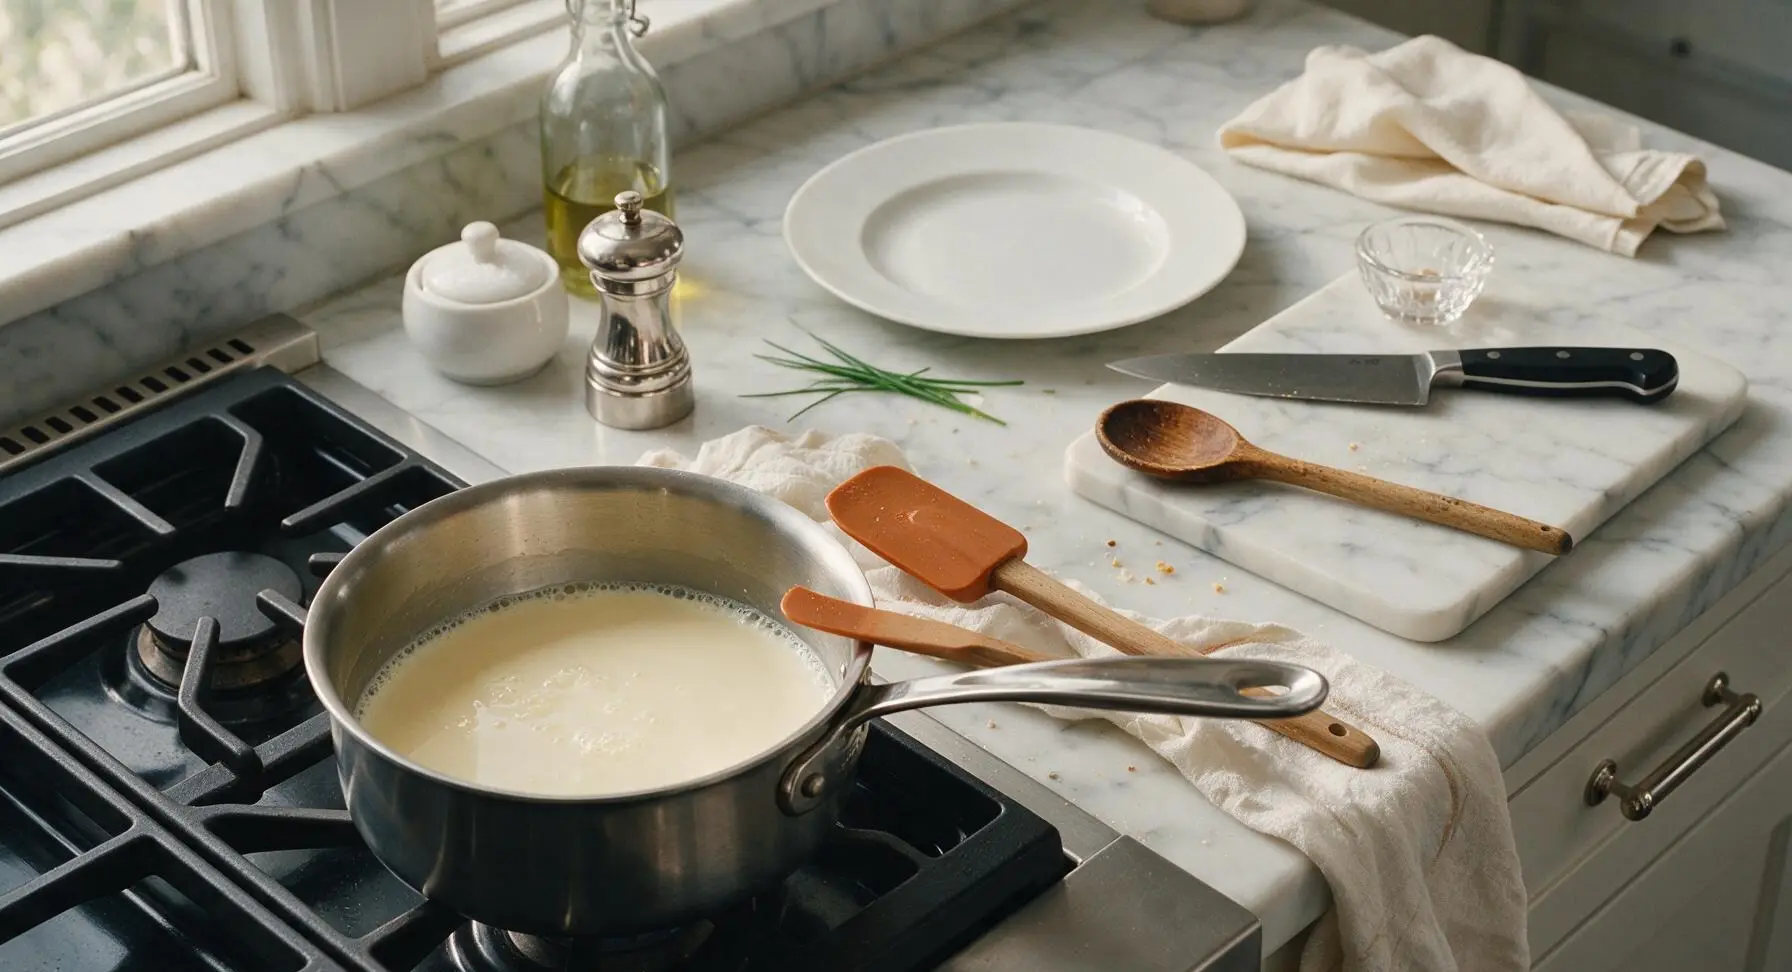
Retrieve the 2L heavy-bottomed stainless steel saucepan from the lower cabinet and set it on the matte black gas stovetop to the left of the prep counter. Pour 360ml evaporated milk into the pan, and heat over medium-low heat until it reaches a gentle simmer (approximately 82°C / 180°F), with tiny bubbles forming around the pan edges but no rolling boil. Boiling will scald the milk and lead to a grainy final dip.
Melt Cheese Gradually
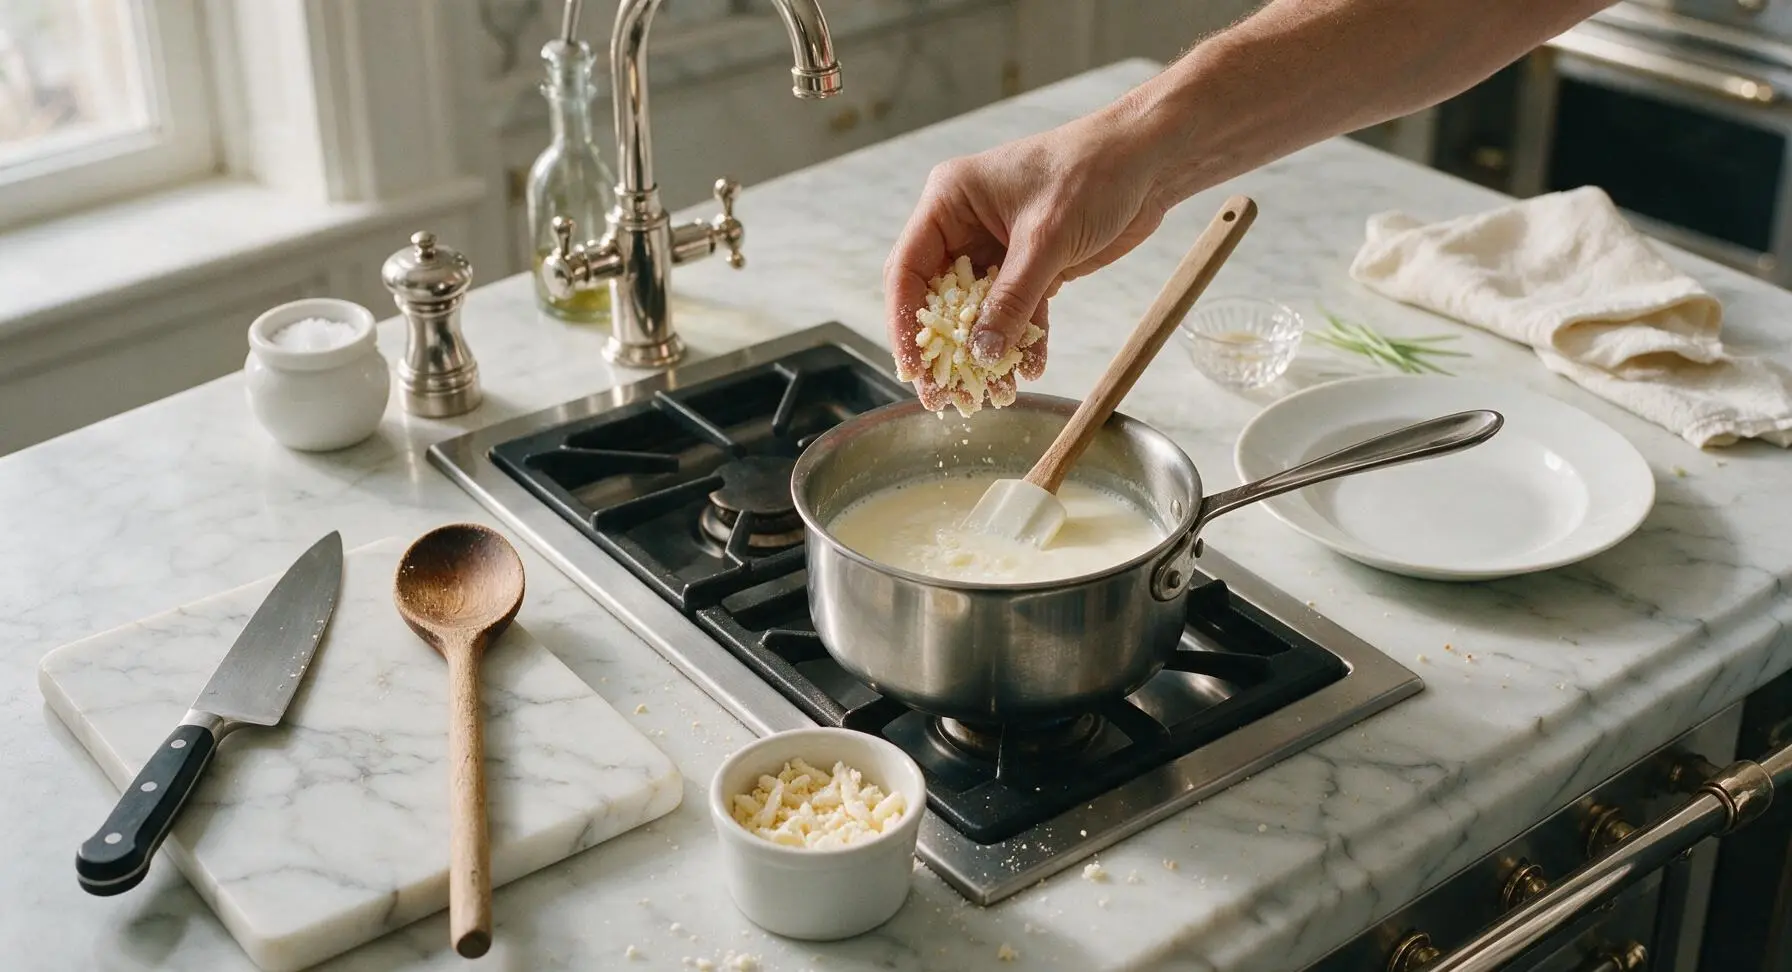
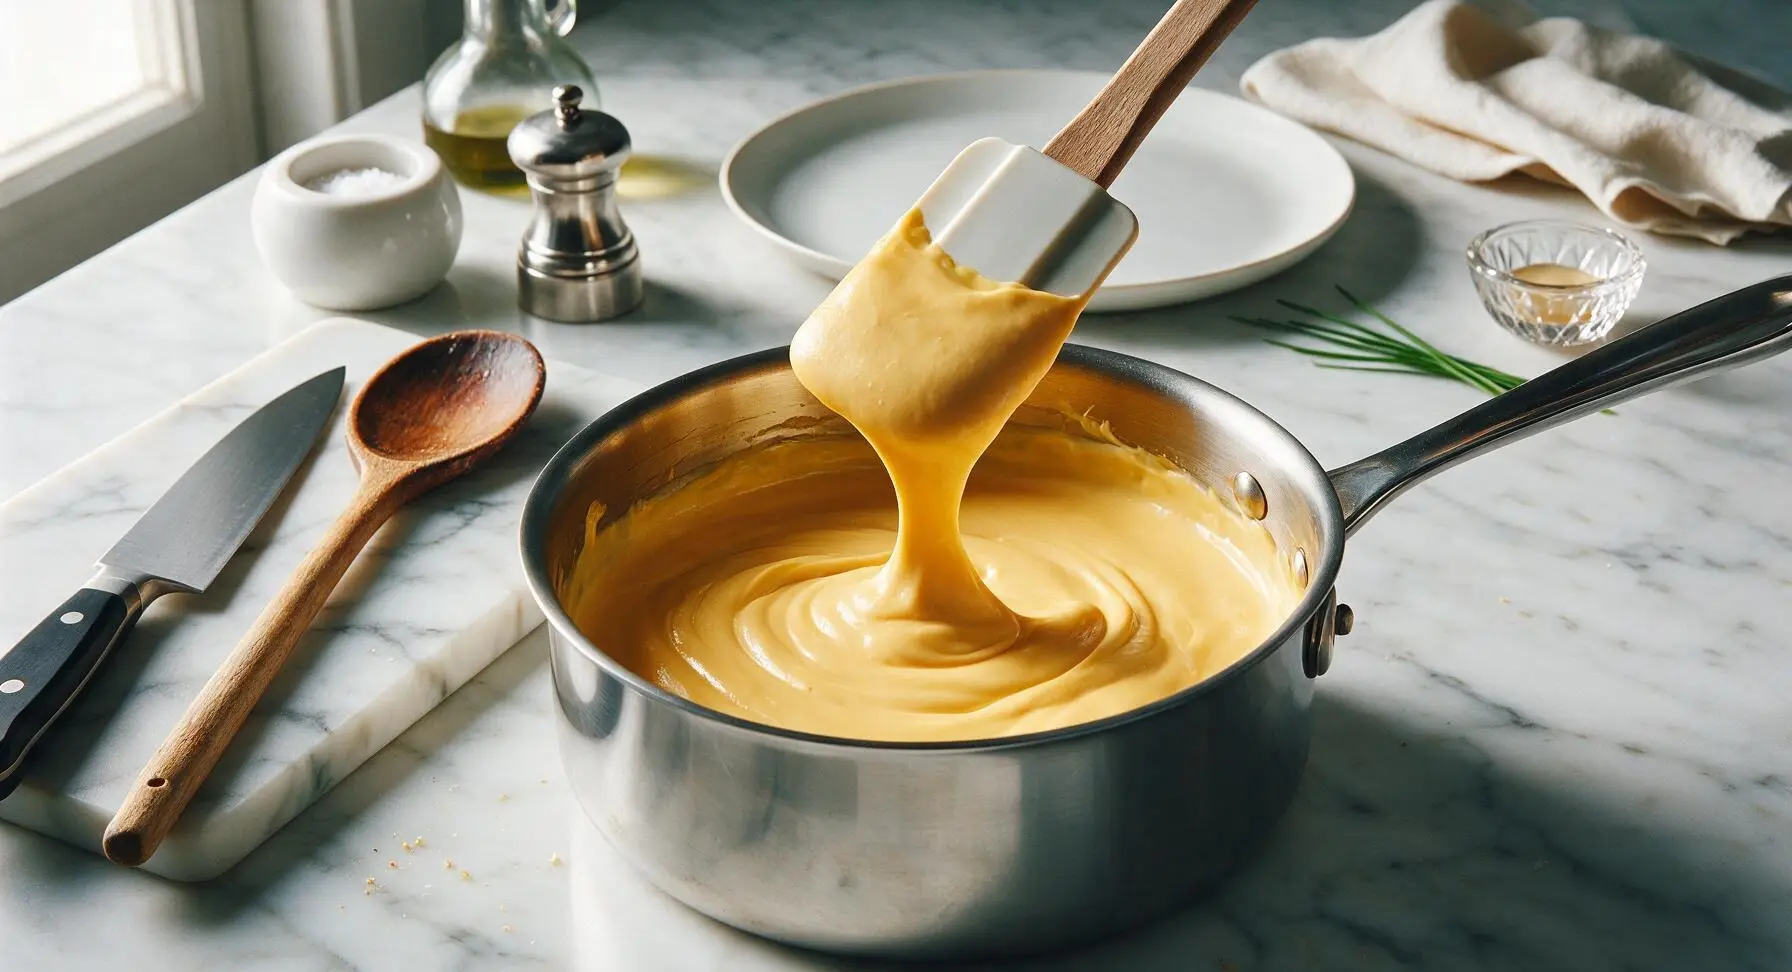
Once the milk reaches a gentle simmer, reduce heat to low. Add the cornstarch-coated shredded cheese one small handful at a time, stirring constantly in slow figure-8 motions with the silicone spatula. Wait until each handful is fully melted and smooth before adding the next; this process takes about 5 minutes total. Never turn heat up to speed melting, as high heat will cause cheese to seize into a rubbery, greasy mass. The finished cheese base will be thick, glossy, and able to evenly coat the back of the spatula.
Add Spices and Mix-Ins
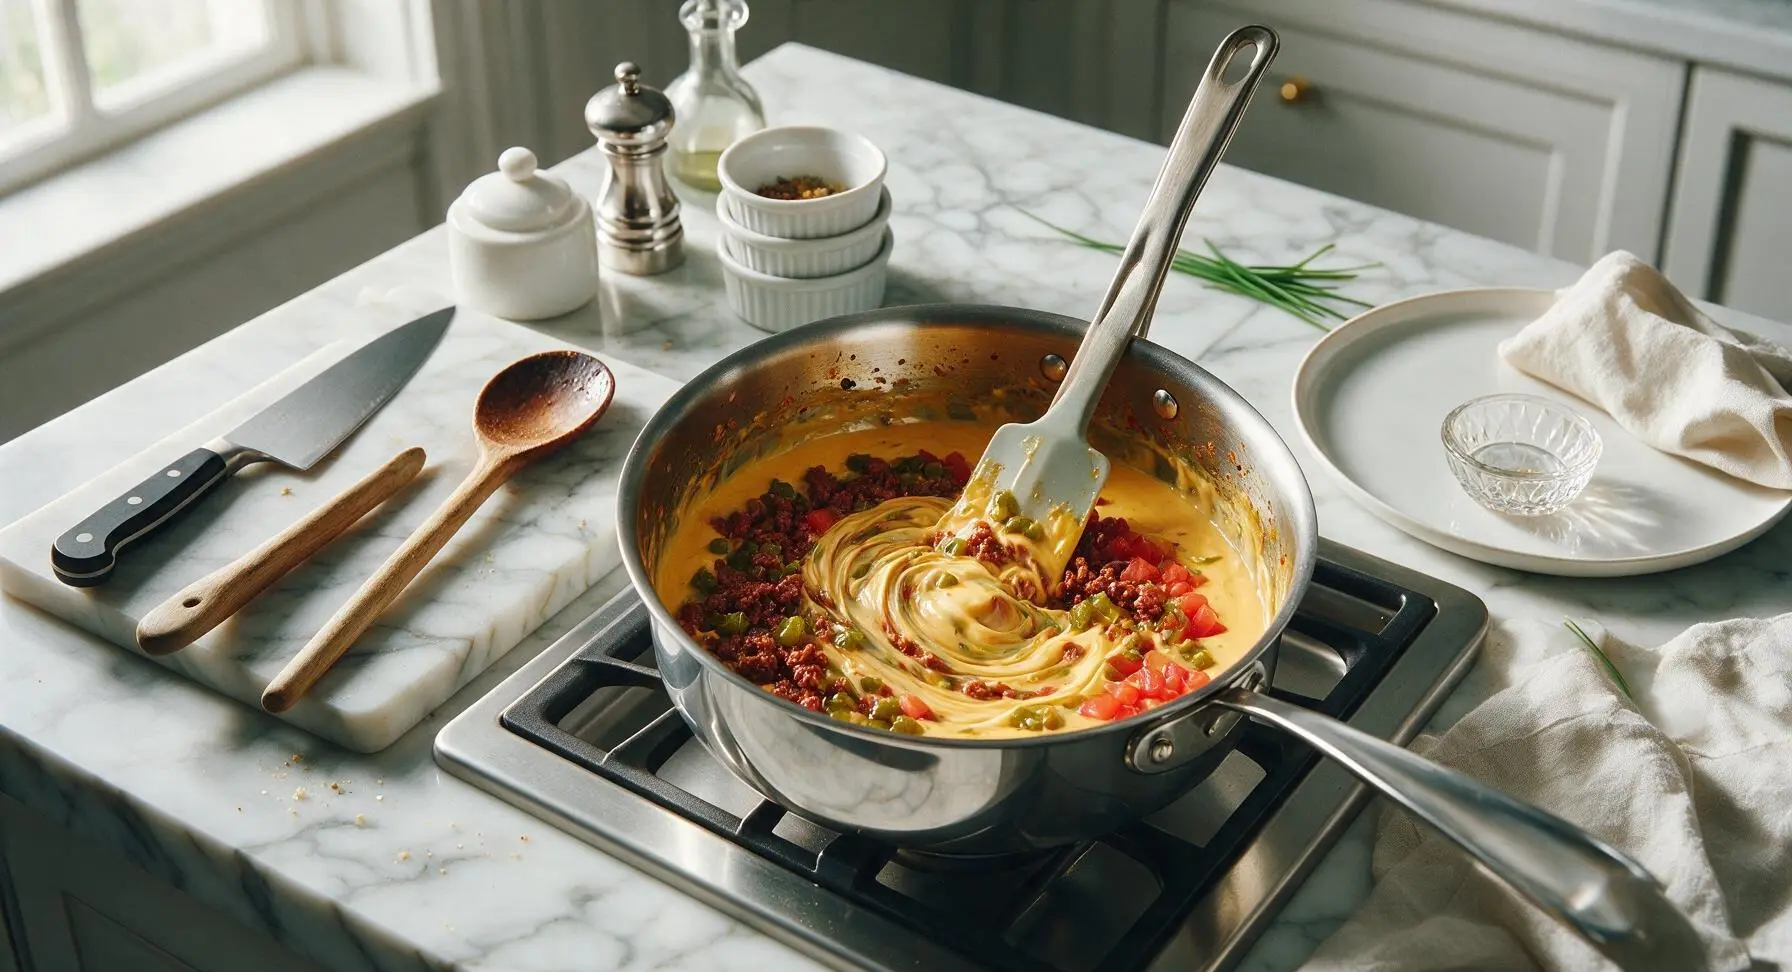
Keep the pan on low heat, then stir in the measured spice blend, chopped pickled jalapeños, patted-dry diced tomatoes, and crumbled cooked ground beef chili. Stir gently for 2 minutes until all ingredients are evenly distributed throughout the melted cheese, and the dip reaches an internal temperature of 74°C / 165°F. Taste and add a tiny pinch of flaky sea salt only if needed; the cheese, pickled jalapeños, and chili usually contain enough salt to season the dip fully.
Adjust Dip Consistency
Check the dip texture: if it is too thick, stir in 1-2 tablespoons of extra evaporated milk 1 teaspoon at a time until it reaches a smooth, dippable consistency that flows slowly off the spatula. If it is too thin, let it simmer on low for 1-2 more minutes, stirring constantly, until it thickens slightly. Turn off the stovetop heat once the texture is correct.
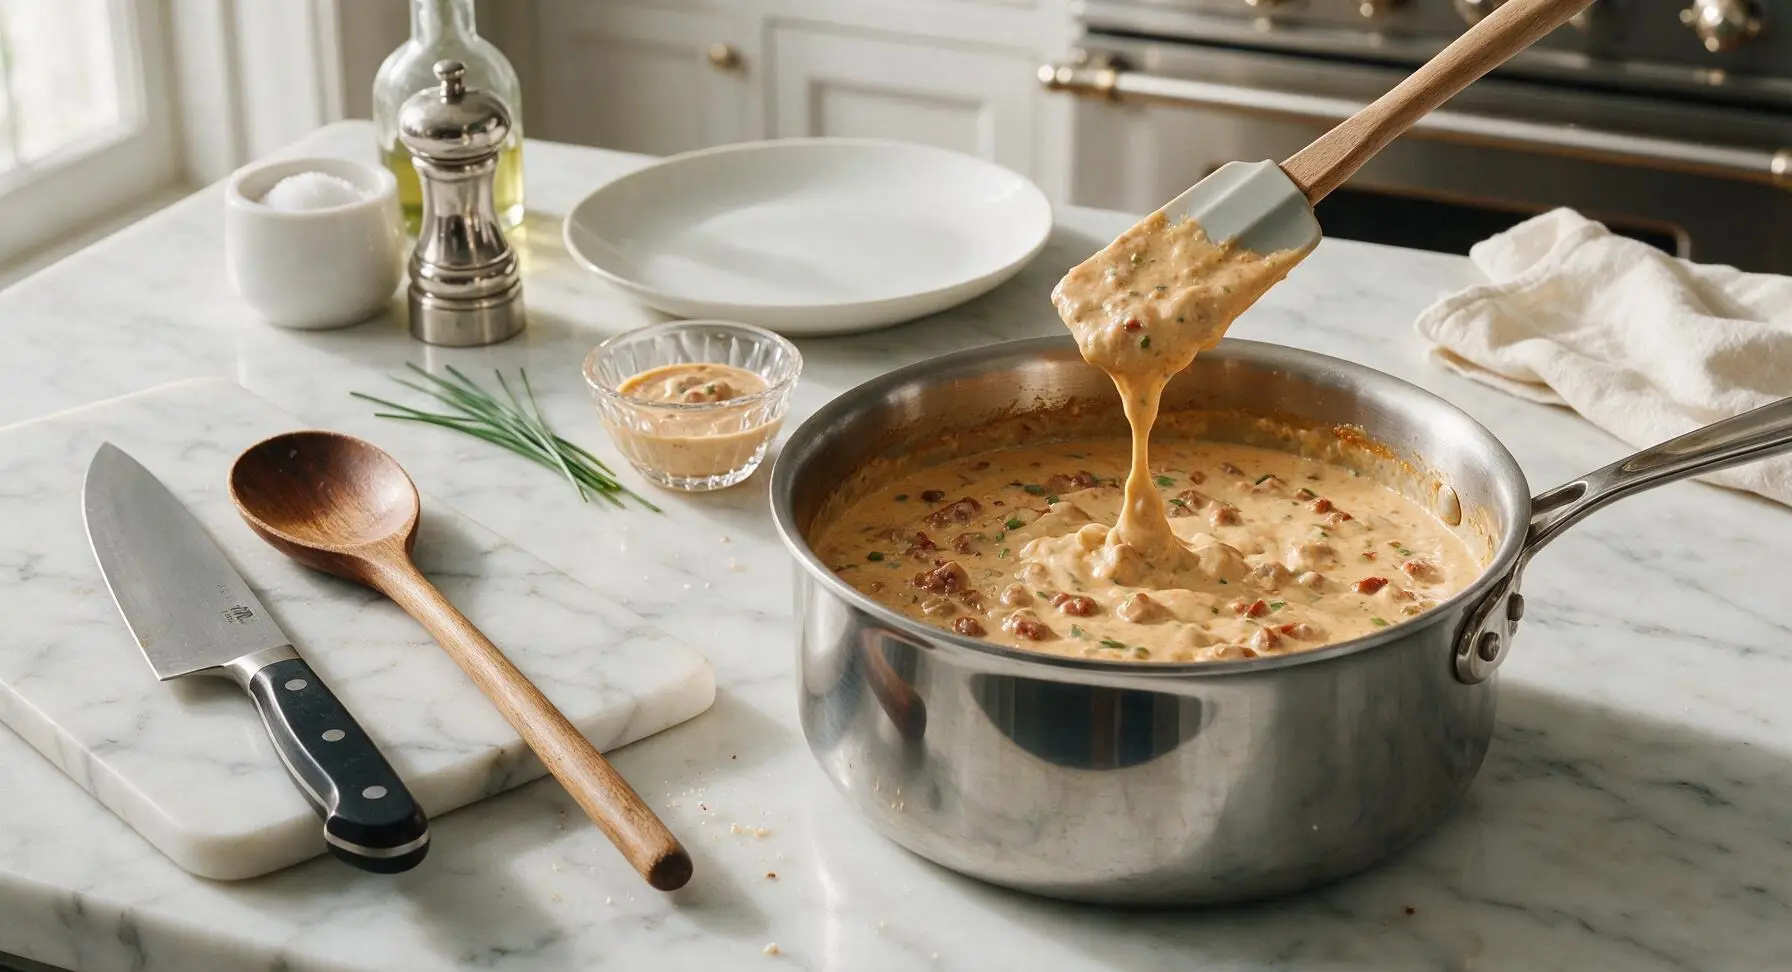
Plate and Garnish Queso
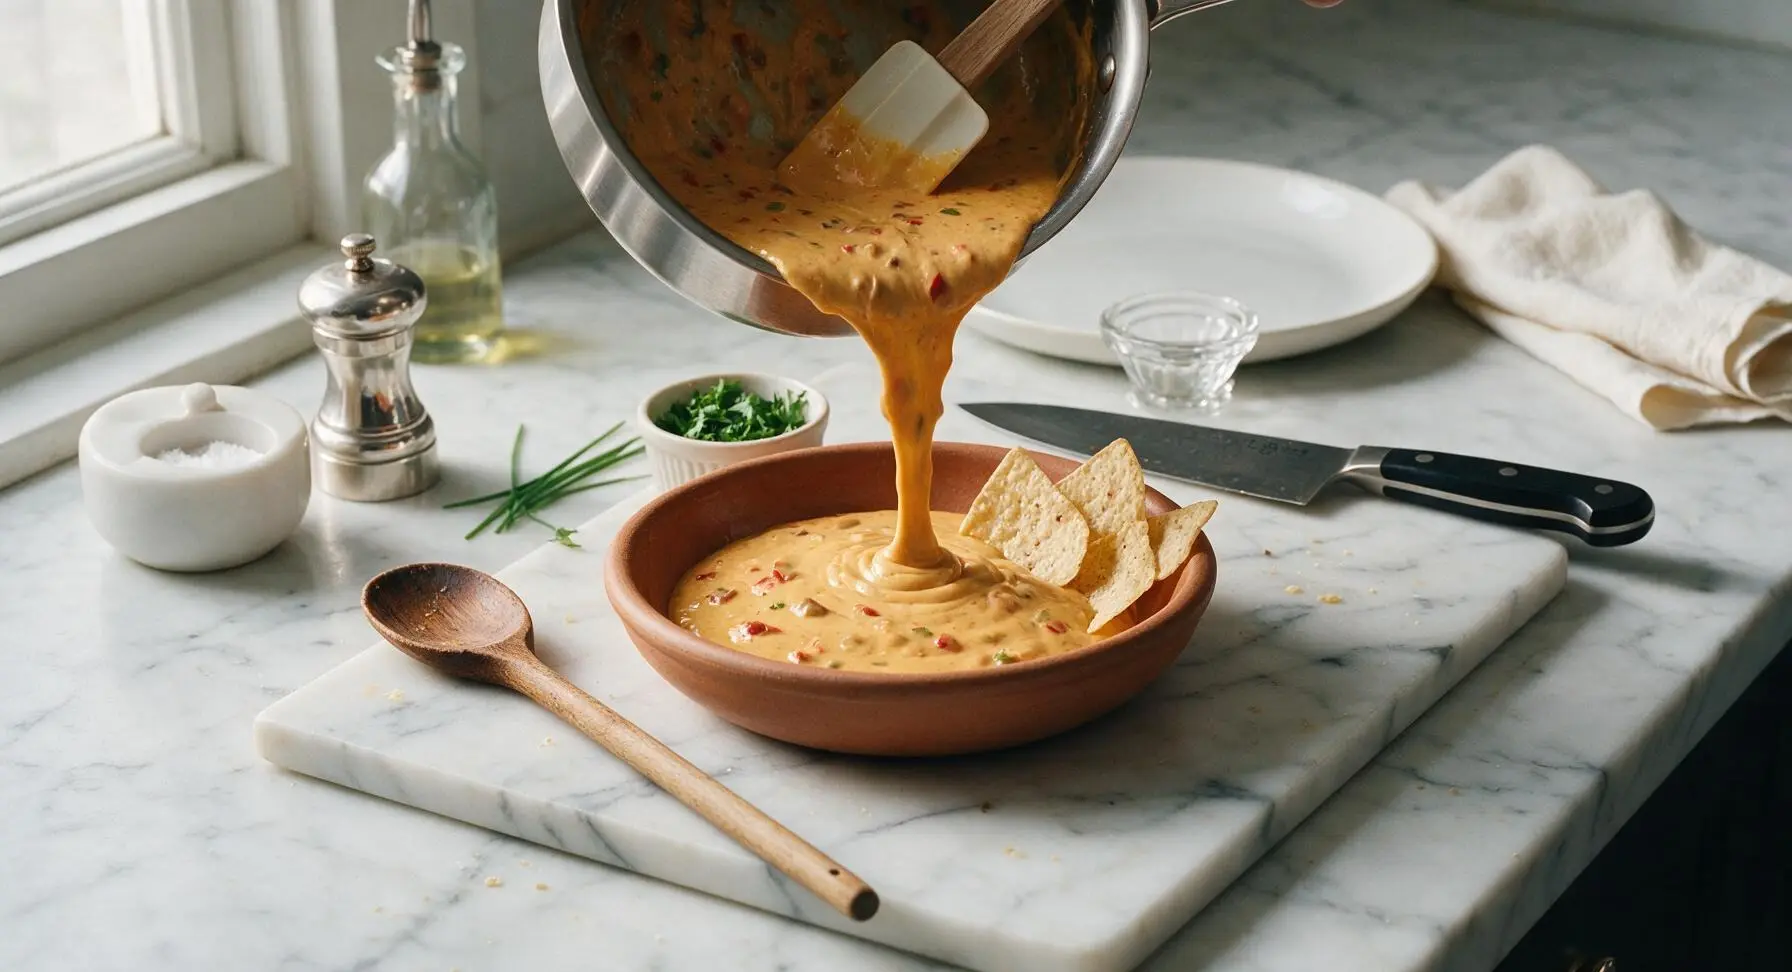
Set the 22cm matte terracotta shallow serving bowl at the center of the acacia wood cutting board. Carefully pour the warm chili queso into the bowl, using the silicone spatula to scrape every bit of dip from the pan sides. Swirl the top surface of the dip gently with the tip of the spatula, then sprinkle 2 tablespoons of chopped fresh cilantro evenly across the top. Lean 3-4 tortilla chips against the inner rim of the bowl, and serve immediately while warm, with extra tortilla chips on the side for scooping.
Tips
2.Keep heat on low throughout the cheese-melting process: cheese proteins break down and separate from fat at temperatures above 160°F (71°C), leading to a greasy, rubbery dip instead of the velvety, smooth texture you want. Constant, slow stirring helps distribute heat evenly.
3.Pat all wet mix-ins (drained tomatoes, pickled jalapeños) completely dry with a linen towel or paper towel before adding them to the cheese: excess water from canned vegetables will cause the melted cheese emulsion to break, resulting in lumpy, separated queso even with cornstarch as a stabilizer.






OMG this queso is a GAME CHANGER! I made it for our neighborhood potluck last night and people were begging me for the recipe before I even set the bowl down. It’s so creamy, has just the right kick from the chili, and only took 15 minutes? I’ll never buy the jarred store-bought queso again.
Made this for my kids’ after-school snack today and they went crazy for it! I used the leftover chili I had in the fridge from Sunday dinner and it came together so fast, total no-brainer. 10/10, even my picky 7 year old asked for seconds. Only regret is I didn’t make a double batch because the whole bowl was gone in 10 minutes flat.
Super easy to make in my dorm microwave, which is a huge win! I used a can of store-brand chili and a block of cheap cheddar and it still slapped. Only reason it’s not 5 stars is I burned the first batch when I zapped it too long, oops. Definitely gonna be a staple for late-night study sessions from now on.
Brought this to our fantasy football watch party on Sunday and it was the real MVP. Served it with tortilla chips, tater tots, and even little smokies for dipping, chef’s kiss. I did add a handful of pepper jack to the cheese mix for extra flavor and it did not disappoint. 10/10 will be making this every Sunday for the rest of the season.
SO good! I live in Arizona and take my queso very seriously, so I was skeptical a 15 minute recipe could live up to the restaurant stuff, but wow. I added a can of green chiles and a dash of hot sauce and it tasted exactly like the queso from my favorite local Mexican spot. So easy I made it twice in one week.
This is my new go-to for last minute get-togethers! I made it when my kid’s soccer team showed up at our house after practice last week and all the parents were asking for the recipe. It’s so simple even my teenager can make it without burning the house down, win win.
Tried this for my first ever hosted game night and it was a total hit! The only tweak I’ll make next time is draining the chili a little better because my first batch came out a tiny bit runnier than I wanted. Otherwise it was super straightforward, no fancy cooking skills needed, and all my friends raved about it. Will definitely be adding this to my regular rotation.