1.Do I need to roast the raw mixed nuts before coating them in chocolate?
▾
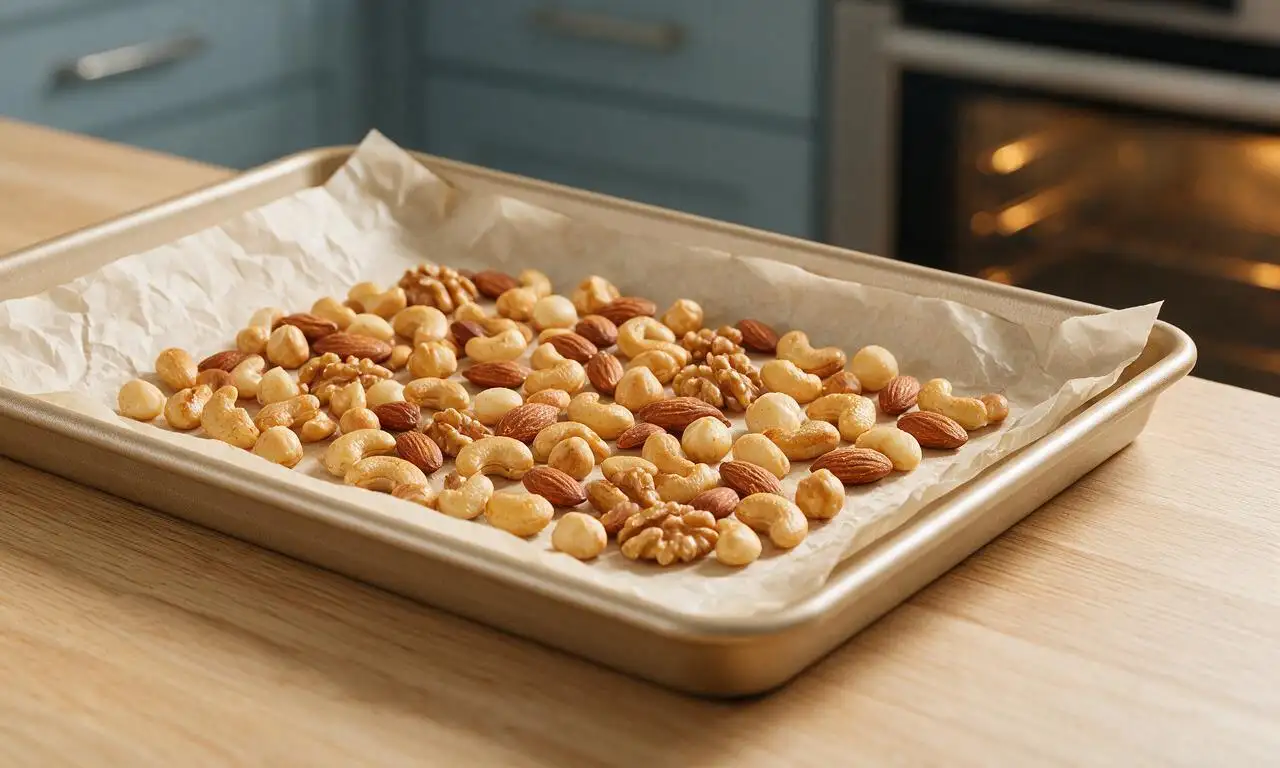
Yes, absolutely—roasting amplifies the nuts’ natural, earthy nuttiness and adds extra shatteringly crisp crunch that pairs perfectly with rich dark chocolate. Spread them in a single layer on a baking sheet, roast at 325°F for 8-10 minutes until fragrant, then let them cool completely before coating to prevent uneven chocolate melting.
2.Why do you add refined coconut oil to the melted dark chocolate?
▾
Refined coconut oil thins melted chocolate just enough to create a smooth, even coating that doesn’t clump too thickly on the nuts, and it helps the chocolate set with a satisfying snappy, non-greasy texture. Unlike unrefined coconut oil, the refined version has no strong coconut flavor that will compete with the chocolate and nuts.
3.Can I use a lower percentage dark chocolate instead of 70% for this recipe?
▾
You absolutely can, though 70% dark chocolate strikes the ideal balance of deep, not-too-sweet cacao flavor that cuts through the richness of the nuts. If you prefer sweeter treats, opt for 50-60% dark chocolate, but skip milk or white chocolate here unless you add extra cocoa butter to help them set firmly at room temperature.
4.How do I prevent the chocolate from seizing when I melt it?
▾
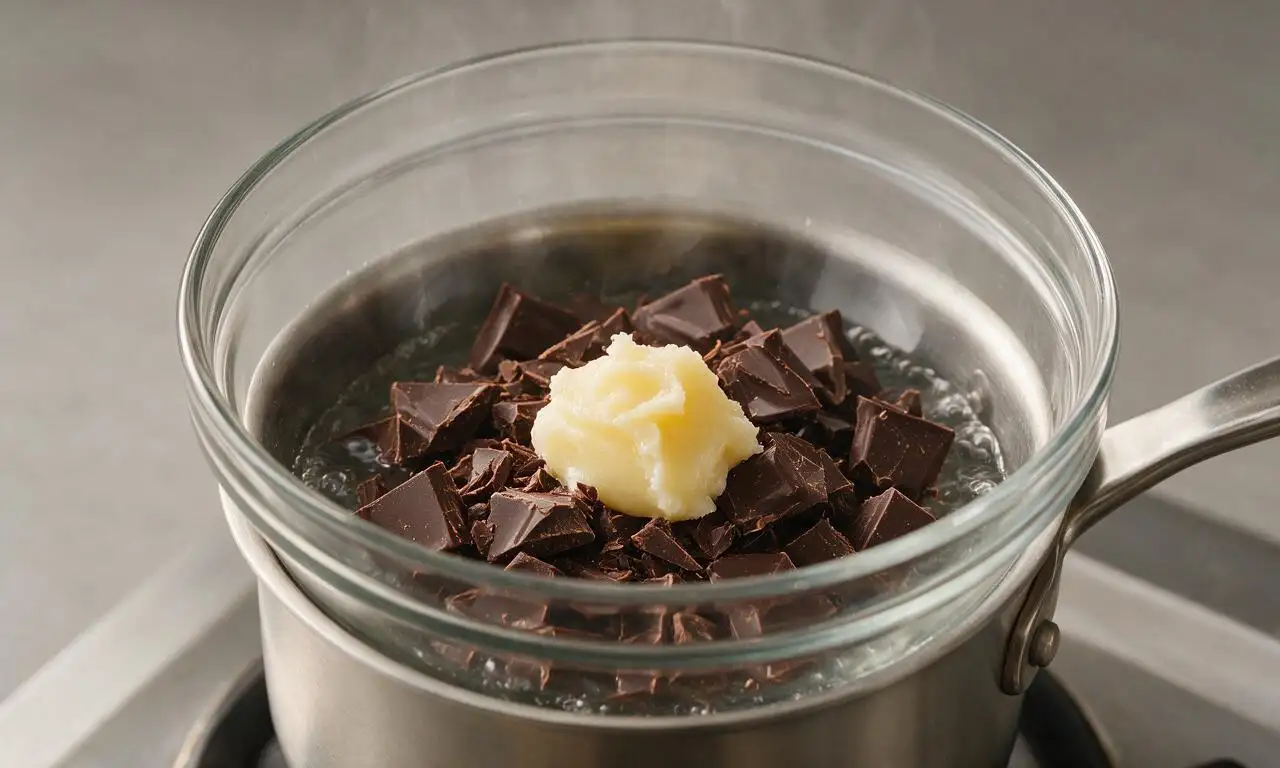
Seizing happens when even a tiny drop of water comes into contact with melting chocolate, so make sure all your bowls, utensils, and cooled nut surfaces are completely dry before you start. Melt chocolate and coconut oil in 30-second microwave bursts, stirring between each, or use a double boiler over barely simmering water to avoid overheating.
5.Do I have to temper the chocolate for this recipe?
▾
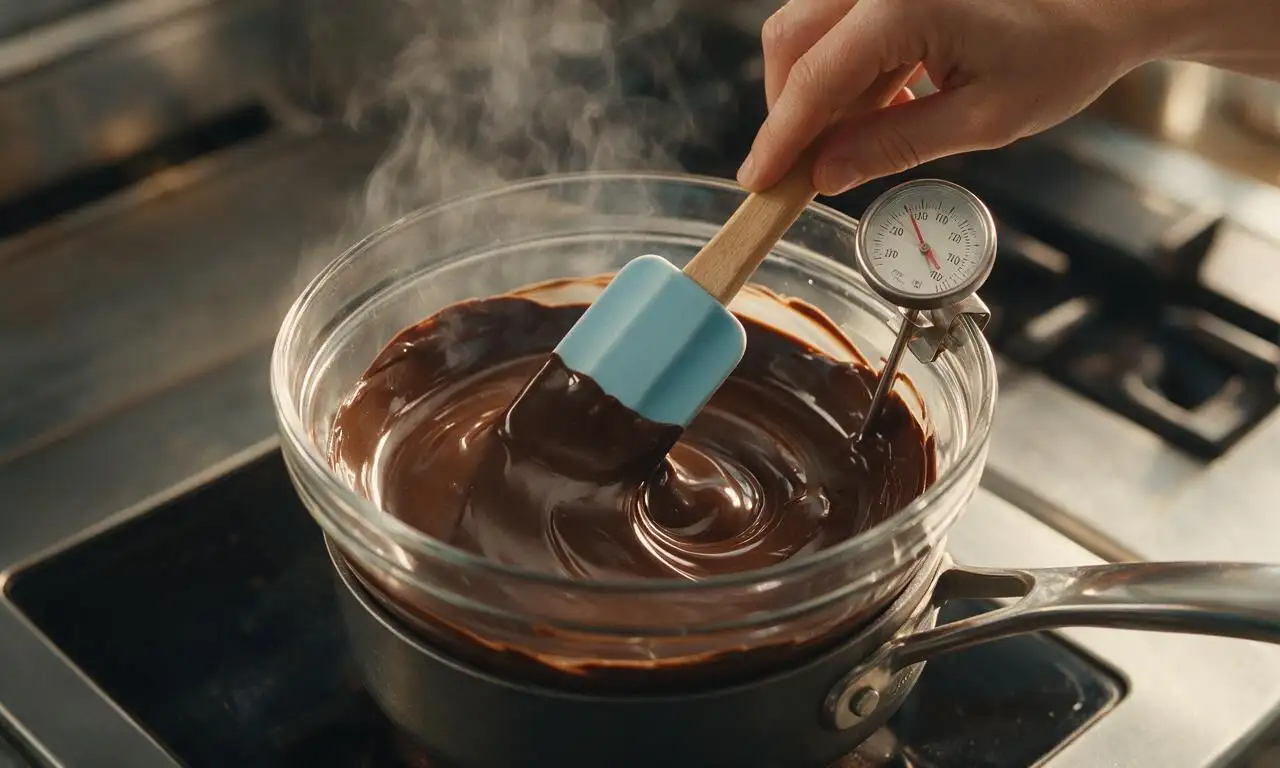
You don’t need to do a full formal temper if you’re making these for quick at-home snacking, as the small amount of coconut oil helps the chocolate set firmly. That said, a quick temper (heating chocolate to 88°F, then cooling slightly) will give you a glossier finish, longer shelf life, and snappy bite ideal for gifting.
6.Can I swap the mixed nut blend for a single type of nut if I don’t have all the varieties?
▾
Of course! The almond, cashew, pecan, walnut blend is chosen for its mix of crunchy, buttery textures and complementary flavors, but you can use any single nut or custom blend you prefer. Stick to raw, unsalted nuts for roasting so you can control salt levels, and skip pre-honey-roasted or heavily salted varieties.
7.How do I get the flaky sea salt to stick to the chocolate without dissolving?
▾
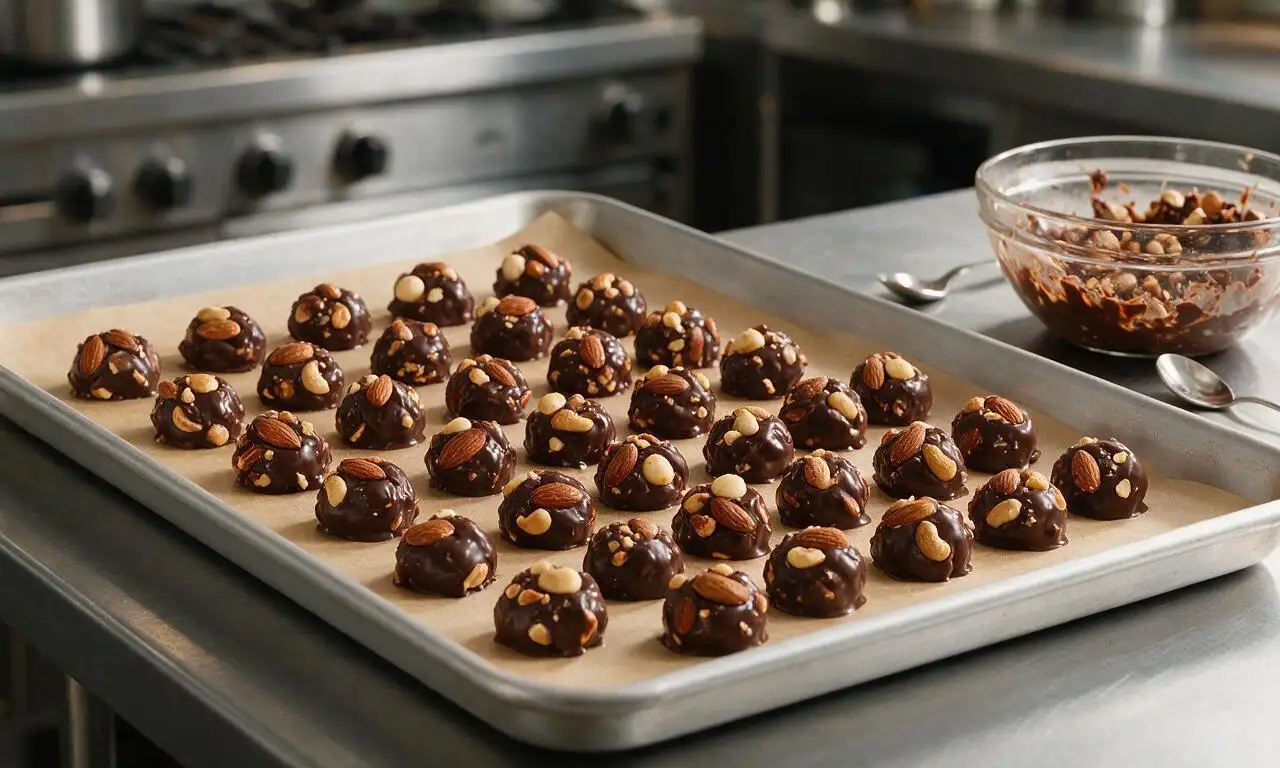
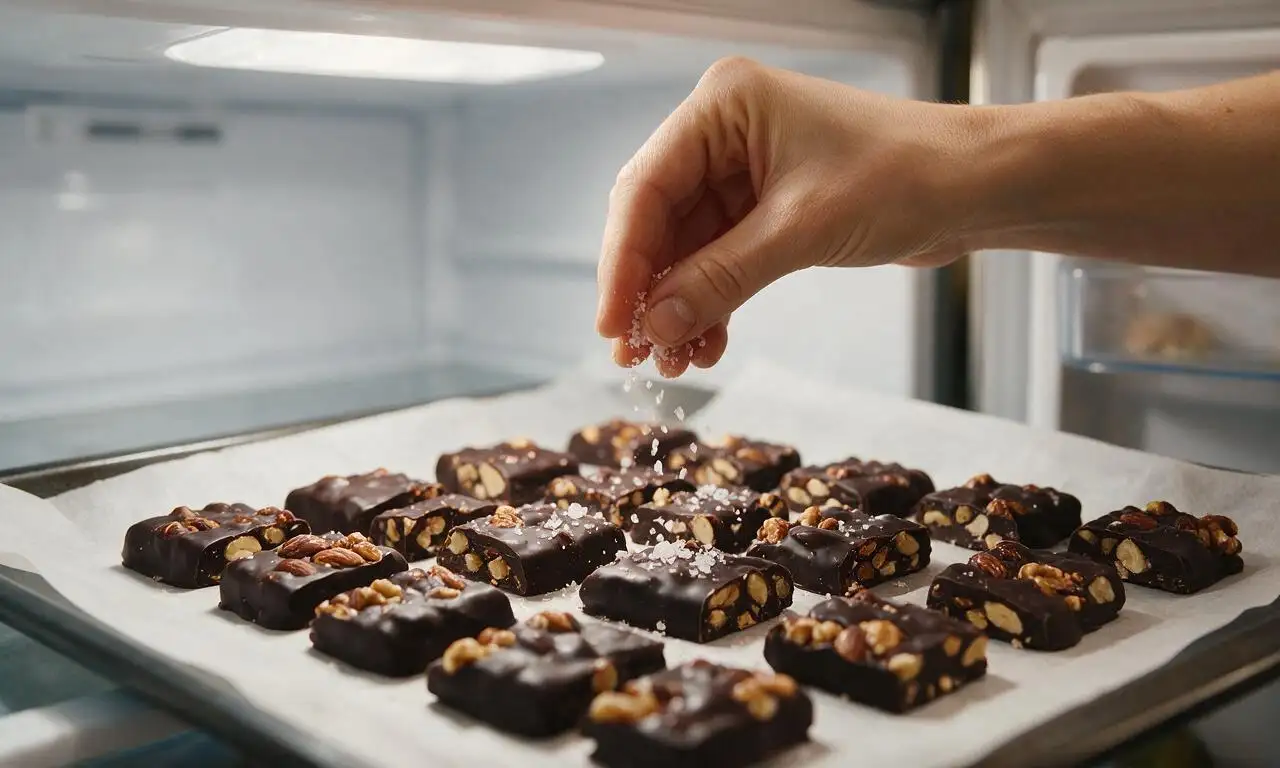
Timing is key here! As soon as you transfer chocolate-coated nuts to a parchment-lined baking sheet in a single layer, sprinkle the flaky sea salt over the top within 1-2 minutes. If you wait too long, chocolate will set and salt won’t adhere; if you sprinkle too early, salt can sink into warm chocolate instead of sitting on the surface for that bright savory pop.
8.How long do these chocolate covered nuts stay fresh after I make them?
▾
Stored in an airtight container in a cool, dark spot (around 65-70°F, away from direct sunlight or stove heat), these will stay fresh and crunchy for up to 2 weeks. If your kitchen is particularly warm, you can store them in the fridge, but let them come to room temperature for 10 minutes before serving for the best flavor and texture.
9.Can I freeze these chocolate covered mixed nuts for longer storage?
▾
Yes, they freeze beautifully! Arrange fully set nuts in a freezer-safe airtight container with layers separated by parchment paper to prevent sticking, and freeze for up to 3 months. Thaw them in the sealed container in the fridge overnight, then let them sit at room temp for 15 minutes before serving to avoid condensation making the chocolate soggy.
10.Why are my chocolate coatings turning streaky or blotchy after they set?
▾
That chalky, streaky discoloration is called fat bloom, and it happens when chocolate gets too warm while setting, causing cocoa butter to separate and rise to the surface. It’s totally safe to eat, but to avoid it, let coated nuts set in a cool, consistent temperature spot and don’t stir them while the chocolate is still wet and curing.
11.What’s the easiest way to coat the nuts evenly in chocolate without making a huge mess?
▾
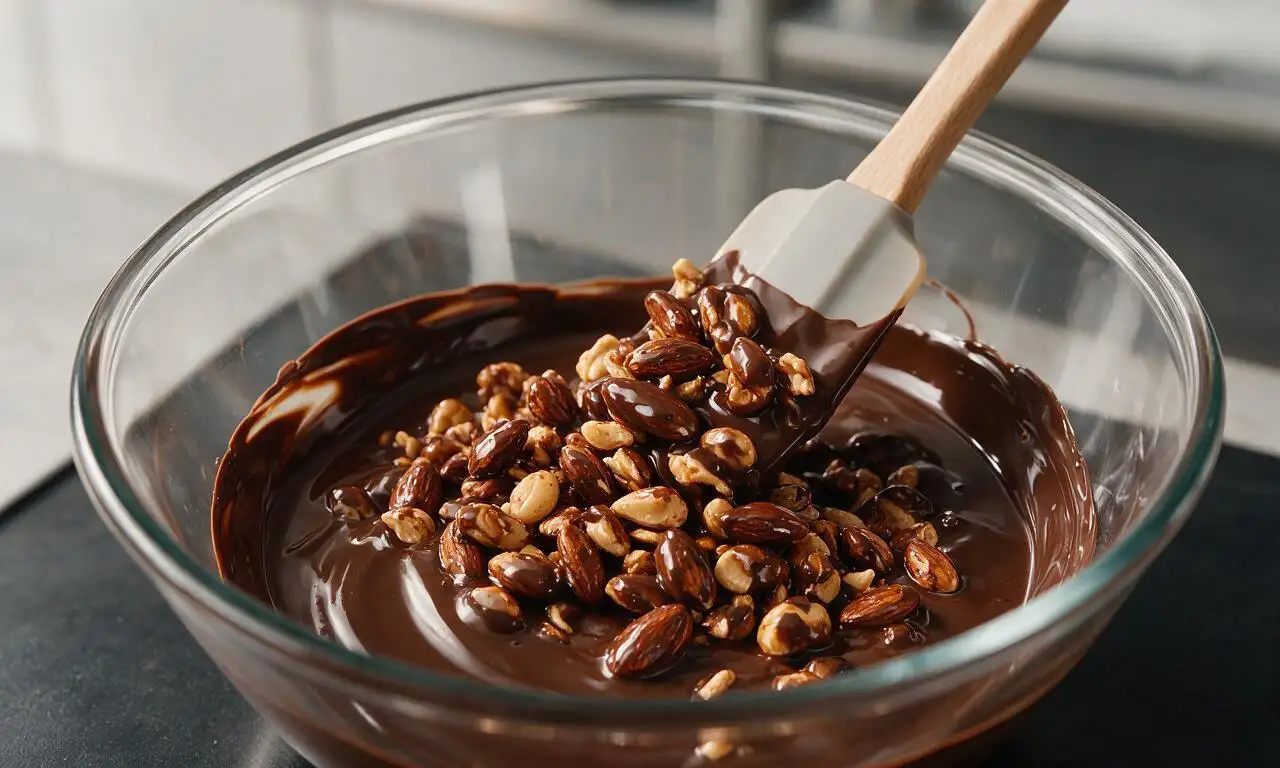
The least messy, most consistent method is to pour the melted chocolate-coconut oil mixture over fully cooled roasted nuts in a large mixing bowl, then stir gently with a silicone spatula until every nut is evenly coated. Use a slotted spoon to lift nuts out, letting excess chocolate drip off for a few seconds before transferring them to your parchment-lined sheet.
12.Can I add extra mix-ins to these chocolate covered nuts for more flavor?
▾
Absolutely! Once nuts are coated in chocolate, you can toss in small add-ins like toasted coconut flakes, crushed freeze-dried raspberries, mini cacao nibs, or a light dusting of cinnamon before the chocolate sets. Just avoid adding anything too wet or syrupy, as that can cause chocolate to seize or turn soggy during storage.
13.Is refined coconut oil absolutely necessary, or can I use a substitute?
▾
If you don’t have refined coconut oil, you can swap it for an equal amount of melted unsalted cocoa butter, which will give you the same snappy chocolate set without added flavor. In a pinch, neutral vegetable shortening works too, but avoid butter or unrefined coconut oil—both add competing flavors and can make the coating too soft at room temperature.
14.How do I package these to give as holiday gifts without the chocolate sticking together?
▾
First, confirm the chocolate is 100% fully set before packing—test one nut with a light squeeze; it shouldn’t dent or leave chocolate on your fingers. Pack them in decorative tins or cellophane bags with small squares of parchment paper between layers, and keep them out of warm spots during transport to prevent melting that causes sticking.
15.My nuts turned soggy after I coated them in chocolate—what did I do wrong?
▾
Soggy nuts almost always come from one of two common missteps: either you didn’t let roasted nuts cool completely before coating them, trapping warm steam that softens the nut and makes chocolate slide off, or you stored nuts in a too-humid spot that let condensation seep into the coating. Let roasted nuts cool a full 15 minutes post-roast, and store them in airtight containers in low humidity.

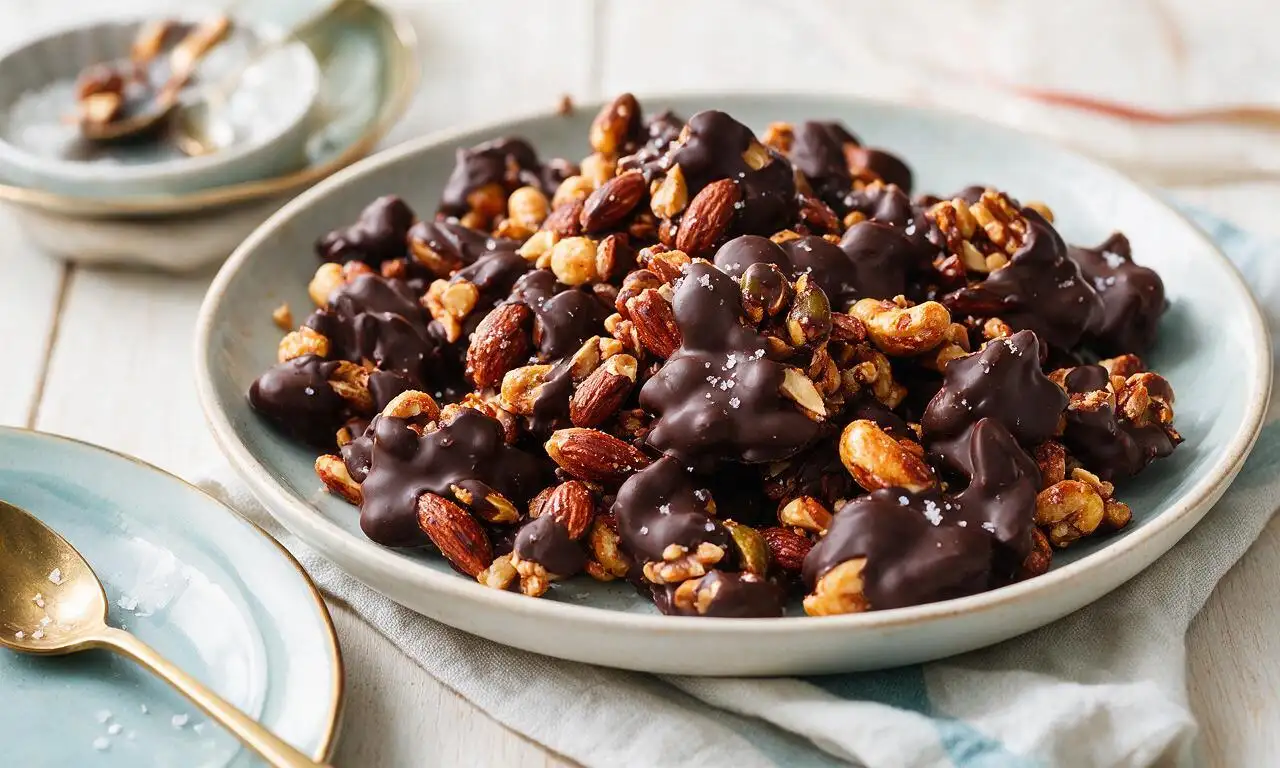






OMG these are SO good! I made a big batch for my kid’s soccer team snack this weekend and every single parent came up to ask me for the recipe. I used 70% dark chocolate and added a tiny sprinkle of flaky sea salt on top – total game changer. It was so easy too, I was worried I’d mess up tempering the chocolate but it came out perfectly glossy!
Took these to my office potluck yesterday and they were gone in 10 minutes flat! I mixed in some dried cranberries with the nuts for a little tart tang, and it paired so well with the rich dark chocolate. Only regret is I didn’t make a double batch, everyone kept coming back for seconds (and thirds).
I meal prepped these for the week to have as a quick little sweet treat after lunch instead of grabbing an overpriced candy bar from the office vending machine. They’re perfect! Crunchy, not too sweet, and way better for you than the preservative-laden store bought chocolate nuts. My 7 year old even asks for them as an after school snack now, which is a total mom win!
Quick question – is there a trick to getting the chocolate to not get all white and streaky after it sets? I followed the directions exactly but mine had that weird dull white bloom on it after a day in the pantry. Tasted totally fine, just didn’t look as pretty as the recipe photos!
Super easy recipe, even for someone who barely cooks like me! I made these for date night with my girlfriend to have alongside our wine and cheese board, and she thought I bought them from a fancy gourmet chocolate shop. Total relationship win for me!
I’ve been making chocolate covered nuts for our family Christmas cookie tins for 40 years, and this recipe is hands down the best ratio of chocolate to nuts I’ve ever tried. Not too thick of a chocolate coating, just enough to cover every nut without getting big clumpy globs. My grandkids are going to go crazy for these this holiday season!
I swapped the regular dark chocolate for a dairy-free 72% dark chocolate bar and these came out amazing! I brought them to my vegan friend’s game night and no one could tell they were dairy free, everyone was raving. 10/10, will be making these on rotation all the time.
I used the mix of almonds, cashews, and pecans the recipe calls for, but I threw in some toasted hazelnuts too and it was chef’s kiss. Toasting all the nuts first makes such a huge difference in the depth of flavor, I’ll never skip that step again. Worth the extra 5 minutes for sure!
These are really tasty, but I found the 35 minute total time to be a little off for me? I had to wait almost an hour for the chocolate to fully set in the fridge before I could pack them up for the kids’ lunches. Maybe I slathered on too thick of a chocolate coating? Either way, the flavor is 10/10, it just took longer than I expected.
I stashed a bag of these in my hiking pack last weekend for trail snacks and they were absolute perfection. Gave me the perfect energy boost to power up that last steep mile, and they didn’t melt into a goopy mess even when it hit 75 degrees on the trail. These are gonna be a staple on all my day hikes from now on!
I made these last night and added a tiny pinch of cayenne pepper to the melted chocolate for that spicy-sweet kick and OMG. If you love Mexican hot chocolate flavors, you have to try this hack. It’s such a small addition but it elevates the whole thing so much. 10/10, no notes, already planning my next batch.
I think I totally messed these up? I grabbed milk chocolate instead of dark because that’s all I had stashed in the pantry, and they turned out way too sweet for my liking. My roommate devoured half the batch though, so it’s not a total loss. Next time I’ll definitely stick to dark chocolate like the recipe says, oops.