1.Why do you recommend thick-cut ridged potato chips instead of thin, plain ones?
▾
Thin regular chips break easily during dipping, get soggy fast from residual chocolate moisture, and can’t support a thick, even coating. Ridged, thick-cut chips have grooved surfaces that grip chocolate perfectly, hold up to dipping without crumbling, stay crisp for days after coating, and their extra crunch balances smooth chocolate beautifully.
2.Can I use milk or dark chocolate instead of semi-sweet for the coating?
▾
Absolutely! Semi-sweet hits the classic sweet-salty balance, but milk chocolate works for a sweeter, creamier bite, and 70%+ dark chocolate is great for a richer, less sweet treat. Just stick to high-quality baking chocolate or melting chips, as cheap, waxy candy coating can set with a chalky, unpleasant texture.
3.What’s the purpose of adding coconut oil to the melted chocolate?
▾
A small amount of unrefined coconut oil thins melted chocolate just enough to create a smooth, dippable consistency that coats chips evenly without clumping. It also helps the chocolate set to a crisp, snappy finish instead of a dull, soft texture, and adds a subtle nutty note that pairs beautifully with both potato and chocolate.
4.How do I keep the potato chips from getting soggy after coating?
▾
Start with completely fresh chips free of excess surface grease before dipping, and don’t over-thin your chocolate. Let excess chocolate drip off fully before setting chips on parchment paper, and store cooled, fully set chips in an airtight container at cool room temperature, away from humidity, to lock in crispness.
5.Can I melt the chocolate in the microwave instead of using a double boiler?
▾
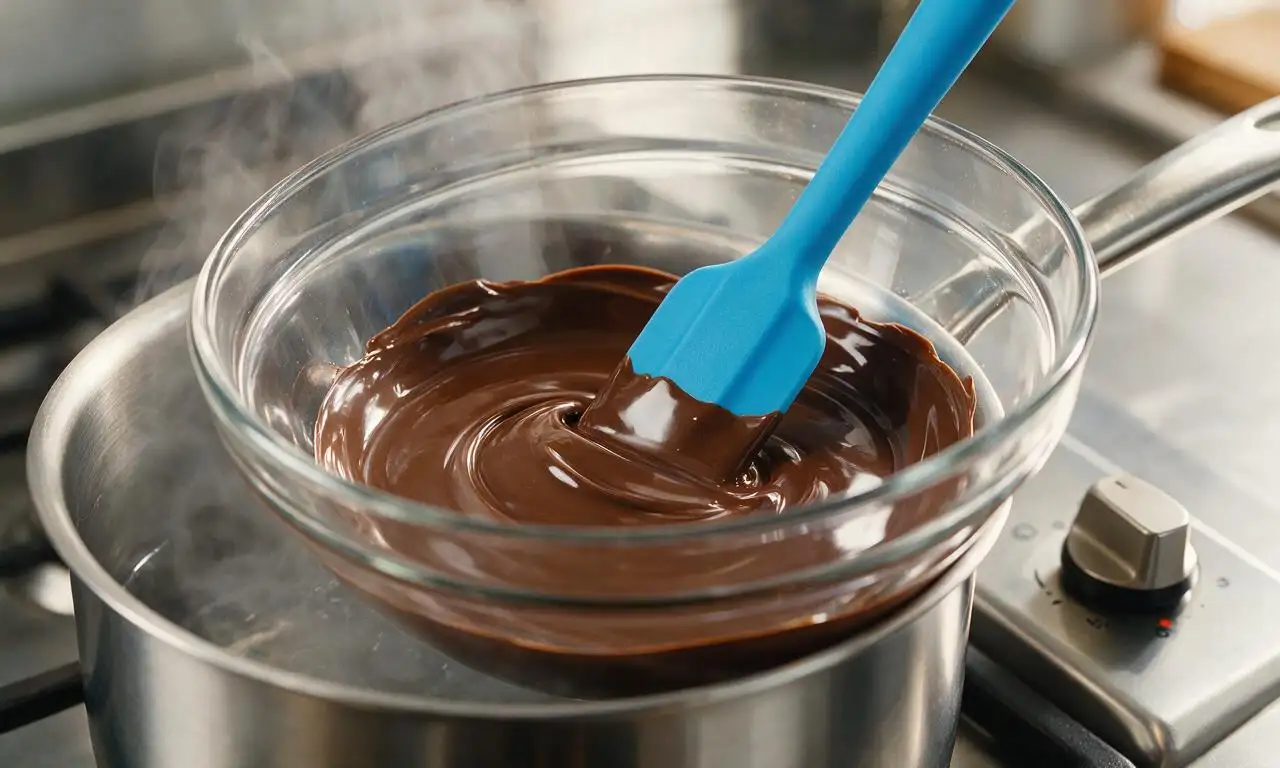
Absolutely! Skip the double boiler if you’re short on time: place chopped chocolate and coconut oil in a dry, microwave-safe bowl, heat in 30-second bursts at 50% power, and stir thoroughly between each burst. Stop heating when 70% of the chocolate is melted, then stir until fully smooth to avoid burning or seizing.
6.How long does it take for the chocolate coating to fully set?
▾
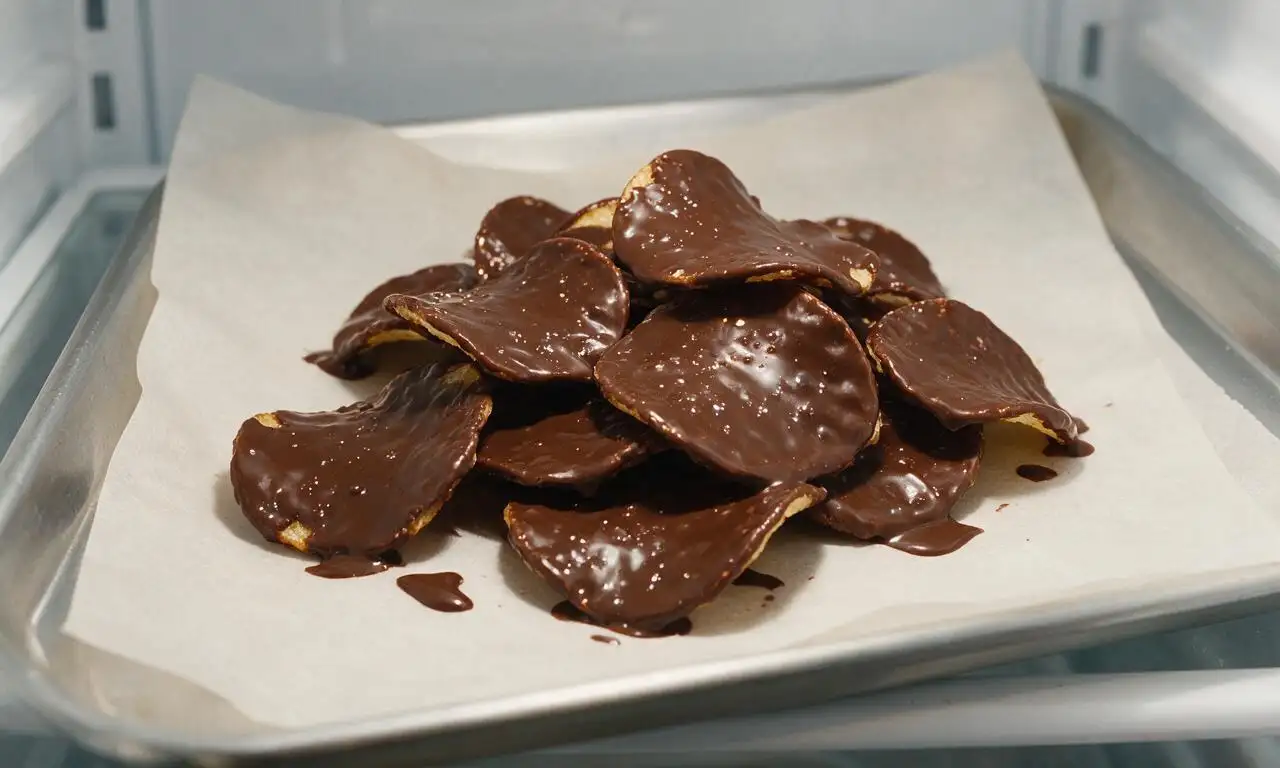
At cool room temperature (65–70°F), the chocolate will set fully in 20–30 minutes. If your kitchen is warm or humid, you can pop the parchment-lined tray of dipped chips in the fridge for 10–12 minutes to speed things up, but don’t leave them in longer than 15 minutes to avoid condensation-related sogginess.
7.Is the flaky sea salt topping strictly necessary?
▾
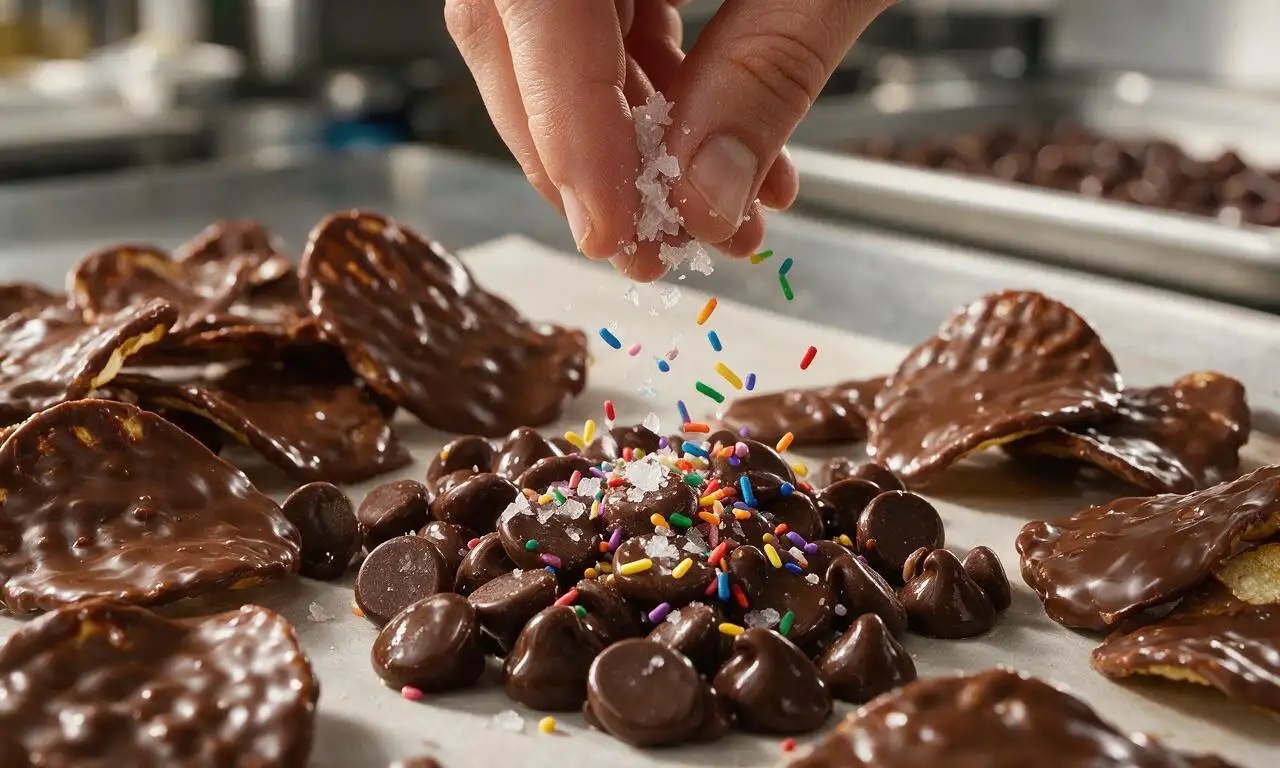
It’s totally optional, but highly recommended! The light salt on regular potato chips gets muted under a layer of chocolate, so a tiny pinch of flaky sea salt on top amplifies that classic sweet-salty contrast, cuts through chocolate richness, and makes every bite taste more balanced. Skip it only if you’re strictly avoiding extra sodium.
8.What other toppings work besides rainbow sprinkles and flaky salt?
▾
You can use almost any dry topping as long as you add it right after dipping, before the chocolate sets. Crushed pretzels, toasted chopped pecans or peanuts, crushed peppermint candies, toffee bits, chili-lime seasoning, or a light dusting of matcha powder all pair fantastically with the sweet-salty chip and chocolate base.
9.How should I store these chips, and how long do they stay fresh?
▾
Store fully set chips in an airtight container layered between sheets of parchment paper to prevent sticking, kept in a cool, dry spot away from direct sunlight or heat. They’ll stay perfectly crisp and delicious for up to 1 week. Avoid long-term fridge storage, as excess moisture will make chips go stale and soggy fast.
10.Why did my melted chocolate turn lumpy and grainy while I was heating it?
▾
That seizing happens when even a tiny drop of water or steam gets into the melting bowl, turning chocolate grainy and clumpy. Prevent it by making sure all bowls and utensils are completely dry before starting, and don’t let double boiler steam touch the chocolate. Fix seized chocolate by stirring in a tiny splash of warm coconut oil to smooth it back out.
11.Can I use kettle-cooked potato chips instead of ridged thick-cut chips?
▾
You absolutely can! Kettle-cooked chips are extra thick and crunchy, so they hold up great to dipping, though their uneven, wavy shape means you’ll get a more rustic, irregular chocolate coating. Just stick to lightly salted kettle chips, as extra-salty flavored varieties can overpower the chocolate and throw off the sweet-salty balance.
12.Are these chips a good option for potlucks or homemade gift bags?
▾
They’re perfect for both! These chips travel extremely well in airtight containers, don’t require refrigeration, and their addictive sweet-salty crunch is always a crowd favorite at potlucks, game nights, or holiday parties. Pack them in cellophane treat bags tied with ribbon for easy, budget-friendly edible gifts that stand out from standard cookies.
13.Can I adjust this recipe to be vegan or dairy-free?
▾
Easily! Just swap standard semi-sweet chocolate chips for a certified dairy-free, vegan semi-sweet chocolate brand, and confirm your potato chips don’t have hidden dairy ingredients (most plain lightly salted ridged chips are already vegan). Pick dairy-free sprinkles if you’re using them, as the rest of the ingredients are naturally plant-based.
14.Do I need to fully coat every chip in chocolate, or is a half-dip okay?
▾
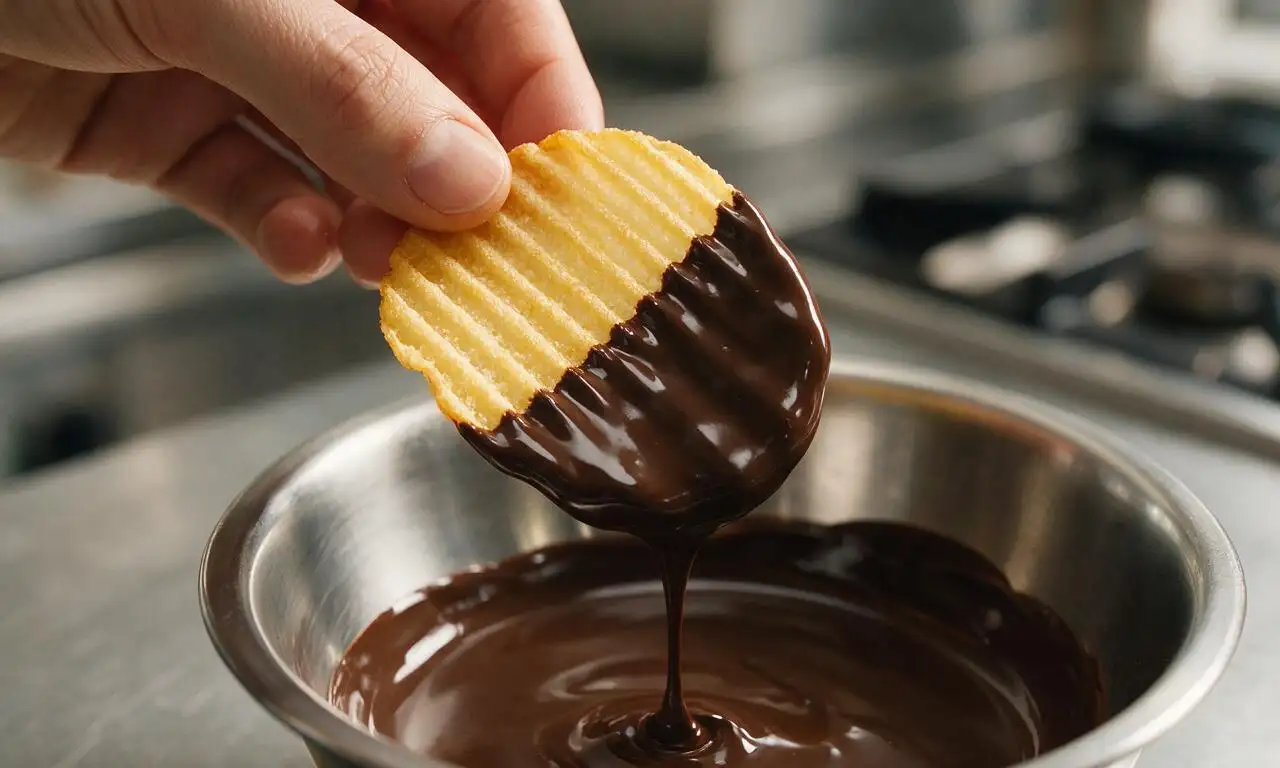
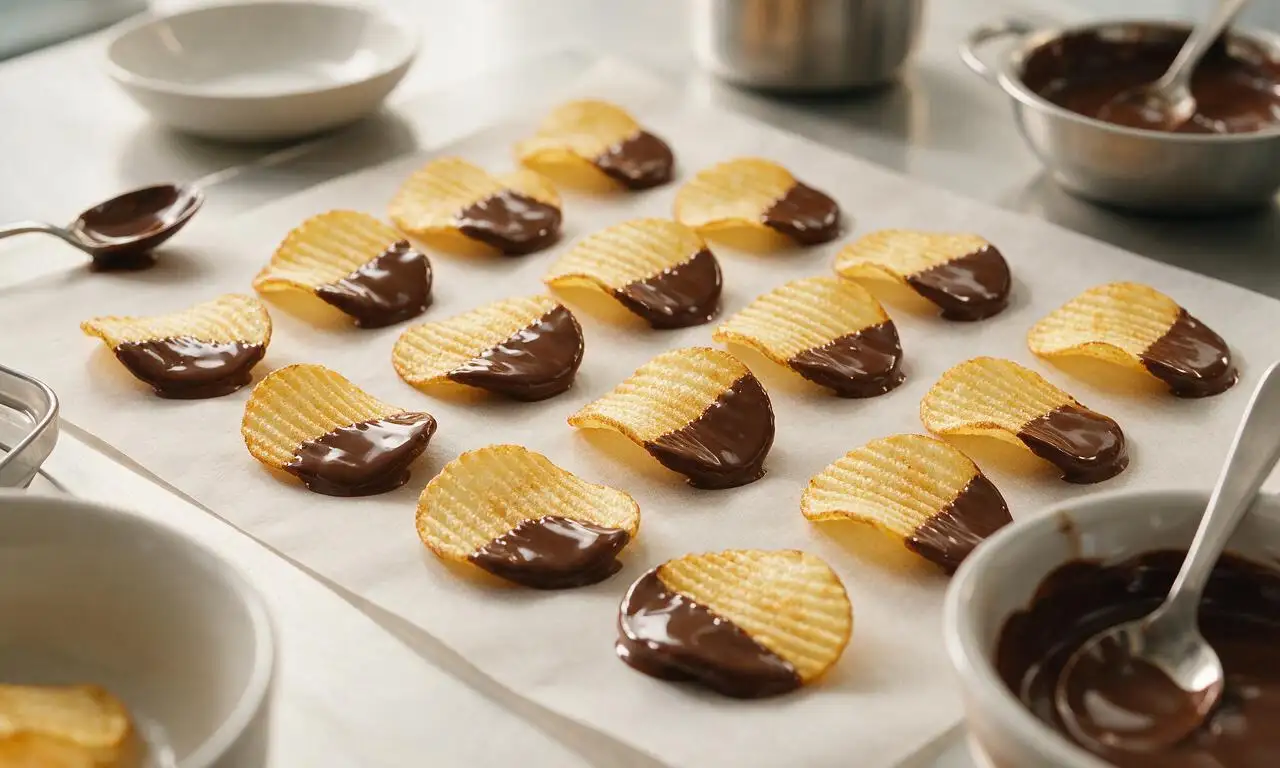
Half-dipping is actually my go-to method! It uses less chocolate, looks more visually appealing, and gives you a little bit of plain salty chip in every bite to balance the sweet coating. Just dip one half of each ridged chip straight into the smooth melted chocolate, let excess drip off, and set on parchment—no full submersion needed.
15.Why did my chocolate coating turn dull instead of shiny once it set?
▾
That dull, matte finish (called “fat bloom”) happens when chocolate gets too warm during melting, or is exposed to big temperature swings as it sets. It’s totally safe to eat, just less visually appealing. For a snappy, shiny finish, avoid overheating chocolate, keep your setting area a consistent cool temperature, and don’t move chips while the chocolate hardens.
16.Can I use flavored potato chips like barbecue or sour cream and onion for this recipe?
▾
I’d skip strongly flavored chips like barbecue, sour cream and onion, or cheese for the classic version, as those savory, tangy flavors clash with sweet chocolate. If you want to experiment, stick to mild complementary flavors like lightly salted vinegar chips, salt and pepper chips, or sweet potato chips for a fun, subtle twist.

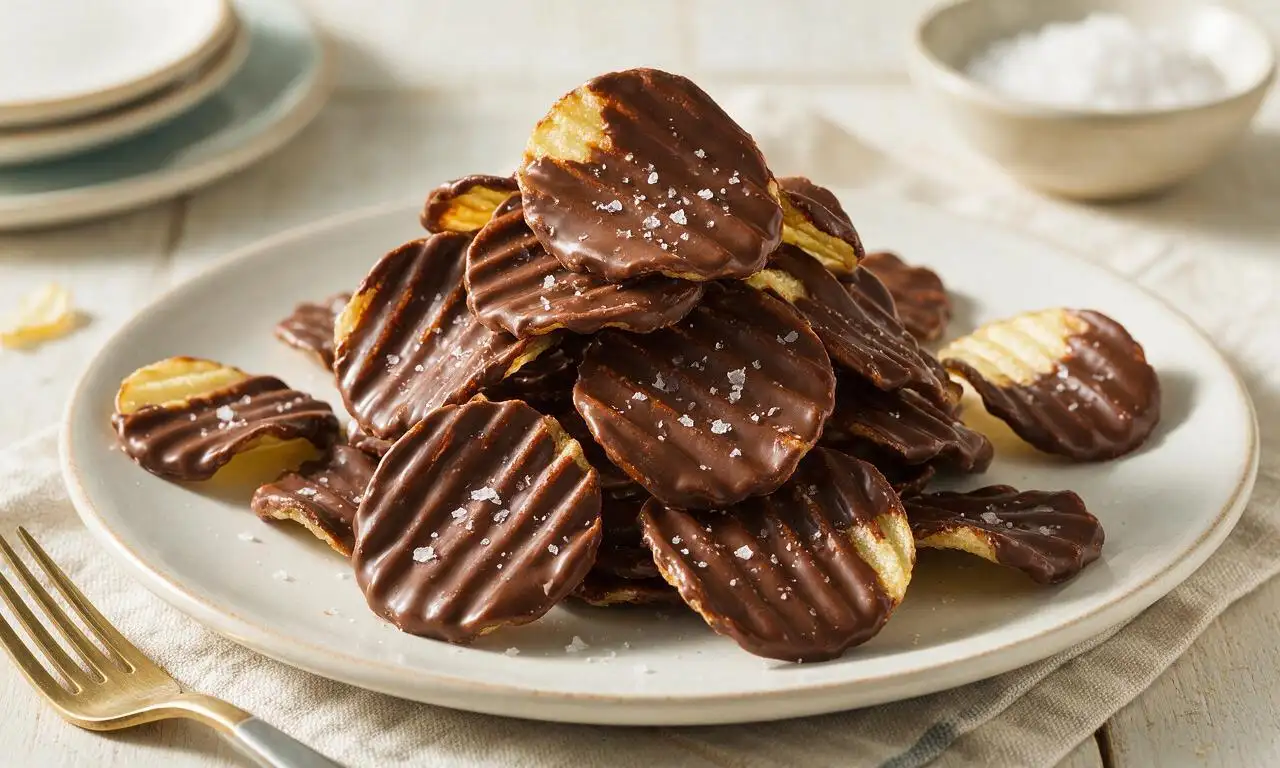
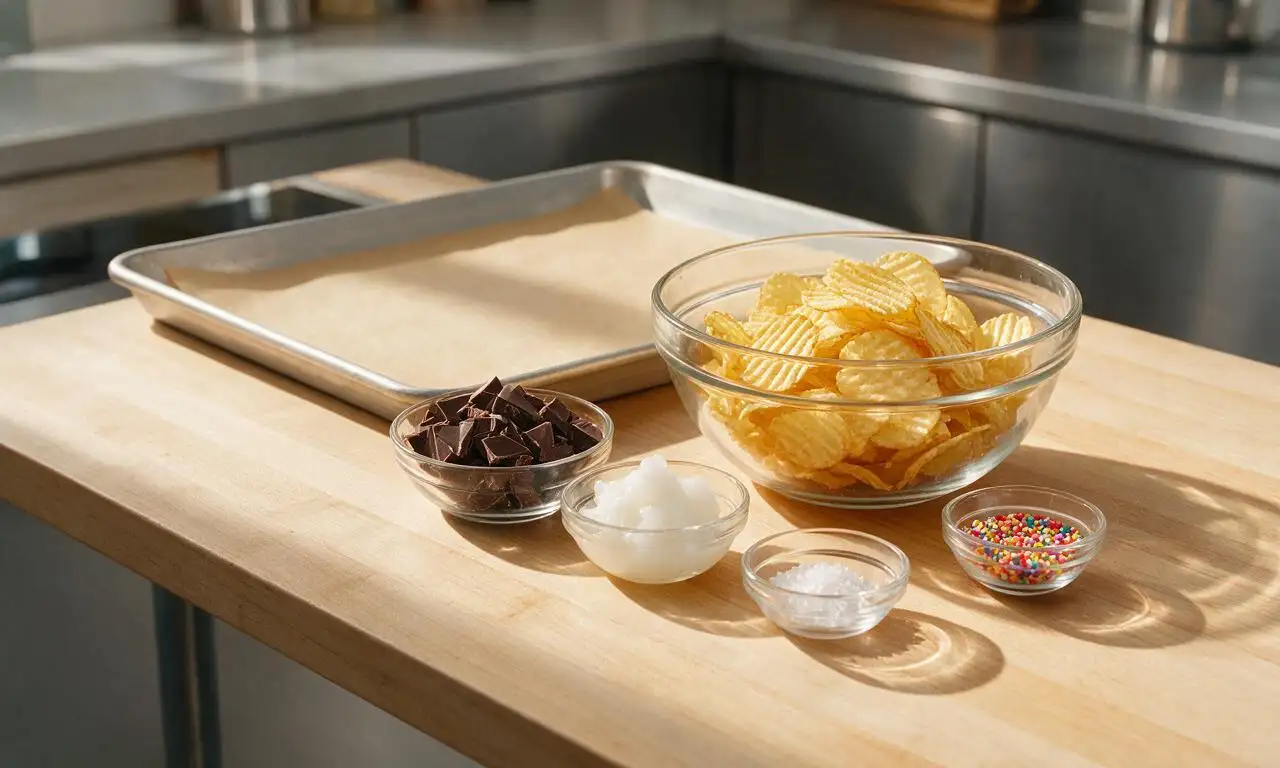







OMG these are a total game changer!!! I made them for my girls’ movie night last weekend and they were gone in 10 minutes flat. I used ruffled kettle chips for extra crunch and a sprinkle of flaky sea salt on top of the dark chocolate, *chef’s kiss*. So easy to throw together even when you’re running late for a get-together, 10/10 will make again.
My kids went absolutely crazy for these! I packed a bag of them in each of their lunchboxes this week and they said all their friends were begging for bites. I was worried the chocolate would make the chips soggy by lunchtime but they stayed perfectly crispy, total win for a quick after-school snack too.
Super easy recipe even for a guy who can barely boil water lmao. Made these for my dorm floor potluck last night and people kept asking me for the recipe. Only note: don’t cheap out on the chocolate, the melting wafers from the dollar store got weirdly clumpy when I melted them, next time I’ll grab the better baking chocolate from the grocery store.
I brought these to my office holiday party and they were the first empty plate on the snack table! I added a little crushed peppermint on top of half the batch for a festive twist, and people went nuts for the peppermint version. Only took me 25 minutes total just like the recipe said, zero stress.
Tried these for my son’s birthday game night and let me tell you, I’ve never felt more popular with the 10 year old crowd. Used wavy chips, semi-sweet chocolate, and a little drizzle of white chocolate on top for looks. They looked fancy as hell but took basically zero effort, even I didn’t mess them up. SO good.
I’ve made these three times in the last two weeks, no joke. My partner is obsessed, he keeps asking me to make a big batch every Sunday for his work week snacks. I love that I don’t even have to turn the oven on for this, perfect for when it’s 95 degrees out and I don’t want to heat up the whole kitchen. Super easy, minimal cleanup, 10/10.
Wait sweet and salty is my absolute favorite combo and I can’t believe I never thought to make these at home before! I always grab the pre-made chocolate covered chips from the gas station on my way to game nights but these taste 100x better and are way cheaper to whip up. No soggy chips, no weird waxy chocolate, total win.
Made a huge batch of these for our cross-country road trip last weekend and they held up perfectly in a sealed container in the cooler for three whole days! No sogginess, the chocolate didn’t melt all over our seats, and they were the perfect sweet-salty snack to munch on between rest stops. Will absolutely be making these for all our future trips and camping weekends.