
Chocolate Covered Pretzels
intro
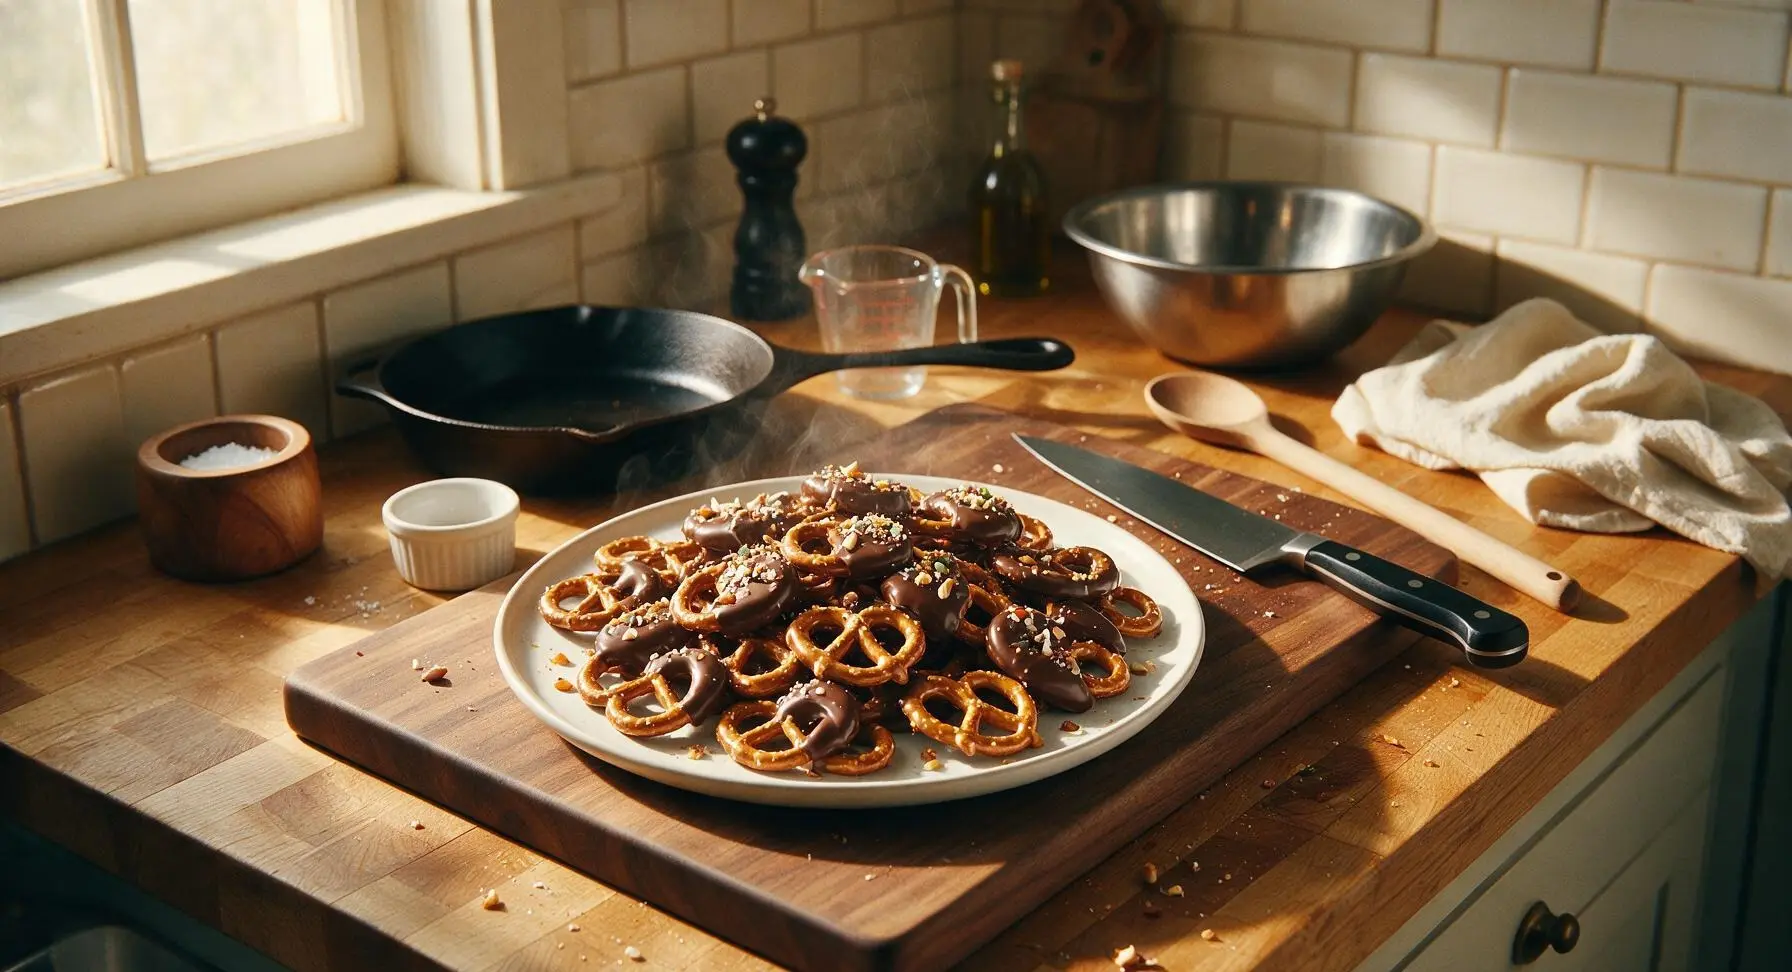
Crunchy salty pretzels coated in smooth, snappy chocolate, finished with sweet or savory toppings—an irresistible sweet-savory handheld treat perfect for casual sharing.
Ingredients
Steps
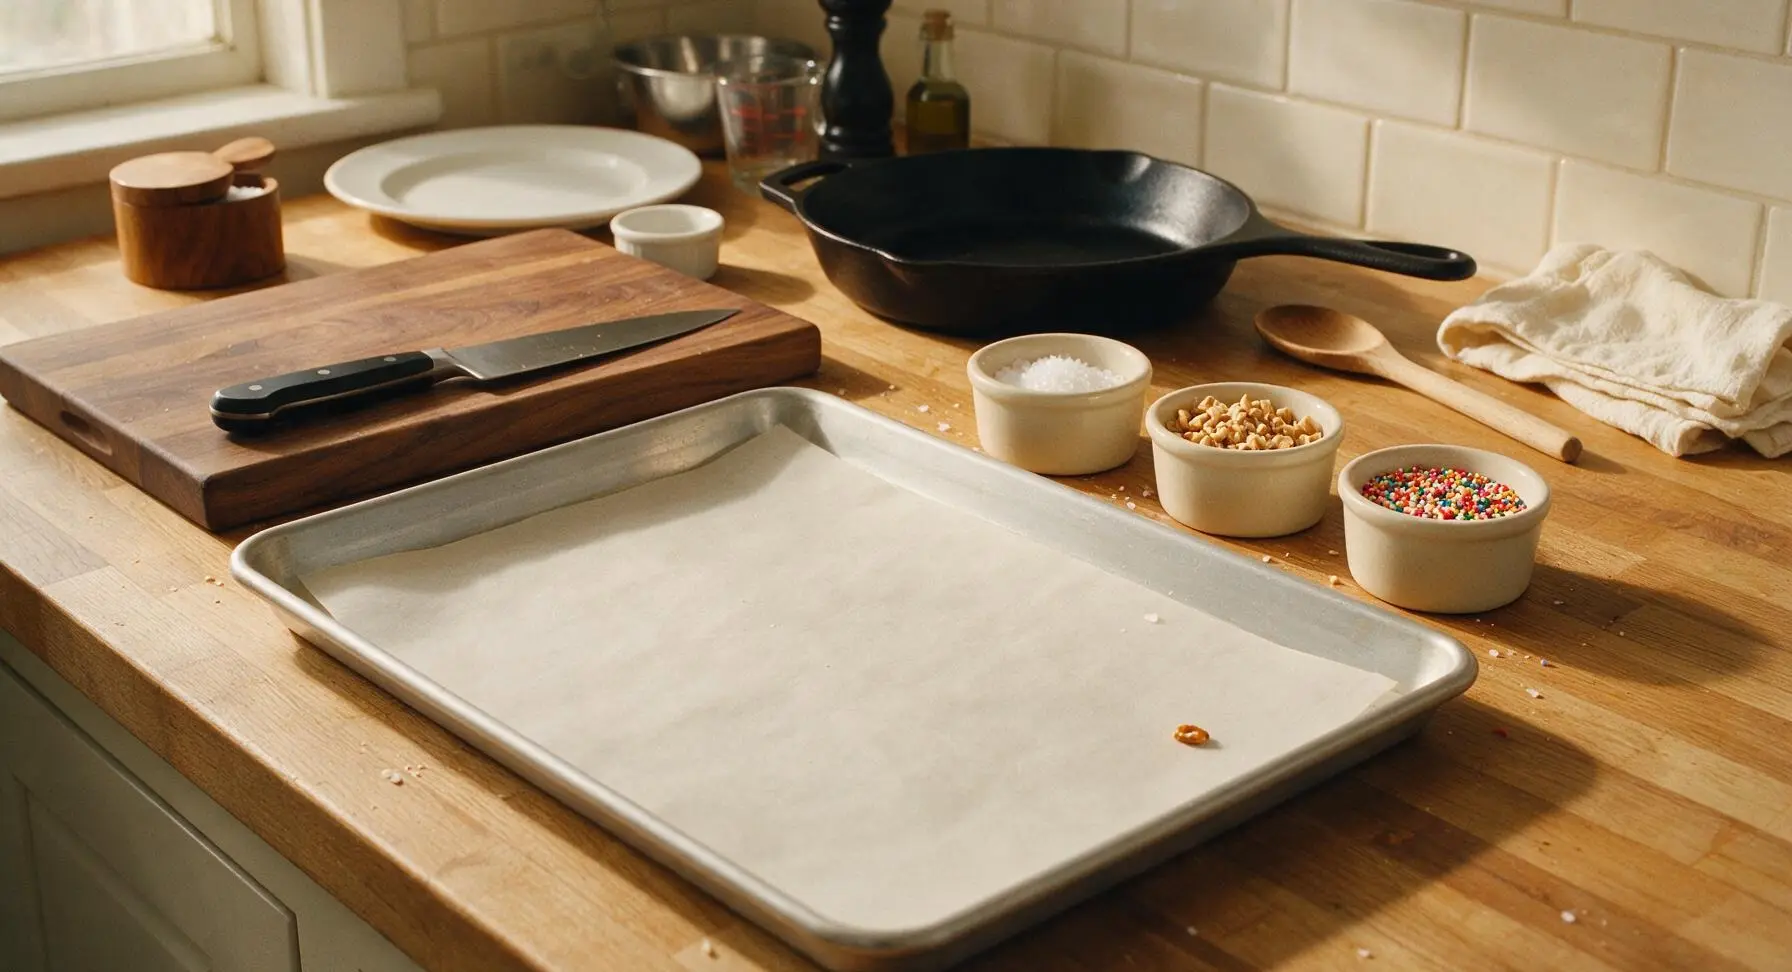
Line Baking Sheet
Line the large matte silver aluminum baking sheet with the cut sheet of unbleached parchment paper, smoothing out large creases with the palm of your hand. Set the lined sheet in the center of the work counter. Divide flaky sea salt, crushed roasted peanuts, and rainbow nonpareils between the three small matte cream ramekins, setting the ramekins in a neat row 10cm to the right of the baking sheet within easy arm’s reach. This prevents rushed, messy movements once melted chocolate is ready for dipping.
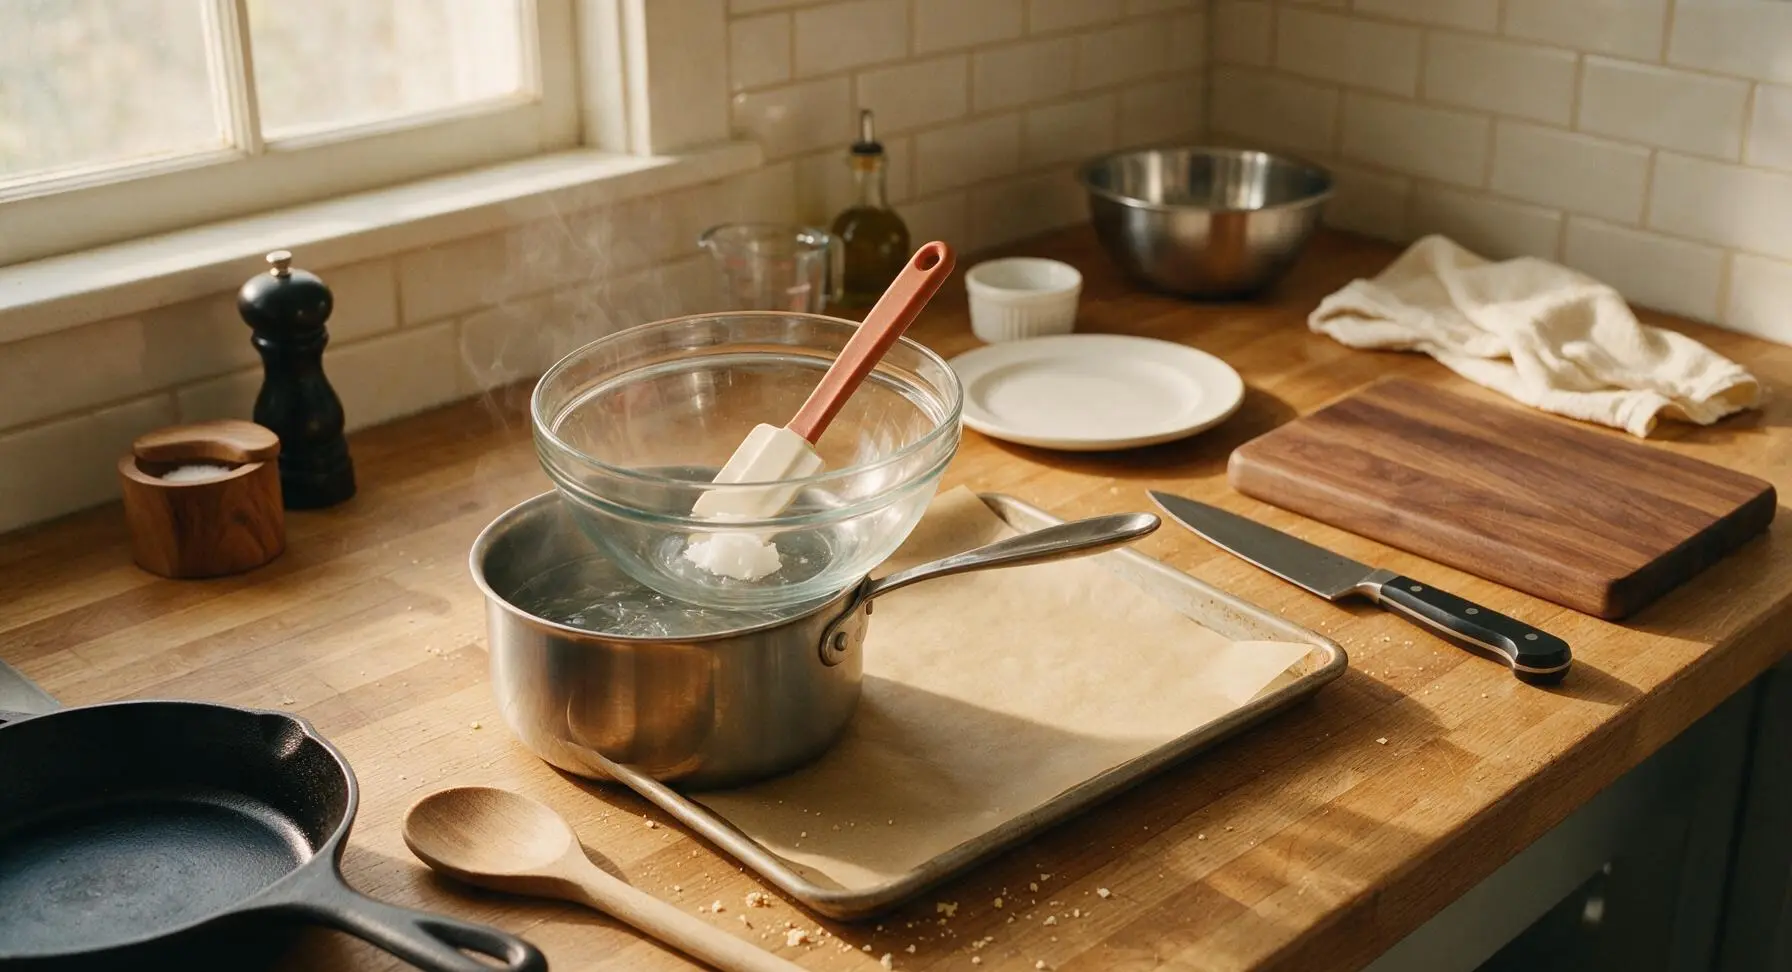
Assemble Double Boiler
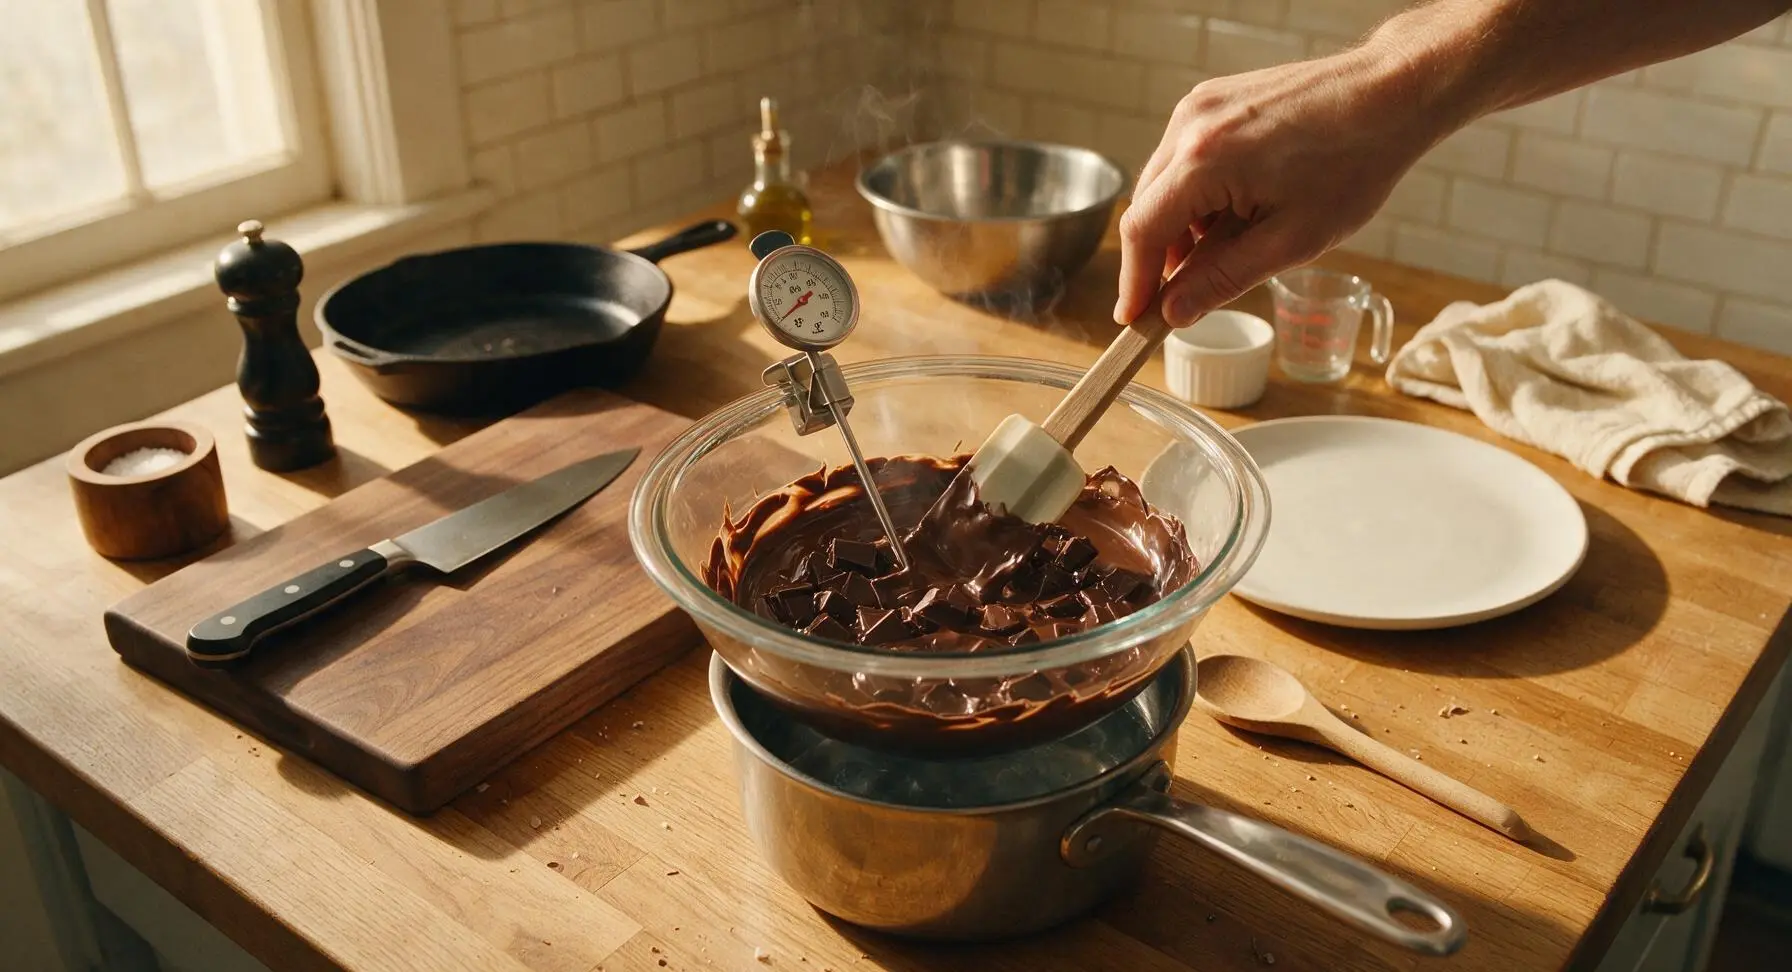
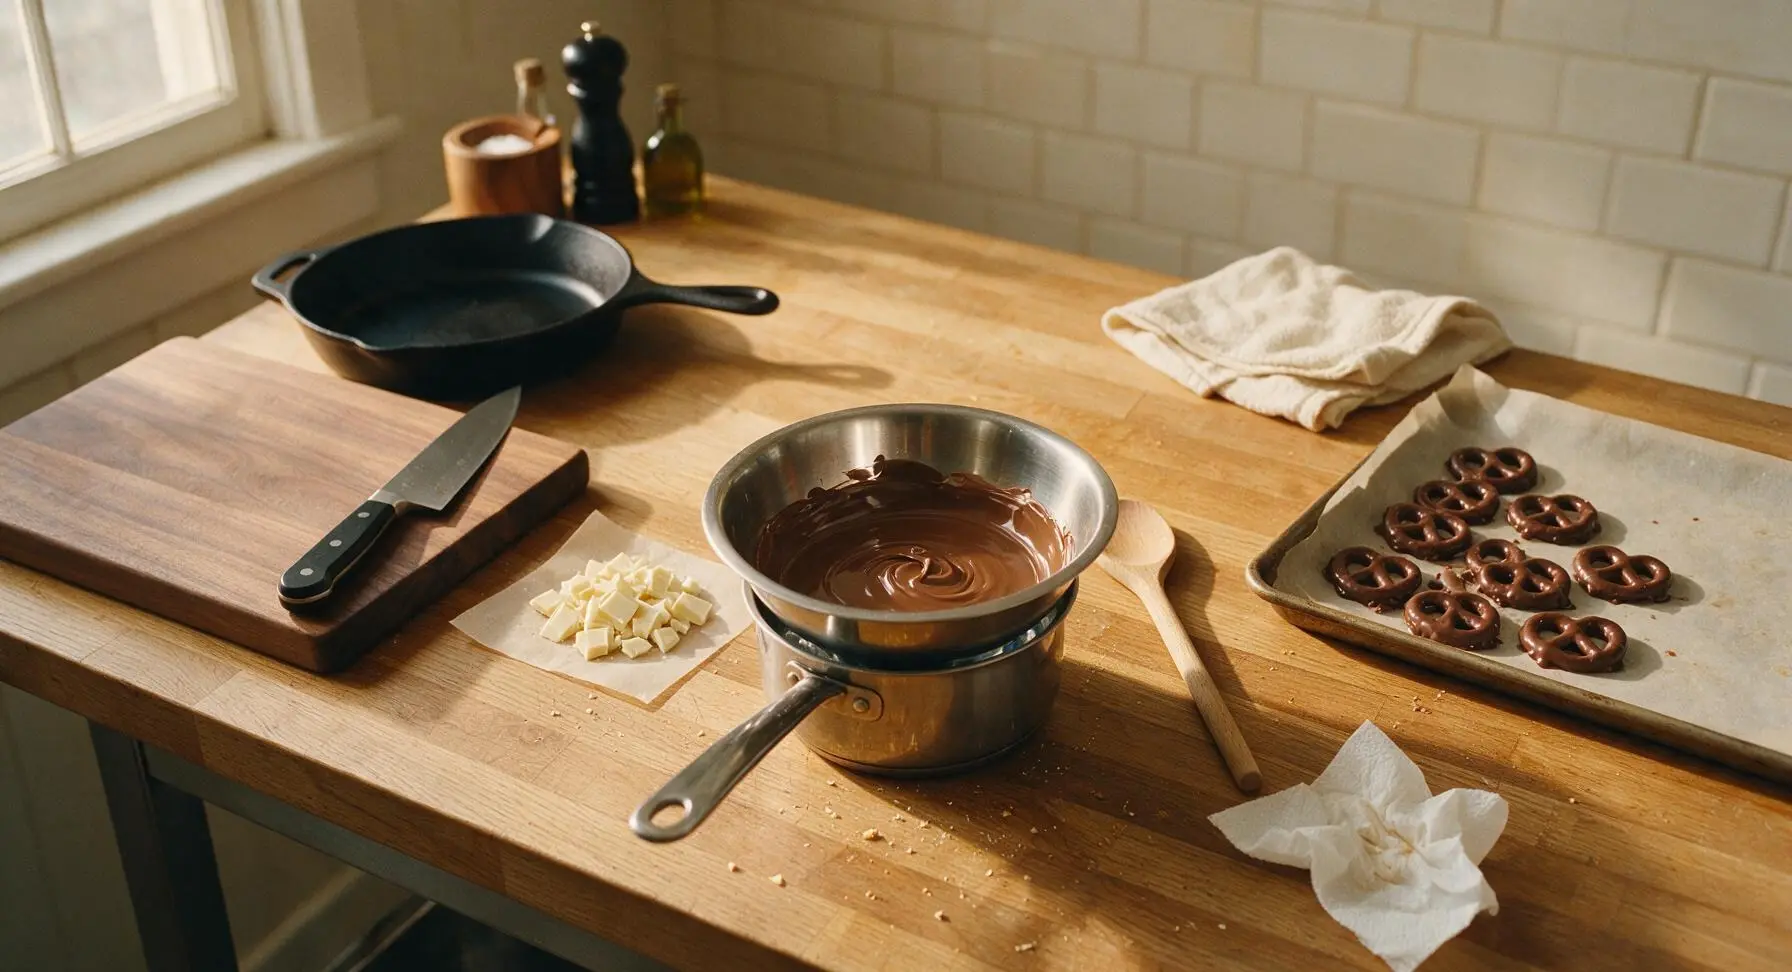
Pour 2cm of cool tap water into the small stainless steel saucepan, and set it to the left of the baking sheet. Heat the water over low heat until it reaches a gentle, quiet simmer (no rolling boil, as hot steam can cause chocolate to seize). Rest the clear glass mixing bowl on top of the saucepan, confirming the bowl bottom sits at least 2cm above the water surface. Add 1 tsp of refined coconut oil to the bottom of the bowl, and lean the silicone spatula against the bowl edge.
Melt Dark Chocolate
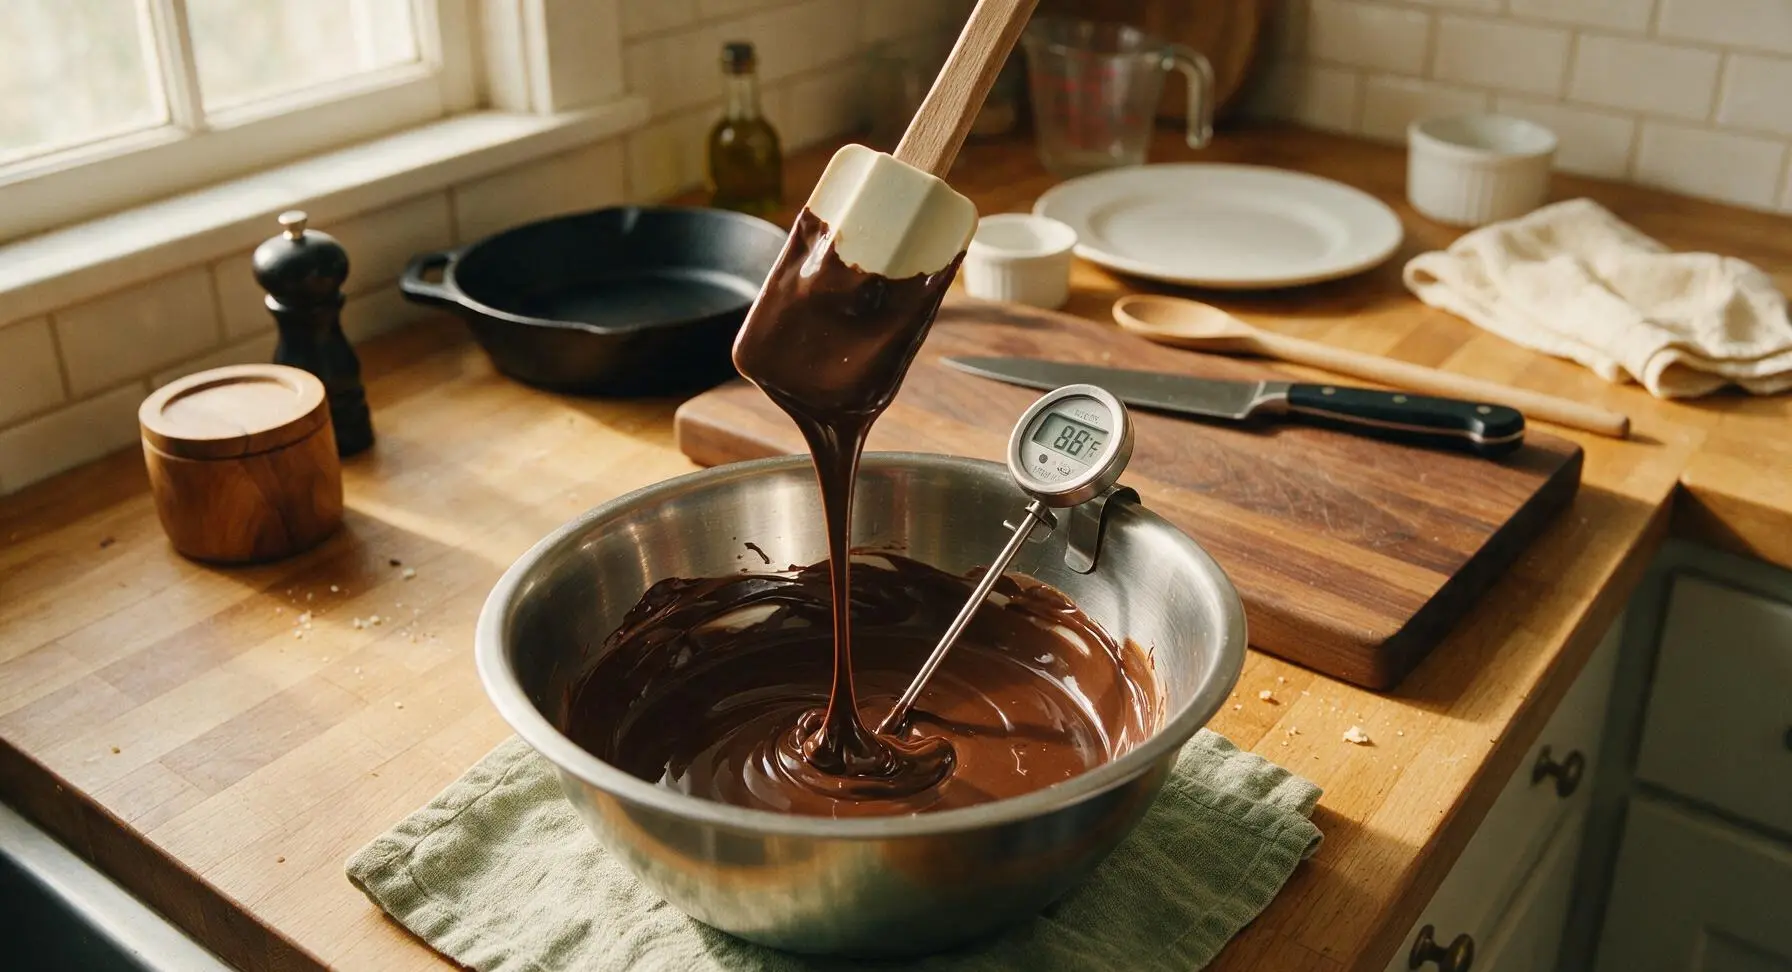
Add all finely chopped dark chocolate to the glass bowl over the simmering water. Stir slowly and constantly with the silicone spatula as the chocolate melts, clipping the digital candy thermometer to the bowl edge so its probe is submerged in the chocolate without touching the bowl bottom. Heat until the chocolate reaches exactly 88°F (31°C), completely smooth with no remaining lumps. Carefully lift the bowl off the saucepan, setting it on the corner of the sage linen towel to protect the counter from heat.
Coat Pretzels in Chocolate
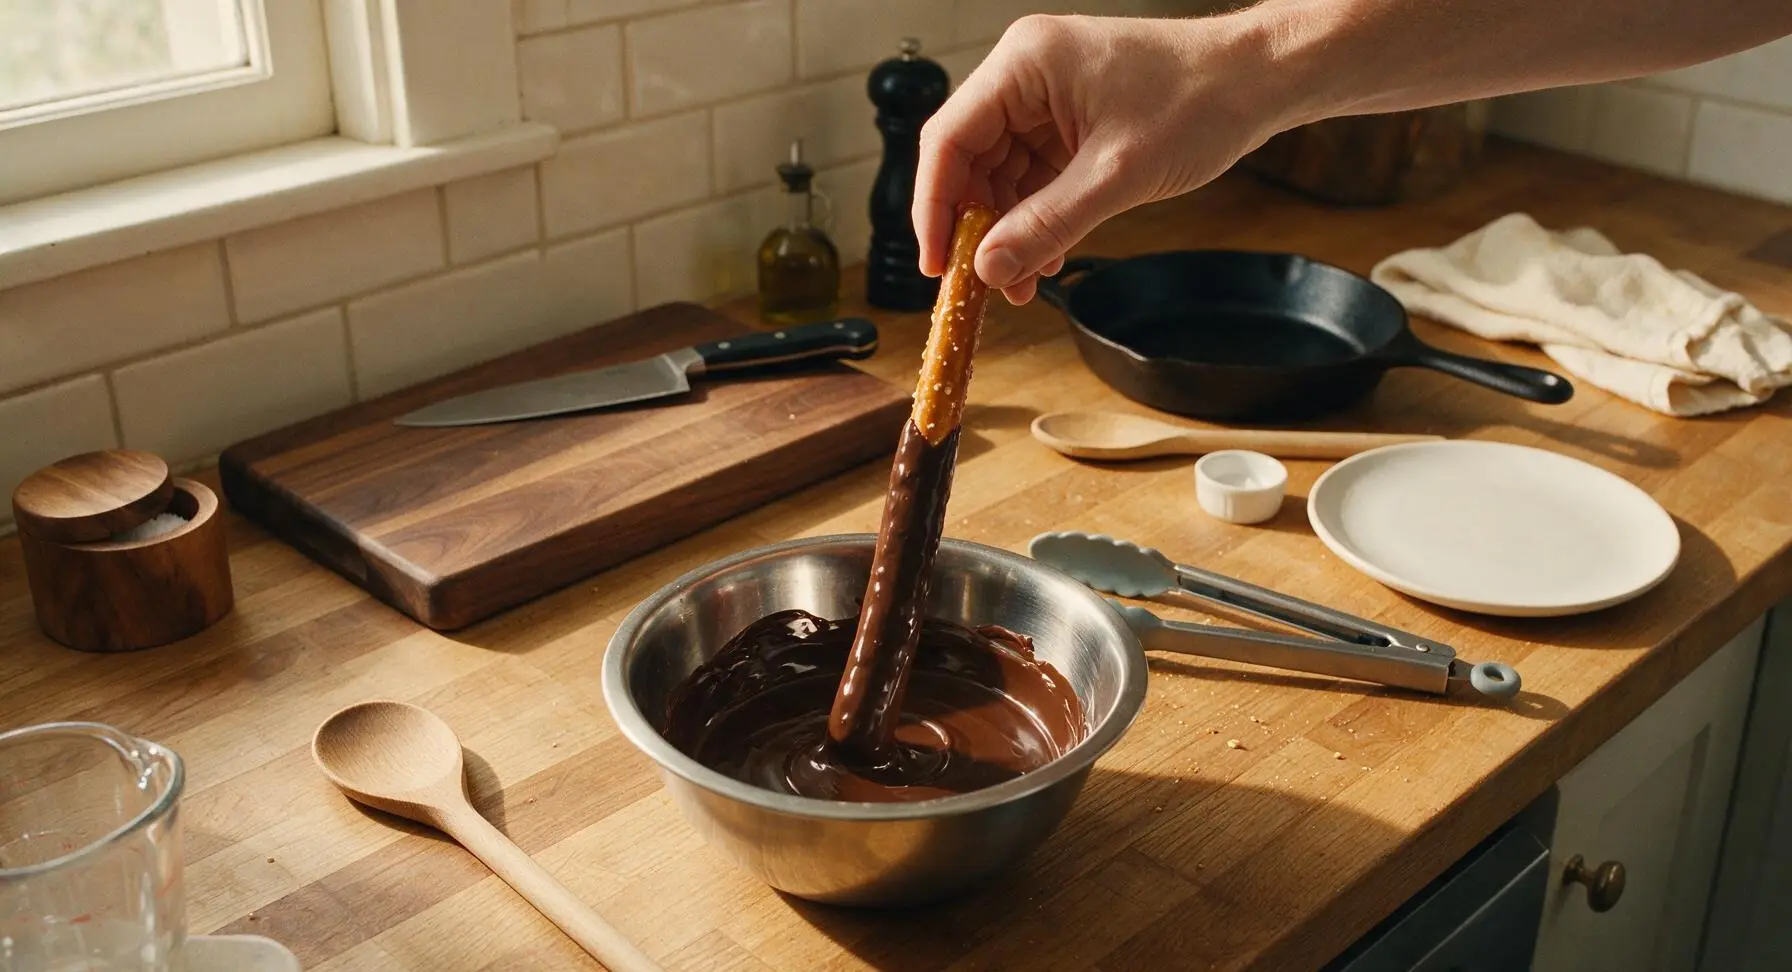
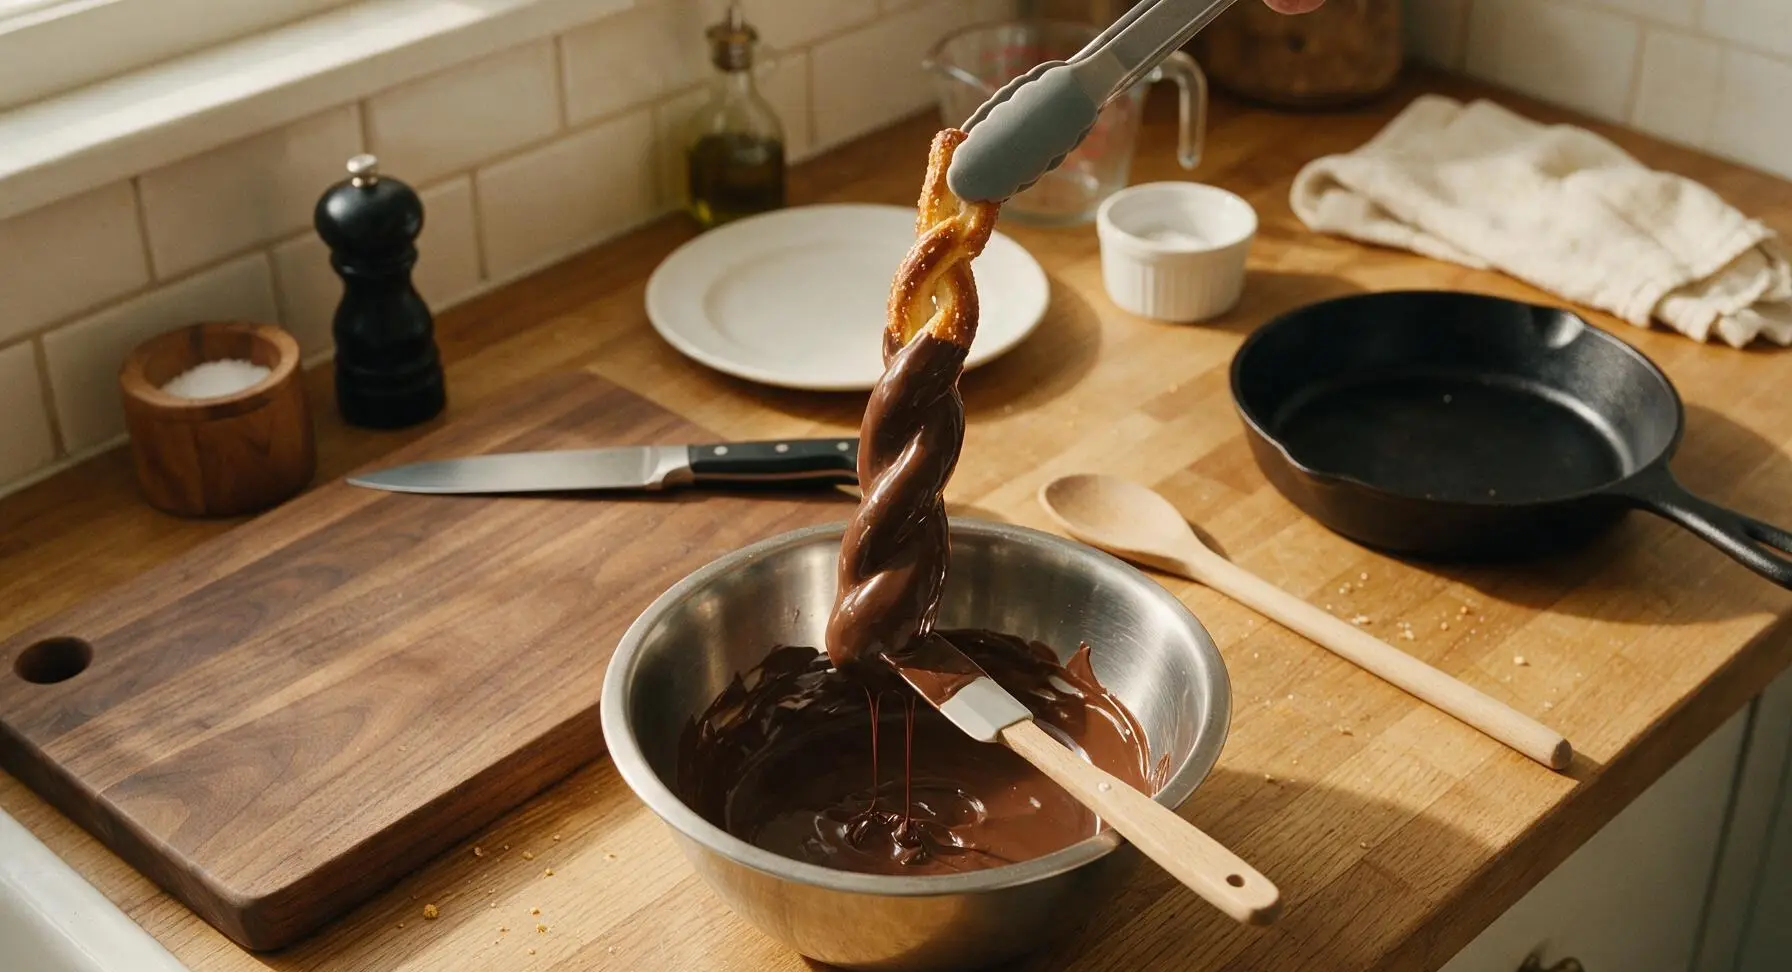
Hold one pretzel rod firmly by its top 2-inch end (the uncoated handle), using the silicone-tipped tongs to grip the lower section if needed for extra stability. Tilt the chocolate bowl slightly, and dip the lower 2/3 of the pretzel rod into the melted dark chocolate, rolling it slowly to ensure full, even coverage. Lift the pretzel out of the chocolate, holding it over the bowl for 10 seconds to let excess chocolate drip off, then run the small offset spatula along the bottom edge of the coating to scrape away thick pooled chocolate that would create a messy foot when set.
Add Toppings, Set Pretzels
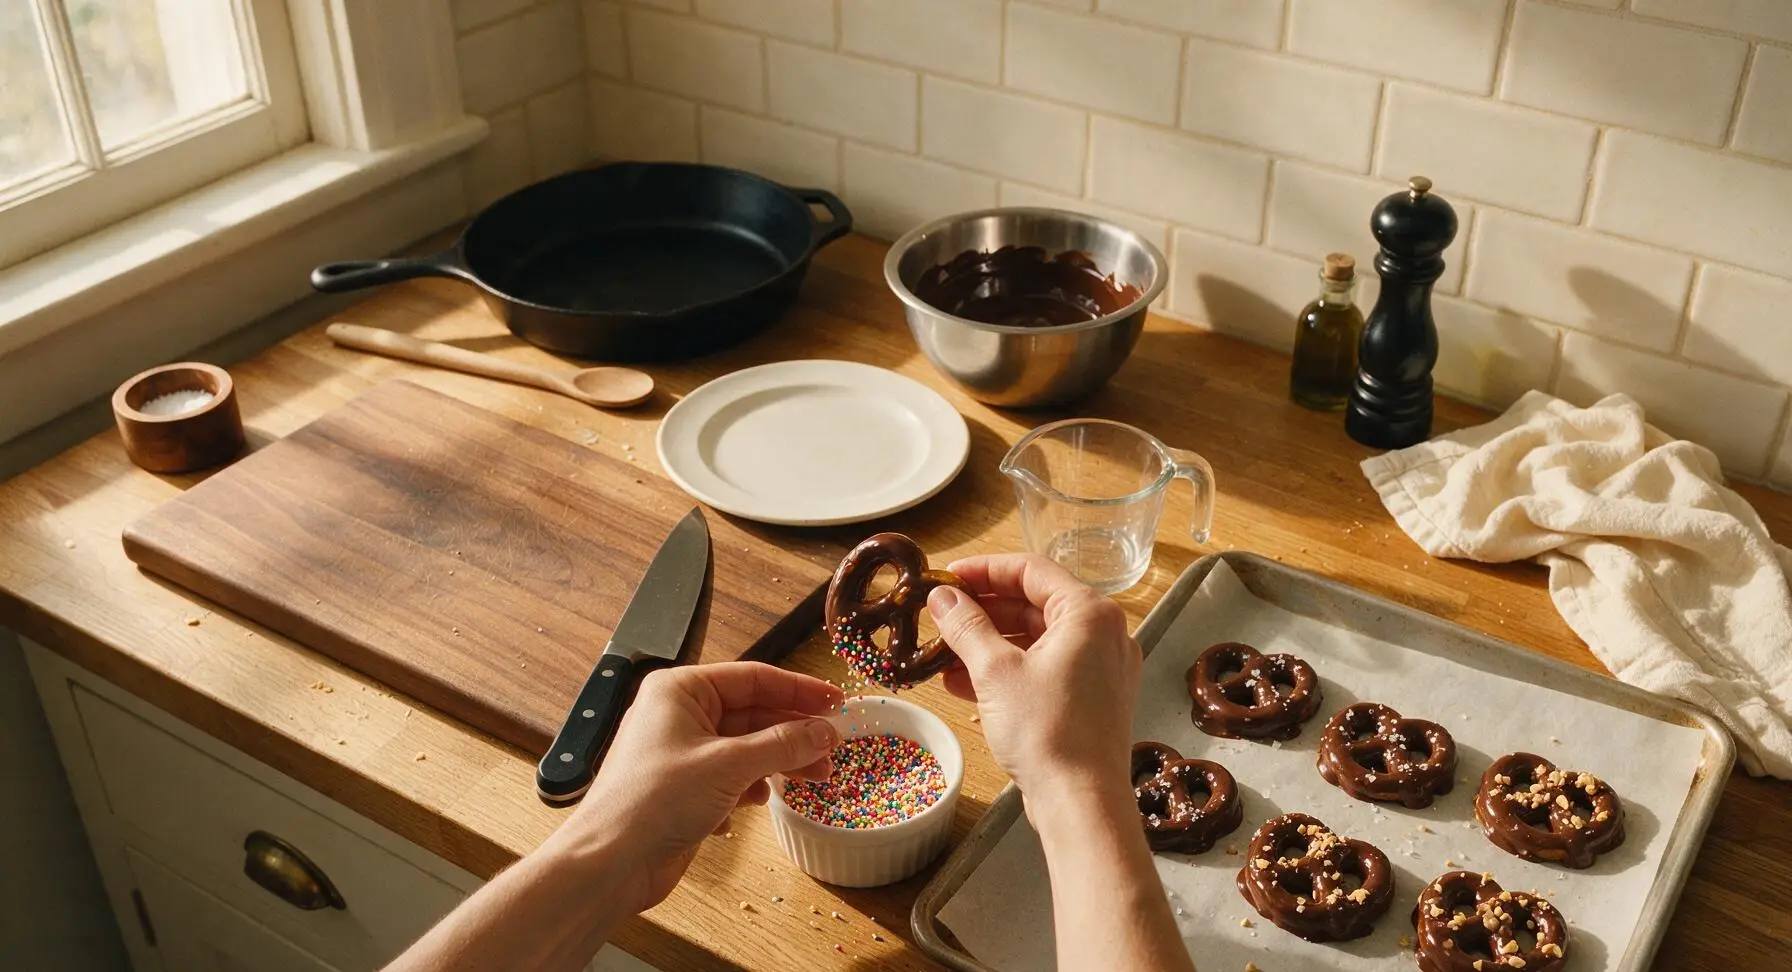
Within 30 seconds of dipping (before the chocolate begins to set), hold the pretzel over your chosen topping ramekin and sprinkle generously with flaky sea salt, crushed peanuts, or rainbow nonpareils. Rotate the pretzel slowly to ensure toppings stick evenly to all sides of the wet chocolate, then place the pretzel on the parchment-lined baking sheet, leaving 2cm of space between each pretzel to prevent sticking as they set. Repeat the dipping and topping process until all dark chocolate is used, coating roughly 1/3 of the total pretzel rods.
Melt Remaining Chocolates
Wipe the glass mixing bowl clean with a dry paper towel (leave the paper towel on the counter edge for subtle natural mess), then return it to the simmering double boiler. Add the chopped milk chocolate, melting slowly while stirring until it reaches exactly 86°F (30°C), smooth and lump-free. Dip the next 1/3 of the pretzel rods, add toppings, and arrange them on the parchment sheet. Repeat the process once more with the chopped white chocolate, heating it only to 84°F (29°C) to avoid burning, and dip the final 1/3 of the pretzels.
Let Chocolate Set
Once all pretzels are dipped, topped, and arranged on the baking sheet, leave them undisturbed at cool room temperature (65-68°F / 18-20°C) for 30 minutes until the chocolate is completely firm to the touch, with no sticky spots when pressed lightly. Do not place pretzels in the refrigerator to speed setting, as cold temperatures cause sugar bloom—dull, white streaks across the chocolate surface that ruin the smooth appearance.
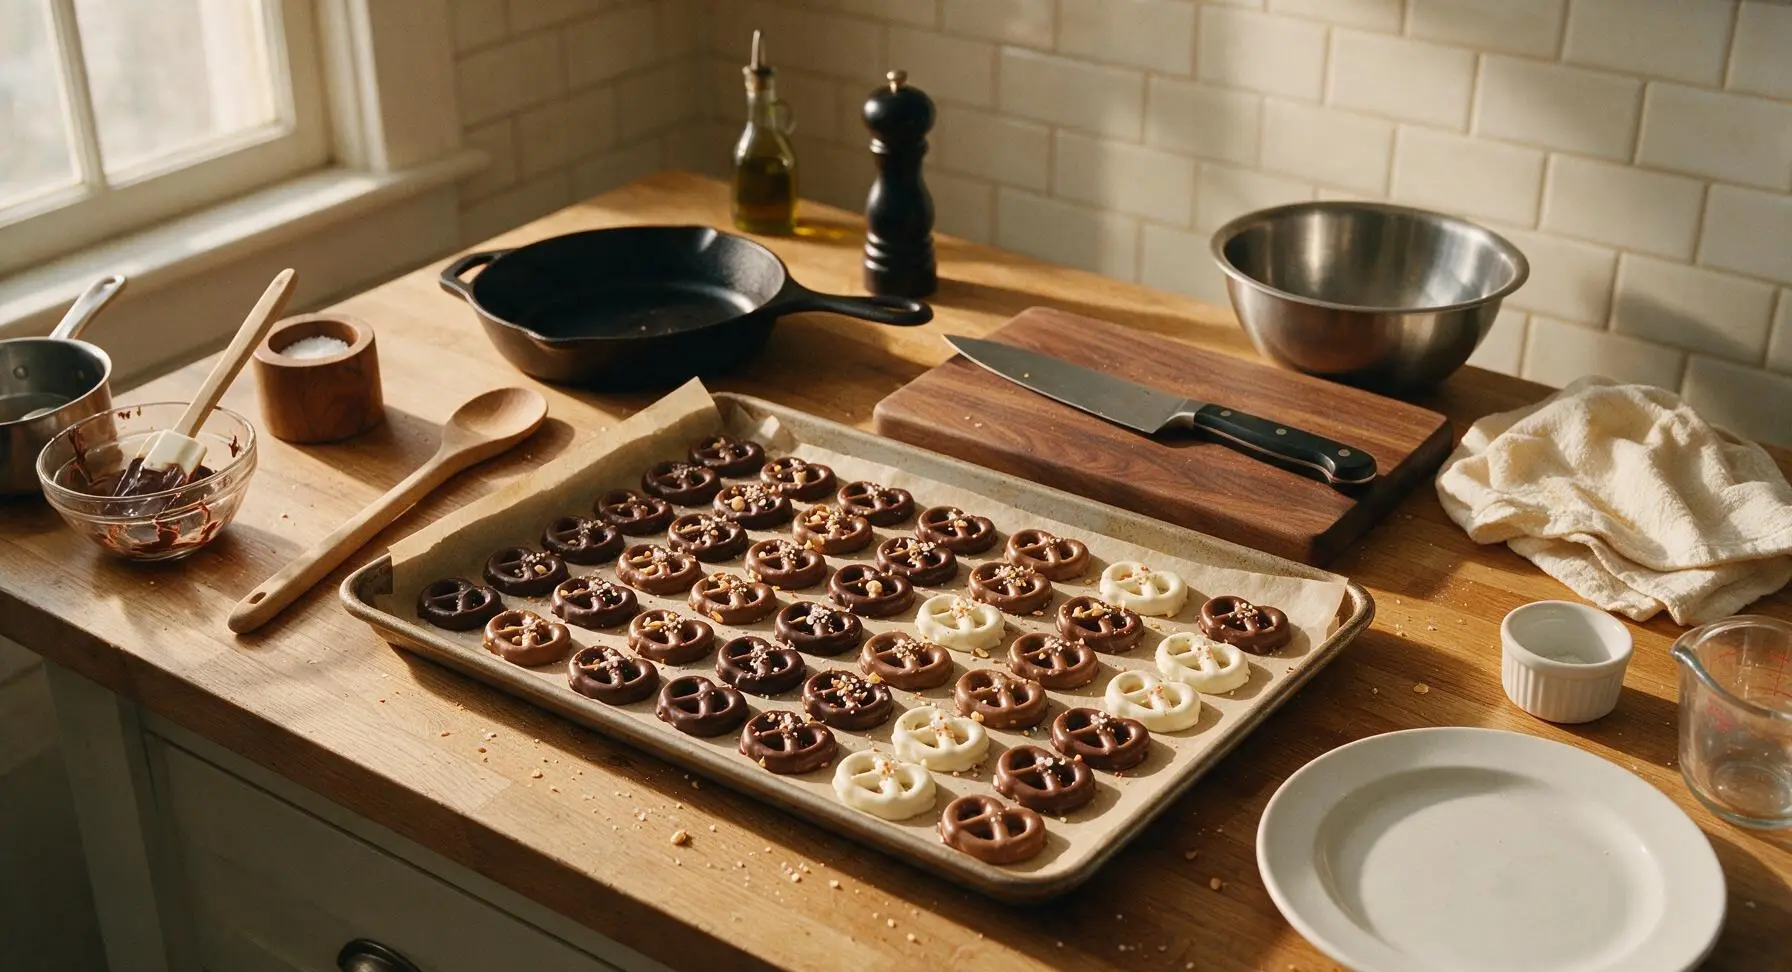
Plate Finished Pretzels
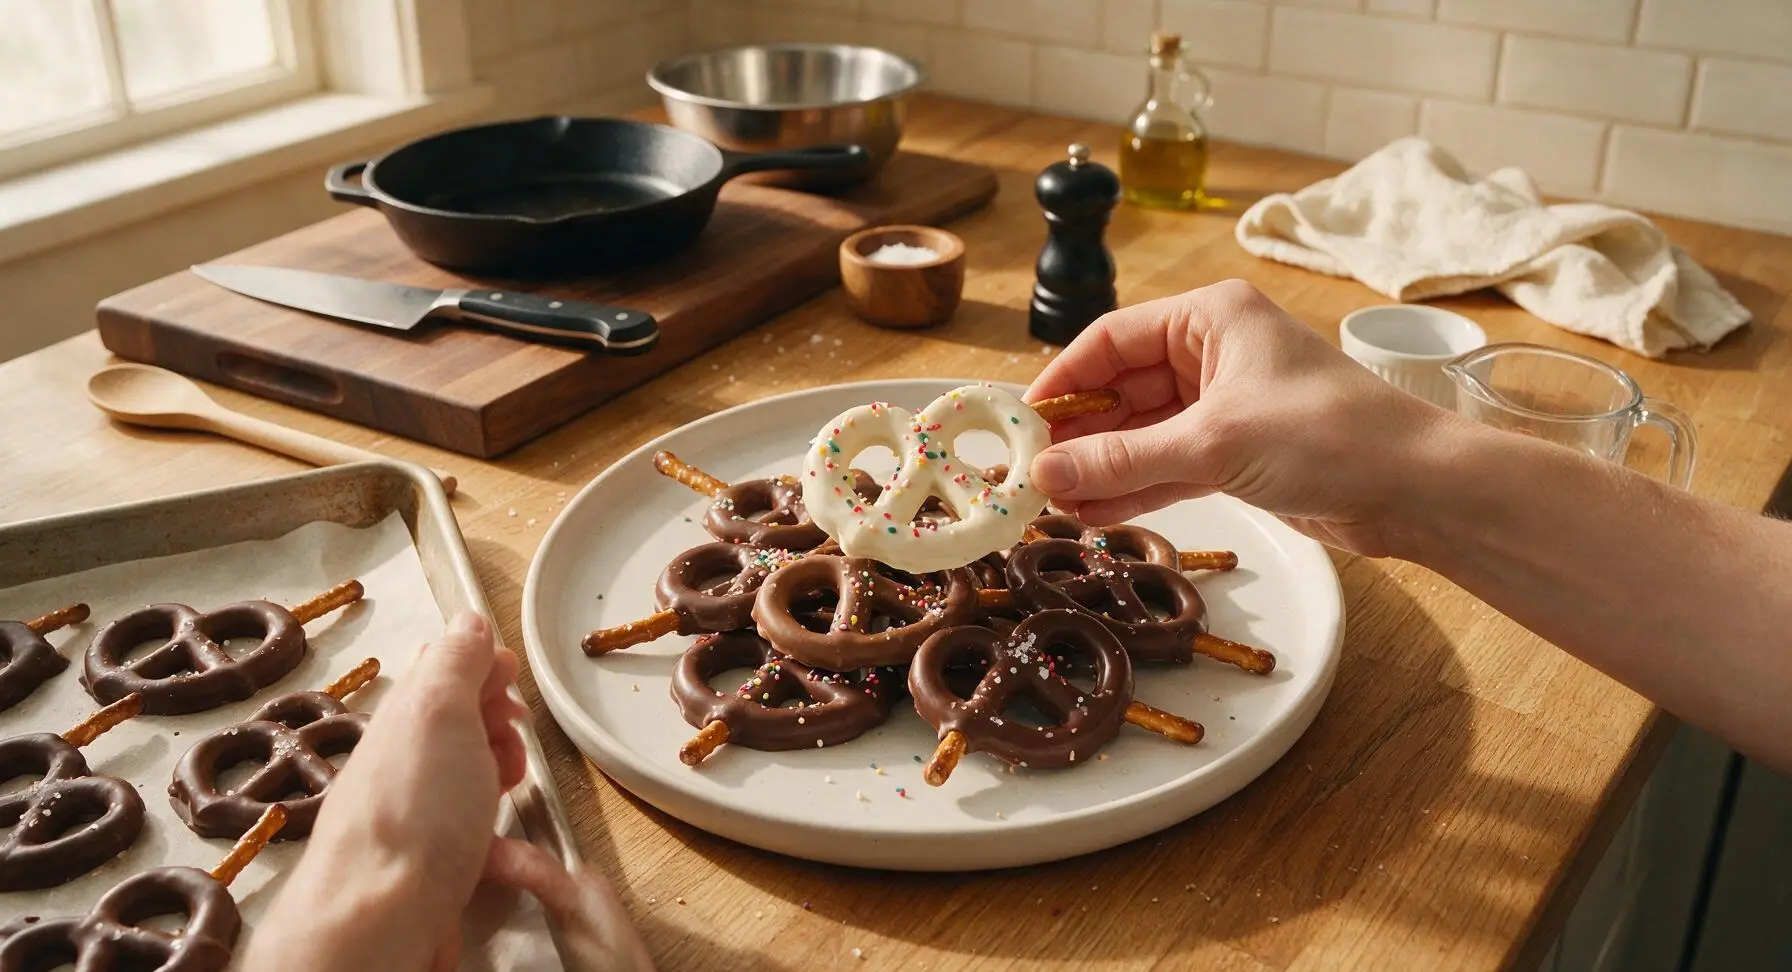
Once chocolate is fully set, carefully lift each pretzel off the parchment paper, arranging them in a loose, casual stack on the round matte white ceramic serving platter. Angle the uncoated pretzel ends outward for easy grabbing, and scatter a pinch of extra rainbow sprinkles and a few flakes of sea salt over the top of the stack for a polished, inviting finish.
Tips
2.Stick to the listed melting temperatures for each chocolate type (88°F for dark, 86°F for milk, 84°F for white) to achieve a perfectly tempered coating that snaps cleanly when bitten, stays firm at room temperature, and does not leave melted chocolate on fingers during handling.
3.If you do not have a double boiler setup, melt chocolate in a microwave-safe bowl in 30-second bursts at 50% power, stirring thoroughly between each burst. Stop heating when 70% of the chocolate is melted, then stir continuously until residual heat melts the remaining lumps to avoid burning the chocolate.






OMG these are SO good! I threw these together in literally 5 minutes before my oldest’s soccer practice snack sign-up and all the kids were begging for more. I used dark chocolate for half and milk for the other, even added a little sprinkle of sea salt on top. Total game changer for quick last-minute treats!
Super easy recipe, even for someone who burns toast 90% of the time. My only note is that I microwaved the chocolate a little too long at first and it seized up, so definitely do 30 second bursts like the tip says! Tasted amazing once I got it right.
Perfect for dorm life! No fancy equipment needed, just a microwave, a bag of pretzels, and a chocolate bar. I made these for my floor’s movie night and everyone kept asking where I got the recipe. 10/10 will make again every week.
Wait, is it really only 5 minutes of cook time? I’ve been nervous to try any candy-making because I thought it took forever and was super complicated. These look so good though, I wanna make them for my partner’s birthday goodie bags!
I used mini pretzel twists, 70% dark chocolate, and a little sprinkle of crushed peanuts for a post-workout sweet treat that doesn’t leave me feeling sluggish. So much better than the overpriced chocolate covered pretzels at the grocery store! I make a big batch on Sunday for meal prep so I have a little sweet bite all week long.
Made these for my kid’s class holiday party and every last one was gone before I even made it out of the classroom! The teacher even asked for the recipe to send home to all the parents. Win in my book.
Wait, has anyone tried making these with the pretzel rods instead of the twists? I feel like those would be easier to dip and less messy for my toddler to hold during snack time.
These are my go-to for every potluck and game day get-together! I love that I can customize them with different chocolate types and toppings to match whatever theme the party has. Last time I did orange and black sprinkles for our Halloween watch party and they were the first snack gone.
I swapped the milk chocolate for dairy-free dark chocolate and these turned out absolutely perfect! My non-vegan roommates didn’t even notice the difference and ate half the batch in one sitting. Will absolutely be adding this to my regular snack rotation.
I’ve been making chocolate covered pretzels for years, but I never thought to add a tiny drizzle of peanut butter on the pretzel before dipping in chocolate. Tried that after seeing a similar tip in the recipe comments and WOW, total next level stuff.
I made these with my 4 year old yesterday and she had the best time dipping the pretzels and adding rainbow sprinkles. It was the perfect easy weekend activity that resulted in a delicious snack, zero stress, and very minimal mess. 10/10 for busy parents!
Took these to my buddy’s poker night last weekend and everyone kept raving about them. I added a little cayenne pepper to the dark chocolate batch for a spicy kick and people went nuts for the sweet-salty-spicy combo. Will 100% be making these for every guys’ night from now on.
Pro tip: Lay out a sheet of parchment paper before you start dipping, it makes cleanup so much easier and the chocolate doesn’t stick to the counter when you set the pretzels down to dry. I’ve made these so many times I could do it in my sleep at this point!
I was looking for a cheap, quick DIY holiday gift for my coworkers this year and these were perfect! I bagged them up in little cellophane bags with a cute ribbon and everyone said it was the best gift they got at the office gift exchange. Way better than a random gift card in my opinion.