
Chocolate covered raisins

title 1
Chocolate covered raisins
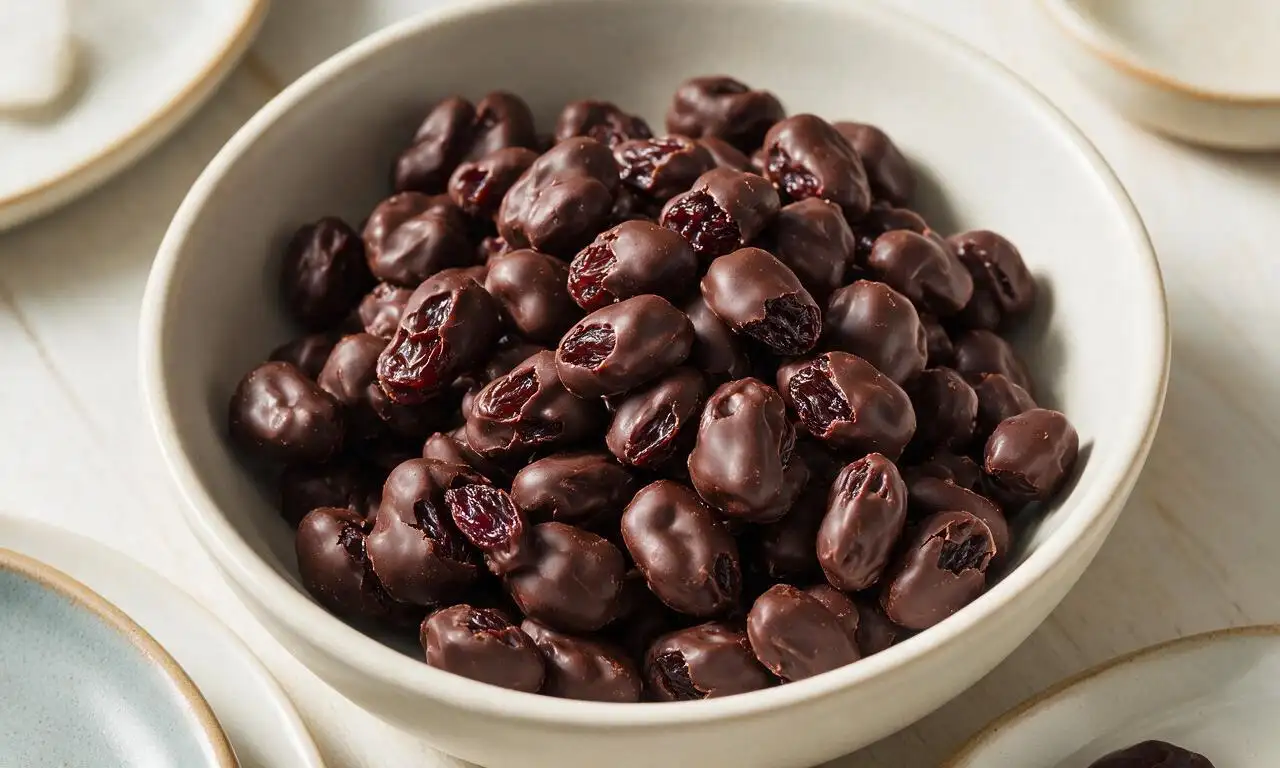
⏱️ cook time 25 minutes
🍽️ servings 6
⚡ Difficulty easy

intro

Chewy, sweet raisins coated in smooth, rich dark chocolate make a simple, portable, no-fuss snack perfect for casual group munching.

Ingredients

Seedless raisins (Thompson or golden) 200g (1.5 cups)
Dark chocolate (70% cacao, chopped) 225g (8 oz / ~1.5 cups chopped)
Unrefined coconut oil 5ml (1 teaspoon)
Flaky sea salt (optional) 1g (1/4 teaspoon)

Steps

1

Prep ingredients and tools

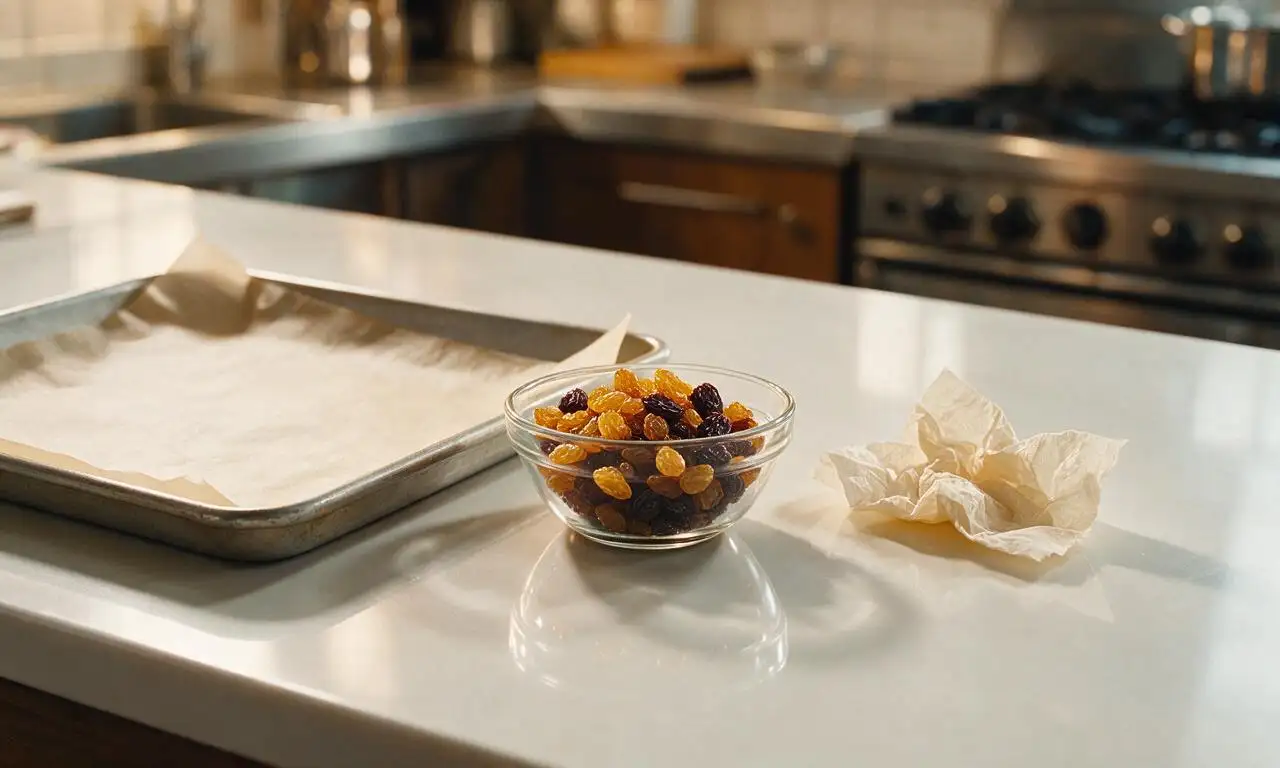
Line a 30cm x 40cm (12in x 16in) rimmed baking sheet with parchment paper. Measure 200g (1.5 cups) of raisins, pat them lightly dry with a paper towel if they feel sticky or damp, and set aside in a small bowl. Removing surface moisture prevents chocolate from seizing later.
Step 1
step1:Prep ingredients and tools
2

Melt chocolate mixture

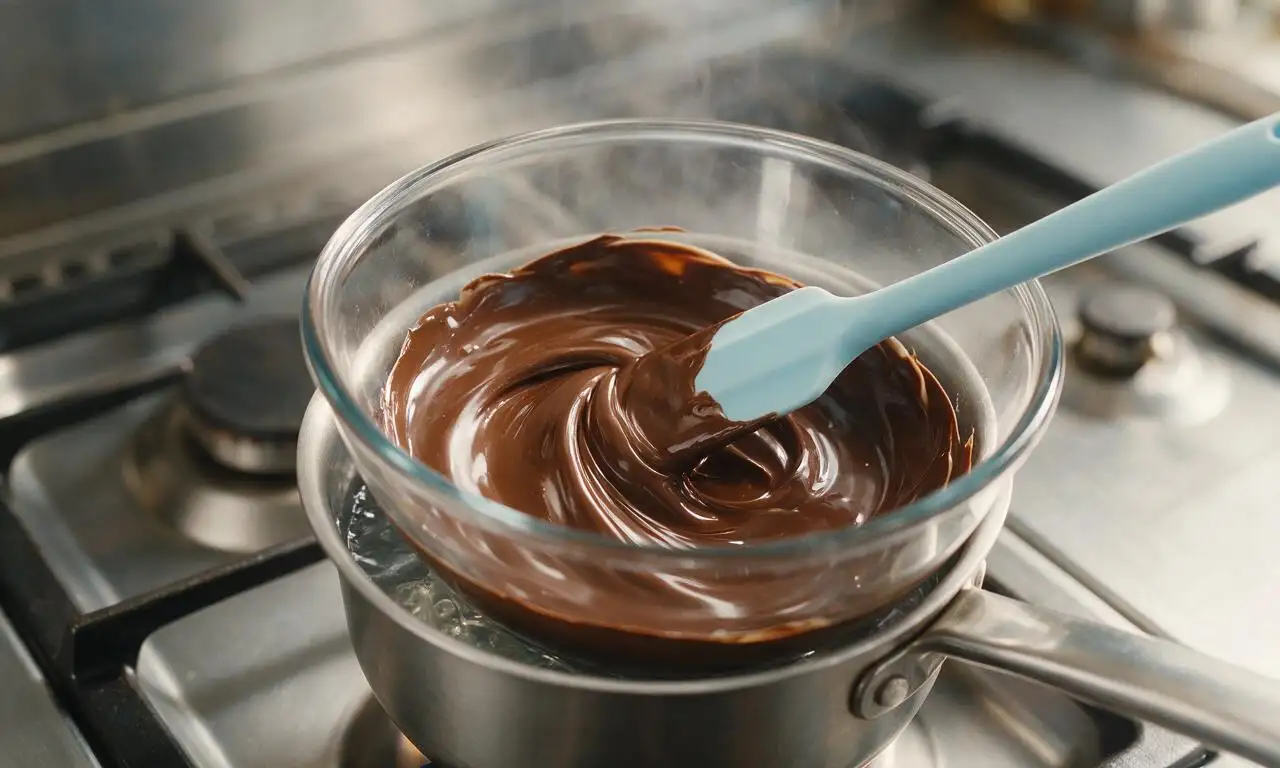
Add 225g (8oz) of chopped dark chocolate and 5ml (1 tsp) of coconut oil to a heatproof glass bowl. Set the bowl over a small saucepan of gently simmering water (double boiler method, ensure the bowl does not touch the water) over low heat. Stir continuously with a silicone spatula for 3-4 minutes until the chocolate is fully smooth with no lumps. Do not let water or steam touch the chocolate, as this will cause it to seize.
Step 2
step2:Melt chocolate mixture
3

Coat raisins evenly

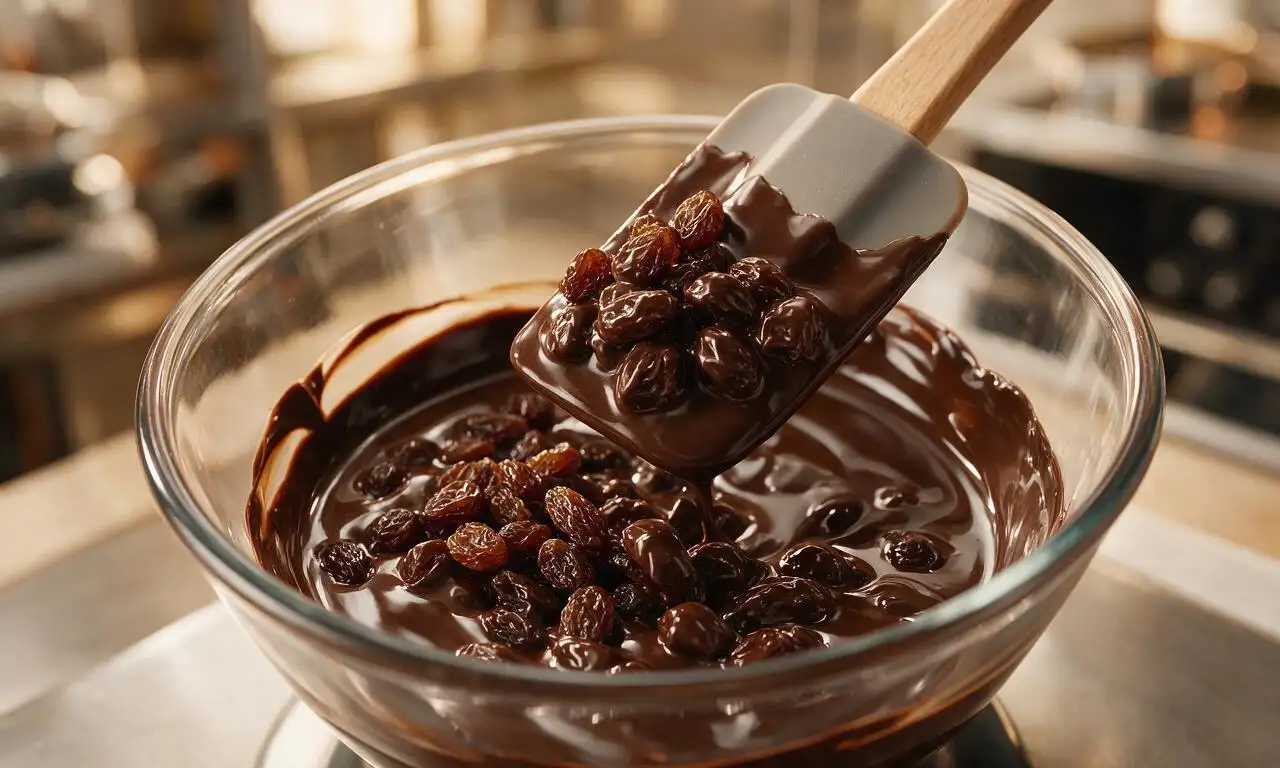
Remove the bowl of melted chocolate from the heat. Add all the measured raisins to the chocolate bowl, stirring gently with the silicone spatula for 1-2 minutes until every raisin is fully coated in a thin layer of dark chocolate, with no dry raisin patches visible.
Step 3
step3:Coat raisins evenly
4

Scoop raisins onto tray

Use two small teaspoons to drop bite-sized clusters (3-4 raisins per cluster) of the chocolate-raisin mixture onto the prepared parchment-lined baking sheet, leaving 1cm (0.5in) of space between each cluster to prevent sticking. If using, sprinkle a tiny pinch of flaky sea salt over the top of each cluster immediately, before the chocolate begins to set.
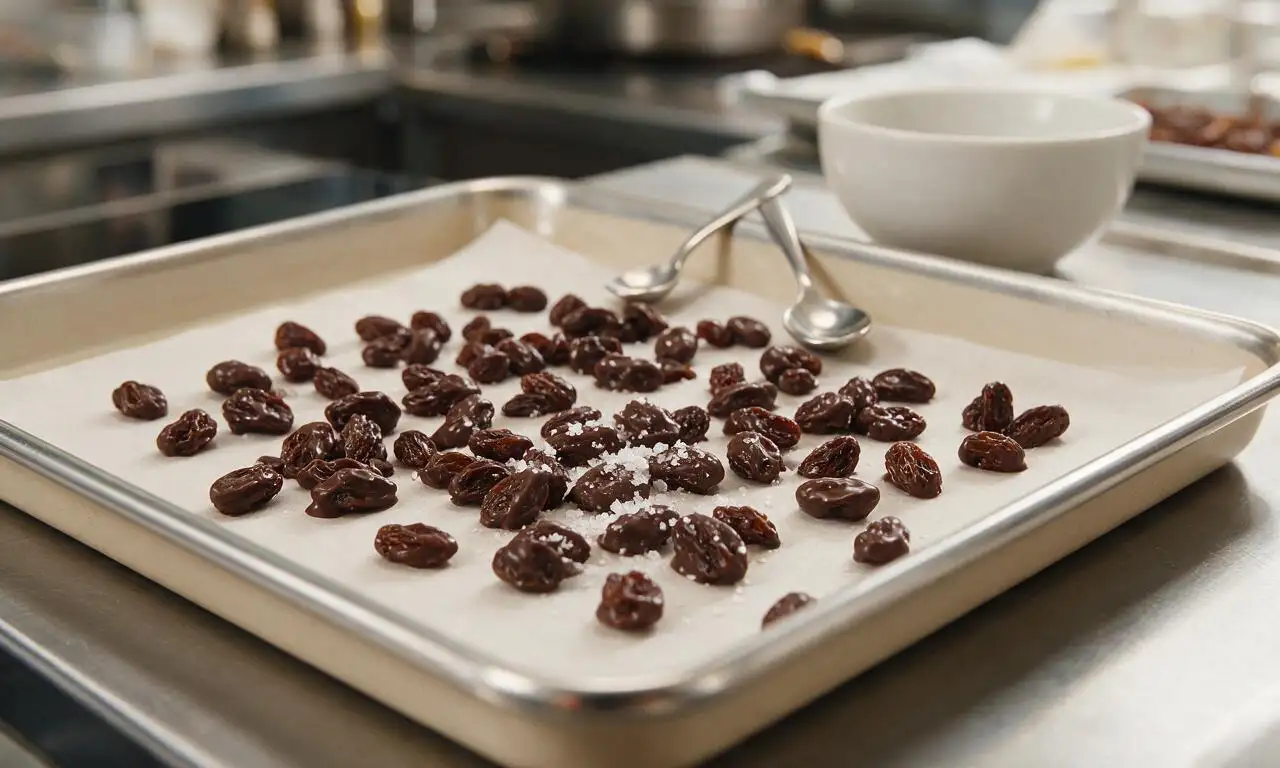
Step 4
step4:Scoop raisins onto tray
5

Chill to set chocolate

Place the baking sheet of raisin clusters on the middle shelf of the refrigerator, uncovered, for 10 minutes until the chocolate is completely firm and set to the touch. Do not chill for longer than 15 minutes, as extended cold can cause unsightly sugar bloom on the chocolate surface once returned to room temperature.
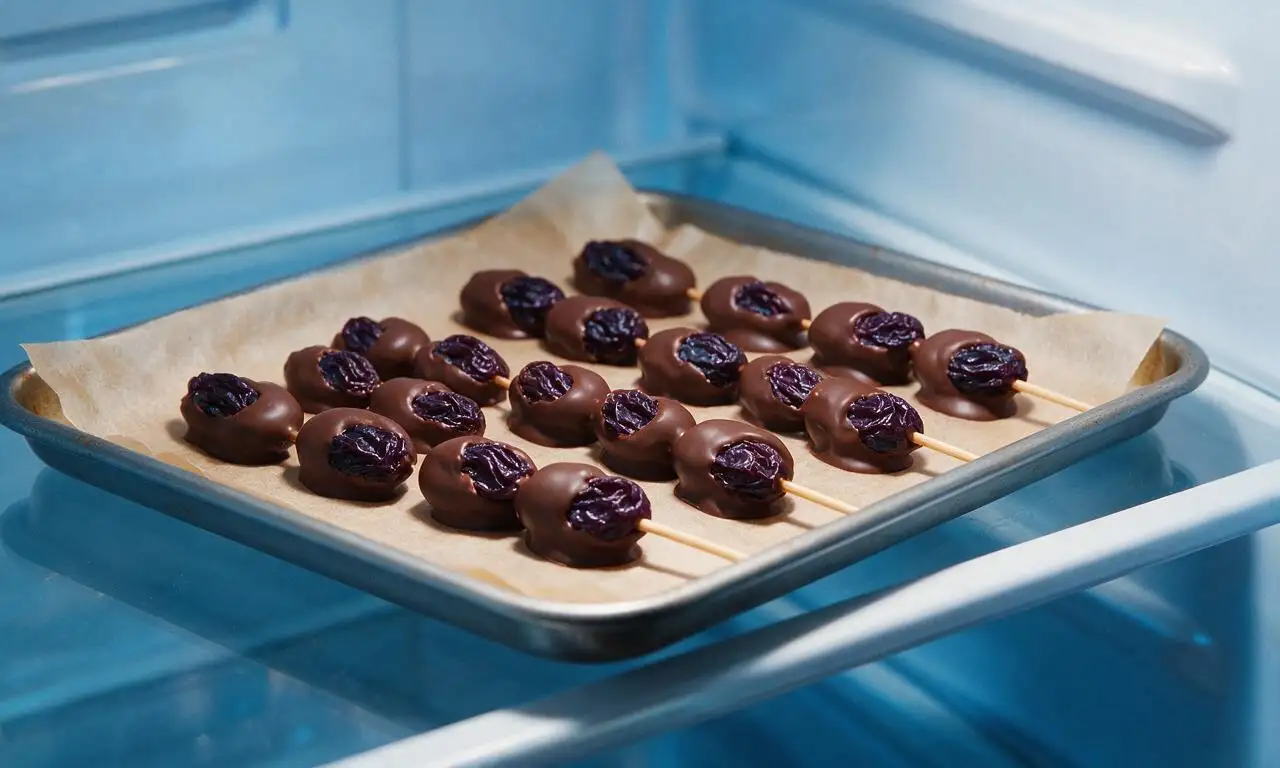
Step 5
step5:Chill to set chocolate
6

Store or serve immediately

Once set, peel the clusters from the parchment paper and transfer to an airtight container. Store at cool room temperature (18-20°C / 65-68°F) for up to 2 weeks, or in the refrigerator for up to 1 month. Serve in small, easy-to-reach bowls for grab-and-go munching.
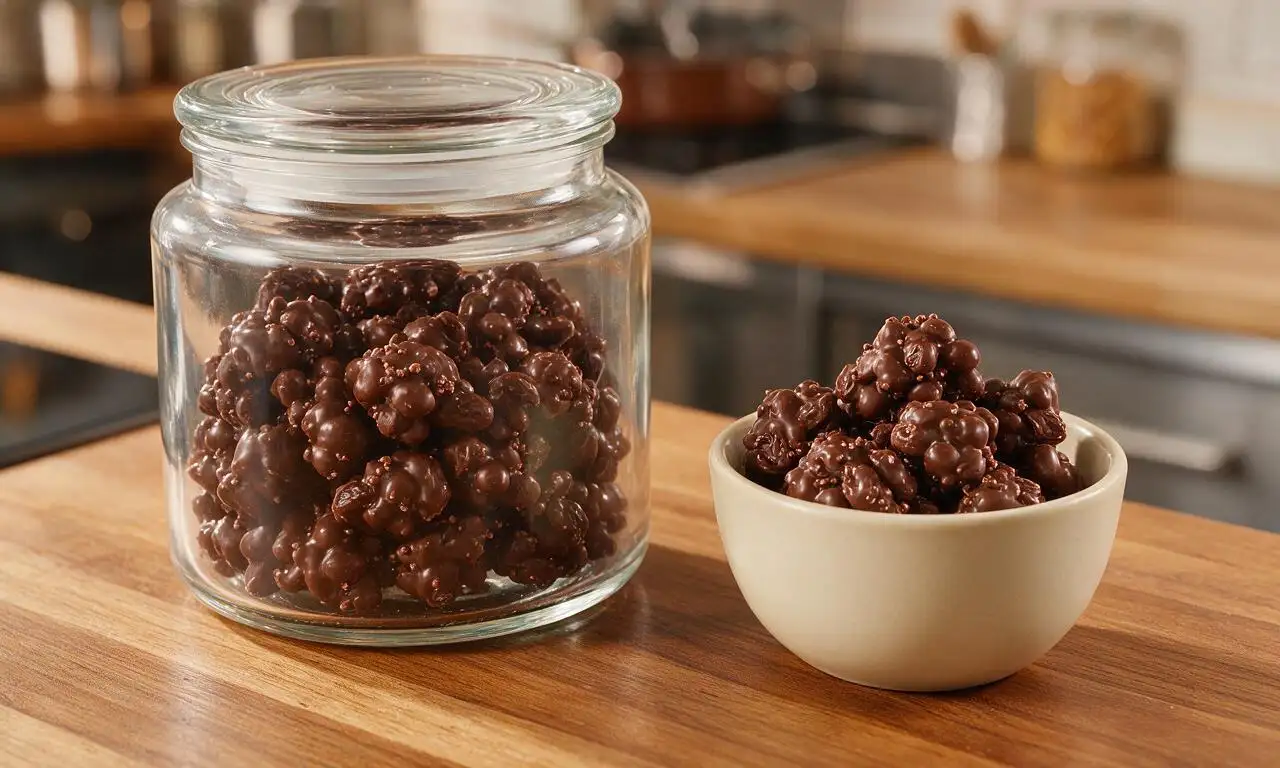
Step 6
step6:Store or serve immediately

Tips

1.Ensure all raisins, bowls, and spatulas are completely dry before working with melted chocolate—even one drop of water will cause chocolate to seize into a grainy, unusable lumpy mass.
2.You can swap dark chocolate for equal amounts of milk or white chocolate if preferred; note that white chocolate scorches easily, so melt it over the lowest possible heat and stir constantly.
3.For extra texture, stir 30g (2 tablespoons) of toasted chopped peanuts or mini crisped rice cereal into the chocolate-raisin mixture before portioning onto the baking sheet.


✨ You May Also Like

Snacks & Appetizers
🍜 Mexico

Crispy thick-cut tortilla chips piled high with seasoned beef, melted cheese, and bright fresh toppings for a shareable, crowd-favorite bite.

⏱️ 25 minuteSnacks & Appetizers ★ 4.8
Snacks & Appetizers
🍜 United States

Crisp, sweet-tangy spiced pickled watermelon rind is a zero-waste summer staple, perfect with grilled meats, charcuterie, or eaten straight from the jar as a bright snack.

⏱️ 30 minuteSnacks & Appetizers ★ 4.6
Snacks & Appetizers
🍜 Germany

A tangy, jellied pork cold cut slow-simmered with aromatic spices, set into a firm sliceable loaf, served cold with mustard and crusty bread.

⏱️ 3 hours 4Snacks & Appetizers ★ 4.8
Snacks & Appetizers
🍜 United States

Creamy, tangy, perfectly seasoned hard-boiled egg halves filled with a rich, smooth yolk mixture, a timeless, crowd-pleasing bite for holiday and casual gatherings alike.

⏱️ 40 minuteSnacks & Appetizers ★ 4.8
Snacks & Appetizers
🍜 Russia

Silky, dill-forward no-smoke cured salmon, a Scandinavian classic with bright salty-sweet flavor, ideal for holiday starter platters and open-faced rye sandwiches.

⏱️ 48 hours Snacks & Appetizers ★ 4.7
Snacks & Appetizers
🍜 Japan

Crisp golden bottoms, juicy savory pork and vegetable filling, and tangy dipping sauce make these pan-fried gyoza a beloved shareable bite.

⏱️ 45 minuteSnacks & Appetizers ★ 4.8

Chocolate covered raisins:Frequently Asked Questions

1.Can I use milk or white chocolate instead of the recommended 70% dark chocolate? ▾
Absolutely! While 70% dark chocolate delivers that perfect rich, not-too-sweet balance with chewy raisins, you can swap in milk, white, or even ruby chocolate to match your taste. Just note sweeter chocolates pair especially well with a light sprinkle of flaky sea salt to cut cloying sweetness, and you’ll use the same small amount of coconut oil for a smooth, thin coating.
2.Why is coconut oil added to the melted chocolate, and can I skip it? ▾
The small amount of unrefined coconut oil thins melted chocolate just enough to create a light, even coating on raisins instead of a thick, gloppy shell that cracks easily. If you don’t have coconut oil, swap in an equal amount of melted unsalted butter or refined cocoa butter, but don’t skip the fat entirely—you’ll end up with uneven, overly thick coated raisins.
3.My chocolate turned grainy and clumpy while melting—what went wrong, and can I fix it? ▾
That texture, called seizing, happens when even a tiny drop of water or steam gets into melting chocolate. You can usually fix it by stirring in 1 teaspoon of warm coconut oil or vegetable shortening at a time, stirring gently, until it smooths out. Next time, use fully dry bowls and utensils, and keep steam from your double boiler away from the chocolate.
4.How should I store homemade chocolate covered raisins, and how long do they stay fresh? ▾
Store finished raisins in an airtight container in a cool, dry spot away from direct sunlight, and they’ll stay fresh for up to 2 weeks at room temperature, or up to a month in the fridge. If you live in a hot, humid climate, stick to fridge storage to prevent melting, and let them sit 5 minutes at room temp before eating for best texture.
5.Can I add extra seasonings or mix-ins to customize this recipe? ▾
Definitely! Stir ¼ teaspoon of ground cinnamon, cayenne, or instant espresso powder into the melted chocolate for a warm, layered flavor kick, or toss in chopped toasted nuts, mini crisp rice cereal, or dried cranberries with the raisins for extra crunch. Just skip wet mix-ins, as leftover moisture will cause the chocolate to seize or turn soggy in storage.
6.Do I need a double boiler to melt the chocolate, or can I use the microwave? ▾
You don’t need any fancy equipment! The microwave works perfectly for this recipe: heat the chopped chocolate and coconut oil in 30-second bursts at 50% power, stirring thoroughly between each burst, until the chocolate is 90% melted. Let it rest 1 minute, then stir to melt the last small chunks to avoid accidentally overheating and burning the chocolate.
7.My raisins are dry and tough out of the bag—should I prep them before coating? ▾
If your raisins are dried out instead of plump and chewy, give them a quick refresh first: toss them in a steamer basket over boiling water for 30 to 60 seconds, then spread them on a paper-towel lined baking sheet and pat them completely dry before coating. Any leftover moisture on raisins will make chocolate seize, so full dryness is non-negotiable.

Comments (4)

2 days ago

OMG these are SO good! I made a big batch for my kid’s soccer team potluck last weekend and every single parent asked me for the recipe. I tossed in a little flaky sea salt on top like the recipe notes suggested and it was a total game changer. Way better than the store bought ones that are waxy and taste like fake chocolate. 10/10 will be making these for my regular snack rotation from now on!

yesterday

So glad these were such a hit at the potluck, Jess! The flaky sea salt upgrade is one of my all-time favorite little tricks to make these feel extra special without any extra work. Hope the soccer team loved their post-game treats!

1 week ago

Super easy recipe, took me right around 25 minutes total like the cook time said, no fancy equipment required at all. I swapped in dark chocolate instead of milk because that’s what I had stashed in the pantry, and it turned out awesome. Perfect for meal prep snacking throughout the week— I portion them out into little snack baggies so I don’t accidentally eat the whole batch in one sitting lol.

3 days ago

Wait why did I never think to make these at home before?? I added a handful of crushed dry roasted peanuts to half the batch for my husband who loves extra crunch, and he said they taste better than the fancy chocolate covered raisins we get at the candy shop on date night. My kids absolutely devoured the plain milk chocolate ones after school yesterday, I barely got to have any myself!

2 days ago

Oh the crushed peanut addition sounds genius! Did you toss the peanuts in with the raisins before dipping, or sprinkle them on top while the chocolate was still melty?

2 days ago

Love the crushed peanut twist! That sounds like the perfect crunchy, salty-sweet upgrade. So funny how fast these disappear when kids are around—pro tip: always make a double batch if you want any for yourself, trust me 😂

2 hours ago

Really solid easy recipe! First time making any kind of chocolate covered candy at home and I didn’t totally mess it up, which is saying something for me (I’m notorious for burning even microwave popcorn). My only quick tip is to make sure you pat the raisins totally dry with a paper towel before dipping— I skipped that on my first test batch and the chocolate seized up a little. It still tasted great, just looked a little lumpy and less pretty than the photos!

30 minutes ago

Thanks for the heads up about drying the raisins! I was just about to start a batch for an upcoming backpacking trip and I definitely would’ve skipped that step, you just saved me from a lumpy mess. Appreciate it!



