
crescent roll mummies
intro
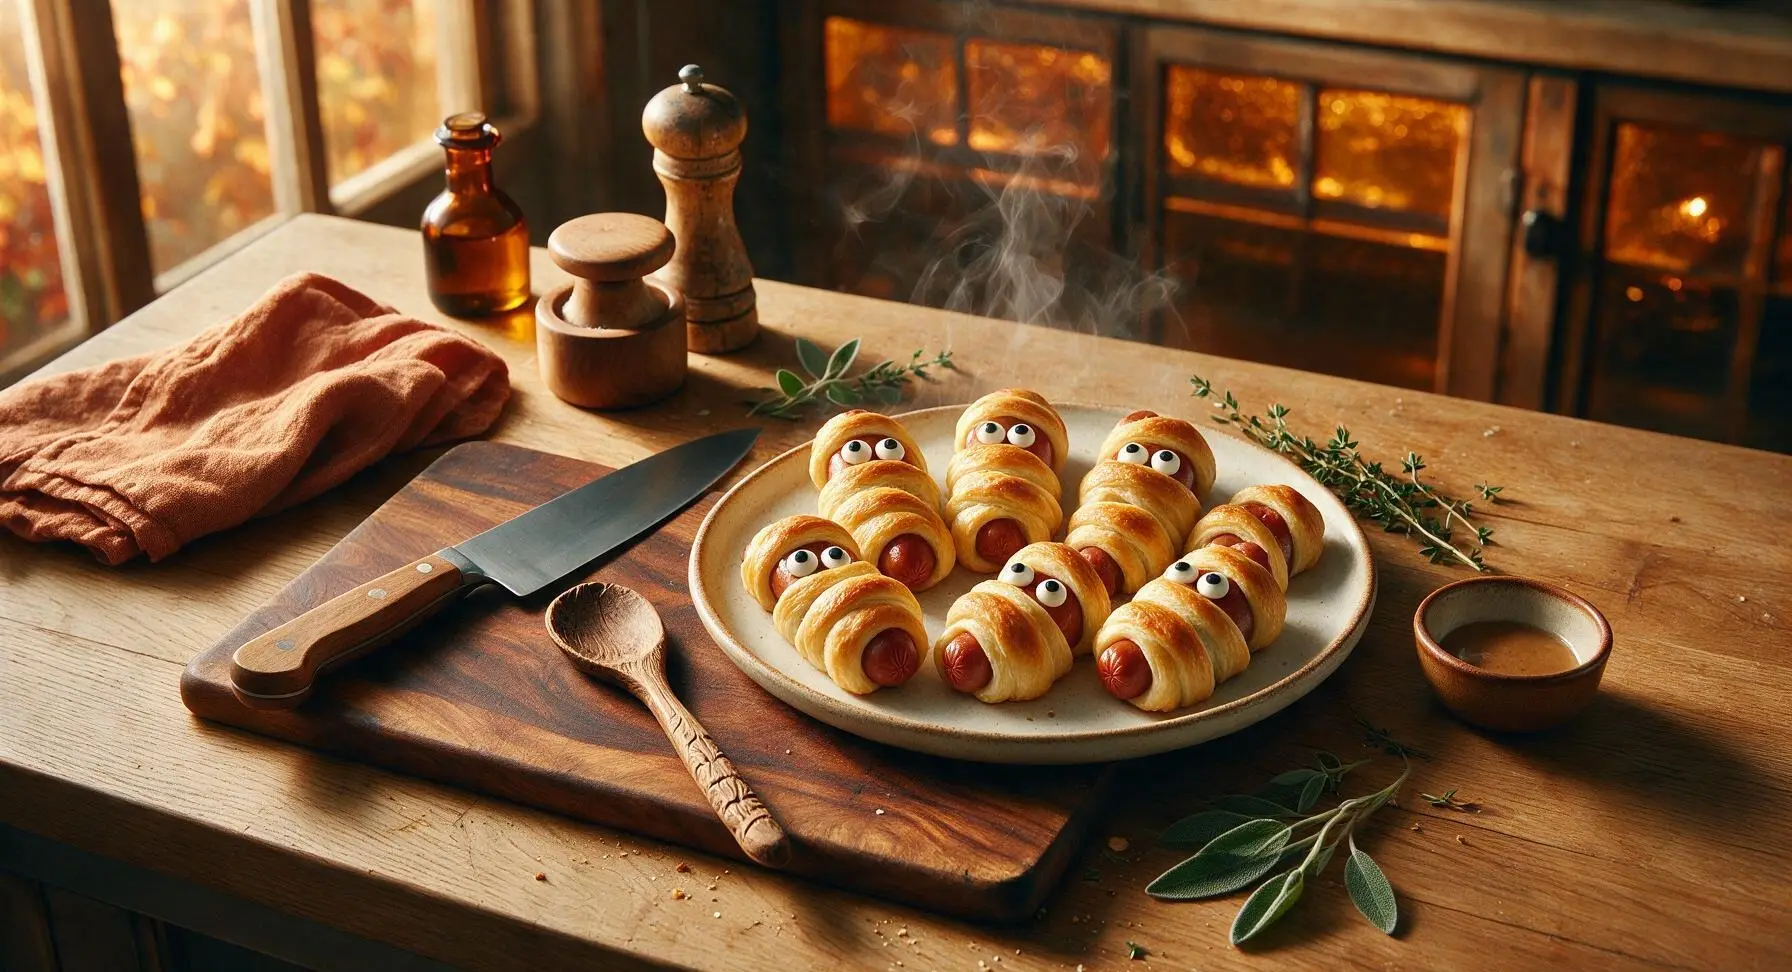
Flaky, buttery crescent roll dough wrapped around juicy hot dogs, topped with silly candy eyes, these spooky-cute mummies are an easy, crowd-pleasing Halloween snack for all ages.
Ingredients
Steps
Preheat and Prep Pan
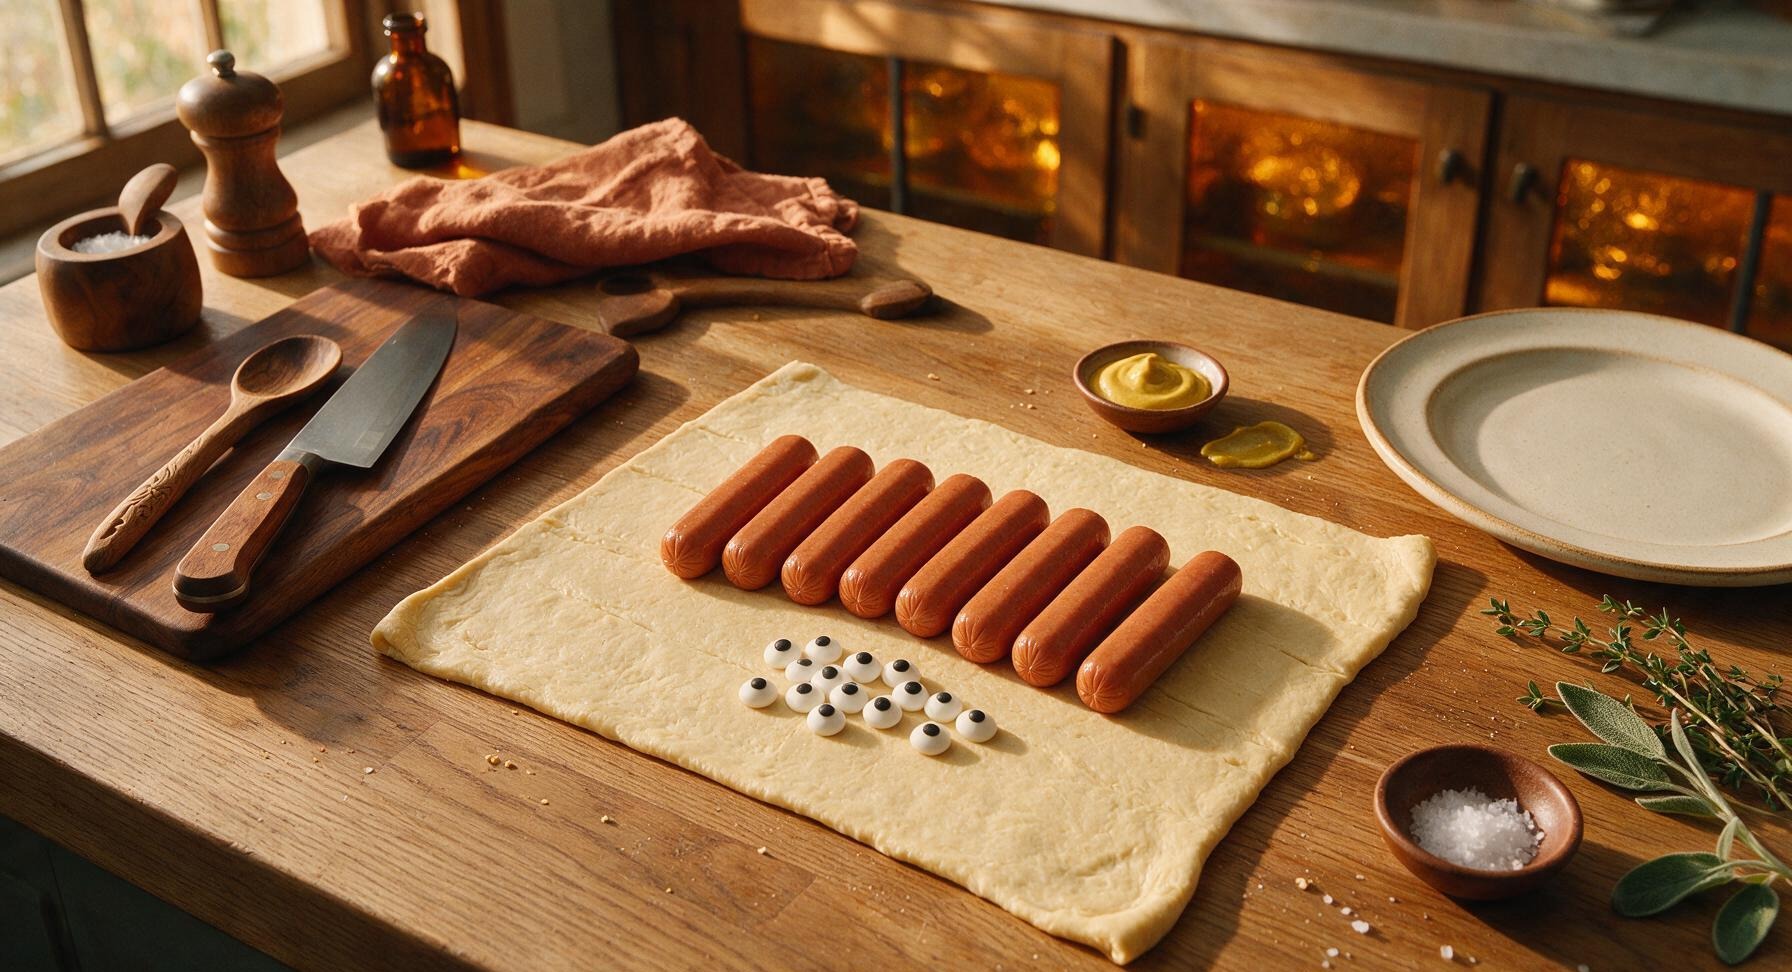
Adjust your oven rack to the middle position, then preheat the oven to 375°F (190°C). Confirm the parchment-lined matte aluminized steel half-sheet baking pan is clean and ready on the counter; no extra cooking spray is required, as the parchment paper will prevent sticking.
Cut Dough Strips
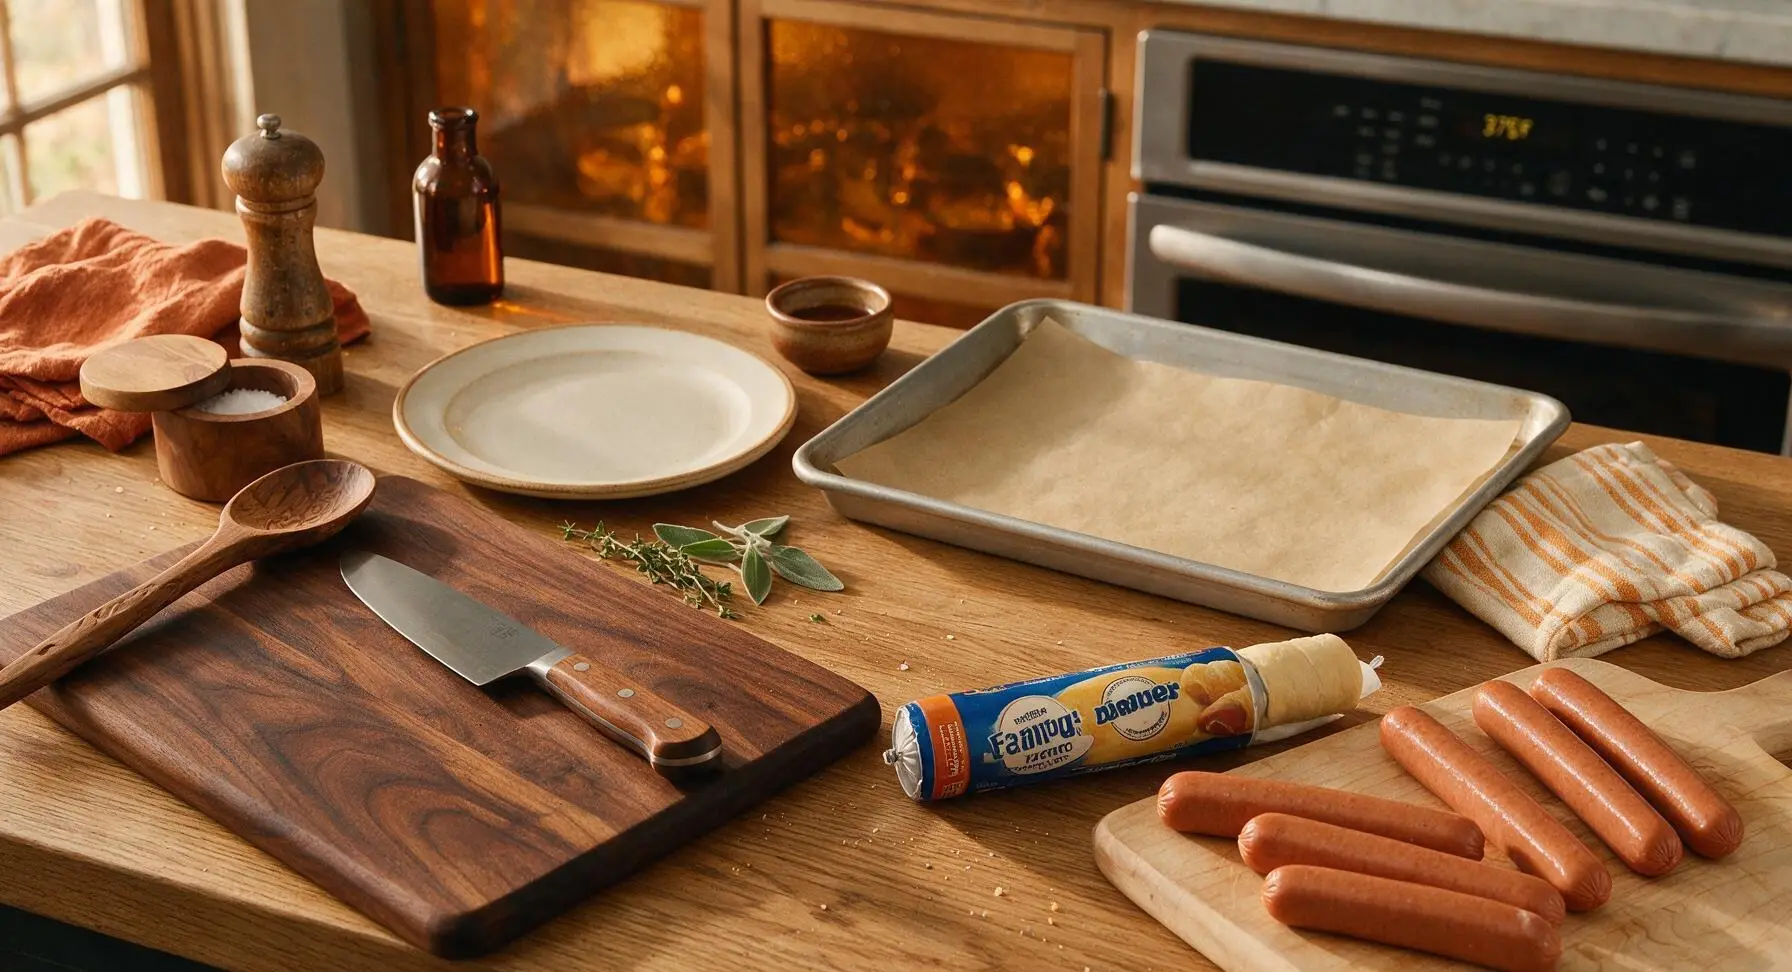
Pop open the refrigerated crescent dough tube, unroll the full seamless dough sheet flat onto the birch cutting board, patting it gently to smooth out any factory creases. Use the stainless steel pastry wheel to cut the dough into 1/2-inch wide, 4-inch long thin strips (approximately 32 total strips, 4 per hot dog). Strips do not need to be perfectly even; slightly ragged edges create a more authentic mummy bandage look after baking.
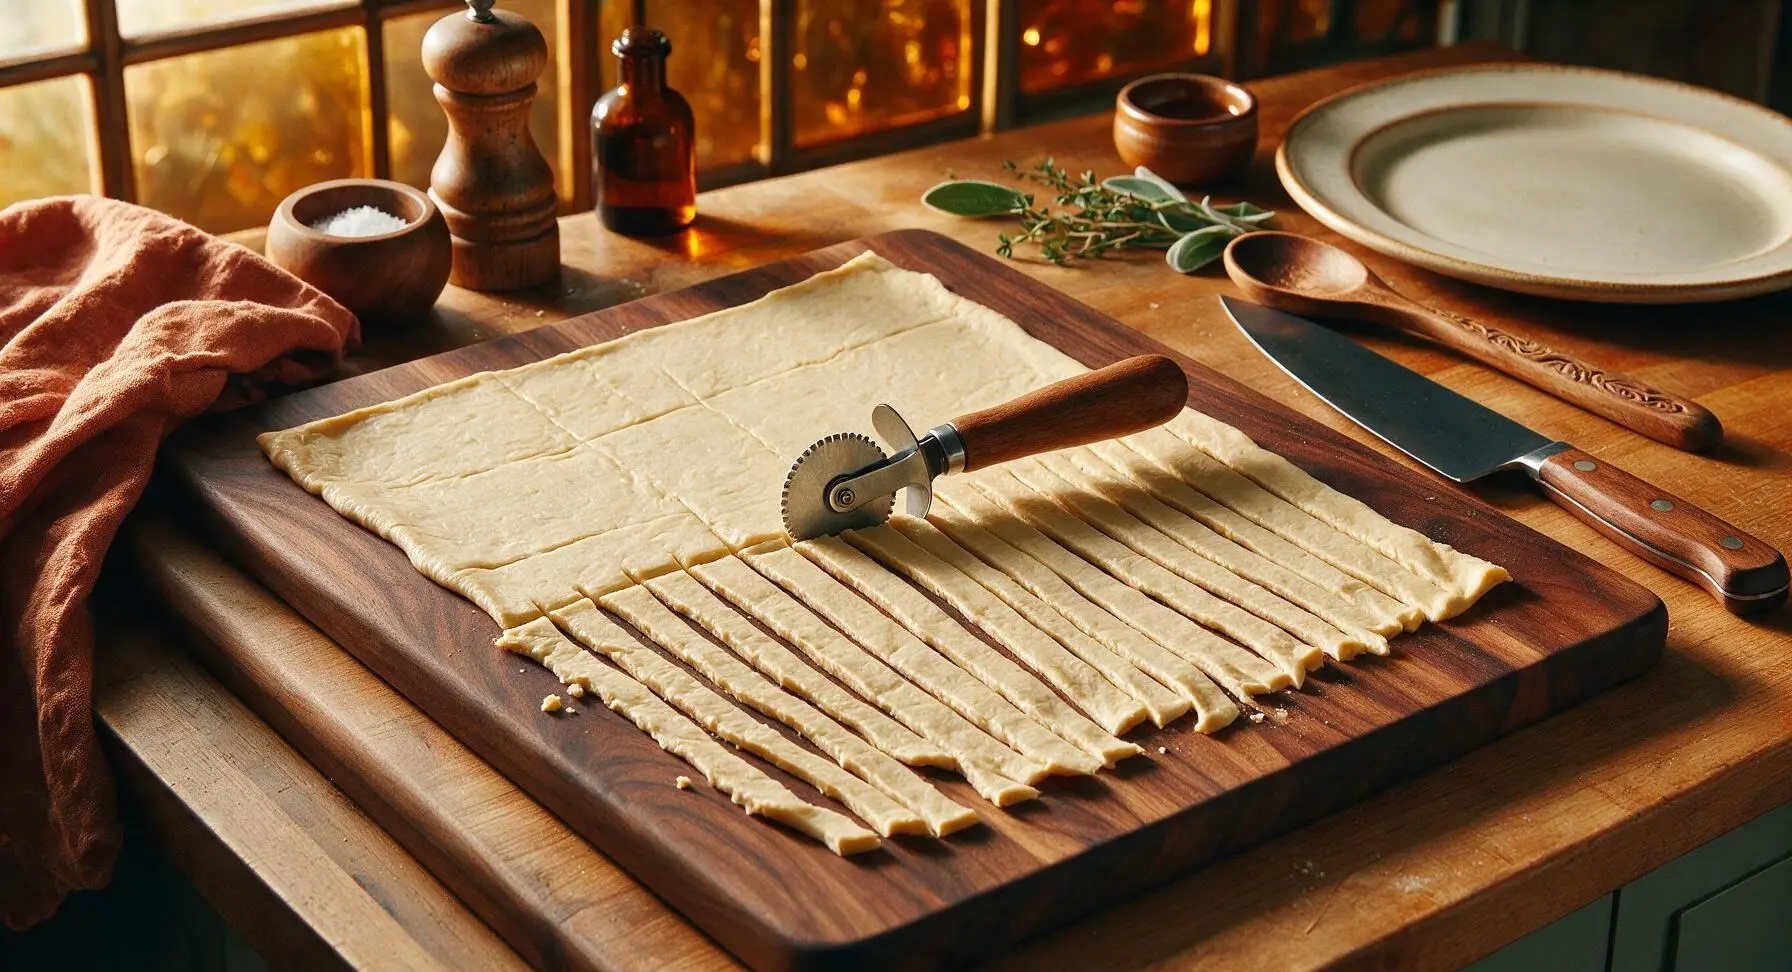
Wrap Hot Dogs in Dough
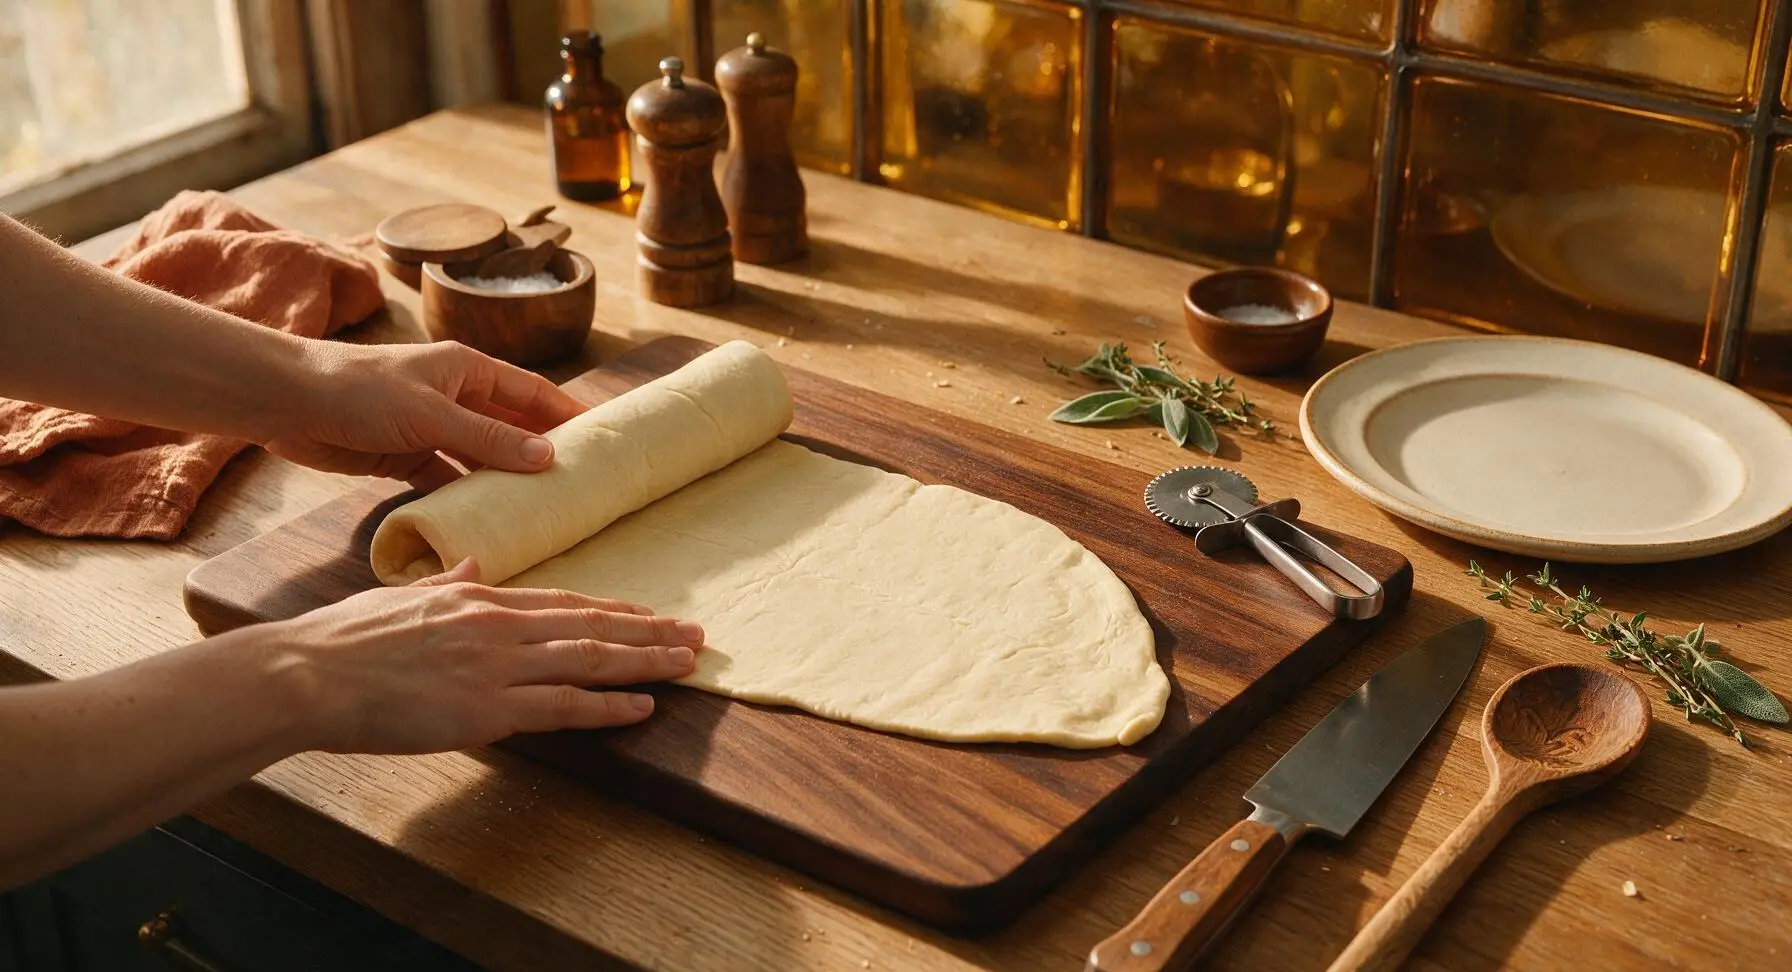
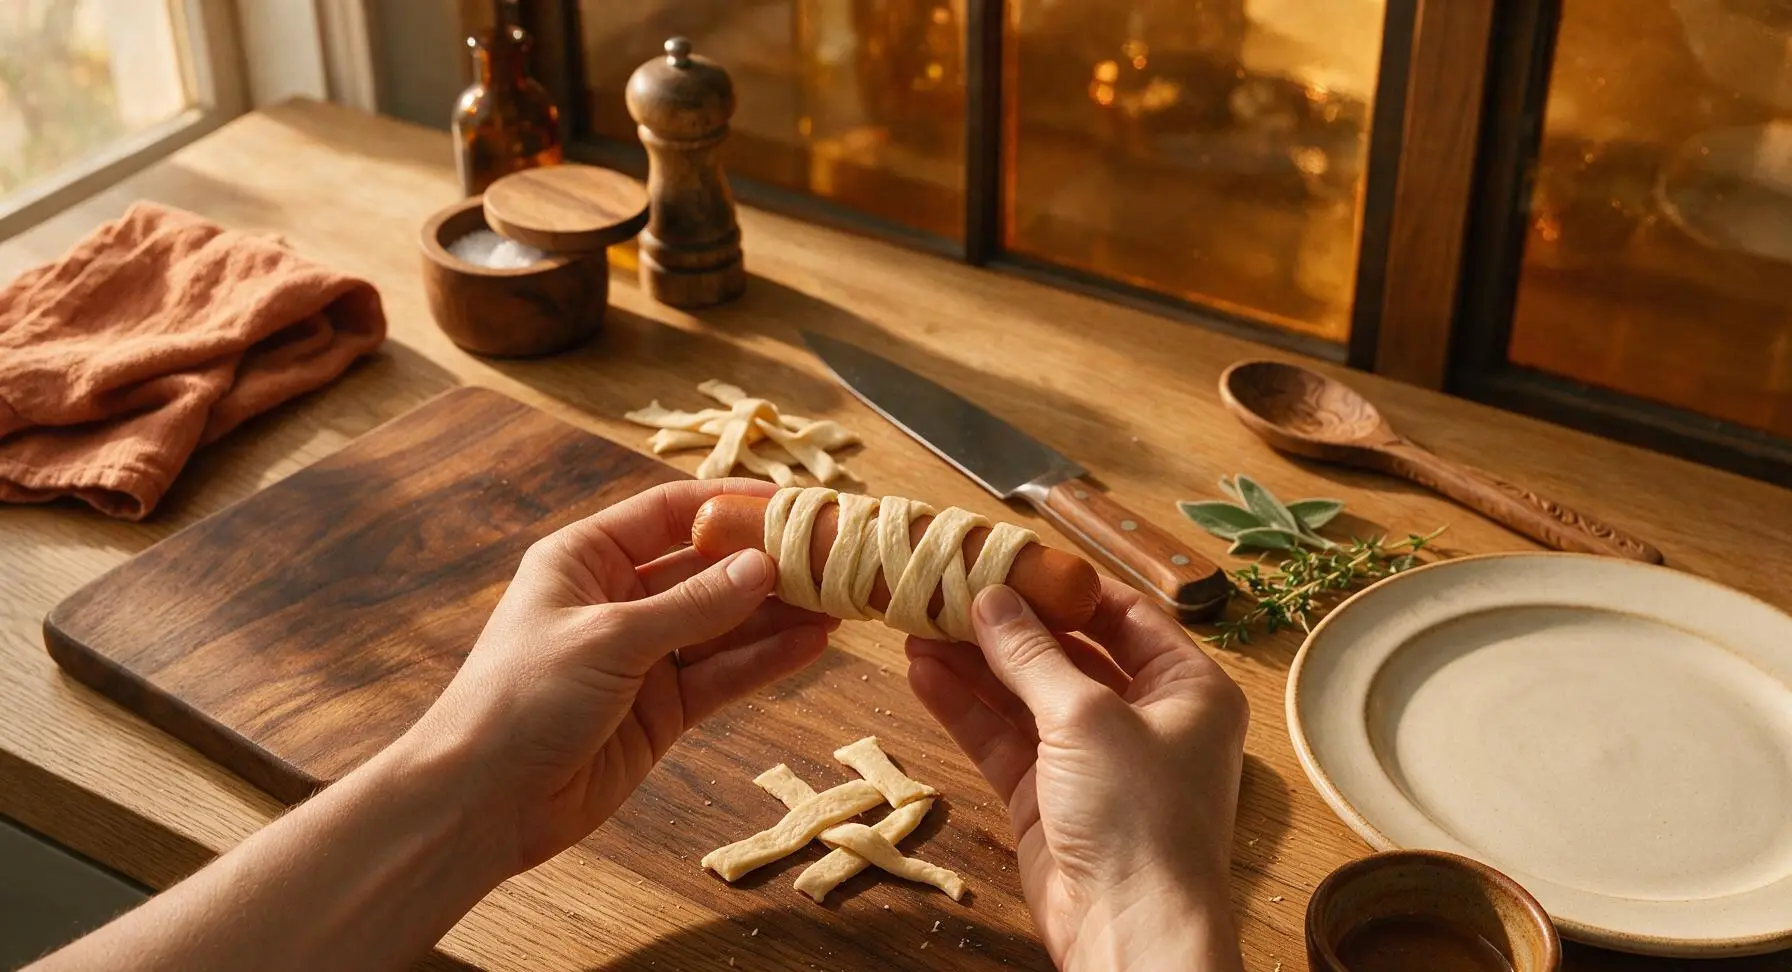
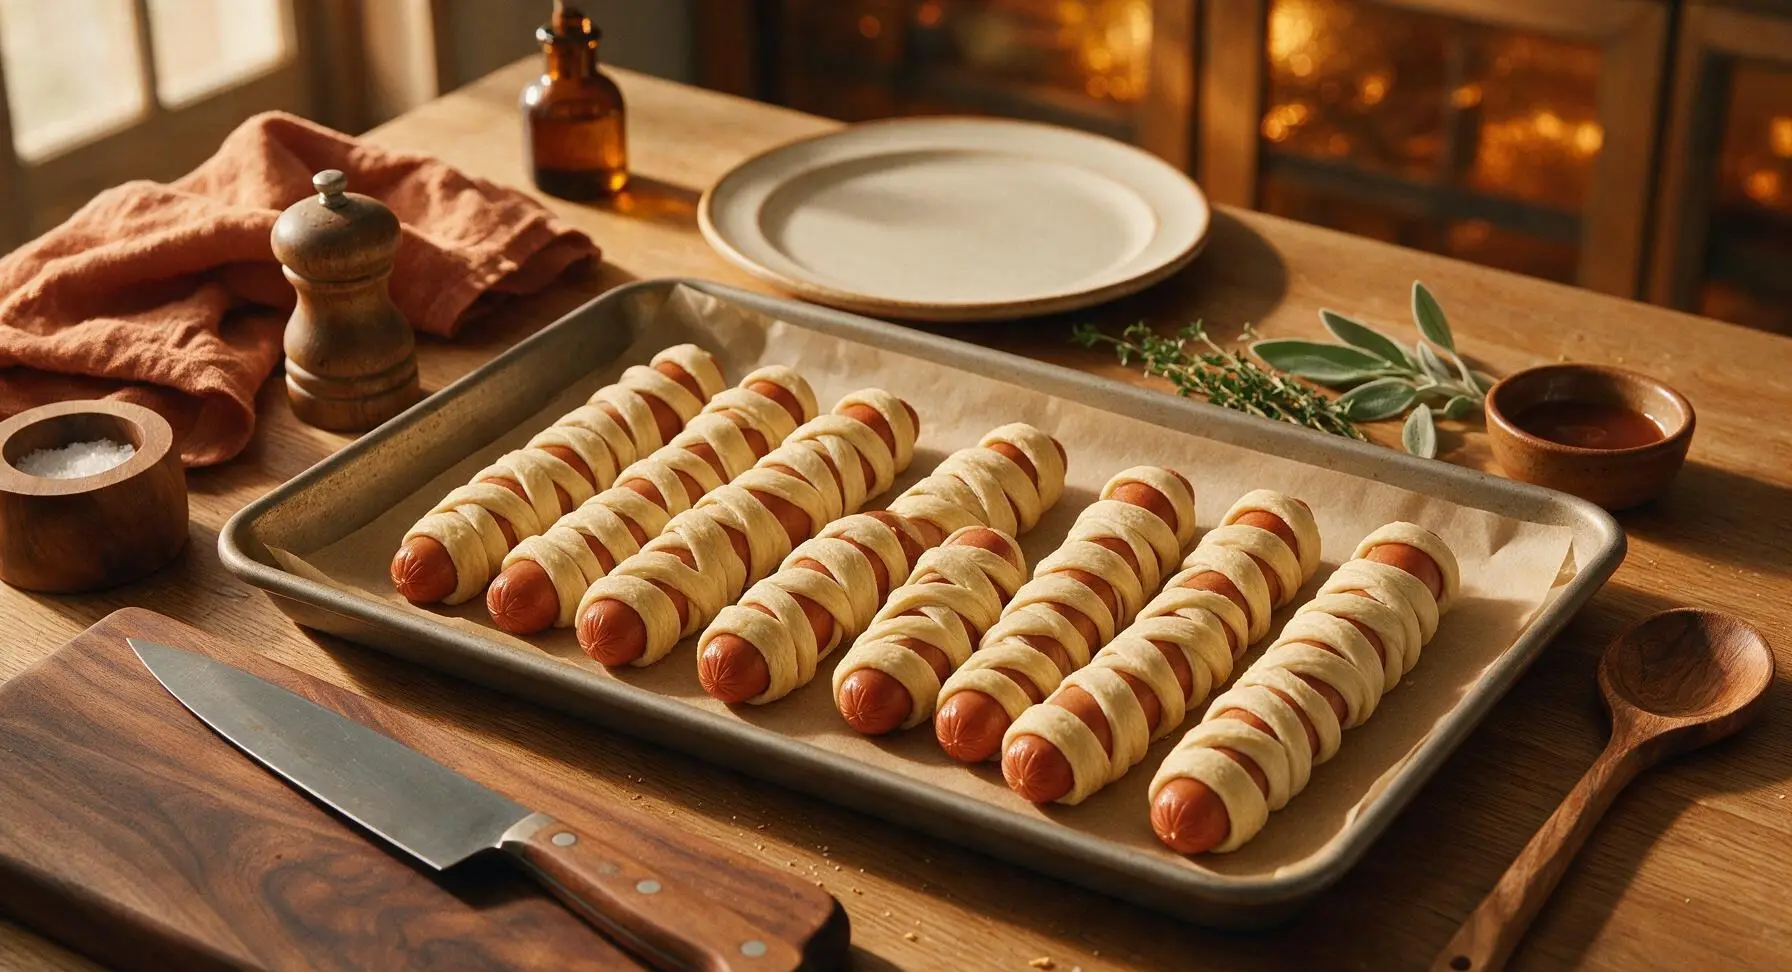
Take one hot dog at a time, wrapping the thin dough strips around it in a loose, crisscross pattern, leaving a 1/2-inch bare gap near one end to reserve space for the mummy face. Overlap strips slightly as you wrap, pressing the dough ends gently to adhere so they do not unwrap during baking. Leave small gaps between strips to mimic loose bandage wrappings.
Season Dough Lightly
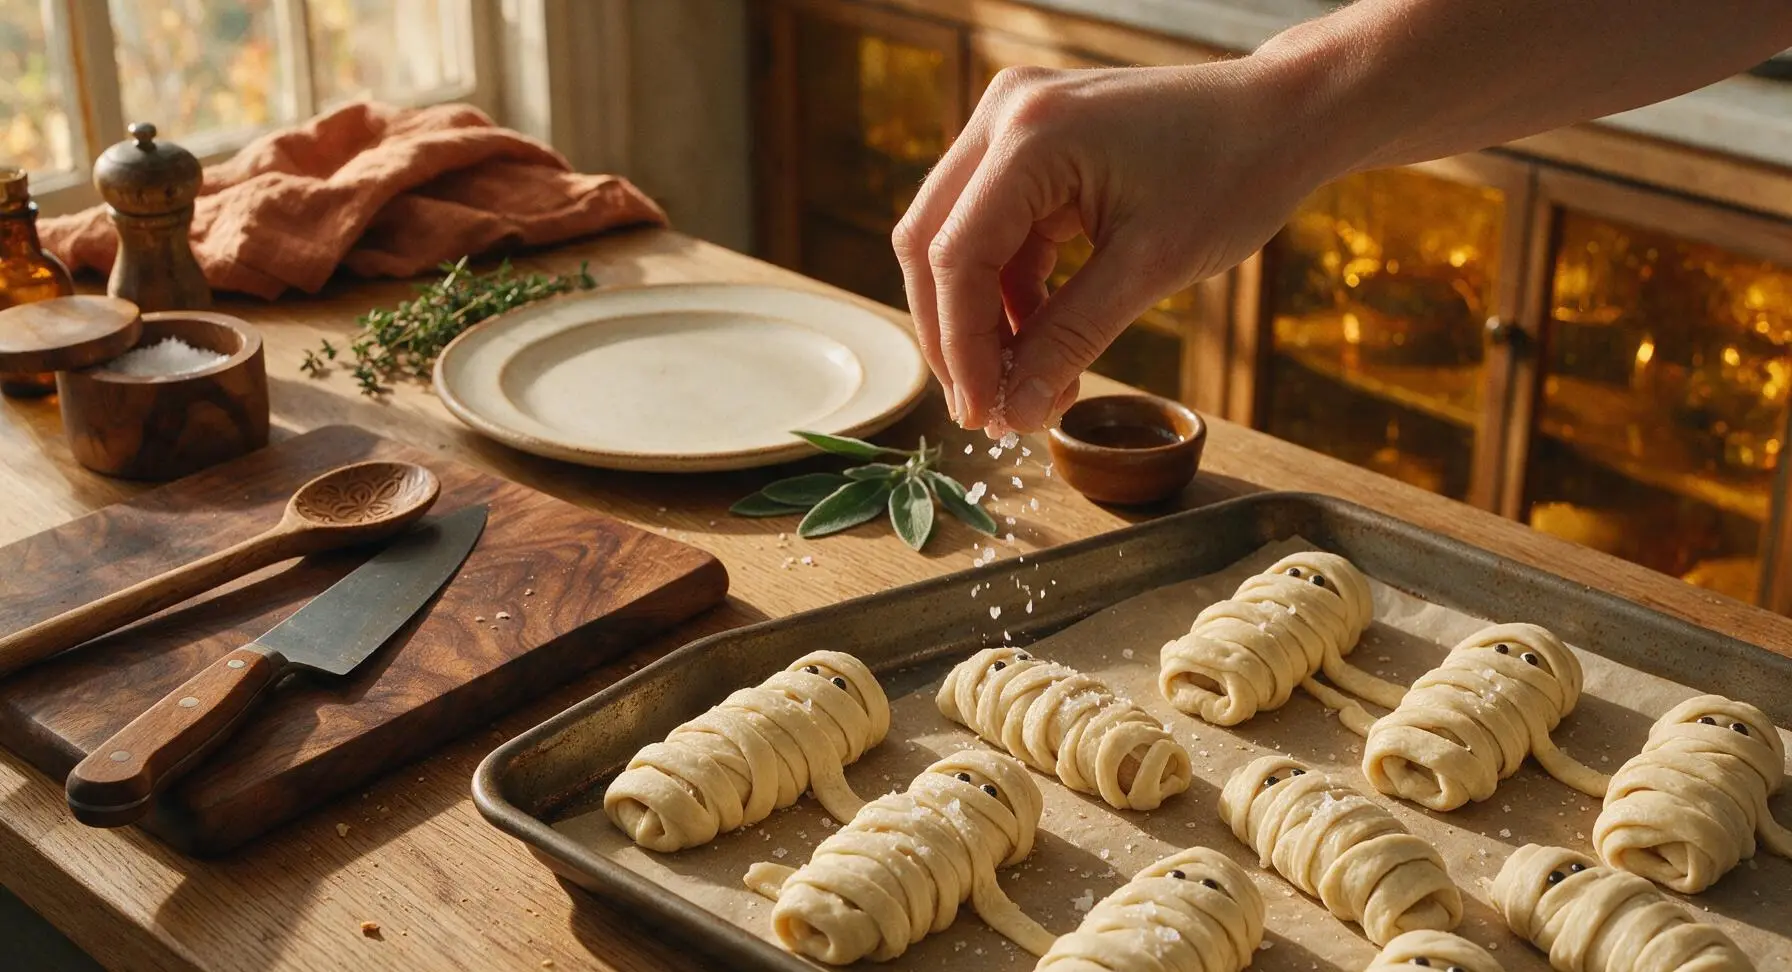
Sprinkle the 1/4 teaspoon of flaky sea salt evenly over the top of all dough-wrapped mummies on the baking pan. Do not over-salt, as both the hot dogs and pre-made crescent dough already contain moderate sodium levels.
Bake Until Golden
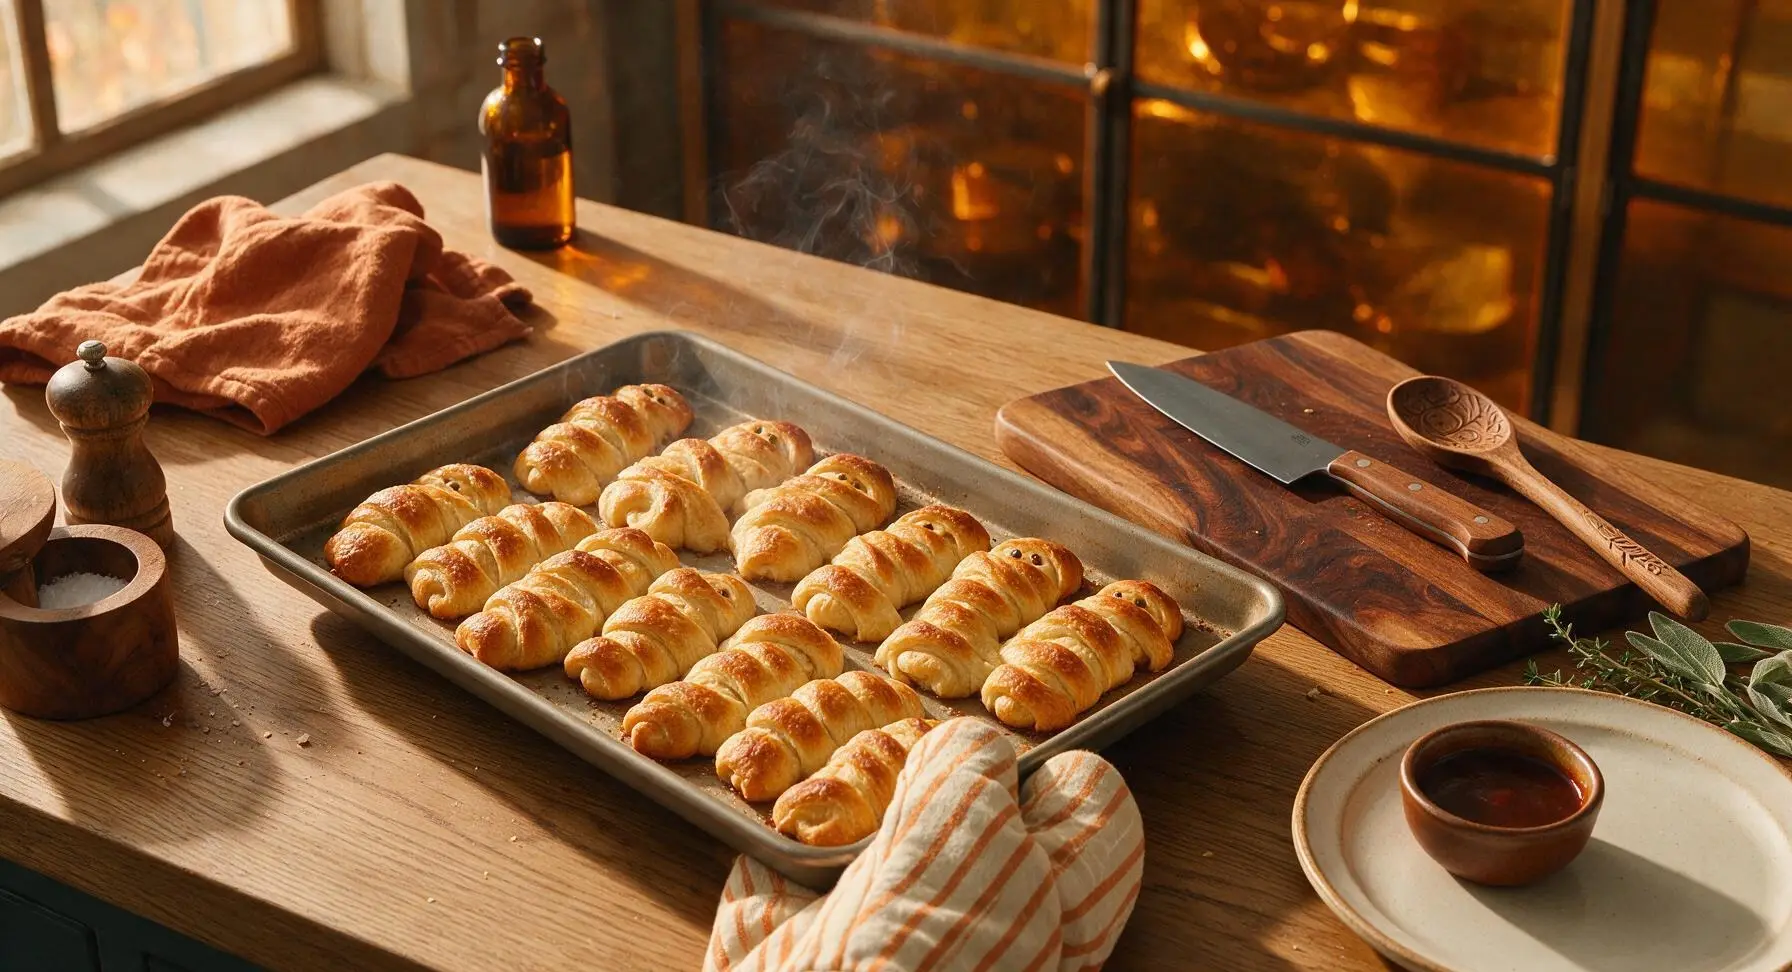
Carefully place the baking pan on the middle oven rack, bake for 10-12 minutes, until the crescent dough is puffed, deep golden brown, and crisp to the touch, and hot dogs reach an internal temperature of 165°F (74°C). Use the cream and orange striped oven mitt to remove the pan from the oven, then set it back on the heat-safe counter to cool for 3 minutes.
Attach Candy Eyes
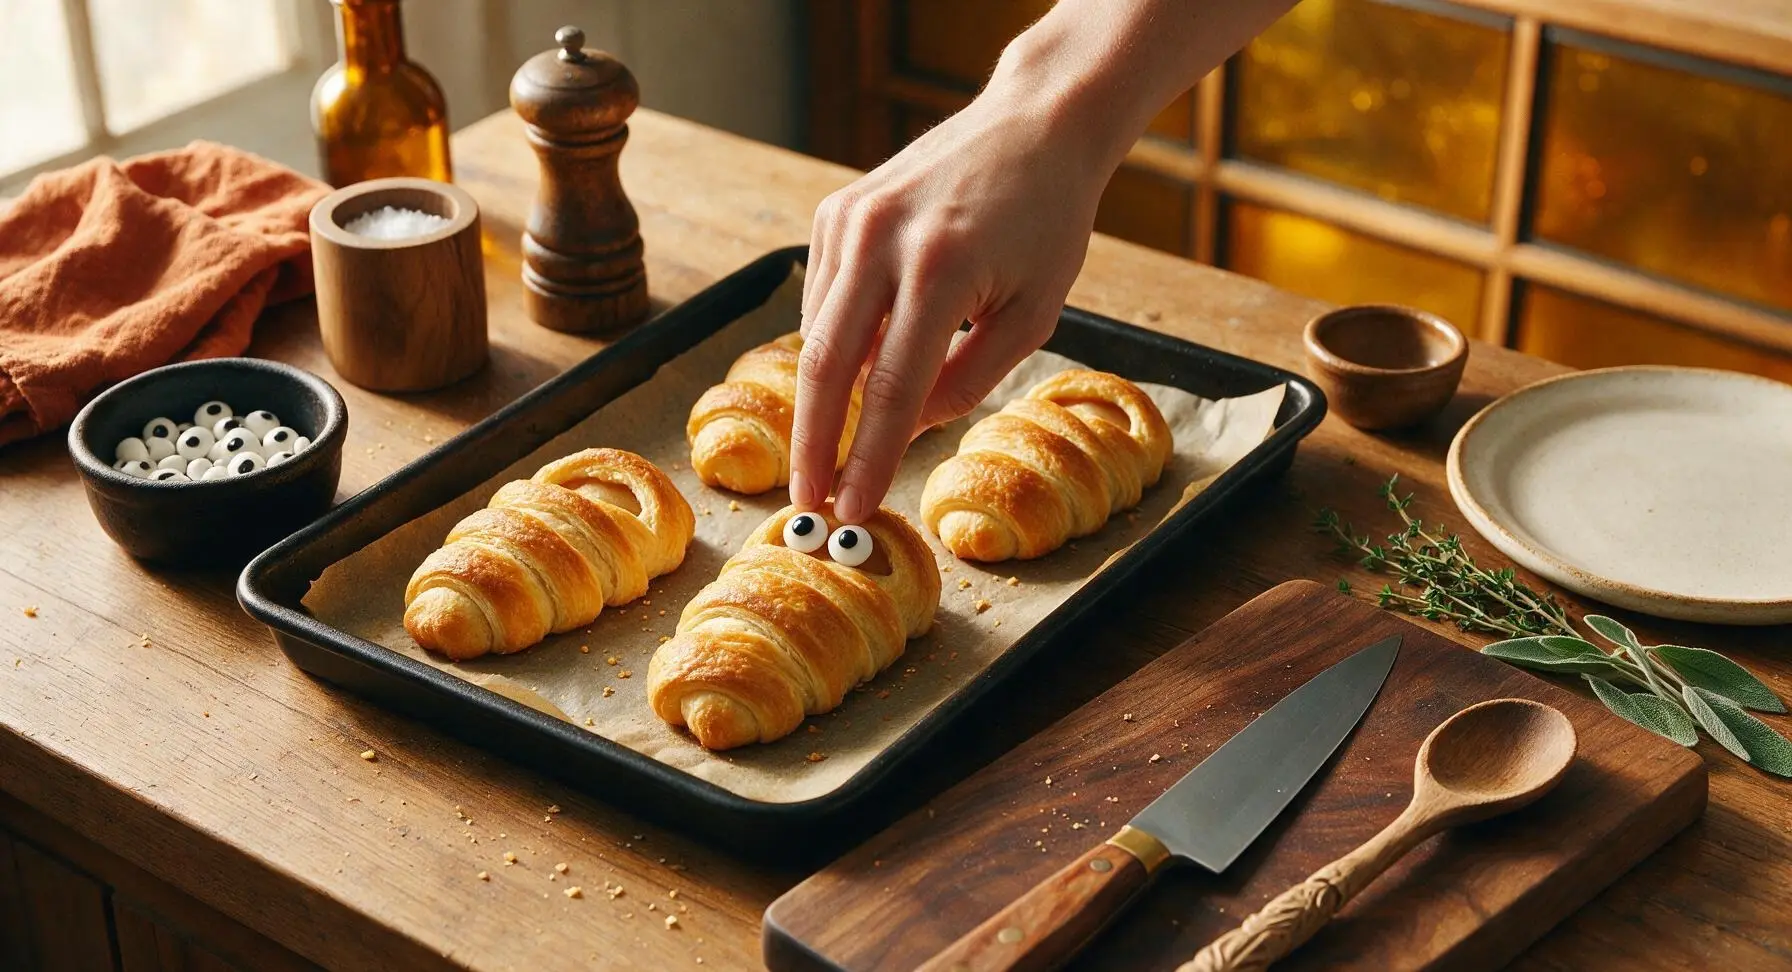
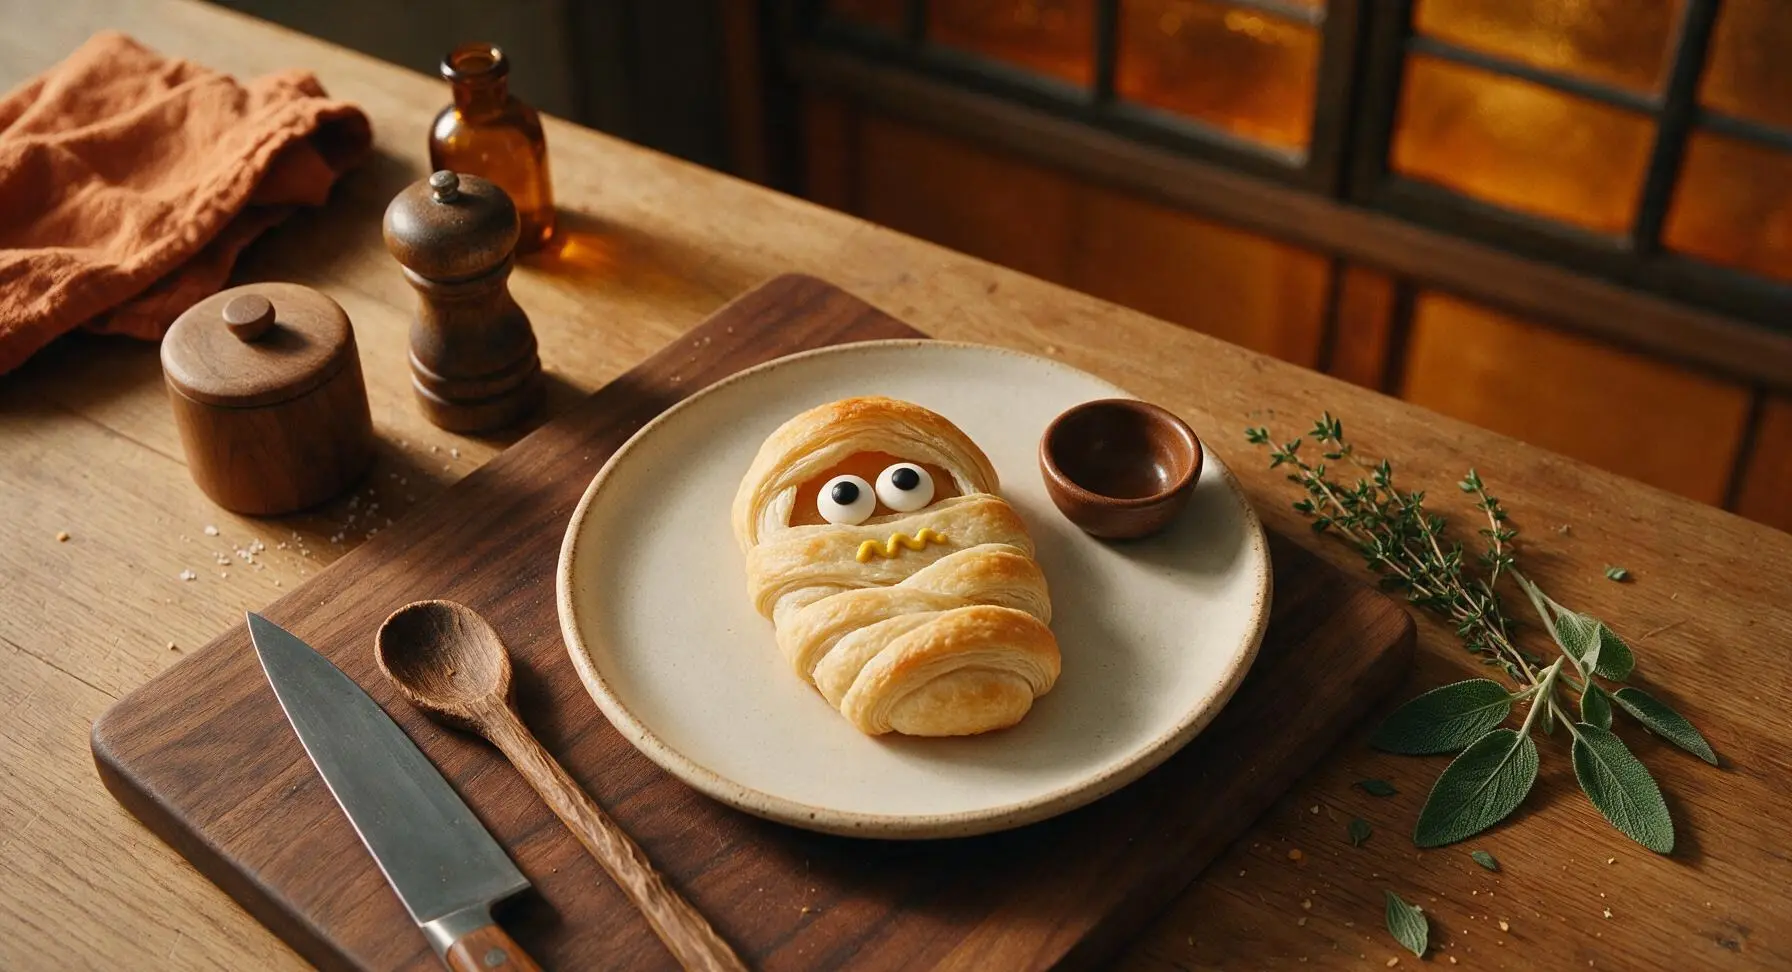
After the mummies have cooled for 3 minutes (warm enough to adhere candy, but not so hot that candy melts), press two candy googly eyes into the bare dough gap at the top of each mummy, using a tiny dot of yellow mustard as edible glue if needed to hold eyes in place. Add a tiny zigzag of mustard below the eyes for a playful mouth, if desired.
Transfer to Platter
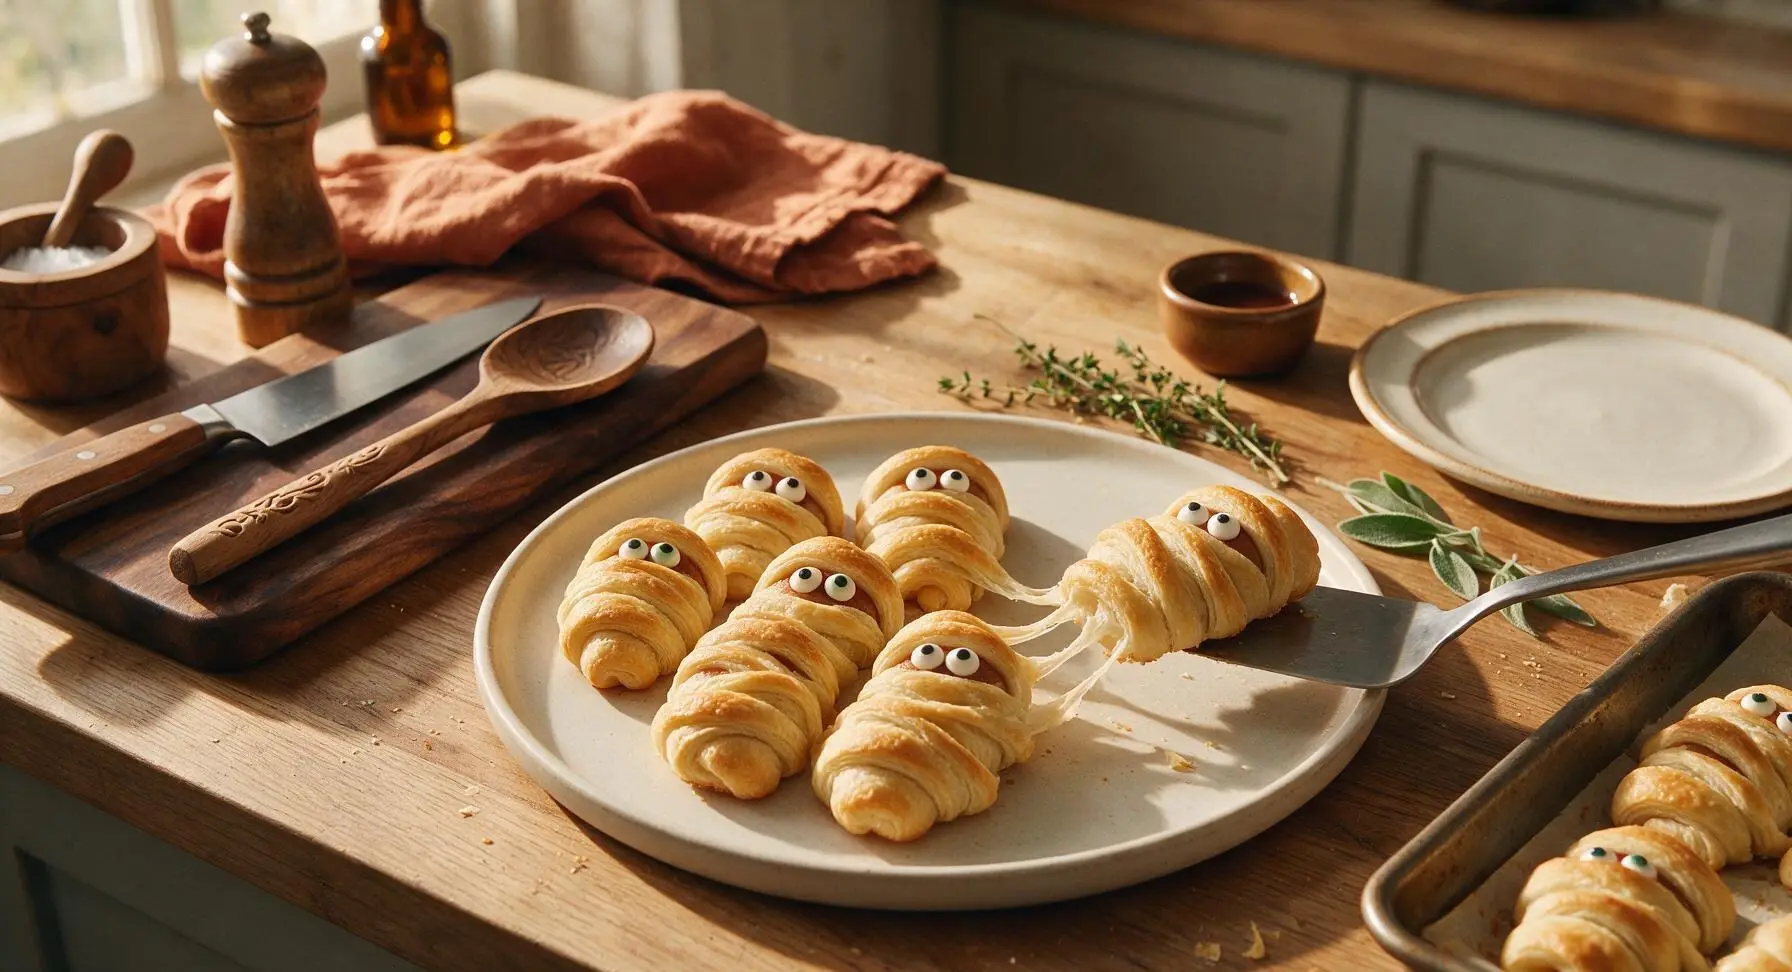
Use the small offset stainless steel spatula to transfer all finished mummies from the baking pan to the matte off-white serving platter, arranging them in a loose, playful cluster. Serve warm, with extra yellow mustard for dipping on the side if desired.
Tips
2.Wait exactly 3 minutes after removing mummies from the oven before adding candy eyes: if the dough is too hot, the candy coating on the eyes will melt and slide off, but waiting longer than 5 minutes will let the dough set, requiring extra mustard 'glue' to hold eyes in place.
3.Skip the urge to cut perfectly even dough strips: slightly ragged, uneven wraps look more like realistic tattered mummy bandages, and puffed, uneven dough edges create extra crispy, flaky texture once baked.






OMG these were such a hit at my kid’s preschool Halloween party! I was running late and threw these together in literally 10 minutes before baking, and all the toddlers were obsessed. Even the picky eaters came back for seconds. SO easy and so cute, I’ll be making these every year for sure.
Wait, do you use the regular crescent rolls or the flaky layered ones? I grabbed the flaky kind by accident last time I made mummy dogs and the strips kept breaking when I tried to wrap them. Don’t wanna mess these up for our block party this weekend!
Game changer! I brought these to my office Halloween potluck today and they were gone in 5 minutes flat. I added a little dot of sriracha under the candy eyes for a tiny kick and people went crazy for it. 10/10, so easy even someone who burns toast can make these.
Made these for our family movie night last night (we did Hocus Pocus, obviously) and my 7 year old thought they were the coolest thing ever. He kept making mummy noises while he ate them, total dad win. Only note: make sure you leave a little gap for the eyes or they slide right off after baking! Learned that the hard way on the first batch.
Wait these are so easy I made them in my dorm room oven between study sessions for my midterm! No fancy ingredients, just a can of crescent rolls, mini hot dogs, and candy eyes. My roommates devoured half the batch before I could even take a pic for Instagram. 12 minute cook time is no joke, this is going to be my go-to for every last minute get together from now on.
Has anyone tried making these with gluten free crescent roll dough? My youngest has celiac and I want to make these for her class Halloween party but I’m worried the GF dough will be too crumbly to wrap into strips.
Made these for our Sunday tailgate before the football game and they were the perfect finger food! People kept asking me for the recipe all afternoon. I skipped the candy eyes since it wasn’t a Halloween event and just sprinkled a little parmesan on top, still slapped. 10/10, easy to make ahead and toss in the cooler too.
I was so nervous to make these because I can barely bake boxed brownies without messing up, but these were FOOLPROOF. The cook time was exactly 12 minutes in my oven, the crescent strips wrapped perfectly, and they looked so cute I almost didn’t want to eat them. My partner said they’re better than the fancy pigs in a blanket we get at our favorite gastropub. Will be making these again and again!
Wait I made these last year and added a little strip of cheese inside each crescent wrap with the hot dog and it was *chef’s kiss*. The cheese gets all melty and gooey while it bakes, makes them taste even more indulgent. Such a solid base recipe to customize however you want!